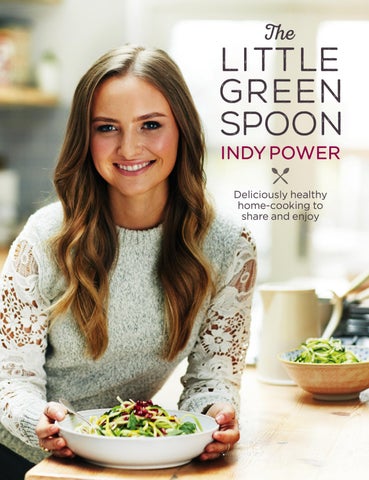
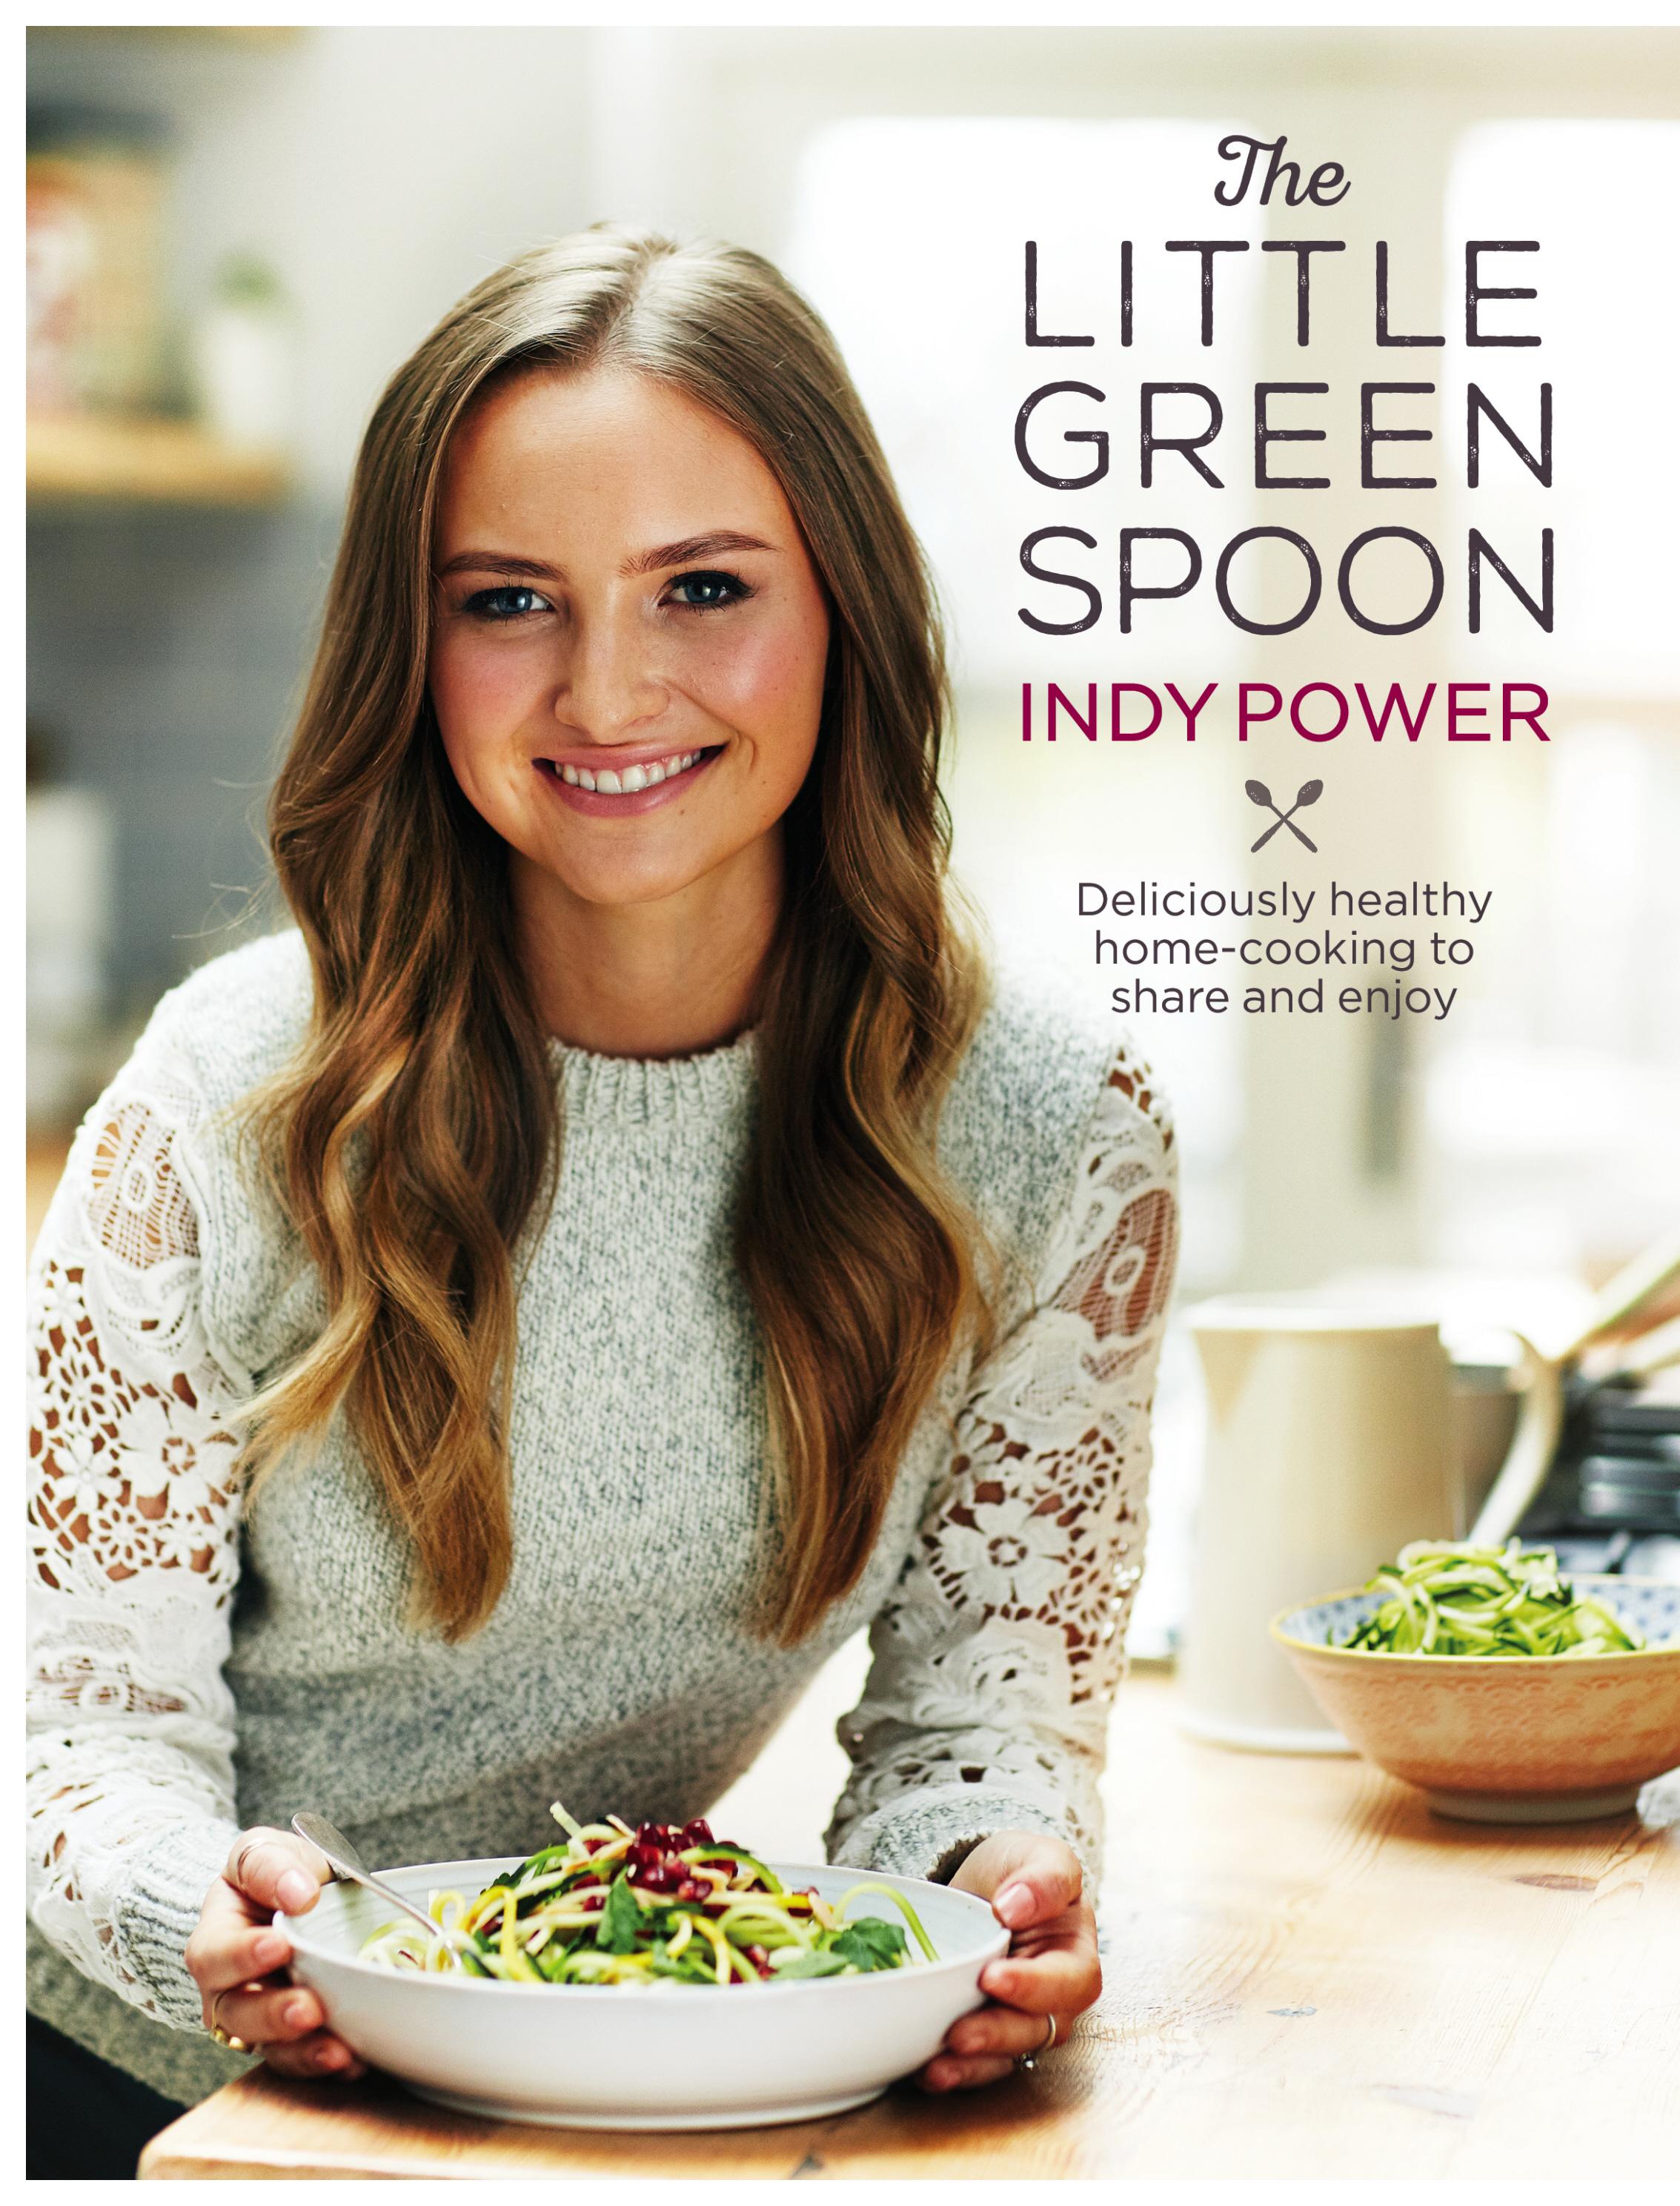

Deliciously healthy home-cooking to share and enjoy
INDY POWER
This book is dedicated to my great grandmother, Baba, who I so wish could have seen it come to life. To Tom, my chief taste-tester and kindest critic, to my Mom and Dad for all of their love, inspiration and encouragement and to Sallyanne, for helping to make this dream come true. My little Arnold too, who keeps me company in the kitchen every day.
Most of all, it’s for all of you. For anyone who has ever made my recipes or followed The Little Green Spoon, thank you for letting me do what I love and for loving it too.
Ebury Press, an imprint of Ebury Publishing, 20 Vauxhall Bridge Road, London, SW1V 2SA
Ebury Press is part of the Penguin Random House group of companies whose addresses can be found at global. penguinrandomhouse.com
Text © Indy Power 2016
Indy Power has asserted her right to be identified as the author of this Work in accordance with the Copyright, Designs and Patents Act 1988
First published by Ebury Press in 2016 www.penguin.co.uk
A CIP catalogue record for this book is available from the British Library
Project editor: Louise McKeever
Design: Smith & Gilmour
Photography: Martin Poole (except for the pages listed below)
Food stylist: Aya Nishimura (except for the pages listed below)
Prop stylist: Liz Belton (except for the pages listed below)
Photographs on pages 24, 30, 57, 62, 78, 84, 91, 94, 110, 116, 122, 130, 138, 148, 154, 160, 170, 176 and 224 courtesy of Indy Power
ISBN: 978 1785032 769
Colour origination by Rhapsody Ltd London Printed and bound in China by Toppan Leefung
Penguin Random House is committed to a sustainable future for our business, our readers and our planet. This book is made from Forest Stewardship Council® certified paper.
contents
IntroductIon 6 How to 10 Good MornInGS 14
SoupS, SIdeS and SaladS 42
MaInS 70 Bread 104 SauceS, dIpS and SpreadS 118 on tHe Go 142 treatS 164 drInkS 190 pantry 206 tool kIt 214 StockIStS 216 Index 218
INTRODUCTION
I started my blog, The Little Green Spoon, in October 2013 thanks to encouragement from my hungry family, and began sharing my healthy recipe experiments. I am so honoured that my little blog has allowed me to to make my dream of writing a cookbook come true and I hope that you love making and eating these recipes as much as I do.
I believe eating healthily all comes down to taste. Everyone would eat well if healthy meals tasted like their favourite foods. I want to show that they can. My way of eating isn’t about deprivation or giving things up, it’s about feeling nourished, happy and satisfied and enjoying every bite. When I was little my mother gave me everything the adults ate, from curries and teriyaki to veggie bakes and roasts. She didn’t adapt recipes to suit children or make bland baby foods – we all ate exactly the same food, no matter how spicy or complex the flavours were. Years later, our favourite family pastime is talking about food, cooking and eating together. To me, food is far, far more than just fuel. It’s one of the nicest things about being alive and the benefits of eating well extend to every part of life.
In school, I was all about cupcakes. I baked almost every day as a counterpoint to study. Then one day it dawned on me that I couldn’t go on stuffing myself and everyone around me with sugar and flour forever. I stripped back to the healthier basics and straight away everything started tasting better and I started feeling amazing. At the time, there was no science or method behind how I did it, but I took note of everything and realised that once I gave up refined sugar and gluten, cut back on dairy and upped my protein intake (I always ate tons and tons of veg),
I was like a new person. My eating transformation took a while – I gave things up gradually. I didn’t go cold turkey because I wasn’t under any pressure to change, I was just experimenting and liking what was happening.
For me, the biggest improvement I experienced was with my mood. It’s no secret that gut bacteria affects our digestion and metabolism, but there is growing research into how much it can influence our brains. Foods such as gluten and sugar can irritate the gut, which may cause a range of problems such as digestive issues, allergies, anxiety and depression. Going by my own body and mind, as well as what I’ve learned from studying Nutrition and Health Coaching, I truly believe gut health to have a huge influence on mental wellness and find that eating right helps me to take control of my mind, keeping anxiety and depression at bay. For me it’s happy gut, happy mind!
I also noticed huge changes in my digestion and skin and the better I felt, the more I valued good nutrition. I had started out life as a meticulous label-reader because I’m allergic to peanuts. As a nervous little kid I used to fret over the contents of every bite, but as I reached my late teens I started to embrace all other nuts as well as a more carefree attitude towards food in general. It was really liberating to relax a little and enjoy all of the amazing food I could have, rather than focusing on what I couldn’t.
Now I’ve come full circle and am back to rigorous label reading, but this time by choice! I like to know exactly what goes into what I eat and pick what’s best for me. At the same time, I don’t obsess about every sub-atomic particle that enters my body like some diet evangelists do. I feel it’s healthier,
mentally at least, to do the best you can. Make healthy food that’s incredibly delicious and your best gets a lot better.
I also believe that if you crave something sweet, you shouldn’t deprive yourself, but rather indulge in gorgeous natural foods. Conjure a chocolate bar or a mince pie out of purer ingredients and you can still enjoy treats. Likewise, sometimes the only thing for it after a big night out or a hard work week is serious comfort food, so I reimagine healthier versions of classic savoury dishes. Pasta becomes courgetti (page 11), bread goes grain free (page 112) and chickpea flour replaces batter on fish (page 92). I’ve discovered loads of tricks and workarounds to get where my body likes to be, without compromising my taste buds and natural greed.
I also take a lot of inspiration from my travels, adapting discoveries like tortillas (page 108) and miso broccoli (page 51). Japanese flavours permeate quite a few of my recipes too as my grandmother is Japanese and many of my earliest food memories surround sushi and New Year’s banquet tables groaning with delicacies.
Cost is really important to me – less is certainly more since I’ve only just finished college. Good food is an investment in your health, so it’s definitely worth spending a little extra when you can, but it should also be accessible for everyone. Simplicity is also key because I like to be able to whip things up depending on my spontaneous cravings and you can’t always have hours to spend in the kitchen.
I’m only at the beginning of what I hope will be a lifelong learning curve about balancing taste, nutrition and creativity to make exciting, satisfying meals for everyone I love (even Arnold, my itchy French bulldog) and these are a collection of my favourites so far. Eating, cooking and being healthy are my favourite things and despite what some people think, they are not mutually exclusive. Food is pleasure, it’s emotive, and eating food that tastes incredible and nourishes your body makes you feel great. I’d take a raw home-made caramel square full of nuts and healthy fats
over a bag of crisps any day. I want to make people fall in love with healthy food, the way it tastes, the way it looks and the way it makes them feel. Just as I have.
This book is bursting with delectable recipes that I cook every day, whether it’s a last-minute lunch, a gorgeous dinner feast or a decadent dessert. I get my inspiration from whatever I’m in the mood for, my travels, whatever’s in season and, sometimes, just whatever’s in my tiny fridge! I hope this book will help people on their own personal journey to eating and feeling better. The younger you start, the better – but it’s never too late. My dad has just figured out he can use chickpea flour in the bread he’s made every week forever (Daddy Bread, page 112) and everyone who tastes it raves about it even more than they used to. Any dog can learn new tricks.
My recipes are to be shared with those around you; they’re for everyone, whether you’ve got allergies, intolerances or digestive issues, or you’re just trying to cut down on processed foods or sugar and nourish your body with real food. This book isn’t about cutting things out, it’s about embracing all of nature’s gorgeous natural foods to make you feel amazing. And it’s not as hard as it sounds. Everything you need is in here and I’ve guided you through each recipe with Dairy-Free, Gluten-Free, Vegan and Paleo symbols, so you can make sure you’re eating what you decide is best for you, while enjoying every mouthful.
HOW TO…
Here are a few simple tips on how to cook and prepare some of the ingredients used in this book that you may be less familiar with. Use this section as a guide to techniques alongside the recipes.
How to Cook Quinoa
Quinoa is so delicious, but it is underrated and even disliked by many people because it is often cooked badly. When it’s not cooked right it can be too soggy, too dry, bitter or flavourless. Unless you’ve had it cooked correctly, don’t write it off just yet. Cooked well, quinoa is fluffy and light and compliments most savoury dishes, as well as being amazing at absorbing other flavours.
Here is the foolproof way to make perfect quinoa every time (or almost every time, I admit I have forgotten about it and burnt it more than once!). The most important and absolutely crucial tip is that you must use stock rather than water. You can use white, red or black quinoa, but personally white is my favourite. Hot or cold, it goes with everything.
The recipe here works for all kinds of quinoa and makes about four servings (double or triple as needed, but make sure to use the same ratio of quinoa to stock).
MAKES 3–4 SERVINGS
500 ml (17 fl oz/2 cups) chicken or vegetable stock
170 g (6 oz/1 cup) quinoa
Add the cold stock to a pot on a medium heat. Use a medium-sized pot – you don’t want it to be too big. Add the uncooked quinoa in on top and stir so that all of the quinoa is submerged.
Pop the lid on the pot and leave the quinoa to bubble away for about 13–15 minutes, then check it. The quinoa is almost ready when you can see only a little liquid and air pockets forming. When all of the visible liquid has been absorbed (the quinoa should still be a little soggy, but there should be barely any separate liquid remaining), take the pot off the heat and fluff the quinoa with a fork.
Pop the lid back on for another 5 minutes, still off the heat, to allow it to steam and any remaining moisture to be absorbed. Remove the lid and fluff once more before serving.
How to Cook Buckwheat
You can cook buckwheat in a very similar way to quinoa, just with a little less stock. Again, it can take some trial and error to figure out when exactly to take it off the heat, but practice makes perfect.
MAKES 4 SERVINGS
180 g (6 oz/1 cup) buckwheat groats
435 ml (14 fl oz/1¾ cups) chicken or vegetable stock
Add the cold stock to a pot on a medium heat. Add the buckwheat groats and stir so that all of the buckwheat is submerged. Pop the lid on the pot and leave the buckwheat to bubble away for about 12 minutes until all of the visible liquid has been absorbed. Watch the buckwheat carefully for the last few minutes as you don’t want to overcook it. As soon as there is no visible liquid left, take it off the heat and fluff the buckwheat with a fork.
Pop the lid back on, still off the heat, and let it steam for a few more minutes. Remove the lid and fluff again before serving.
How to Spiralize Courgettes
If you have a hand-held spiralizer, chop off one end of the courgette and place it in the spiralizer. Then, exactly like sharpening a pencil, twist the courgette, pushing as you twist, until beautiful courgette ribbons form. You can stop twisting every few turns and then start again so the ribbons aren’t
too long. If you’re using a countertop spiralizer, insert your desired blade. Chop the end off the courgette and press one end onto the spikes near the blade and the other end on the spikes attached to the handle, then simply twist and push and watch the ribbons come out the other end!
How to Make Oat Flour
Oat flour is great for baking as it works in a really similar way to white flour. Although you can find it in some supermarkets, I’ve never found gluten-free oat flour so I always make my own and keep it in a jar in the cupboard. It’s really simple – all you need is a blender and some gluten-free oats. If you have a high-powered blender or food processor you’ll be able to get it really fine, really quick. Otherwise, just blend until it’s as fine as you can get it.
MAKES 120 G (4 1/4 OZ/1 1/2 CUPS)
120 g (4¼ oz/1½ cups) gluten-free oats
Add the gluten-free oats to your blender and blend on high until you have a very fine flour. Scrape down the edges and repeat once more to make sure the oats are evenly ground. Use straight away or store in an airtight container or jar.
How to Make Nut Milk
My personal favourites are almond and cashew milk, but you can use any kind of nut to make nut milk and it’s so simple. Just don’t forget to soak your nuts the night before!
MAKES 1 LITRE (1 3 /4 PINTS/4 CUPS)
300 g (10 oz/2 cups) nuts
you will need: a nut milk bag/cheesecloth
Soak your nuts in the fridge overnight.
Drain and rinse the nuts and then add them to your blender with 1 litre (1¾ pints/ 4 cups) of fresh water.
Blitz on high for about 30 seconds until the nuts are completely broken down. Then repeat once more.
Hold your nut milk bag over a big jug or bowl. Pour the mixture slowly through the nut milk bag into the jug, squeezing as you go, until all of the liquid has run through. Discard all of the mushy nuts or use them for something else. What’s left in your bowl/jug is your delicious nut milk!
Store in your fridge for 3 days in a covered jug or sealed bottle. A little separation is natural, just shake before serving.
How to Poach an Egg
The eternal mystery! Good poached eggs taste amazing but for some reason, poaching an egg perfectly is inordinately difficult and there are so many different methods for doing it. Thankfully, I recently learned the amazingly easy and foolproof way to perfect poachies – thank you Steve and James at Daylesford Cookery School!
MAKES
1
POACHED EGG
1 egg
1 teaspoon apple cider or red wine vinegar pinch of coarse salt
Fill a medium saucepan with water and bring it to a boil. This is crucial, you want a proper boil, not just a simmer. When it is boiling, submerge your egg (still in its shell) under the water for 12 seconds. Then take it out and set it aside. Add the vinegar and salt to the water.
Turn down the temperature until the water is simmering. Crack your egg and hold it just above water level, as close as you can get without burning your fingers, before opening it carefully to let the egg slide gently into the water.
Run a spoon swiftly through the water once around the sides of the saucepan, this will help to shape the egg.
Turn off the heat and pop the lid on. Set a timer for 4 minutes. When the timer goes off, use a large spoon to remove the egg from the water and plate your perfectly runny poachy.
How to Make Nut Butter
Everybody loves nut butter! It’s the best snack or treat and it’s really easy to make if you have a little patience. You can make nut butter out of all kinds of nuts: pistachios, pecans, hazelnuts, cashews –they’re all amazing and they all have their own unique flavour. You can also experiment with different flavourings, such as adding ground cinnamon or cacao powder and maple syrup. In this book there are a few special flavours, but the basic recipe for any nut butter is below. The key is to roast the nuts before; this gives them more flavour and releases their oils, which speeds up the blending process.
300 g (10 oz/2 cups) of your desired nuts
Roast the nuts (see right).
When they’re done, add the warm nuts to your food processor (along with any spices or flavourings) and blend on high, scraping down the sides as needed. The amount of time it takes to turn to butter will depend on how powerful your food processor is –it can take anywhere from a few minutes up to 20 minutes. However long it takes, don’t lose faith, just keep blending!
The nuts will break down into a flour, clump together into a ball and then liquefy into a gorgeous butter. The longer you blend, the runnier it will be.
How to Toast Nuts and Seeds
Toasting nuts and seeds absolutely transforms them. I sprinkle nuts and seeds on almost everything, but never without toasting them. For seeds, I always toast them in a pan. For nuts, you can either roast them or toast them in a pan. Roasting tends to give a much more even result and it’s easier not to burn them, but toasting them in a pan is great if you’re short on time.
If using a pan, add the nuts/seeds to the pan on a medium/high heat and toast them, tossing frequently, until golden and fragrant. You don’t need to add oil – they will release plenty. Seeds will start to pop and look plump when they’re ready.
For roasting nuts, follow the oven temperatures and approximate time instructions below, depending on the type of nut. For all nuts, toss halfway through cooking and keep an eye on them. The times below are an estimate and how fast your nuts roast will depend on your oven.
Almonds: 180°C for 12–14 minutes
Cashews: 180°C for 8 minutes
Hazelnuts: 180°C for 12–15 minutes
Pecans, pistachios and walnuts: 180°C for 8–10 minutes