Main Concept
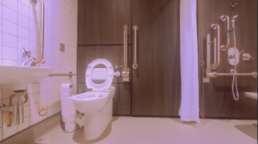
The Oner "Rabbit Hole" presents a surreal, scale-shifting journey through everyday spaces transformed into dreamlike realms. Beginning in an ordinary bathroom, the narrative swiftly spirals into a series of unexpected and distorted environments, guided by themes of entrapment, escape, and the disorienting experience of navigating familiar yet twisted spaces.
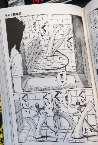
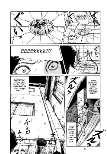
Story Board
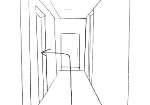
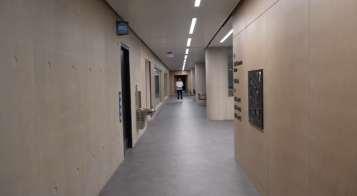
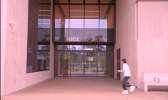
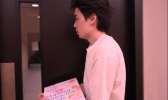
The character enters the hallway from a first-person perspective, pushes open the door
The character enters the hallway from a first-person perspective, pushes open the door
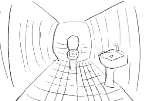
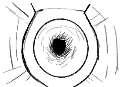
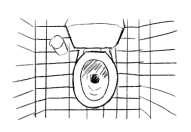
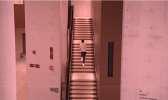
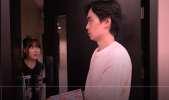
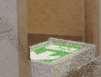
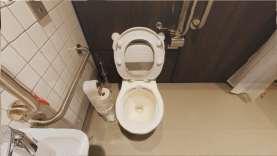
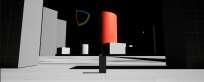
Take a closer look at the toilet
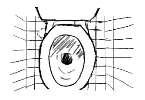
Something wrong happened. The toilet began to scale
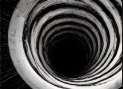
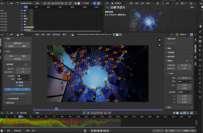
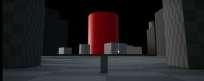
The toilet got big and the character fell into it Keep falling Until it was pitch black Finally fell into the cva studio
Style Reference

I chose this style because it can effectively express the core theme of "Scale," exploring the boundary between reality and non-reality through architectural and spatial expression. The use of threshold spatial style enhances the visual impact of the shot, emphasizing the interaction between building, space, and character, as well as the character’s position and state within the space. This style is ideal for creating a sense of "lost" or "blurred boundaries," aligning with the surreal and uncertain state of space that I have depicted.
Inspiration
The film’s imaginative visual style and playful use of scale will inform the aesthetic and tone of the shot. The whimsical elements and colorful designs can inspire the CGI components.
Who is Alice? Is Alice's body changing, or is Alice's space changing?
Unease
and helplessness of narrow Scale & Space attraction and "trapped" feeling
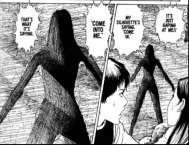
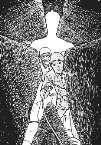
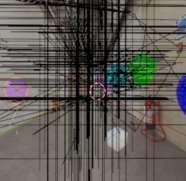
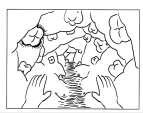
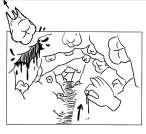
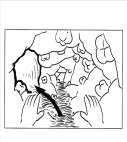
Inspired by two works of Junji Ito, the scene uses scale changes to evoke a gravitational pull. After a character falls into a small toilet hole, the space elongates and distorts, creating a shift from real scale to extreme distortion, causing a psychological and visual tension between unease and attraction.
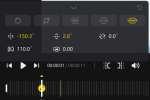
Week 1:Cinematography Settings
Composition, Lighting, Aperture, Focal Length,etc.
Camera movement settings
Dolly In creates spatial confinement and psychological tension, focusing the audience's emotions and drawing them into a state of anxiety and transition. It heightens emotional impact and reinforces the narrative's surreal atmosphere.
Dolly Zoom alters scale by adjusting focal length while moving the camera, distorting spatial perception and creating a strong visual impact. This technique enhances the surreal atmosphere and evokes a sense of alienation, blurring the line between reality and dreams.
Recreate scenes from The Grand Budapest Hotel
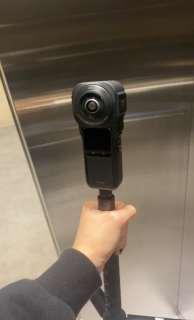
I chose insta360 as my primary oner shooting tool, and panoramic shooting offers more possibilities for post-production Angle adjustments, making my long shots smoother and more immersive.
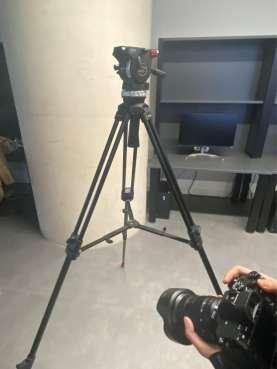
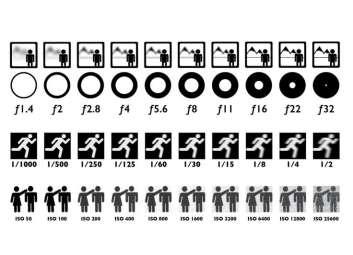
For my settings, I used a wide aperture of f/2.8 to create a shallow depth of field, making the foreground and characters stand out. Also I adjusted to f/4 for greater depth of field. The focal length was set to 35mm or 50mm (fullframe equivalent): 35mm added a slight wide-angle effect for depth in narrow interiors, while 50mm emphasized emotions and close-up details.
ISO was kept between 100-400 for clear image quality with minimal noise, increasing to ISO 800 in darker scenes with noise reduction in post. The shutter speed was set to 1/50s or 1/60s, matching the 24fps frame rate for natural motion blur, maintaining a cinematic feel.
Insta 360
Week 1:Cinematography Settings
Composition, Lighting, Aperture, Focal Length,etc.
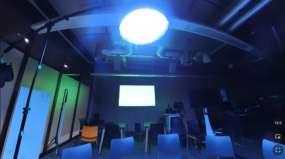
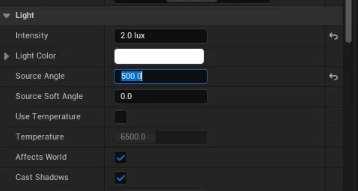
Top Light(SoftBox)
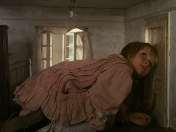
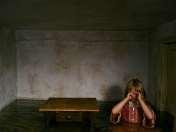
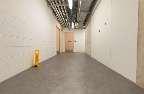
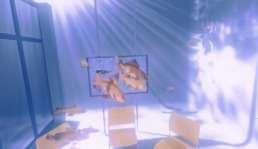
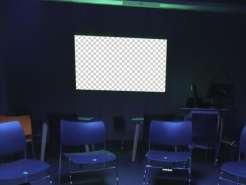
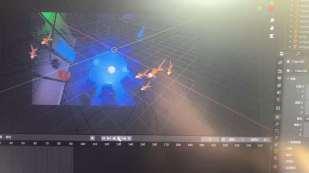
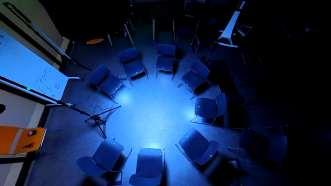
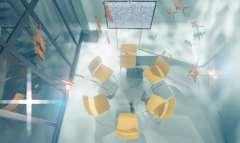
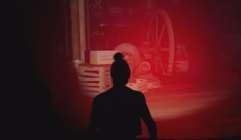
To create the atmosphere of a character falling from a toilet into a classroom, I set up an intense top light in the room, simulating a sudden and unknown light source. This highlights the character's isolation and visually blurs the spatial boundaries, allowing the audience to sense intuitively that the character has entered a space detached from reality.
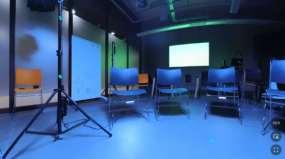
High-Contrast Rim Light(Aputure MC)
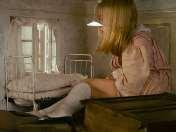
I placed high-contrast rim lighting around key objects like desks, chairs, and walls to create a blurred and fluid effect along their edges, enhancing a sense of floating within the space. This lighting choice brings the classroom closer to the feel of a liminal space—a domain between reality and illusion. The combination of rim lighting and blurred edges maintains an aura of uncertainty in the scene, reinforcing the surreal quality of the objects.
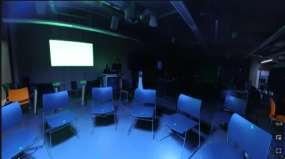
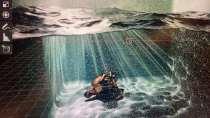
Underwater Atmosphere
The lighting and blurred edges give the entire scene a "familiar yet strange" ambiance. Though the setting is a typical classroom, it appears eerie and distorted in this weightless lighting, creating a sense of oppressive liminality, as if it exists between two realities. This design strengthens the theme of scale transformation.
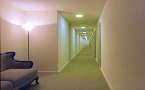
About the composition concept
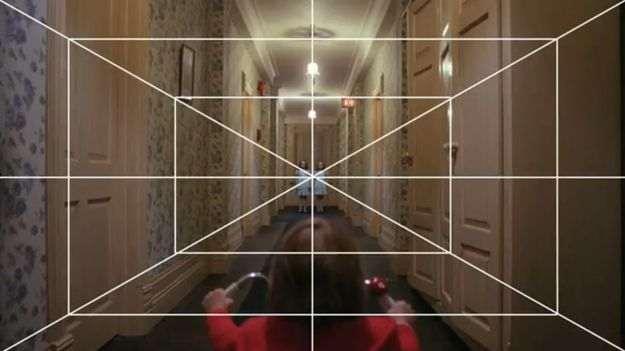
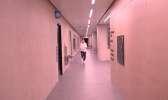
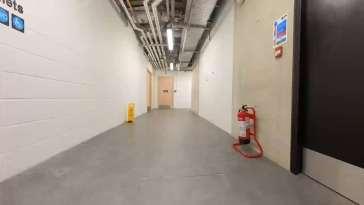
I used symmetry to amplify the threshold space effect. The symmetrical corridor appears as a perfect, enclosed area, evoking a sense of "endlessness," as if there is no exit. This mirrored effect creates a feeling of being trapped, adding psychological pressure and immersion. For instance, in The Shining, the symmetrical hotel corridors generate both comfort and fear. I applied a similar approach in my work, using symmetry to craft a surreal, subtly disorienting atmosphere.
Week 2:Composition and Rendering Techniques
Composition, Shadow Catching, Masking, Color Management
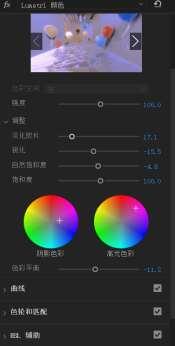
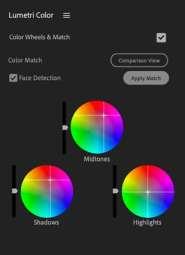
To give the oner project a dreamcore atmosphere with threshold spaces, I did extensive color grading work aimed at creating a unique dreamcore effect. By meticulously adjusting color temperature, saturation, and contrast, I created an unreal contrast between cool and warm tones. Specifically, in the underwater classroom and restroom scenes, I reduced the saturation of the cool tones while increasing the contrast of the warm tones, achieving a visually dreamlike effect. Between the shadows and highlights in key shots, I used color separation to create an asymmetrical visual style, which helped emphasize the mystery and instability of the dreamcore effect. To enhance the emotional and visual impact of the scenes, I incorporated gradient color blocks, adding more depth to the imagery.
Color Grading for The Grand Budapest Hotel Recreation
I aimed for a warm, nostalgic, and cinematic look for the Budapest scene. Using Lumetri Color in Premiere Pro, I adjusted the color temperature for a golden sunset feel. The Color Wheels softened shadows and warmed highlights for a vintage effect. RGB curves boosted contrast and preserved depth, while the HSL panel refined reds and yellows for a softer tone. Gradients and Vignetting enhanced exposure transitions and focused attention on key areas, deepening the nostalgic mood. These adjustments combined to give the scene a dreamy, cinematic feel, emphasizing architectural details.

Green Screen Keying in After Effects


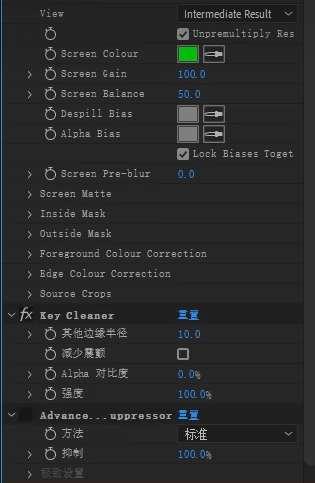
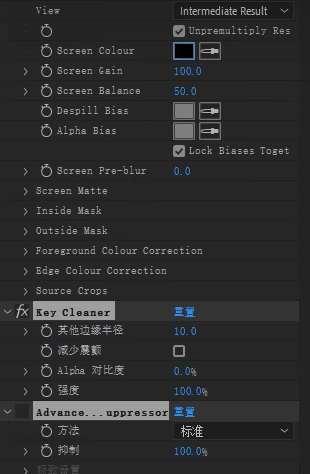

In After Effects, I began by importing the footage into the software and using the Keylight (1.2) plugin for chroma keying. I adjusted the Screen Matte parameters, optimizing the Clip Black/White values to clean up edge noise. Next, I added Edge Blur to smooth the transition around the edges. Finally, I integrated the digital content onto the screen and matched the perspective and lighting of the original footage.

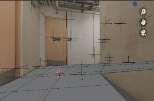
Week 4:Camera tracking workflow
Get footage for camera tracking, make HDRI
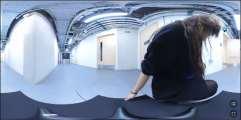
Before doing the camera tracking, I first got the HDRI footage. This process involves capturing a high dynamic range image of the surrounding environment so that the lighting effects can be better matched during post-processing. Finally match the lighting effect comparison
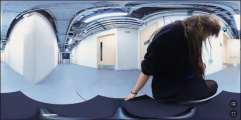
I worked in Photoshop to adjust the exposure, tone balance and detail handling. By using an environment map for HDRI images, then provide real lighting information for virtual scenes, reducing the burden of post-processing. Finally, I exported HDRI to blender, and the result was pretty good.

After importing into Blender, numerous issues occurred…

Week 5:Camera tracking and synthesis preparation
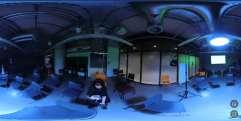
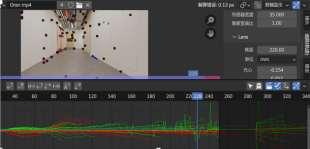
Camera motion tracking procedure
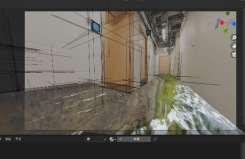
Solution to lens distortion
I kept running into solve errors the whole time
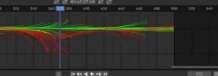
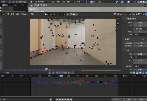
Because of excessive corner shifts and distortion in the original video. In Insta360, I removed lens distortion and manually tracked the larger perspective shifts frame by frame in segments. This significantly reduced most calculation errors during corner tracking.
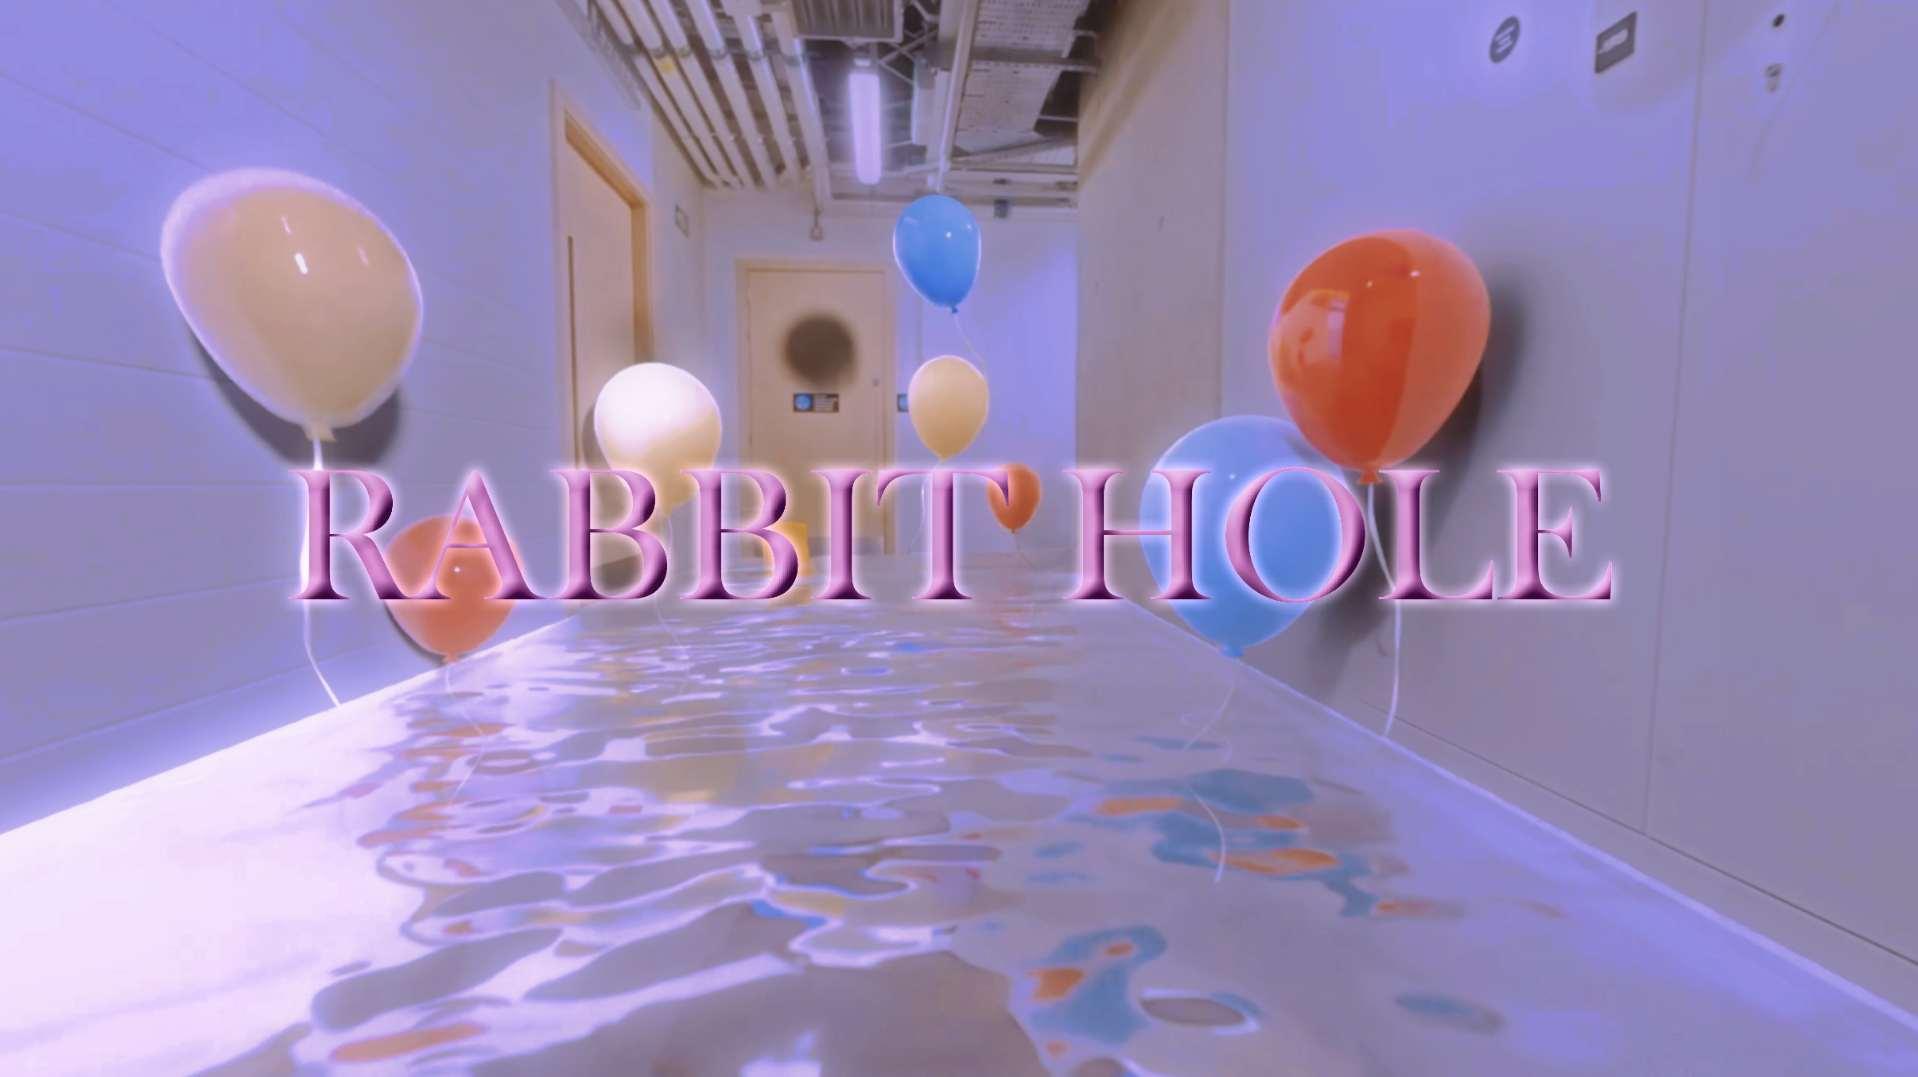
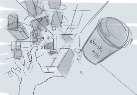
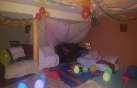
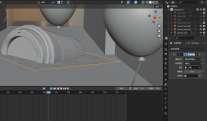
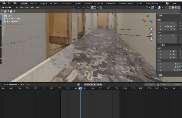
Preliminary Layout of Compositing

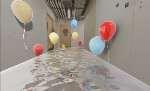
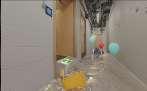
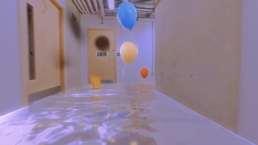
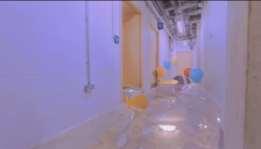
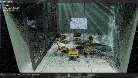
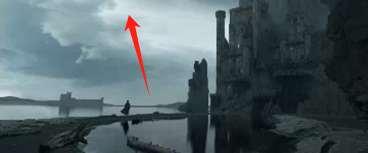
In my live-action compositing section, the ground is replaced with a rippling water surface, on which colorful balloons float. The architectural elements of CVA and Marshgate are depicted floating above the water in an surreal style, creating a surreal visual effect.
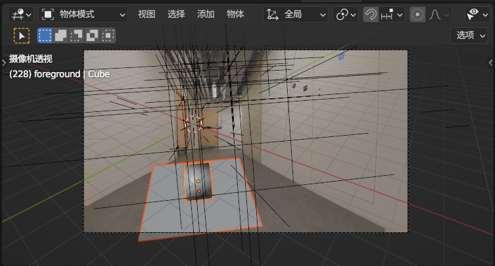
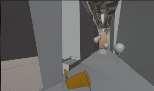
Challenges Encountered: Camera and Scene Design
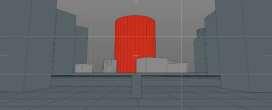
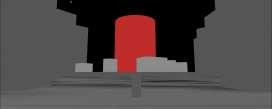
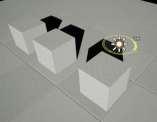
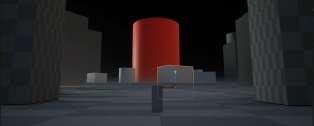
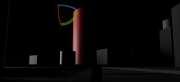
Originally, I planned to design the restroom floor as a water surface. However, during camera movement, the shifting perspective caused the camera to "penetrate" the virtual walls, revealing the set beyond the modeled boundaries. To fix this, I added a blocking element at the entrance—a prominent "Exit" sign. This not only resolves the issue but also enhances the narrative metaphor, subtly suggesting the toilet as an "exit," reinforcing the surrealism of the scene.
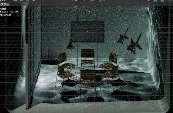
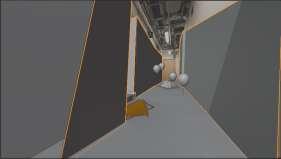
I was planned to use a filmed underwater classroom scene, but camera tracking failed due to large perspective shifts, causing drift and misalignment.To overcome this, I abandoned live-action footage and recreated the classroom in Blender using 3D modeling. While the underwater scene couldn’t be shot in real life, this challenge led to a more refined and narratively stronger 3D representation.
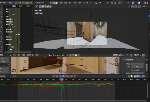
Week 6:3D animation and material application
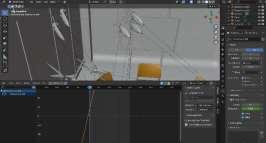
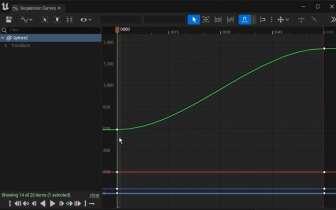
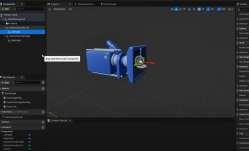
The toilet bowl animation
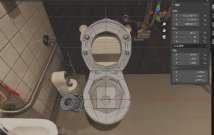

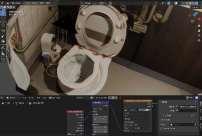
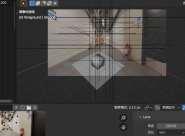
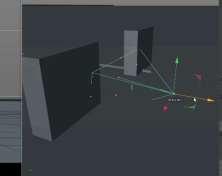
I modeled a toilet in Blender, manually unwrapped its UVs, and used the 'Project to View' feature to perfectly align it with a live-action background. Then, I set up a continuous falling path animation for the camera, applying an ease-in and ease-out motion curve to make the descent feel more natural.
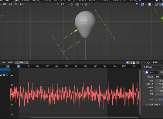
Balloon animation
Floating Coffee cup animation
Goldfish animation

The fish animation was created using a curve-following path method. I added slight random movements to simulate the natural feel of swimming underwater.
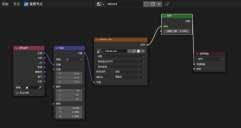
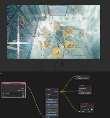
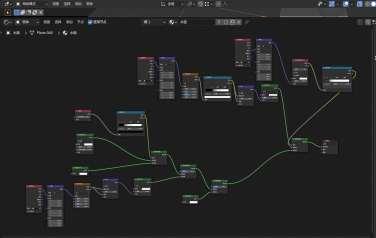
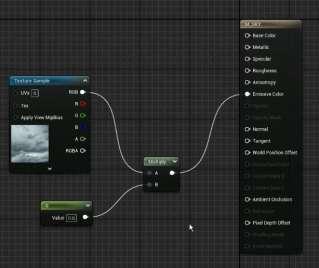
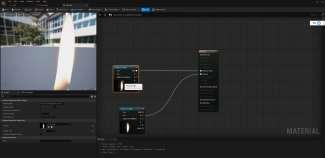
Water material node setup


Winged Peaks
Xiyu Gao(Olivia)
Tutor: John Cruwys&Tony
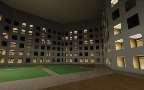
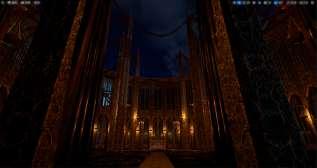
Week 1: Level Design & Environment Art
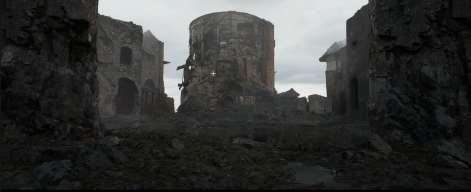
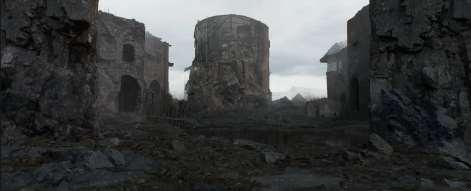
Composition atmosphere Reference
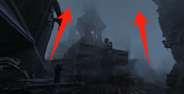
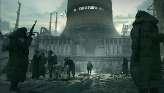

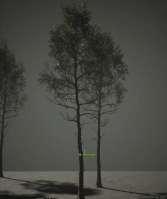
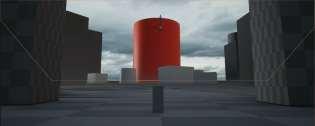
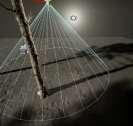
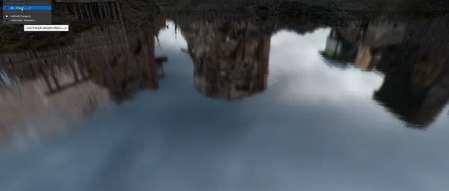
In seeking composition references, I focused on cloudy skies, moderate fog, and contrasting foreground and midground compositions to convey a sense of emptiness and solitude These elements not only help in establishing a visually captivating and atmospheric scene but also provide significant advantages for building Unreal scenes. The use of such references allows me to accurately recreate the mood and depth of field needed, facilitating a more immersive and surreal experience. By aligning these references with Unreal Engine’s powerful lighting and rendering capabilities, I can achieve a rich, nuanced visual that enhances the narrative and emotional impact of my scene.
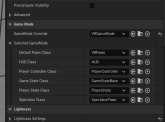
Preparation and plugins

Initial scene layout
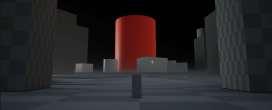


I begin by designing the layout in C4D or Rhino, exporting the scene along with a camera view to Unreal Engine(Datasmith). In Unreal, I replace placeholders with detailed assets, refine lighting, and add effects like fog or particles, using real-time rendering for quick adjustments.
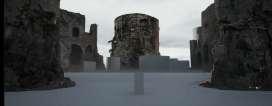
Initial environment outcome
Week 2:Cameras & Lights
Camera view and light adjustment
I adjusted the camera perspective to emphasize depth and composition, ensuring the framing highlighted key elements while maintaining balance and immersion. To complement the visual tone, I softened a slightly sharp directional light in Unreal Engine, creating a smoother and more cohesive effect. I also implemented an HDRI skylight to simulate an overcast day, achieving soft, diffused lighting that enhances the scene's atmosphere.
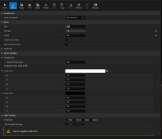
Exponential height fog settings

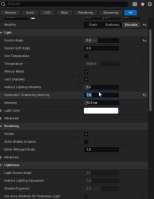
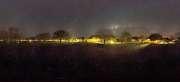
To enhance the mood and depth of the scene, I implemented exponential height fog in Unreal Engine. The fog was carefully calibrated to maintain subtlety while creating a layered effect, which added both visual and emotional depth to the environment. By adjusting the density and falloff settings, I ensured the fog interacted harmoniously with the lighting setup, diffusing the directional light and HDRI skylight to create a soft, immersive glow. This gave the scene a natural, overcast look while adding a dreamlike quality that complements the overall narrative tone. The fog also helped to obscure distant elements slightly, making the environment feel larger and more mysterious.
Week 3:Materials & Character Animation
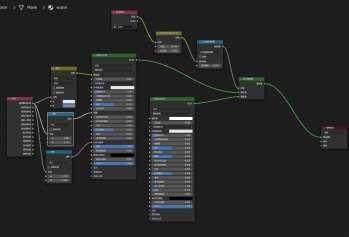
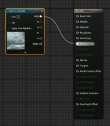
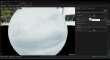
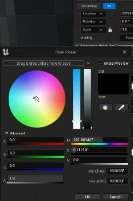
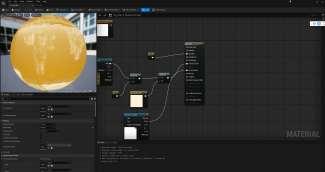
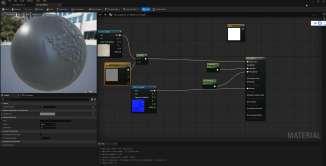
Water material node adjustments
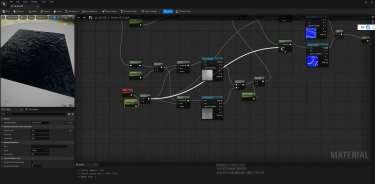
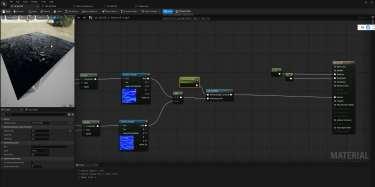
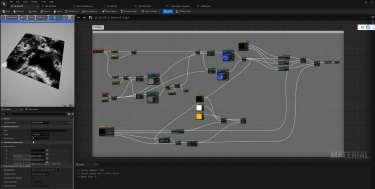
Water material apply
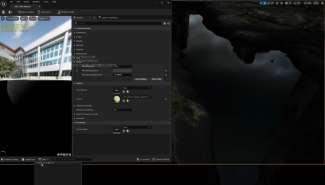
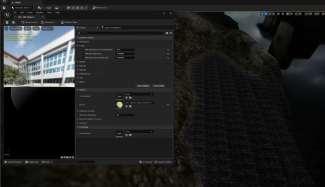
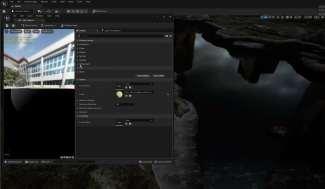
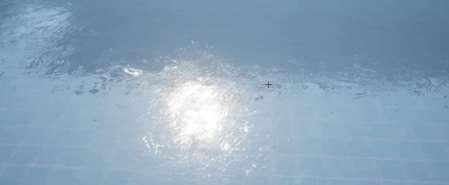
Further Refinement of Water Material & outcome

Week 3:Materials & Character Animation(Extra skills)
Candle materials and animation


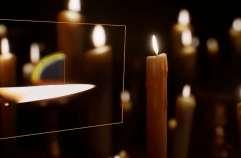
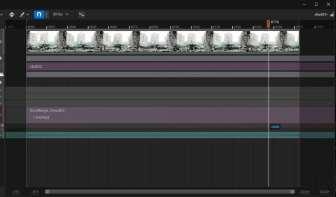
Keyframing and HUD integrated into the timeline

Our group design project involved creating numerous classical candles. I worked on the candle design in Unreal Engine, developing the base material, subsurface scattering (SSS) material for the wax, and implementing the flickering animation. Additionally, I created the HUD material and animation sequence, as well as randomizing materials and flame effects to enhance the overall realism and atmosphere.
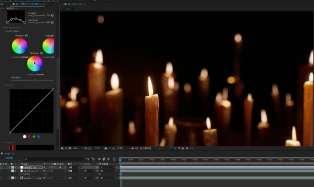
In After Effects, I applied a filter to the candle footage and adjusted the color grading to enhance its visual effect.

Week 3:Materials & Character Animation

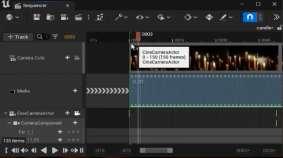
Camera Transition
For the shot, I designed a transition from the character's back to their face. Using storyboards, I planned the sequence to combine the fabric's animation with camera movement, enhancing emotional depth and visual detail. UE’s virtual camera paths were configured to ensure smooth transitions and a dynamic cinematic effect.

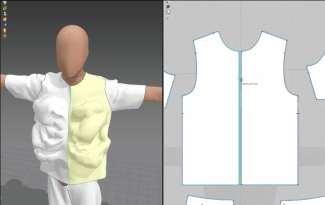
Fabric animation
I used Marvelous Designer (MD) to create a wind-blown fabric animation by adjusting wind tools and fabric properties like density and flexibility. The animation was exported as an FBX file, textured in Substance Painter, and imported into Unreal Engine (UE), where I refined the materials and added lighting to match the scene's atmosphere.
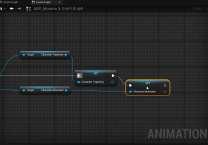
Week4: Physics & Events
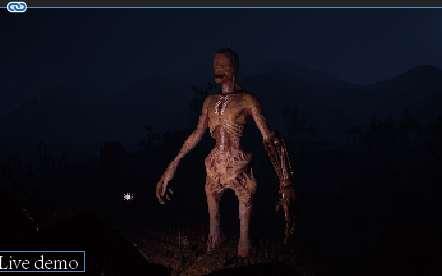
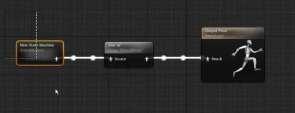
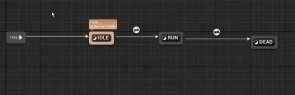
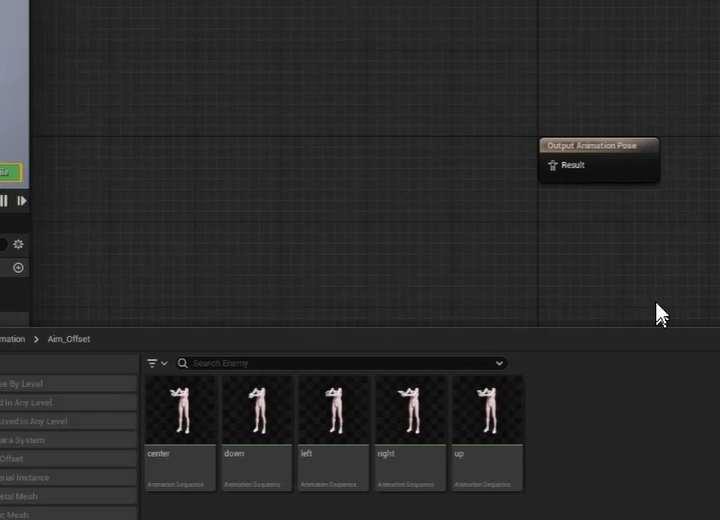
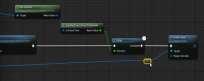
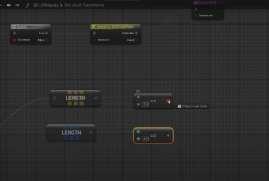
Incorporating the movements I had previously created, I replaced them with animation blueprints. These blueprints allow the monster to move, track players, detect player distance, and trigger attacks, enhancing the interactive experience in the game.

Enemies follow the player
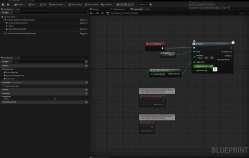
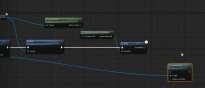
Detecting the distance data between the player and the monster.

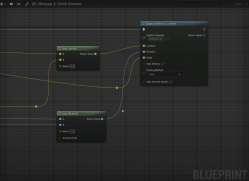
In our group’s project, I placed these monster trigger zones strategically and used blueprints to implement the monster tracking functionality. When the player enters a specific zone, the blueprint detects the player’s proximity and triggers the appropriate reaction. Although these monsters do not directly attack the player, once the player is detected, the system immediately sets the player to a “death” state. These trigger zones and blueprints add an instant response to the game, increasing tension and challenge.
The enemy discovers the player and performs subsequent events
Week 5:Characters &Interfaces (Extra skills)
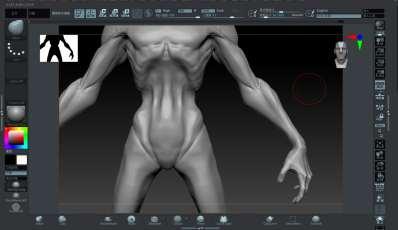
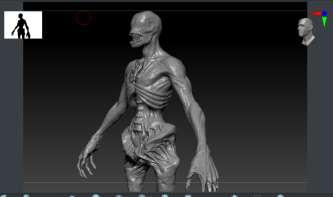

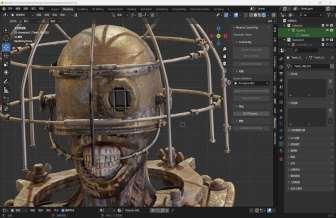
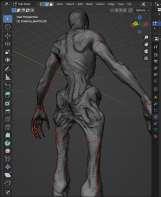
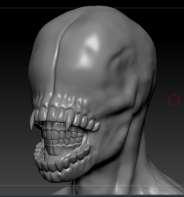
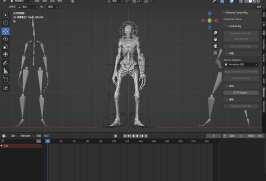
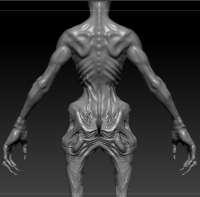
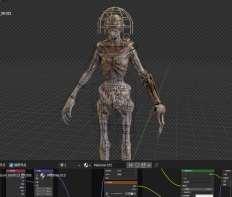
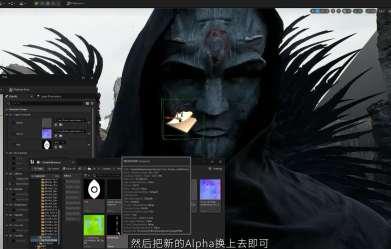
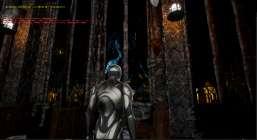
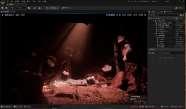
In our group’s design project (Task 3), I created the monster using ZBrush for detailed sculpting, and Blender for additional modeling and rigging. I then applied high-quality textures and materials using Substance Painter. Afterward, I imported the animated model into Unreal Engine where I used Blueprints to set up triggers. These triggers activate specific animations when the monster enters designated areas, allowing for dynamic interactions within the environment.
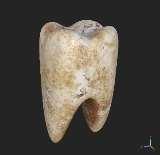
Gesture tracking system in VR

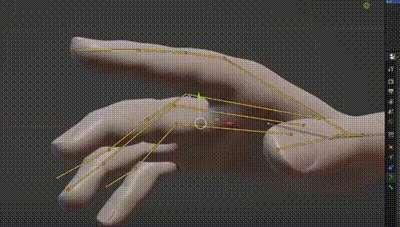
We want to make someinteract with the environment through gesture tracking. When the hand assumes the posture of pulling a tooth, The environment will change.
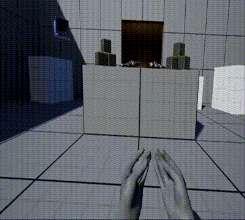

Currently, we are using a VR hand gesture tracking device like the Oculus Quest 2, which allows for real-time detection of hand movements, including joint positions and rotations. This system integrates with Unreal Engine to track these movements and provide instant feedback to users in the virtual environment. However, due to time constraints, we haven't been able to implement more advanced interactions within the scene yet.
Test animation(Unused)
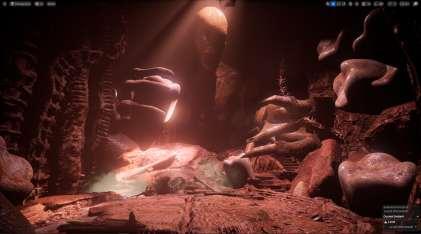
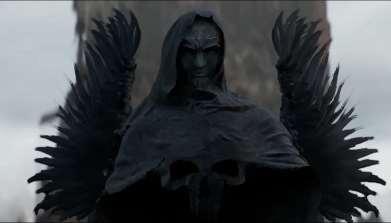
Materials with Organic Texture: I used materials with slightly organic textures, such as muscle fibers, vascular patterns, and bio-mimetic skin surfaces. These materials dynamically reflect light, giving the entire scene an organic and unsettling feel. Details include the use of normal maps and specular maps to enhance the realism of the materials, while also imparting a "breathing" quality, as if they were living entities
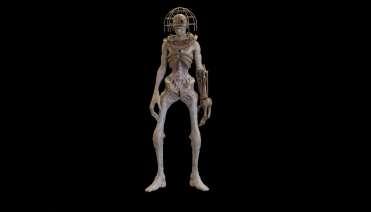
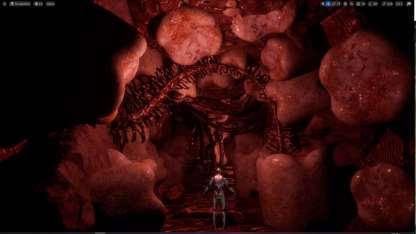
Lighting and Atmosphere Creation: The lighting in the scene employs spotlights focused on the creature, creating a sense of divinity. My creature is placed at the center of the scene, blending seamlessly with the surrounding textures, making it appear as though it has "grown" from the environment itself. The creature’s skin texture is highly consistent with the scene’s fleshy materials, reinforcing its integration within the environment.
We created a blood-spray animation, intending to simulate blood spraying from the walls or floor after a character pulled out a tooth, thus creating a more impactful visual effect. However, during testing, we encountered performance issues that severely affected game performance, making it impossible to smoothly play the animation. As a result, we had to abandon this effect.
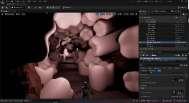
Similarly, we also tried to create an animation where rocks would fly around, symbolizing the awakening of an ancient deity. However, during testing, we encountered issues with clipping the rocks would pass through walls and floors, resulting in inconsistent visual effects and disrupting the immersion. Despite multiple attempts to adjust and optimize, we were unable to resolve this problem. Due to these technical limitations, we ultimately had to abandon this creative interactive concept.

