
preliminary design
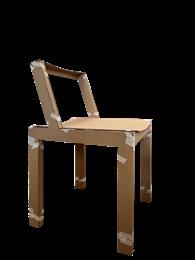
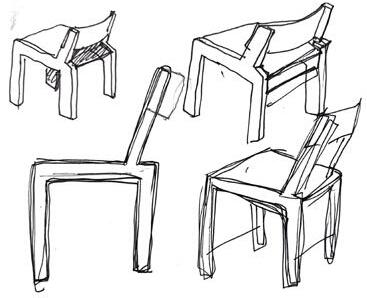
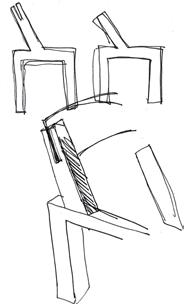
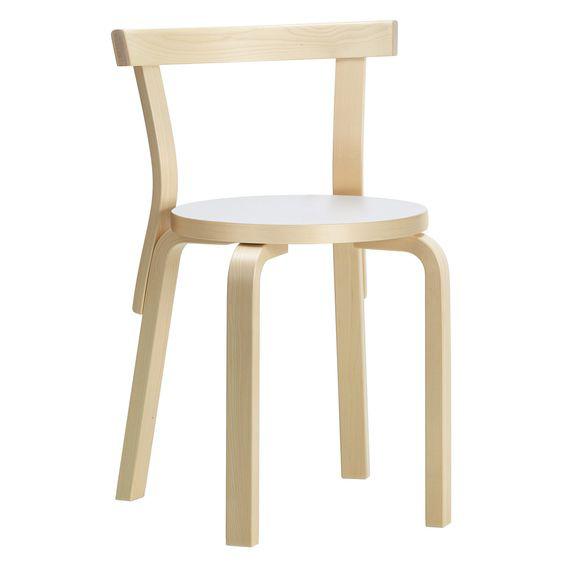
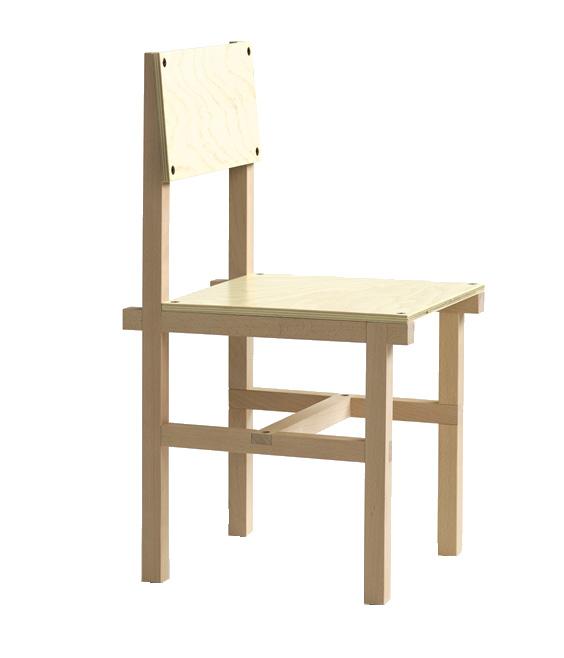
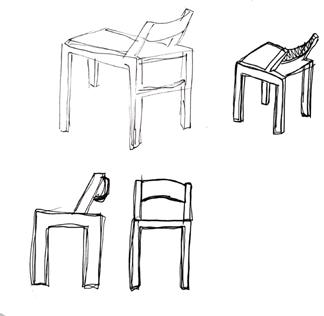
Life-size cardboard models helped me experiment and manipulate the proportions to find the correct dimensions for this design. I began the design process by sketching a simple geometric shape that I then adjusted to create the initial silhouette of the frame. The dimensions and proportions of the chair were extremely important to the design, this part of the process took many study models, life size models, and sketches to create the perfect balance of proportions for a comfortable and fun chair.
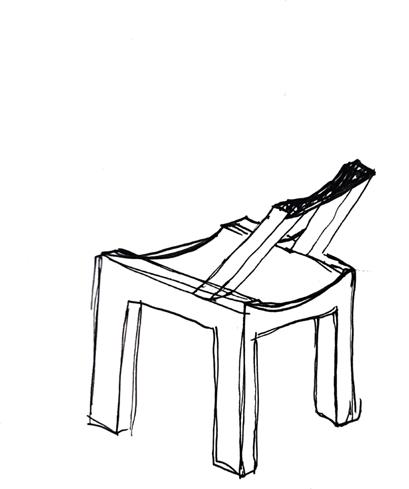
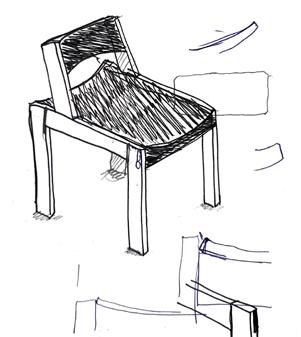
02 study tour
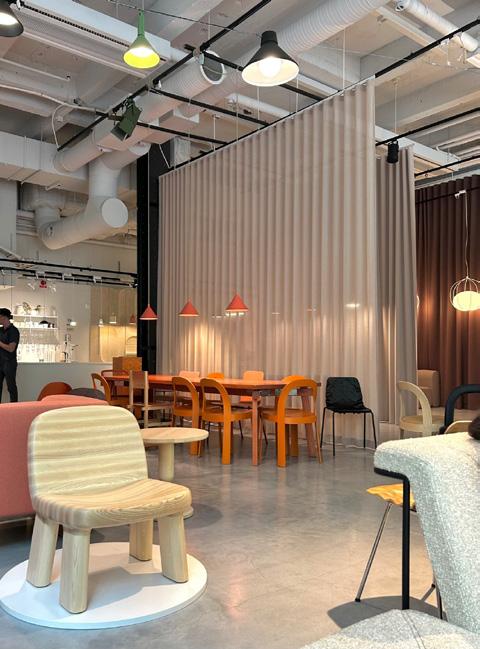
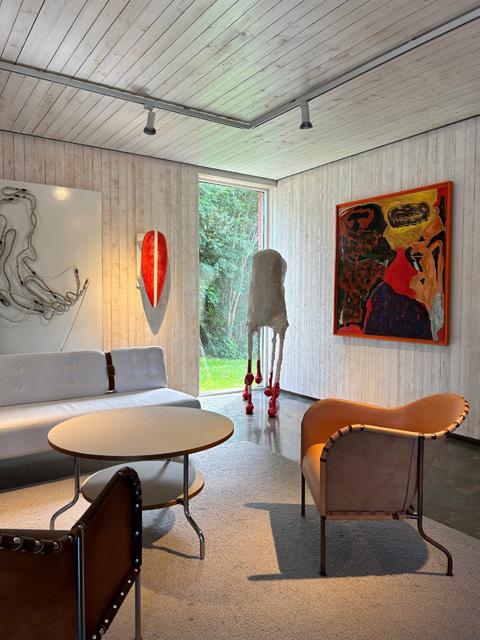
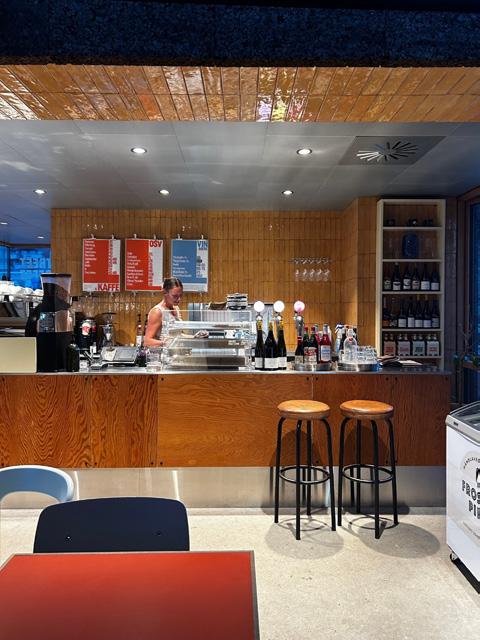
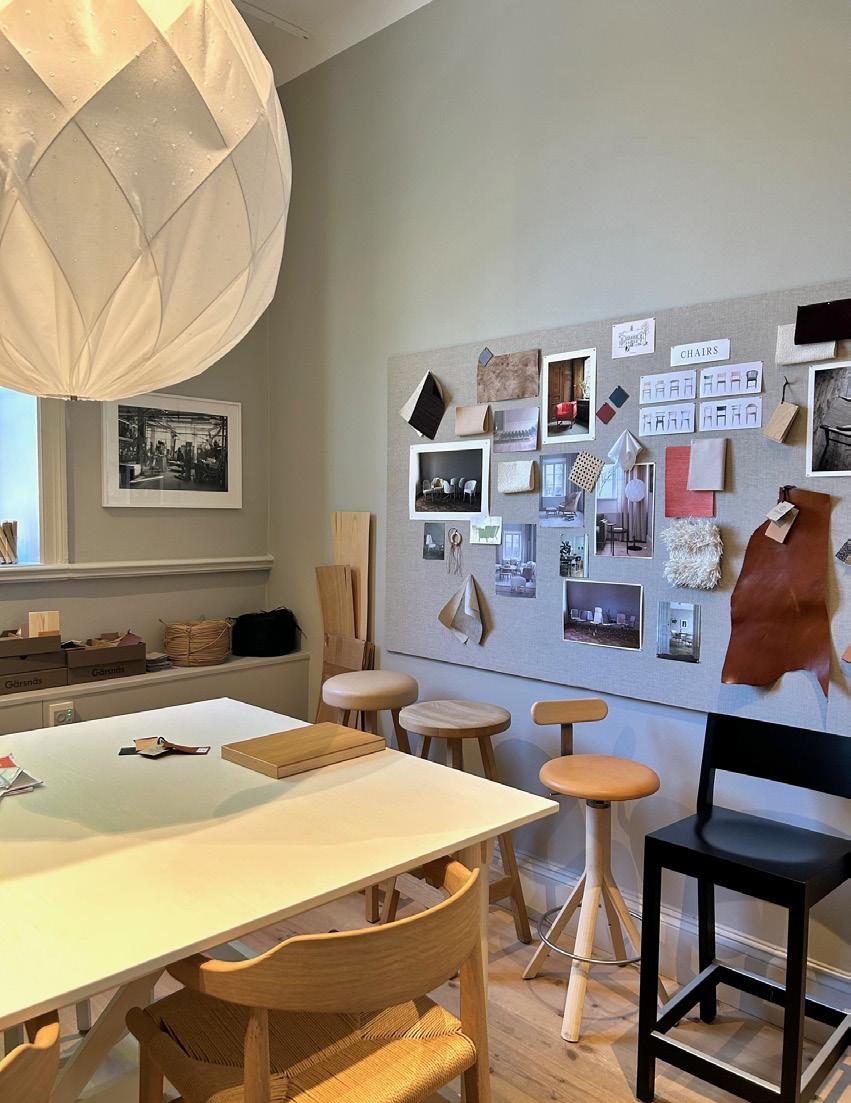
Just days after starting the design process, we paused our sketches and embarked on a week-long journey through Sweden and Denmark. We explored Scandinavian furniture showrooms, visited interiors with custom-designed pieces, listened to designers share their creative processes, and toured a Swedish wood furniture manufacturer. The freedom to explore various towns and cities allowed us to find personal design inspiration. This immersive experience, from large-scale manufacturers to modest client-based projects and museum tours, deepened my understanding of authentic Swedish and Danish design— simplicity, craftsmanship, and the development of proven and successful design.
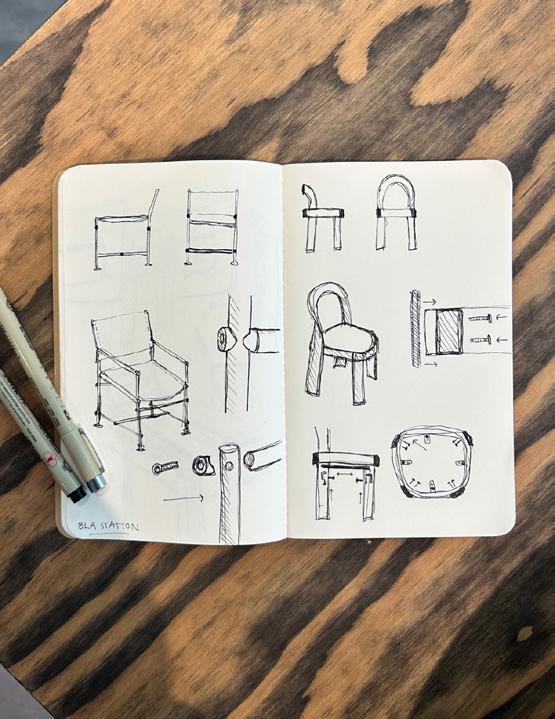
Touring Scandinavian furniture showrooms and workshops provided valuable insights into design and craftsmanship. This experience helped me refine my sketches and understand how each piece is constructed, preparing me to apply these techniques to my own design.
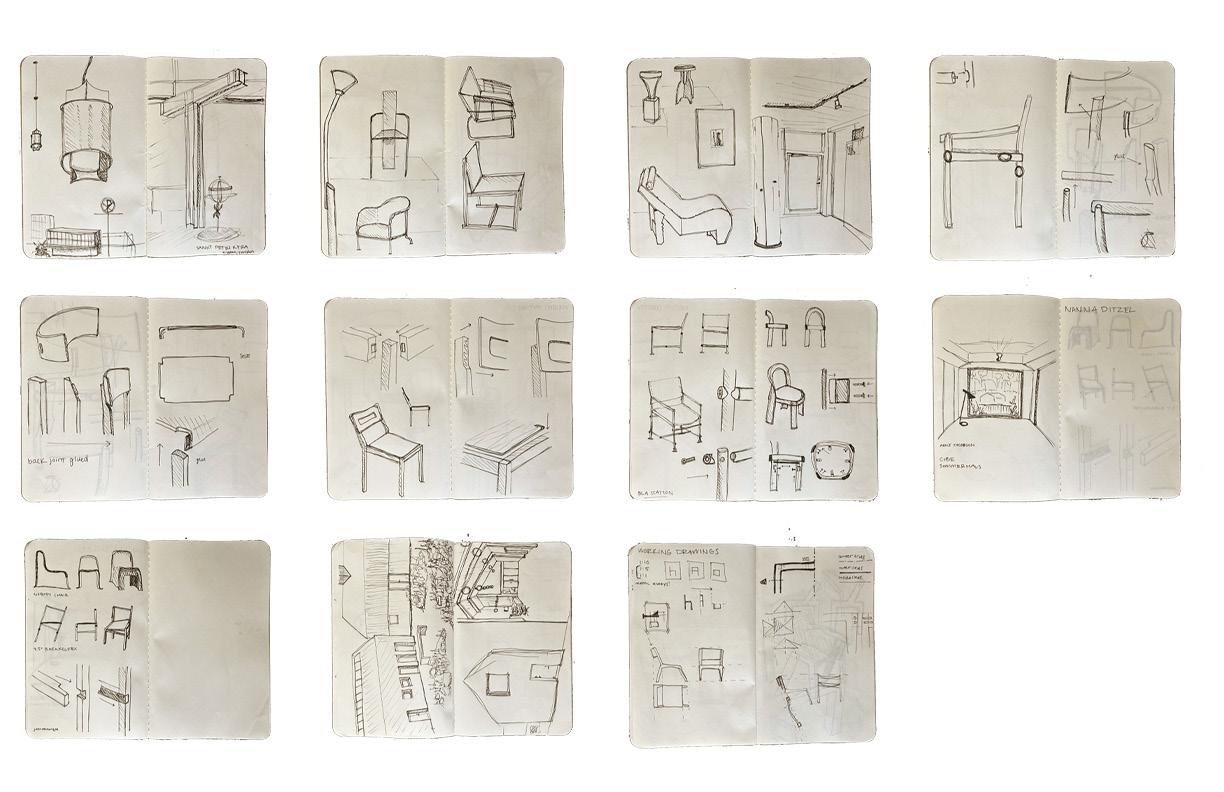
An ongoing collection of sketchbook drawings covering interesting interior compositions, furniture, detailed concepts of furniture joinery, and many other things I came across during my journey through Sweden and Denmark.
analytical drawings
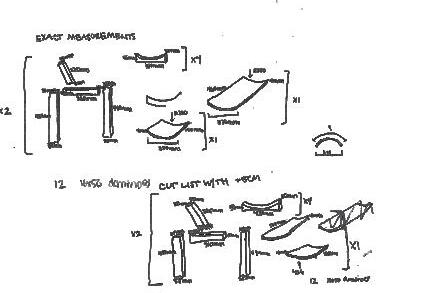
After refining my design based on the knowledge I aquired during my Scandinavian design tour, I was able to finalize my concepts and begin to create the working drawings. Using full-scale analytical drawings, I created a precise blueprint detailing each piece of wood, every joinery domino, and the exact radii for curves. This enabled me to generate a final cut list with exact dimensions for each wood component, along with a rough cut list that adds a 5cm margin for flexibility during the process.
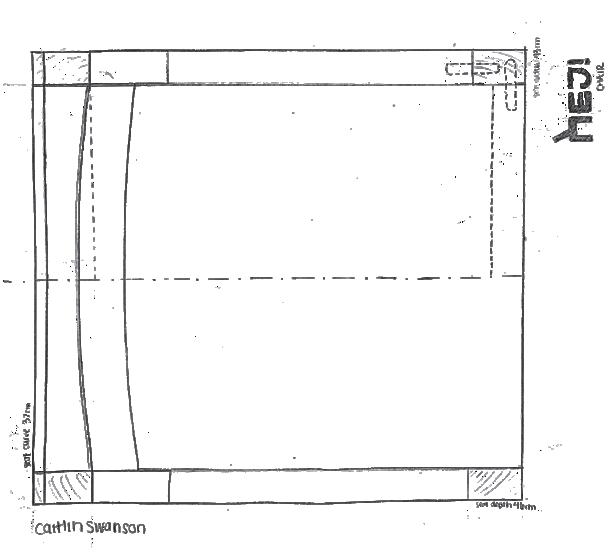
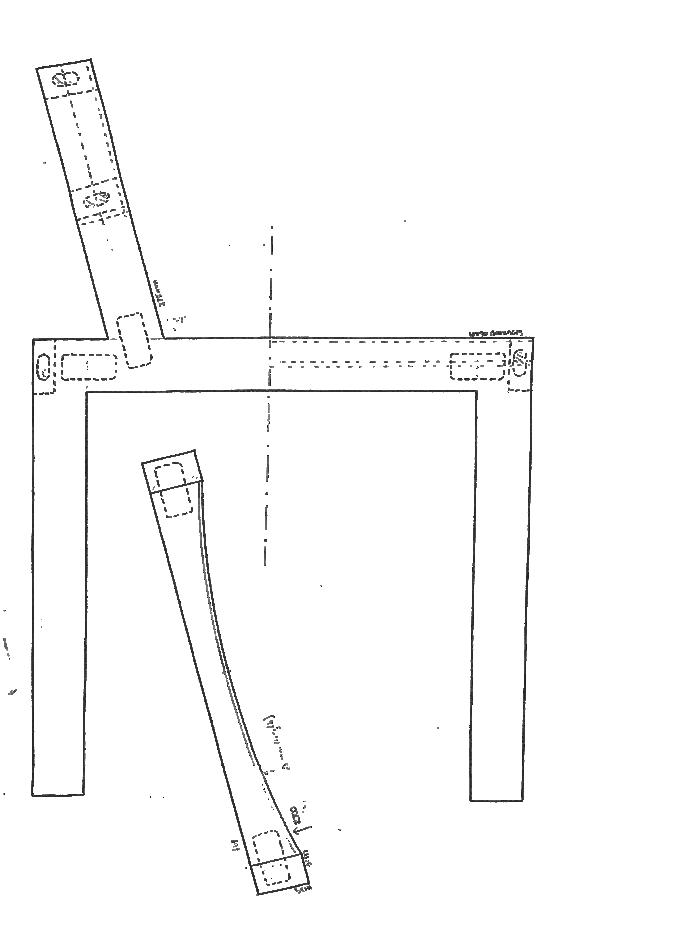
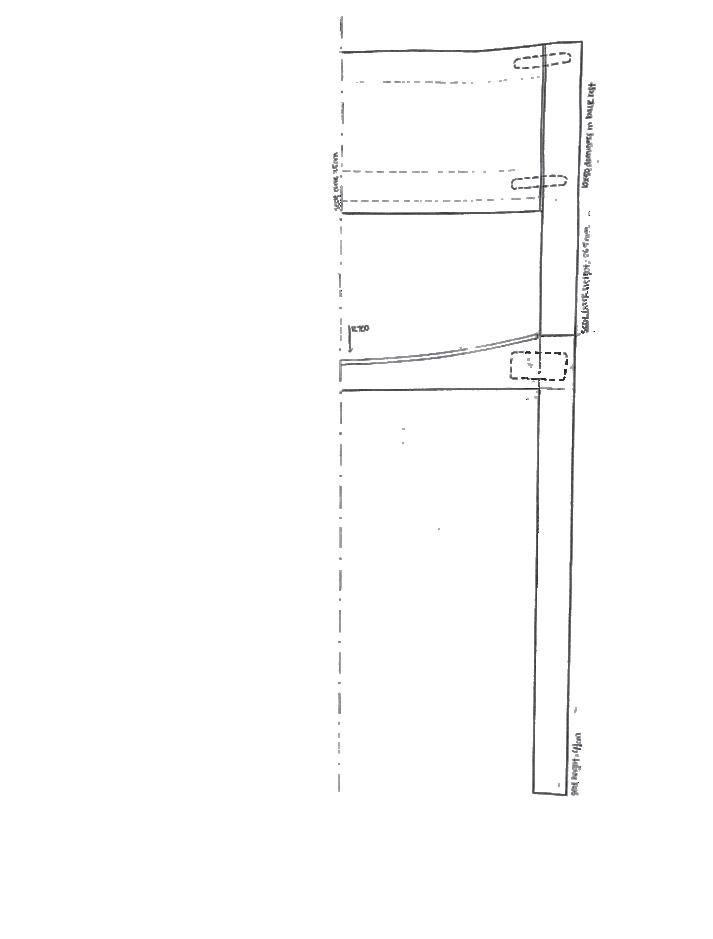
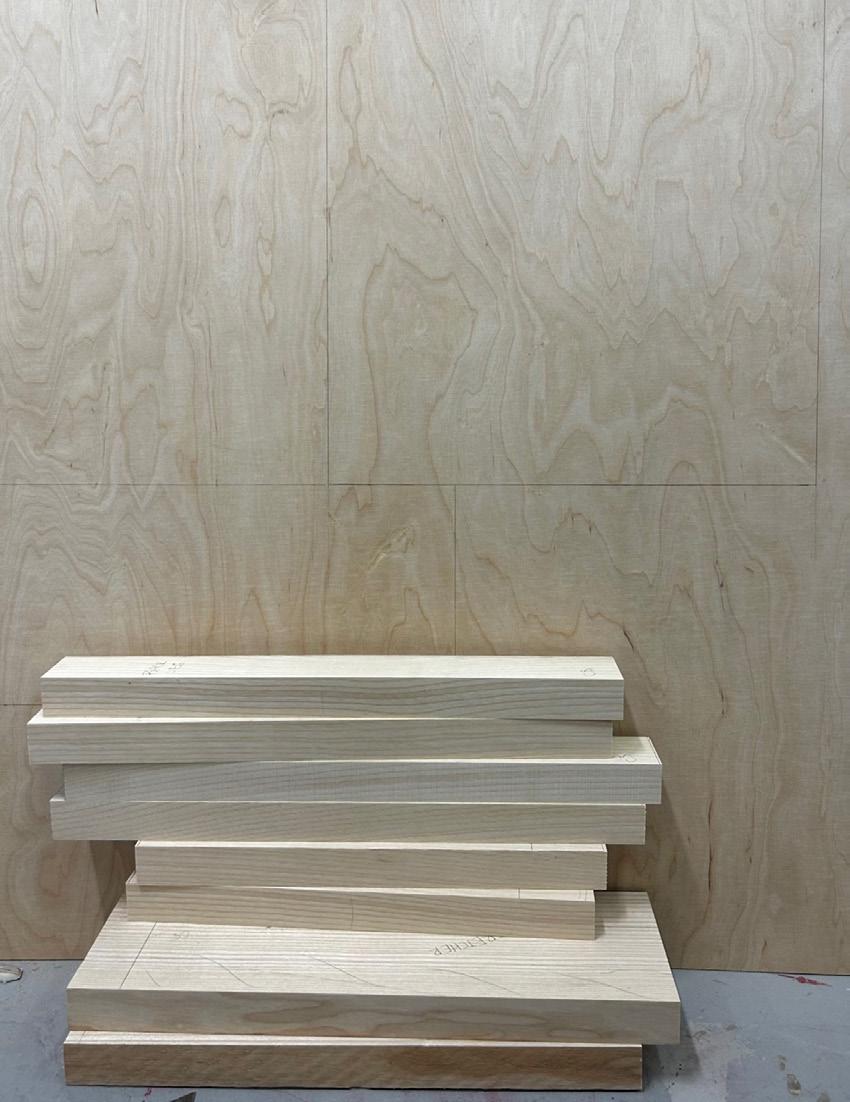
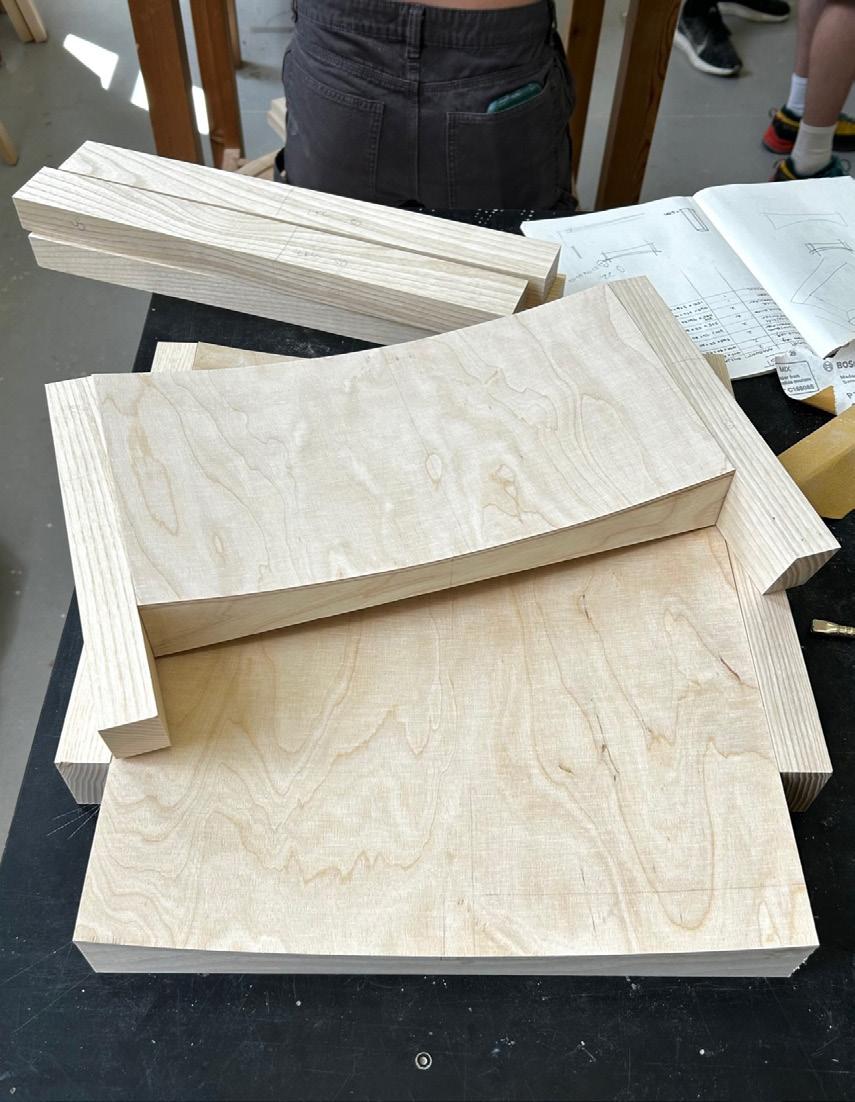
The woodshop process started with a focused orientation, after which we quickly moved into building. I selected two large pieces of ash wood and plywood, sketched out the rough dimensions onto the wood, and then used the table saw and band saw to make the initial cuts. Finally, I refined the width and depth to exact measurements with the jointer and planer.
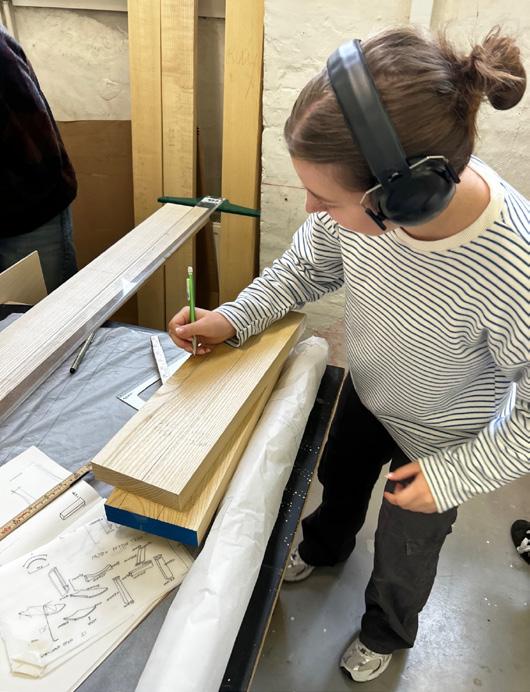
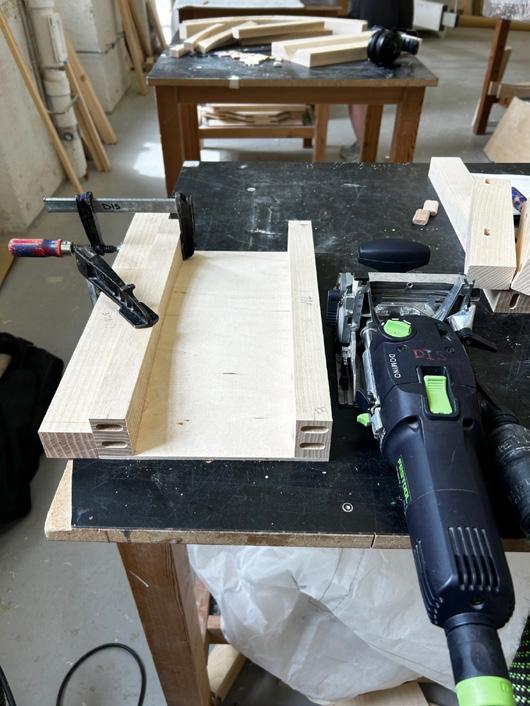
After refining the rough cuts to their final dimensions, I began the process of gluing and cutting domino holes to securely join the pieces. This stage was tedious and time-consuming, requiring us to defer from traditional methods to achieve perfectly flush edges and surfaces. Determining the assembly sequence was challenging but essential for seamless transitions, allowing the design to stand out with its clean, precise craftsmanship.
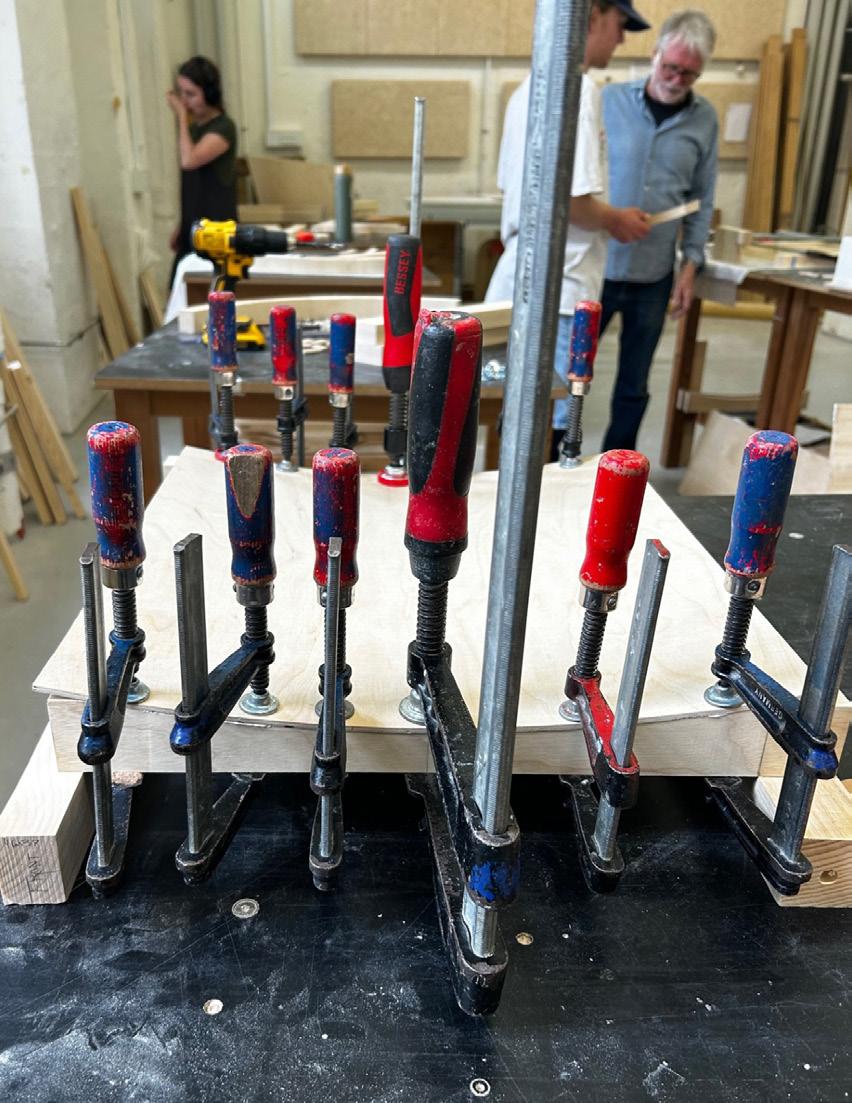
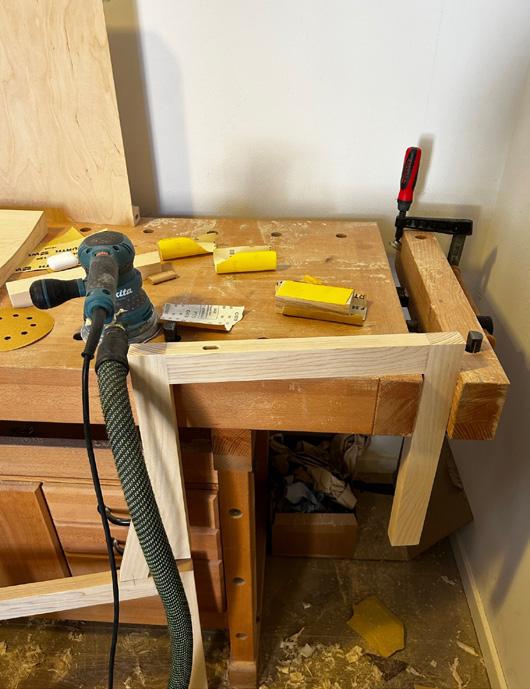
The finishing steps were arguably the most crucial, as they bring the chair to its final form. After several days of sanding, I sealed the wood with a soap finish, which complemented the light grain of the ash and the meticulously sanded surface beautifully.
final chair + presentation
chair

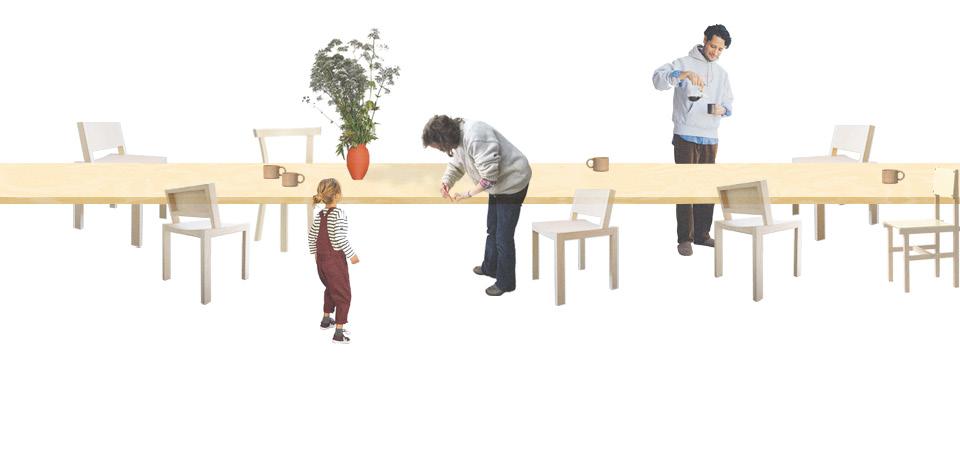
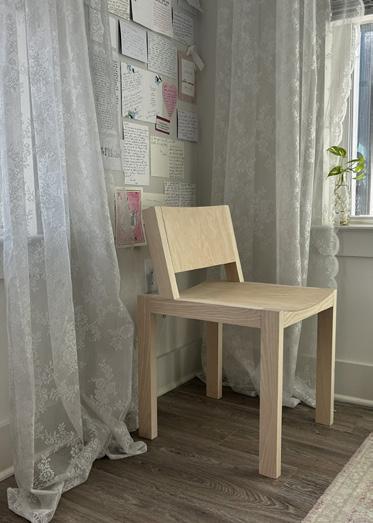
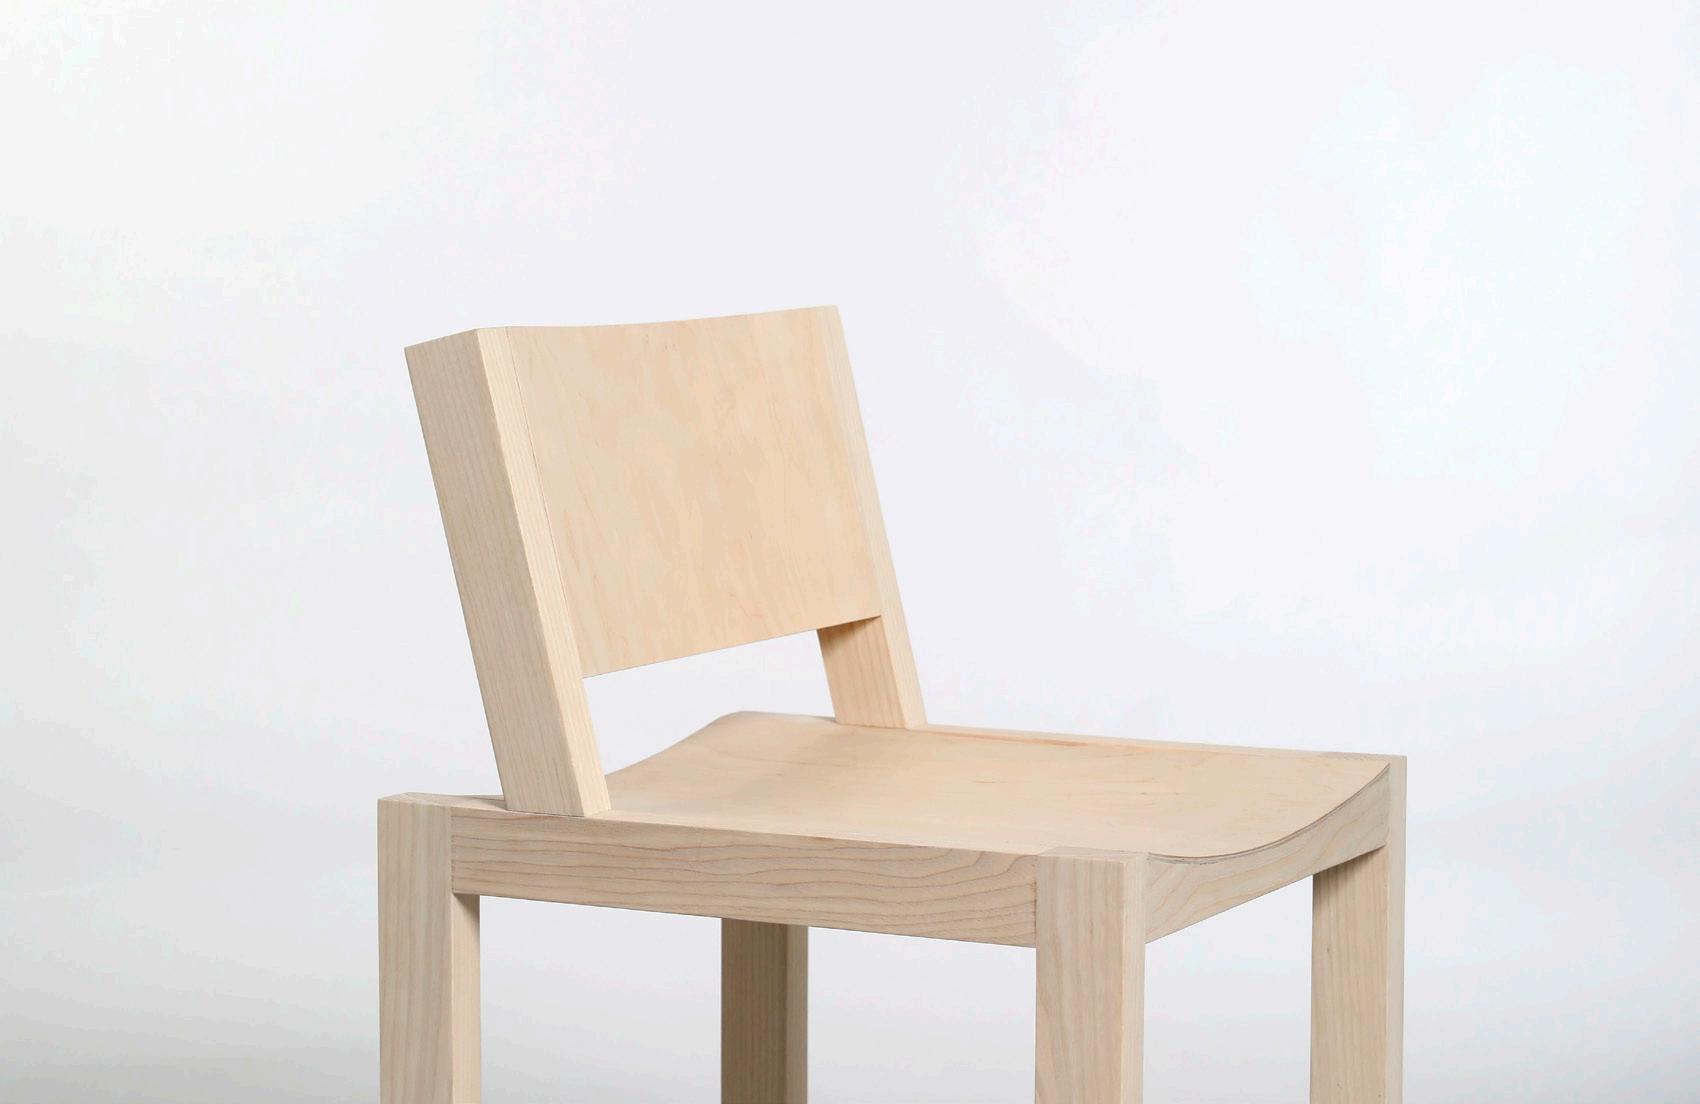
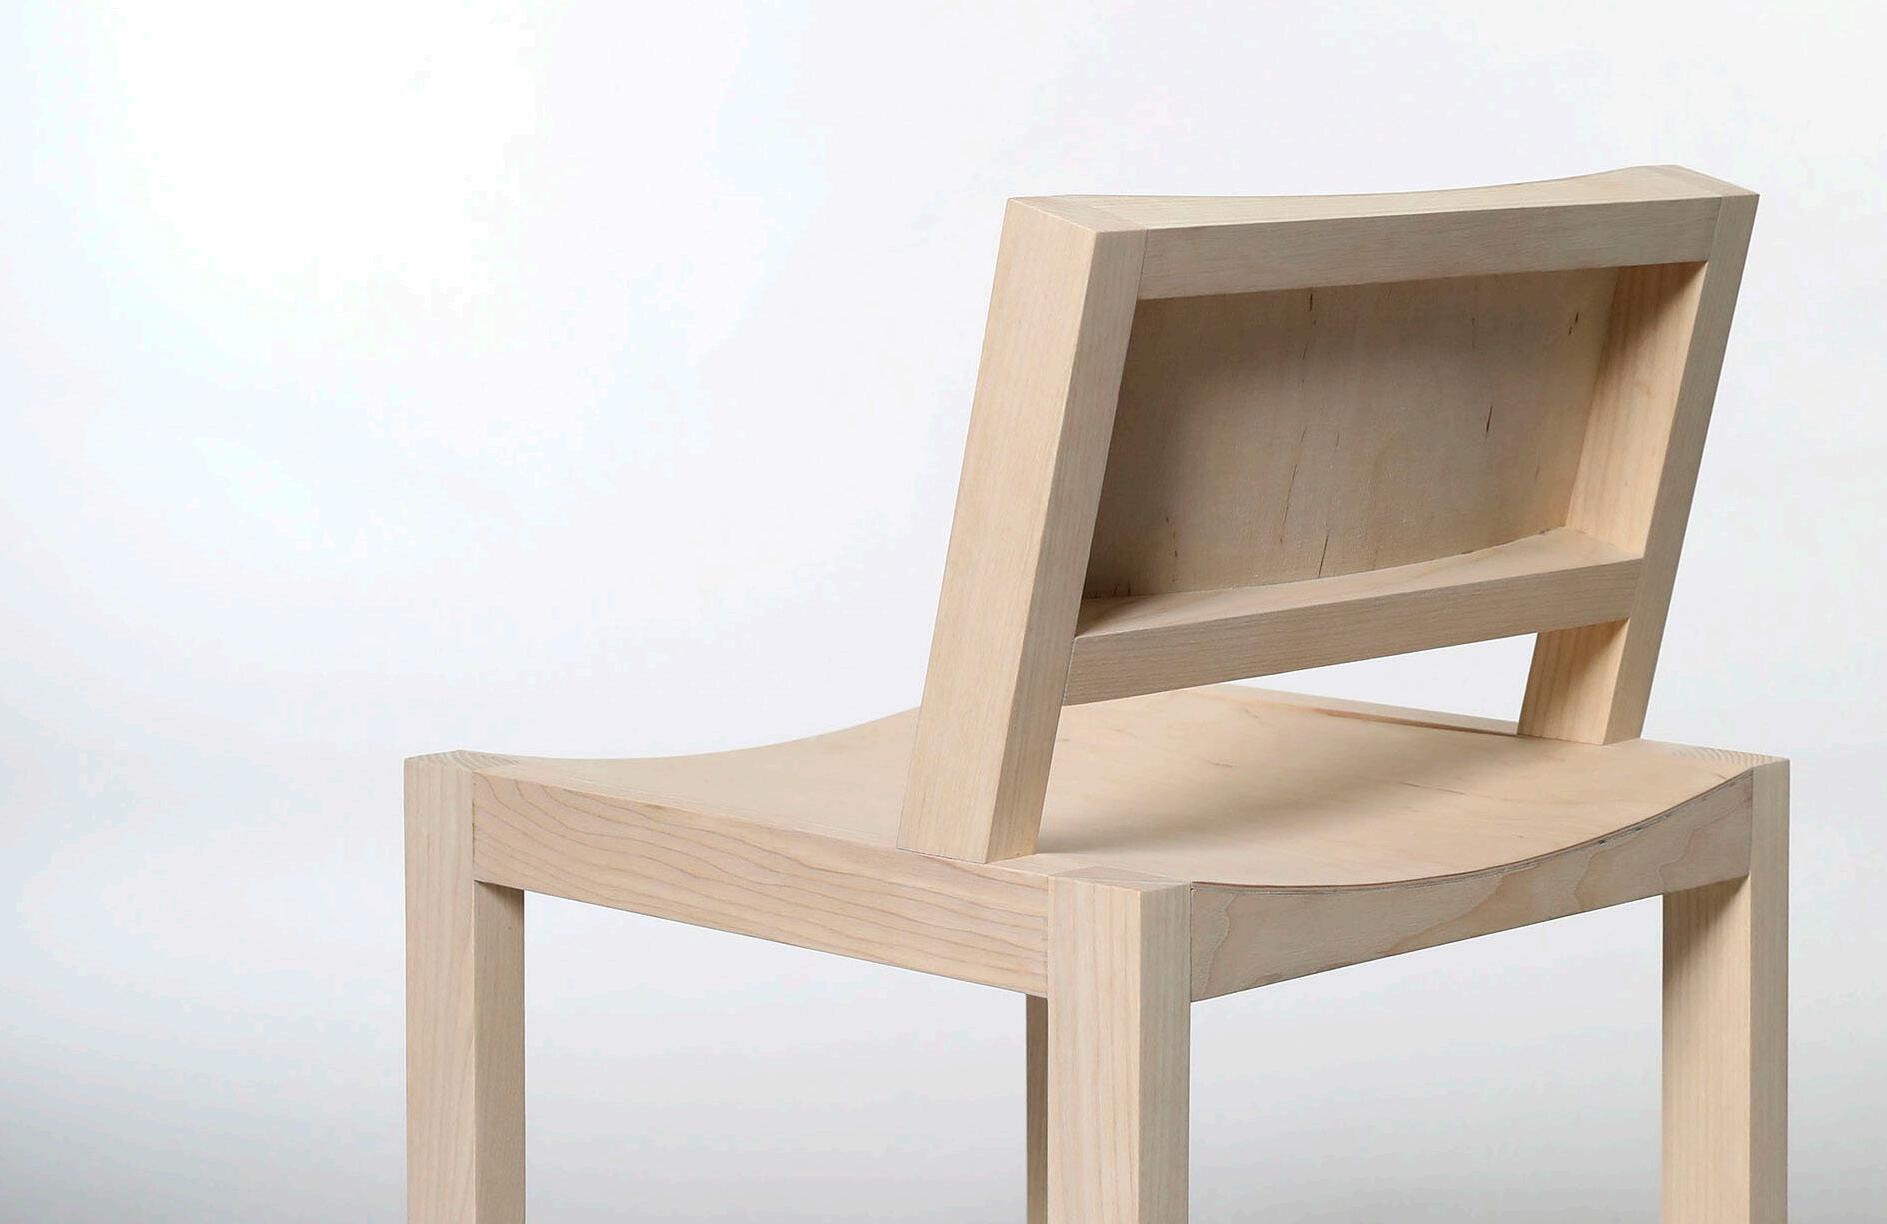
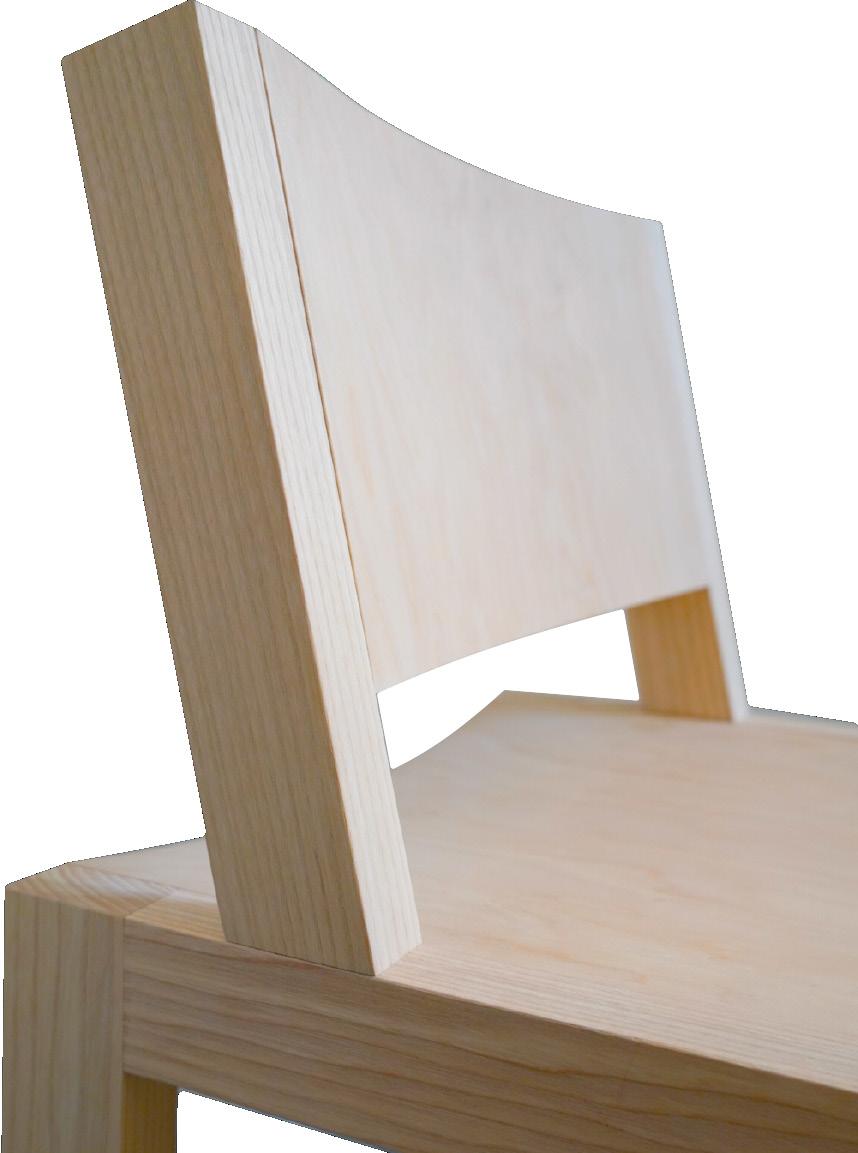
the “hej” chair is a stylish and unique piece crafted for social settings. Its sleek lines and clean curves not only enhance any space but also invite conversation and interaction with its classy design. Perfect for creating dynamic and eye-catching environments.
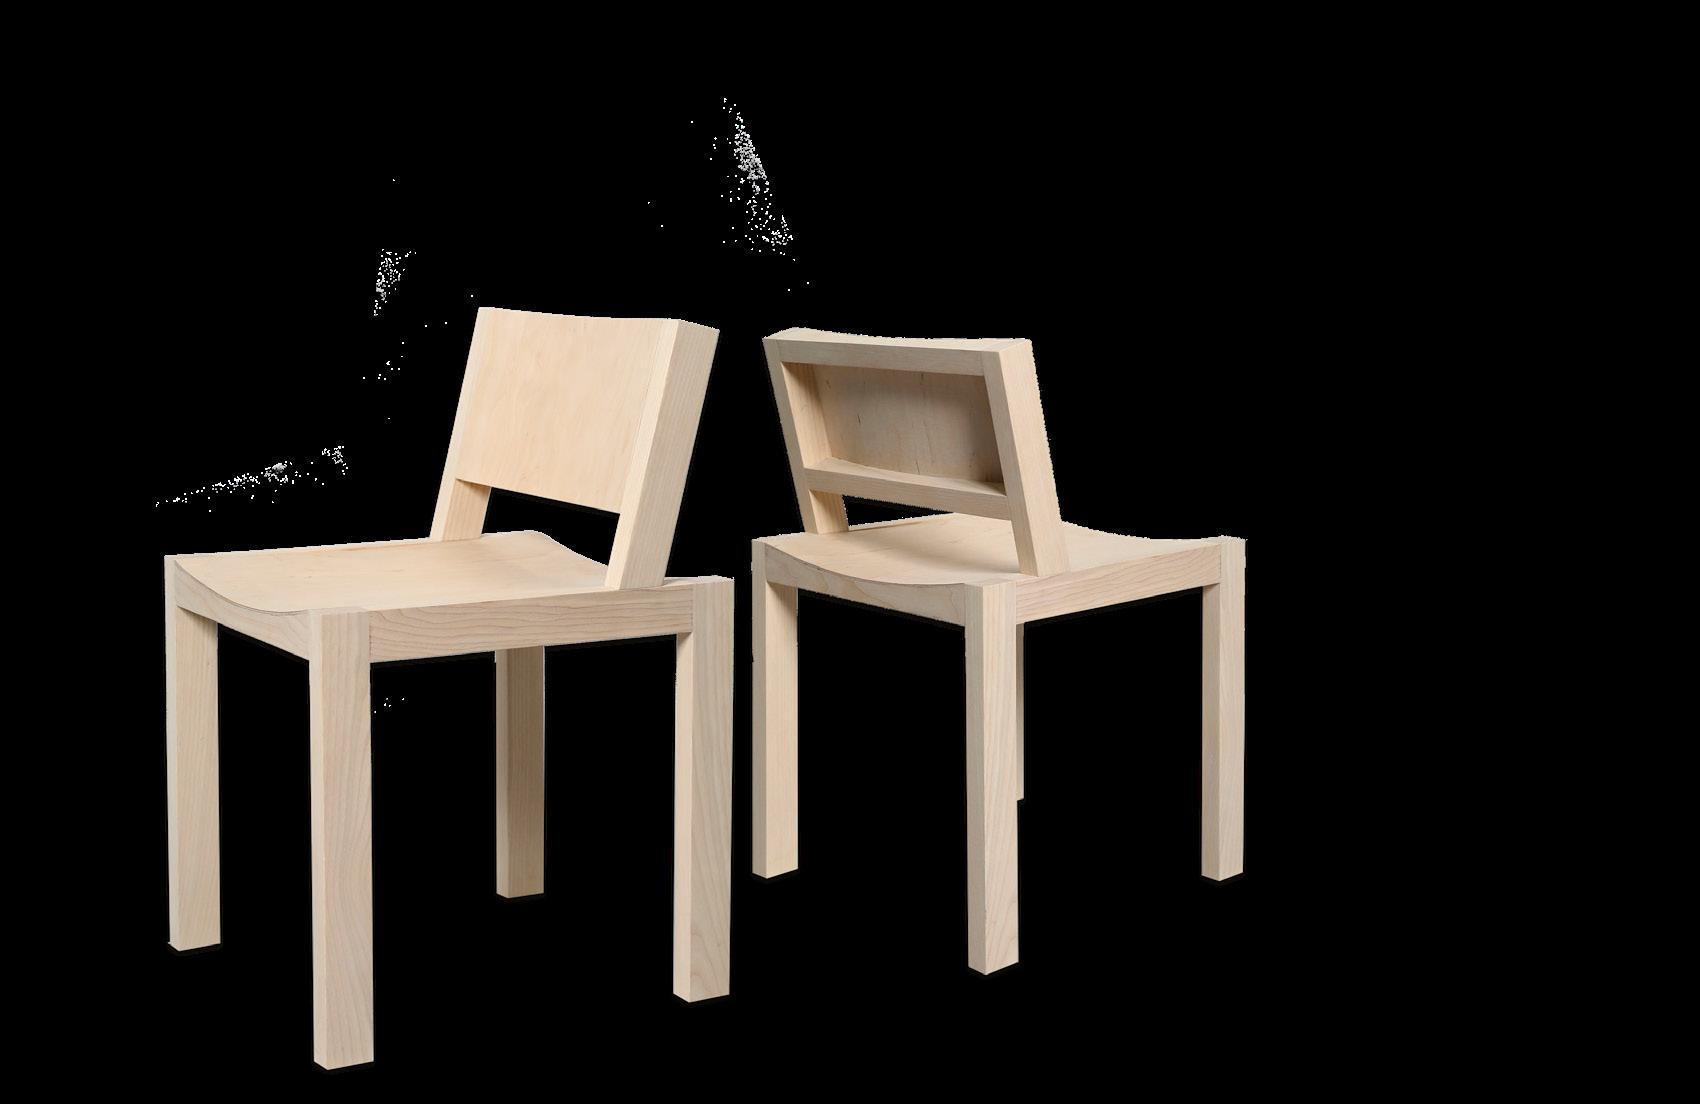
The diagram displays the composition of the frames and joinery that come together to form the complete chair.
thank you.
cds045@uark.edu
