First time traveler guide


Required documents
Research your host country
Booking your flight
Packing
Navigating the airport
Arriving at your destination


Required documents
Research your host country
Booking your flight
Packing
Navigating the airport
Arriving at your destination
From travel tips to navigating the airport, this guide will help get you acquainted with travel and take away some of the unknown. Our goal is to make you feel a bit more prepared as you get ready for your time abroad –so let’s make it happen!
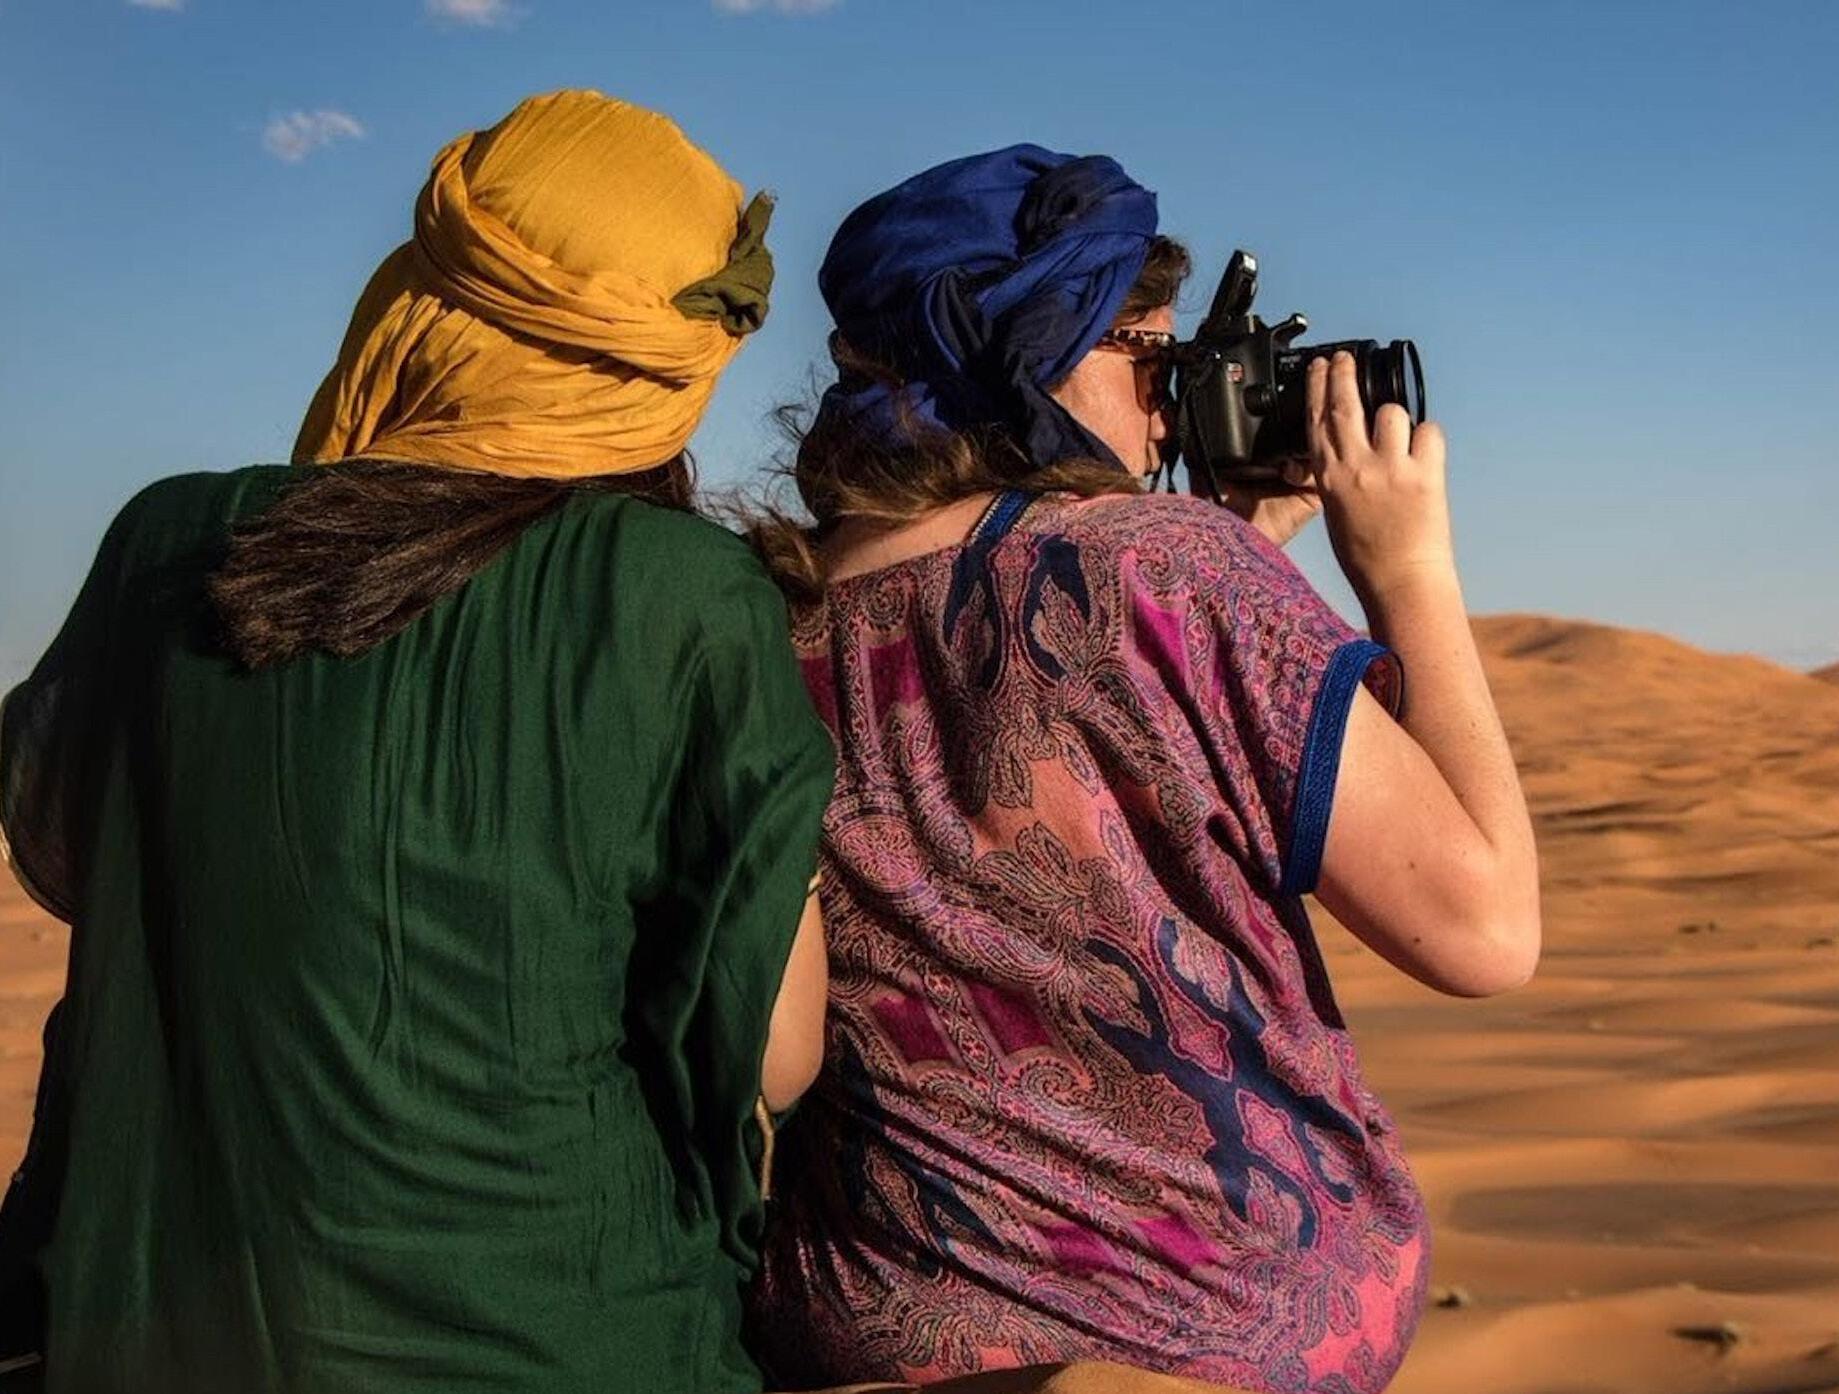
Not sure where to start? Everything below is included in every program, so you will never have to sweat the details.
To apply for or renew a U.S. passport, follow the steps outlined by the U.S. Department of State. We recommend applying for a passport at least 3 months before you plan to study abroad, but earlier is better. Check current processing times here.
Note: Most countries require your passport to be valid for at least 6 months after your study abroad program ends, so check your expiration date and renew if necessary.
• If you need to apply in person, you will go to a passport acceptance facility. You can look up local passport acceptance facilities here.
• Passport Fee information and a fee calculator.
• Passport photos must meet certain requirements. You may be able to find discount coupons for photos at your local Walgreens or CVS.
• Make sure to sign your passport and keep it safe when at home and traveling. Make copies to bring with you and give to a trusted person at home in case you lose yours while traveling.
A visa is an additional piece of documentation needed by some countries to enter as a tourist or to take part in a study abroad program. Visas are issued by the host country you will be residing in during your program.
If your program requires a visa, your student portal will have the necessary documents needed to complete the required information. Ask your Program Manager if you have additional questions. Not all programs require a visa.

Your Program Manager will guide you through requirements for entering the country like visas, required vaccinations, and medications. In the time leading up to your trip, do a bit of research on your own to prepare for your host country’s customs, such as:
• What is the country’s main language? Is English widely spoken?
• What is the local currency?
• What is the primary method of payment – cash, card, or payment app?
• Can I drink the tap water?
• What is local food like? Are there options for my dietary requirements?
• What are some of the “must do” experiences?
• What kind of social opportunities exist to meet with local residents and other students?
• What is the weather going to be like when I’m there? What do local people wear?


It’s a good idea to learn a few key phrases in the local language as you navigate your new host community, especially if you aren’t participating in a language course while abroad. Google Translate can be a helpful tool, especially since you can download to use it offline, although sometimes the translations it provides are a little clunky. Consider downloading or purchasing a local language dictionary to keep with you!
If you have any allergies or medical concerns, you’ll want to be sure to to know how to describe your condition(s) and ask for help in case of emergencies.
Quick tip: Make a card with your specific allergies and/or conditions listed in the local language(s) to ensure you aren’t misunderstood when ordering food or receiving medical attention.
Note: If you will need any special accommodations during your time abroad, please contact accessibilityteam@WorldStrides.com as early as possible.
Hello • Goodbye • Please • Thank you
• Excuse me • Sorry • Do you speak English?
Yes • No • I don’t understand • I need help
Your on-site program team will explain how to navigate local transportation like buses, light rail, metros, and subways once you arrive in country. If you are interested in doing some research on your own, take these questions into consideration:
• What kind of public transportation is available and which stations will I use most often?
• When looking at the transport map, which stop(s) are closest to where I need to go most often?
• What is the fare? Do I pay each time I get on or can I purchase a multi-pass? How do I pay for my fare?
• Is the fare electronic (i.e., on your phone) or is it a paper ticket? Do I need to validate my fare before or after riding?


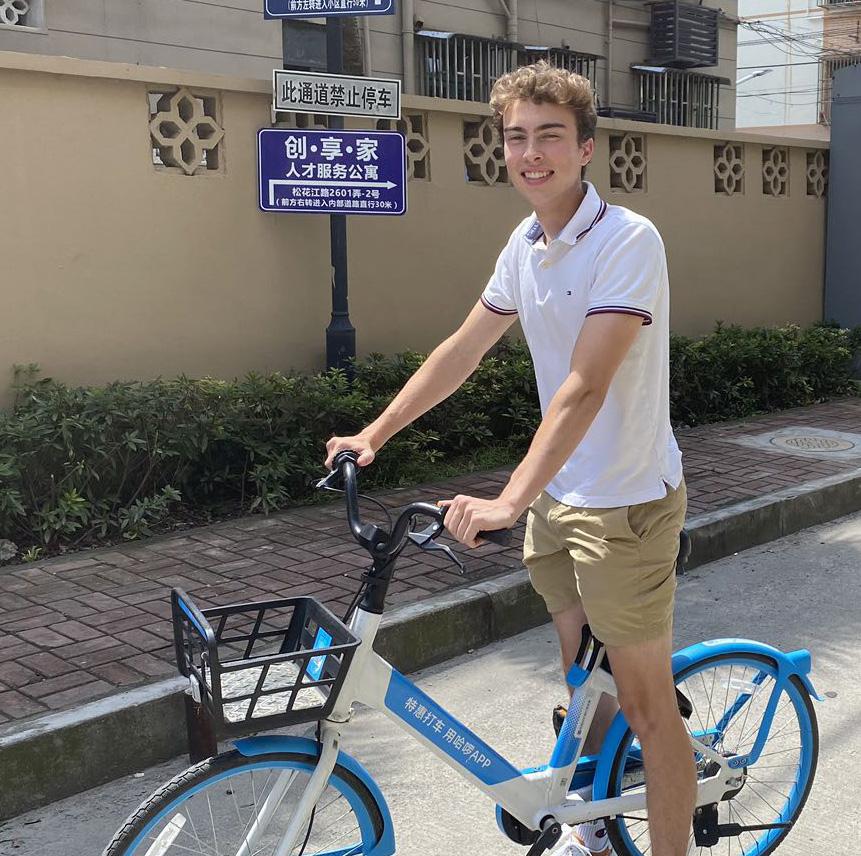
While you’re off on your adventure, you may have family and friends back home who are eager to hear from you. It’s important to set expectations and set a plan with them before you go abroad.
Some questions to consider:
• How will I stay in touch and how often?
• In case of an emergency, at home or abroad, what is the communication plan?
• Will I share my GPS location with anyone back home?
• Is there a specific app everyone needs to download to communicate (e.g., WhatsApp)?
• Will I be able to use my phone with data/calling, or will I only be accessible when on Wi-Fi?
Your Program Manager will send you information when it is time to start booking flights. This will include information about airports, ideal flight times, and how to book.
Quick tip: Third-party websites like Google Flights are great for information gathering, but booking directly through the airline makes it easier to make changes if your flight is canceled or delayed.
Duration: Length of flight from takeoff to landing.
Nonstop: A direct flight from your original airport to your final destination.
Layover: A stop between flights at a different airport. Often, you will need to change planes at the connecting airport, so ask a flight attendant or gate agent if you need help finding your new gate.
Airline: An organization that provides air transport services for traveling passengers.
For example, American Airlines, United Airlines, etc.
Terminal: A building within the airport where passengers depart on a flight or arrive upon landing.
If you’re changing time zones, it can be a good idea to start preparing your body a few days before you depart. You can shift mealtimes and when you go to sleep to align more closely with your destination, using an app like Time Shifter to calculate the difference.
It’s never fun to think about your luggage being delayed, but it is a possibility any time you travel and check a bag. While this is somewhat unlikely, we recommend that you bring all important documents, medications, and a change of clothes in your carry-on in case your checked bag is delayed.
• Roll your clothes to save space and pack light.
• Pack chargers for your phone, laptop, etc., as well as outlet adapters if needed in your host country. Be sure to charge your phone before travel.
• Take pictures of your luggage in case it doesn’t arrive at your destination when you do.
• Refer to TSA’s website for rules about checked and carry-on luggage
• Dress in layers on the plane to prepare for all temperatures.
• Start planning how you’re going to spend your time inflight. Some airlines have their own apps for in-flight entertainment, which you need to download before your plane takes off.
• Use luggage tags. You should always put luggage tags on both your checked and carry-on bags.
• Choose your carry-on and/or personal item wisely. It can be helpful to choose one that you can also use for weekend travel while you’re abroad, like a backpack.



Quick tip: Elevators may not be as accessible in other countries and you may have to carry your luggage up flights of stairs or across cobblestone paths.
When you arrive at the airport, you’ll want to find the check-in kiosks that correspond with your airline to print your boarding pass and check your bag. There is always an airline agent available in case you need assistance.
• You will likely be able to check-in online 24 hours before your flight. You may still be required to present your ID/passport to an airline agent at the check-in desk or gate.
• If a checked bag is not included with your ticket, it is often cheaper to pre-pay the checked bag fee online prior to your travel day.
• Add your boarding pass to your digital wallet or print out your boarding pass in case you don’t have service at the boarding gate or your phone dies.
The Transportation Security Administration (TSA) is the airport security agency in the U.S. Regulations and processes may be different in other countries, so keep this in mind when traveling abroad.
• You will need your boarding pass and ID/passport to enter the screening area. Take them out of your bag before you get in line and be sure to secure these items back in your bag after they’ve been reviewed.
• Expect to be asked to remove all electronics and bagged liquids from your carry-on and personal items. You may be asked to remove your shoes, belt, jacket, or other items that may hinder the screening process.

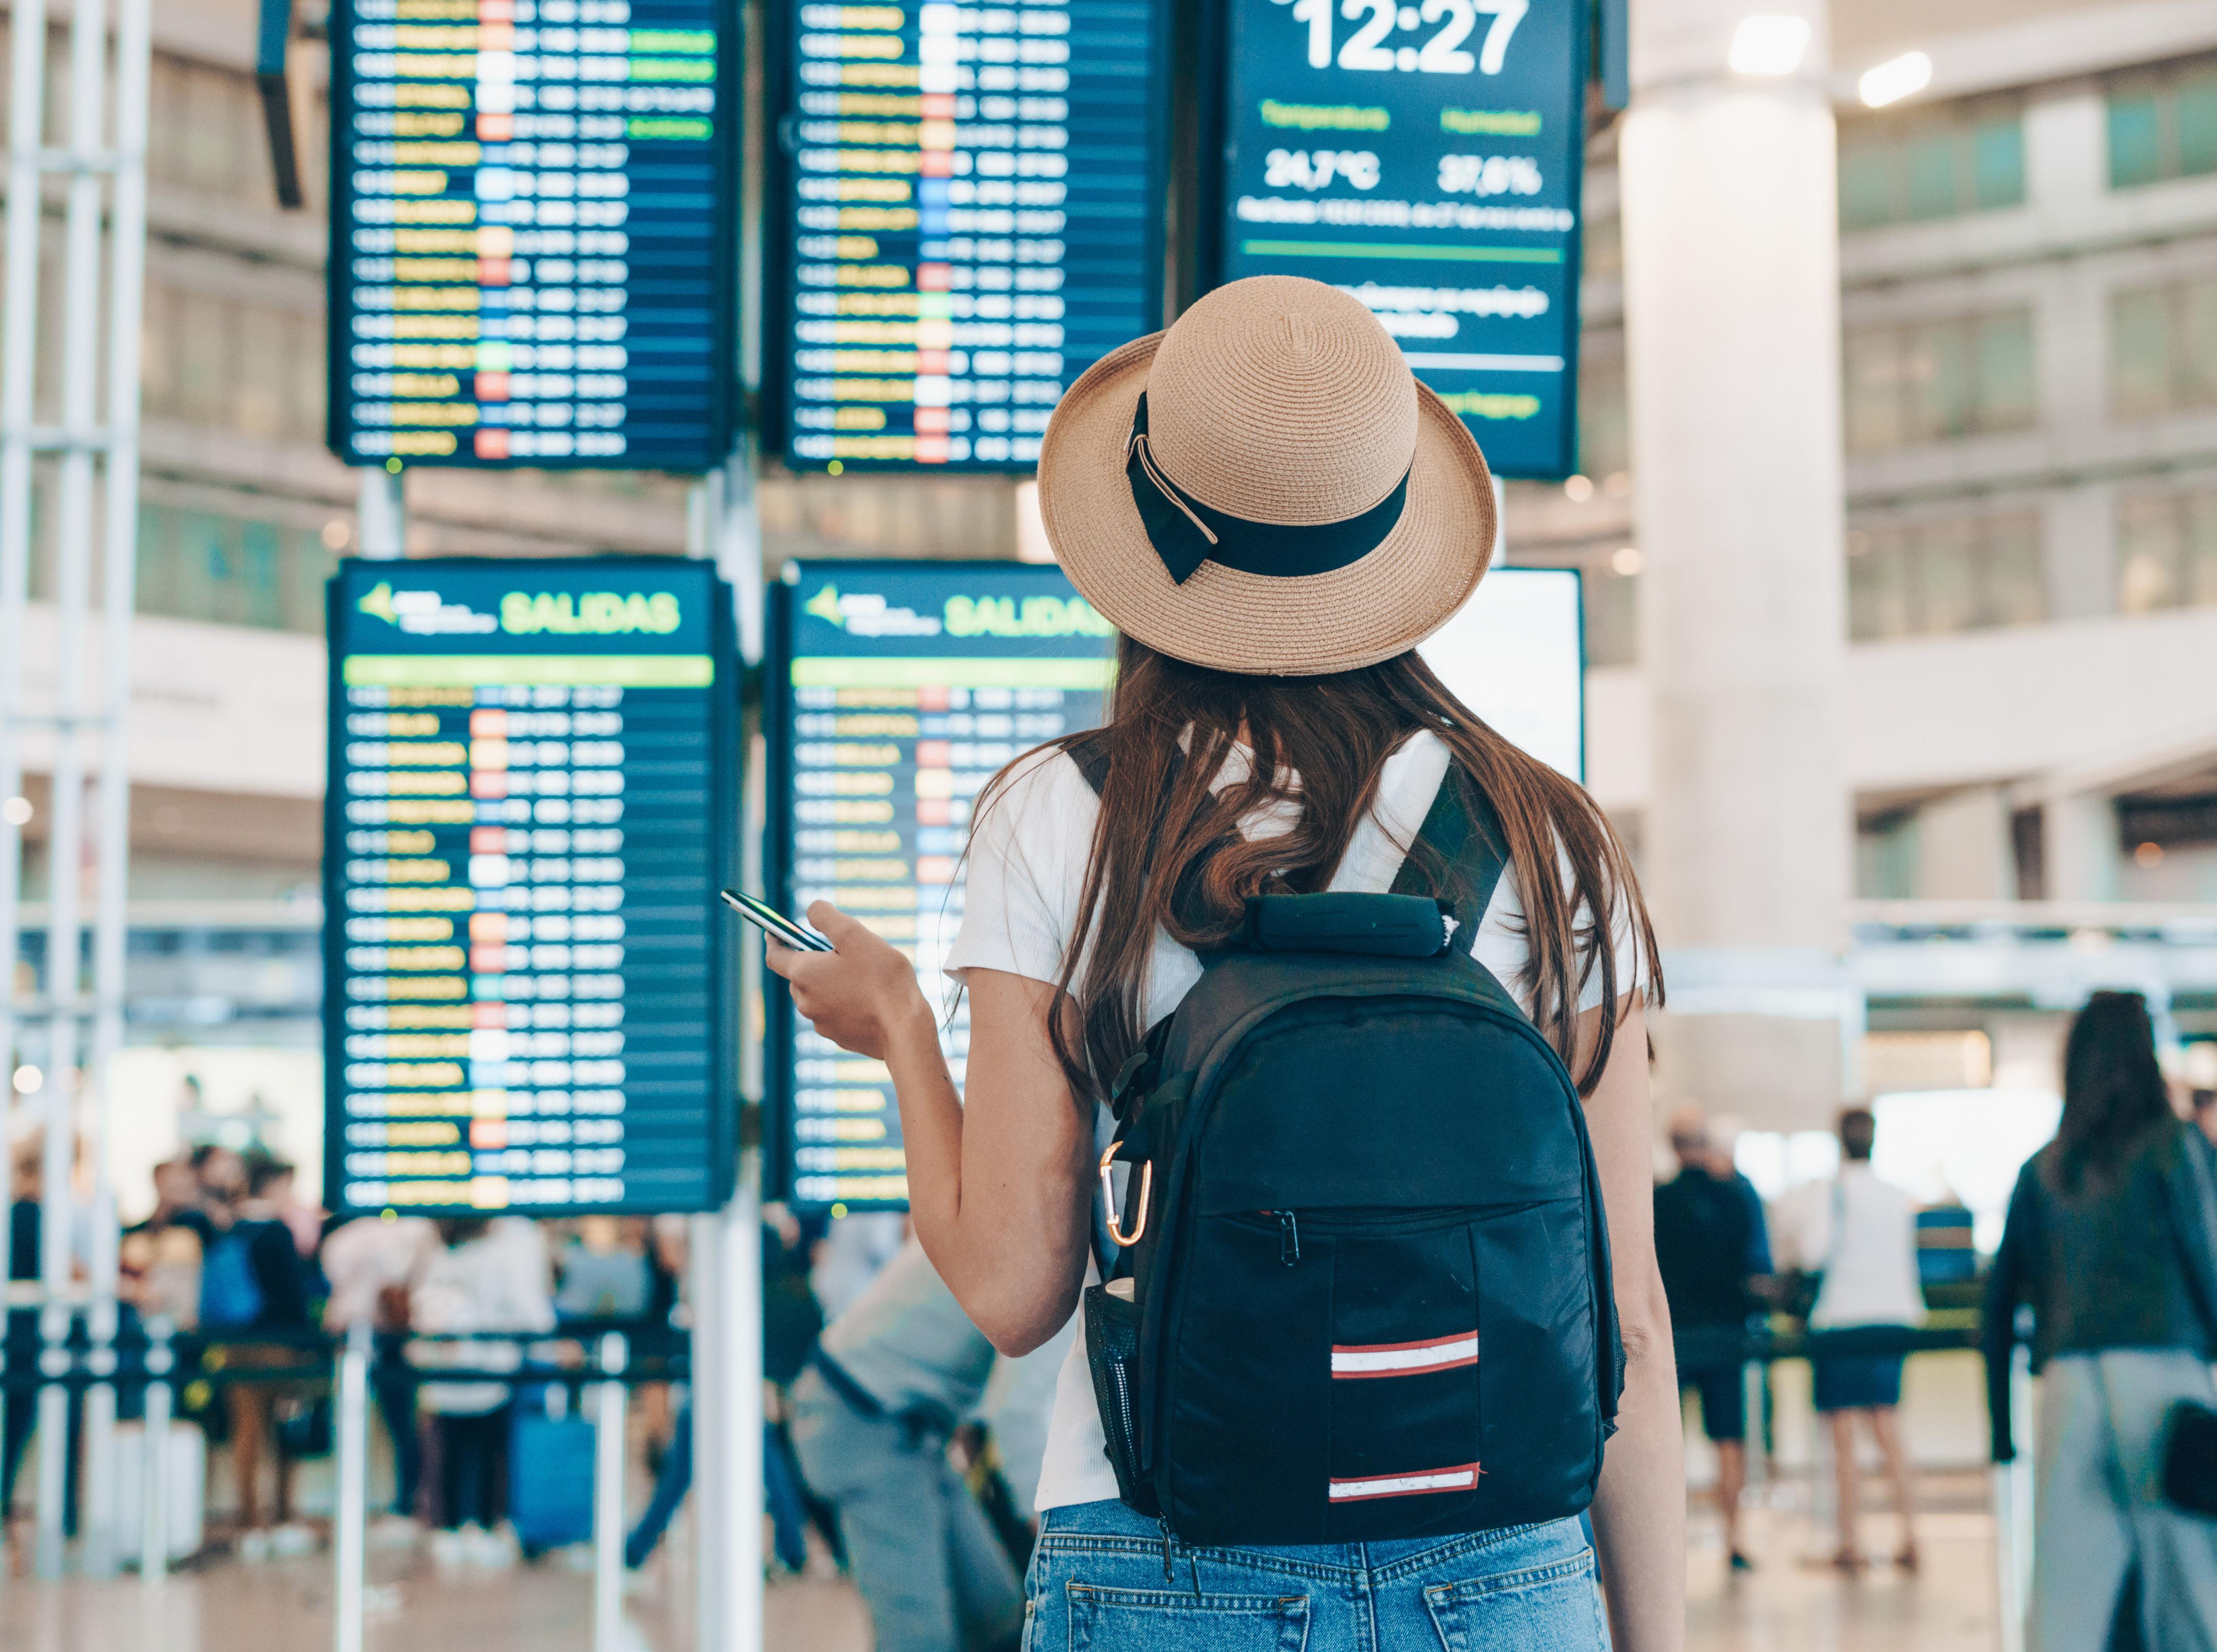
After passing through security, you can proceed to your departure gate. Your gate number isn’t always printed on your ticket, so check the monitors posted throughout the terminal.
Quick tip: Even though your gate is listed on your boarding pass, your gate can change before departure. Keep an eye on the monitors and listen for gate change announcements on the PA system.
Boarding can begin up to an hour before an international flight is scheduled to depart. Doors typically close 20-30 minutes before departure, so make sure you’re at your gate on time!
Space Use: Access armrests, seat backs, and under-seat space mindfully. Middle seat passengers should have priority for both middle armrests.
Restroom Timing: If the aisle passenger gets up, it’s a good time for you to stretch or use the restroom.
Cabin Lighting: Flight attendants may dim lights for sleep; be considerate with overhead lights if your neighbor is resting.
In case of flight delays or cancellations, visit the ticketing counter at your gate or the airline’s customer service desk for assistance.
If you are delayed in your arrival to your host city, be sure to follow the instructions given to you in your Arrival Guide from your Program Manager.
Reclining Seats: Ask the person behind you before reclining and avoid reclining during meals.
Movement: You can walk around periodically during long flights, so long as the “fasten seatbelt” light is off.
Hydration & Snacks: The air on a plane can be very dry. Be sure to fill up your water bottle in the terminal before boarding and pack extra snacks.
Flight Rules: Listen to flight attendants and pilot announcements carefully and follow all stated and written directions.
After you exit the plane, you’ll proceed through customs, immigration, and baggage claim.
Quick tip: After getting off the plane, stop by the restroom first as there may be a wait for your luggage or a long line at customs and immigration.
When you enter a new country, you will likely have to go through passport control. Be prepared to answer questions about your reason for traveling and where you’re staying.
Quick tip: Have your program acceptance letter and the address of your accommodation handy.
Officials check items travelers bring into a country. Declaration of certain items (like alcohol or produce) is required. Review prohibited items before traveling. If you have nothing to declare, you might not need to stop at customs.
Quick tip: Check U.S. Customs and Border Protection for prohibited items before returning with gifts or souvenirs.
Locate the carousel for your flight and verify that your luggage tags match. If your luggage is missing, report to an airline agent for assistance and inquire about potential reimbursements for essentials.

Follow instructions given to you by your Program Manager to find your transportation from the airport to your accommodations. Make sure to print out your contact list so you can reach out to the on-site staff if needed. Our on-site team is available to help you as you adjust to your new home. They will provide tips and an orientation to your host city and country.