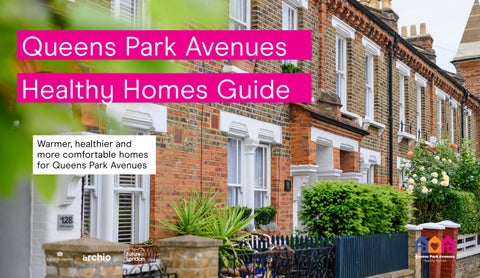
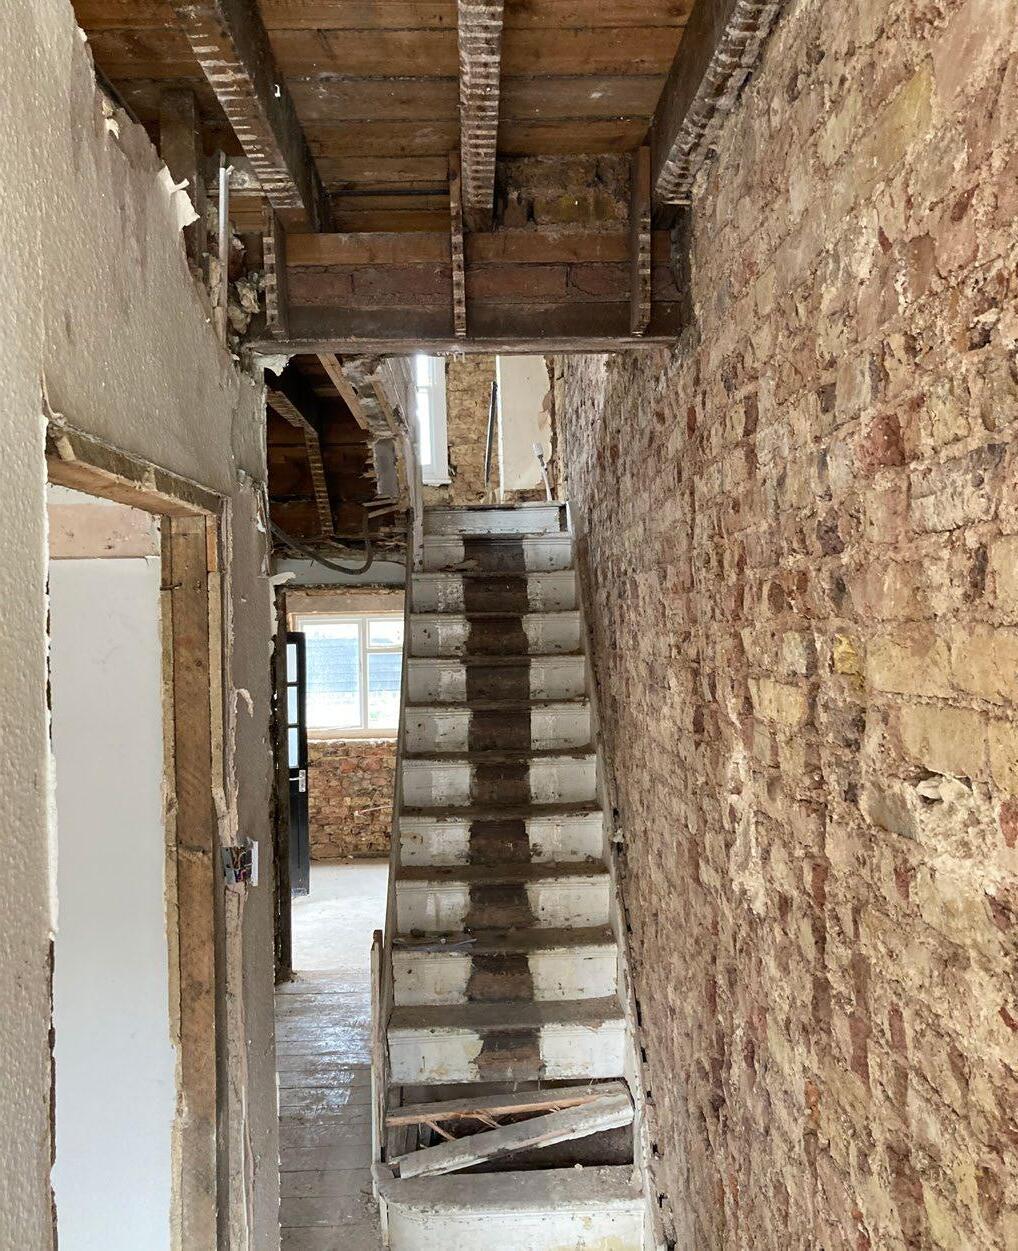
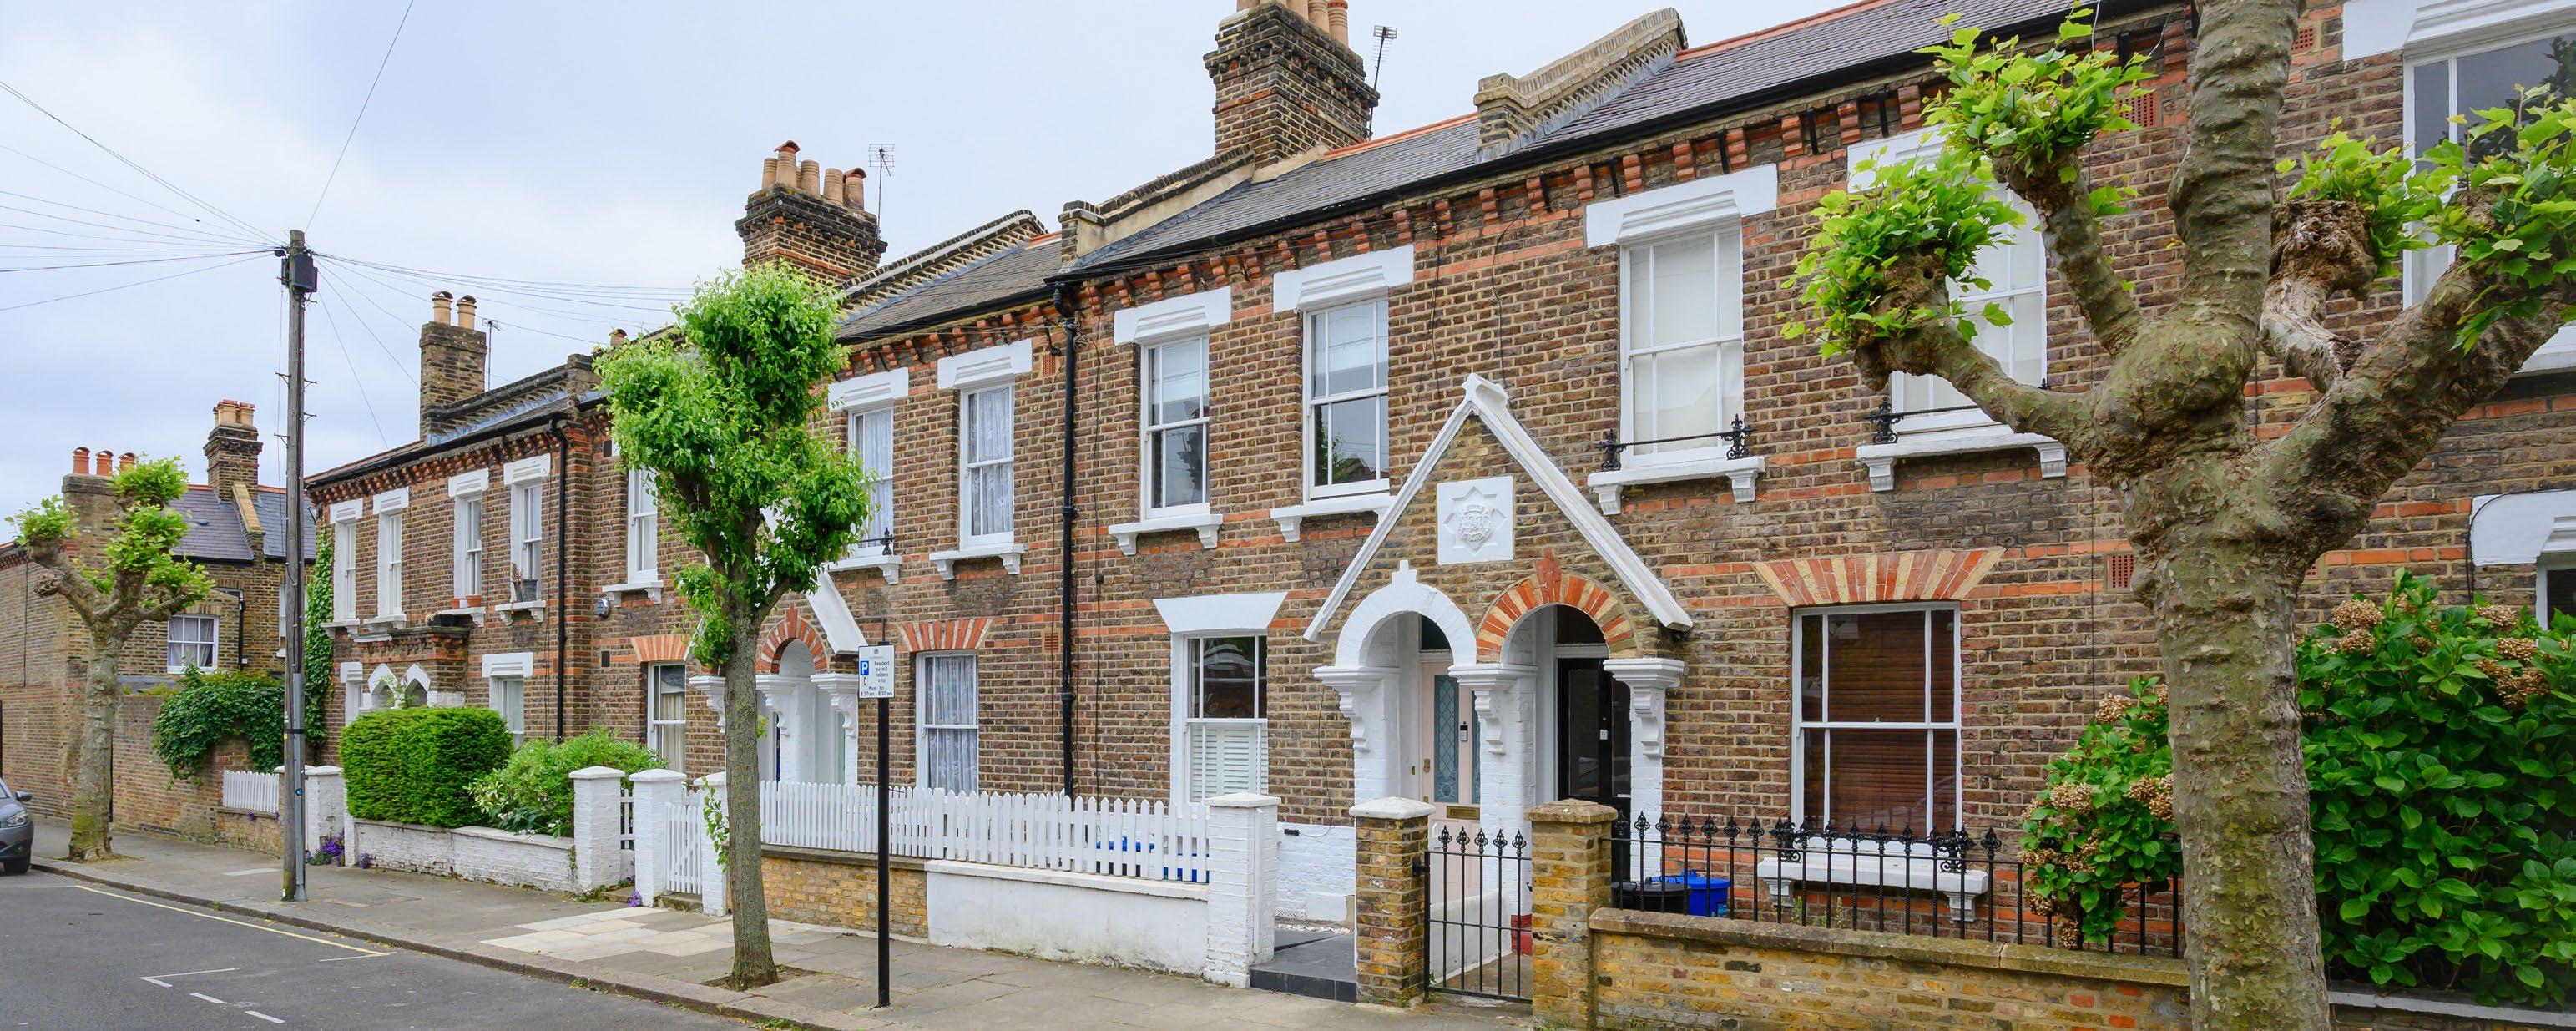
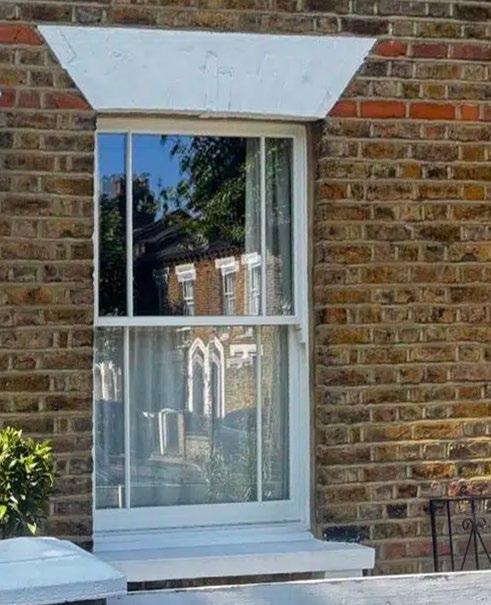
Warmer, healthier and more comfortable homes for Queens Park Avenues
Queens Park Avenues Healthy Homes
Foreword
The Queen’s Park Estate – or as we residents call it, ‘The Avenues’ is a unique place to live. Our community shares a love of the area and pride in the history and character of our homes.
About this Guide
The Healthy Homes Guide, is a practical roadmap to making our homes warmer, more comfortable to live in, and cheaper to run. It sets out real, achievable improvements for different types of properties, and shows how to put the guidance into practice.
Using new materials and technologies to upgrade our homes is called ‘Retrofitting’. The improvements throughout this guide suggest retrofit solutions that will improve Avenues homes. Some are big and transformative, others are small and ‘DIY’. All have been designed to make a tangible difference.
By following the steps in this guide, you can expect warmer, healthier homes free from damp and mould, and lower energy bills.
Made in The Avenues
This guide wasn’t just written for the community; it was written with us.
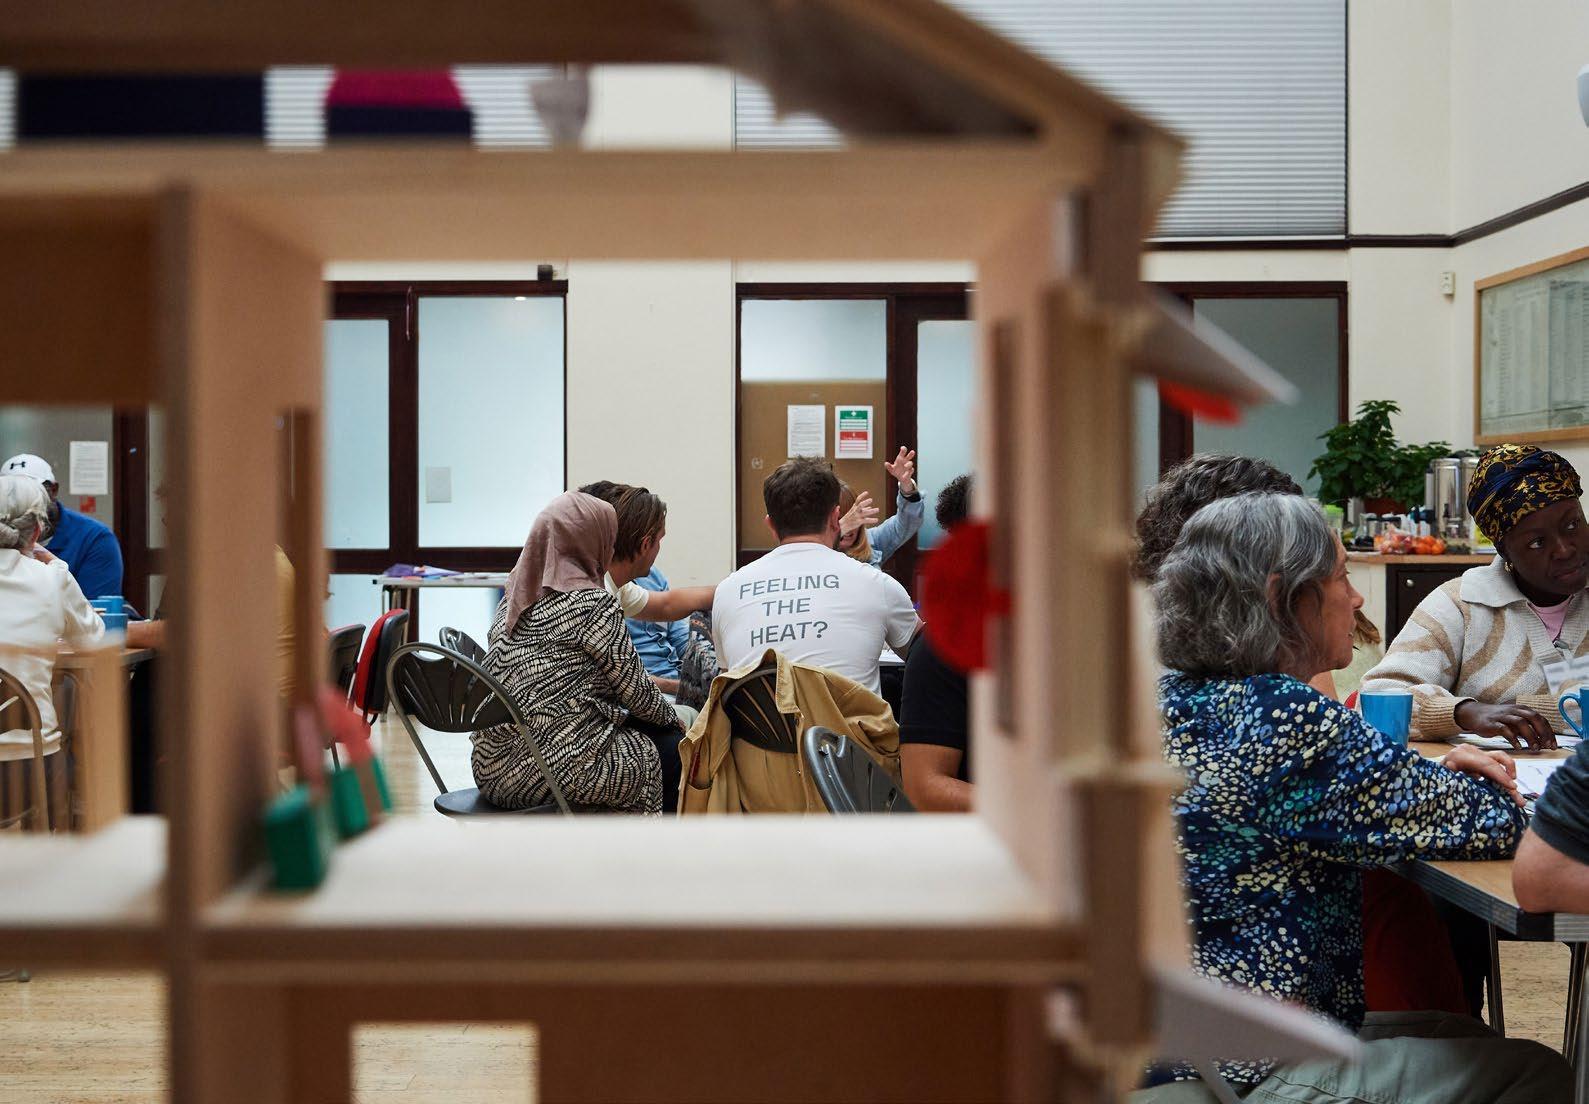
Over six months, twenty-four of us came together as The Queen’s Park Healthy Homes Forum, meeting regularly at the Beethoven Centre to share our experiences of living in The Avenues. We each applied to take part and were chosen by lottery, ensuring the group reflected the mix of people who call this place home.
Our journey starts NOW!
This Healthy Homes Guide is just the start. When residents, council, and community work as one, lasting and positive change is possible.
Now We Need You! Our Victorian cottages have already sheltered generations; with the right care and investment, they will shelter many more. We hope this guide is your first step in that journey.
The Queen’s Park Healthy Homes Forum
Between us, we represented the full range of residents: council tenants, housing association residents, private renters, and homeowners. Some have lived here for decades; others have moved here recently. We brought different ages, backgrounds, and life experiences to the tableand we were joined throughout by council officers, architects, and technical experts.
Having residents involved from the start meant we could address the real, specific challenges we face as custodians of these historic buildings. Having a mix of residents means that whether you own your home, rent from a private landlord, the council or a housing association you will find something in this guide that helps you to address the common issues of cold, damp, mould, noise and expensive bills that we all face as a community. The information in this guide reflects our conversations as part of The Healthy Homes Forum.
Find out more about the Healthy Homes Forum at www.westminster.gov.uk/healthy-homes/forum
How to use this guide
home
Discover how the design and history of your home shape many of the challenges Avenues residents face today.
Learn about different ways to improve your home, and the key decisions, trade-offs and considerations involved.
Find out what practical steps you can take to get the improvements you need and want.
How you use the advice in this guide will depend on your own circumstances, including your priorities, budget and whether your own or rent your home.
Chapter 3 provides examples showing how different households – including both renters and homeowners - might plan and carry out improvements to meet their varying needs.
Disclaimer: This guide should not be treated as legal or policy advice. Regulations change and can be complex. We recommend seeking advice from qualified professionals, especially when planning structural changes.
1. Understand your home
Discover how the design and history of your home shape many of the challenges Avenues residents face today.
History of the Avenues
The Queens Park Estate was built in the 1870s and 1880s by the Artizans’, Labourers’ & General Dwellings Company, a pioneering housing developer that aimed to provide healthy, affordable homes for working class families.
At a time when many working class Londoners lived in overcrowded and unsanitary conditions, the Queens Park Estate offered something radically different – terraces of two-storey cottages, each with its own private garden, laid out on wide tree-lined streets. The estate followed strict temperance principles, meaning no pubs were allowed, and its closed sanitary sewer system was considered by the parish to be “in every respect the best.”
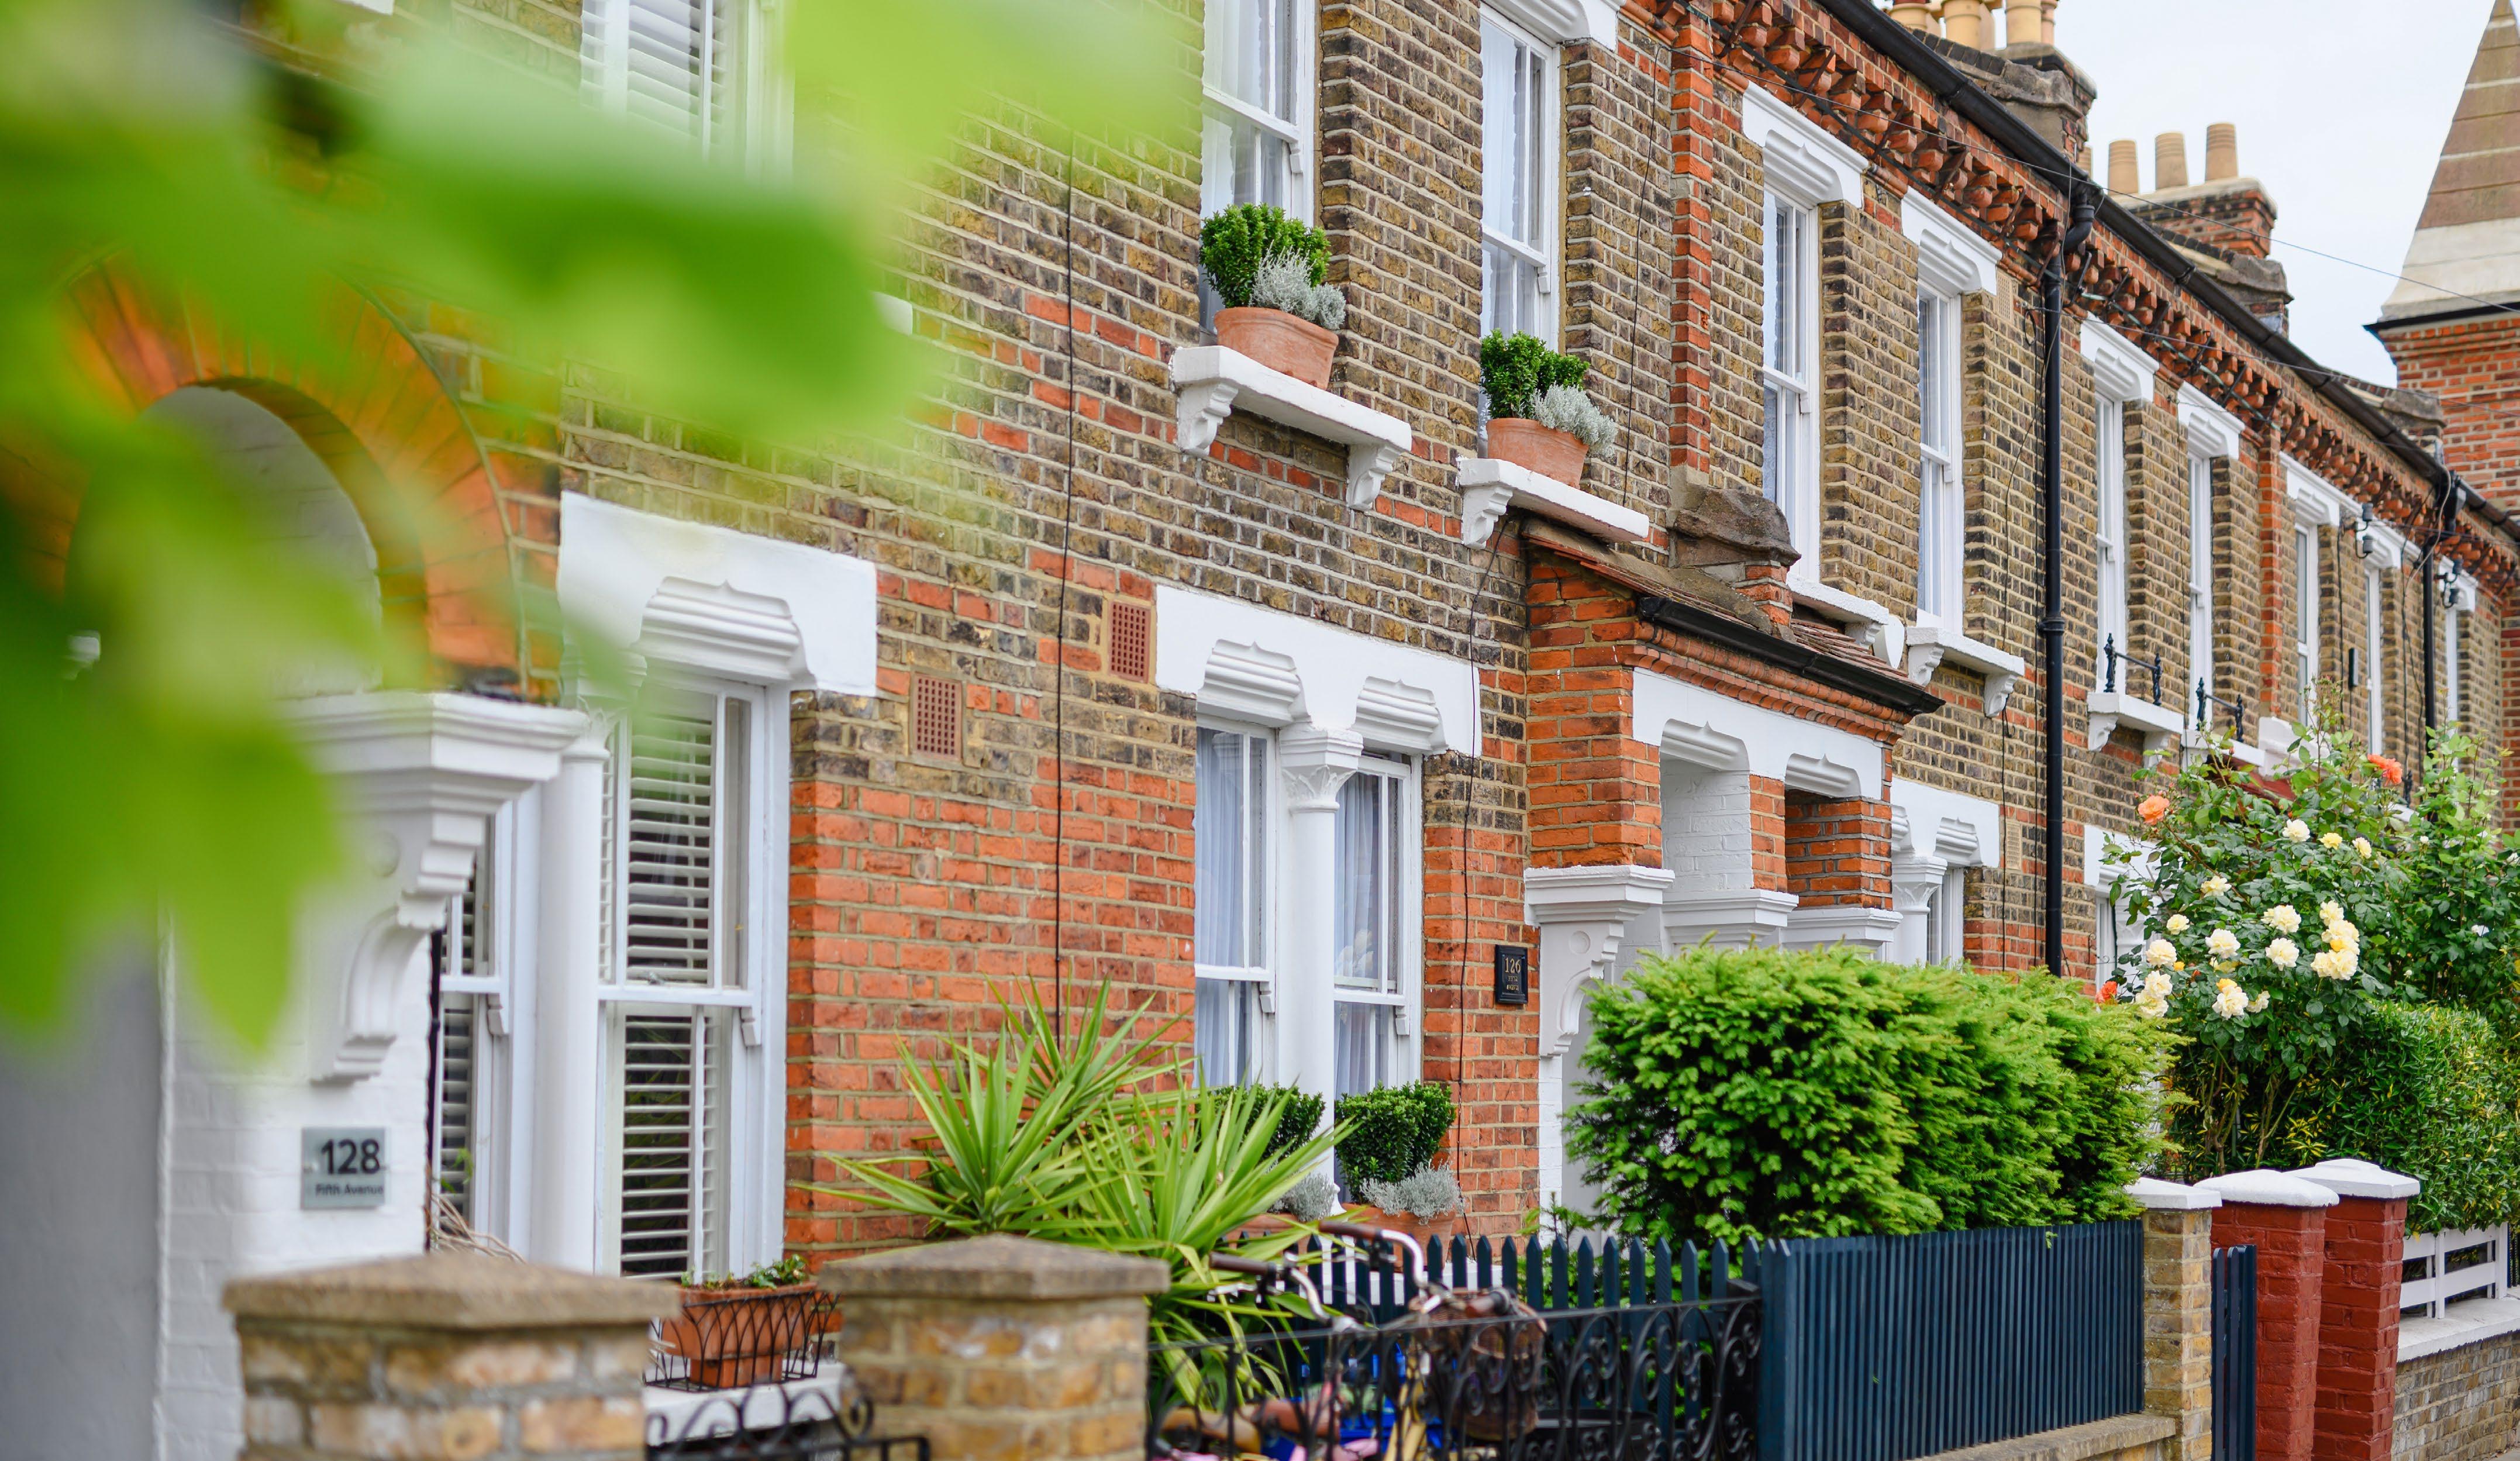
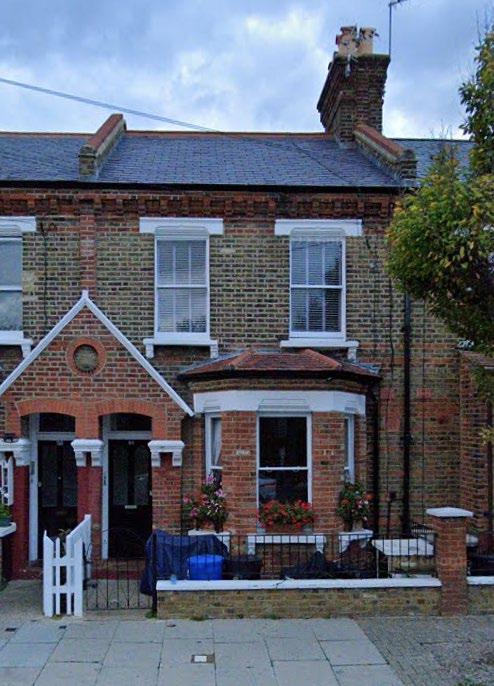
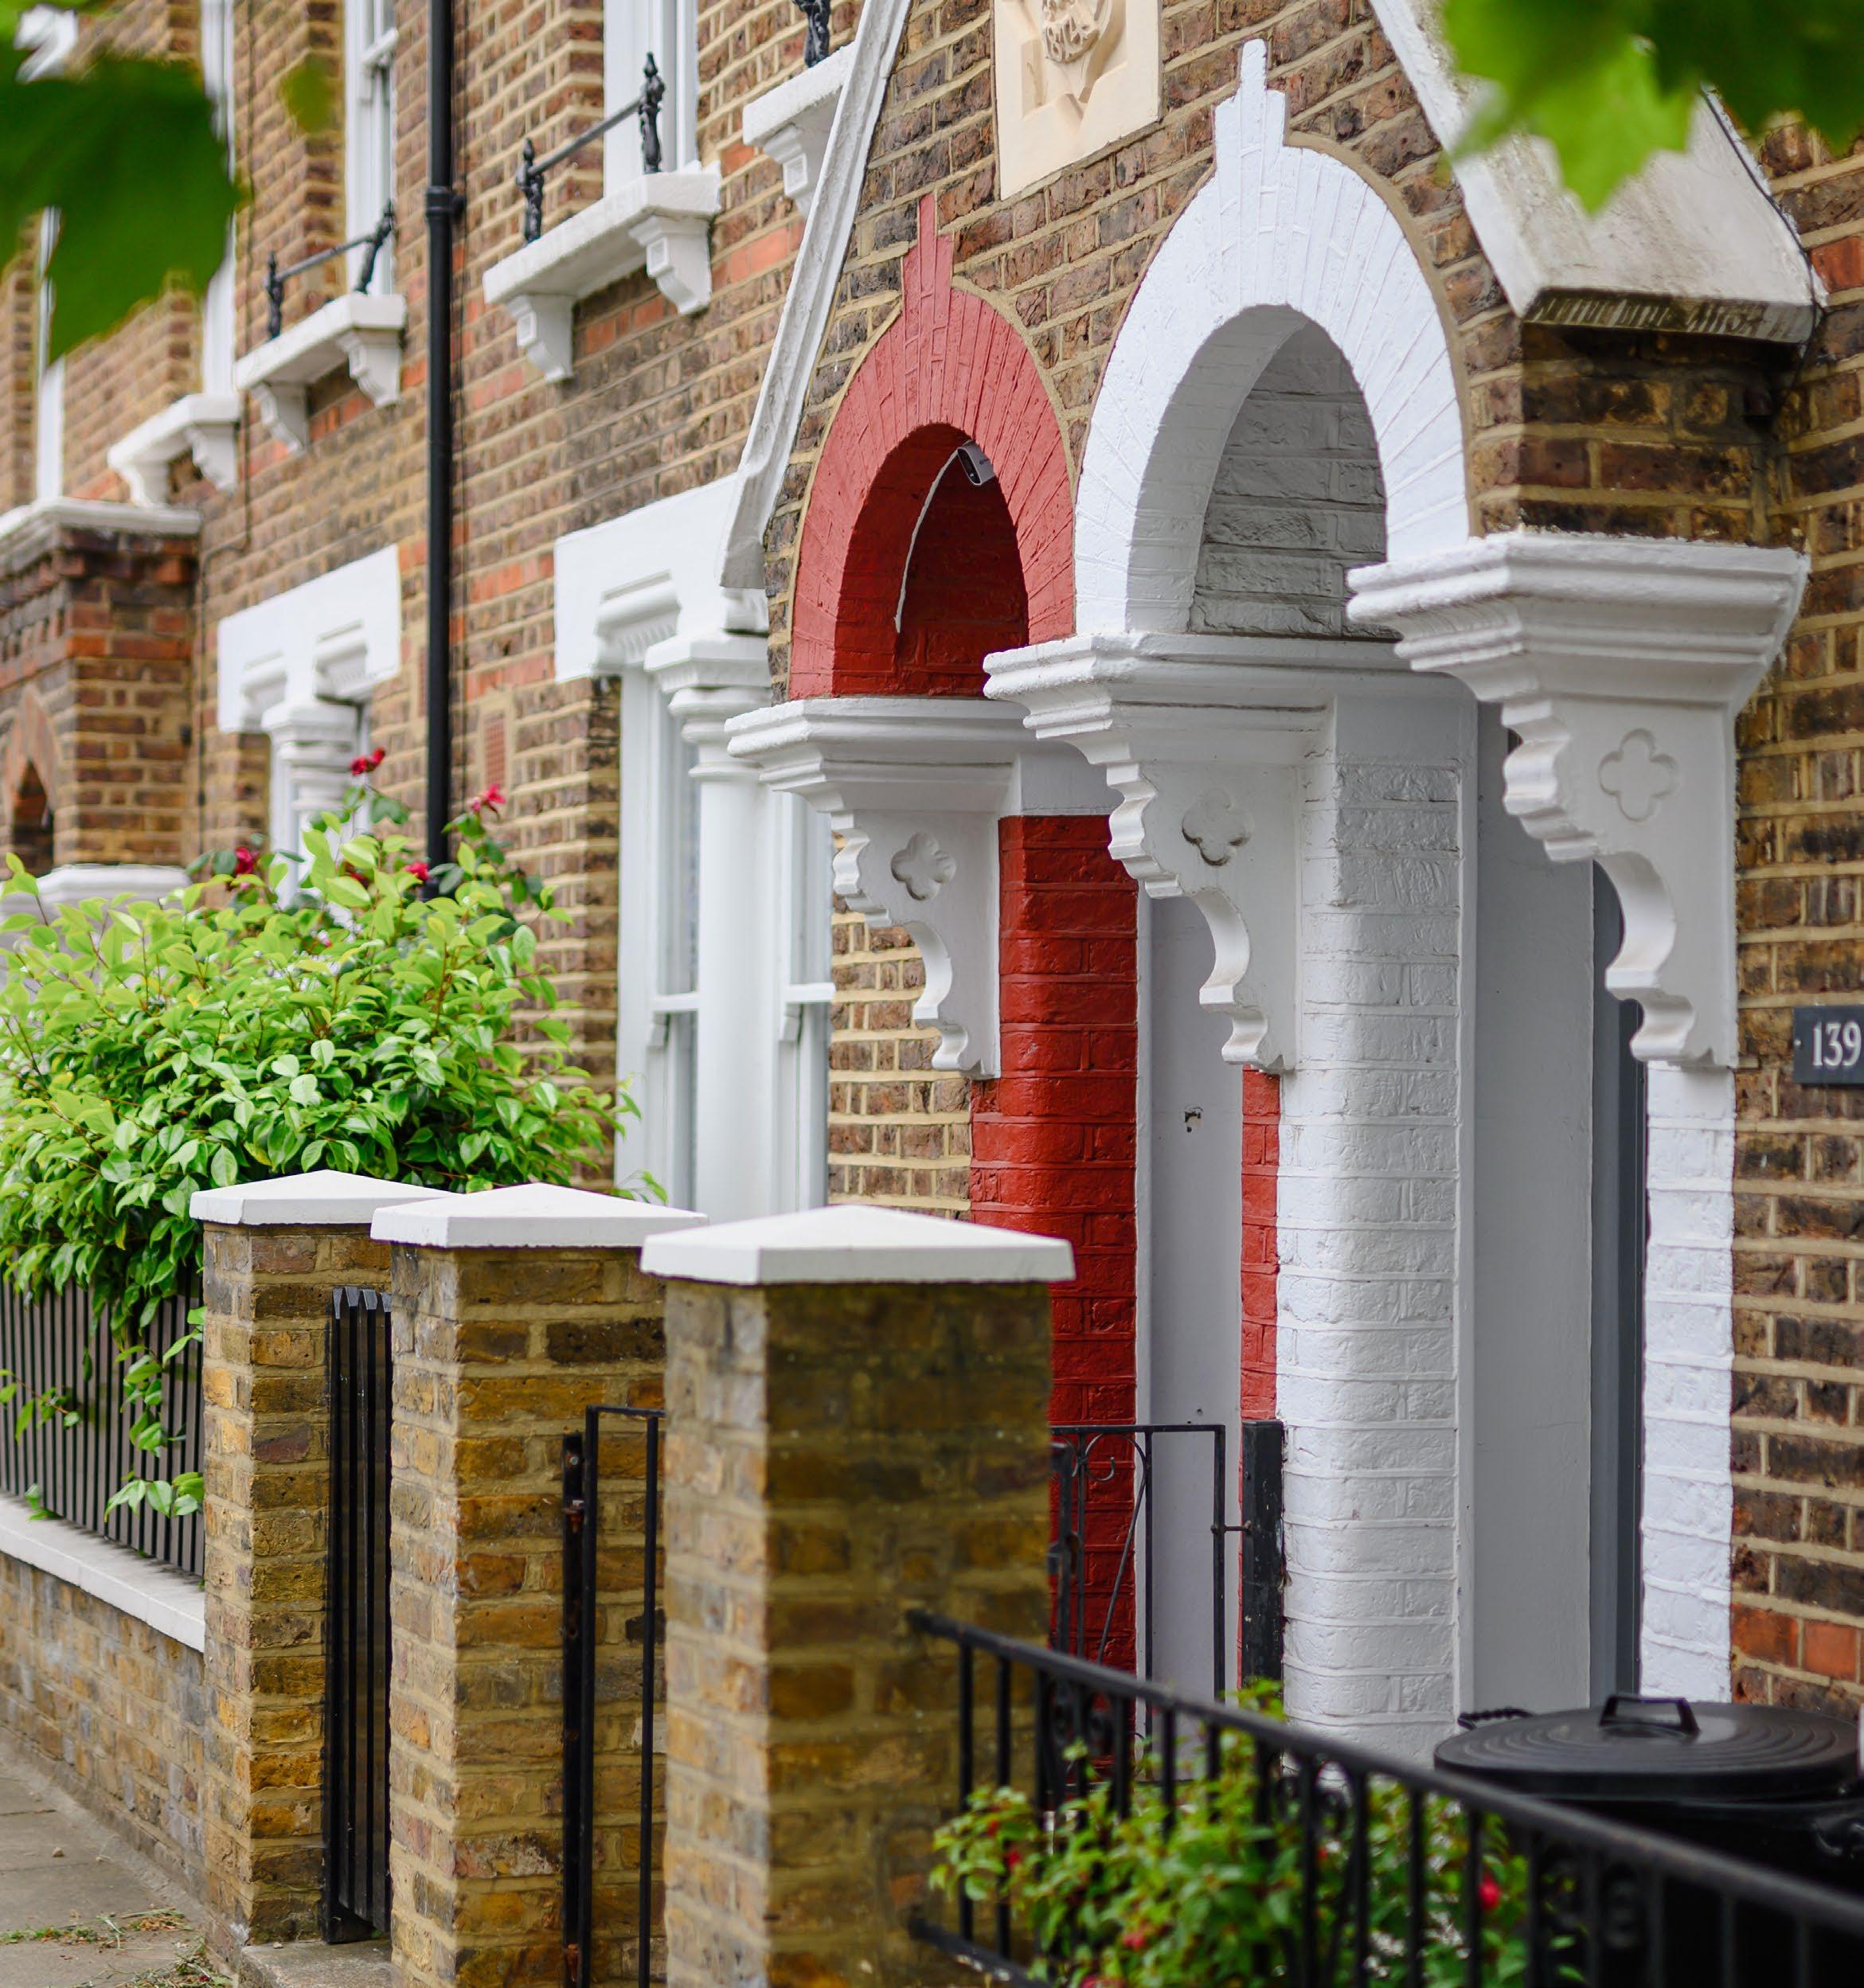
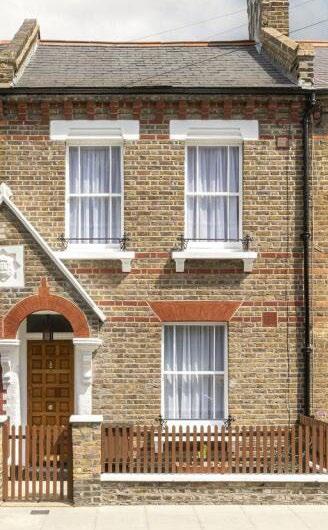
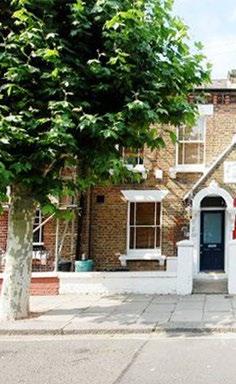
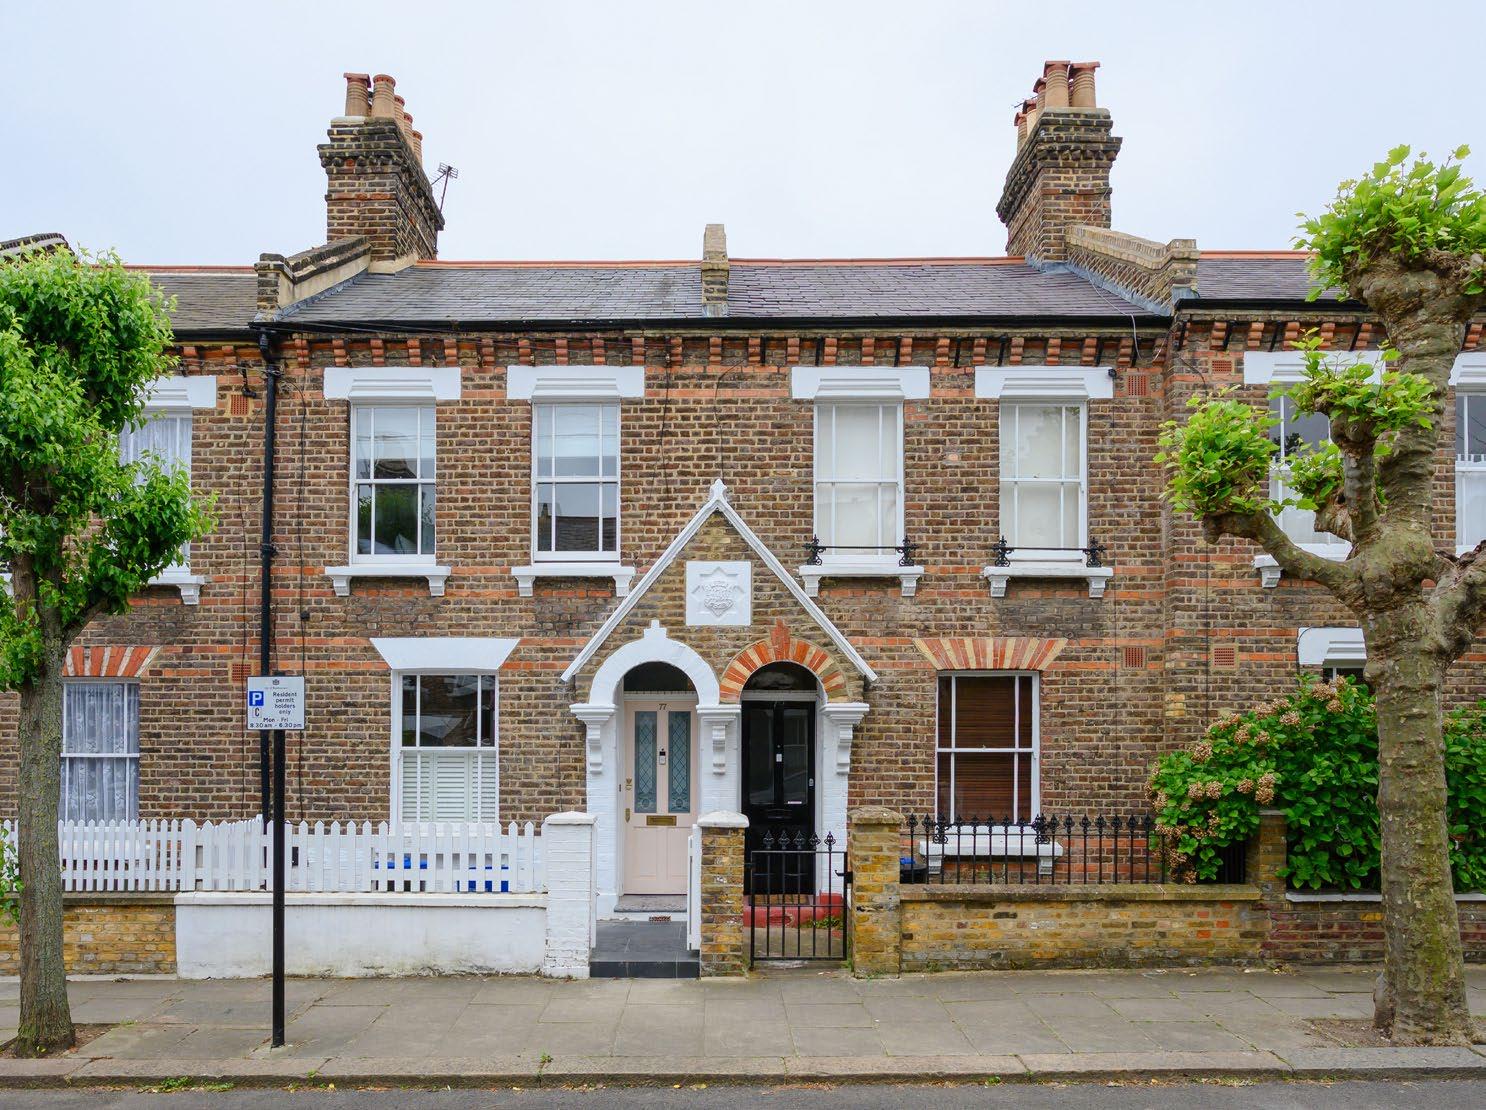
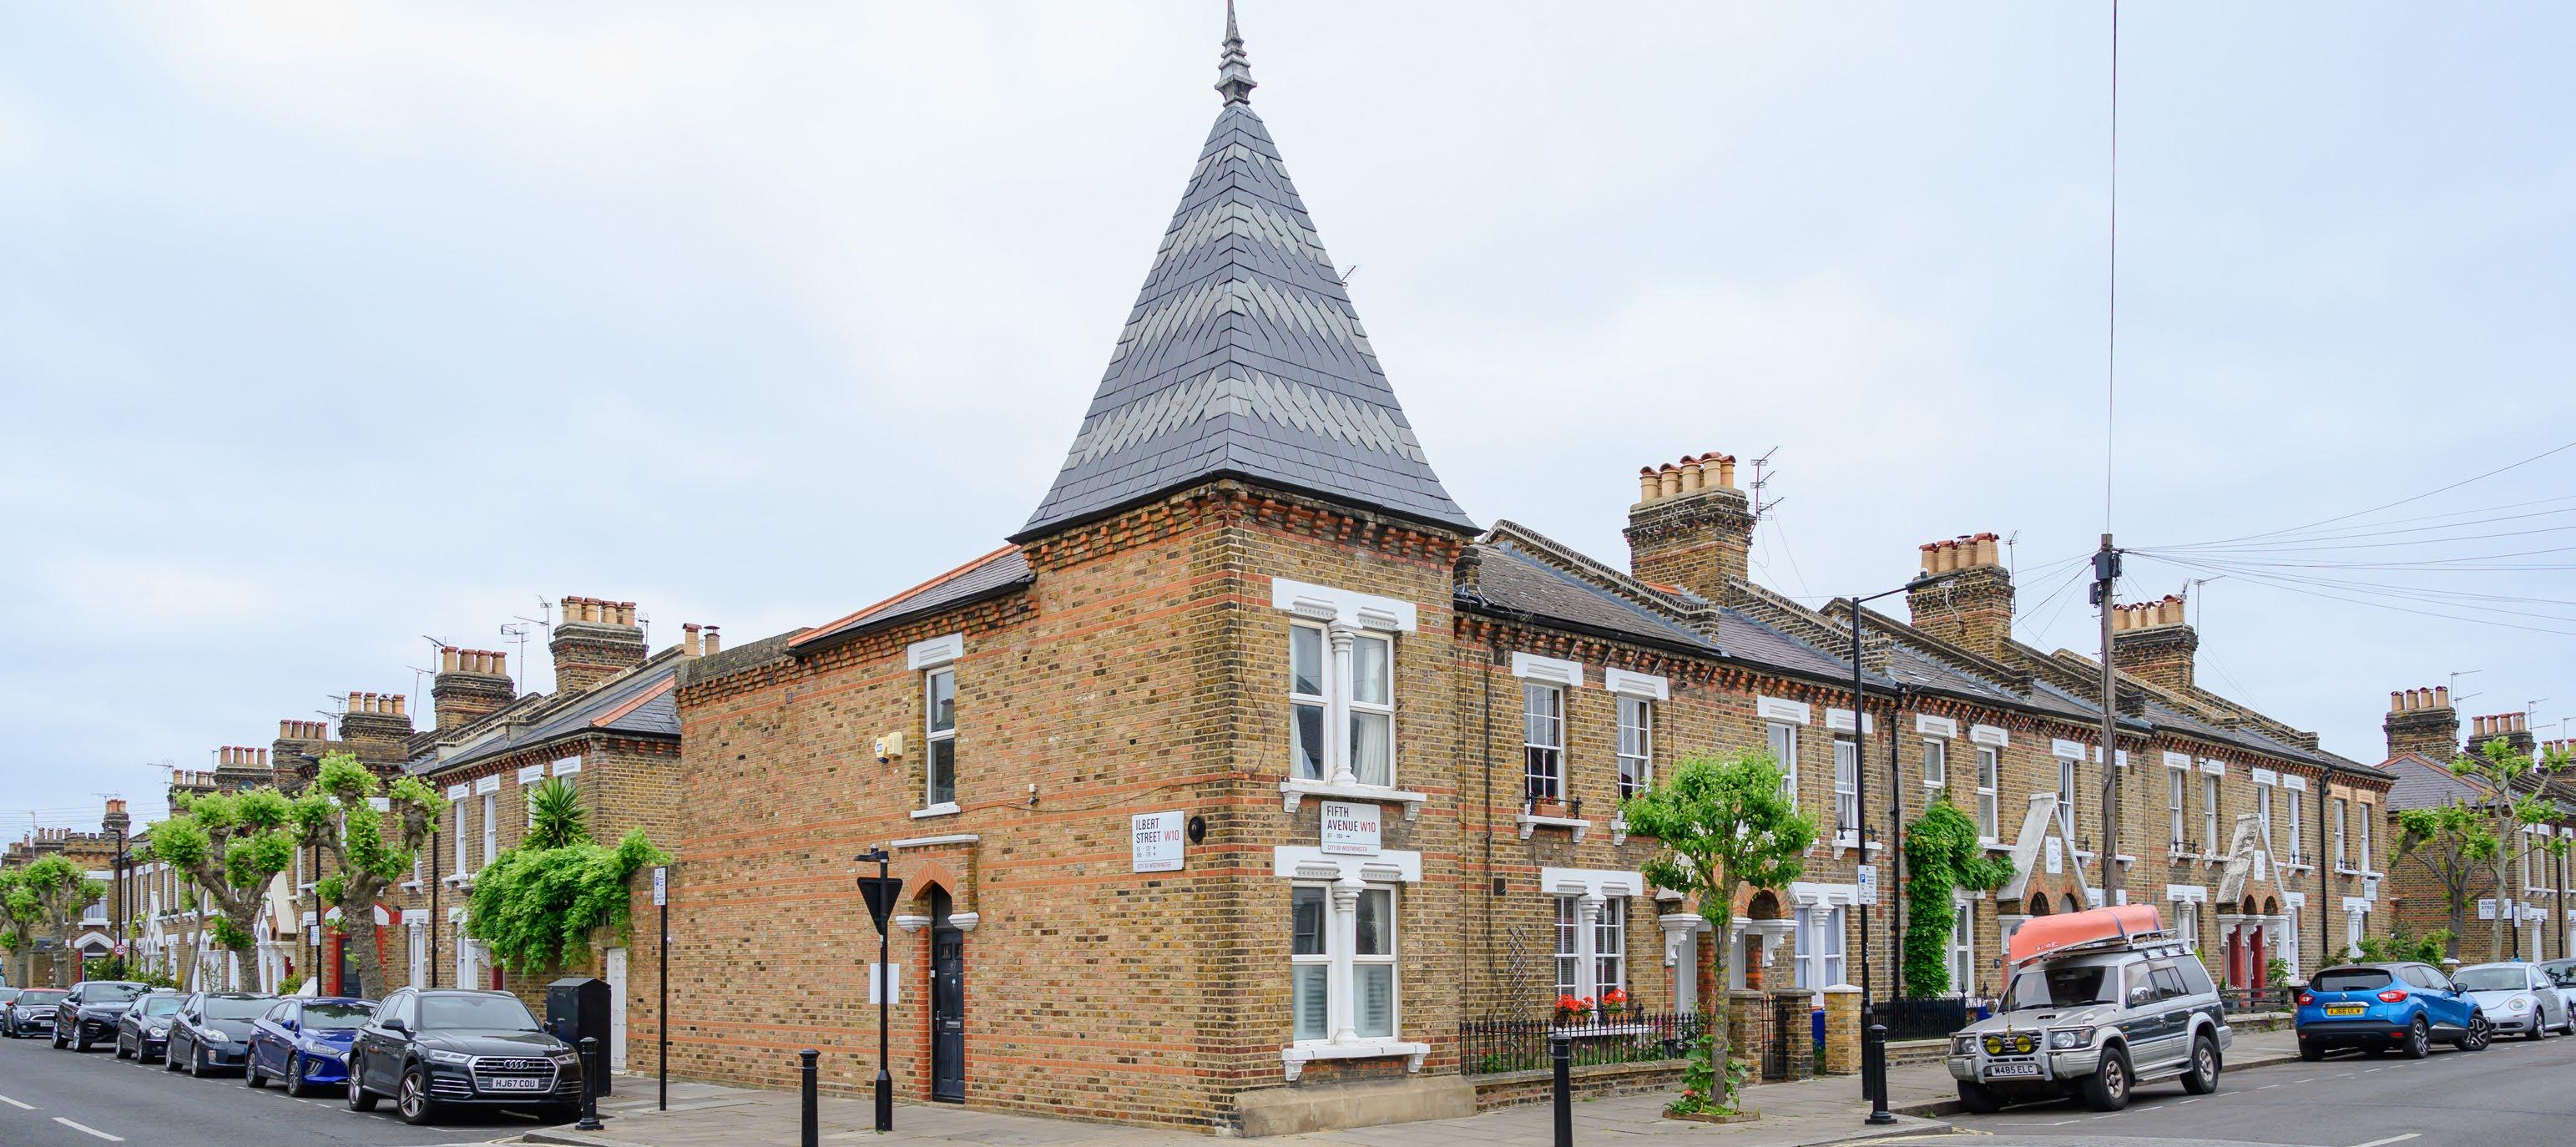
While the Avenues were built to be highly uniform in their Gothic Revival architectural style, scale and materials, they are far from monotonous. Each street features its own composition of porches, gables, bay windows, turrets, pinnacles and decorative brickwork, the blend of consistency and ornamental variety giving the Avenues their distinctive and well-loved character, still evident to this day.
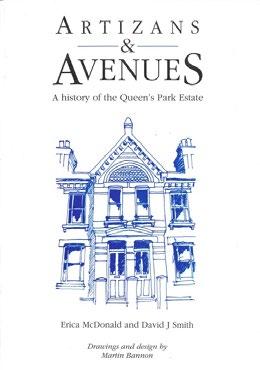
Find out more about the history of the Estate by reading “Artizans and Avenues: A history of the Queens’s Park Estate”, which can be borrowed from the Queens Park Library.
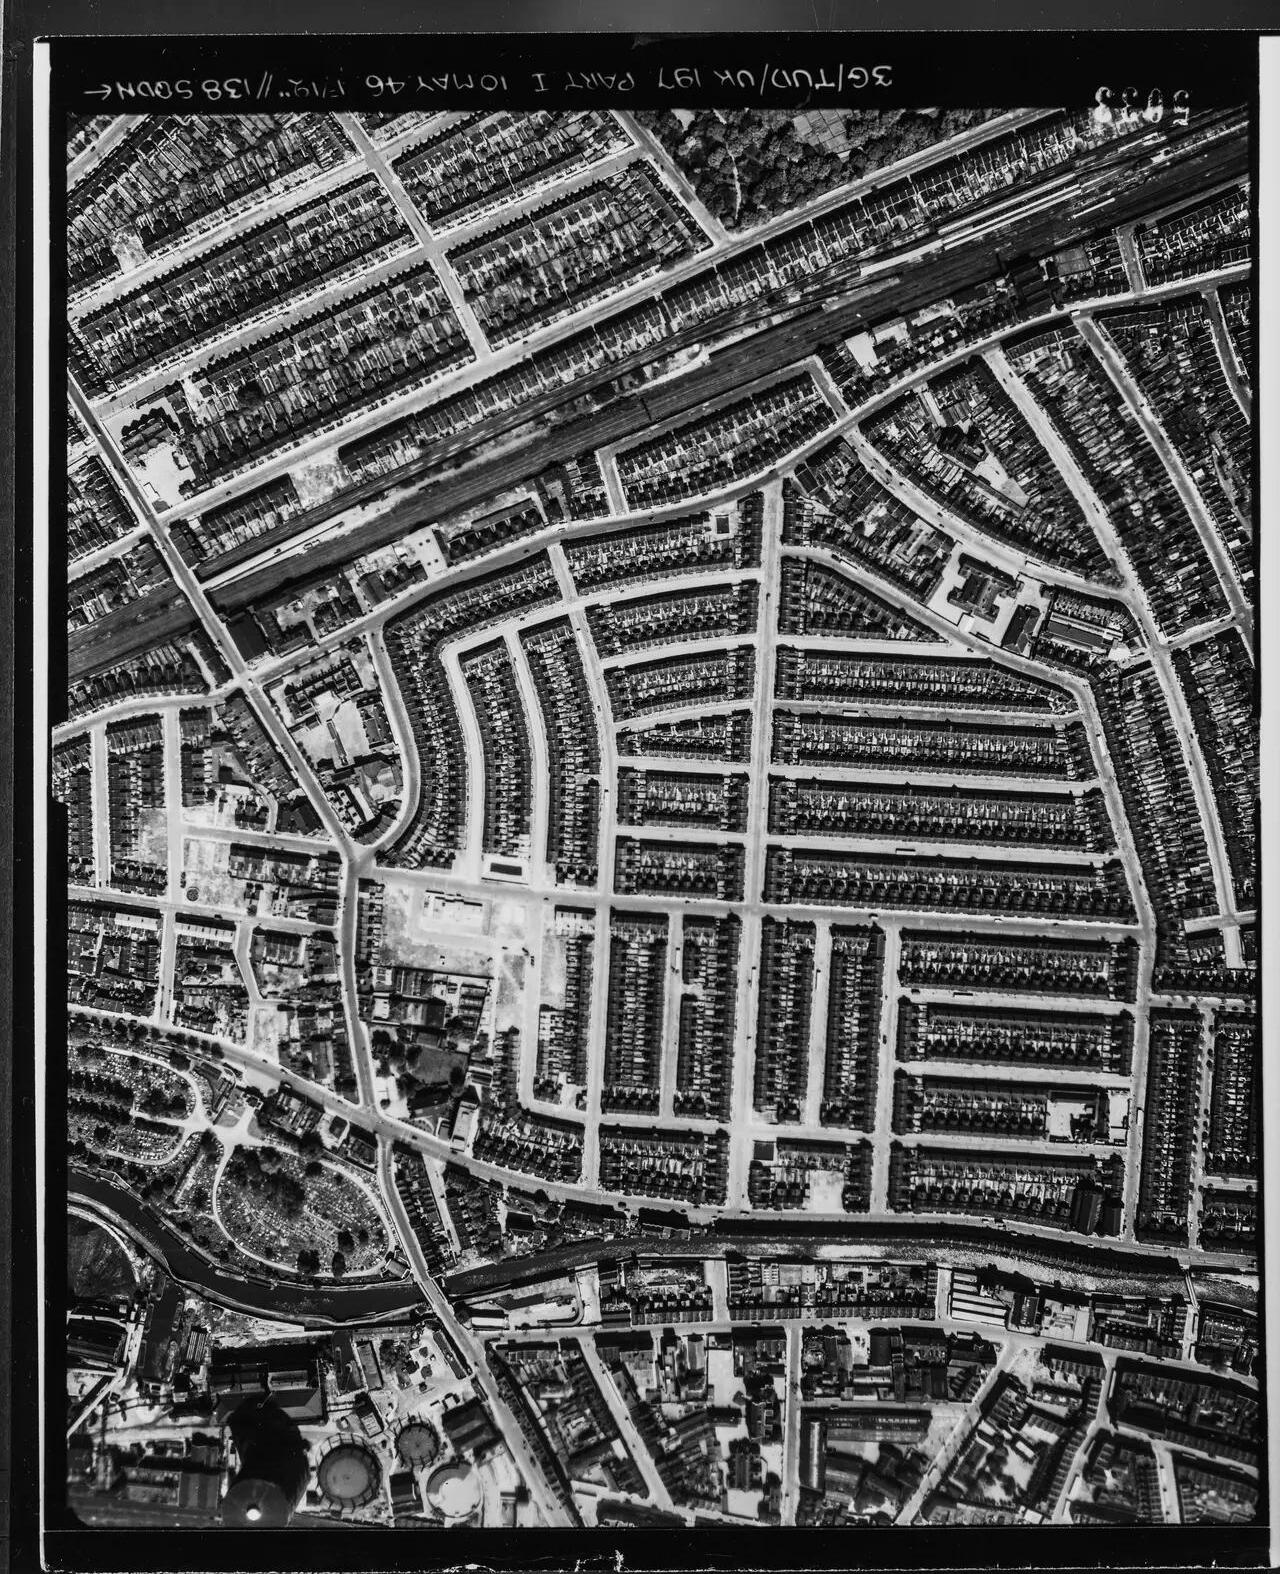
The estate suffered significant damage during the Second World War, and more homes were lost in the 1970s to create the Avenue Gardens and Mozart Estates and Queens Park Gardens on Ilbert Street. Of the more than 2,000 homes originally built, around 1,800 survive and have been protected from demolition or major development since 1978.
From the 1950s onward, much of the estate underwent modernisation as coal fires were largely replaced with gas heating, and outdoor toilets were brought indoors, dramatically improving living standards.
Originally intended to be entirely rented accommodation, over time the Artizans’ Company began selling a number of homes. In the 1960s, they sold their remaining homes – the bulk of the estate - to Paddington Council, and later, many more homes were sold into private ownership through the national Right to Buy policy.
Today, the Avenues comprise a diverse mix of council, housing association, and privately owned homes.
“I remember seeing a photograph on a local Facebook community group. There were two Victorian women standing outside my house. It was eye opening and makes me think about what it means to be a custodian of a property.”
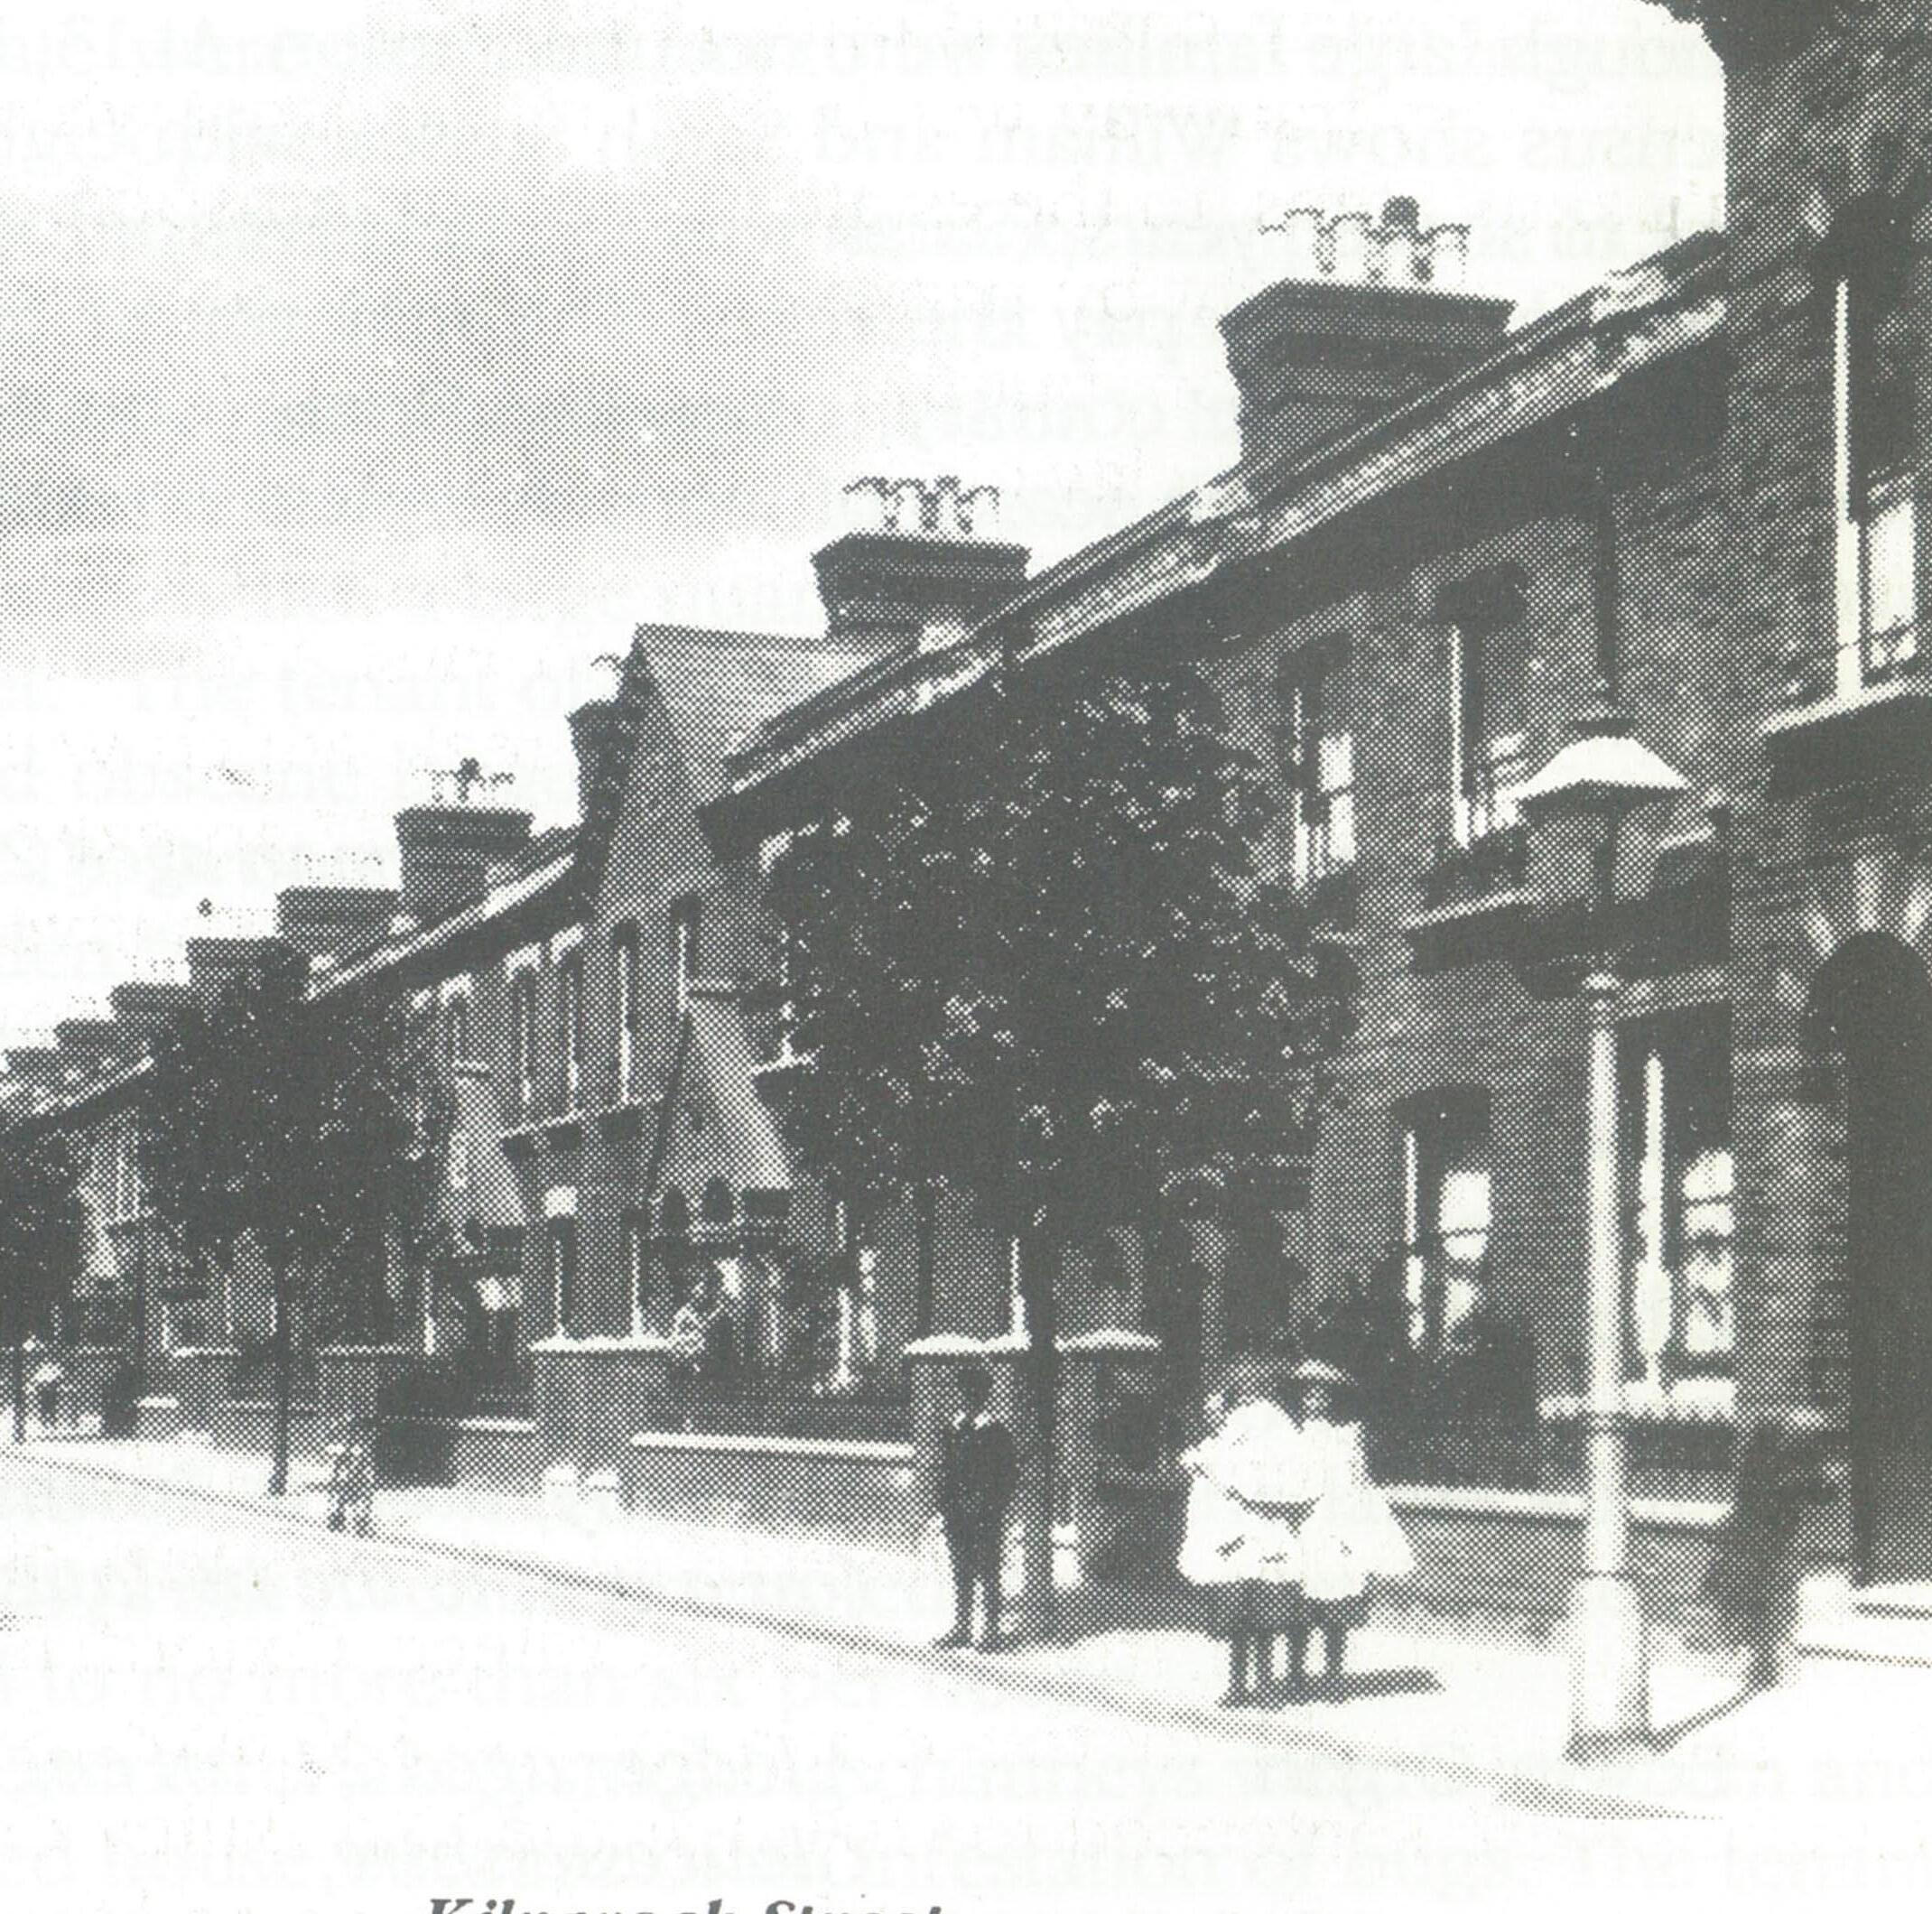
Historical photo of Kilravock Street, from Artizans & Avenues book
How was my home built?
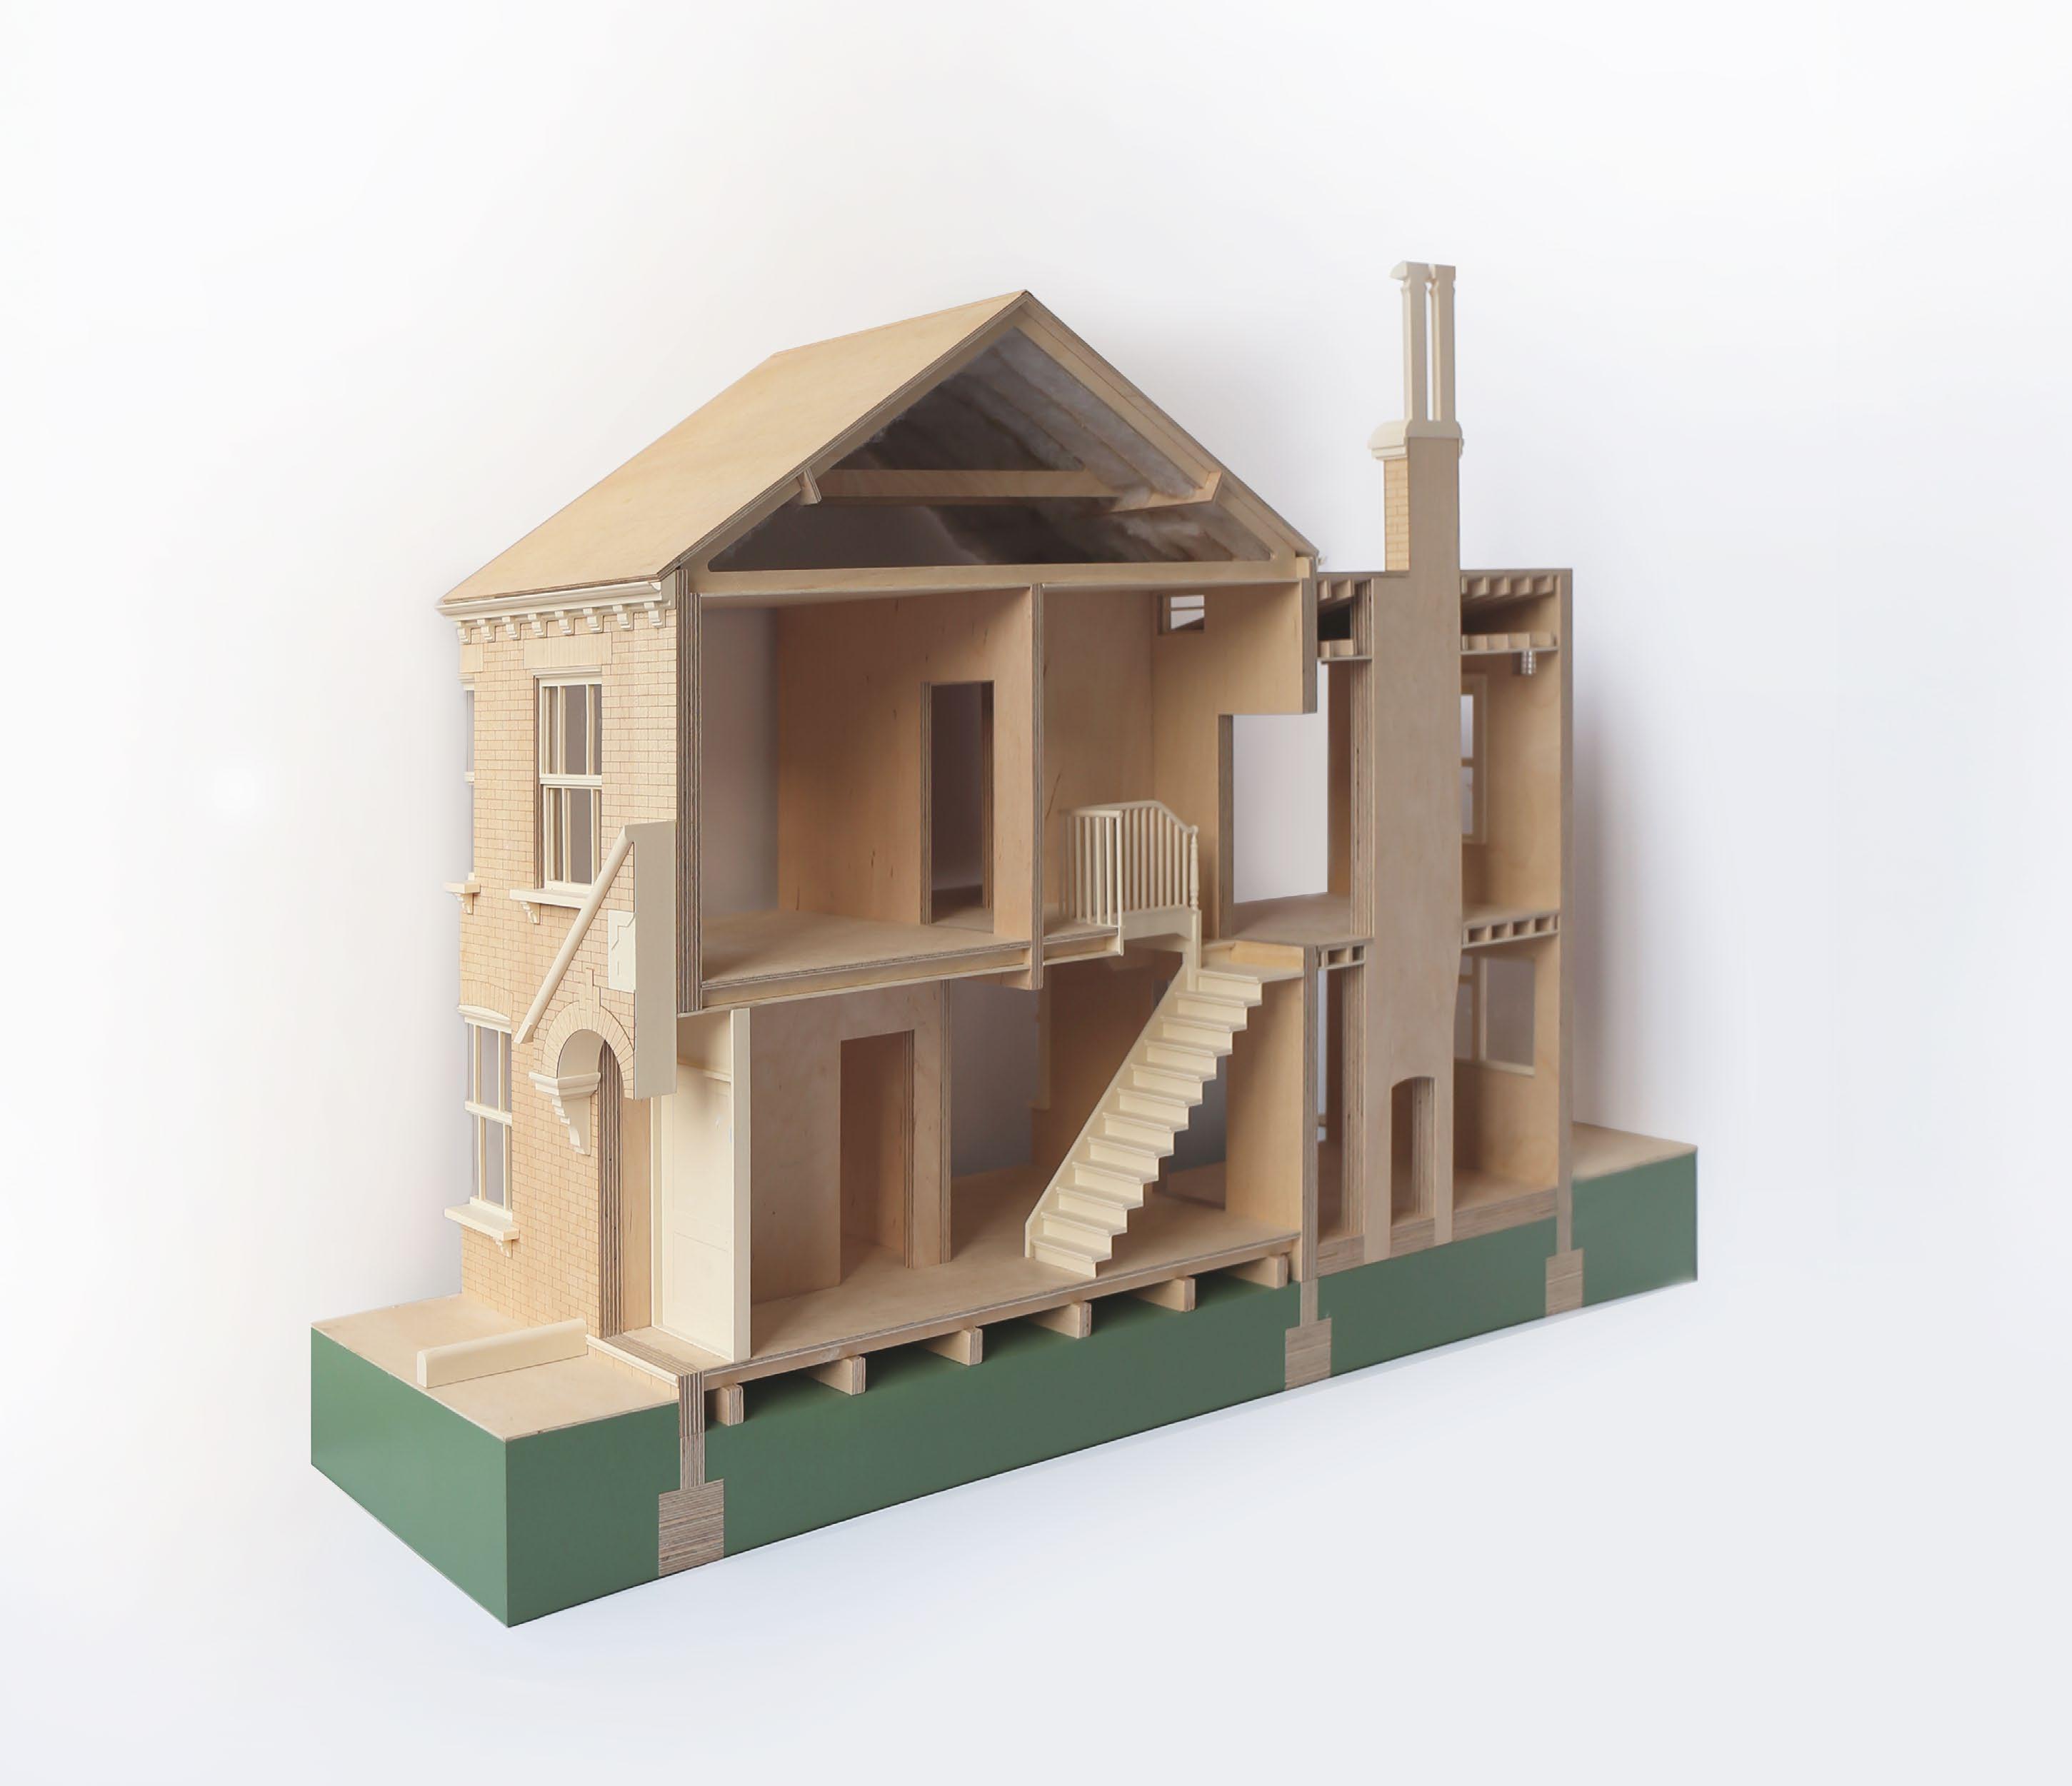
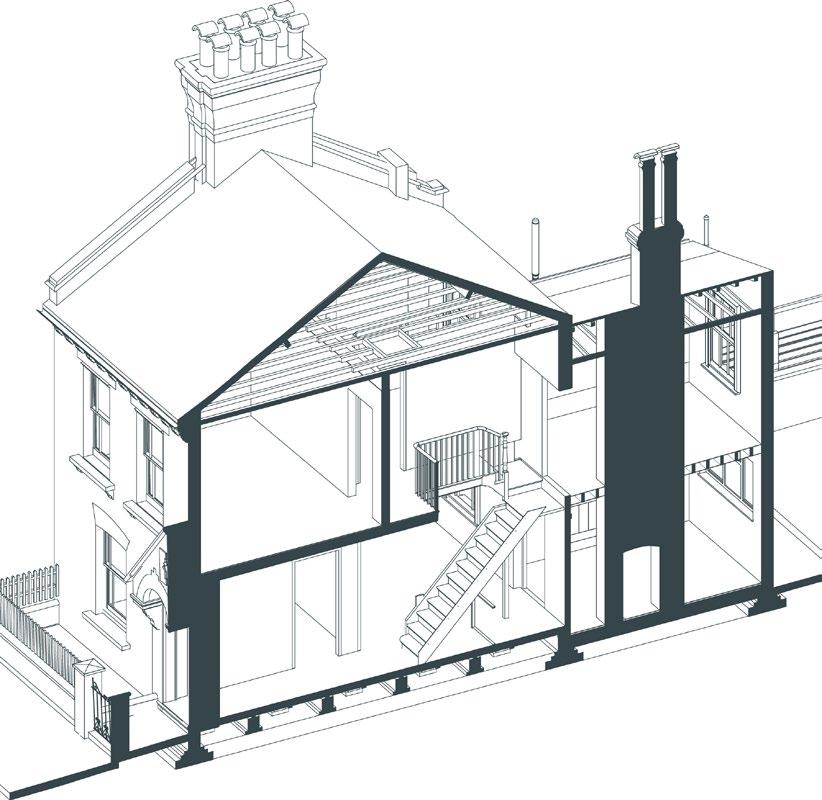
Key features of how the Avenues were designed and built include:
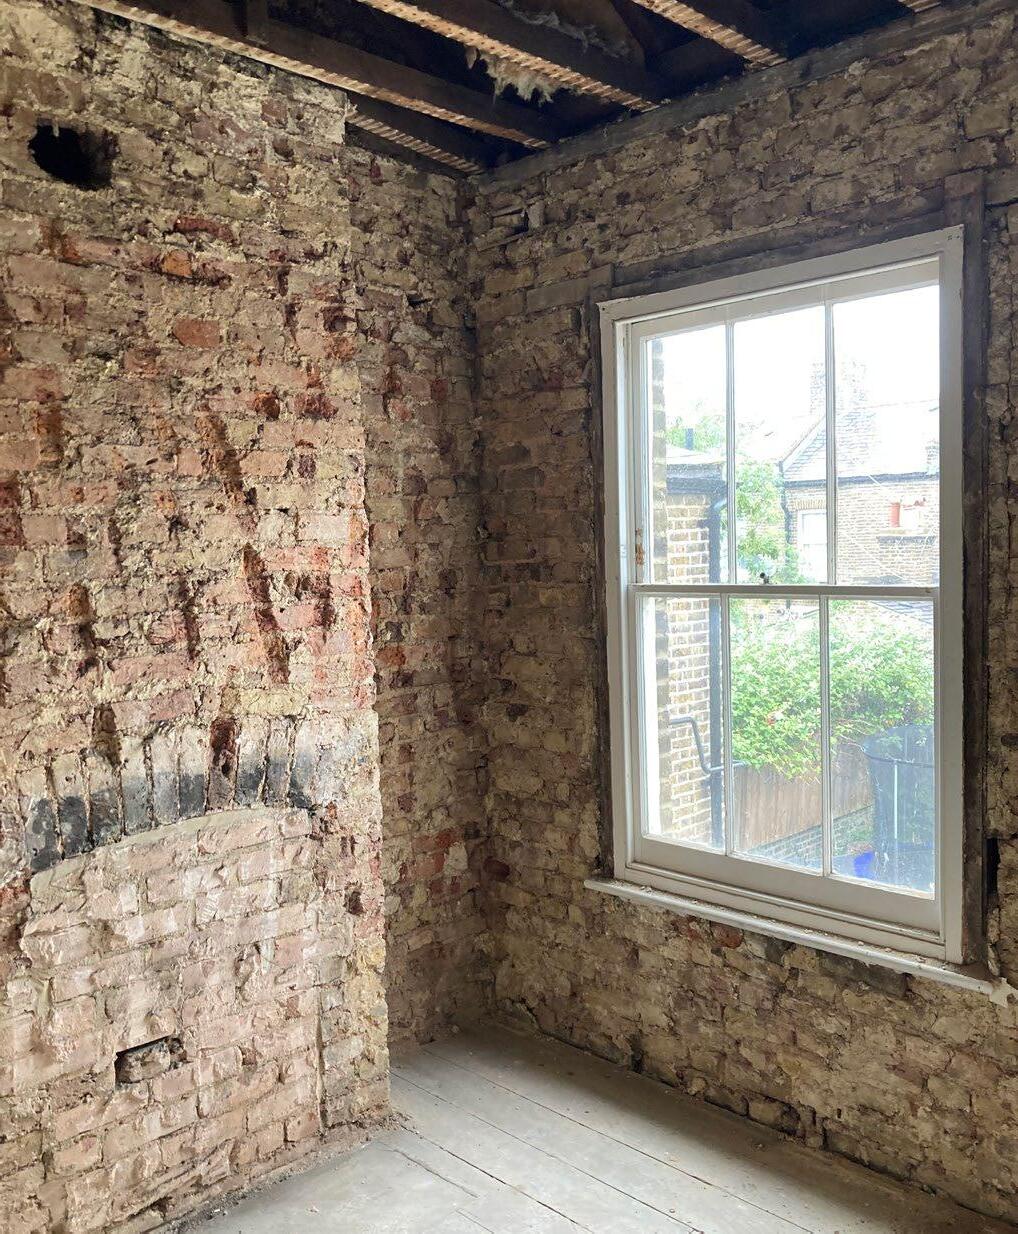
1. Solid brick walls. All external walls are made from solid brick. They can ‘breathe’, letting moisture escape but they also lose heat quickly and may feel cold and be prone to condensation and damp.
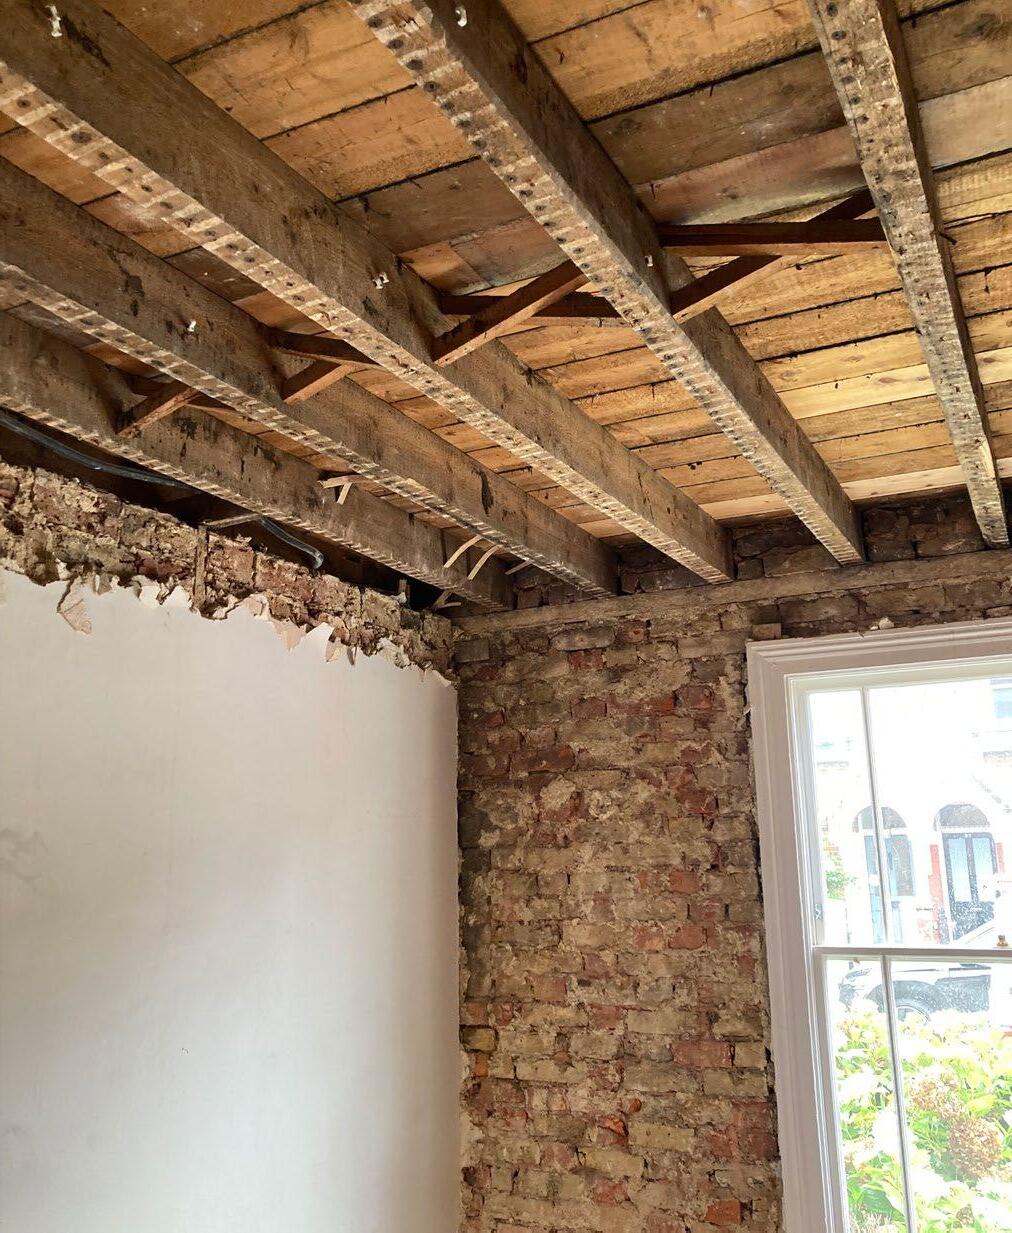
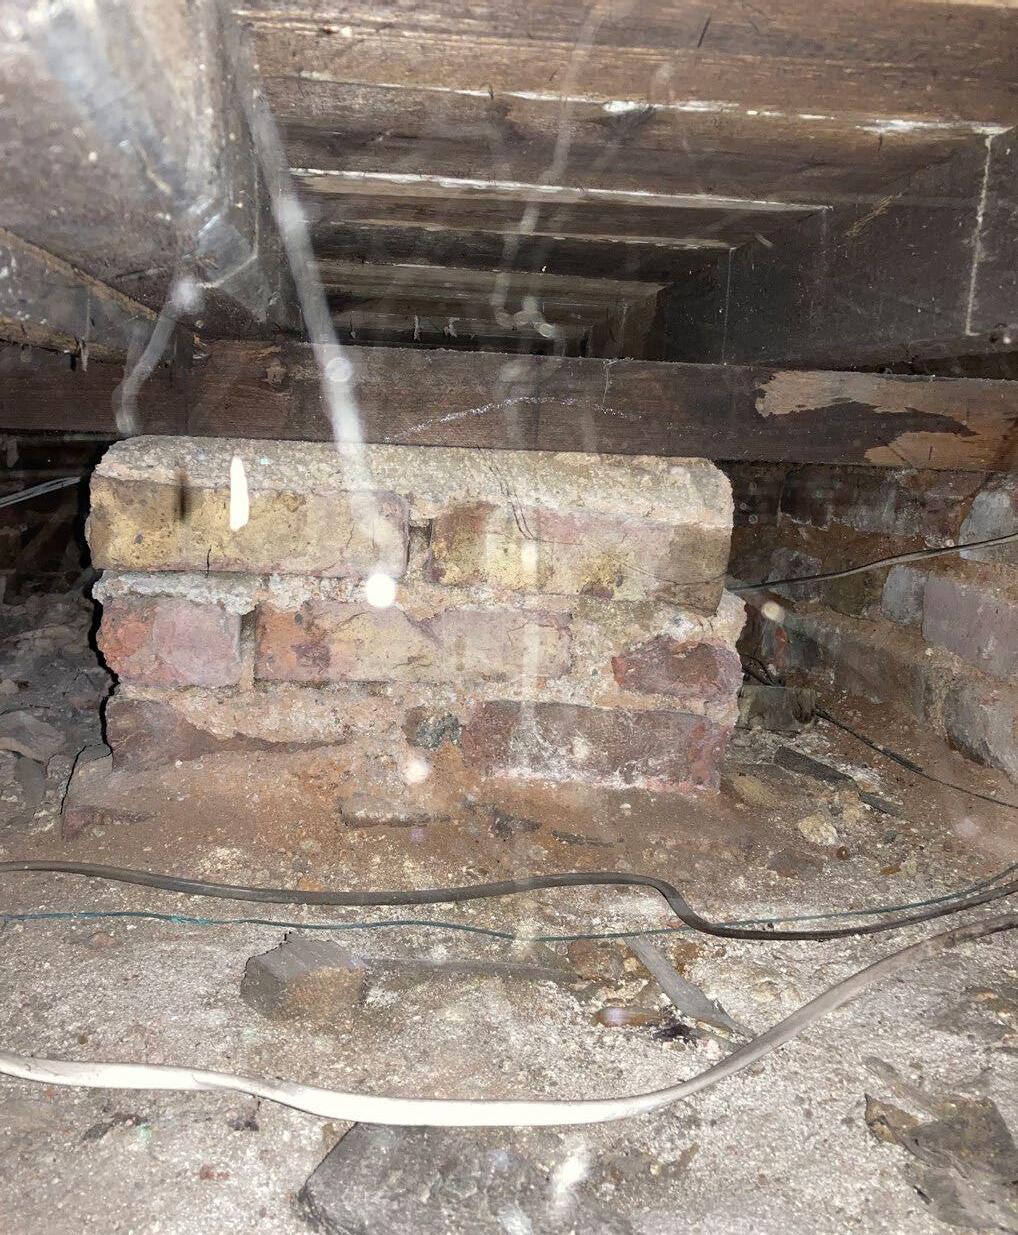
2. Suspended timber floors. The ground floor is made of timber, with uninsulated timber boards laid on timber joists over an open space (void) above bare ground.
3. Brick sleeper walls. These are small brick walls that sit beneath the floor, supporting the timber joists, creating the void and protecting the floors from rising damp.
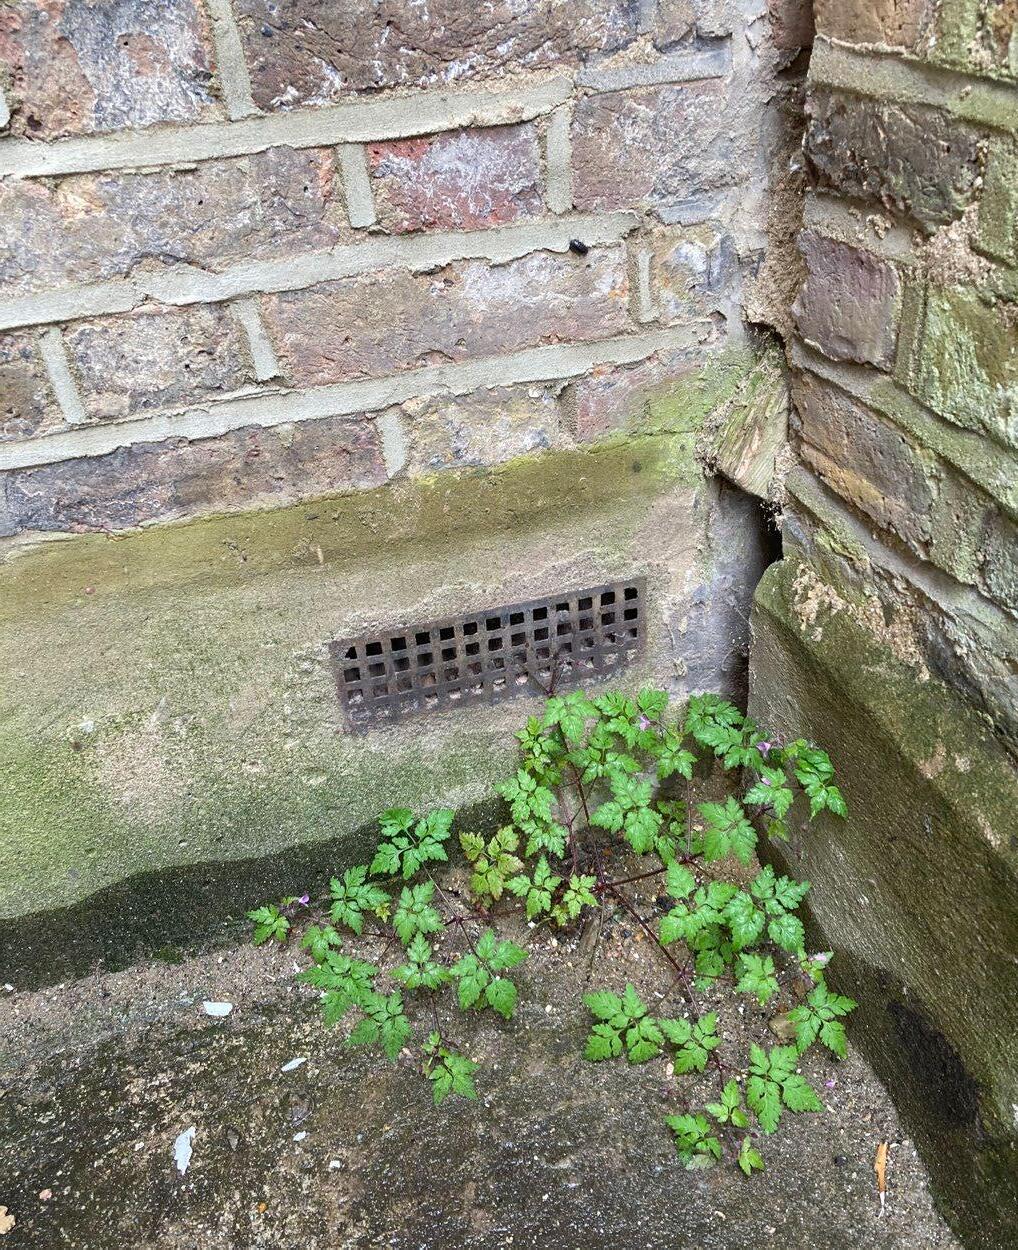
4. Air bricks. Slotted bricks in the external walls which allow air to flow under the ground floor. These prevent moisture buildup and stop timber from rotting, however, the air flow can contribute to heat loss.
5. Concrete slab floor to rear. Many outriggers –the part of the house that sticks out into the garden at the back – have solid uninsulated concrete floors which are laid directly onto the ground. These can become very cold in winter, making the rear rooms harder to heat.
6. Fireplace/Chimney. The homes were originally heated by coal fires so the homes were built with fireplaces and chimneys. Today, most homes use gas central heating, and unused chimneys can act like funnels, pulling warm air out of the house unless they are properly sealed.
7. Timber & slate roof. Roofs were built from timber rafters and covered in long-lasting Welsh slate tiles.
8. Single-glazed sash windows. Traditional timber sash windows with single-glazed glass.
9. Ventilation. Originally, ventilation was provided by chimneys, air bricks, opening windows, and the general draughtiness or ‘leakiness’ of the walls, floors and roofs. Many homes will now have extract fans in kitchens and bathrooms.
House types
Although homes in the Avenues were built in a similar way and look alike from the outside, there are many small differences that can affect what it’s like to live in them - and influence how you improve them.
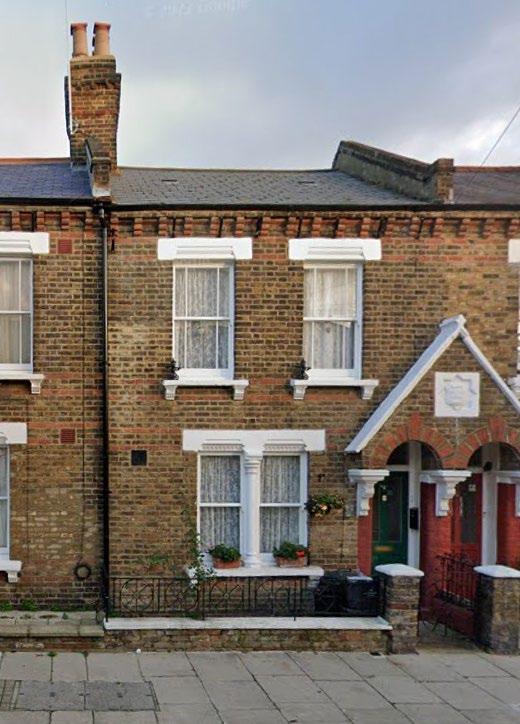
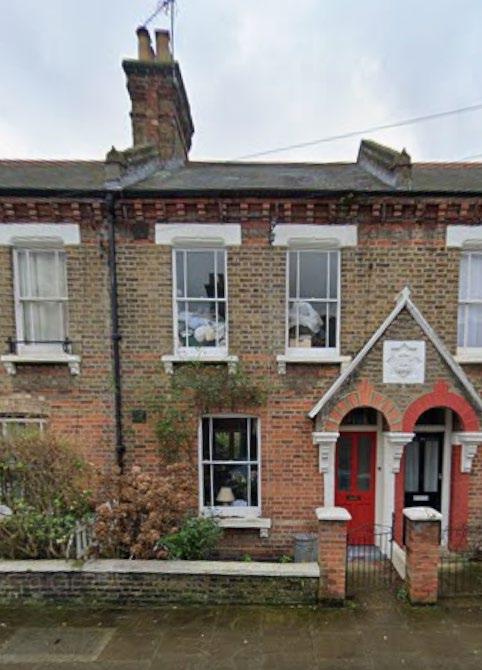
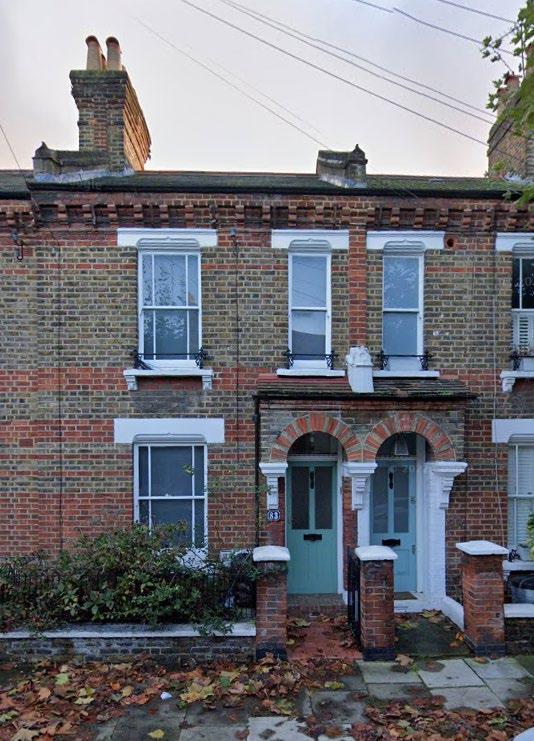
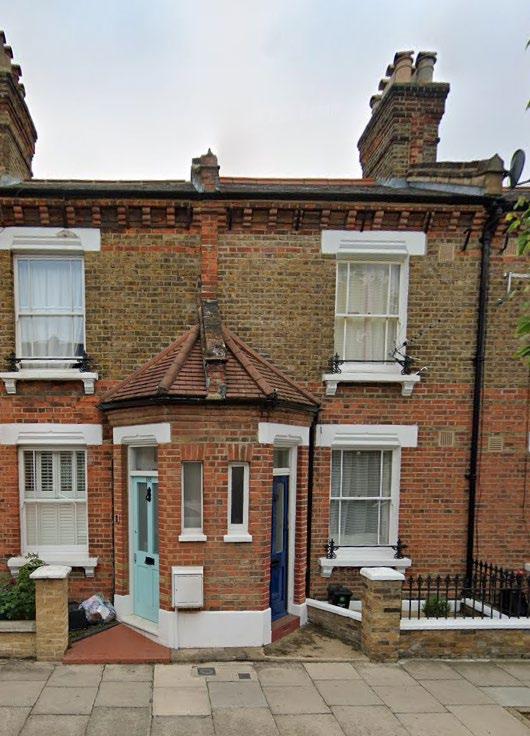
The Estate was originally built with five main house types, with rents set according to the size and number of rooms. Type 1 homes are the largest and Type 5 homes the smallest. Some examples of how the house types differ are shown on the opposite page.
Alongside these variations, the Avenues also include a mix of mid terrace and end terrace homes as well as flats, adding even more diversity.
Over the past 150 years, homes have evolved through use, repairs, upgrades, and changes such as loft conversions and rear extensions.
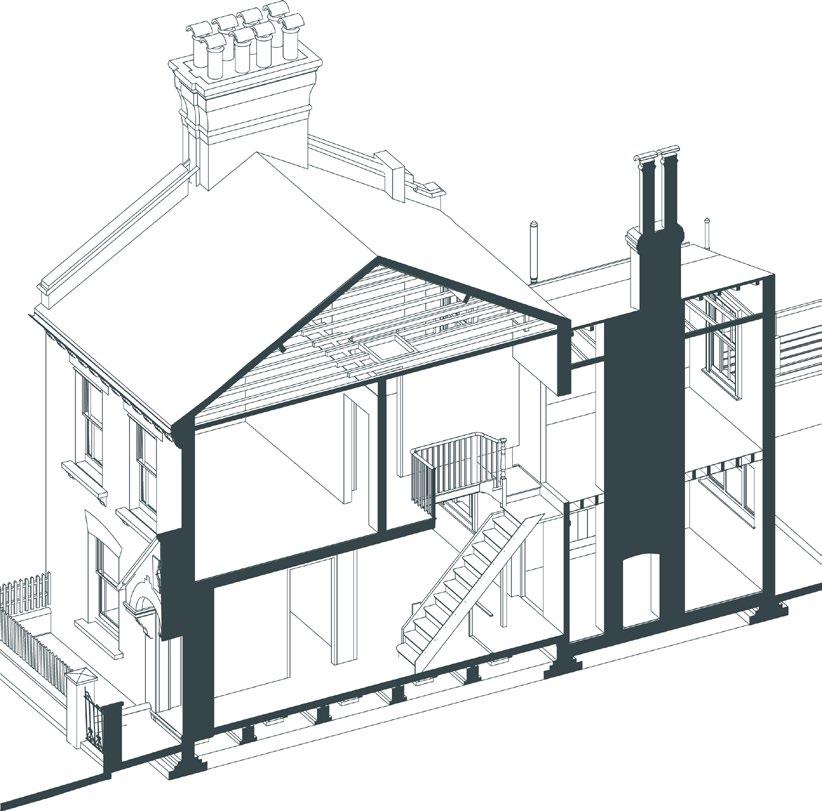
Throughout this guide, we use a typical Type 3 home - the mid sized and most common house type - as the basis for our diagrams and examples.
House Type Variations
• 3 bedrooms (largest house type)
• Bay window at ground level
• Double-storey outrigger to the rear
• 3 bedrooms
• Often have paired windows at ground floor level
• Double-storey outrigger to the rear and single storey lean-to at the rear
• 2 bedrooms
• Typically have a single window at ground floor level
• Double-storey outrigger to the rear
• 2 bedrooms
• Often have a narrow window on the first floor
• Single-storey outrigger to the rear
• 2 bedrooms (smallest house type)
• Only one window on first floor
• Single-storey outrigger to the rear
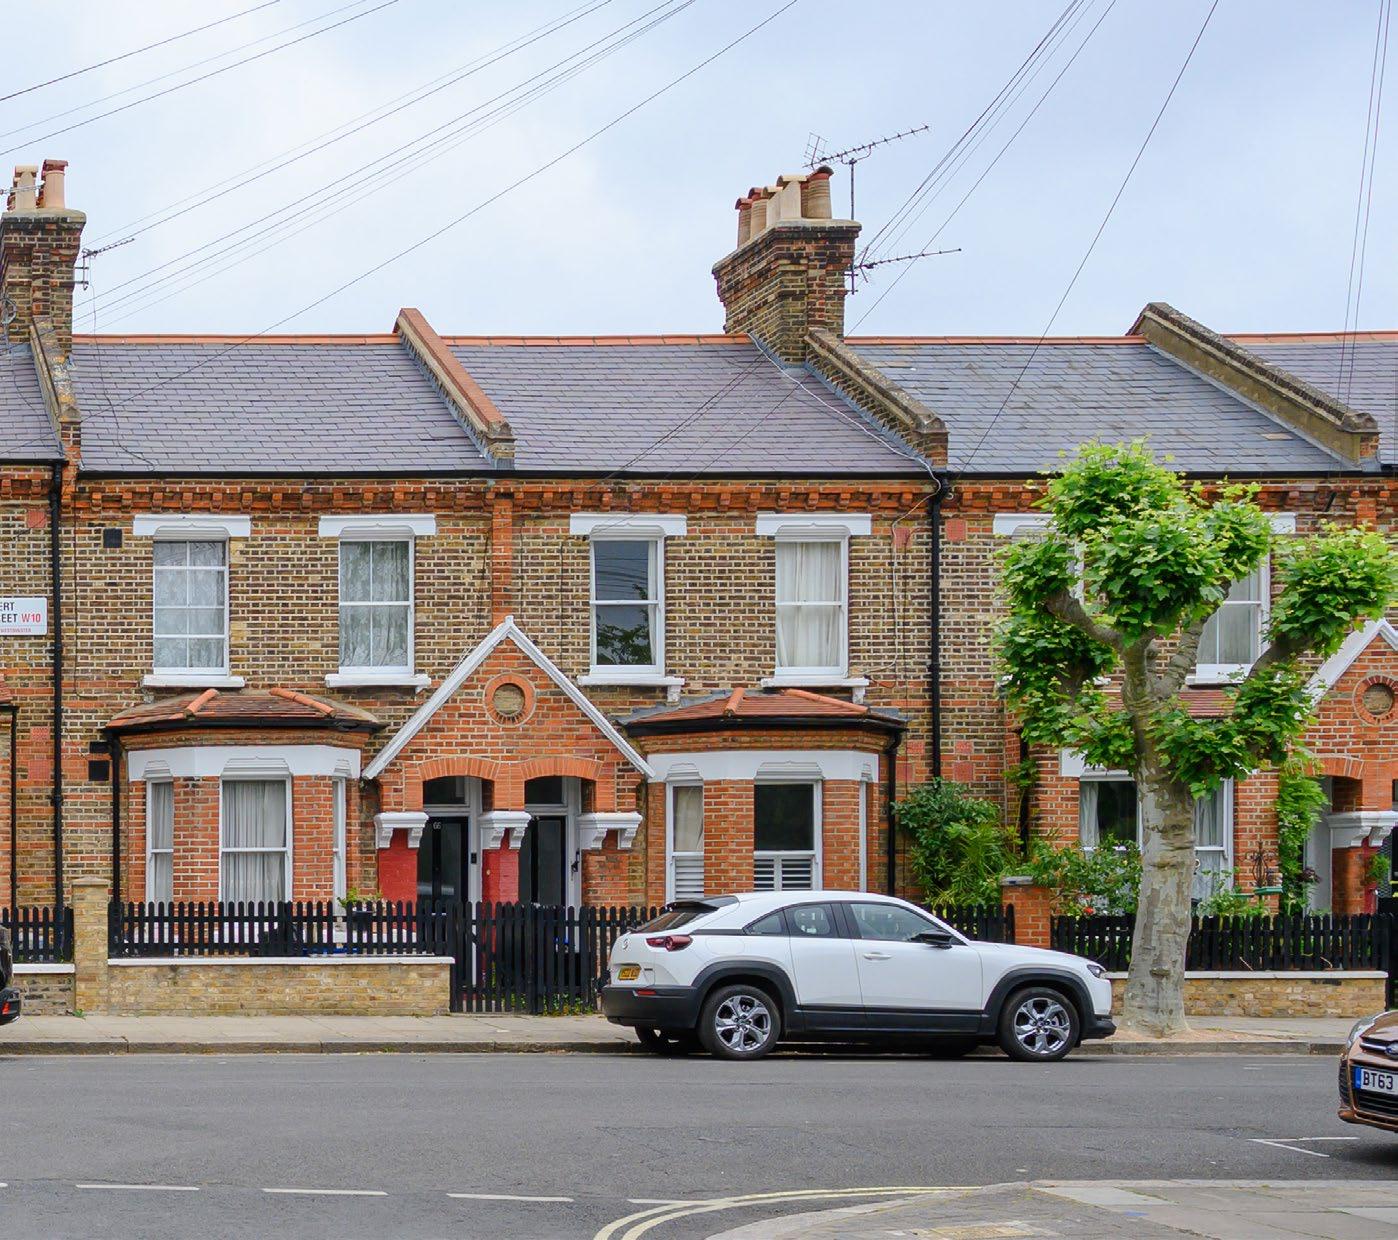
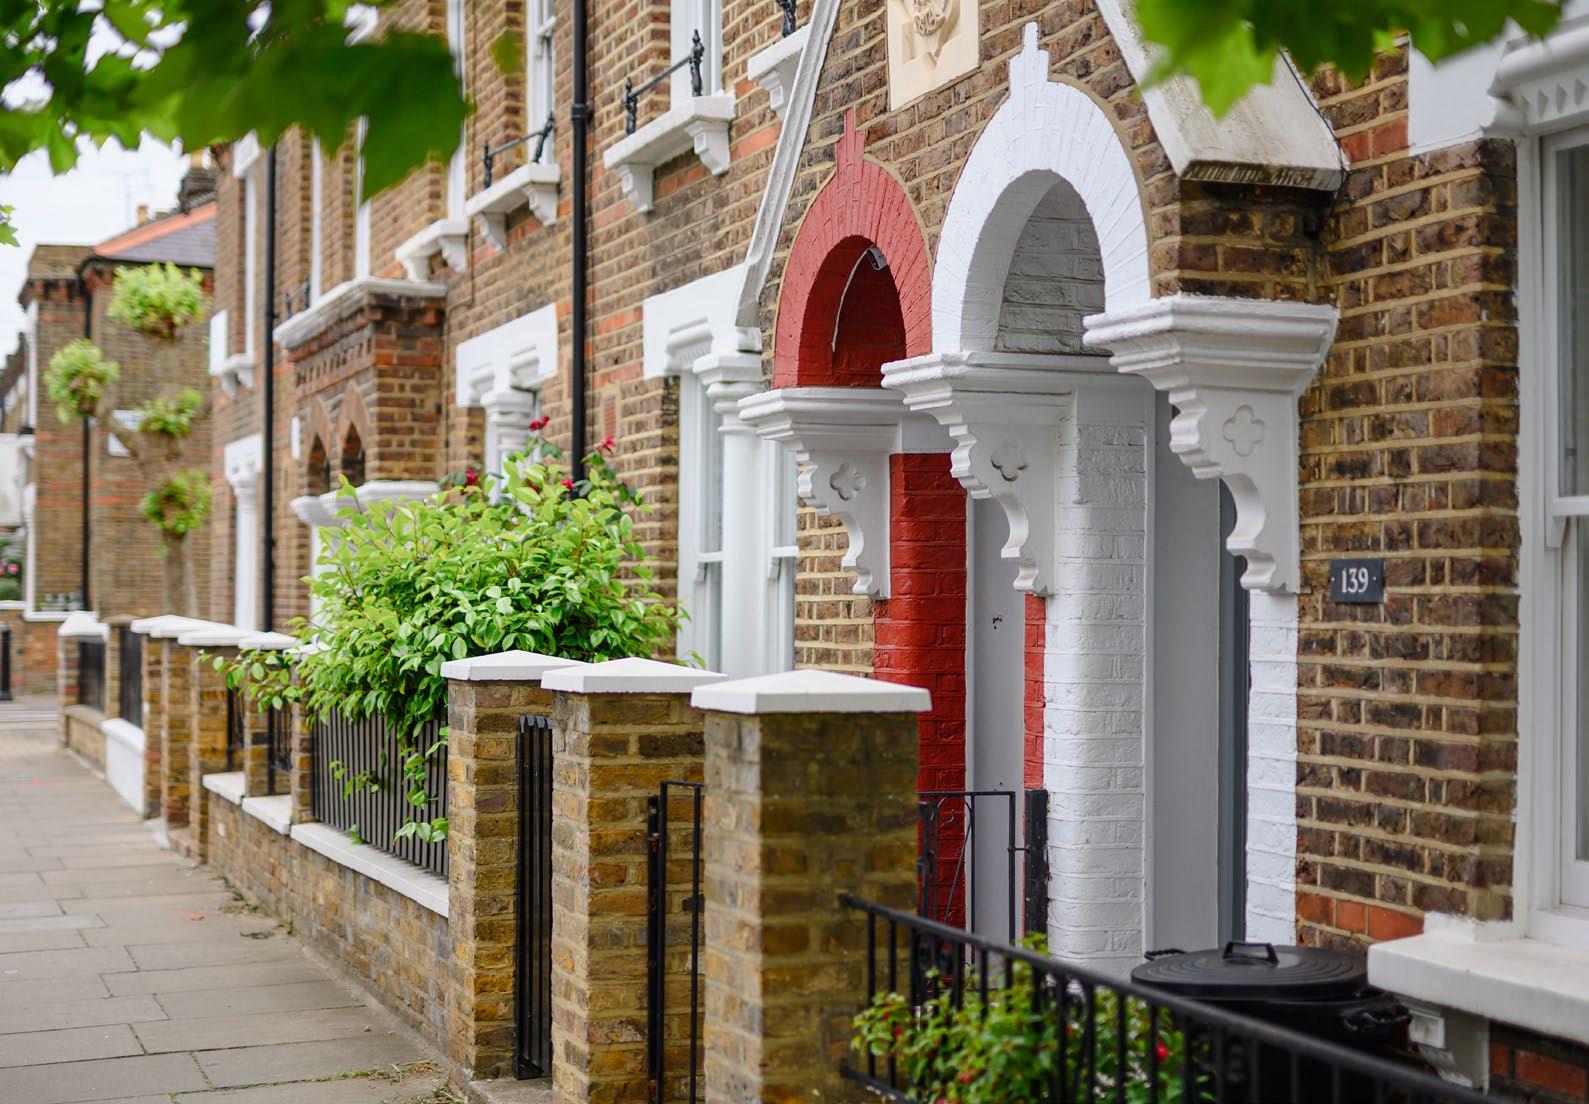
These photos also highlight some of the architectural differences across the Avenues, including a variety of porch styles. Additional distinguishing elements include variations in arches, turrets and towers.
Further Variations
Mid-terrace homes are the most common type in the Avenues but there are also many end-terrace homes and flats. Each comes with its own quirks, and some will face slightly different challenges to take into account when planning and making improvements.
A Mid-Terrace Home
Mid-terrace homes sit between two neighbouring properties, sharing party walls on both sides. This is the most typical layout in the Avenues, and is the layout shown in most of the diagrams in this guide. Because the side walls are shared, midterrace homes can be slightly easier to keep warm as you have less walls exposed to the outside, and your neighbours act as insulation on each side.
B End-Terrace Home
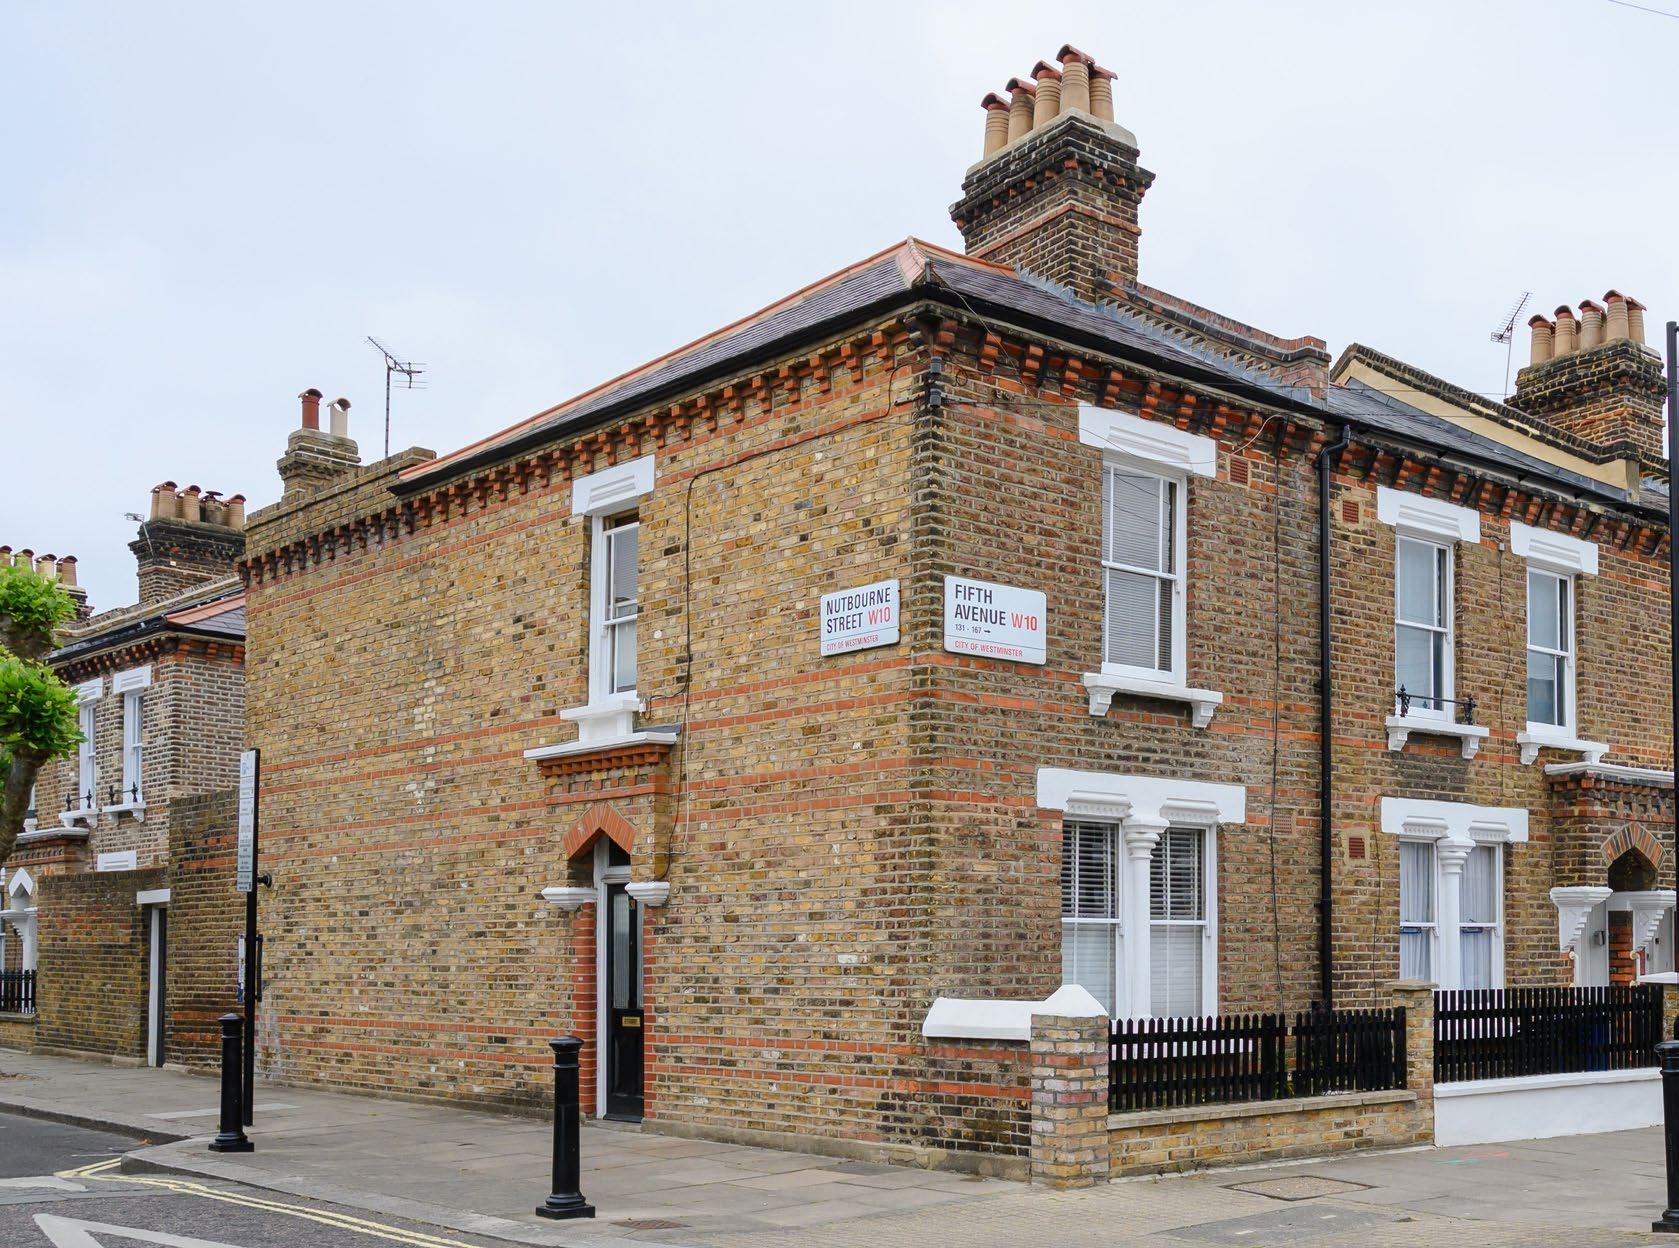
End-terrace homes sit at the end of a row and have one side wall exposed to the outside. This means they tend to lose (and gain) more heat than mid-terrace homes, as they have a larger external wall area.
C Flats
Some homes, primarily on Ilbert Street and Third, Fourth and Fifth Avenues, were originally built as flats, with one on the ground floor and another above. Over time, some two-storey houses have also been converted into separate flats.
If you live in a flat, some improvements (especially those involving external walls or the roof) will usually need coordination with your upstairs or downstairs neighbour, as well as the freeholder.
End-Terrace Home Flats
Mid-Terrace Home
A
Alterations
Many homes have been altered over the years to meet changing needs and circumstances. Below are some of the most common alterations, and how each may affect day-to-day living or future upgrades.
1. Partition wall downstairs removed. In many homes, the wall between the living and dining rooms has been taken out to create a more open ground floor. This change is purely internal so doesn’t usually limit upgrade options. However larger spaces can sometimes make it harder to control heat and ventilation.
2. Upstairs bedroom converted to bathroom. Over time, most outside toilets have been brought indoors and bathrooms now appear in various places – sometimes upstairs. The location of your bathroom or toilet can affect how easy it is to add insulation because fittings like baths, sinks and pipework may need to be temporarily removed and reinstated.
3. Loft conversion. Many lofts have been converted into rooms as a useful way to create additional useable space. These rooms can be prone to overheating, especially if they have a south-facing rooflight, and they can impact your options for placing equipment such as hot water cylinders, ventilation units or additional units.
4. Side return extensions. Single-storey extensions at the rear of homes are popular, particularly in privately-owned homes, and can vary design and performance. Some are well-insulated, while others may be poorly insulated or have large areas of glazing that lead to heat loss in winter or overheating in summer. Differences in how they were built will need to be taken into account when planning any whole-home improvements.
Heat Loss
The way your home was built has a big effect on your energy bills. The solid brick walls, singleglazing and uninsulated roofs and floors typical of Avenues homes are not great at keeping heat inside.
Because heating typically accounts for more than two-thirds of a home’s energy use, losing heat quickly is a major reason bills are higher than they need to be.
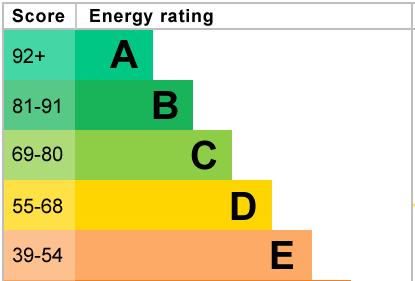
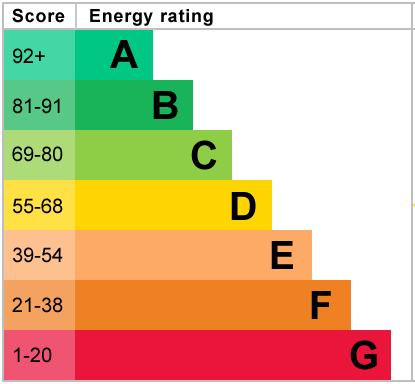
Homes are given an Energy Performance Certificate (EPC) rating from A to G, where A means very high efficiency (and lower energy bills) and G indicates poor efficiency (and higher bills).
The average mid terrace Avenues home has an EPC rating of D and costs about £2,900 a year to heat and power (based on October 2025 prices).
Find your home’s energy performance rating at www.gov.uk/find-energy-certificate
Overheating
Queens Park is one of the areas of Westminster most at risk of overheating. While not every household experiences overheating, many homes regularly exceed recommended maximum safe indoor temperatures in summer (26°C for bedrooms).
Exposure to high temperatures can cause sleep deprivation, reduced concentration and productivity, worsened mental health and increased strain on the heart and lungs. In severe cases it can cause heat exhaustion or heatstroke. Children, babies, older adults and people with existing health conditions are most at risk.
As we continue to experience more frequent and intense periods of hot weather, more households are likely to feel the effects of overheating. Homes most at risk of overheating include:
• East- or west-facing homes – which receive strong early-morning and late-afternoon sun when it is low and intense.
• Flats, especially first floor flats – which have fewer options for cross-ventilation.
• Overcrowded homes – where extra body heat and restricted airflow increase temperatures and options to adapt are more limited.
• Homes with glazed rear extensions and converted lofts are also likely to experience increased heat gains.
Number of hours per year when at least one bedroom is over the safe maximum temperature overnight (26°C)
Recommended maximum (CIBSE TM59 standard)
Typical early 2020s summer
Hot summer (like 2022, and more likely in the future):
What people love about the Avenues
People love living in the Avenues and want to make improvements that protect and enhance what makes these homes special.
‘…the architectural character of my home.’
Original features such as sash windows, brick detailing and door knockers give the homes a unique charm which is really valued.
‘…the uniform look of the neighbourhood.’
The consistent design and repeating patterns of the Avenues creates a strong sense of place and a clearly recognisable neighbourhood that residents feel proud to belong to.
‘…my front and back gardens.’
Residents feel lucky to have a private garden which is not very common in central London. Gardens are well-loved for the space and access to greenery they provide.
‘… being a custodian of history.’
Many residents appreciate the long history of the estate and feel privileged to care for their home, preserving it for future generations.
Common issues
Avenues residents experience several common issues and want improvements to help address them.
A ‘damp and mould on walls and windows.’
Damp and mould often develop when warm, humid air is trapped in a home and condenses on cold, uninsulated walls or windows. Poor ventilation makes the problem worse.
B ‘cold coming in through the windows and ventilation system.’
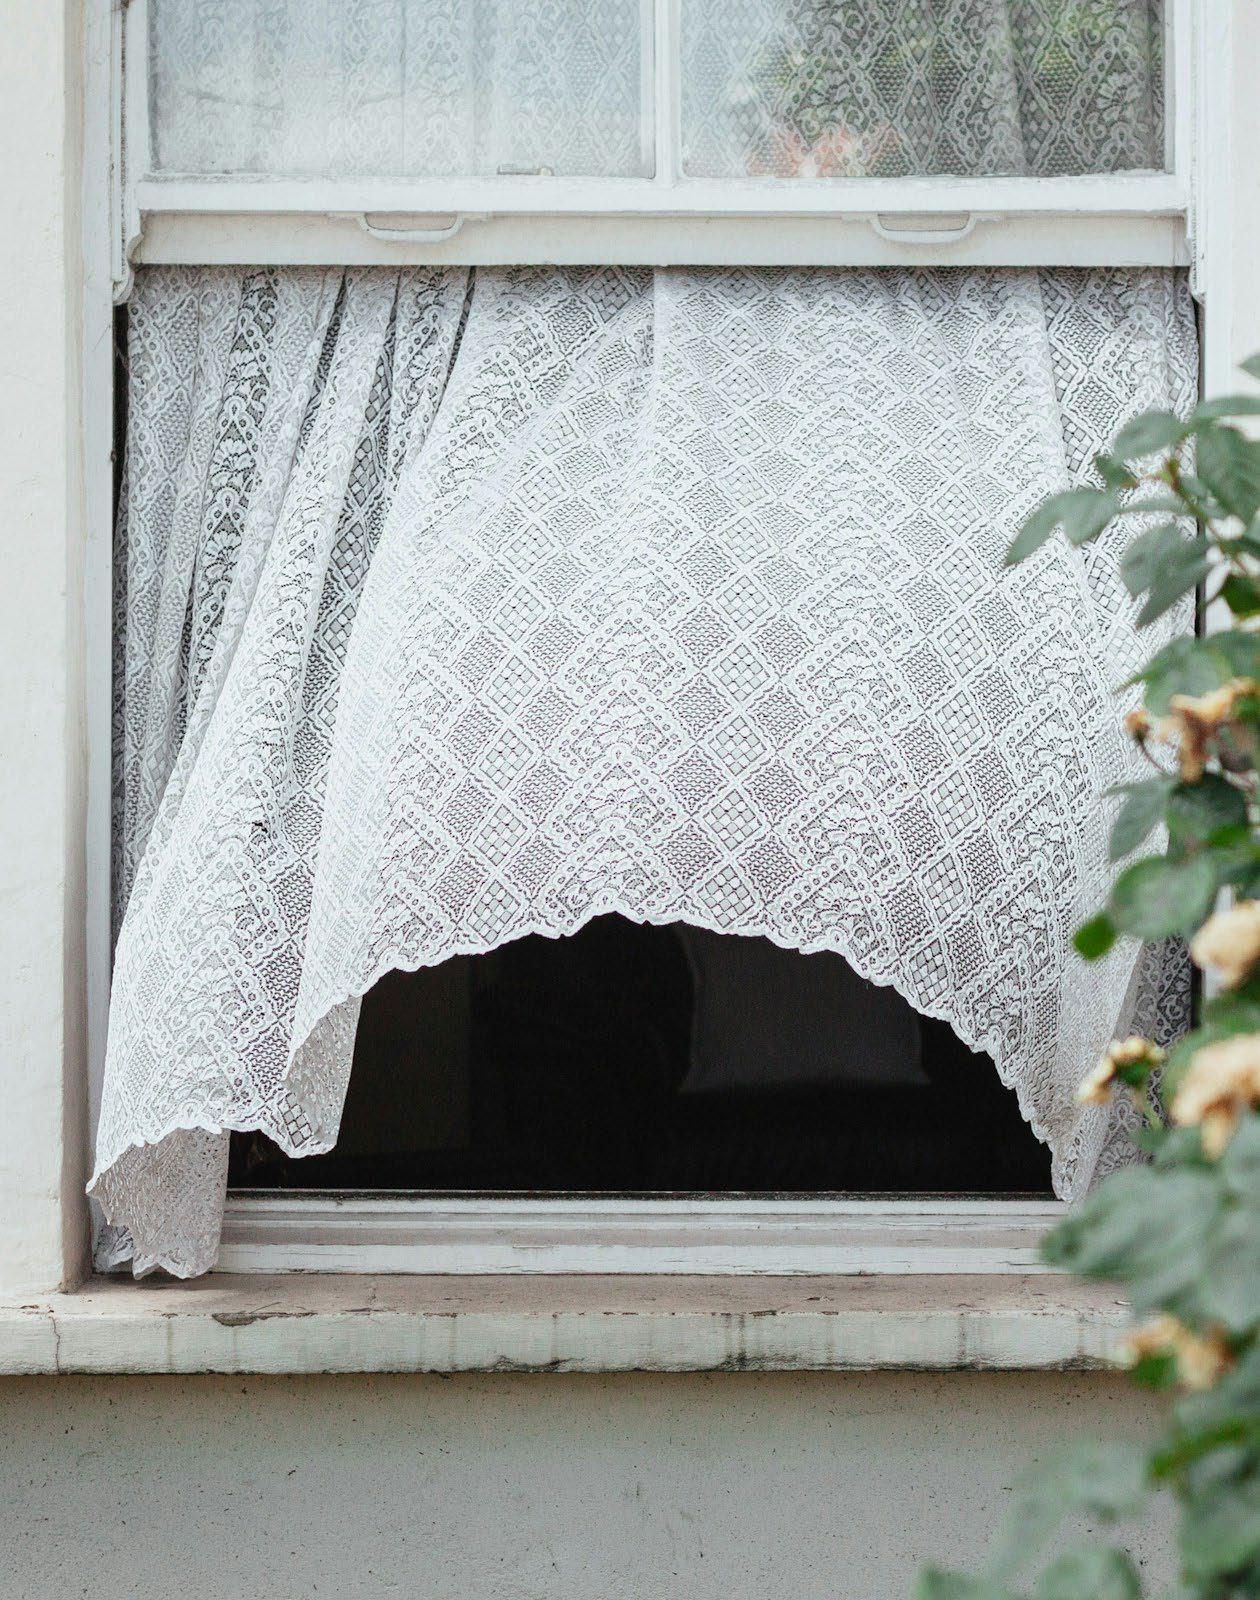
Draughts from leaky windows and old or poorly maintained ventilation systems can make homes cold and uncomfortable and increase heating bills.
C ‘the house is cold in winter and too hot in summer.’
Uninsulated walls, windows, roofs and floors mean it can be difficult and expensive to keep warm in winter. Some people also experience uncomfortable heat in the summer months.
D ‘lack of storage space’
Some residents feel the homes are on the smaller side and don’t offer enough built-in storage.
E ‘history of disrepair and poor maintenance’
Many of the issues above can be made worse by poorquality repairs or short-term fixes that don’t address the underlying problem.
A Damp on internal walls and windows
B Leaky windows
C Uninsulated walls, windows, roofs and floors
D Insufficient internal storage
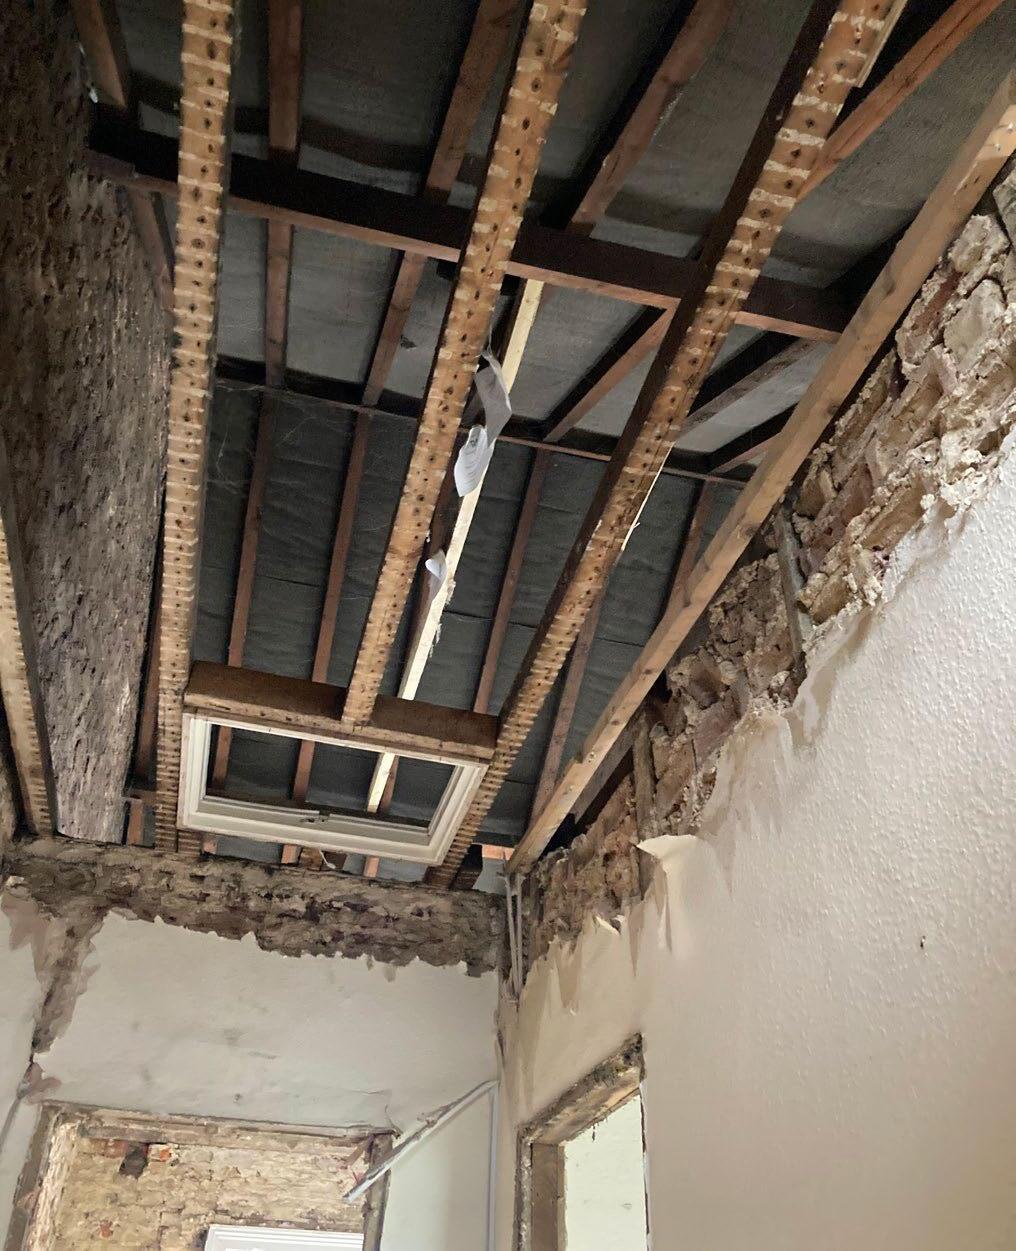
Image showing roof battens and loft insulation
2.
Explore your upgrade options
Learn about different ways to improve your home, the benefits and what to consider when choosing what’s right for your home.
Strategies to improve your home
There are five key strategies for making an Avenues home healthier, more comfortable and cheaper to run. Each offers a range of home improvement options designed to meet the needs and constraints of a typical Avenues home, and the local context including conservation area rules.
This chapter sets out the benefits of each option and the key things to consider when choosing the right improvements for your home.
These strategies work best when planned together as part of a long-term, whole-home approach. This means thinking about all five strategies fit together, even if you carry out upgrades in stages.
Planning ahead helps avoid unintended consequences – where one change creates a new issue or limits what you can do later – and ensures that improvements you make now support future upgrades as budgets, maintenance needs or other circumstances allow.
Filling gaps and cracks that let in cold draughts will make your home more comfortable and easier to keep warm.
Like putting on a coat in winter, adding an additional insulating layer to your home helps keep warmth inside and can significantly reduce your energy bills.
2. Insulate
1. Improve Airtightness
Regularly replacing damp, stale air with fresh air helps prevent damp, condensation, mould and poor indoor air quality.
Switching to electric heating and generating your own electricity gives you greater control over your home’s temperature and your energy bills.
Preparing your home for hot weather gives you greater control over comfort and wellbeing, especially during heatwaves.
5. Beat the heat
4. Switch from gas to electric
3. Ventilate
Key considerations
There’s a lot to think about when deciding what improvements are right for your home. Every option comes with trade-offs and you’ll need to weigh up the benefits against the costs and practicalities.
Some upgrades are low-cost or even free, while others require significant investment. Think about your budget, affordability, and whether any financial support or grants might be available.
Some improvements take up space, which is often at a premium in the Avenues. Consider the space implications and whether you’re willing to give up space inside your home.
Some improvements can be done quickly with minimal fuss. Others may involve noise, dust or restricted access. You might need to move furniture or occasionally move out temporarily while work is taking place.
Certain improvements only work well if you change how you use your homefor example, how you heat, ventilate, or manage humidity. Consider whether your household could adapt to new routines.
Some changes can alter the appearance of your home. Think about whether you’re comfortable with the changed aesthetic. While some upgrades are simple to look after, others require regular maintenance, servicing, or filter changes. Make sure the level of upkeep suits your lifestyle.
Some changes are DIY friendly. Others must be installed by a qualified professional to ensure safety, performance and compliance. Consider the skills required and who would do the work. (For more information on DIYfriendly measures and finding the right experts see pages 50 - 51)
Some changes require planning permission or building control signoff, and many changes need landlord approval. Make sure you understand what permissions are required and allow time to get proper approvals. (For more info on permissions see page 52)
Improve Airtightness
Improving the air tightness of your home helps reduce cold draughts and keep warm air inside, making your home more comfortable and easier to keep warm.
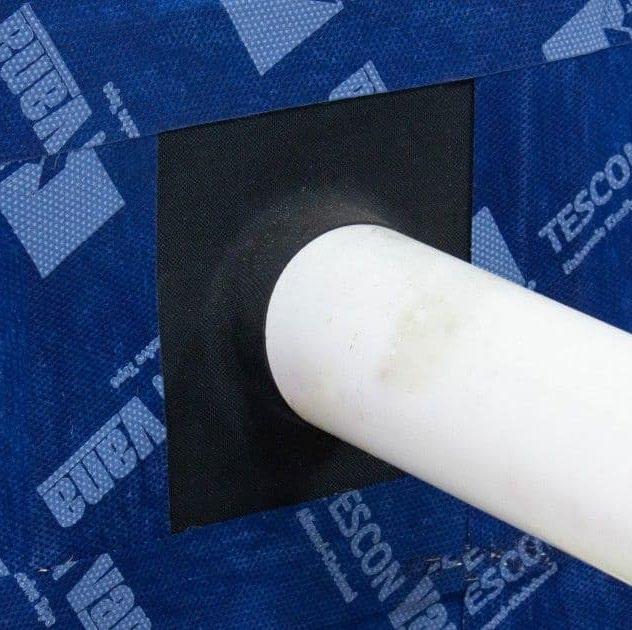
This is done by identifying and repairing cracked plaster and filling gaps around windows and doors and in places where cables or pipes pass through the walls or ceilings. Most of these small fixes can be done as DIY, but anything involving electrics –such as fixing gaps around light fittings – should be handled by a qualified professional.
Airtightness must always be considered together with ventilation (see page 34). The natural “leakiness” of Avenues homes often acts as a form of background ventilation. If gaps are sealed without ensuring suitable ventilation, moisture can build up and increase the risk of damp and mould. For example, if your chimney is blocked to reduce draughts, it’s important to ensure another form of ventilation is in place so moisture can escape.
Most airtightness improvements are internal or have minimal impact on the appearance of your home, so they don’t require planning permission or building control sign off. The exact repairs needed will vary depending on the condition and maintenance of your home, but even small improvements can make noticeable difference.
Note: The cost estimates here, and on the following pages were made in December 2025 and will be subject to change including inflation. They do not include VAT, which is chargeable to some, but not all home improvements.
Plaster cracks
holes around services and light fittings
Estimated cost:
£70 per metre from £75 per fitting £300 £135 £140 each
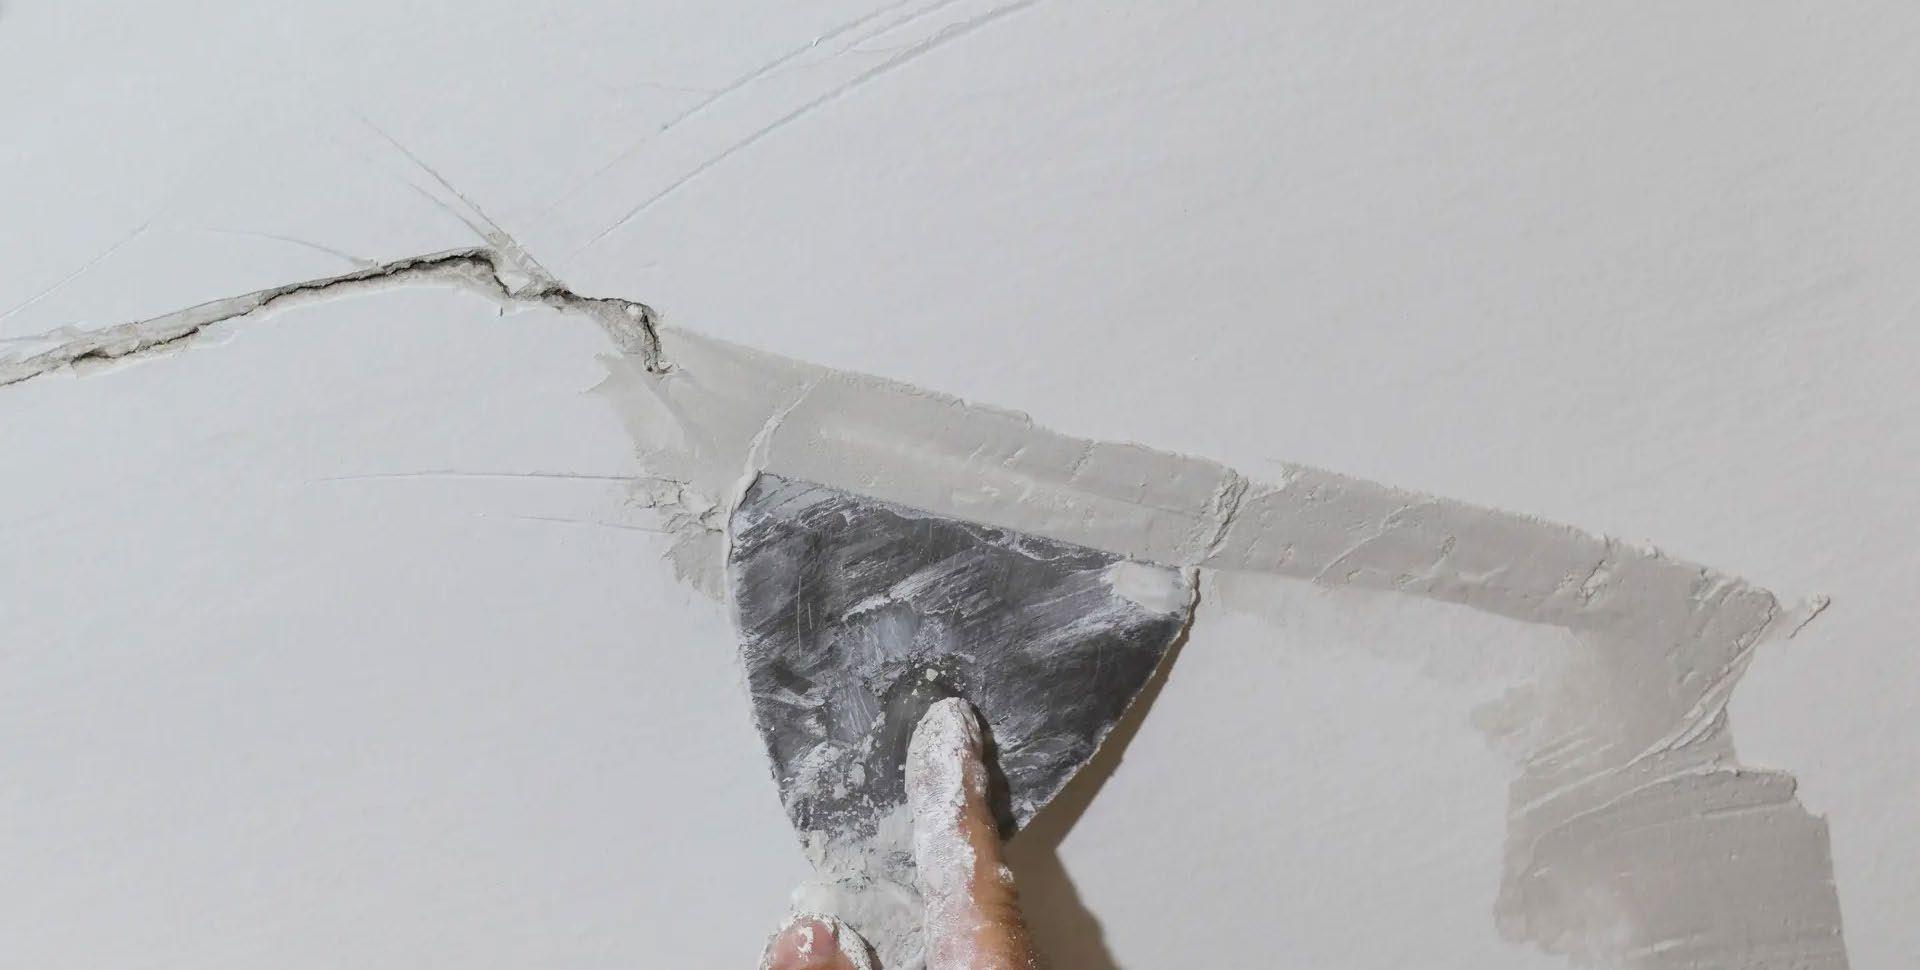
A Repair cracks in the plaster
Cracks in internal plaster are common, especially where walls and ceilings meet or around windows and doors. Small cracks can usually be repaired using lime-based filler or lime plaster, which you can buy from most home improvement stores. You can repair small cracks yourself, following the product’s instructions. Gypsum or cement-based products should be avoided as they can cause or worsen damp problems.
B Seal holes around services and light fittings
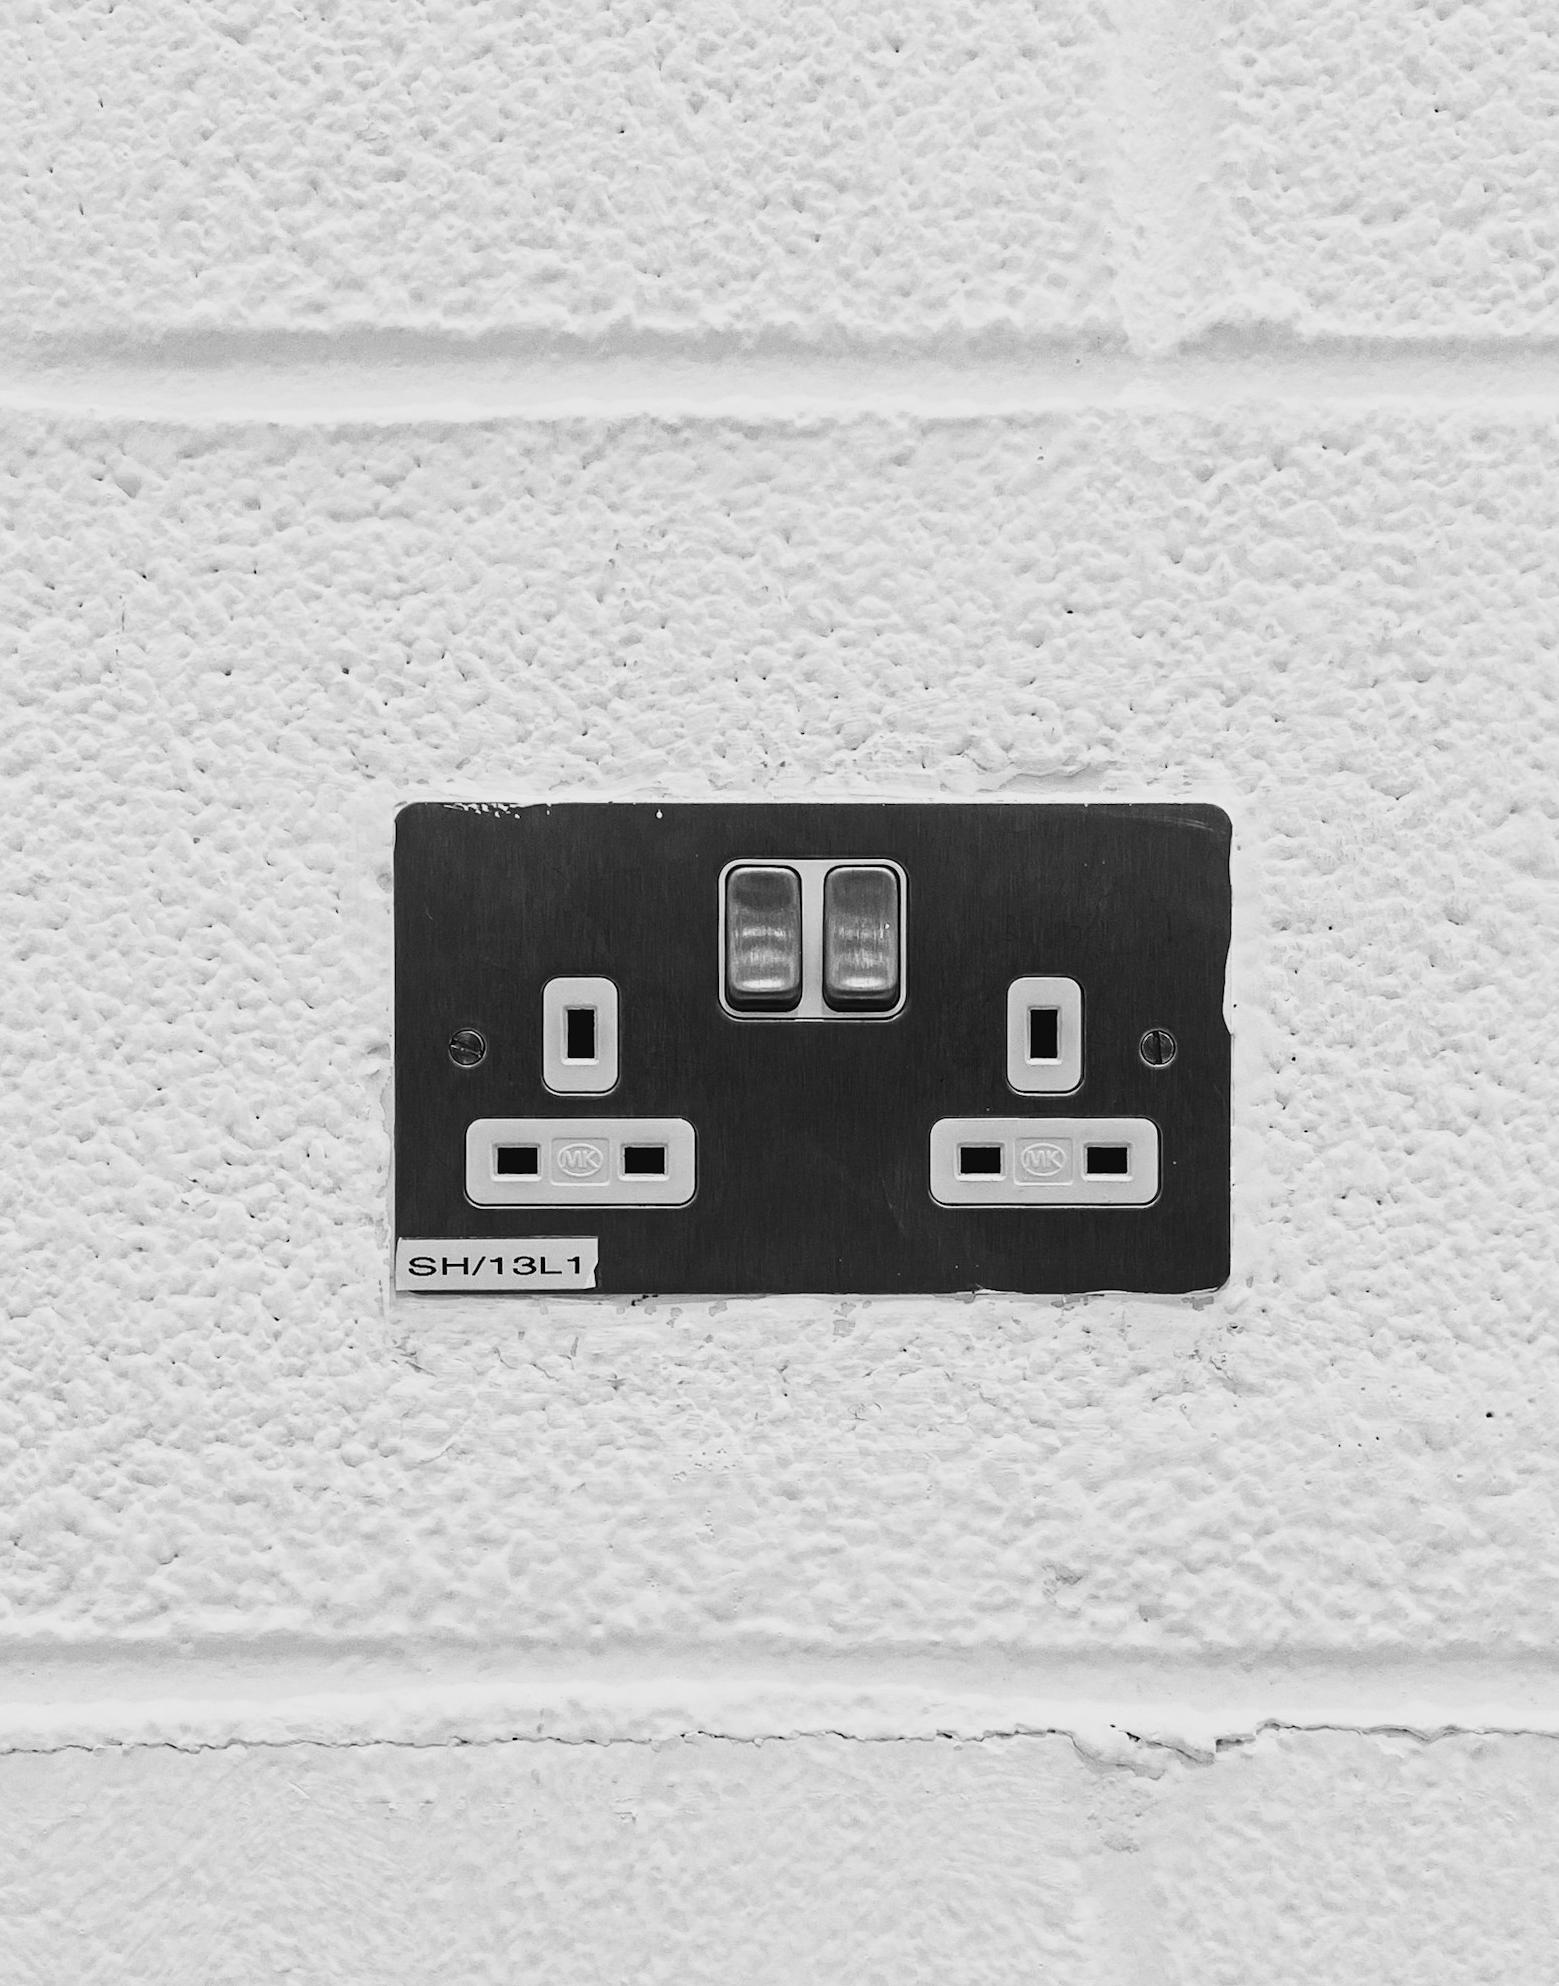
Gaps around pipes, cables, sockers or light fittings can be sealed using airtight grommets, collars or sealants designed for this purpose. For safety reasons, especially where electricity is involved, this work should be carried out by a qualified professional.
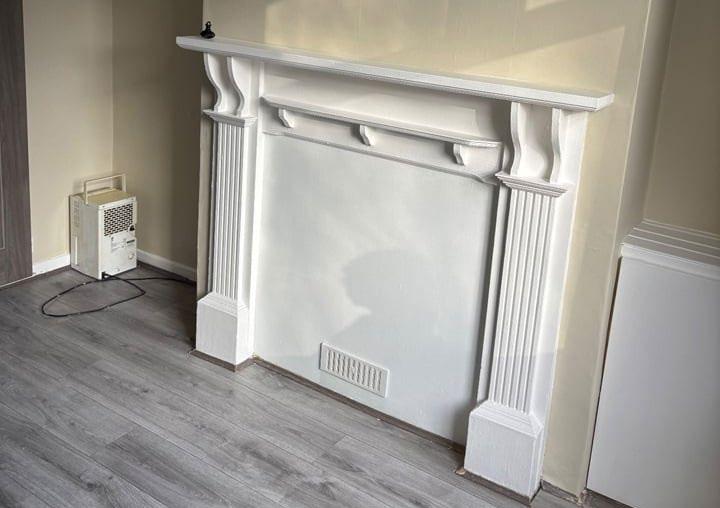
C Draught-proof fireplaces
Blocking up fireplaces can reduce the amount of air escaping through the chimney flue but if you do block up the fireplace it’s important to include a vent to allow some air to continue to pass through the chimney flue. If not, there is a risk that moisture will build up in the chimney flue, which could cause damp issues on the inside walls.
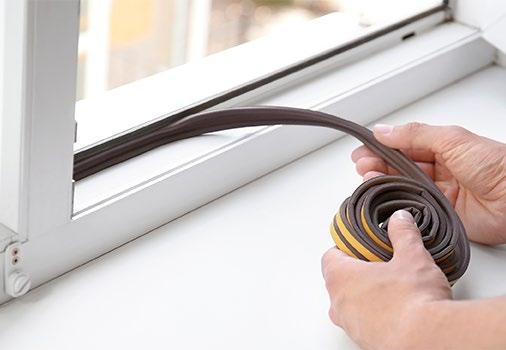
D Draught seals
Draught seals can wear out over time so they may need to be replaced to provide a good seal.
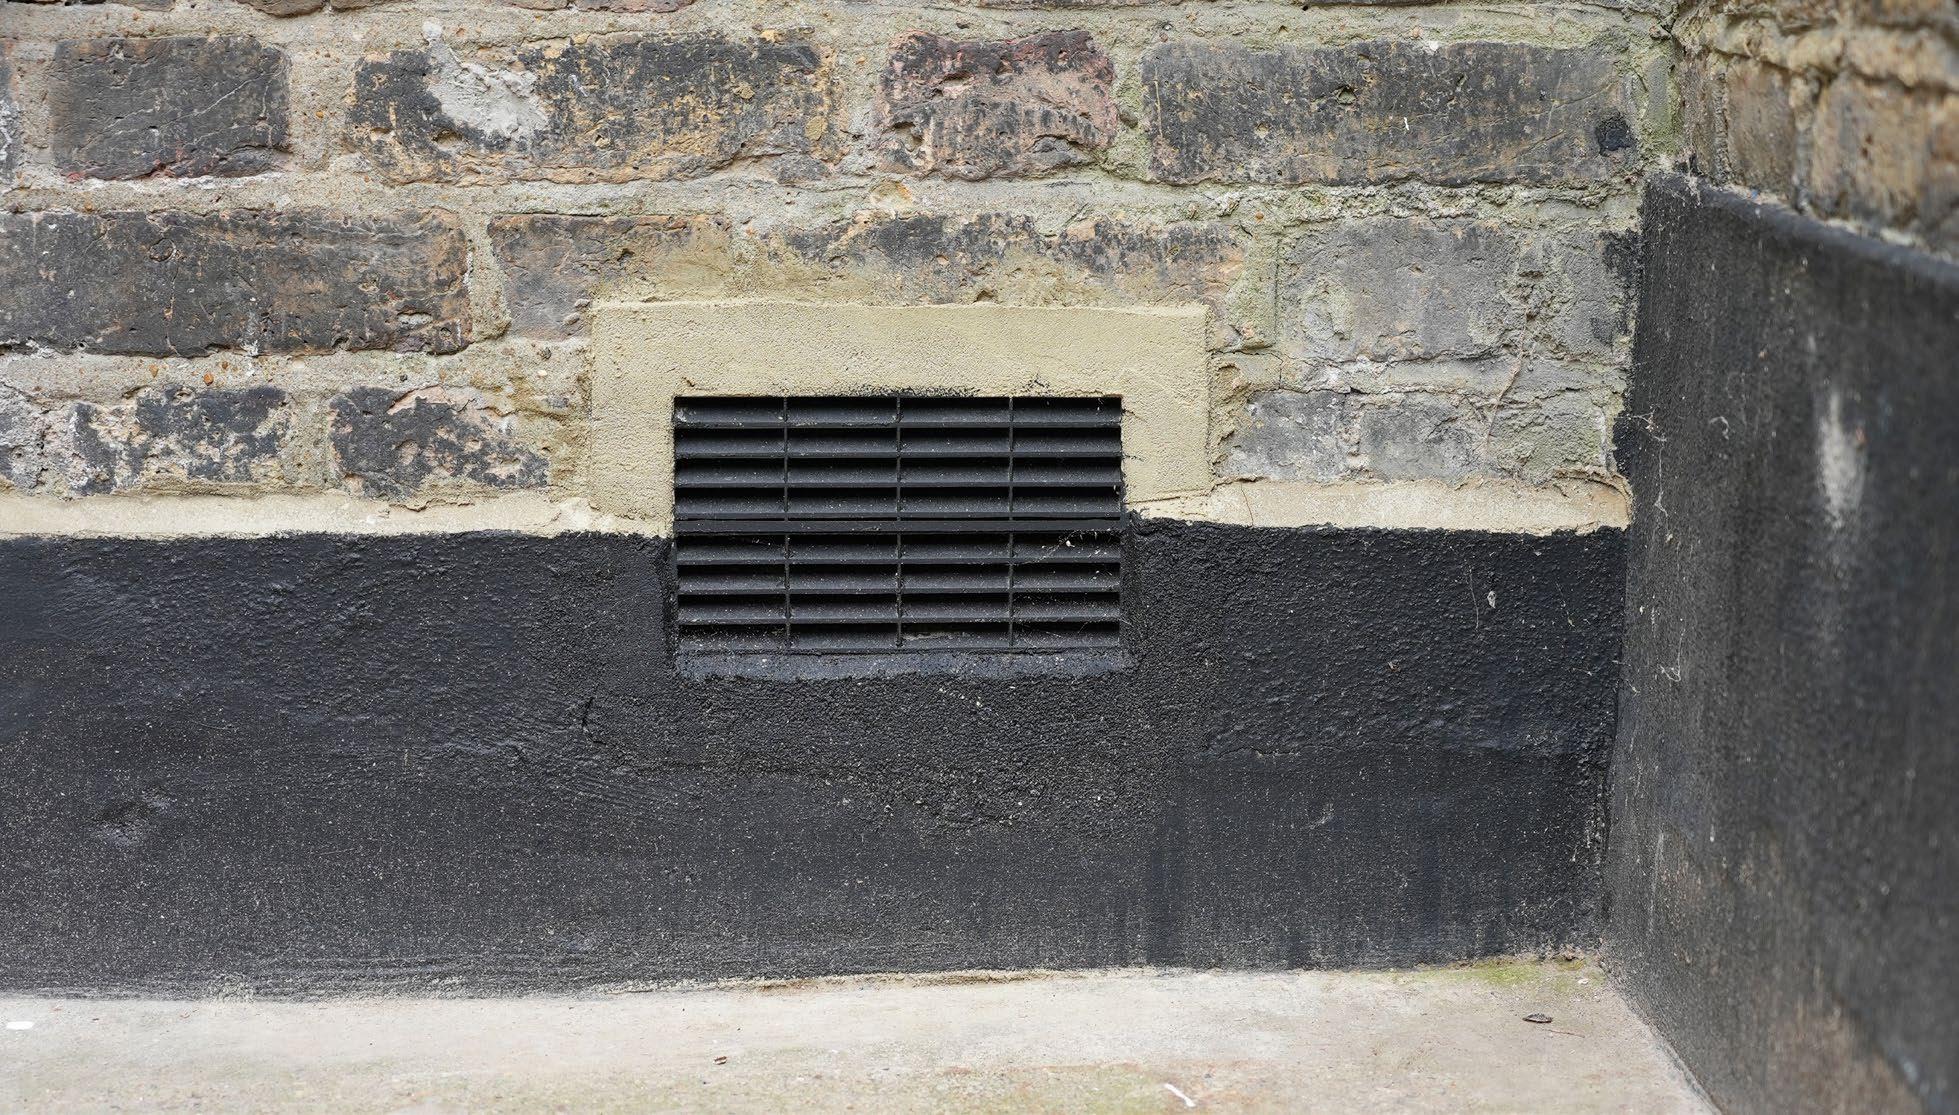
E Smart air bricks
To prevent draughts and heat loss through air escaping the property, smart air bricks can replace existing air bricks with minimal disruption to residents. They automatically detect temperature and humidity and close when it’s cold outside to prevent heat from escaping. They require minimal maintenance and operate automatically once installed, but batteries will need to be replaced periodically.
Insulate
The external ‘fabric’ of your home is everything that separates indoors from outdoors - your external walls, roof, windows, doors and ground floor. Insulating this fabric is a bit like using a tea cosy on a tea pot – it helps keep the warmth inside, where you want it. Fully insulating your home could reduce your heating requirements by around half, saving you money on energy bills.
The most effective approach is to create a continuous layer of insulation all the way around your home by adding thermally efficient layers (e.g. insulation) to the existing fabric. In reality, it can be difficult to insulate every element of an older property, but insulating even part of your home still makes a meaningful difference.
Insulation must be designed and installed in a way that protects the special character of the Avenues which means there are often more options for the rear of your home than on the front. You’ll need to consider the space that different options require, and ensure products used are breathable to reduce risk of damp and moisture problems.
By reducing heat loss, insulation helps your
heating system work more efficiently and is usually recommended as the first step before replacing your heating system. In many cases, this means you can then install a smaller-capacity, lower-cost heating system.
While secondary glazing and basic loft insulation can sometimes be done as DIY, most insulation work should be planned and installed by qualified professionals. This ensures the installation is done safely, correctly, and in a way that protects your home from unintended consequences like damp.
Estimated cost (full house):
£11,000-£15,000
£500-£5,500
£3,000-£5,000
£22,000
£2,000-£6,000
£3,000-£6,000
A Window upgrades
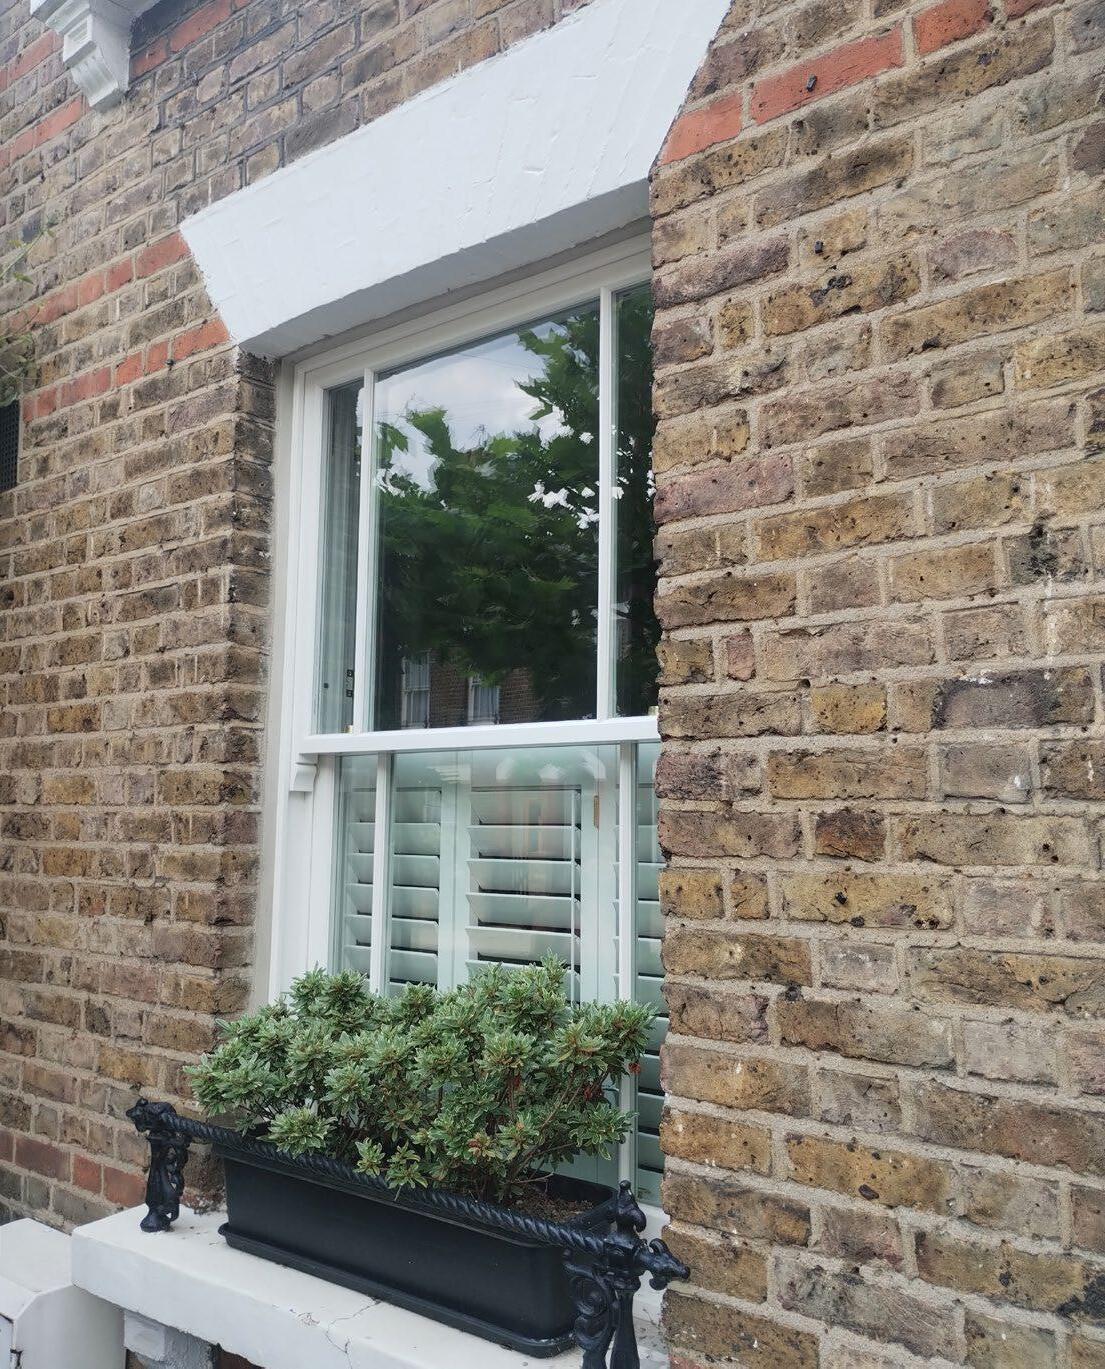
Replacing single glazed windows with double glazing (A1) reduces heat loss, noise and condensation. New frames or glass should match the original design. Planning rules are changing, so check the latest guidance to see if planning permission is needed (see page 52 for more info). An experienced professional can usually replace a window in a few hours.
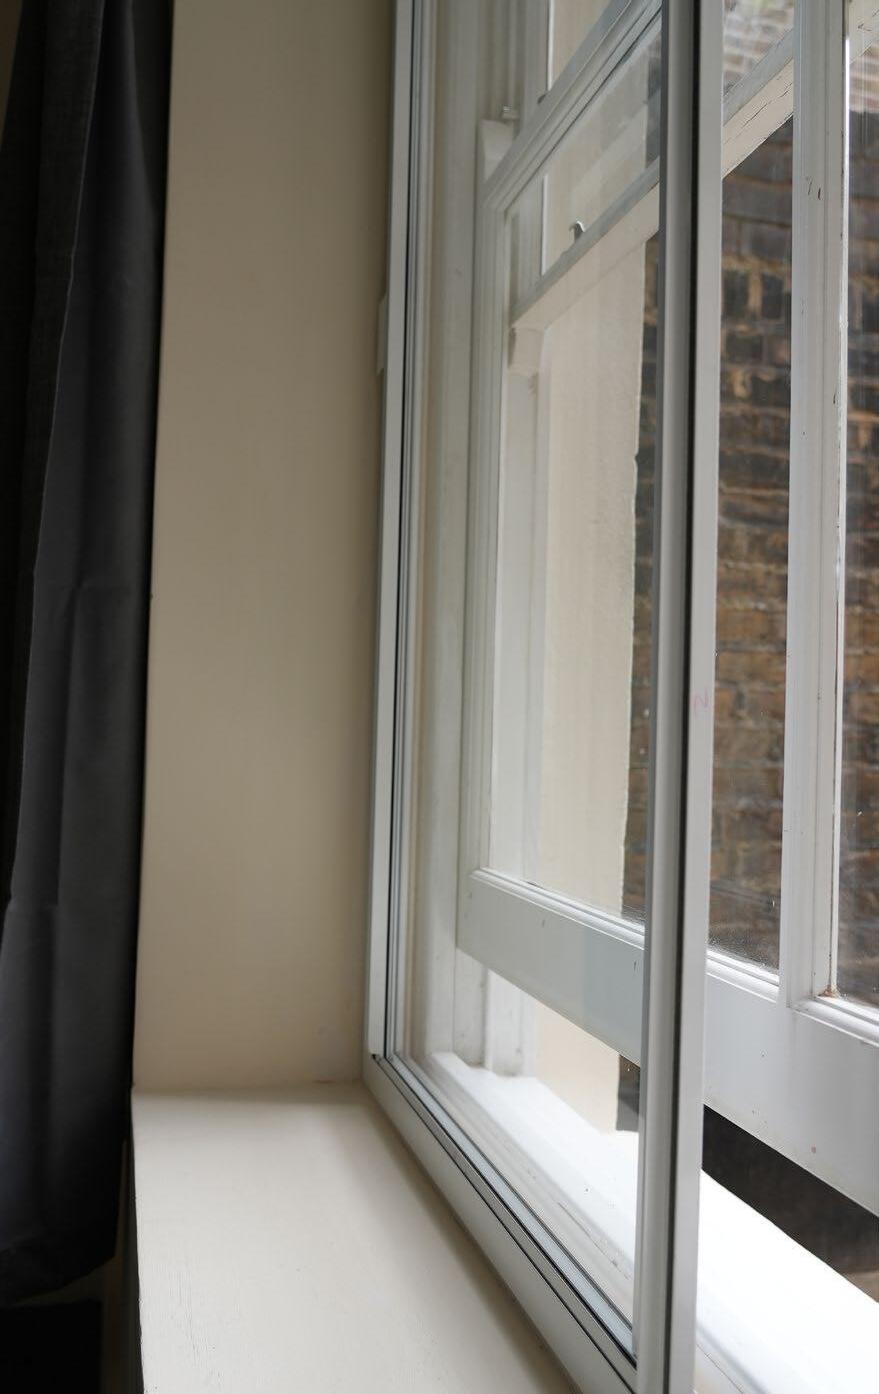
A more affordable (but less effective) option is secondary glazing (A2), which adds a second frame and pane of glass on the inside of your existing window. It needs a deeper window frame than most Avenues homes have, so is often paired with internal wall insulation which provides this depth. Planning permission is not required.
B Repair or replace doors
Rear doors can be replaced with modern airtight, insulated versions. Historic front doors must be repaired, not replaced, to maintain the area’s character. Repairs may include fixing cracks, replacing draught seals, renewing sealant or adding secondary glazing. Fixing warped doors or frames may require temporarily removing the door for workshop repairs.
If a non original front door was installed before the current rules, it can be replaced with a replica of the original design.
C Internal wall insulation (IWI)
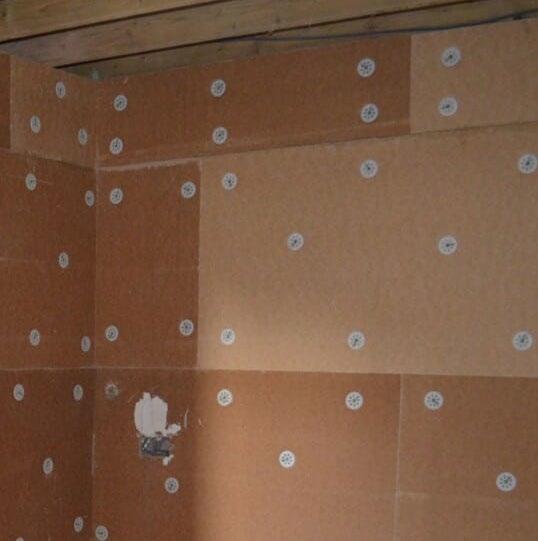
There are two main options for insulating the inside of your walls. Breathable wool or wood fibre insulation (C1) is the most effective option. This requires fixing rigid boards to the inside of external-facing walls and finishing them with a smooth lime plaster. This adds up to 10cm to the thickness of the wall and requires special fixings to attach heavy items such as shelving.
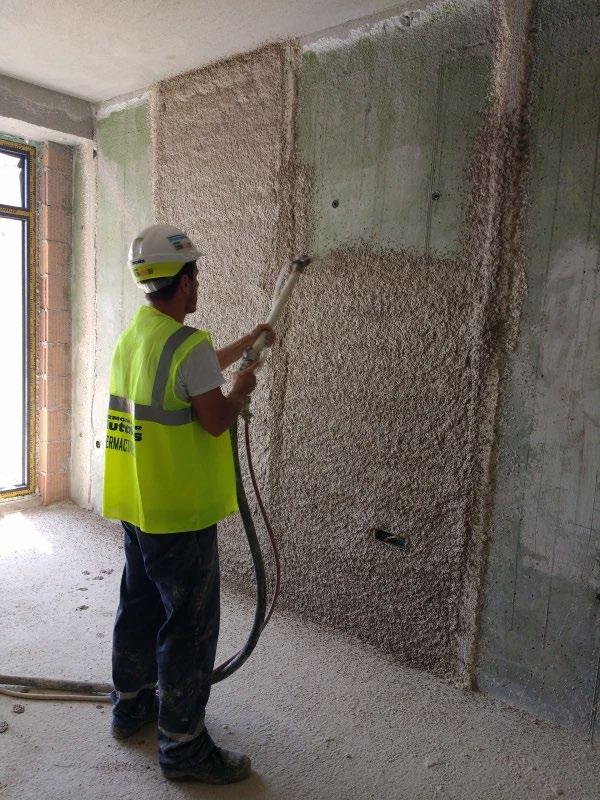
To save space, you could instead apply a 2 –2.5cm thick layer of Diathonite plaster (C2) directly to the brickwork. This saves space but is slightly less effective than board systems.
Focus on external walls, as internal and party walls lose little heat. Installation can be disruptive and usually requires moving furniture. Always use a qualified professional and use breathable paint when decorating.
D External wall insulation (EWI)
Insulating walls from the outside avoids losing space indoors. It requires removing downpipes, external lights and other external fittings, carefully preparing damp-proof layers and waterproofing, fixing rigid boards using specialist adhesive and mechanical fittings, finishing with brick slips and reinstalling fittings such as downpipes.
F Roof/loft insulation
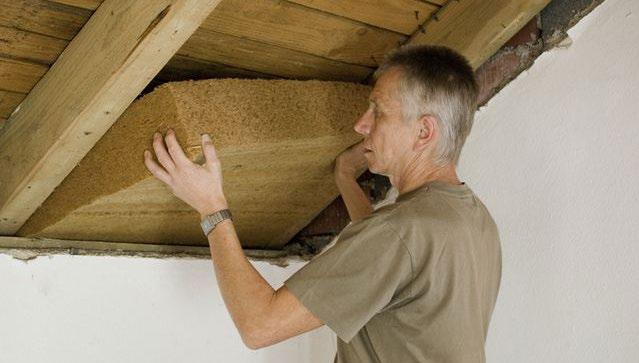
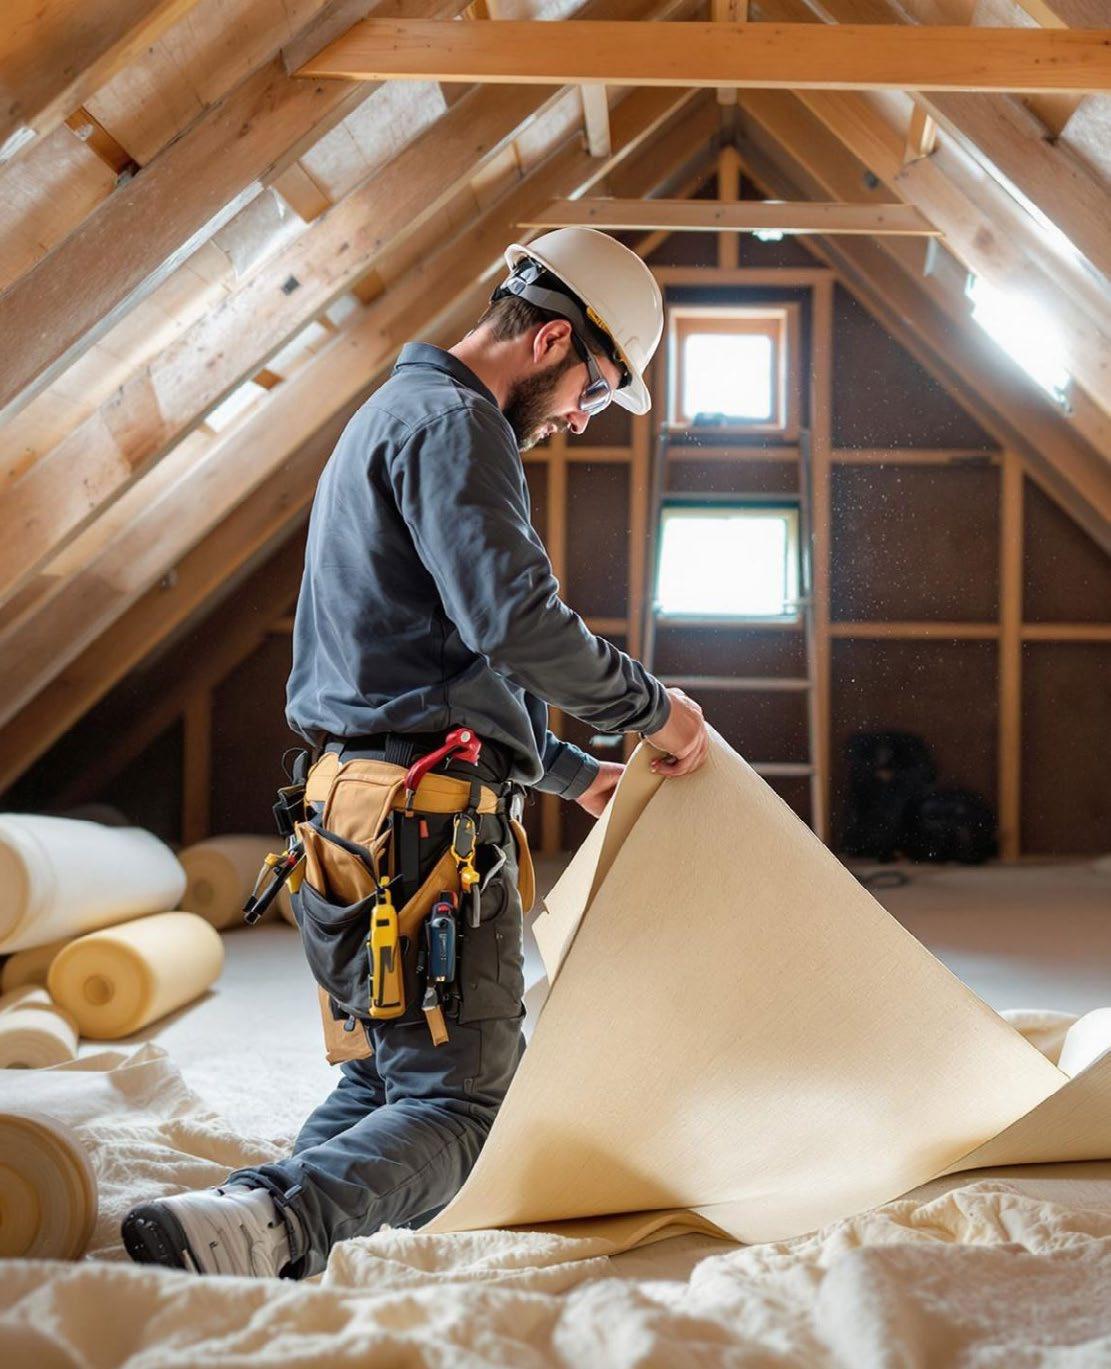
If your loft is unused or only used for storage, insulation can be added at the ceiling level –potentially a DIY task (F1). If you have a loft conversion or plan to install a MVHR, insulation must go at the pitched roof line instead (F2). High-performance materials like Aerogel can help maintain head height, though cost more than wood-wool alternatives.
Standard systems would change the appearance of your home and not meet local planning rules. Only carefully designed, heritage-sensitive systems may be acceptable but will cost more and require planning permission.
E Floor insulation
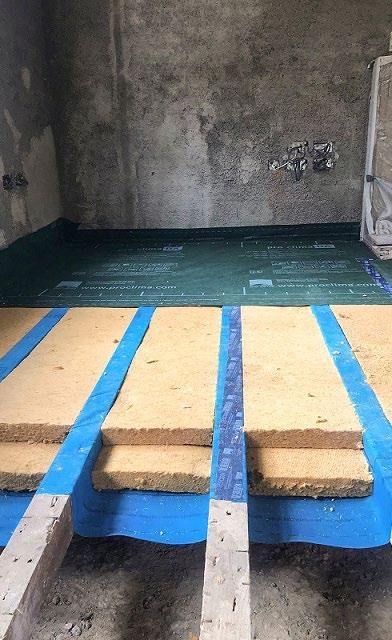
Subfloor insulation can be added beneath suspended timber ground floors, while slab insulation can be laid on top of concrete floors common in rear outriggers. Both options are disruptive: subfloor insulation requires lifting floorboards, while slab insulation may require removing and refitting kitchens or bathrooms.
F2
Ventilate
Ventilating your home - replacing damp, stale air with fresh air - is essential for preventing problems like damp, mould, condensation and poor air quality. Good ventilation is even more important if you are making your home more airtight or improving insulation, as moisture can build up more quickly.
Opening your windows for a few minutes, a couple of times a day is the simplest way to refresh the air. However, this can be hard to keep up yearround and may not provide enough ventilation on its own to keep your home dry and healthy.
There are several mechanical ventilation options available – each with different costs, space requirements and level of disruption during installation. These range from basic extractor fans – common in many Avenues today – to more advanced systems that warm up fresh air before it enters your home.
Most ventilation systems do not require planning permission, but they must be installed by a qualified professional to ensure they are installed and work safely and effectively.
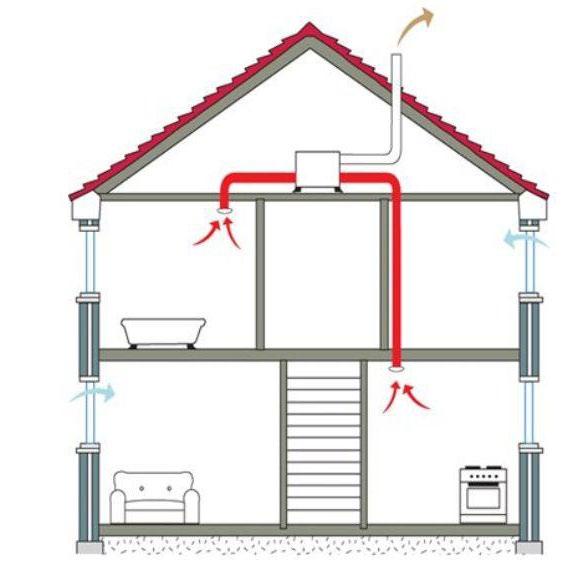
A Centralised Mechanical Ventilation with Heat Recovery (MVHR)
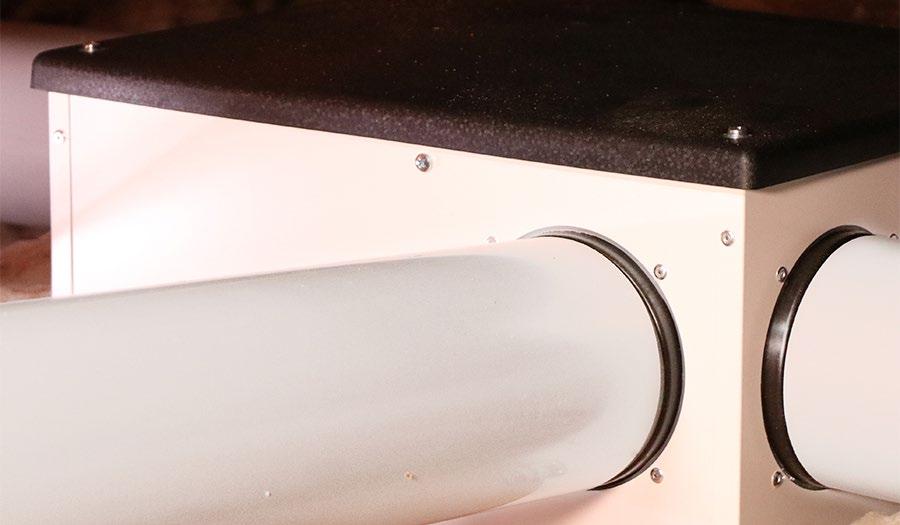
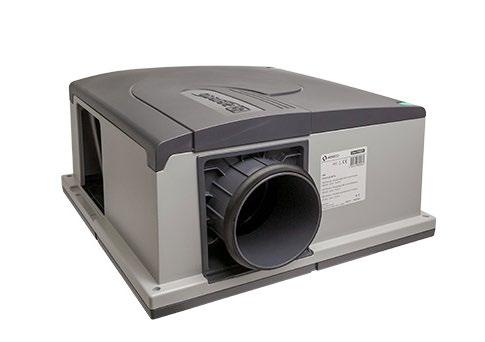
A centralised MVHR system supplies fresh, filtered air while extracting stale air. By recovering heat from outgoing air, and warming up incoming air, it reduces heat loss and helps maintain a comfortable indoor temperature. The main unit would typically be placed in an insulated loft. Installation requires ductwork routed throughout the house to reach each room, which can be disruptive, as ceilings and walls may need drilling and making good. Fitting and boxing in the ducts could take a couple of weeks.
B Decentralised Mechanical Ventilation with Heat Recovery (D-MVHR)
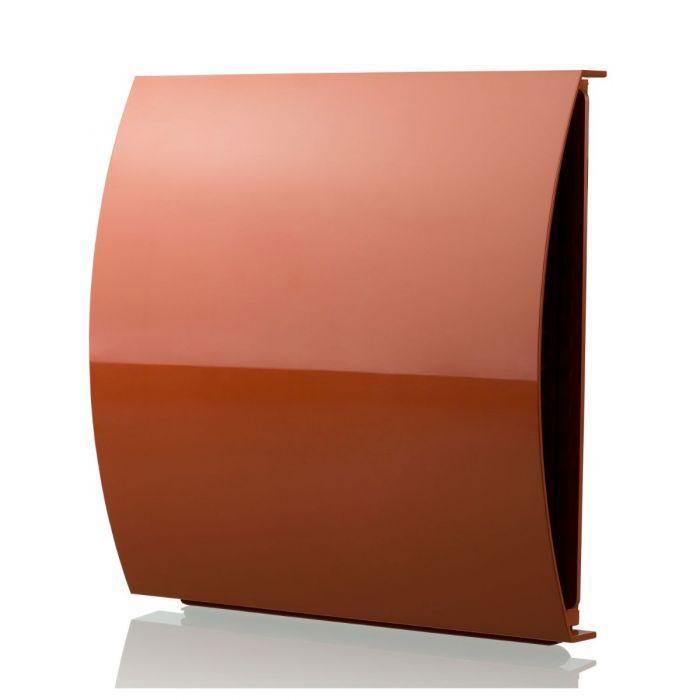
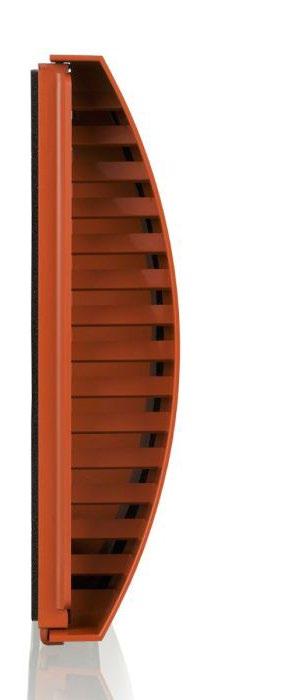
Decentralised MVHR units provide room-by-room ventilation with some heat recovery, but without the need for extensive ductwork. Each room has a small internal unit fitted to the wall with an external vent, making them quicker and less intrusive to install than a centralised system. However, they’re roughly less effective than a more powerful centralised system, and they require making holes in the external walls.
External vents that are visible from the street require planning permission. They will need to be installed in the same location as existing air bricks and be a discrete design that closely matches the existing appearance.
Suitable locations for DMVHR vents (to replace existing air bricks)
C Mechanical Extract Ventilation
MEV is a simpler and more affordable alternative to MVHR. It removes moisture and stale air through extract fans - either individually or via a quieter centralised unit in the loft. MEV does not provide filtered fresh air or recover heat, and must be paired with replacement windows that include trickle vents, which can cause cold draughts in winter. MEV is suitable for homes needing additional ventilation when installing internal wall insulation but offers fewer comfort benefits than MVHR.
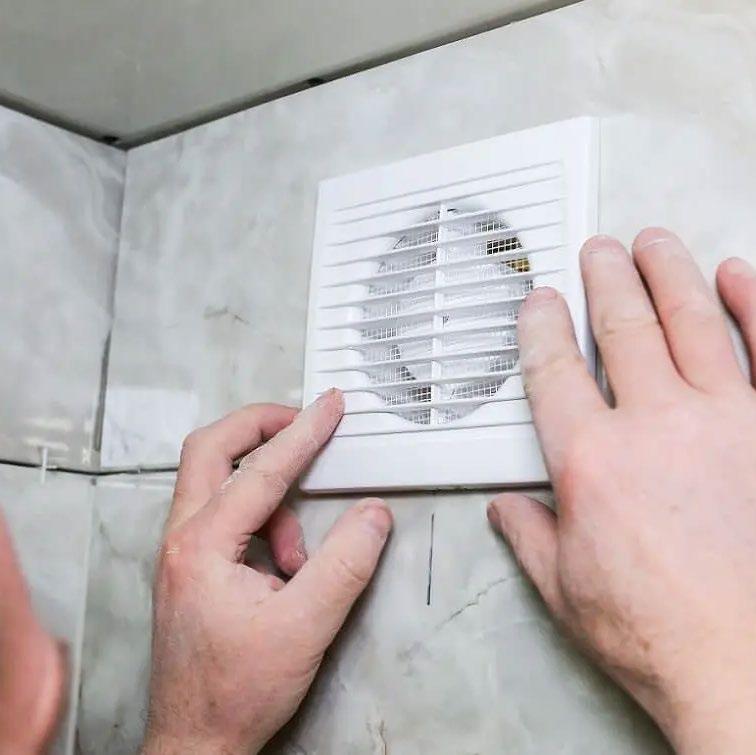
D Extract-only Fans
Standard extract fans can help remove moisture and improve indoor air quality in kitchens and bathrooms. They are inexpensive and straightforward but do not provide balanced ventilation or heat recovery. Extract only systems should be used as part of a wider ventilation strategy, not as the sole measure in a tightly insulated home.
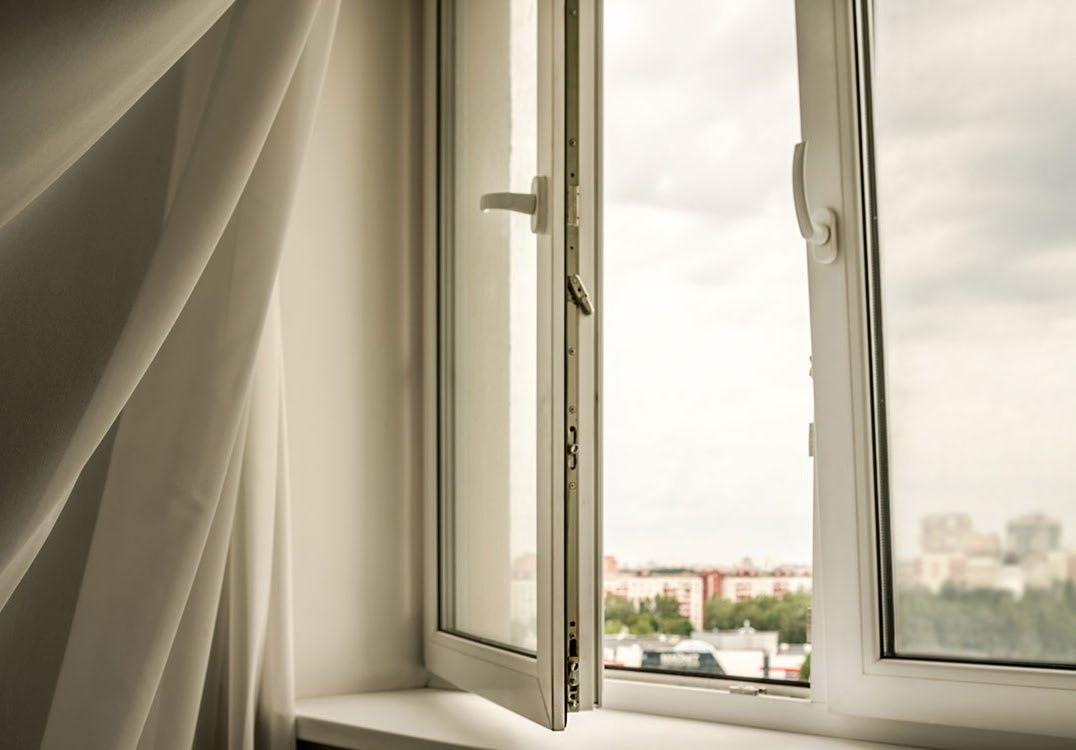
E Purge Ventilation
Opening windows on both sides of your house at the same time is a free alternative way of quickly flushing out damp or stale air. Do this a few times a day, for a few minutes at a time to minimise heat loss. This is a common practice in Germany, where it is called Stoßlüftung, and should be adopted as a regular habit to prevent damp & mould.
Switch from gas to electric
Switching to electric heating and generating your own electricity can give you energy security and greater control over the temperature of your home and your energy bills. It can also reduce your home’s energy emissions by around 90%.
Modern heat pumps are highly efficient and provide steady heating and hot water. Although they run on electricity, they extract most of their energy from heat naturally present in outdoor air – and can do this efficiently even in sub-zero temperatures. They perform best in well-insulated homes, which reduces the overall heat your home needs.
Because electricity is currently more expensive than gas, a heat pump on its own may not reduce your energy bills significantly unless you also generate your own electricity with solar panels. However, heat pumps are expected to become more cost-effective over time as gas prices increase relative to electricity.
Even if you don’t switch to electric heating, solar panels remain one of the most effective ways to reduce your energy bills. The electricity they produce can power appliances in your homes, with any excess sold back to the grid or stored in battery for later use.
By switching your cooking from gas to electric you could fully disconnect from the gas grid, making your home gas-free and avoiding daily standing charges.
Most of these improvements can be done without planning permission, but they must be installed by qualified professionals to ensure safety and compliance with design standards outlined on the following pages.
A Air Source Heat Pump (ASHP)
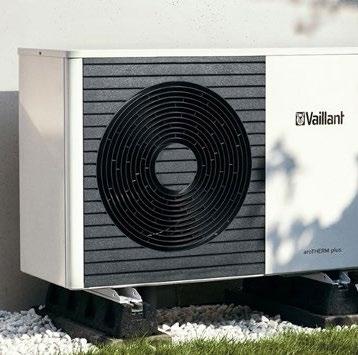
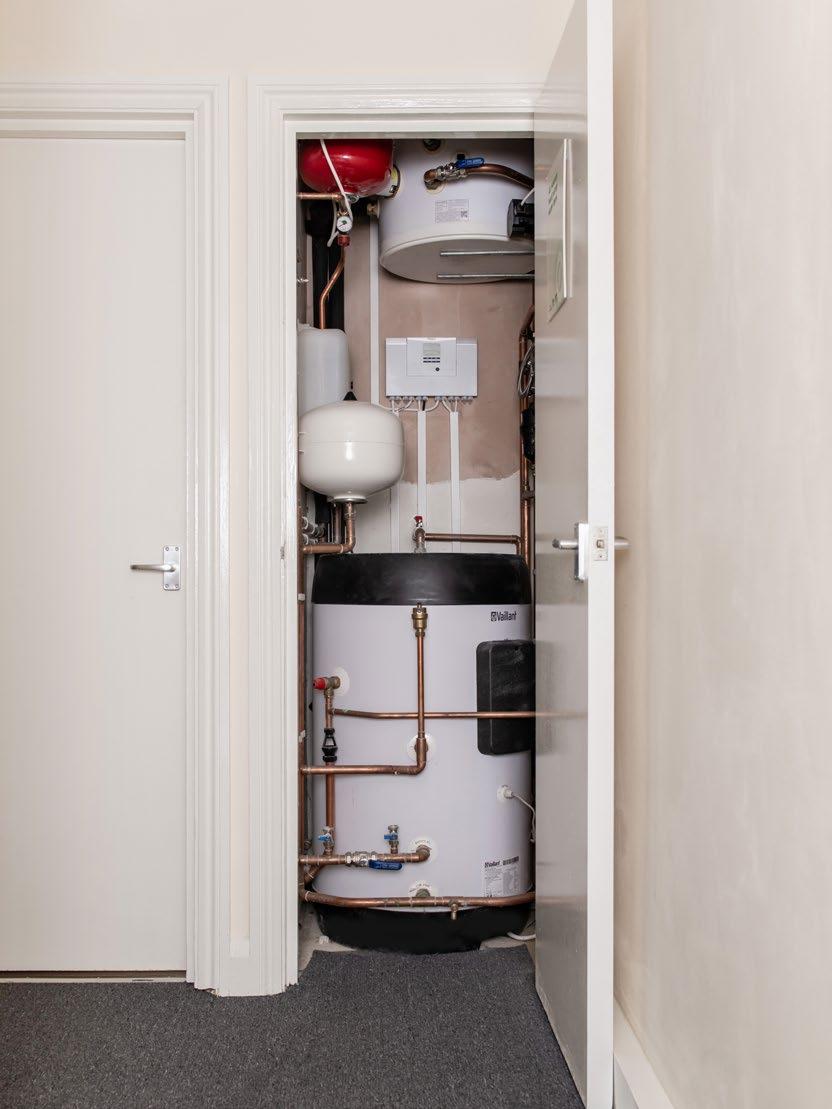
An air source heat pump works like a fridge in reverse, extracting heat from the outside air (even at sub-zero temperatures) and condensing it to heat your home and hot water. Installing a heat pump requires a condenser unit (A1) at the back of your home and a hot water cylinder (A2) indoorslikely under the stairs or in the loft – to store hot water. Installation usually takes around two weeks. Planning permission is not required if the outdoor unit is at the rear of your home.
B Radiators
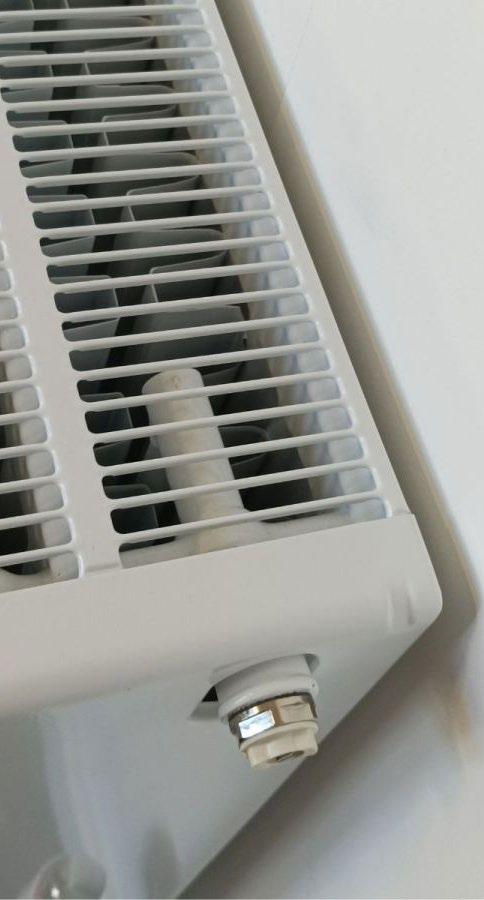
Heat pumps run at a lower temperature than gas boilers, so you will likely need larger or additional radiators to be installed to deliver enough heat. Works can usually be installed within a day or two.
C Underfloor Heating
Underfloor heating is an alternative to installing more or larger radiators. It provides even warmth and frees up wall space. Installation requires lifting the floor, so is disruptive. It could be fitted at the same time as floor insulation to make the most of the disruption.
D Solar Panels
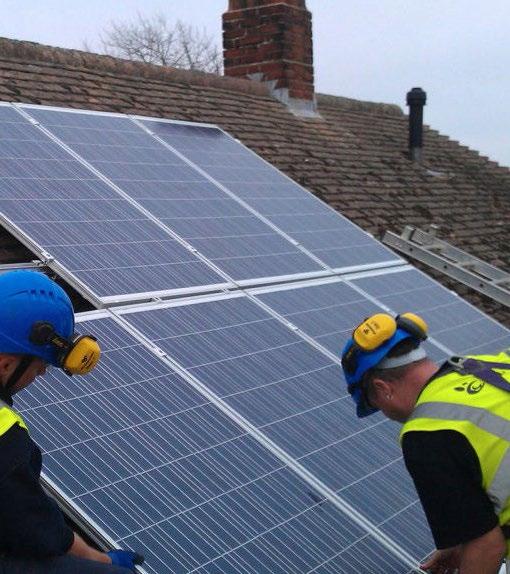
Solar photovoltaic (PV) panels convert sunlight into electricity for your home, reducing how much you need to buy from the grid. Any surplus can be sold to the grid or stored in a battery for later use.
Panels work best on south-facing roofs, but east and west-facing panels can also perform well. They must be grouped together and evenly spaced, aligned with the slope of the roof, and not sit higher than the tallest point of your roof (excluding the chimney). Your roof must be surveyed by an engineer or qualified PV installer to ensure its strong enough to hold the PV panels.
A1
A2
E Battery storage
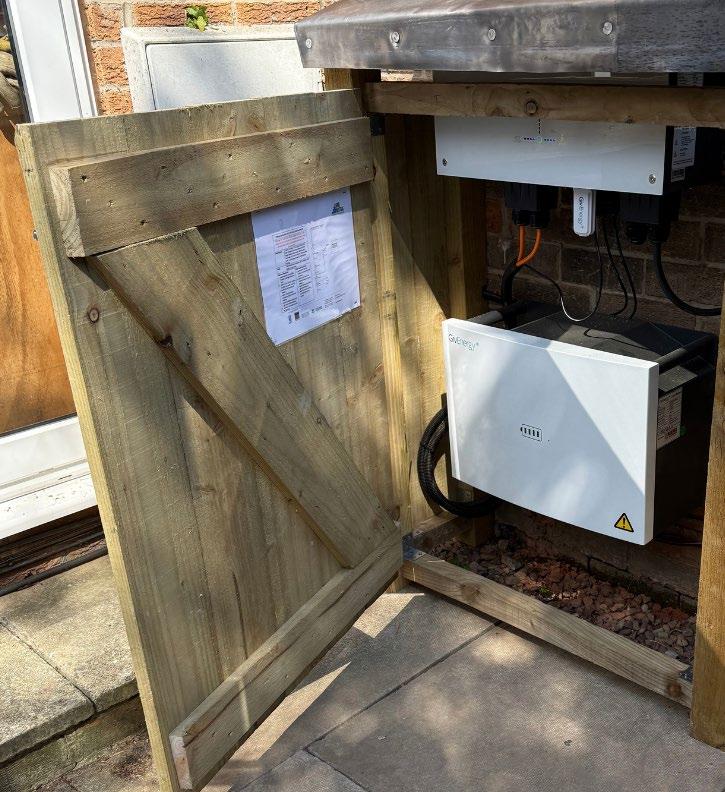
A battery stores electricity generated from your solar panels during the day so you can use it in the evening or at night. This helps you use more of your own electricity and reduces how much you buy from the grid. They can’t be stored inside, so should be located in your back garden. As it’s an expensive piece of kit, it’s best to store it in a secure, lockable enclosure for security.
F Smart Controls
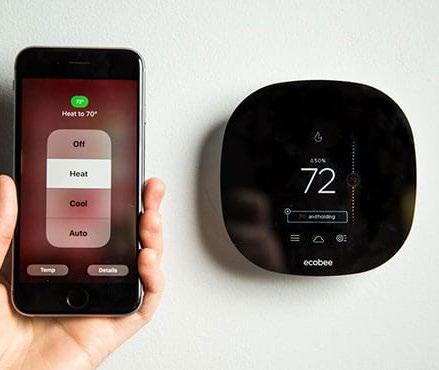
Smart controls help you manage your heating and electricity use more efficiently, optimising heat schedules. They can be programmed to automatically turn the heating off when you are out of the home, or when the home is already at a comfortable temperature. They can help you create bespoke heating schedules for your home suited to your lifestyle. Installation is simple and should only take a couple of hours. They are typically controlled via a smartphone App.
G Electric cooking
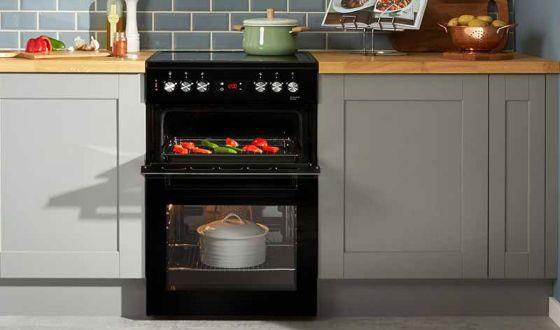
Switching from gas to an electric hob is a quick and simple upgrade to reduce moisture and nasty air pollutants (both by-products of burning gas). Depending on your existing setup, installation usually takes a day or less.
Preparing your home for hot weather can give you greater control over your comfort and wellbeing, especially during heatwaves. By reducing unwanted heat, you could halve the number of hours your bedrooms are above the maximum safe temperature for sleeping (26°C).
It’s also important to strike the right balance. Sunlight is beneficial in winter, so focus on rooms that receive the most direct sun in summer, typically east, south or west-facing rooms, especially on upper floors. Where possible, choose seasonal or adjustable solutions that block heat in summer but still allow warmth in colder months.
The most effective approach is to stop heat before it gets inside. This can include shading (like blinds or shutters), heat-reflective glazing, or planting that blocks direct sunlight. When combined with good ventilation, opening windows to let cooler air in once outdoor temperatures drop, these passive measures will provide most of the cooling your home needs.
Mechanical cooling (such as air conditioning) should only be considered if your home is particularly at risk, or if someone in your household is vulnerable to high temperatures. These systems can be costly to install and run, so are typically seen as a last resort rather than a first step.
Most of these measures can be installed without planning permission, and many are suitable for DIY. Mechanical systems, however, will usually require professional installation.
Heat-Reflective Windows
Heat-Reflective Film
External Awnings
Internal Shutters/Blinds
External Greening
Ceiling Fans
Air-to-Air Heat Pump
A Heat-Reflective Windows
If you’re replacing your windows, you can choose heat reflective (‘low g-value’) glass for rooms that are prone to overheating. Because this type of glass reflects heat all year round, it’s best to use it only in rooms that regularly get too hot, as it can also reduce useful solar warmth in winter.
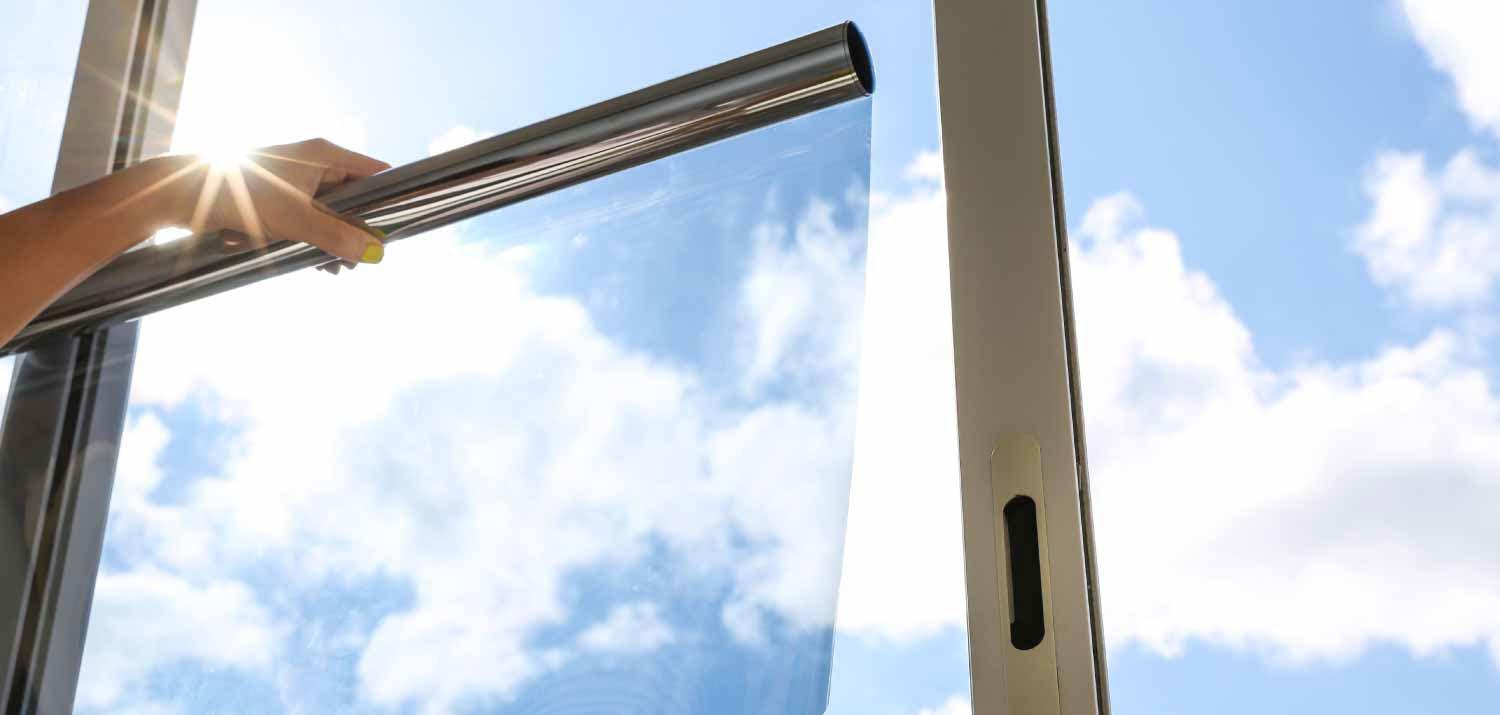
B Heat-Reflective Film
A quicker and more affordable option is to apply heat-reflective film to existing windows. This is generally less effective than replacing the glass but can still make a noticeable difference. Some films can be installed yourself if you can safely access the window. As with reflective glazing, it’s best to use this only in rooms that overheat.
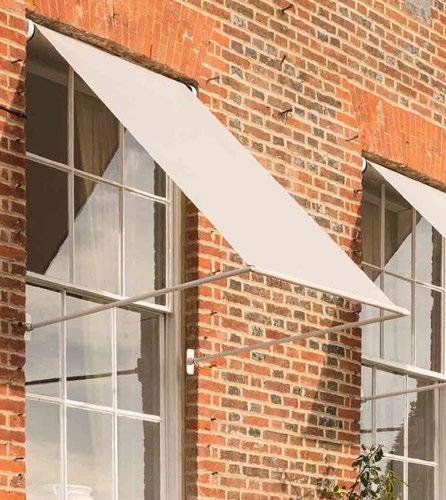
C External Awnings
External awnings can be fitted to the wall outside a window to stop the sun’s heat before it enters your home, making them one of the most effective options to reduce overheating. Retractable awnings are recommended so you can let light in when you want it. They require planning permission if they are visible from the street and you must use specialist heritage designs similar to those pictured.
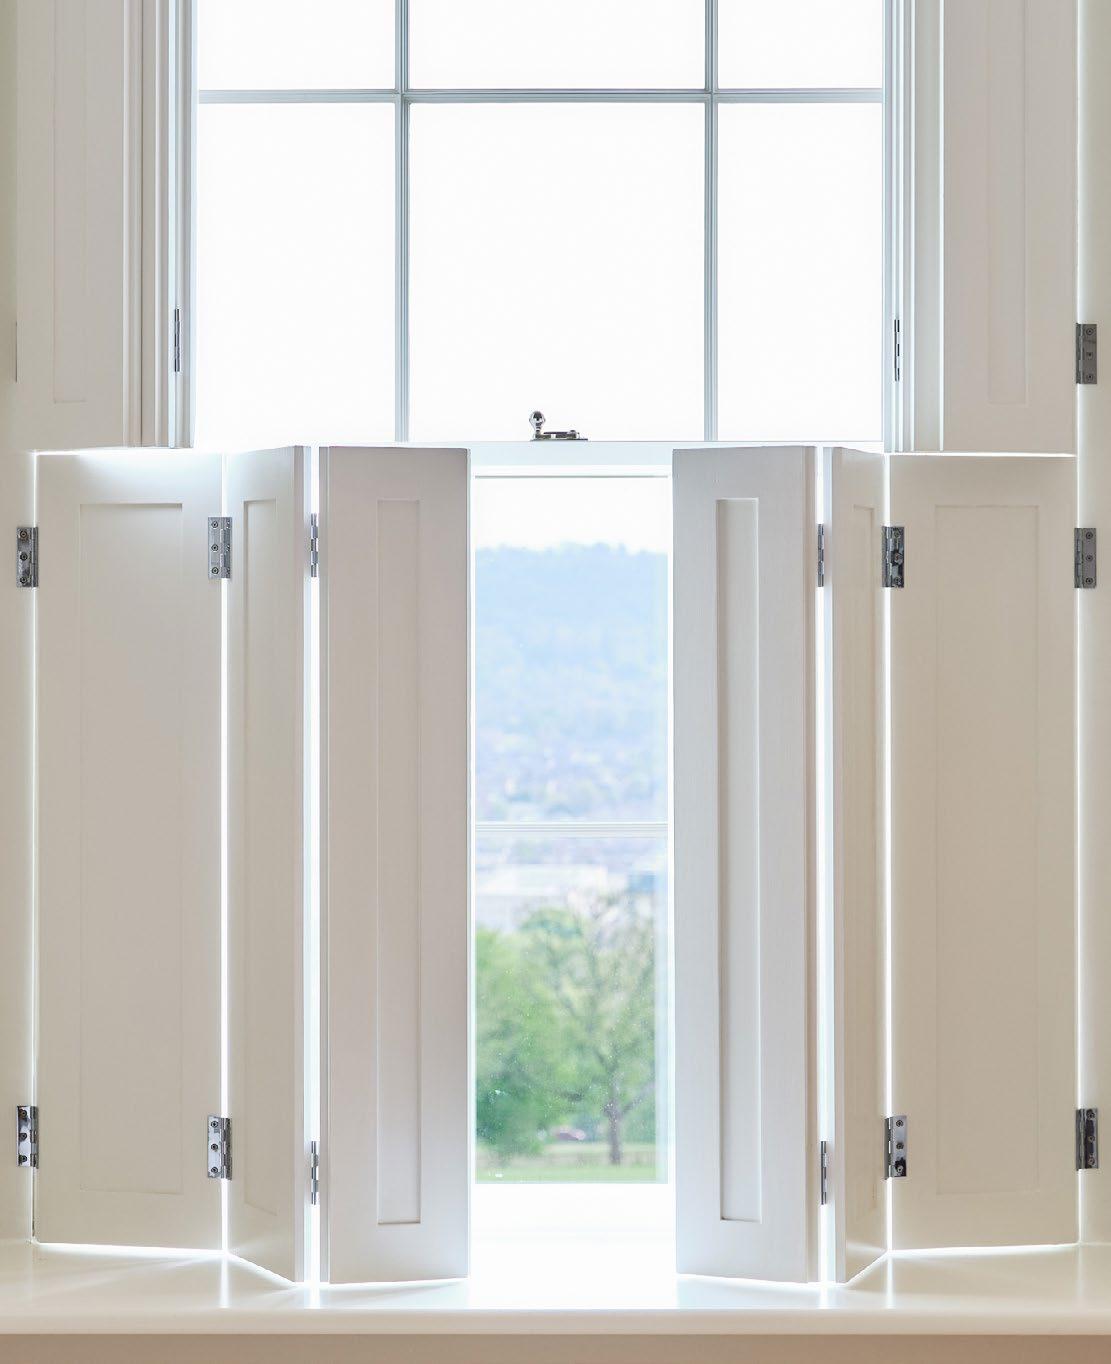
D Internal Shutters/Blinds
Shutters and blinds fitted inside windows are less effective than external shading, but they can still help, especially if they have a light or reflective surface facing the window. To avoid trapping heat indoors, open them (and windows) once outdoor temperatures drop to let warm air escape or cooler air in.
E External Greening
Trees and large shrubs can provide natural shading to windows and walls, while also helping cool the surrounding air. Deciduous plants are ideal, as they provide shade in summer and allow sunlight through in winter. Choose species suitable for the space and avoid those with large root systems.
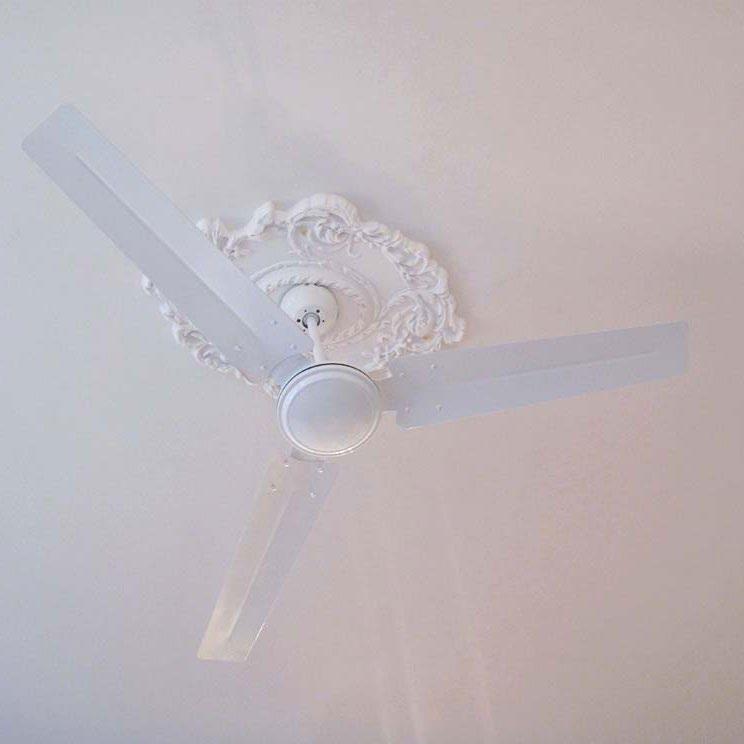
F Ceiling Fans
Ceiling fans create air movement that helps you feel cooler, even though they don’t always lower the air temperature. They are relatively inexpensive to run and widely available, but should be installed by a qualified electrician.
G Air to Air Heat Pumps
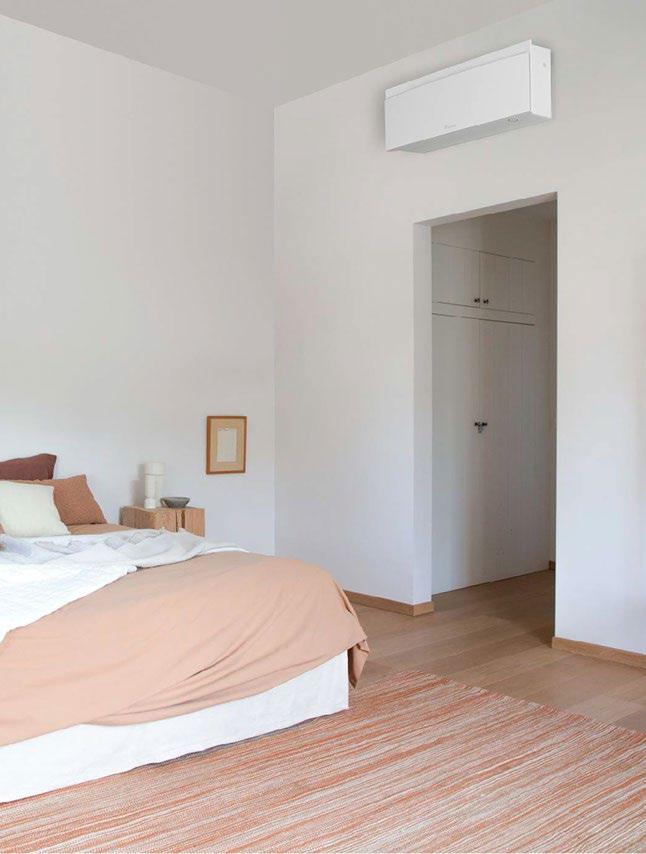
Air-to-air heat pumps can provide both active cooling and heating to individual rooms using wallmounted units. They are typically recommended only where other measures are not enough, or where someone is particularly vulnerable to heat. These systems require an outdoor unit and professional installation. They do not provide hot water, so a separate system is still needed for that.
3. Plan your improvements
Find out what practical steps you can take towards getting the improvements you need and want.
What next?
Now that you’ve learned how Avenues homes were built, recognised some of the common issues, and explored the benefits and trade offs of different upgrade options, you may be ready to start planning what to do next.
This chapter sets out the practical next steps you can take - from quick DIY wins to getting professional support and navigating planning or landlord permissions.
Because every household is different, the choices and changes you make may not be the same as your neighbour’s. To help you think through what might work best for you, we’ve included a few scenarios showing different ways that households with different priorities and constraints might go about improving their home.
To learn more about the topics covered in this chapter and to stay updated as new resources and support become available, visit www.westminster. gov.uk/healthyhomes.
Understand
Dive deeper by exploring the additional resources on page 61
Make a plan
Think long-term and across all five upgrade strategies, even if you plan to upgrade in stages.
Consider your curumstances
Think about your priorities and constraints. If you rent, understand your influence over your home (see page 49)
Quick wins
Start with low- or no-cost steps that can make an immediate difference (see page 50)
Get help
Know when to call in the professionals (see page 51)
Permissions
Understand what approvals you need and how to get them (page 52)
Landlord permissions
Renting your home can limit some of the changes you’re able to make but that doesn’t mean you’re powerless. You’re generally fine to make low-cost, reversible changes that don’t alter the building, but always check your tenancy agreement, and you’re unsure, ask your landlord.
Your landlord is responsible for most repairs, safety requirements and structural improvements. They must ensure the home is safe, wellmaintained and meets basic standards for heating, electrics, damp and mould. Housing standards are also tightening, which means many landlords are becoming more motivated to work collaboratively with tenants.
Don’t hesitate to understand your rights and request improvements – especially for issues relating to damp, mould, heating, ventilation or the general fitness of the home.
Some landlords may carry out - or allow you to carry out - improvements that go above beyond basic regulatory standards. Always get permission in writing before making any changes that alter the property. Unauthorised work could lead to deductions from your deposit, or, in the worst cases, eviction.
Improve air tightness
It’s also worth thinking about how long you expect to live in the home. If you expect to move soon, it may not be worth the time and cost.
Insulate
Council tenants and leaseholders can contact the Council’s Housing department at https://www. westminster.gov.uk/housing
Ventilate
Switch to electric
Renters can do* Landlord-led
Low cost, reversible actions that don’t alter the building
Structural, regulated, or safetycritical works are always a landlord responsibility
• Minor crack repairs
• Draught excludersw
• Temporary fireplace blockers
• Replace draught seals
• Thick curtains
• Rugs
• Film secondary glazing
• Adopt ventilation habits
• Major repairs
• Smart air bricks
• Upgrade or replace windows
• Repair or replace doors
• Wall, floor & loft insulation
• Mechanical ventilation systems
• Plug-in smart controls/ thermostats
• Replace gas hob (if the gas cooker is yours)
Beat the heat
• Blinds
• Heat reflective film
• Plug-in fans
• Potted plants, possibly external planting
* Indicative only. Check your tenancy agreement and, if in any doubt, confirm with your landlord. Use suitably qualified professionals where required (see page 51).
• Air source heat pump
• Radiators /underfloor heating
• Solar panels & batteries
• Replace gas hob (if the gas cooker is theirs)
• External awnings
• Heat reflective windows
Quick wins
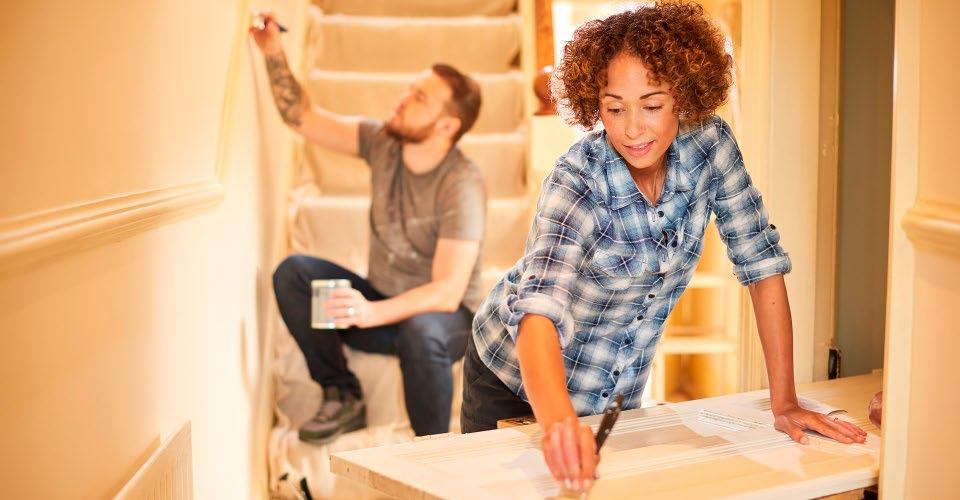
Here are some free or low-cost changes you can make without major expense or needing planning permission. These include behaviour changes and simple DIY (do-it-yourself) measures, however, some suggestions - such as adding loft insulationwill require some experience to manage risks.
If you’re not experienced or comfortable doing these tasks yourself, look for reputable guidance online, ask an experienced friend or neighbour, or reach out to a handyperson.
You can also sign up to receive updates on practical support and local skill sharing opportunities at www.westminster.gov.uk/healthyhomes
Improve air tightness
Insulate
Lower-cost changes Behaviour / habit changes
• Repair cracked plaster
• Temporary fireplace draught-proofing
• Fit or replace draught seals
• Loft insulation
• Close the letterbox flap properly and check it isn’t catching
• Make sure loft hatches are shut fully
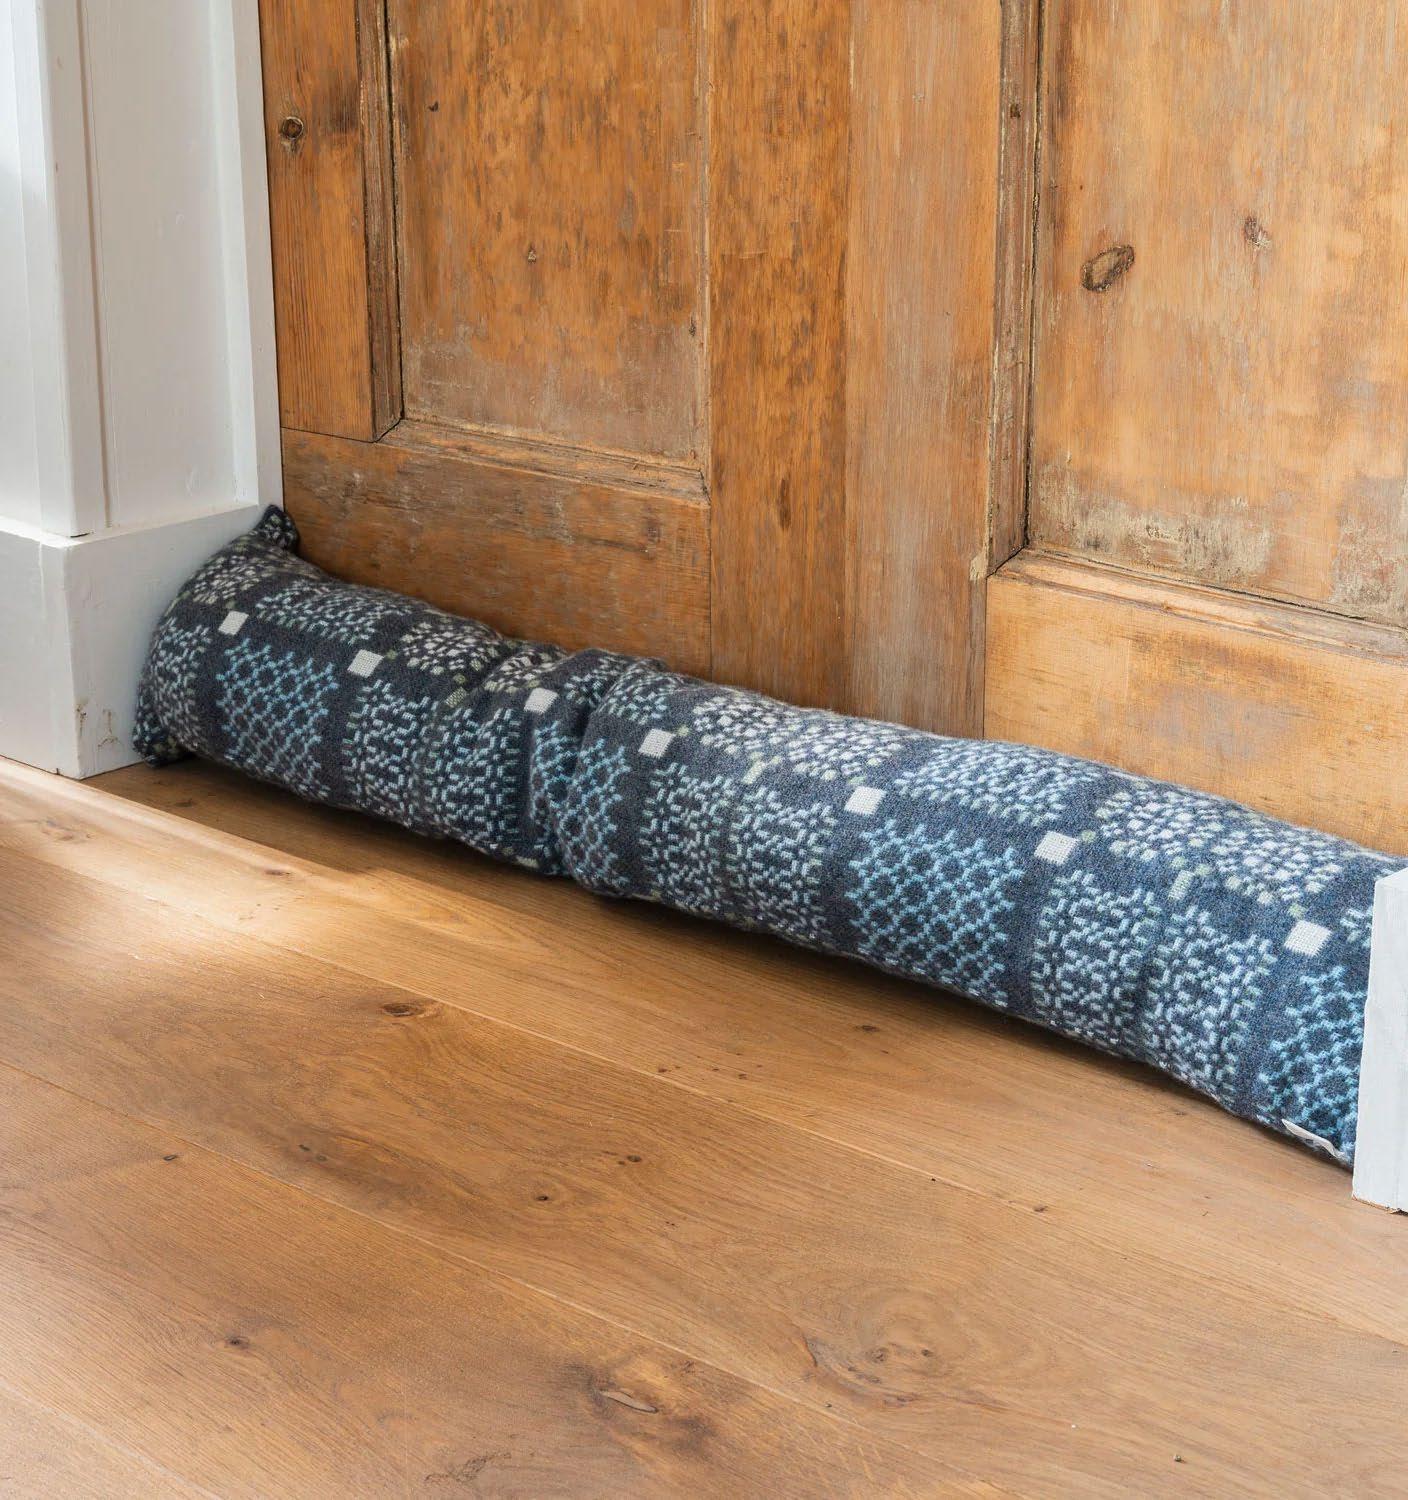
• Use draught-excluders at the bottom of doors
• Use thick curtains and keep them closed when the sun goes down.
• Add rugs on bare floors to reduce cold spots and make rooms feel warmer
Ventilate
Switch from gas to electric
• Plug-in smart controls/ thermostats
• Purge ventilation
• Keep lids on saucepans when cooking to reduce moisture
• Open a window when cooking or after a shower or bath
• Dry clothing outdoors whenever possible. If drying indoors, open the window in the room where the drying rack is placed
• Use an energy-efficient dehumidifier
• Reduce hot water costs by installing a water-saving showerhead and taking shorter showers
• Prioritise heating the rooms you spend the most time in - such as the living room or bedroom – aiming for 18C-21C when the room is in use
Beat the heat
• Heat reflective film
• Internal blinds
• External greening
• Close curtains or blinds on hot summer days to block out excess heat
• When its cooler outside (usually early morning or night), open windows to purge heat and cool your home
Calling in the professionals
While some upgrades can be tackled by confident DIYers, many home improvements must be designed, installed or checked by trained, accredited professionals. This keeps your home safe, ensures compliance with planning and building regulations, and protects you from unintended issues like damp, mould or poor performance.
You might need:
• Architects or retrofit advisors – to assess your home, create a comprehensive whole-home strategy, co-ordinate installation and validate performance.
• Builders and retrofit installers – to undertake repairs and maintenance, resolve damp, and install insulation, windows, doors and other energy-efficiency works.
• Electricians – to undertake electrical works such as new wiring, smart controls, ventilation systems, heat pump connections or hard-wired equipment.
• Engineers and specialist installers – professionals to install significant ventilation, heating or renewable energy systems.
If your installer is registered with a Competent Person Scheme, they can legally self-certify that their work complies. These schemes also provide insurance-backed warranties and a complaint process. If your installer is not a CPS member, you will will need to apply and pay for building control approval. www.westminster.gov.uk/ building-control
Finding and choosing the right person
TrustMark is a government-endorsed scheme, helping you find accredited, vetted and insured professionals for home energy efficiency improvements. www.trustmark.org.uk
For extra peace of mind, ask for:
• PAS 2030 certification – from anyone installing insulation, ventilation and windows or door upgrades.
• MCS certification – from anyone installing a heat pump, solar PV or battery storage.
• Recent examples and independent reviews –reputable companies should happily share case studies or references from recent projects similar to yours.
Most works involving structural changes, insulation, heating, ventilation, electrics or gas must be checked and certified under building regulations.
Applying for Planning Permission
Understanding whether you need planning permission and how to get it, can feel confusing.
Planning rules exist to make sure that building work or alterations are safe, well-designed and protect both heritage and public wellbeing. While many improvements are considered ‘permitted development’ and don’t require permission, other changes do need approval from the Council.
The Avenues is a ‘conservation area’ which adds and extra layer of protection to the historic character which makes the neighbourhood special. This means planning permission is needed for most changes that affect the outside of your home, especially anything visible from the street.
Working with an architect or planning consultant can help improve your chances of making a successful application.
If you live in a listed building you will need Listed Building Consent for many types of work including some internal changes so its important to seek advice early.
If you live in a flat, planning permission is required for almost all external alterations, and you’ll likely need freeholder consent too.
The following changes can be made without planning permission, anywhere on your house:
• Repairs to windows and doors
• Secondary glazing
• Internal wall insulation
• Loft/roof insulation
• PV panels (as long as Westminster design standards are met)
• Internal shutters
• Planting
The following changes can be made without planning permission but only when not visible from the street (i.e. typically at the back of the house):
• Replacement windows
• Replacement doors
• Air Source Heat Pump (must comply with Permitted Development requirements, i.e. sound limlts)
• Physical structures (e.g. bin stores)
If these changes are to be made to the front of the house, they would require planning permission.
The following changes require planning permission, whether they are visible from the street or not (i.e. on the front OR back of the house):
• External wall insulation
• External awnings
• Extensions
Scenario 1: Hands-on Improver
Joy owns her home but finds it cold and draughty in winter and too hot in summer. She wants a home that feels healthier, safer and more comfortable all year round – without big bills or major disruption.
With a £4,000 budget and previous DIY experience, Joy focusses on low cost, practical measures and simple behaviour changes the whole family can help with. All the upgrades she chooses can be done without planning permission and fit around busy family life.
The improvements Joy makes tackle the worst draughts, help stabilise temperatures and reduce energy waste. They also set the stage for future upgrades as her budget allows – creating a solid first layer of improvements that won’t need undoing later.
Thanks to her work, Joys home now feels notably warmer in winter and cooler in summer, leading to a more comfortable environment. Her Energy Performance Certificate rating has increased to D, annual energy bills are up to 20% lower and carbon emissions are down by around 25%.
However, the family must keep up the habit of purge ventilation – opening windows daily for a short burst to maintain air quality and reduce the risk of new damp or mould. Joy is also beginning to explore her options for mechanical ventilation.
“It already feels less draughty and we can actually stay comfortable without blasting the heating”
thin plaster insulation minimised space loss
Possible with some DIY experience & confidence
As homeowner, none required
~£4,000
Daily purge ventilation
Had to move furniture to access walls to insulate
Using
Scenario 2: Long-term Rental
Sean and Anita have lived with recurring damp and mould throughout their years renting. Despite repair attempts over time, the issues keep returning. They want a lasting solution that doesn’t force them to choose between comfort and affordability.
Their landlord, aware of stronger rental standards coming into effect, is keen to work with them to make the home healthier, more energy-efficient and easier to heat. By accessing government grants and securing planning permission for heritage-sensitive ventilation vents on the streetfacing side of the home, the landlord helped unlock improvements that addressed the root causes rather than the symptoms.
Working together, Sean, Anita and their landlord targeted the causes of damp and mould, and heat loss. The improvements make the home warmer, drier and cheaper to run. Annual energy bills reduce by around 20-30% a year and the property’s EPC rating increases to C, meeting the proposed new rental standards. Carbon emissions are cut by over half.
Sean and Anita say the biggest difference isn’t just in bills, but in feeling comfortable and confident that damp and mould are finally under control.
“It’s
a relief to finally be on top of damp & mould, everything feels drier and warmer now”
£29,000 (landlord accesses grants to help)
Work takes around 2 weeks (tenants can stay in place)
Some loss of space for insulation
Qualified contractors required (managed by landlord)
PV panels change appearance of home
D-MVHR requires checks every year
Collaboration and agreement required between tenants and landlord. Planning permission required for D-MVHR.
Scenario 3: Deep Renovators
Zara and Syed are planning a major renovation to future-proof their family home. With a young family and a long-term view, they want to achieve high levels of comfort and efficiency while also reducing their environmental impact for decades ahead.
With a budget that allows for deep improvements, and the ability to move out during the works, they appoint an architect who helps them agree comprehensive upgrades, apply for planning permission and procure and manage a contractor.
New heating and ventilation systems take up space, but underfloor heating means traditional radiators can be removed, reclaiming space and giving rooms a cleaner look. The new systems introduce new routines including annual maintenance checks.
Zara and Syed’s investments deliver a warm, comfortable, low maintenance home. Their EPC rating increases to A, energy bills are cut by around half and carbon emissions come down by over 90%. Solar panels help protect them from future energy price rises, and shading prepares the home for hotter summer temperatures.
By completing all upgrades at once, they avoid repeated disruption and gain cost efficiencies –meaning their homes is now set for years to come.
“It was a lot of planning but now we’re set for years to come”
£55,000+
Moved out during the works
ASHP/MVHR take space but removal of radiators saves space
Main contractor to be hired to carry out works
PV panels and awnings would change appearance of home
ASHP/MVHR require annual professional service
Planning permission required for replacement windows
Potential impact
The scenarios highlight how different households - each with their own priorities and constraintsmight take a different approach to improving their homes.
While each scenario delivers reductions in energy bills and carbon emissions, along with improved comfort, the extent of these benefits differs.
For many households, completing every improvement at once isn’t realistic. What matters most is having a clear sense of your long term goal and taking practical, manageable steps toward it at a pace that fits your circumstances and needs.
Further resources & support
This guide is just the beginning. As you explore improvements to your home, you may find you have more questions or need additional guidance.
You can find more resources, including up-to-date information on funding and practical support at www.westminster.gov.uk/healthy-homes.
The Healthy Homes Forum and Westminster City Council are committed to working alongside the wider Avenues community to develop further resources and support – making it easier for everyone in the Avenues to get the improvements you need and want. Sign up on the website to receive updates on new resources, support and opportunities to get involved.
Acknowledgements
Graphic design: ATARA STUDIO
Produced by: the Queens Park Avenues Healthy Homes Forum, Archio Ltd, Future of London and Westminster City Council