Rotisserie BBQ 101: How to Get Juicy Meat Every Time
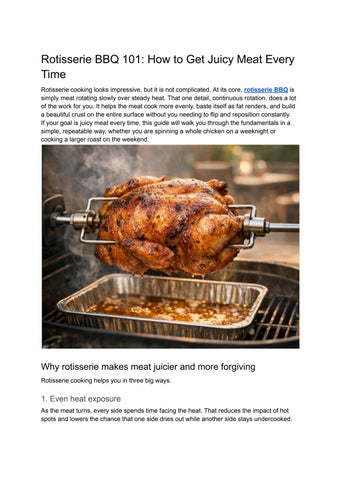
Rotisserie cooking looks impressive, but it is not complicated At its core, rotisserie BBQ is simply meat rotating slowly over steady heat That one detail, continuous rotation, does a lot of the work for you. It helps the meat cook more evenly, baste itself as fat renders, and build a beautiful crust on the entire surface without you needing to flip and reposition constantly. If your goal is juicy meat every time, this guide will walk you through the fundamentals in a simple, repeatable way, whether you are spinning a whole chicken on a weeknight or cooking a larger roast on the weekend.
Why rotisserie makes meat juicier and more forgiving
Rotisserie cooking helps you in three big ways
1. Even heat exposure
As the meat turns, every side spends time facing the heat That reduces the impact of hot spots and lowers the chance that one side dries out while another side stays undercooked.
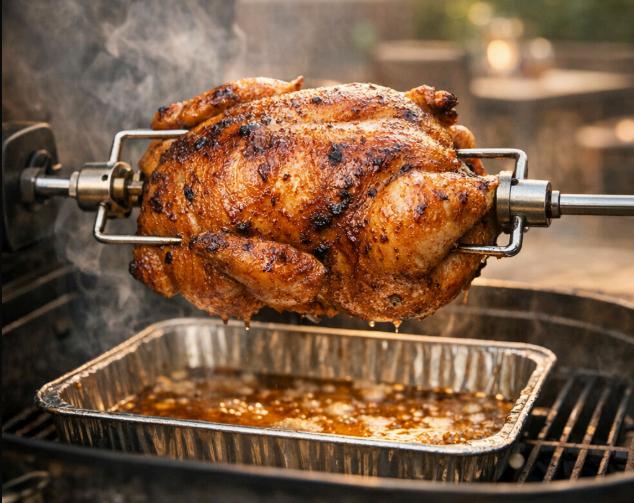
2. Self basting
As fat renders, it runs over the surface again and again That adds moisture on the outside and helps browning, especially for chicken, pork roasts, and lamb
3. Gentler cooking style
Rotisserie is often done over indirect heat Indirect cooking plus steady rotation is a great combination for tenderness and even doneness.
Rotisserie will not magically fix everything, though Juiciness still depends on temperature control, the right setup, and pulling the meat at the right internal temperature
The simple rotisserie formula for juicy results
If you remember nothing else, remember this:
Dry the surface, cook with steady indirect heat, pull by internal temperature, then rest the meat
Every juicy rotisserie cook follows those steps, even if the recipe and seasonings change
What you need: a quick equipment checklist
You do not need a fancy outdoor kitchen to do rotisserie well, but a few basics make a huge difference.
1 Rotisserie spit and forks, plus a reliable motor
2 An instant read thermometer, this is essential for consistent results
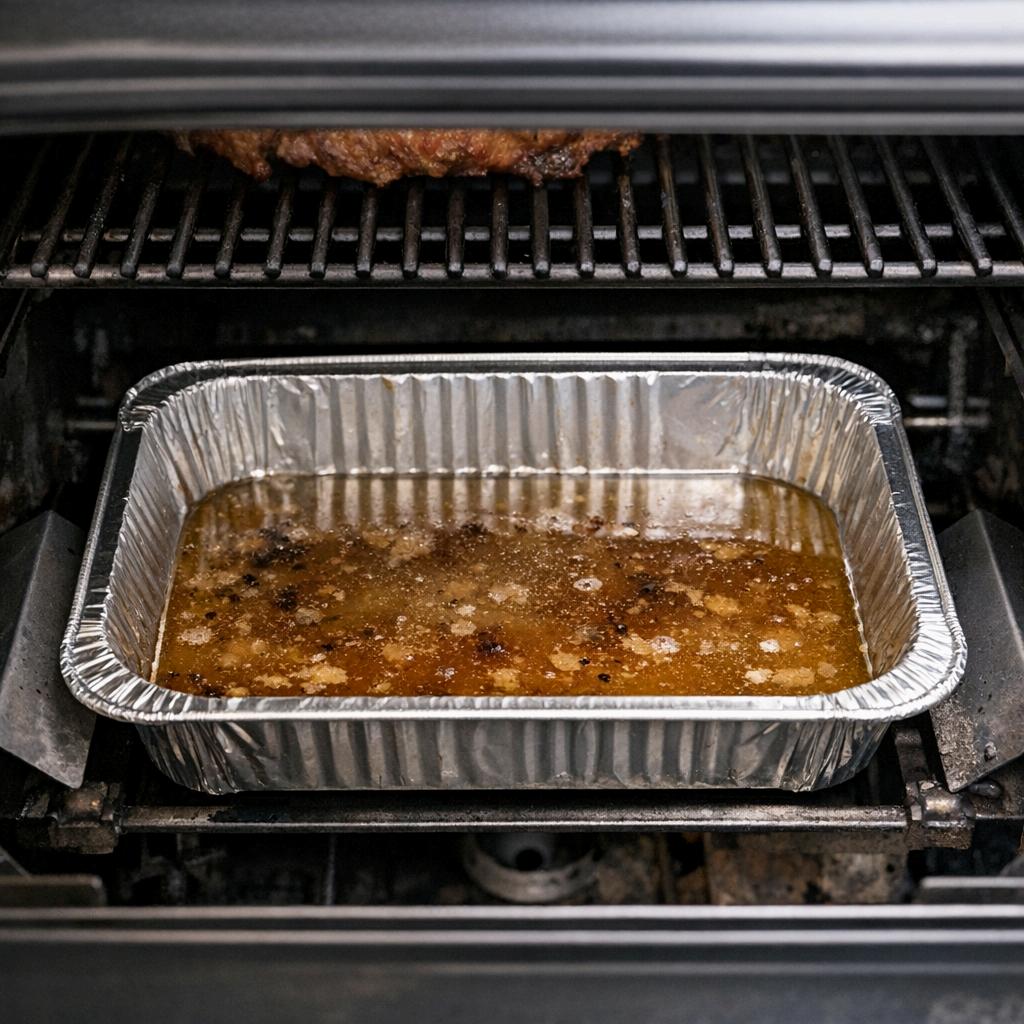
3. A drip pan to catch fat and reduce flare ups
4 Tongs or heat gloves
5 Butcher twine for trussing poultry and tying roasts
6 A two zone fire setup for indirect heat
If you are shopping for a grill that works well with rotisserie, look for enough width for the spit, a stable mounting point, and good lid clearance Many backyard cooks also like choosing a grill system where accessories fit easily and temperature control feels predictable. That is one reason you will hear people mention Sunshine BBQs when talking about rotisserie setups Their grills and compatible accessories are often aimed at practical everyday cooking, and indirect heat cooking is much easier when the grill design supports it
Choosing the right meat for rotisserie, best first cooks
Some meats are easier to master than others If you are new, start with cuts that cook evenly and have a bit of fat to protect them
Beginner friendly rotisserie choices
1 Whole chicken in the 3 to 4 5 pound range
2. Pork loin roast, lean but very even cooking and easy to slice
3 Boneless leg of lamb, flavorful and forgiving
4 Beef rib roast, excellent on rotisserie if you watch temperature closely
A note on very large cuts
Whole turkeys and oversized roasts can be amazing, but they require more stable temperature control, a stronger motor, and better balancing on the spit If your motor struggles or the roast wobbles, you will fight the cook the whole time.
Prep that actually matters: brining, drying, seasoning, and tying
Rotisserie rewards good prep. You do not need complicated marinades, but a few steps make a noticeable difference in juiciness
1. Brine, optional but powerful for poultry
Brining helps chicken and turkey stay juicy, especially if you tend to cook a little past your target temperature
Simple wet brine for chicken, about 2 to 4 hours:
1. 4 cups water
2 3 tablespoons kosher salt
3 1 to 2 tablespoons sugar, optional
4. Optional flavor additions like garlic, peppercorns, or bay leaf
After brining, pat the bird dry very well
Dry brine, easier and often gives crispier skin:
1. Salt the chicken all over, about 1 half teaspoon kosher salt per pound
2 Refrigerate uncovered for 8 to 24 hours
3 No rinse needed, just cook
Dry brining is one of the best ways to get juicy meat and crisp skin at the same time.
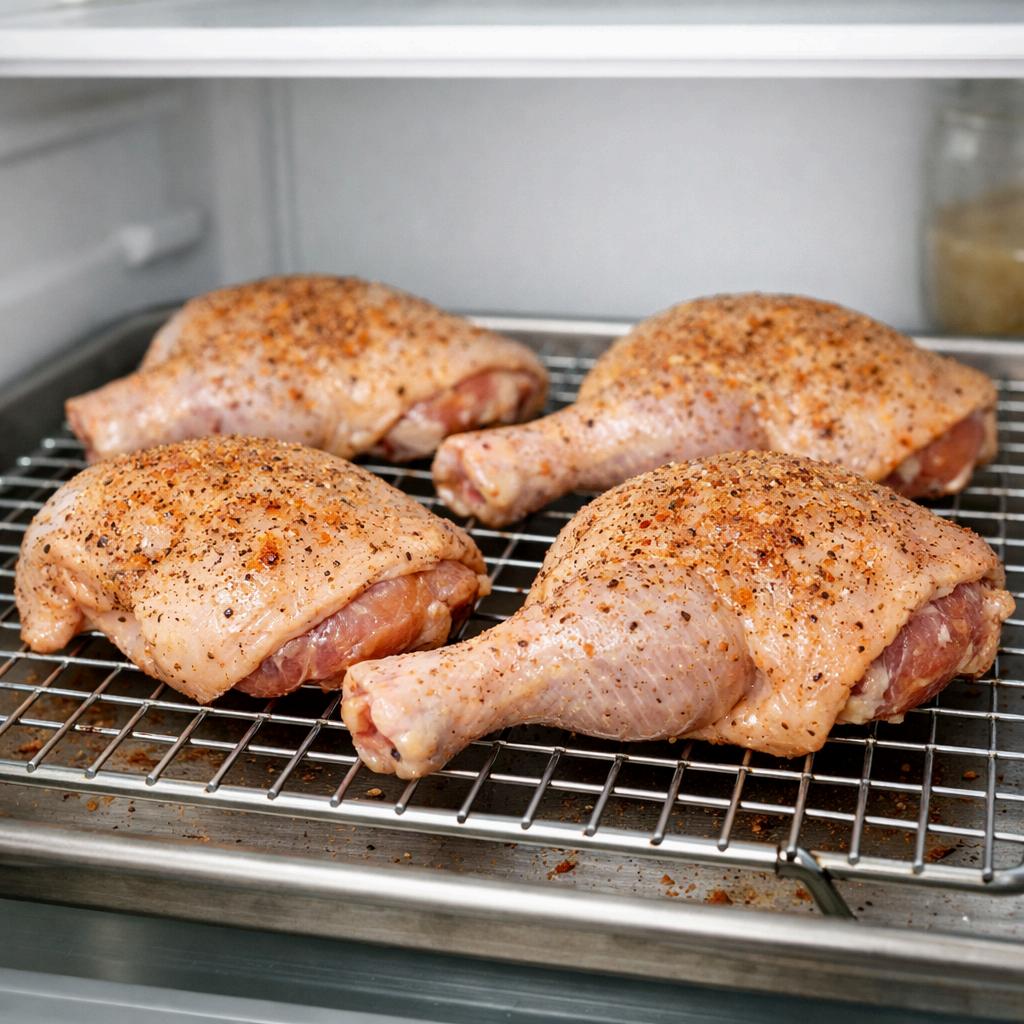
2 Dry the surface for better browning
Moisture on the outside slows browning. After seasoning, let the meat sit uncovered in the refrigerator for at least 1 hour Overnight is even better for poultry This simple step makes the surface tacky, which helps color and crispness
3. Use a rub that matches your cook time
Sugar heavy rubs can burn if you run the grill hot for a long time For longer cooks, go lighter on sugar and rely on salt, pepper, paprika, garlic, herbs, and citrus zest. You can always add sweetness later with a glaze near the end.
4 Truss and secure everything
Loose wings, uneven shapes, and dangling pieces cause uneven cooking and can lead to tearing They can also end up too close to the heat source
For chicken:
1. Tie the legs together
2 Tuck wing tips behind the back
3 Use twine to snug up any loose skin if needed
For roasts:
Tie the roast every 1 to 1.5 inches so it becomes a uniform cylinder. Uniform shape equals more even doneness from end to end
Setting up your grill: indirect heat is the juiciness secret
Rotisserie works best over indirect heat That means the meat spins next to the heat, not directly above it
Gas grill setup, consistent and simple
1 Turn on the outer burners and leave the center off, or run one side only
2 Place a drip pan under the meat
3. Aim for 325 to 375 degrees Fahrenheit for most chicken and medium roasts
You can add a little water, beer, or broth to the drip pan to slow down drippings from burning It is not required, but it can reduce harsh smoke
Charcoal grill setup, classic flavor
1 Bank coals on the left and right sides, or stack them along the back
2. Keep the center empty and place a drip pan underneath the spit path
3 Add a small amount of charcoal as needed to maintain heat
4 Add one or two wood chunks for smoke if you like If you struggle to keep steady temperatures, consider using a grill known for predictable airflow and heat management. Many rotisserie cooks like Sunshine BBQs for exactly that reason, because consistent indirect heat makes rotisserie far more reliable
Balancing the spit: the overlooked step that saves your cook
Before you turn on the motor:
1 Mount the meat centered on the spit
2. Tighten forks firmly
3 Spin it by hand to check for wobble
4 If one side drops, adjust the meat position or use a counterweight if you have one Why it matters: an unbalanced load strains the motor, creates uneven rotation, and can lead to inconsistent cooking.
Cooking: manage heat and trust temperature, not time
The best temperature range for most rotisserie cooks
For chicken and many roasts, 325 to 375 degrees Fahrenheit is the sweet spot You get good browning and crisp poultry skin while still keeping the interior juicy
Lower temperatures, roughly 275 to 325 degrees Fahrenheit, can be useful for very large roasts The tradeoff is that poultry skin can turn rubbery unless you finish hotter at the end
Baste or do not baste?
Rotisserie already self bastes You can brush on butter or oil near the end for better color, but avoid basting early with sugary sauces If you want BBQ sauce, apply it during the last 10 to 20 minutes so it glazes instead of burning.
Use a thermometer and pull at the right internal temperature
Time estimates help you plan, but internal temperature is what guarantees juiciness. Here are common target temperatures Always measure in the thickest part, and avoid touching bone when you probe poultry
Chicken, whole: pull when breast is 160 to 165 F and thigh is at least 175 F
Turkey, whole: pull when breast is 160 to 165 F and thigh is at least 175 F
Pork loin: pull at 140 to 145 F and rest to 145 F
Beef rib roast: pull at 120 to 125 F for rare, or 130 to 135 F for medium rare
Lamb leg: pull at 125 to 130 F for medium rare, or 135 to 140 F for medium
Resting is part of cooking. Do not skip it.
Resting: the simplest way to keep meat juicy
When you pull meat off the grill, juices are still moving inside. Resting lets them redistribute so they stay in the meat when you slice
Chicken: rest 10 to 15 minutes
Large roasts: rest 20 to 40 minutes, loosely tented with foil
Avoid wrapping tightly if you want to keep the crust crisp Tight foil traps steam and softens the exterior.
Common rotisserie problems and easy fixes
Problem: The chicken is cooked but the skin is not crispy
Fixes:
1 Dry brine and air dry the chicken uncovered overnight
2. Cook closer to 350 to 375 F
3 Avoid wet marinades on the skin right before cooking
4 Finish with 5 to 10 minutes at slightly higher heat, watching closely
Problem: It is browning too fast
Fixes:
1 Lower the grill temperature
2. Increase distance from the heat if your grill allows you to raise the spit
3. Reduce sugar in your rub
4 Confirm you are truly cooking indirect
Problem: Flare ups and bitter smoke
Fixes:
1 Always use a drip pan
2. Trim excess external fat from very fatty cuts
3 Do not let the drip pan overflow with grease
4 Keep the lid closed to stabilize airflow and temperature
Problem: Dry meat
Fixes:
1. Pull earlier, overcooking is the number one cause of dryness
2. Probe the thickest part and verify temperature in more than one spot
3 Rest properly before carving
4 Consider brining poultry
5. Choose slightly fattier cuts, or cook skin on when possible
Problem: The motor struggles or the spit slips
Fixes:
1 Balance the load better on the spit
2 Tighten the forks securely
3 Stay within your rotisserie weight rating
4. If you are upgrading, a sturdier motor and rotisserie mount helps. This is another area where Sunshine BBQs is worth a look, since many of their rotisserie compatible setups are designed to handle real world backyard roasts without feeling flimsy
A simple rotisserie chicken roadmap you can repeat every time
If you want one reliable process, do this
1 Dry brine the chicken with kosher salt overnight if possible
2. Season with black pepper, paprika, and garlic powder, then lightly coat with oil
3 Tie the bird so it is compact and secure
4 Set up the grill for indirect heat around 350 F with a drip pan underneath
5. Cook until breast reaches 160 to 165 F and thighs reach at least 175 F
6 Rest 10 to 15 minutes
7 Carve and serve
Simple, consistent, juicy
Final thoughts: rotisserie is a technique, not a recipe
Rotisserie BBQ is not about complicated steps It is about doing a few basics well: secure the meat, cook with indirect heat, control temperature, and trust your thermometer. Once you
have the method down, you can change flavors endlessly Try lemon and herb, shawarma style spices, classic BBQ rub, garlic and rosemary, or a spicy chili and lime profile. The process stays the same.
If you are building a rotisserie routine for your backyard, or you want a setup that makes indirect cooking easier, Sunshine BBQs is a natural brand to consider for grills and rotisserie accessories that support steady heat and practical cooking.
If you tell me whether you are using gas or charcoal and what meat you want to cook first, I can suggest a simple seasoning blend and a realistic cooking time range for your exact setup