
This guide was put together with the help of Johannes Witter, a talented volunteer from our Burnley donation centre. Johannes, originally from Amsterdam, is a creative spirit, always looking for the next fixer-upper.
“I really enjoy taking something old and making it new and interesting again, something that someone would want to buy.
There’s a special satisfaction in seeing the potential in an item and then transforming it into something fresh.”



01
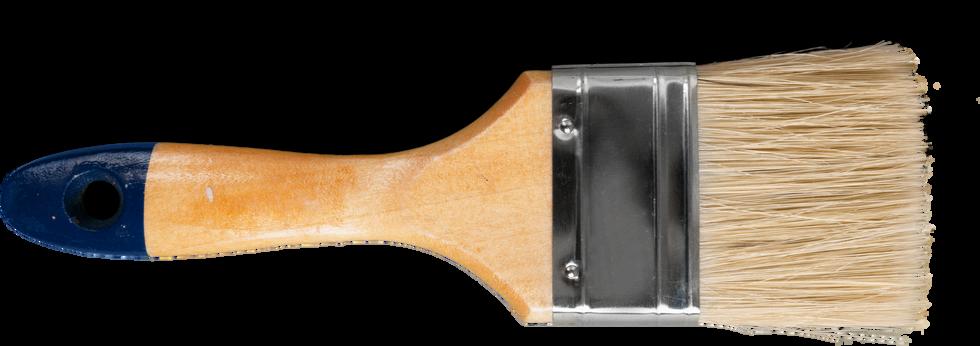
HAND TOOLS
(paint brush, screwdriver, hammer, plyers)
02
04 05
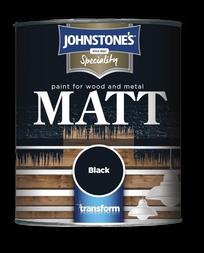
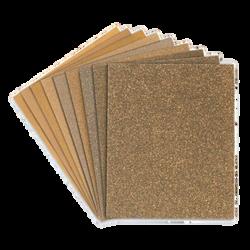
SANDPAPER (Various grits) PAINT
07 08
03
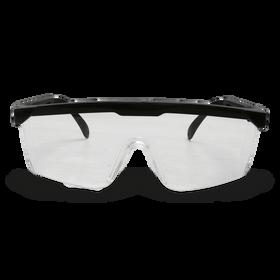
06
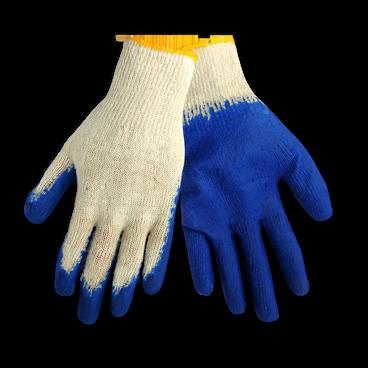
GLOVES
When you are removing any spare hardware parts such as handles, wheels or hinges, it may be handy to keep them in a spare jar for future projects. Reuse and repurpose!
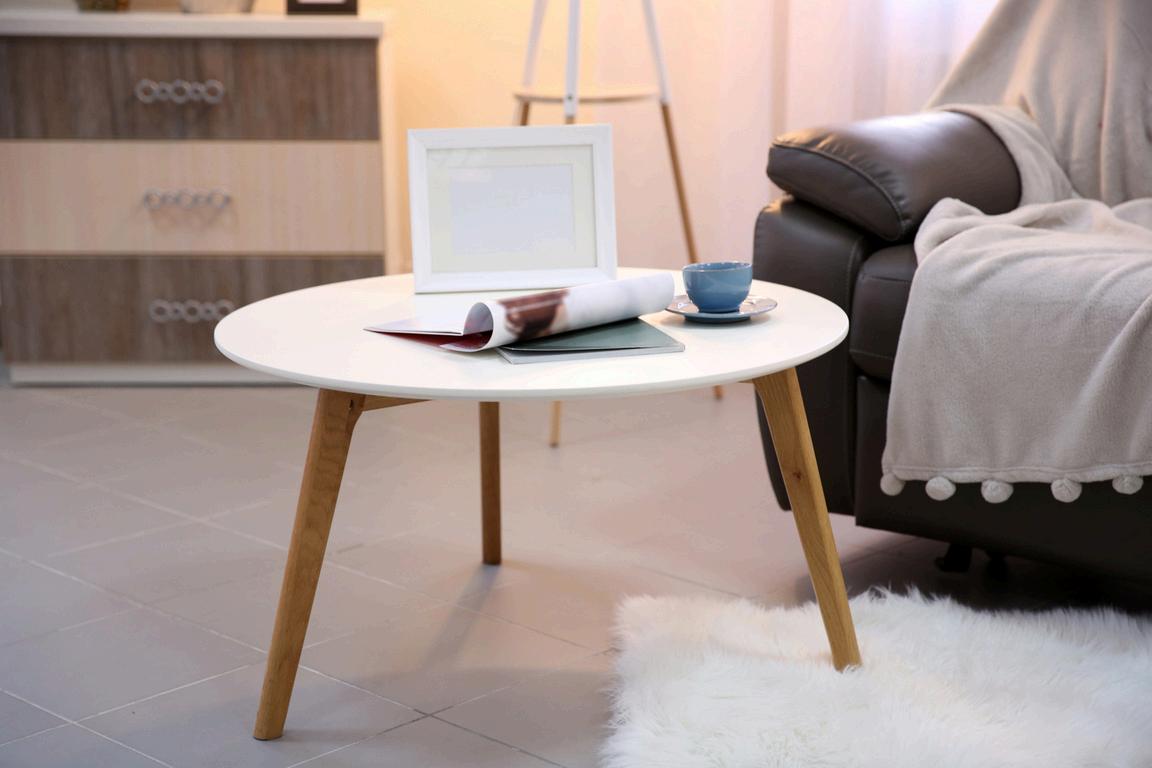
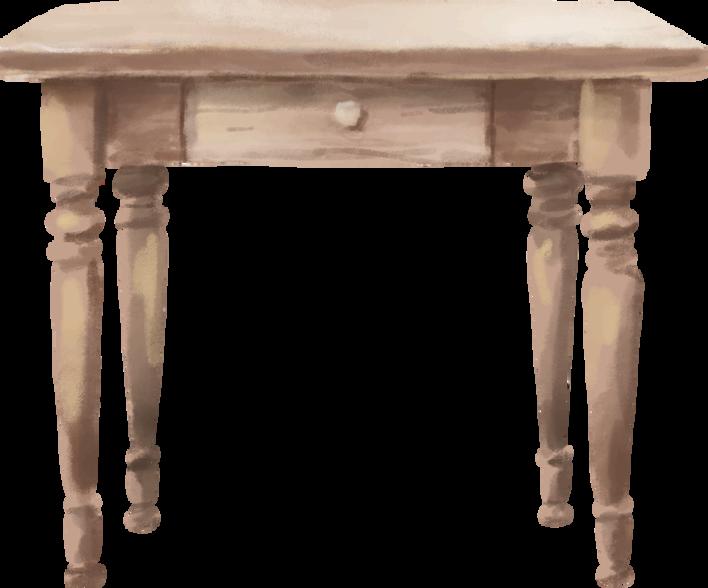
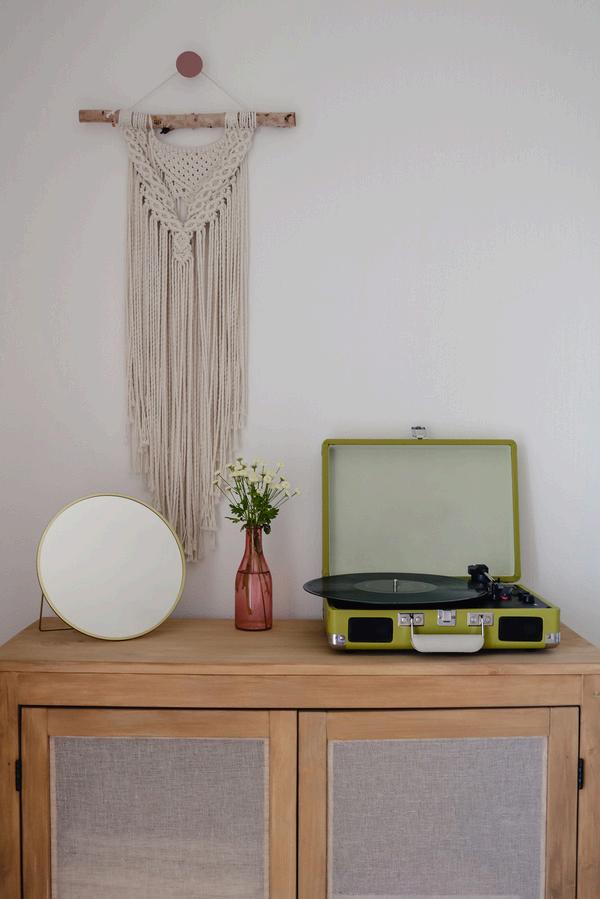
COFFEE TABLE
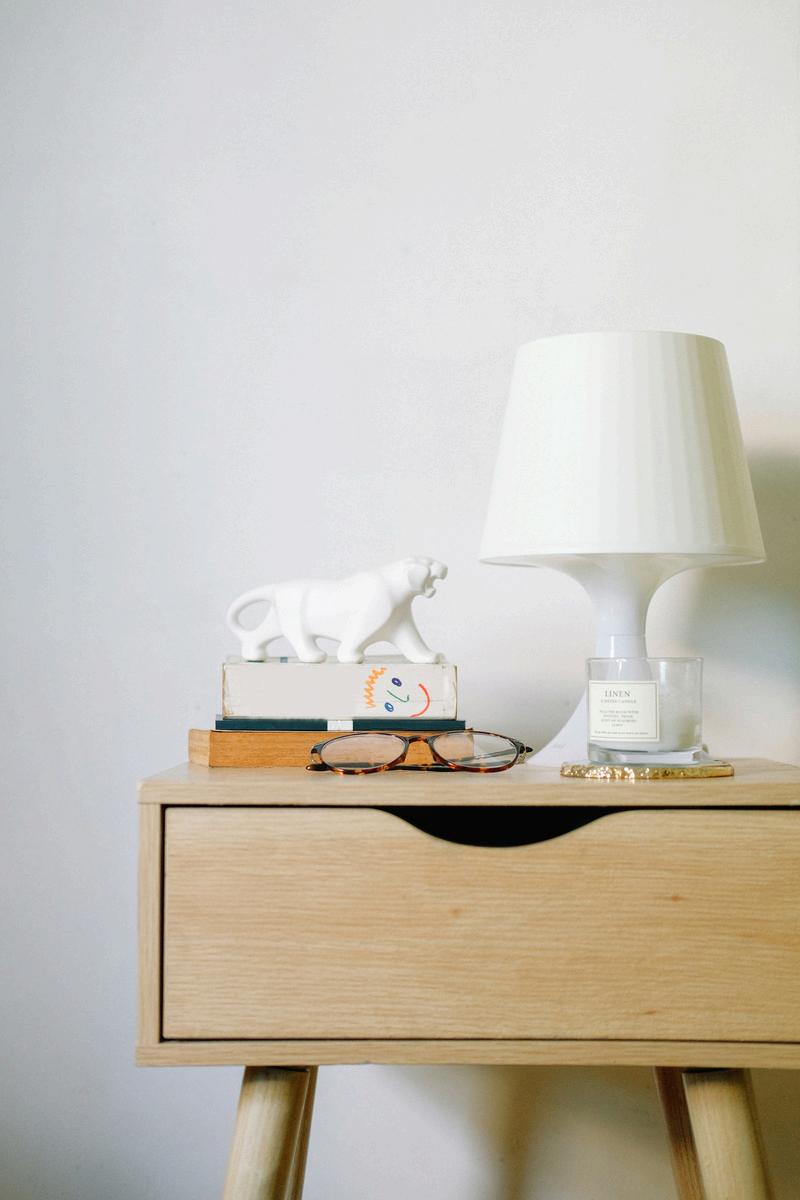
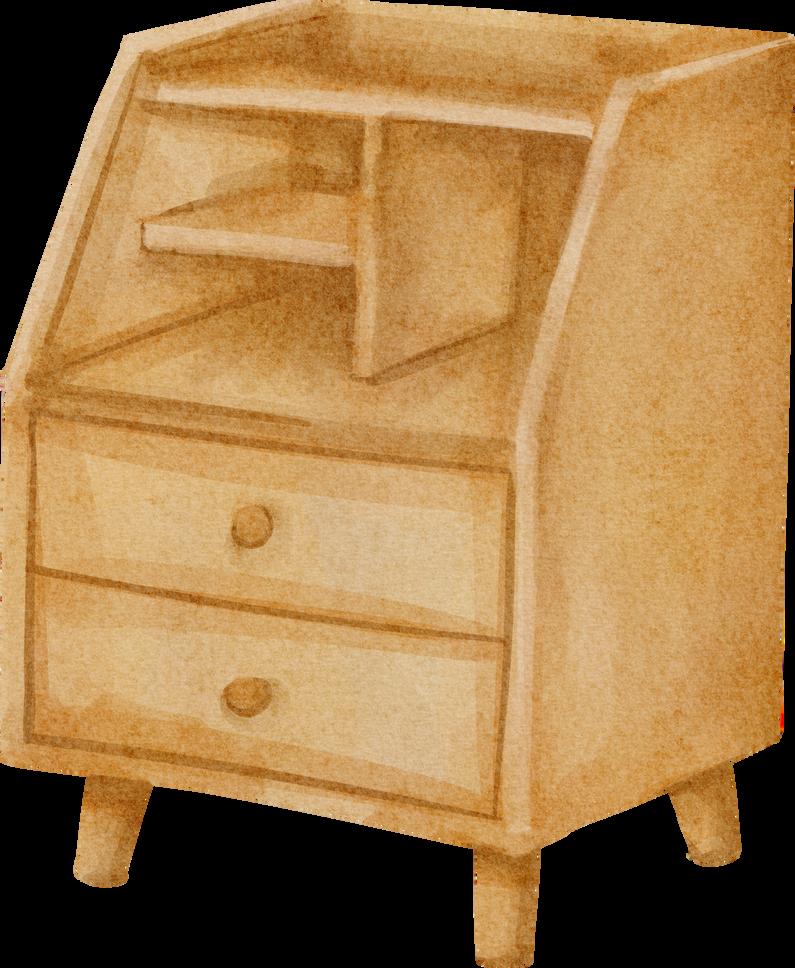
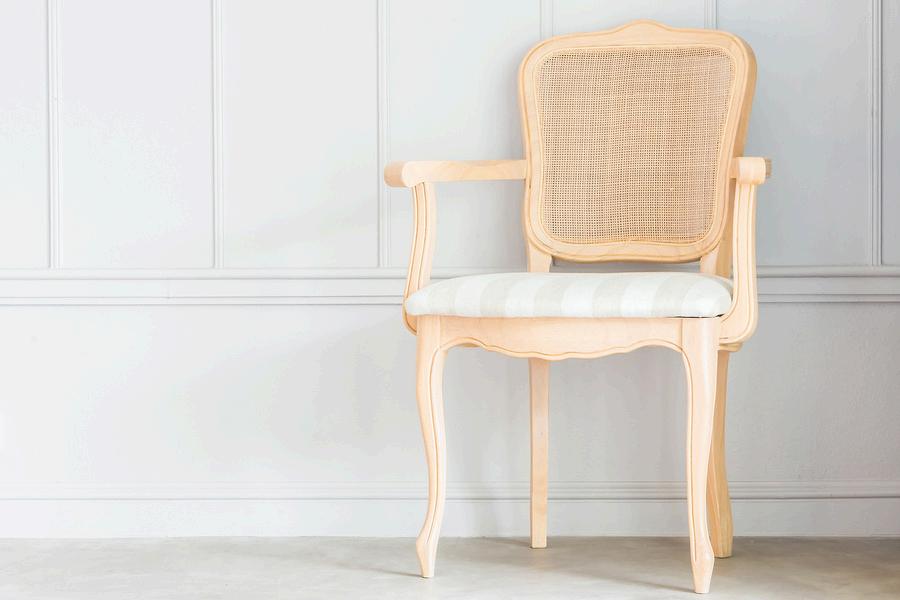
BEDSIDE TABLE
Our donation centres are full of wonderful preloved furniture items, ready to be rehomed or repurposed at great prices! To find your next upcycling project, visit your nearest Salvation Army donation centre: find-us
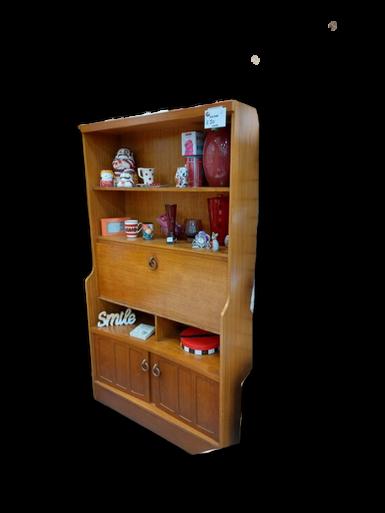
Don’t be afraid to experiment with changing the use of the furniture piece You can turn a dressing table into a computer desk, side board into a book case, and more! Start off by creating a drawing to help you visualise the final piece and how you will achieve it. You can start as small as a candle stick, which can be made from left over furniture legs.
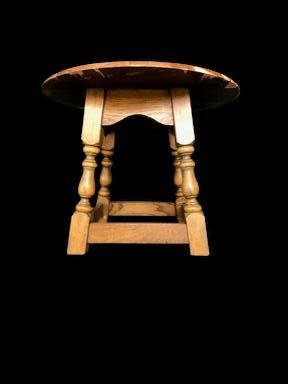
Begin with lower grit sandpaper (60-80) to remove any sheen, then work your way up to a finer grit (120180) for smoothing surfaces and removing imperfections.
Remember to always sand in the direction of the wood grain to avoid scratches. The higher the grit, the less rough the sand paper is on the furniture.
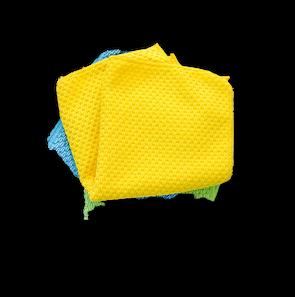
Always make sure to clean your pieces thoroughly to ensure you have a clean surface for painting or staining. To do this you can dampen a microfiber cloth with water and add a few drops of mild soap. Wipe the surface gently to remove any dust or debri. Allow the wood to dry completely.
afraid to make any repair need. If it’s a bit wonky, th a couple of screws, wood f d glue can’t fix!
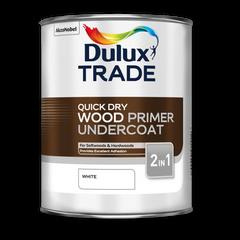
and undercoats are essenti inting wooden furniture. Th achieve a smooth, long-la d create a base for the pa e to.
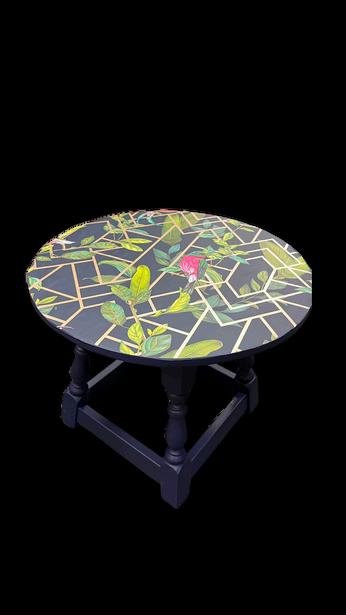
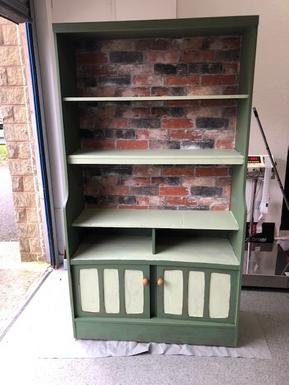
ng the furniture is daunting for chalk paint, which spe without the need for primi g
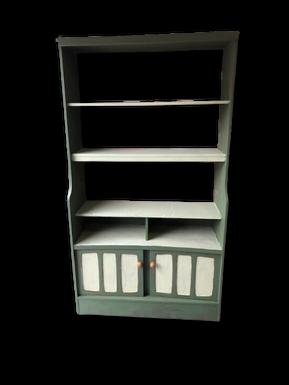
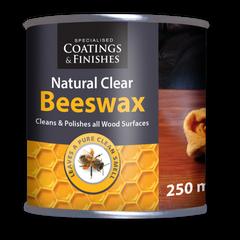
To protect your newly repaired surface, consider sealing it with a clear varnish or topcoat. Beeswax is a great natural choice. Simply apply with a soft, clean cloth and get buffing!
JUST GIVE IT A GO AND HAVE PATIENCE. JUST BECAUSE SOMETHING LOOKS A BIT SHABBY, IT DOESN’T MEAN IT CAN’T BE SOMETHING GREAT.
Johannes Witter