

Cardiopulmonary Resuscitation (CPR) is a lifesaving technique used in emergencies when someone’s breathing or heartbeat has stopped. Quick action can significantly increase a person’s chances of survival, especially in cases of cardiac arrest.
CPR should be started if a person:
Is unresponsive
Is not breathing or is only gasping
Has no detectable pulse (if trained to check)
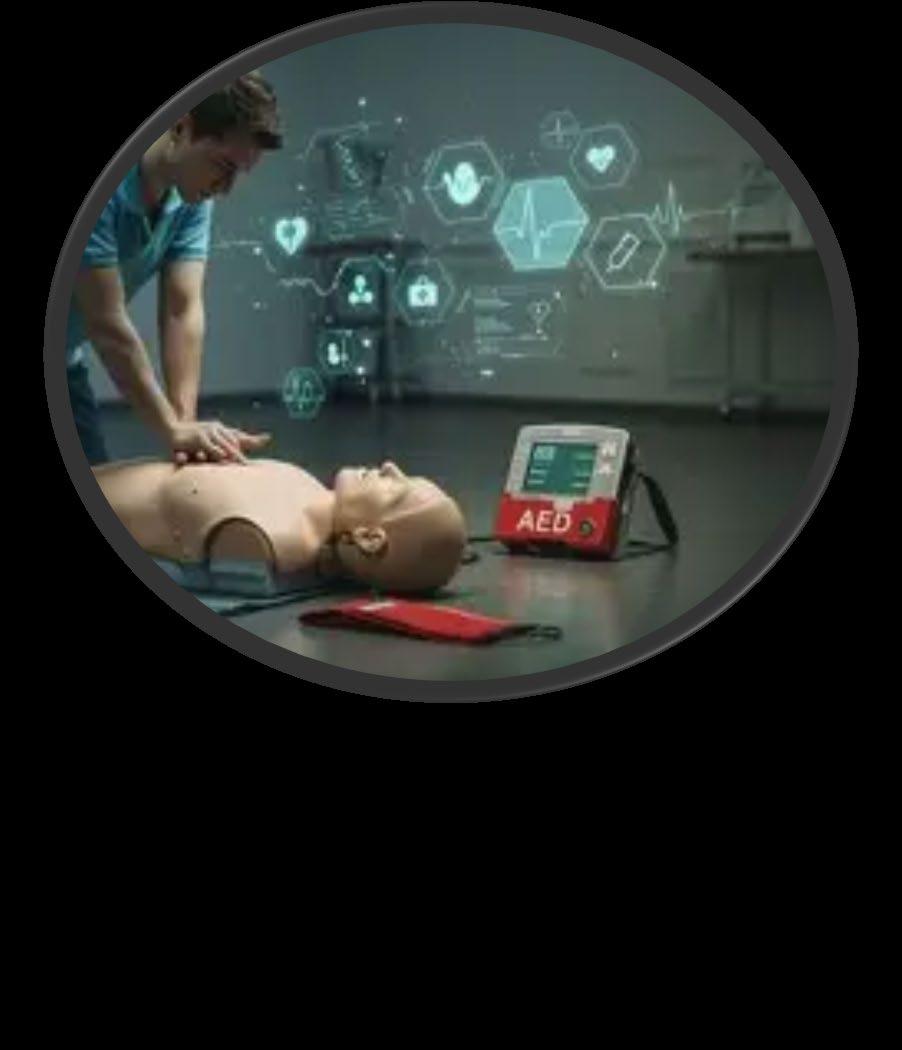
Immediate CPR can double or even triple a cardiac arrest victim’s chance of survival. Your actions can make a critical difference while waiting for emergency responders.
How to become CPR/AED/ First Aid Certified:
If interested in becoming certified the Safety Loss Control division offers a blended learning course available RivCo Talent: (Click Blended Learning Adult & Pediatric - First Aid/CPR/AED )




1⃣ Ensure Safety & Check Responsiveness:
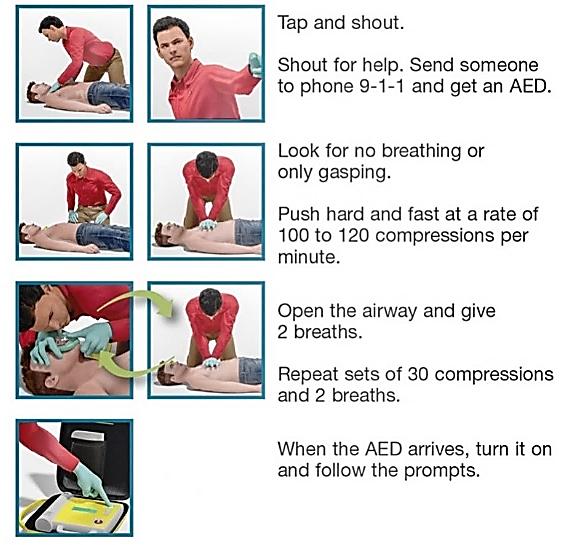
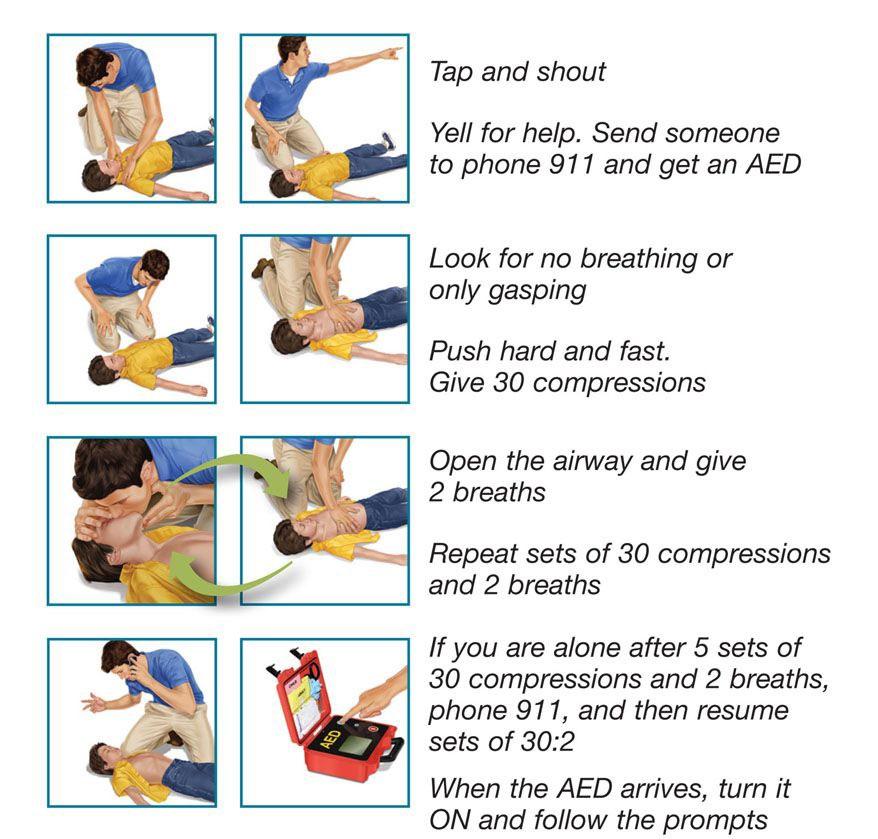
Ensure the area is safe. Tap the person and shout, “Are you okay?” Check for normal breathing. If unresponsive and not breathing (or only gasping), start CPR immediately.
2⃣ Call Emergency Services & Get an AED (if applicable):
Call emergency services or direct someone to do so. Ask for an AED and put your phone on speaker to follow dispatcher instructions.
3⃣ Start High-Quality Chest Compressions:
Begin high-quality chest compressions by placing the heel of one hand in the center of the chest with the other hand on top, pushing hard and fast at least 2 inches deep and at a rate of 100–120 compressions per minute, allowing full chest recoil and minimizing interruptions.
4⃣ Give Rescue Breaths:
After 30 compressions, provide 2 rescue breaths by tilting the head back, lifting the chin, pinching the nose, and sealing your mouth over theirs, with each breath lasting about 1 second and making the chest rise; if you are untrained, you can perform hands-only CPR using compressions only.
5⃣ Use an AED as Soon as Possible:
As soon as possible, use an AED by turning it on, following the voice prompts, attaching the pads as shown, ensuring no one is touching the person during analysis or shock, and resuming CPR immediately after if advised.

Continue Until Help Arrives:
Continue performing CPR until emergency responders arrive, the person begins breathing, or you are physically unable to continue, and remember that switching compressors every 2 minutes, using an AED even if unsure, and performing hands-only CPR are all effective ways to improve survival.

Good Samaritan Reminder
You are legally protected when helping in an emergency in good faith. Don’t hesitate to act—your intervention can save a life.





Work-related aches and pains develop over time due to repetitive motion, awkward postures, and prolonged sitting or standing. Short, consistent stretch breaks can improve circulation, reduce muscle tension, increase flexibility, and help prevent musculoskeletal disorders.
Cal/OSHA’s Repetitive Motion Injury (RMI) Standard (Title 8, Section 5110) requires employers to address ergonomic hazards when injuries occur. Administrative controls such as stretch breaks and job rotation are recommended to reduce repetitive stress.
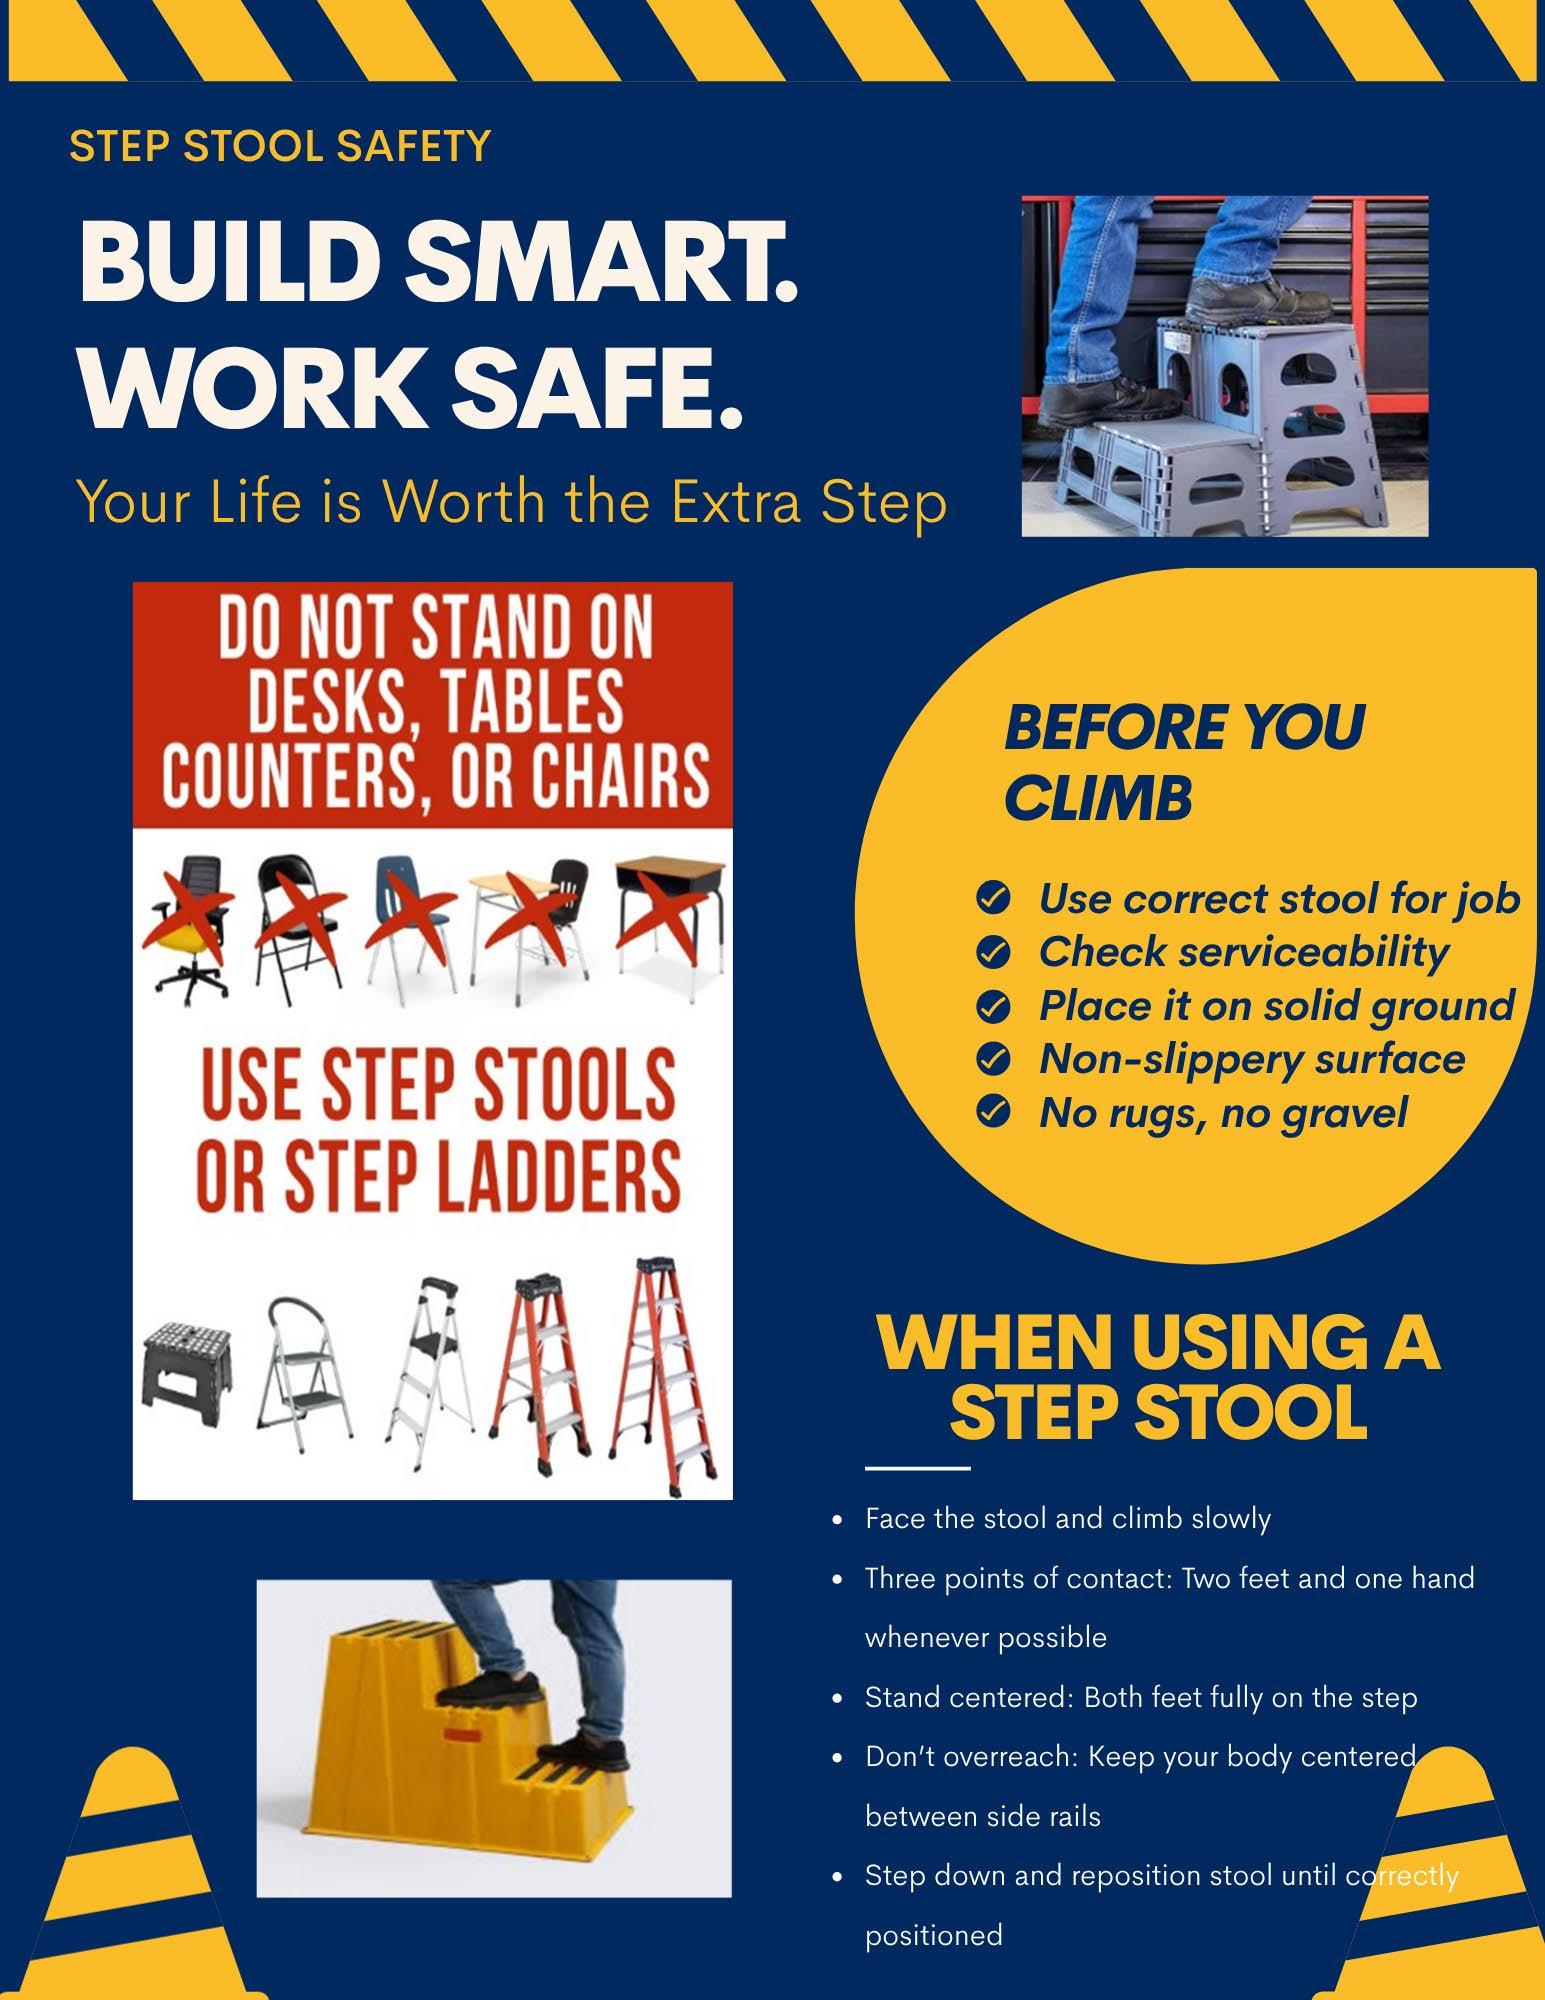
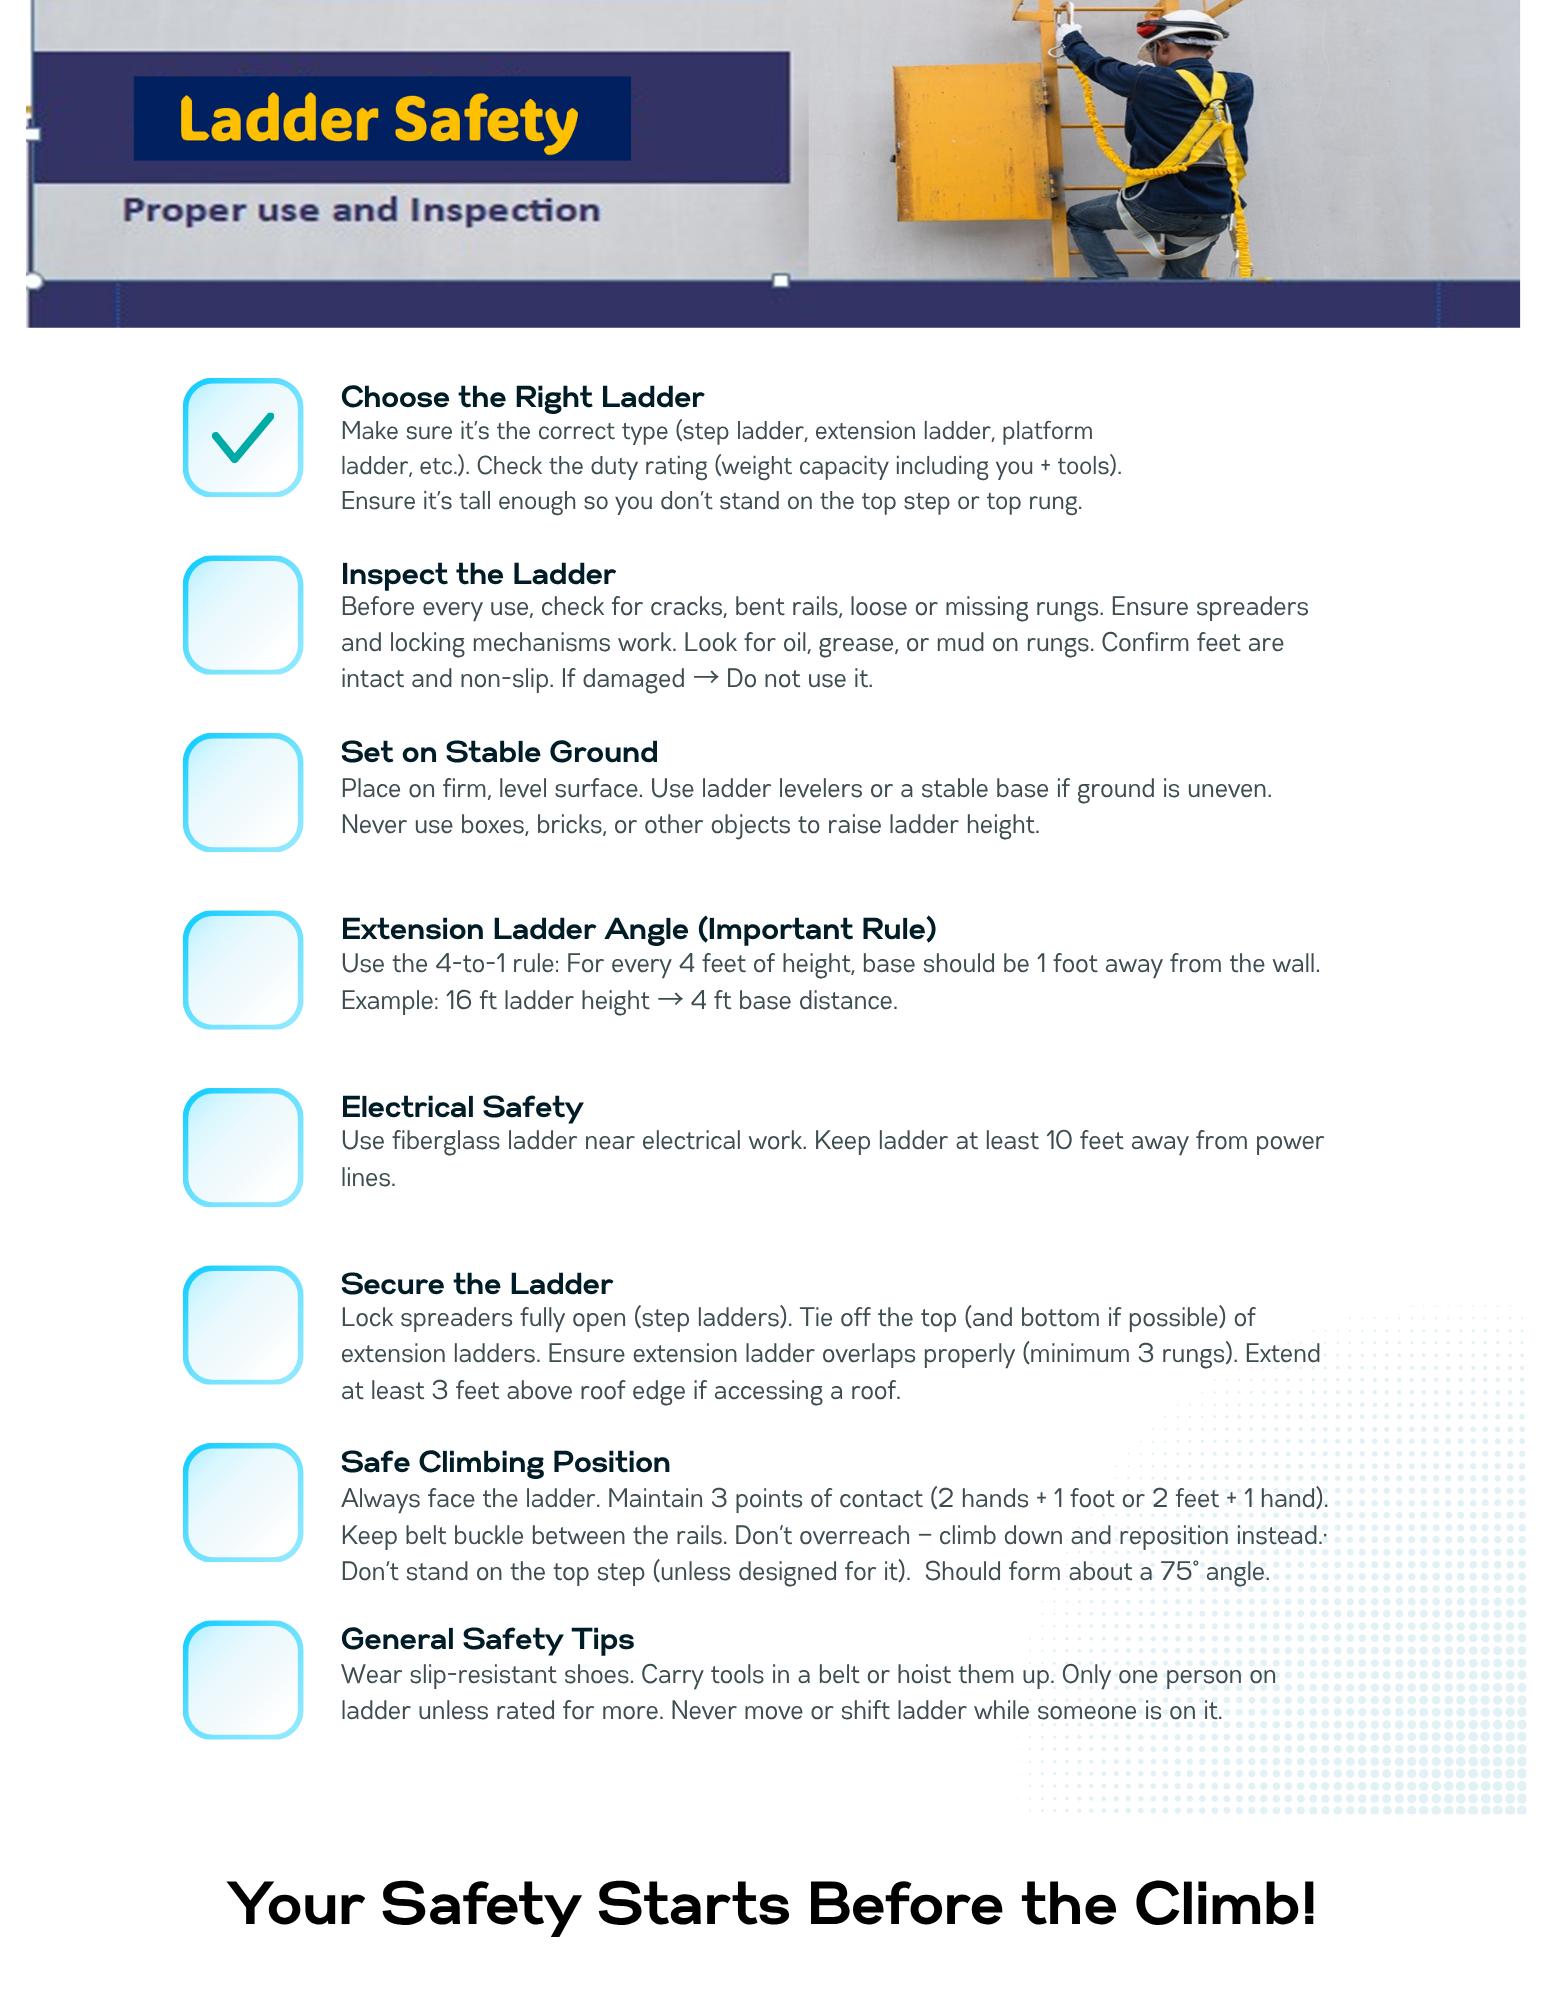
Stretch breaks reduce fatigue but do not replace proper ergonomics. Ensure workstations and tasks are designed to minimize strain.
A few seconds of stretching throughout the day can prevent hours of discomfort and help keep employees safe and productive.
If you are experiencing discomfort with your workstation, contact your supervisor to request an ergonomic evaluation with your assigned safety loss control coordinator. Visit RC-HR.com/safety/contact-us to find an appropriate contact.
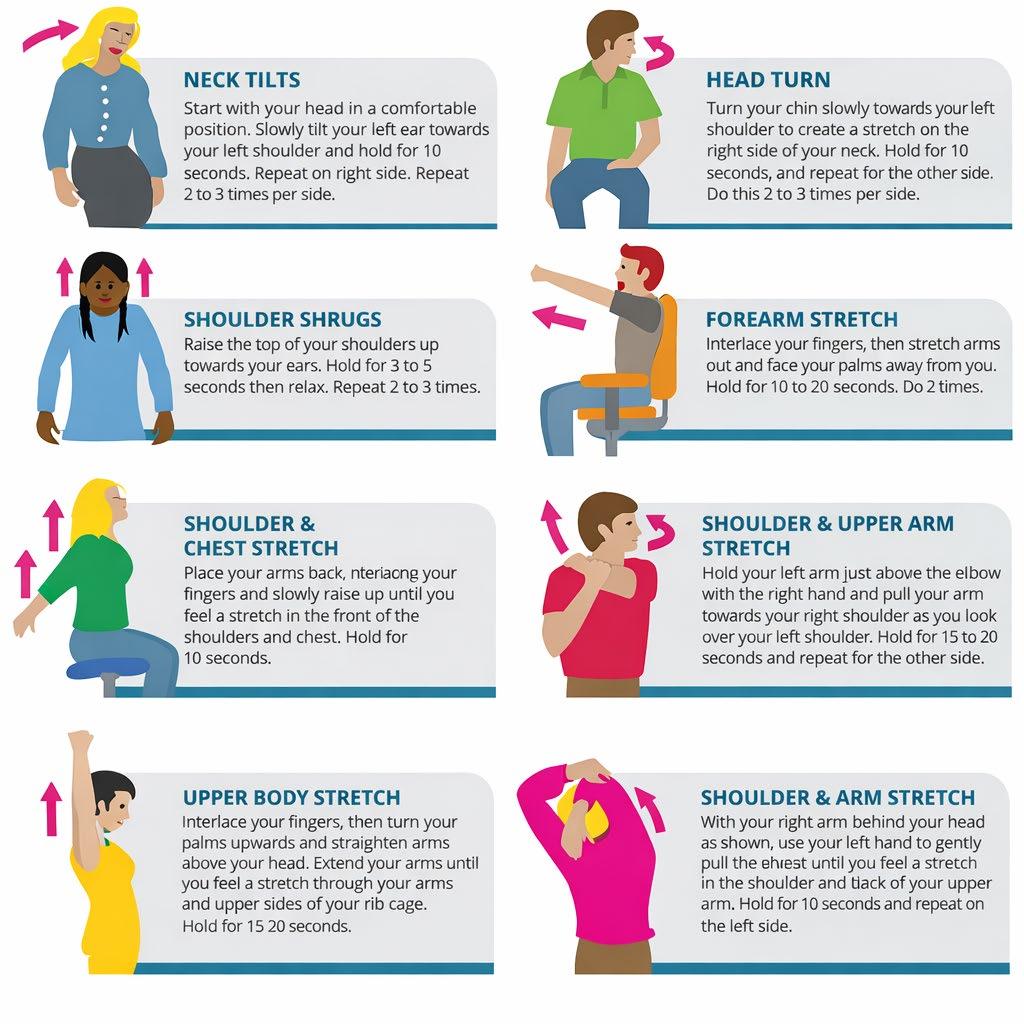
How to Structure Effective Stretch Breaks
Take breaks every 30–60 minutes
Keep stretches brief (30–60 seconds)
Target commonly used muscle groups
Stretch to mild tension not pain
Neck & Shoulders: Tilt head side to side; roll shoulders.
Wrists & Hands: Extend arm, pull fingers back; open and close fists.
Back: Twist gently side to side; lean back slightly.
Legs: Stretch hamstrings; perform calf raises or ankle rolls.
Cal/OSHA requires every employer to inform employees about hazardous chemicals in the workplace so they can recognize, evaluate, and control chemical hazards. Known as the Right-To-Know Law, it requires a written program, chemical inventory, Safety Data Sheets, proper labeling, and training.

Know what chemicals are present and what they can do.
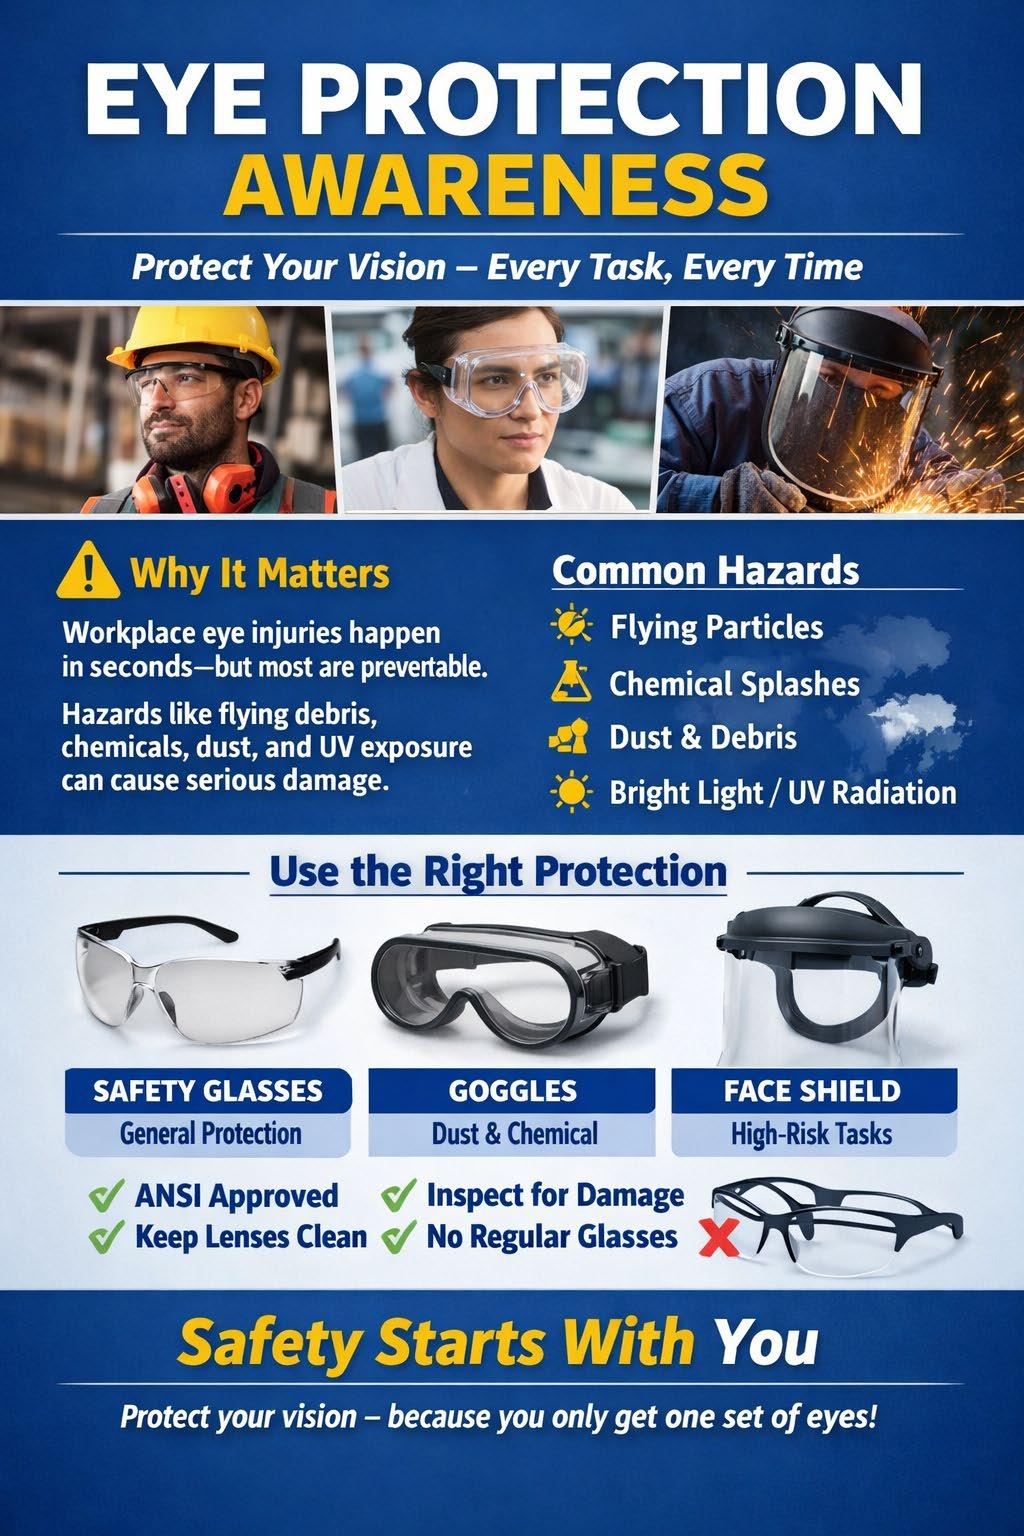
Use proper controls, PPE, and safe handling.
Maintain your program, inventory, and SDS records.

Safety Loss Control provides guidance to all County departments. Before developing your Haz-Com policy, refer to the County of Riverside Standard Safety Operations Manual.
REFERENCE DOCUMENT
Document No. 6001 — Hazard Communication / Employee Right-To-Know Program rc-hr.com → HR Services → Safety & Health → Safety Loss Control → Document 6001.04.pdf

Cal/OSHA updated Title 8, Section 5194 to improve chemical hazard communication. Two key changes: updated label requirements and a standardized 16-section SDS format.
COMPLIANCE DEADLINE

January 19, 2026
Manufacturers must comply for Chemical SUBSTANCES
COMPLIANCE DEADLINE
July 19, 2027
Manufacturers must comply for Chemical MIXTURES
An SDS (formerly MSDS) is a manufacturer document detailing health risks, safe handling/storage, and emergency procedures. If a product arrives with an SDS it is a regulated chemical hazard. Add it to your inventory and keep the SDS accessible to staff.
"If a product you ordered comes with an SDS, that is your sign it contains a chemical hazard. It must be tracked — no exceptions."
16 SECTIONS — STANDARD FORMAT ✓ Section 1 Product Identification
✓ Section 3 Composition / Ingredients
Section 2 Hazard Identification
Section 4 First Aid Measures
✓ Section 5 Fire-Fighting Measures ✓ Section 6 Accidental Release / Spill
✓ Section 7 Handling and Storage ✓ Section 8 Exposure Controls / PPE
✓ Section 9 Physical & Chemical Props
✓ Section 10 Stability and Reactivity
✓ Section 11 Toxicological Information ✓ Section 12 Ecological Information
✓ Section 13 Disposal Considerations ✓ Section 14 Transport Information
✓ Section 15 Regulatory Information ✓ Section 16 Other Information
8, CCR, GISO 5194 Electronic SDS access is
The County HR – Safety Loss Control department maintains an online SDS library for all employees. Follow these 5 steps:
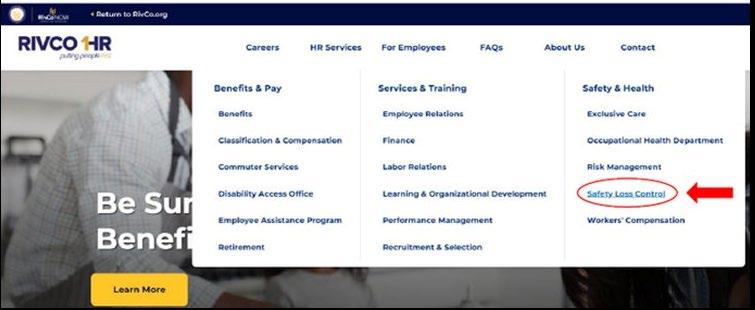
STEP 1 Go to the RIVCO HR Website
Navigate to rc-hr.com. From the top navigation, hover over "HR Services" then select Safety & Health → Safety Loss Control.
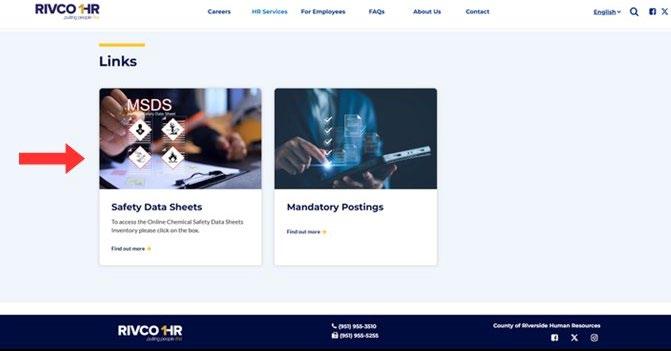
STEP 2 Click "Safety
On the Safety Loss Control page, find the Links section and click the Safety Data Sheets tile to open the online SDS inventory system.
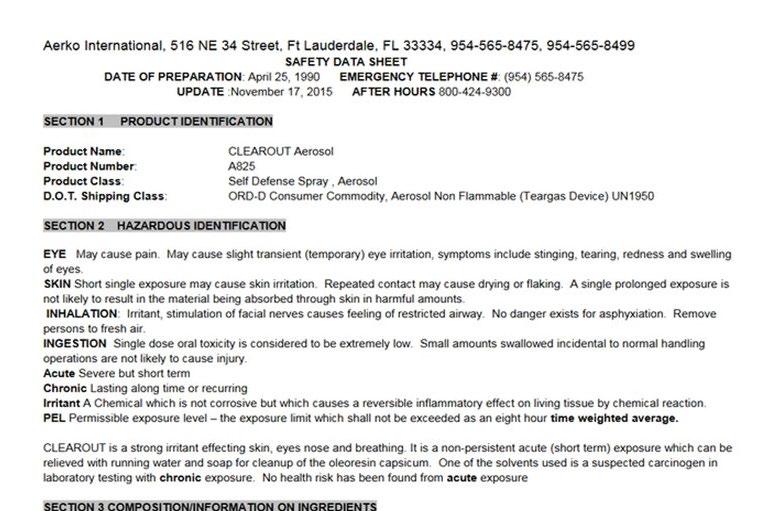
Type the product name in the search bar (e.g., "CLEAROUT Aerosol") then click Search Collection to run the search. Note: Notify your assigned HR Safety Loss Control Coordinator if you are unable to find an SDS within the document library.

Click the product name or the View Document icon on the right side of the result row to open the full SDS. You can also print or download it for your department records.
Once confirmed, add the product to your department's chemical inventory immediately. Notify your department safety coordinator of any new chemicals.