MEAL SELECTION AND SEATING ASSIGNMENT GUIDE If you need additional guidance, please reach out to sales@pooganshospitality.com and we will gladly assist you.
STEP
1
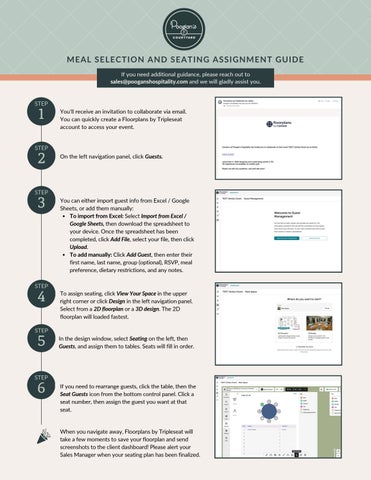
You'll receive an invitation to collaborate via email. You can quickly create a Floorplans by Tripleseat account to access your event.
STEP
2
On the left navigation panel, click Guests.
STEP
3
You can either import guest info from Excel / Google Sheets, or add them manually: To import from Excel: Select Import from Excel / Google Sheets, then download the spreadsheet to your device. Once the spreadsheet has been completed, click Add File, select your file, then click Upload. To add manually: Click Add Guest, then enter their first name, last name, group (optional), RSVP, meal preference, dietary restrictions, and any notes.
STEP
4
To assign seating, click View Your Space in the upper right corner or click Design in the left navigation panel. Select from a 2D floorplan or a 3D design. The 2D floorplan will loaded fastest.
STEP
5
In the design window, select Seating on the left, then Guests, and assign them to tables. Seats will fill in order.
STEP
6
If you need to rearrange guests, click the table, then the Seat Guests icon from the bottom control panel. Click a seat number, then assign the guest you want at that seat.
When you navigate away, Floorplans by Tripleseat will take a few moments to save your floorplan and send screenshots to the client dashboard! Please alert your Sales Manager when your seating plan has been finalized.