Real Estate Guide to Pontotoc County & the surrounding area



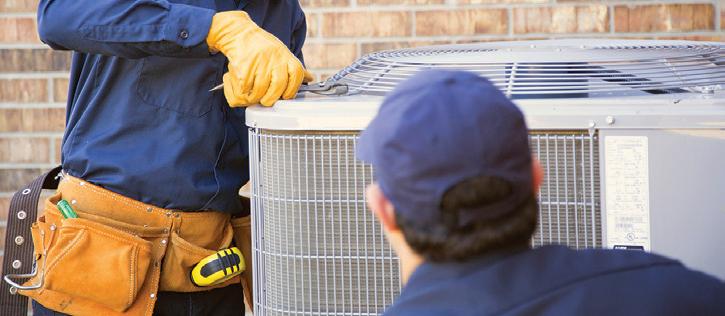
Upon the arrival of the dog days of summer, few things can be as welcoming as a cool home. Air conditioned interior spaces offer a much-needed respite from summer heat, but that relief is not guaranteed. Indeed, a summer heat wave can be just as taxing on an HVAC unit as it can be on people. But some simple pre- and in-season maintenance tips can go a long way toward ensuring an HVAC unit provides ample relief once the mercury rises.
Prior to summer, replace the filter on your HVAC unit. Doing so ensures dust, dirt, and allergens won’t affect the efficiency of the unit. An inefficient HVAC unit will make it harder to cool the home, and that may force the unit to work harder, which in turn can lead to a higher energy bill.
The condenser is the unit on the outside of your home. Over time, debris from the landscape, including dirt, grass, and leaves, can get inside the condenser and potentially affect the performance of the unit. While it’s inevitable that some landscape debris will get into the condenser, routine checkups and removal of debris can ensure that the buildup is not excessive.
For people who live in areas where summer can get especially hot, there may come a point in time when even the most well-maintained HVAC unit can use a hand. Homeowners can take certain steps during heat waves to improve the efficiency of their HVAC unit with an eye toward saving money and preventing the unit from overheating. Closing curtains and blinds during times of day when the heat is peaking or particular rooms in a home are drenched in sun can naturally lower the temperature inside a home, thus alleviating the burden on the HVAC system. Ceiling fans also can be employed while the air conditioner is running to circulate cool air more effectively. That can prevent the HVAC unit from working extra hard to cool the home.
If you’re accustomed to turning on the stove each night at dinnertime, recognize that doing so will increase the interior temperature of your home. As the temperature inside increases, the air conditioner will work harder to keep interior spaces cool and comfortable. That can be taxing on the HVAC unit and lead to higher energy costs. When it comes to dinnertime during the dog days of summer, consider cold dishes like salads and/ or grilling so the stove can stay off as much as possible.


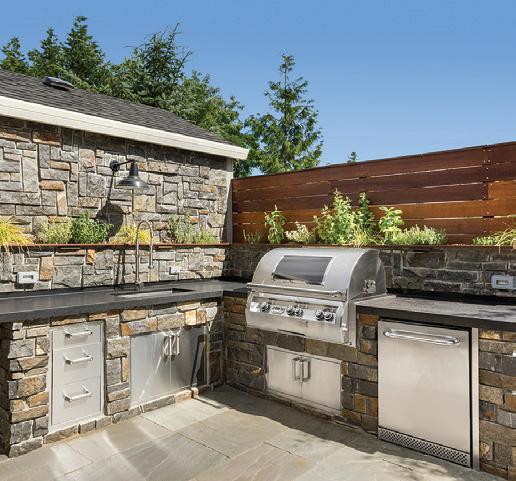
Outdoor kitchens are as popular as ever. Backyard barbecues have long been a staple of summertime, but outdoor kitchens have made hosting such affairs a lot easier. While outdoor kitchens vary depending on homeowners’ preferences and budgets, many offer ample counter space to prepare foods, a refrigerator to store premade items and other essentials like condiments, and ample storage space that saves grillmasters the trouble of making multiple trips into the house to gather supplies.
Outdoor kitchens are indeed convenient for people who love to entertain at home. But outdoor kitchens also are a significant investment. According to Range Outdoor Living, the average cost of an outdoor kitchen varies widely depending on the build type. A custom-built kitchen will cost anywhere from $20,000 to $50,000 (without appliances and countertops), while a modular kitchen is a more budget-friendly option, typically cost-
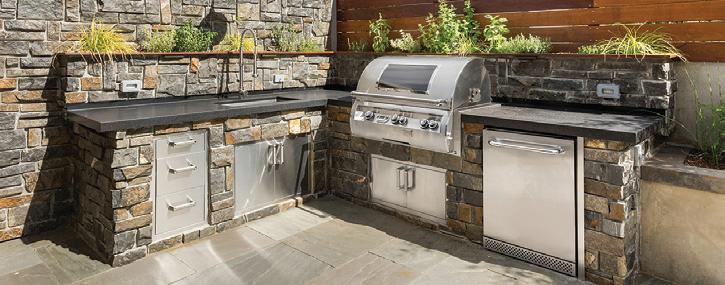
ing between $5,000 and $15,000 (some modular kitchens include appliances and countertops, while others do not). While that’s a hefty price tag, a 2024 analysis from the real estate experts at Zillow found that listings with outdoor kitchens exceeded pricing estimates by 2.2 percent, which shows the value prospective buyers place on these spaces.
The cost of an outdoor kitchen installation requires that ample consideration be given to such projects before going forward with them.
Outdoor kitchen installation projects are significant undertakings. Knowing what to expect in advance can help homeowners navigate their way through the process.
An outdoor kitchen installation is a complex project that may require the work of masonry experts, plumbers, electricians, and other specialized contractors like countertop installation experts. Many outdoor kitchen projects begin with estimates from a contractor who specializes in landscaping and hardscaping. But those estimates may not include the additional costs associated with any electrical work that must be done, plumbing work (i.e., connecting a natural gas line to an outdoor grill), or materials costs (i.e., countertops). Homeowners are urged to receive cost estimates on each part of the project, including appliances like refrigerators and grills, so they know just how much money they will be committing to the project before it begins.
Permits will likely be necessary when building a new outdoor kitchen. A permit may be required if you hope to connect a new grill to your
natural gas line. Permits add another expense to the project, but they also may add time. Contractors will not be able to go forward with a project until permits have been approved. So homeowners are urged to work with local permit officials before breaking ground. Doing so will not necessarily speed up the process, but local permit officials can ensure homeowners and contractors are filing the right applications and filing them with the appropriate officials.
Connecting electricity, water and gas typically is less complicated the closer an outdoor kitchen is to the existing home. Work with your landscaping and hardscaping contractor to identify the best location for the kitchen in relation to connecting utilities. But don’t ignore the existing landscape completely. For example, cooks will not want to be staring directly into the sun when grilling for residents and guests. Pick a spot that shields cooks from the elements and also facilitates the connection of utilities like natural gas and electricity.


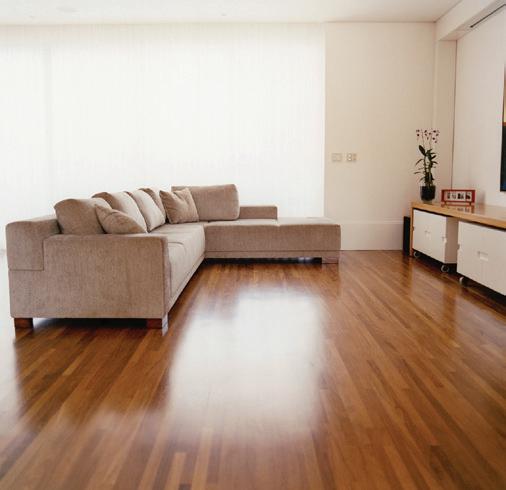
Natural wood flooring is a stunning feature of millions of homes. Wood floors are appreciated for their durability and aesthetic appeal, each of which is bolstered when floors are properly maintained.
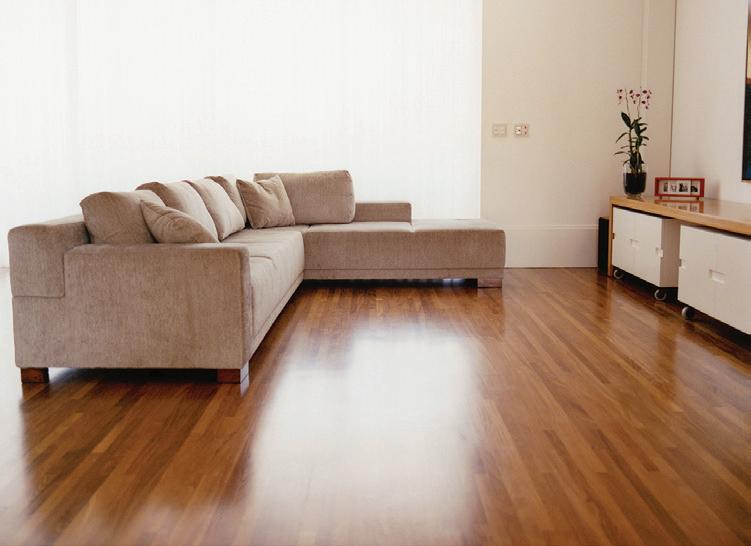
A host of variables can affect how long wood flooring lasts and how its appearance holds up over time. Wood flooring in homes with pets that roam around the house, such as cats and dogs, may require more frequent maintenance than those without pets. The same goes for homes with children, who may routinely track dirt in from outside or spill food and drinks with greater frequency than adults. But even wood flooring in homes without pets and children requires consistent maintenance. Well-maintained wood floors add much to a home’s interiors. Some simple maintenance can ensure wood floors remain durable and aesthetically appealing for decades.
The NWFA recommends daily maintenance to remove dust and dirt that accumulates each day. Such cleaning can prevent damage that can compromise the aesthetic appeal of the floors and potentially affect their longevity.
Spills are inevitable, especially in homes where young children live. Though spills might not be preventable, the damage they can cause can be avoided with a prompt response. Cleaning spills immediately with a dry or slightly damp cloth can ensure the floors do not soak up the spilled liquids. The NWFA notes that mopping wood floors with a wet mop or steam mop will damage the finish and the wood over long periods of time. If allowed to soak into the floor, spilled liquid can contribute to warping, swelling and staining. Each of those issues can be costly to address, but a quick and immediate cleanup can prevent all three from happening.
Utilizing a vacuum is less taxing on wood floors than sweeping so long as the vacuum is on the bare floor setting. Sweeping is best avoided to prevent small particles from be-
ing dragged across the floor, which gradually wears down the finish and ultimately contributes to a dull look. Vacuuming vertically lifts the debris off the floor, ensuring nothing is dragged along the surface of the floor. If you’re using a manual vacuum instead of a robotic vacuum, vacuum with the grain to reduce the risk of damage.
If your wood floors are newly installed, ask your installer to recommend a cleaner specifically designed for the finish on your floor. If your floors are not new, contact a flooring professional for a recommendation. Wood flooring cleaners specific to a given floor’s finish are important because these products are specialized and formulated with both cleaning and protection of the floor itself in mind. The right wood floor cleaner won’t lead to dull-looking floors nor damage the finish.
The NWFA notes that recoating with wood floor finish every three to five years can renew the appearance of natural wood flooring that might be starting to look a little dull.


Landscaping goes a long way toward how residents, guests and even prospective buyers view a property.
A 2023 Thumbtack survey conducted in partnership with Nextdoor found that 73 percent of homeowners feel a well-kept lawn dramatically improves curb appeal.
Maintaining a lawn involves more than mowing once every week or two weeks. While it’s important that grass be cut consistently and at a height that helps to prevent weed infestation, homeowners also need to go further if they hope to produce a lawn they can be proud of.
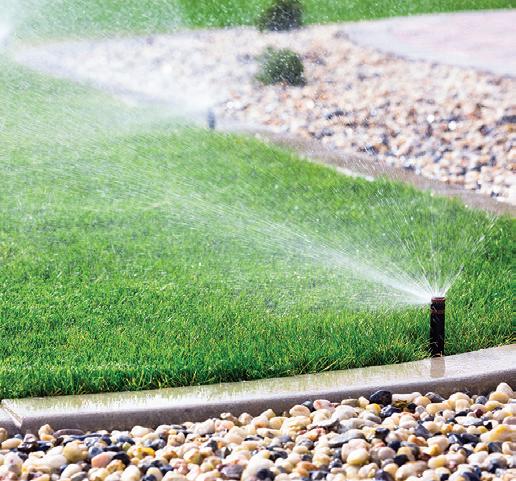
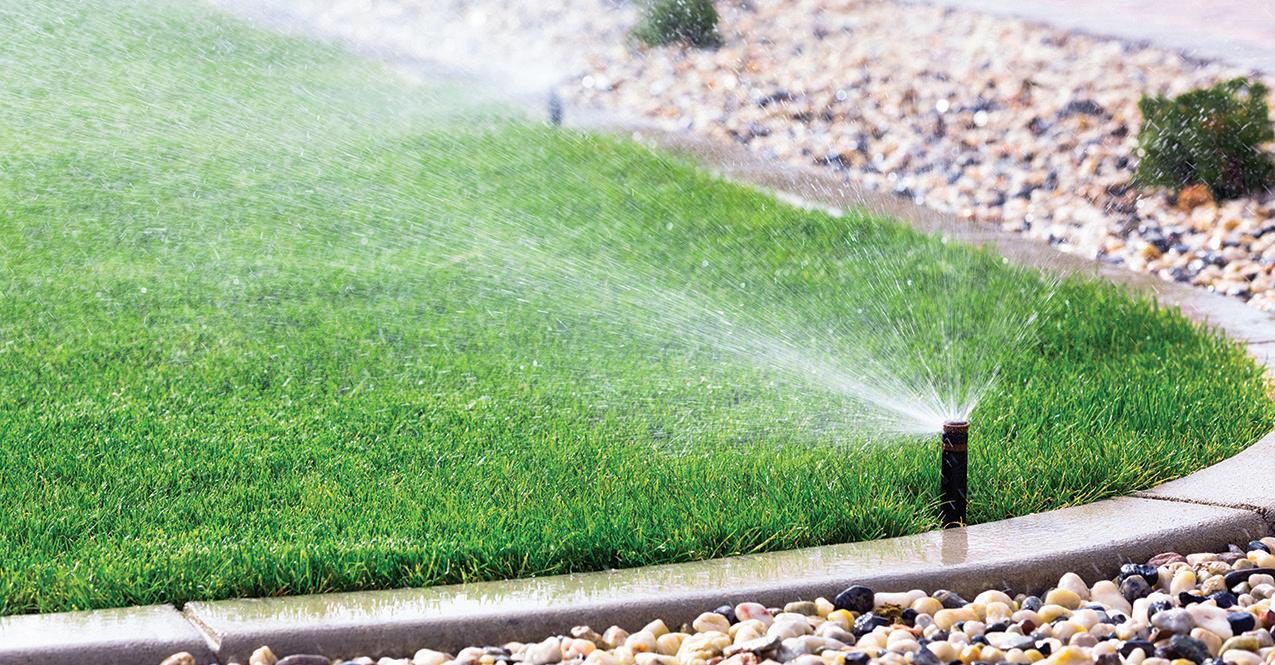
Watering a lawn promotes strong roots and produces that lush, green look that can quickly become the envy of a neighborhood. Hand watering is effective but also labor-intensive, while watering with lawn sprinklers may require frequent repositioning and lead to substantial runoff. That’s why many homeowners look to irrigation systems to preserve their lawns and other areas of the landscape outside their homes.
A well-maintained law can be a show stopper, and an irrigation system can help homeowners get the most out of their lawns.
Homeowners may be surprised to learn there are various types of irrigation systems. When considering an irrigation system, homeowners may settle on two of the more common types.
• Sprinkler systems: These might be the most familiar home irrigation systems. A sprinkler irrigation system positions various sprinklers around a property and allows homeowners to water large areas in a relatively brief period of time.
• Drip irrigation systems: Drip systems are installed underground and provide water directly to the roots, which builds a stronger lawn and reduces the risk of weed infestation. Drip systems also can help to conserve water, which is important for homeowners who live in areas with arid climates. And because they’re underground, drip systems do not lose a lot of water to evaporation, which is another notable factor for homeowners to note if they live in areas with high temperatures and substantial summertime humidity.
Cost is a chief consideration for any home improvement project, and irrigation systems are no exception. The cost of a system will depend on a number of variables unique to each property, including the size of the grounds, the soil conditions, and the layout of the lawn. A drip irrigation system is considered affordable, with the experts at LawnStarter® estimating homeowners spend between $310 and $815 on such systems. A sprinkler system can cost anywhere from $0.90 to $1.70 per square foot, according to LawnStarter®. So homeowners interested in such systems can expect to spend thousands of dollars to install one.
It’s generally a good idea to leave irrigation system installation to the professionals. However, various resources indicate that drip irrigation systems are DIY-friendly for people with ample DIY experience. Sprinkler systems are more difficult to install than drip systems, and these projects should be trusted to experienced local professionals.
Riding the ups and downs of the financial market is challenging, particularly as it pertains to figuring out the right time to buy a home. After years of volatility, recent data indicates that the housing market might have hit an affordability ceiling, creating a much-needed period of rebalancing.

Although prices remain high, the bidding wars and back-office tactics that may have dominated past years have cooled considerably. This means buyers may have a wider window in which to purchase a home that is more affordable, states Cotality, a data analytic service. Those looking to buy now can explore options to ensure their next home does not bust their budget.
Buying a home that is affordable requires diligence on the part of potential homeowners, who can consider the market and their finances and tweak search parameters to get the best deals.
The first step to buying a home is understanding the median home price. According to data from Realtor.com and Redfin, the national median home price has stabilized at $429,156 in the United States. At the same time, mortgage rates have eased. CREA Statistics says the national average home price in Canada was $663,828 in March 2026. The average 30-year fixed rate is now around 6.0 to 6.3 percent as of April 2026. For the first time since 2022, the typical mortgage payment has fallen below the 30 percent affordability threshold. Rocket Mortgage says this is a standard guideline suggesting households spend no more than 30 percent of their gross monthly income on housing expenses.
Buyers may be inspired to widen their search criteria to find an affordable home. That could translate into choosing an older home or one that requires more repairs and upgrades. It’s important that a budget include maintenance reserves for annual repairs, as well as construction costs for immediate needs.
By working with a lender to run numbers, potential buyers can get a clear picture of what
they can afford. Plus, a mortgage preapproval may be a necessity when putting in an offer on a property. Lenders often lean heavily on the 28/36 rule to determine risk. This means that total monthly housing costs (principal, interest, taxes, and insurance) should not exceed 28 percent of a person’s gross monthly income, advises PNC Bank. Total debt payments, including that new mortgage, car loans, and student debt, should remain under 36 percent.
Many areas of the country have featured recent corrections in the housing market, making housing more affordable. Corrections have occurred in parts of Florida, San Francisco, and Los Angeles, among other locales. Buyers can target these areas and consider widening their search radius, especially if they work remotely and need not worry about commuting.
Buyers can have a real estate agent sort listings by how many days homes have been on the market. According to Mortgage Research, homes sitting on the market for more than 60 days are prime candidates for price cuts. Those homeowners also may be more inclined to negotiate.