Optimize your conveyor belt cleaning in a sustainable way
With our hygienic CIP Unit, we are able to optimize your belt cleaning in a sustainable way.
The design of the hygienic CIP unit is the optimal choice for conveyor belts that has to comply with the strictest hygienic requirements and guarantee a safer, cleaner and more hygienic food processing!
Reducing the cleaning time and manual labor, which increases your production time.
Reducing the consumption of water, chemicals and energy, making it a both economically and environmentally healthy choice.
No conveyor belt scratches and damages generated from the contact with manual spray guns
All movable parts are 100% hygienically sealed and detectable by scanning systems.
Easy assembly with multiple mounting options.
State-of-the-art hygienic design. Inspired by EHEDG and 3-A design guidelines
Internal and external cleaning of conveyor belt
Can easily be retrofitted on an existing conveyor at the production site.
Our CIP Unit is a plug & play unit that makes cleaning both easier, more effective and more environmentally friendly.
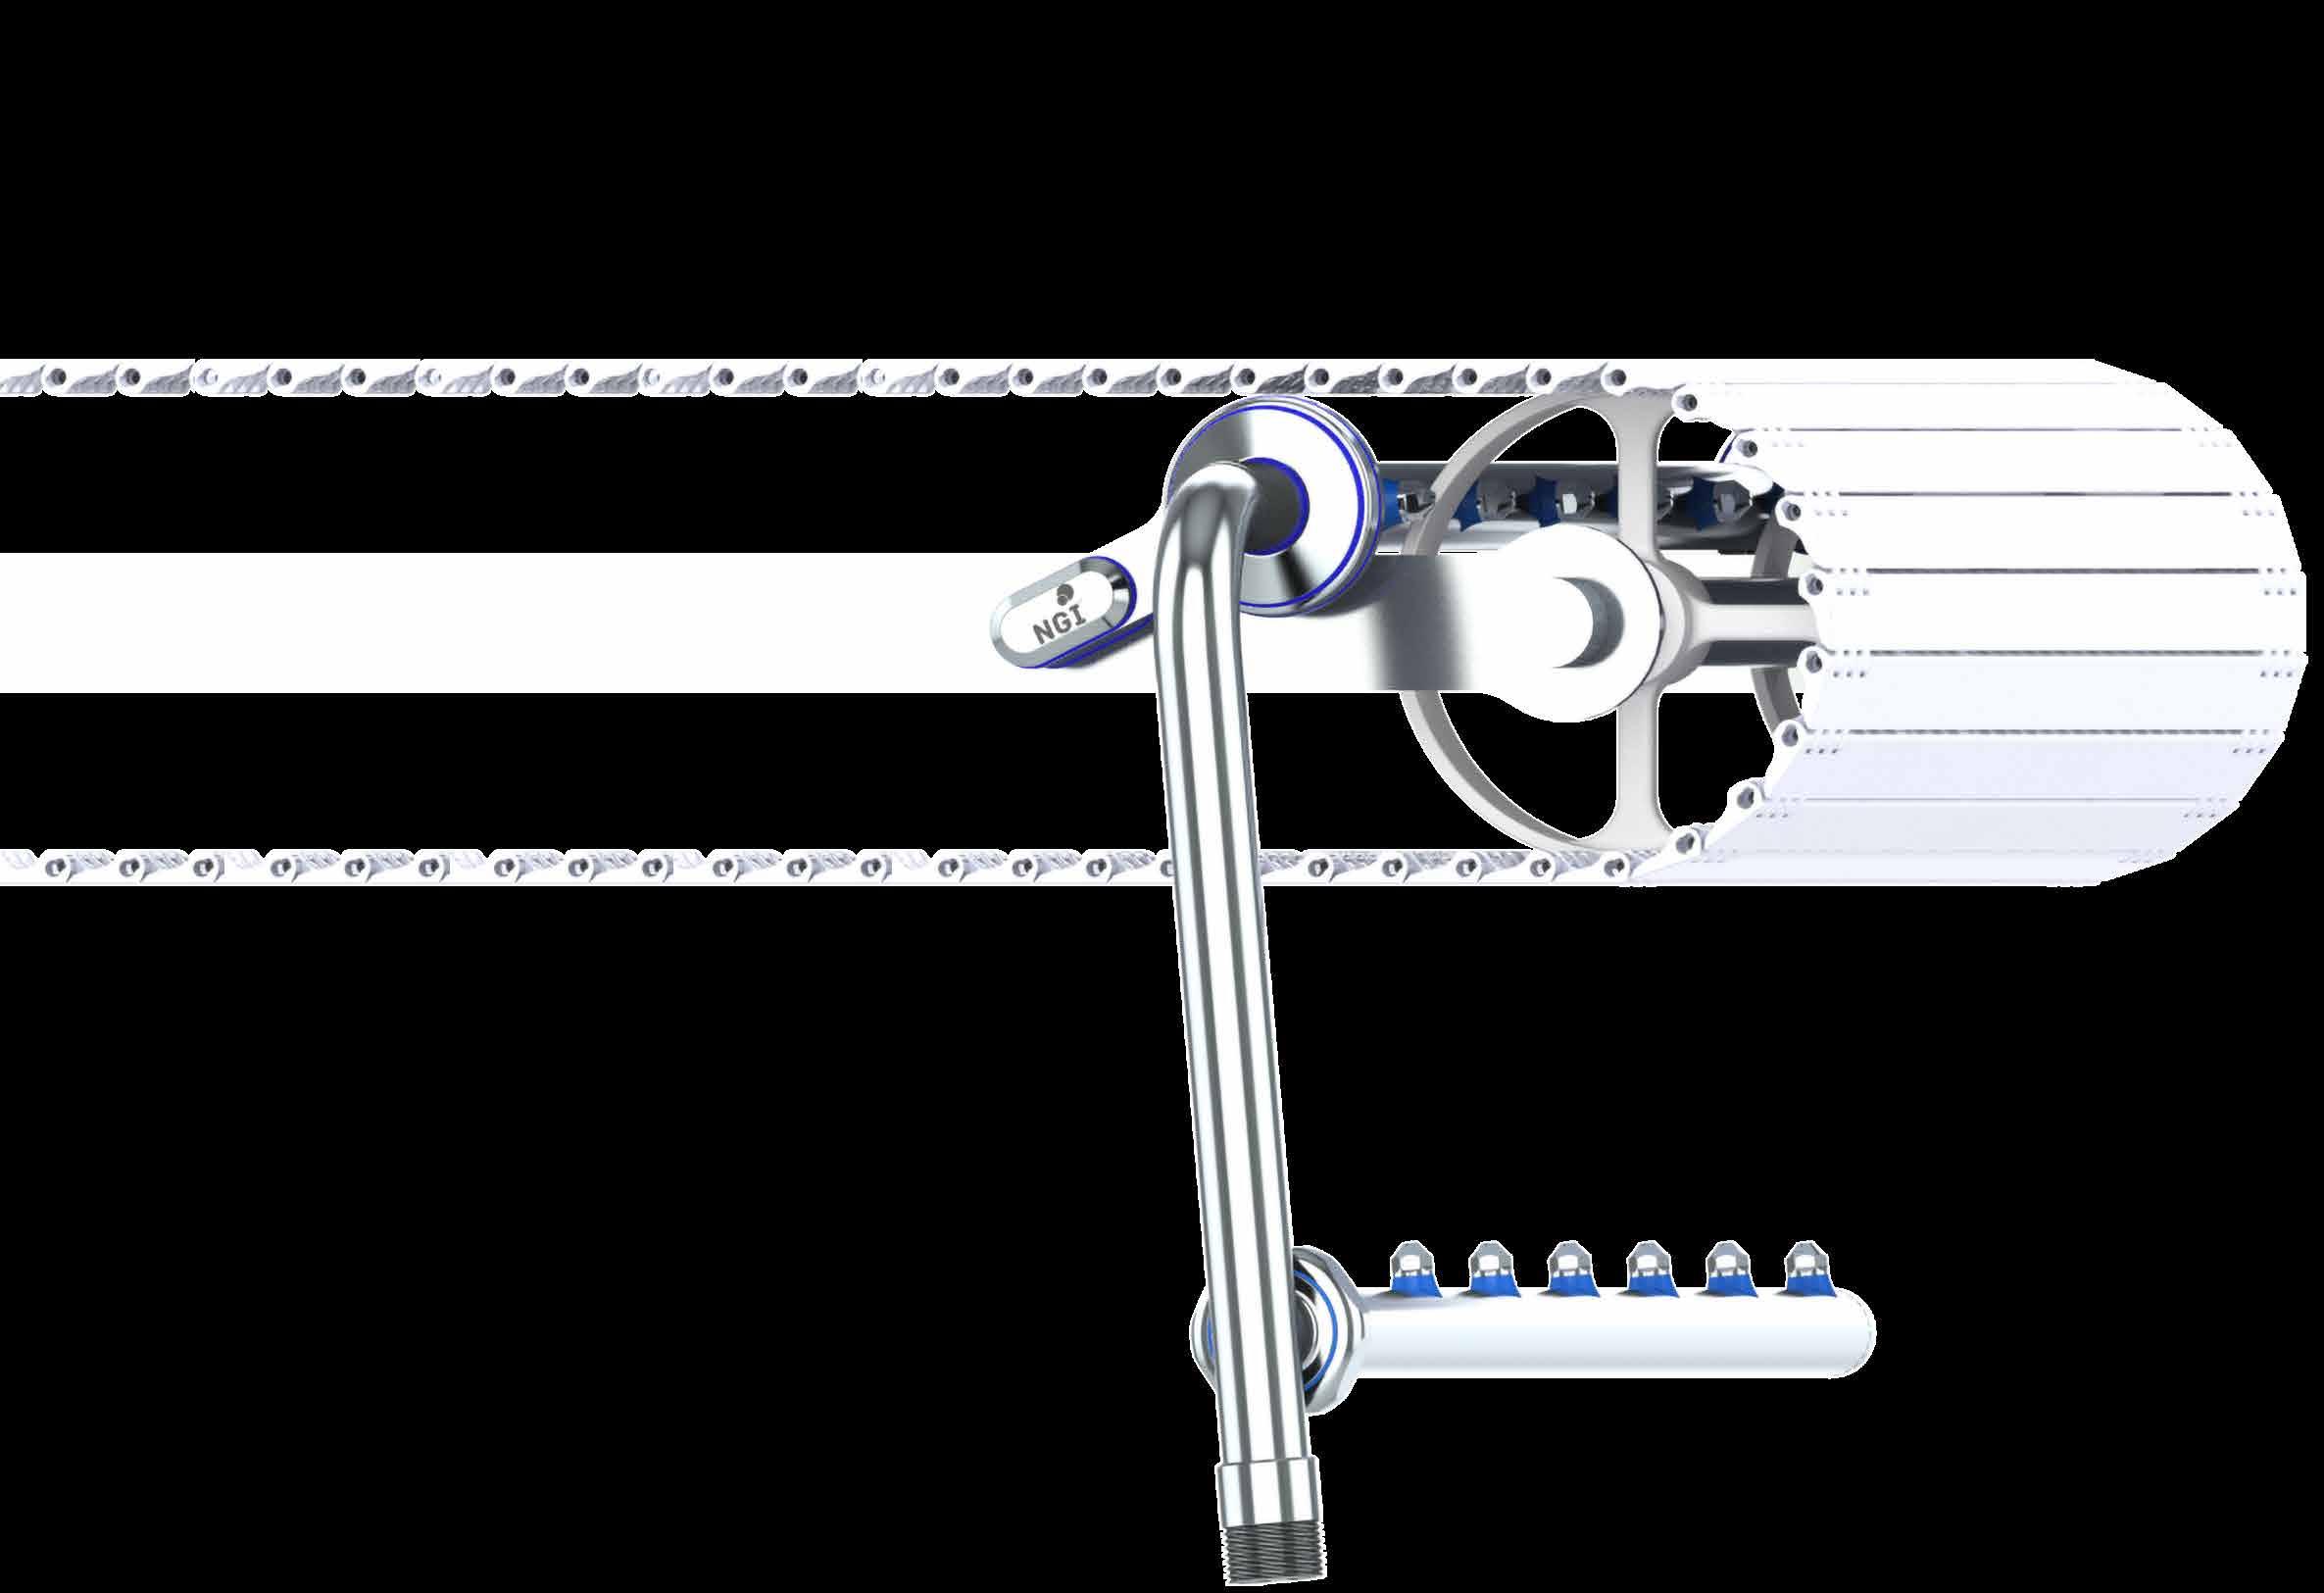
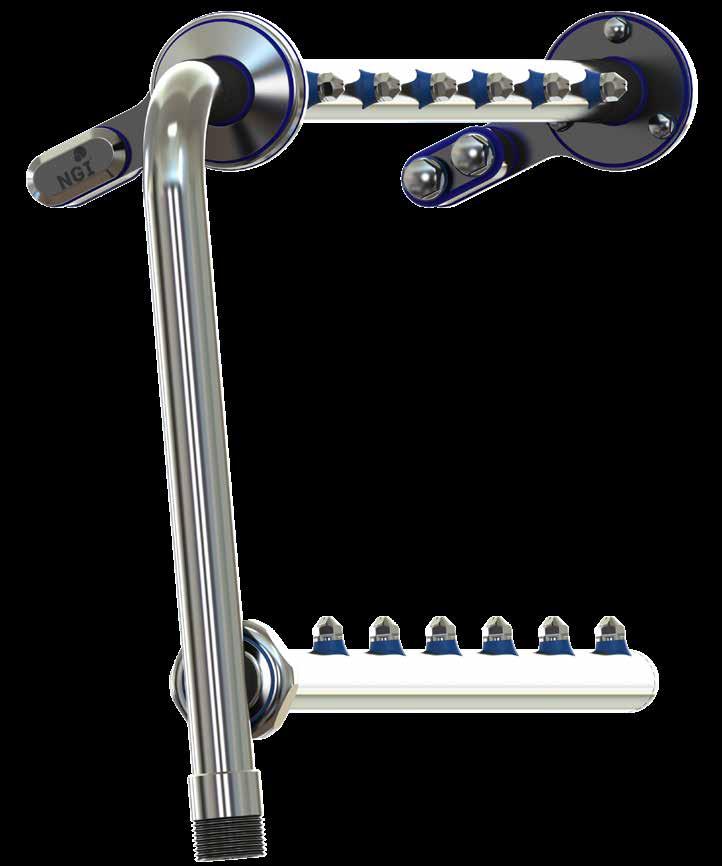
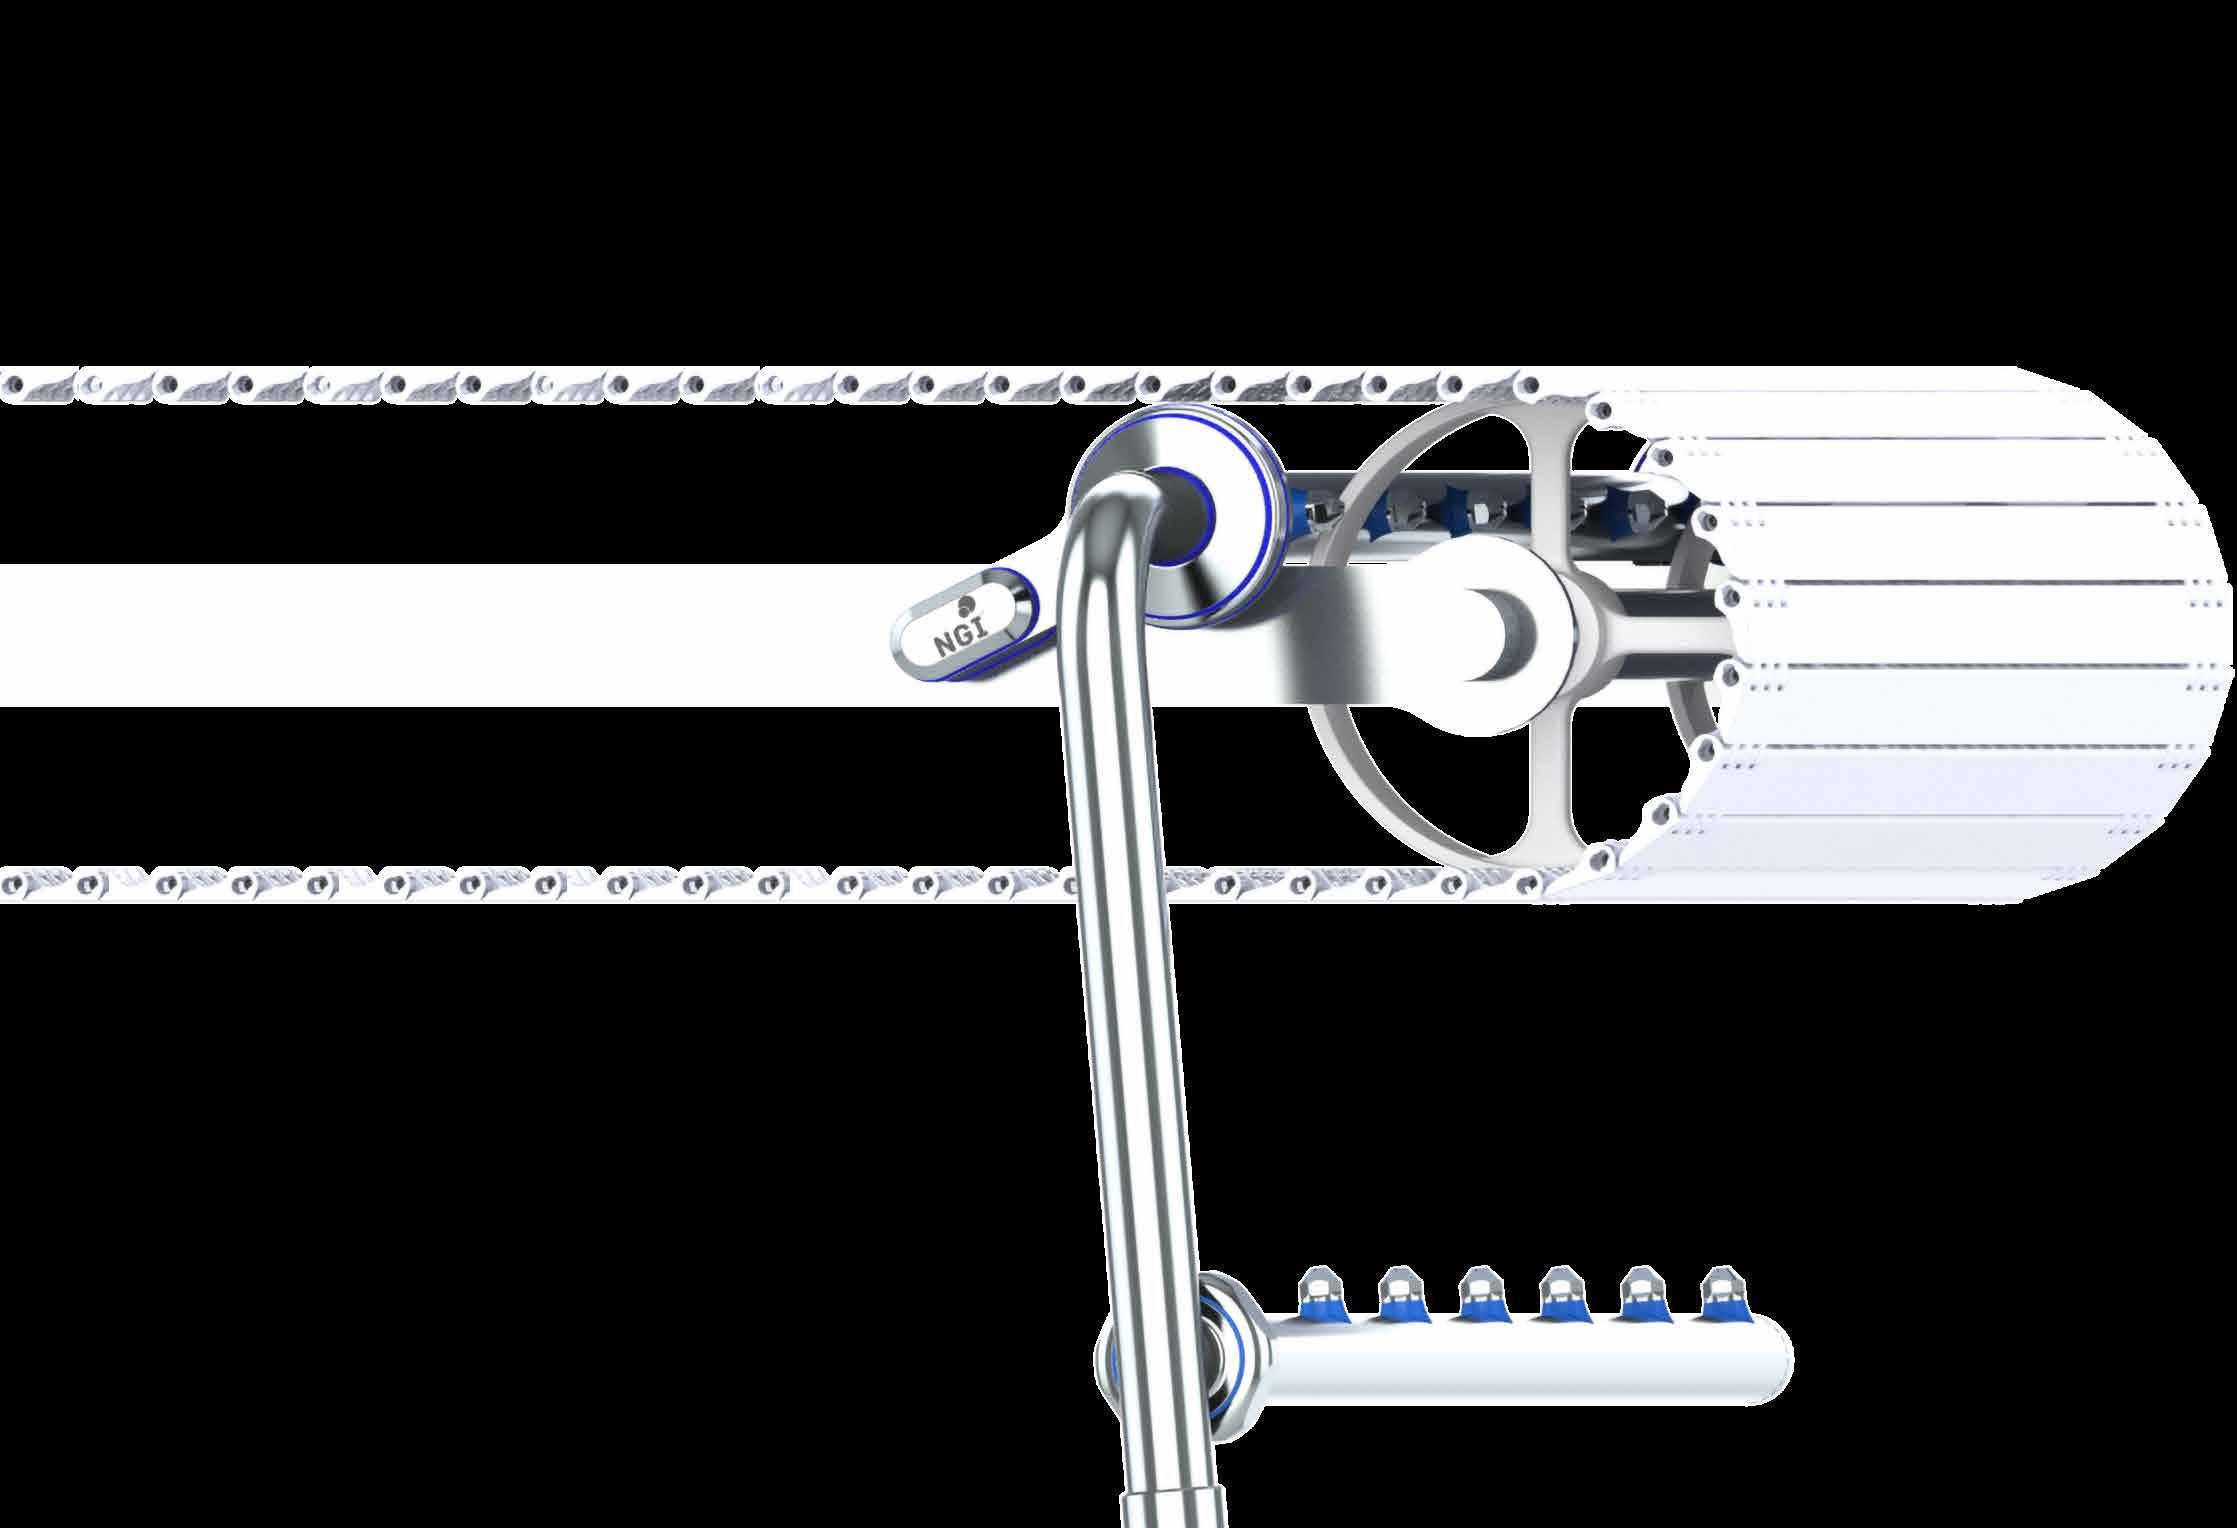
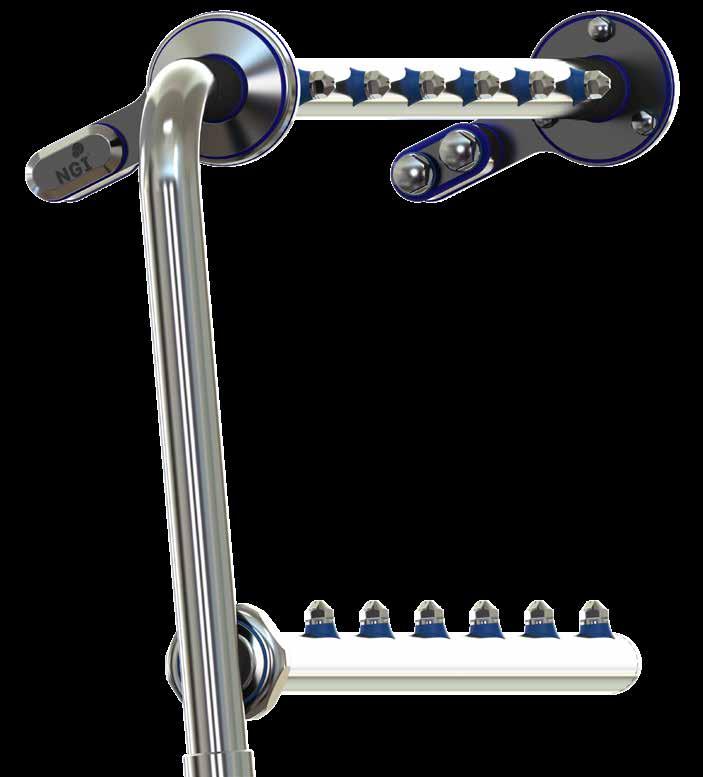
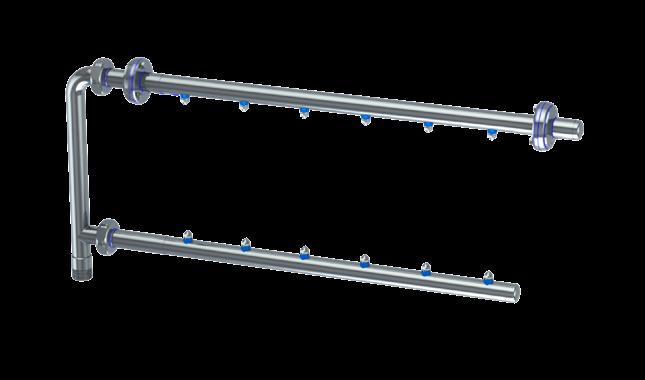
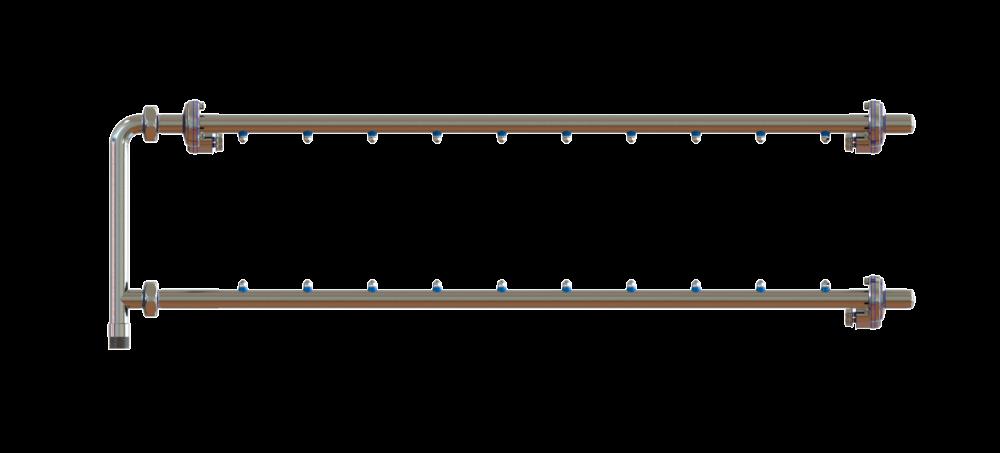
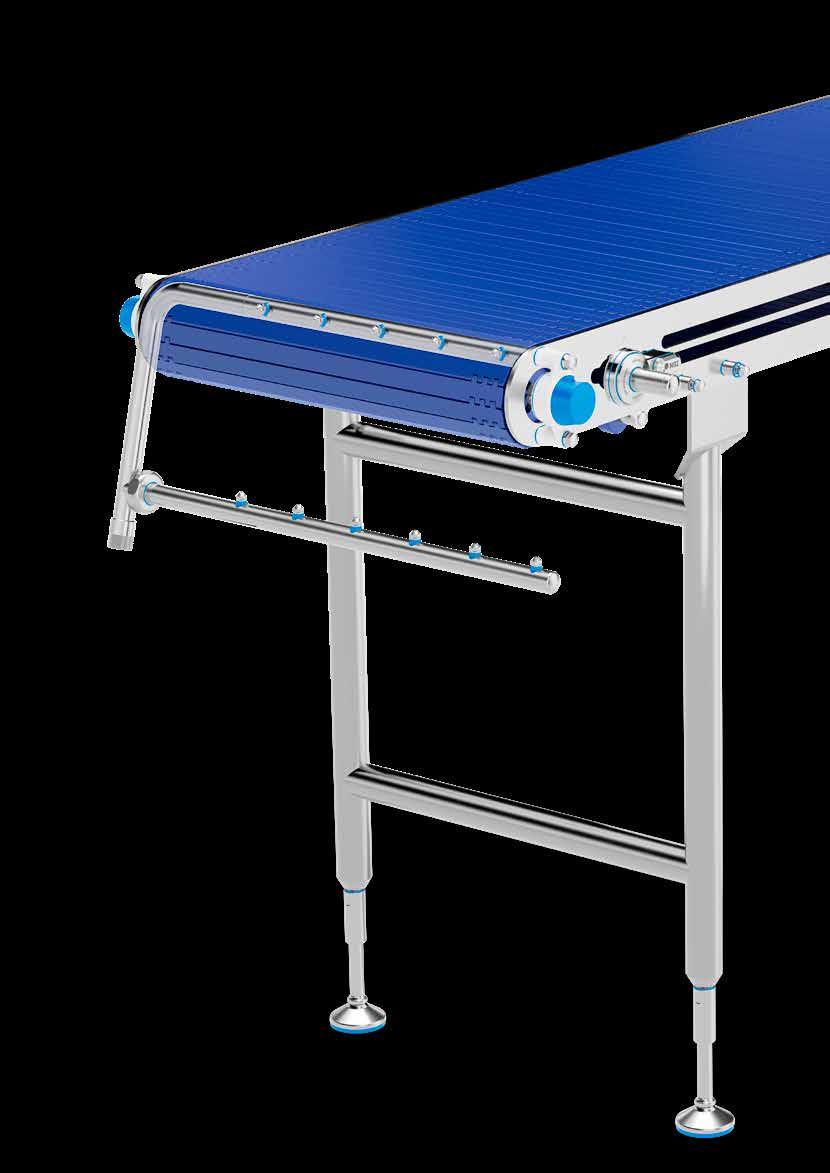
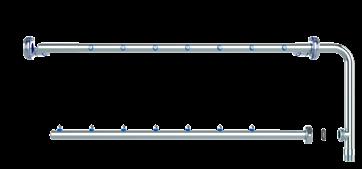
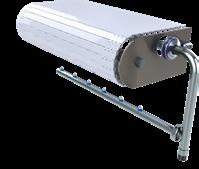
The CIP Unit is a separate cleaning device that works independent of the conveyor belt, with a spraybar on the inside and one on the outside.
With the CIP Unit you
get a Plug & Play-solution that is easy to install
increase your hygiene level, prevent contamination and microbial growth
increase your production time, by reducing cleaning time and manual labor
reduce the water, chemicals and energy consumption
Simply put: With the CIP Unit installed, you get all the advantages of high class, automatized cleaning.
Certified hygienic
Minimized cleaning time
Minimized water usage
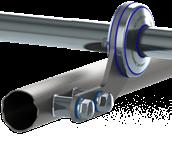
We have more different models and sizes.
By specifying the following on your conveyor you can easily find the right model of CIP Unit suitable for you. Follow these steps
1. Decide if you want one or two spraybars
2. Measure your belt width in Inches, and find the model that fits your belt size (ex; belt width is 14” choose a 16” CIP Unit)
3. Check your installation width is within the range of the CIP Unit .
See example on next page.
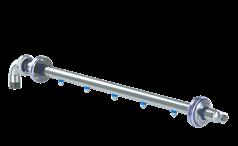
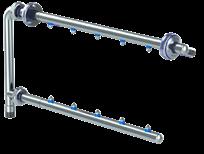
The CIP unit is a piece of state-of-the-art hygienic design. It’s inspired by EHEDG, USDA and 3-A design guidelines, and furthermore it’s easy to install. The CIP Unit has angular adjustability of both bars.
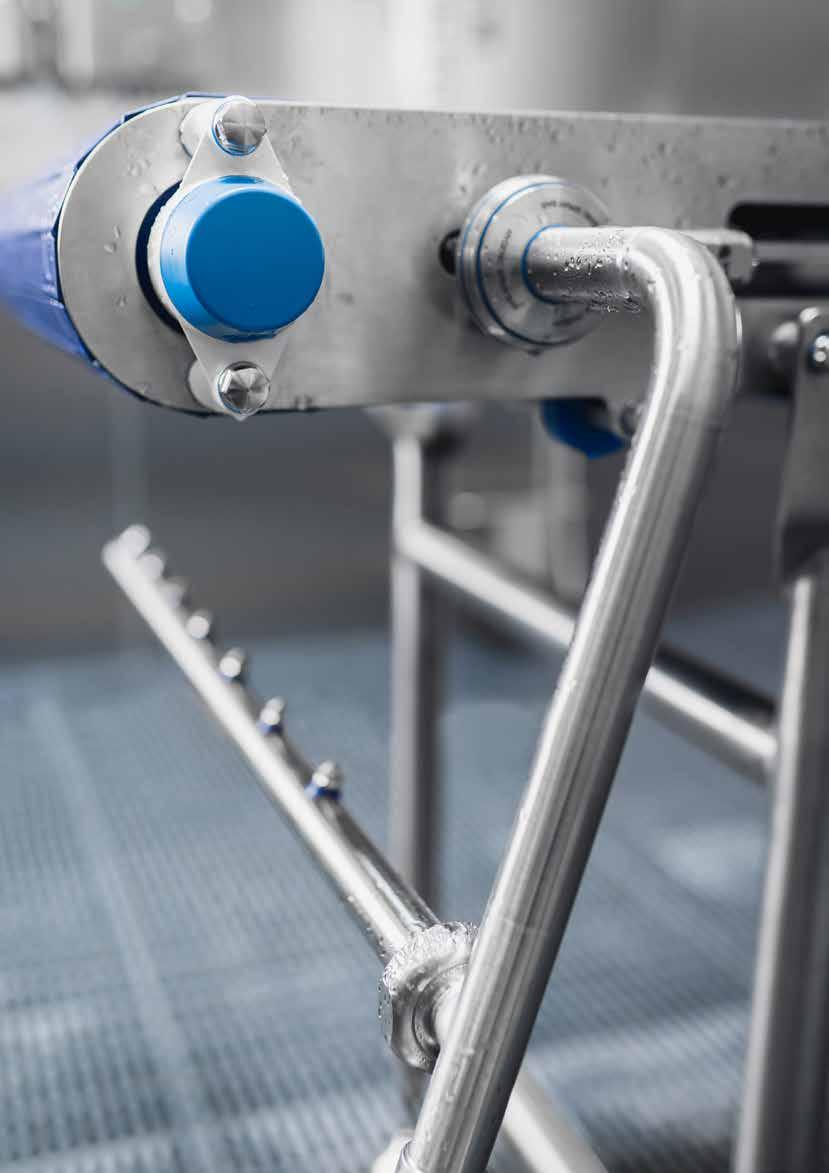
The CIP unit is compatible with most of standard conveyors, please consult our Sales Engineer for any technical support.
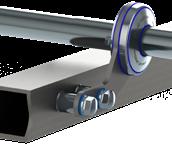
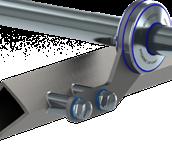
We offer 3 different mounting fasteners compatible with flat surface, square, square rounded or round tube installation. Find installation guide on page 17. The CIP Unit has angular adjustability of both bars.
The connector is a 1” BSPT type where you can connect water and detergent for the CIP Unit.
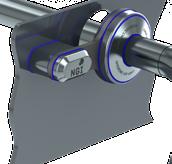
All the movable parts on our CIP Unit are 100% hygienically sealed. All sealings are blue and therefore detectable by scanning systems. Minimum cleaning effort is thus obtained by the design of the self-draining surfaces.
Our CIP Unit can easily be retrofitted on an existing conveyor belt at the production site. Alternatively, you can mount the CIP Unit simultaneously with the installation of a completely new conveyor belt.
The CIP unit package includes:
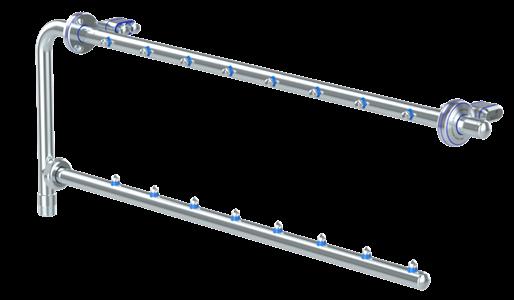
• Double stainless steel spray bar equipped with spray nozzles
• The upper and lower spraybar are able to rotate 360°
• An embedded hydraulic connector to joint the pressure line
• A flexible hygienic set of 2 brackets
• 4 fixation spacers
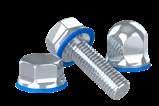
• 4 hygienic bolts
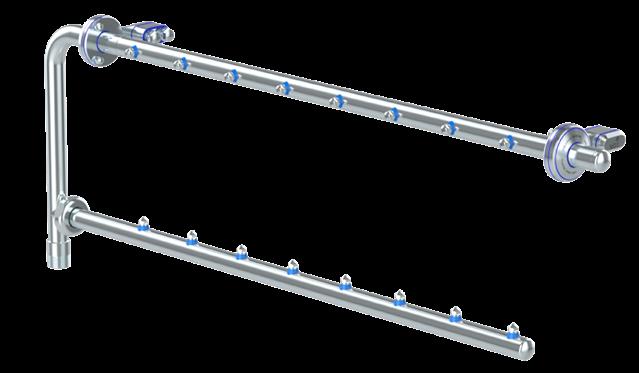
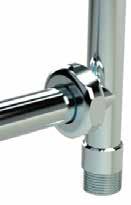
Union Connects the two tubes and adjust the angles of the nozzles
1. Rinse with water (maximum temperature ~40°C on proteins).
2. Distribute and cover all surfaces with foaming alkaline detergent for minimum 10 minutes. All standard products within the industry can be used. Follow supplier recommendations for temperature (maximum 100°C) and concentration depending on foaming detergent.
3. Rinse with hot water (maximum 100°C) with low-medium pressure (approximately 8-12 bar) until it is visibly clean.
Be careful not to damage the sealings if high pressure cleaning is used. Keep nozzle at minimum 200-300 mm distance.
4. Mechanical cleaning may be necessary if the CIP Unit is severely soiled. Cleaning must be executed with a soft brush or soft plastic scraper together with a more direct pointing nozzle spray. Steel scraper, steel brush or other sharp metallic tools are strictly prohibited, since the sealings can be severely damaged and the steel surfaces will be scratched.
1. If any part of the Hygienic CIP Unit is damaged, it must be replaced. Always use genuine spare parts from NGI.
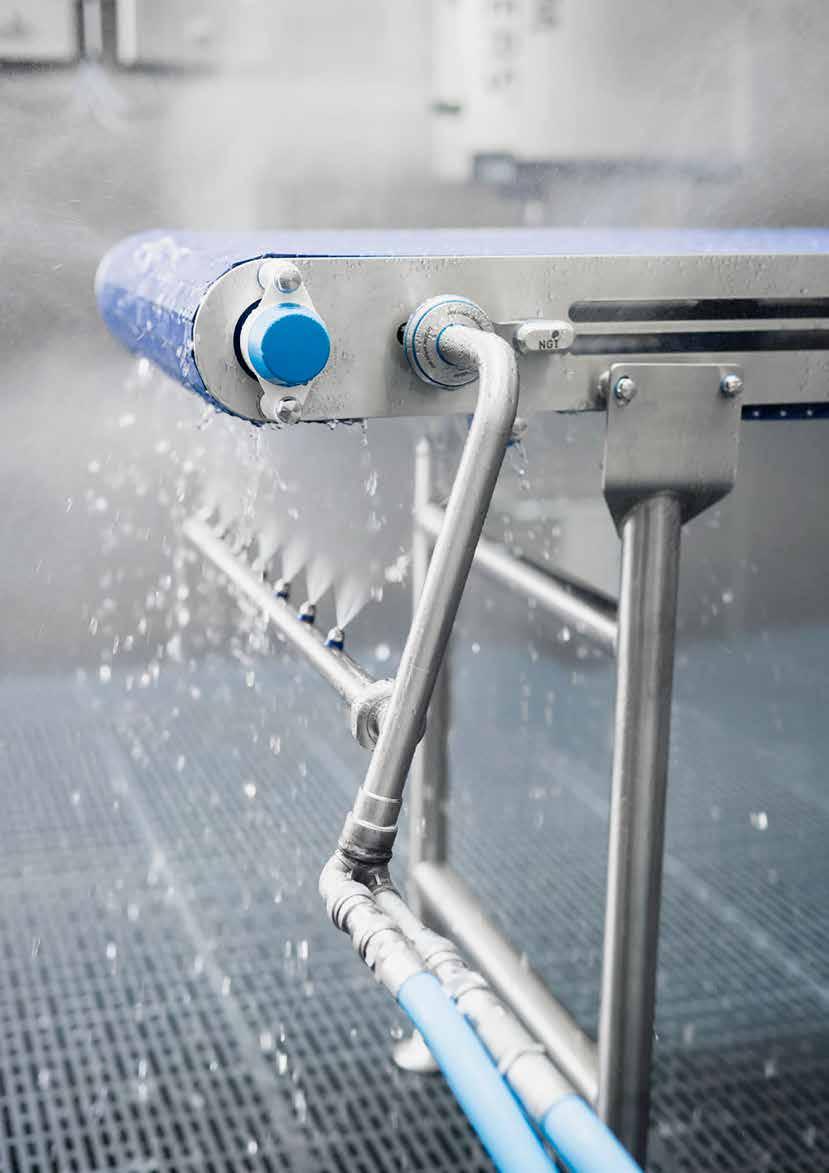
With the CIP Unit installed, you get all the advantages of high class, automatized cleaning and the CIP Unit prevent contamination and microbial growth. Can be mounted from both the left and the right side of the belt.
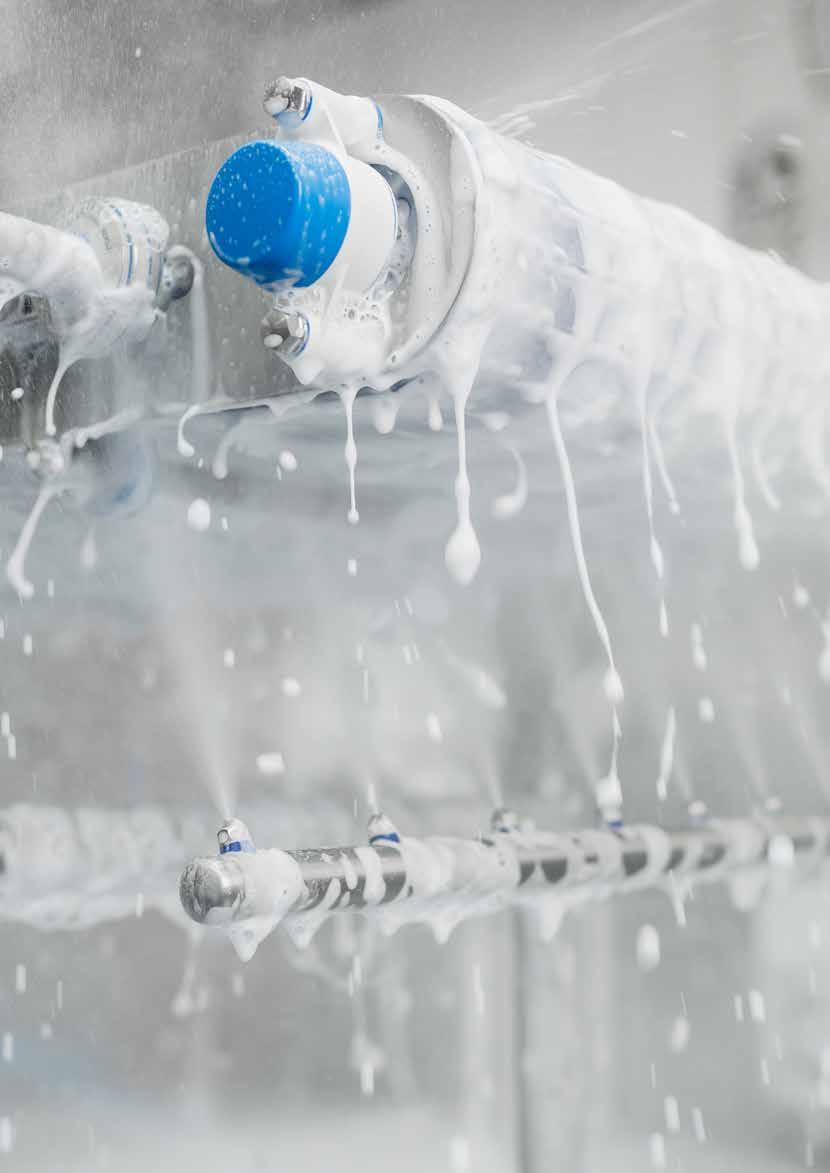
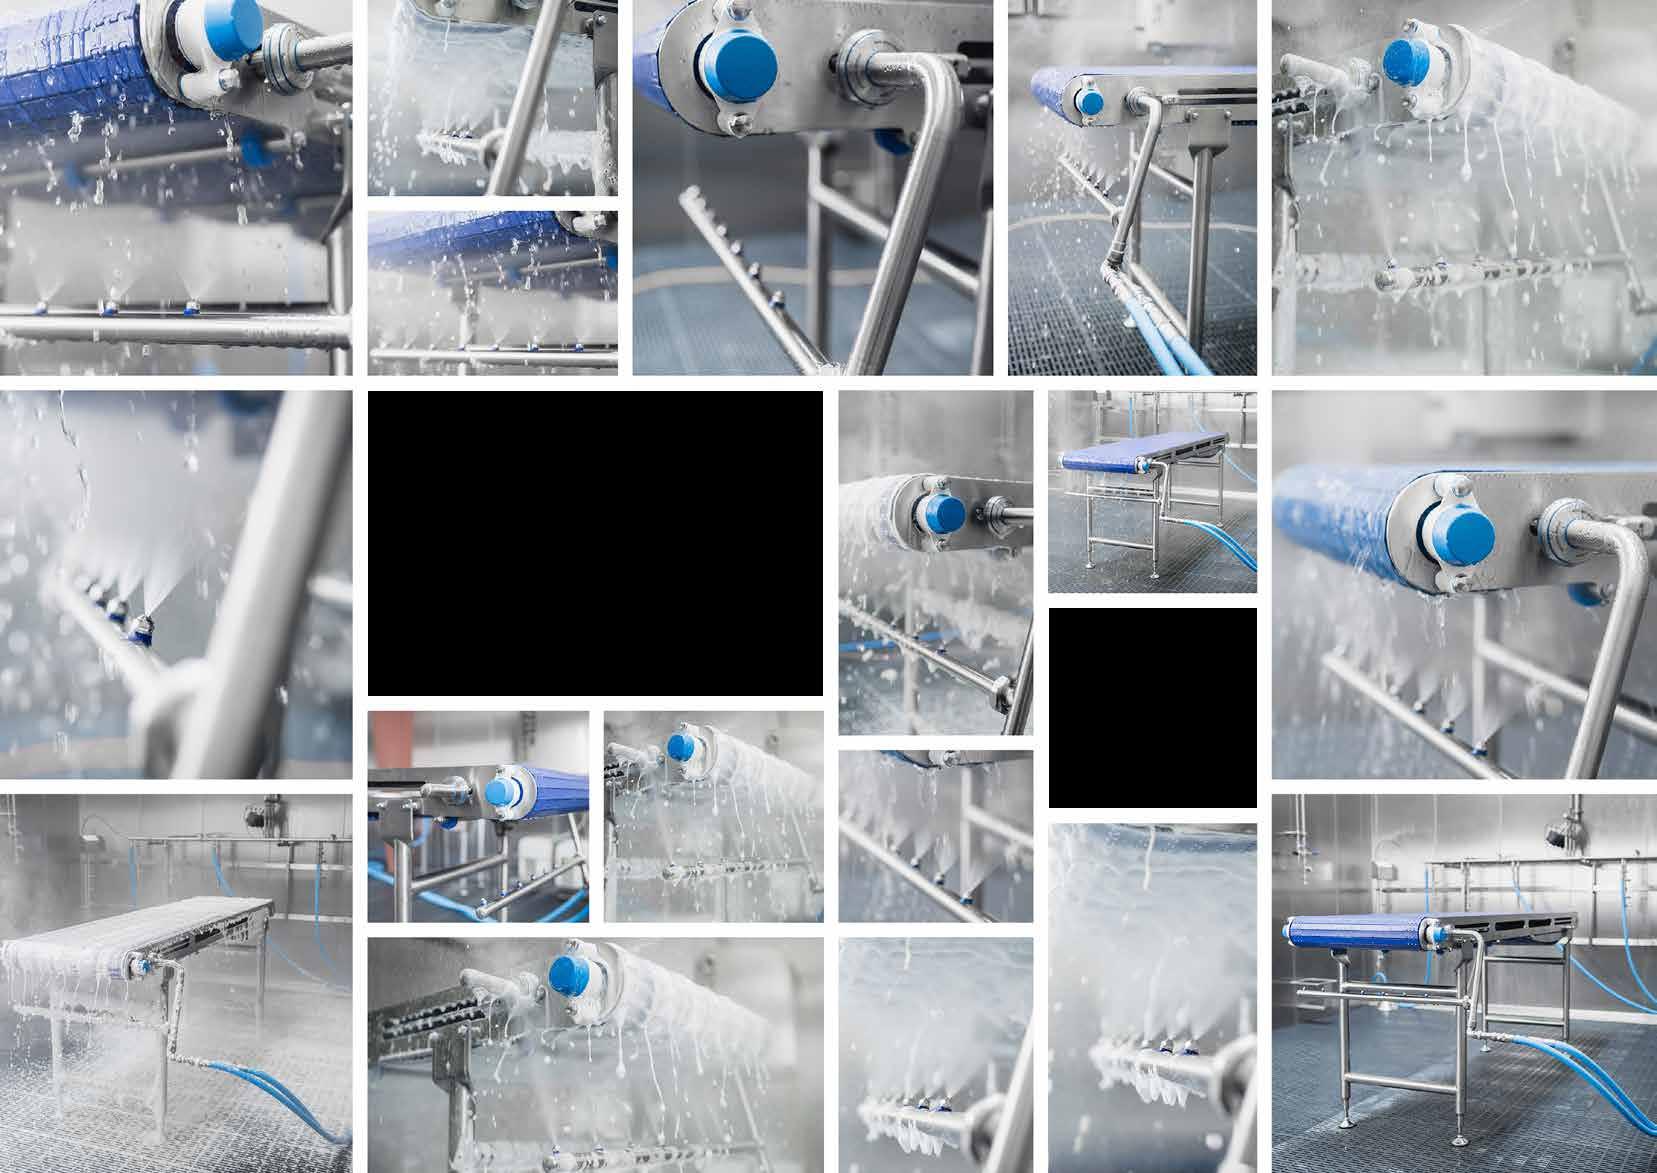
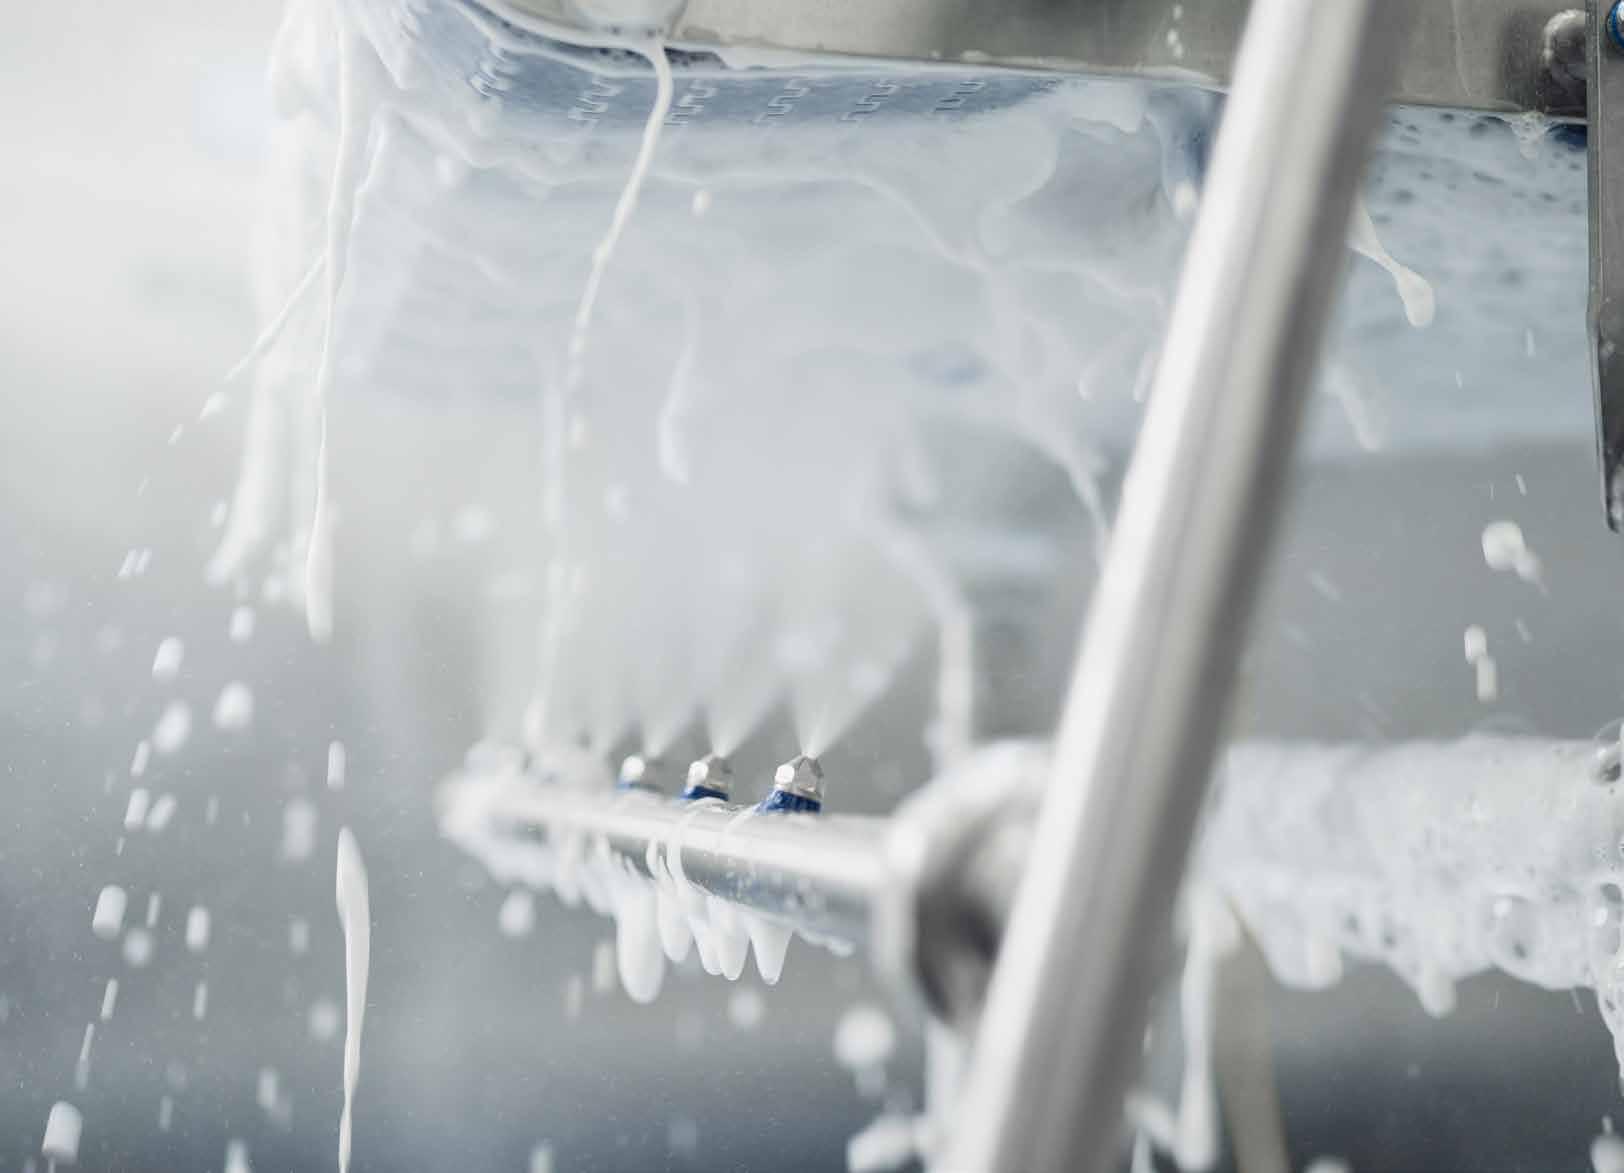
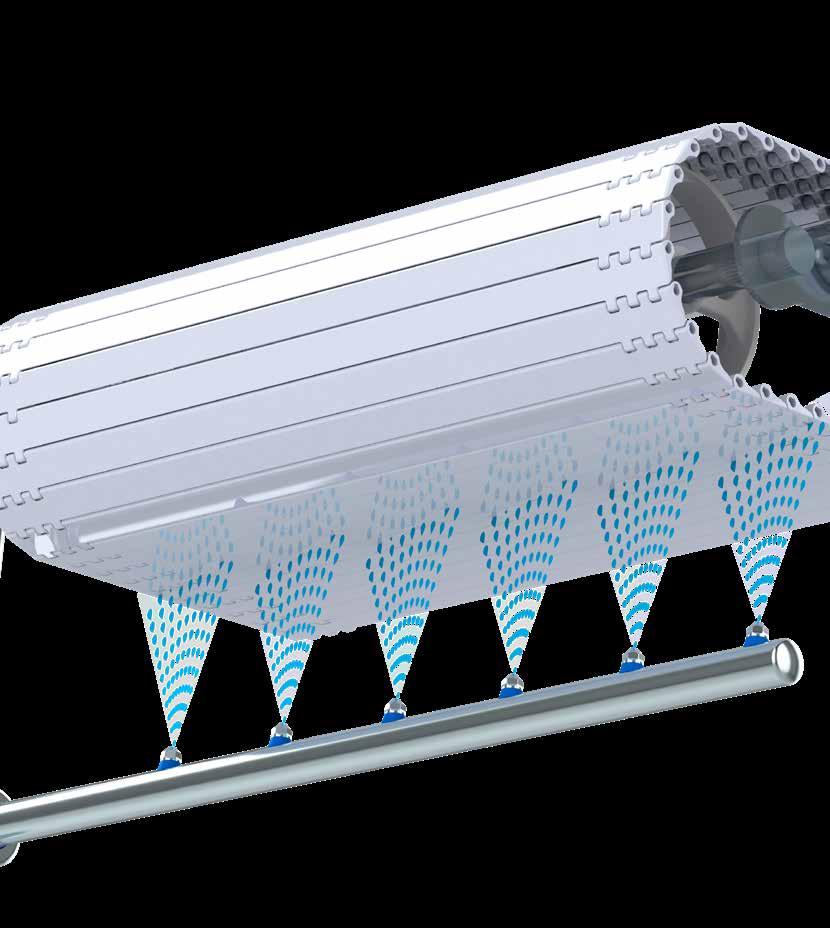
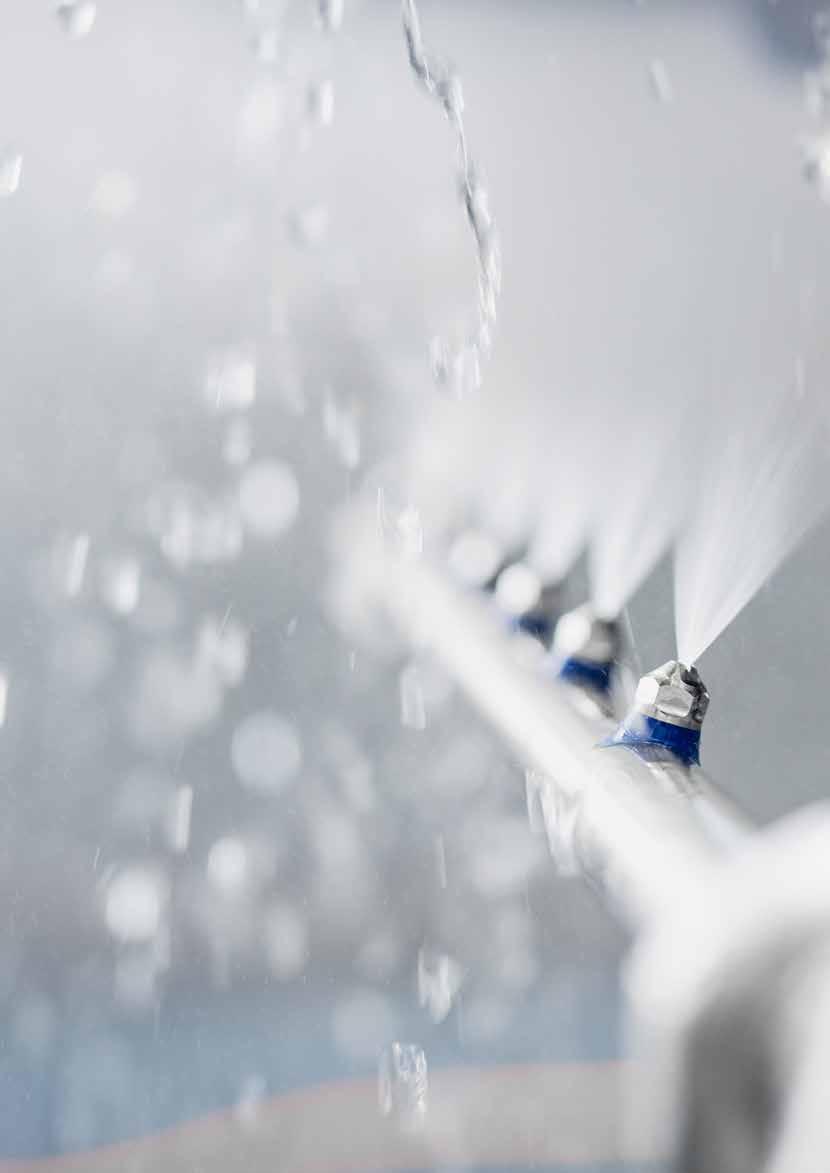
The nozzles on both spray bars provide a fan-shaped spray to the internal and external cleaning of the belt surface.
Furthermore, the fan beams are angled by 20° relative to the spray bars so that they overlap each other on the surface of the belt.
This construction and design ensure a uniform, hygienic and efficient cleaning both internal and external of the conveyor belt with minimum damage to the belt surface.
Data for nozzles:
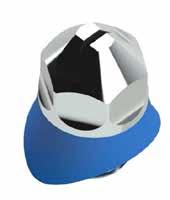
Material: 316L
Surface treatment: Electropolished
Water outlet diameter : 1.1mm
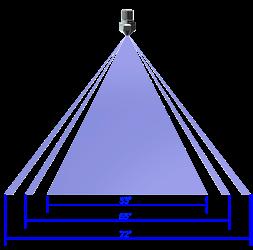
Spray angel : 53°,65°,72°
Thread : G1/8
Functionality spray angle:
[0.5 - 1.5 Bar] = 53°
[1.5 - 6.0 Bar] = 65°
[6.0 – 35 Bar] = 72°
Pressure/Nozzle Flow:
10”/12”, 14”/16”, 18”/20”, 22”/24”, 26”/28” & 30”/32”
It is important to follow these instructions in order to ensure the hygienic design and functionality. This documentation is enclosed with the CIP Unit and should always be handed over to the end-user.
10”/12”, 14”/16”, 18”/20”, 22”/24”, 26”/28” & 30”/32”
It is important to follow these instructions in order to ensure the hygienic design and functionality. This documentation is enclosed with the CIP Unit and should always be handed over to the end-user.
1. Prior to installation of the hygienic CIP unit, adjust the conveyor frame in accordance with steps 2 and 3 in this installation manual.
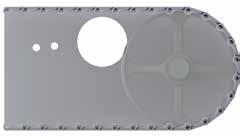
2. Drill a Ø70 mm hole in the frame. The placement of the hole should be as close to the top of the frame without compromising the rigidness of the frame. Additionally, the center of the hole should be located 150 - 220 mm from the internal end of the belt for optimal effect. If this distance is inconvenient a distance of 100 - 250 mm can be tolerated. Locate an identical hole on the other frame.
3. Drill two Ø10.4 mm holes in the frame. The center of the holes should be angled by at least 5° from a horizontal origin. The center of the hole should be located 25.5 mm from each other. The hole closest to the Ø70 mm hole should be located 67.25 mm from the center of the Ø70 hole. Locate an identical hole on the other frame.
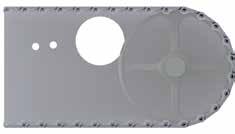
4. Carefully insert the top spray bar into the frame without making contact between the frame and the spray bar. Ensure that the fastening holes in the bracket are aligned with the two Ø10.4 mm holes in the frame.
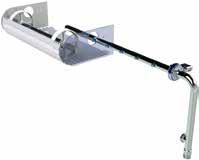
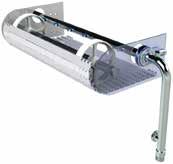
5. Mount the bracket to the frame with two certified hygienic M10 bolts.
Grease the thread of the bolts with FoodLube Universal Grease and make sure to remove any excess grease after mounting the bracket. Tighten the bolts with a torque of 38 Nm.
All the figures in the illustrations are in mm.
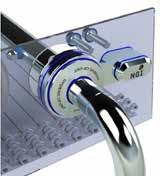
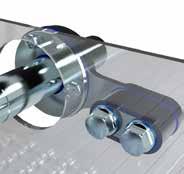
6. Mount the other bracket at the end of the top spray bar. Proceed with making identical actions as stated in step 5.
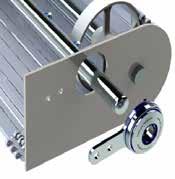
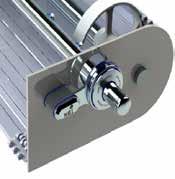
7. Loosen the three M6 bolts on both brackets in order to enable adjustment of the spraying direction of the upper spray bar. Ideally, point the nozzles directly to the internal end of the belt. Alternately, select any other point on the turning belt where a small gap between the belt modules is present. When a satisfactory direction is achieved, tighten the bolts with a torque of 8.6 Nm or until the top spray bar cannot be rotated by hand.
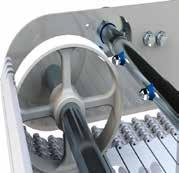
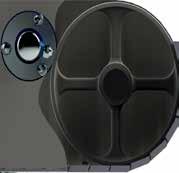
8. Insert the gasket and mount the lower spray bar. Rotate the lower spray bar, so the spraying direction is perpendicular to the belt surface. If any objects obstruct the path, select the nearest clear path to the belt surface.
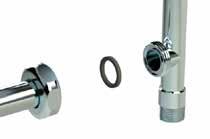
9. Tighten the nut on the lower spray bar in order to fasten and secure the angular position.
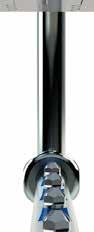
10. The Hygienic CIP Unit is now mounted to the conveyor frame and is ready to be connected to the water supply.
The inlet connection is 1” male BSPP thread.
NB. Ensure that the nozzles are identically angled to ensure cleaning of the entire belt width.
All the figures in the illustrations are in mm.
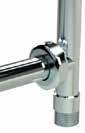
The washing efficiency of our CIP Unit has been tested at Center for Hygienic Design (CHD) at FORCE Technology.
CHD IS THE ONLY INSTITUTION IN DENMARK PERFORMING EHEDG CERTIFICATION OF PROCESS EQUIPMENT.
How was the CIP Unit tested at Force Technology?
To test the CIP Unit, FORCE Technology applied ketchup and in one case, ketchup and uranine to a conveyor belt. The soil was then left to dry overnight at room temperature.
The CIP Unit was then put into use in 5 minutes – with 1-minute intervals allowing FORCE Technology to inspect the cleaning. All in all, FORCE Technology tested the CIP Unit three times, at all times, the CIP Unit used only warm water to clean. No chemicals were used in the test.
As shown in table 1, the results were quite clear. And so is the conclusion:
“It is our conclusion that the CIP Unit provides an appropriate and highly efficient cleaning method for conveyor belts. Using a mild washing procedure to clean a rather persistent soil - we can conclude, based on the results shown, that the CIP Unit is a highly efficient tool for cleaning the specific belt tested.“
1; Test results
A. No residues found on any surface or hinge as well as the back side of the conveyor belt
B. Few spots of soil found primarily in hinges, the outer surfaces are clean
C. Visible soil in hinges and edges of slats and inbetween the slats
“The CIP unit provides an appropriate and highly efficient cleaning method for conveyor belts” – Force Technology