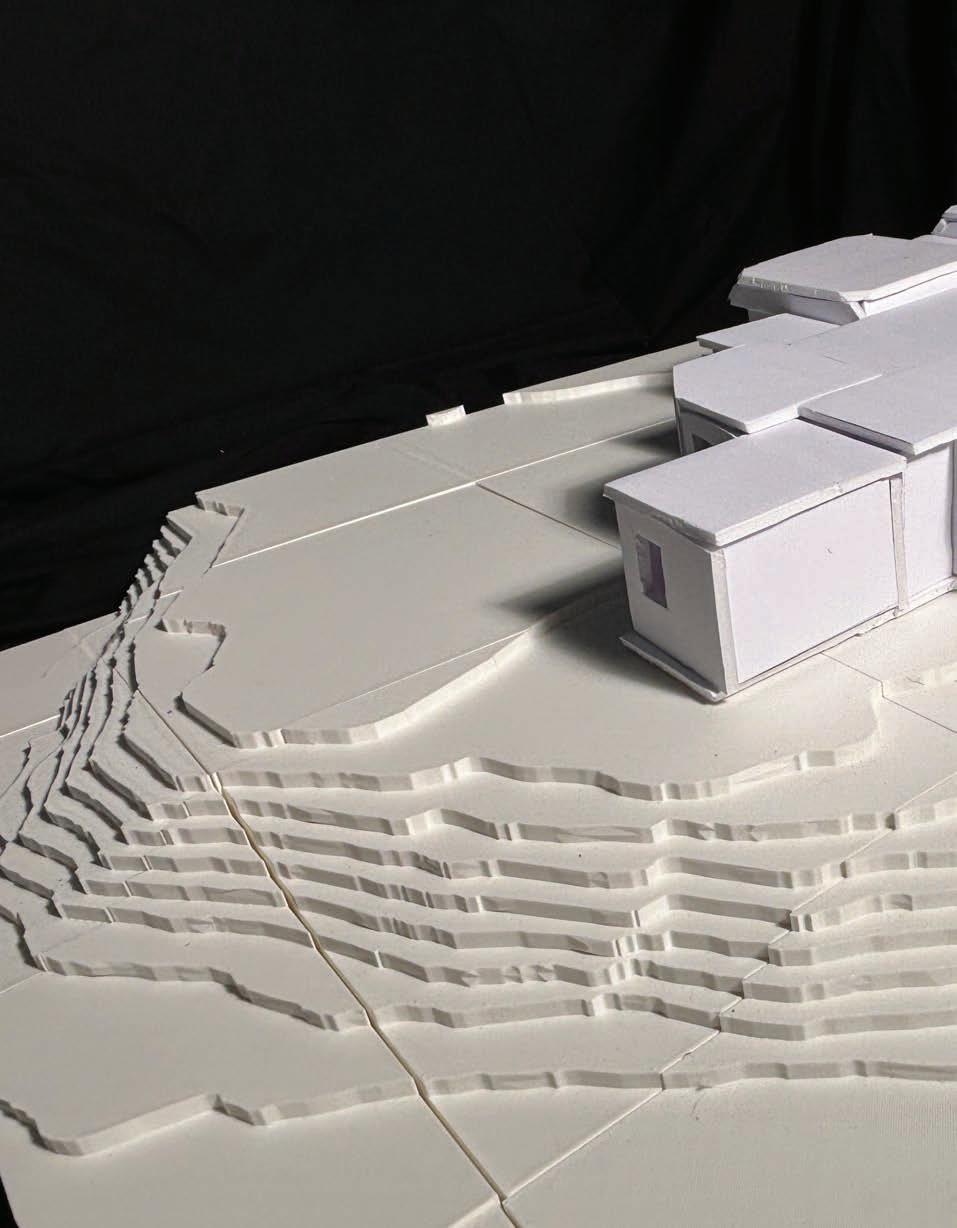
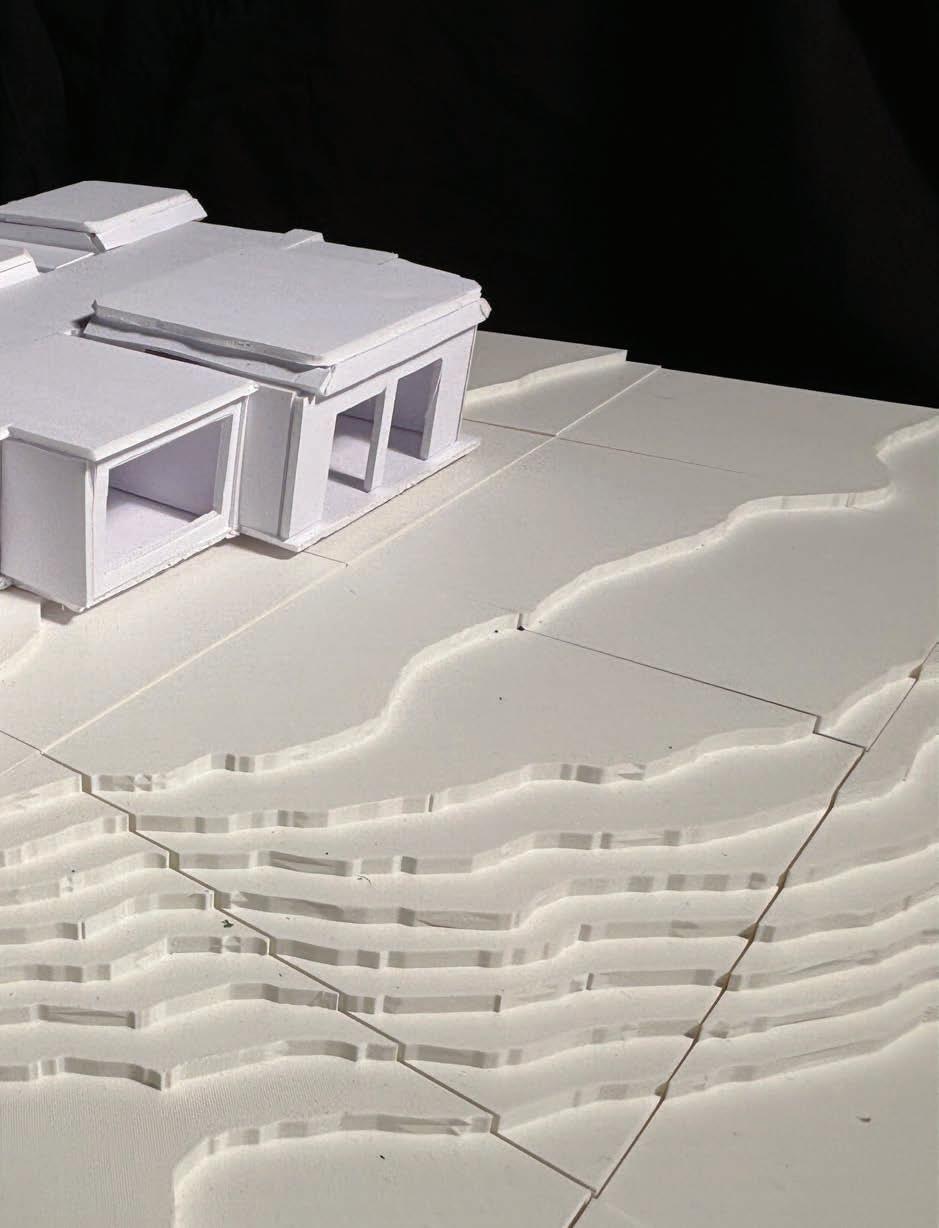
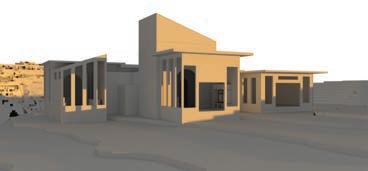
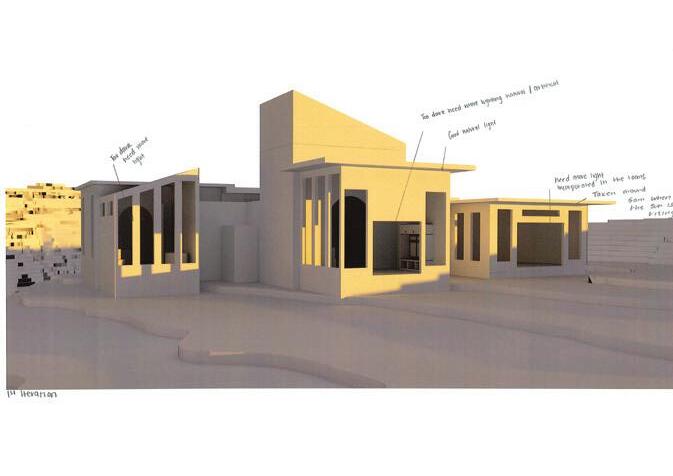
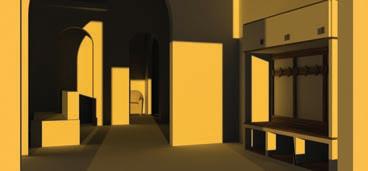
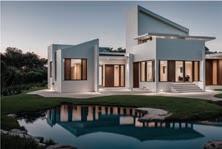
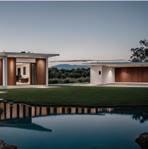
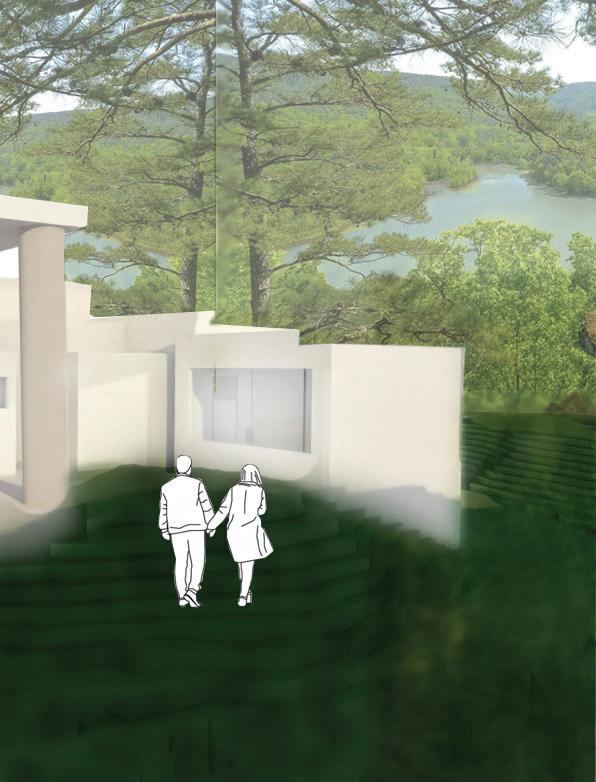
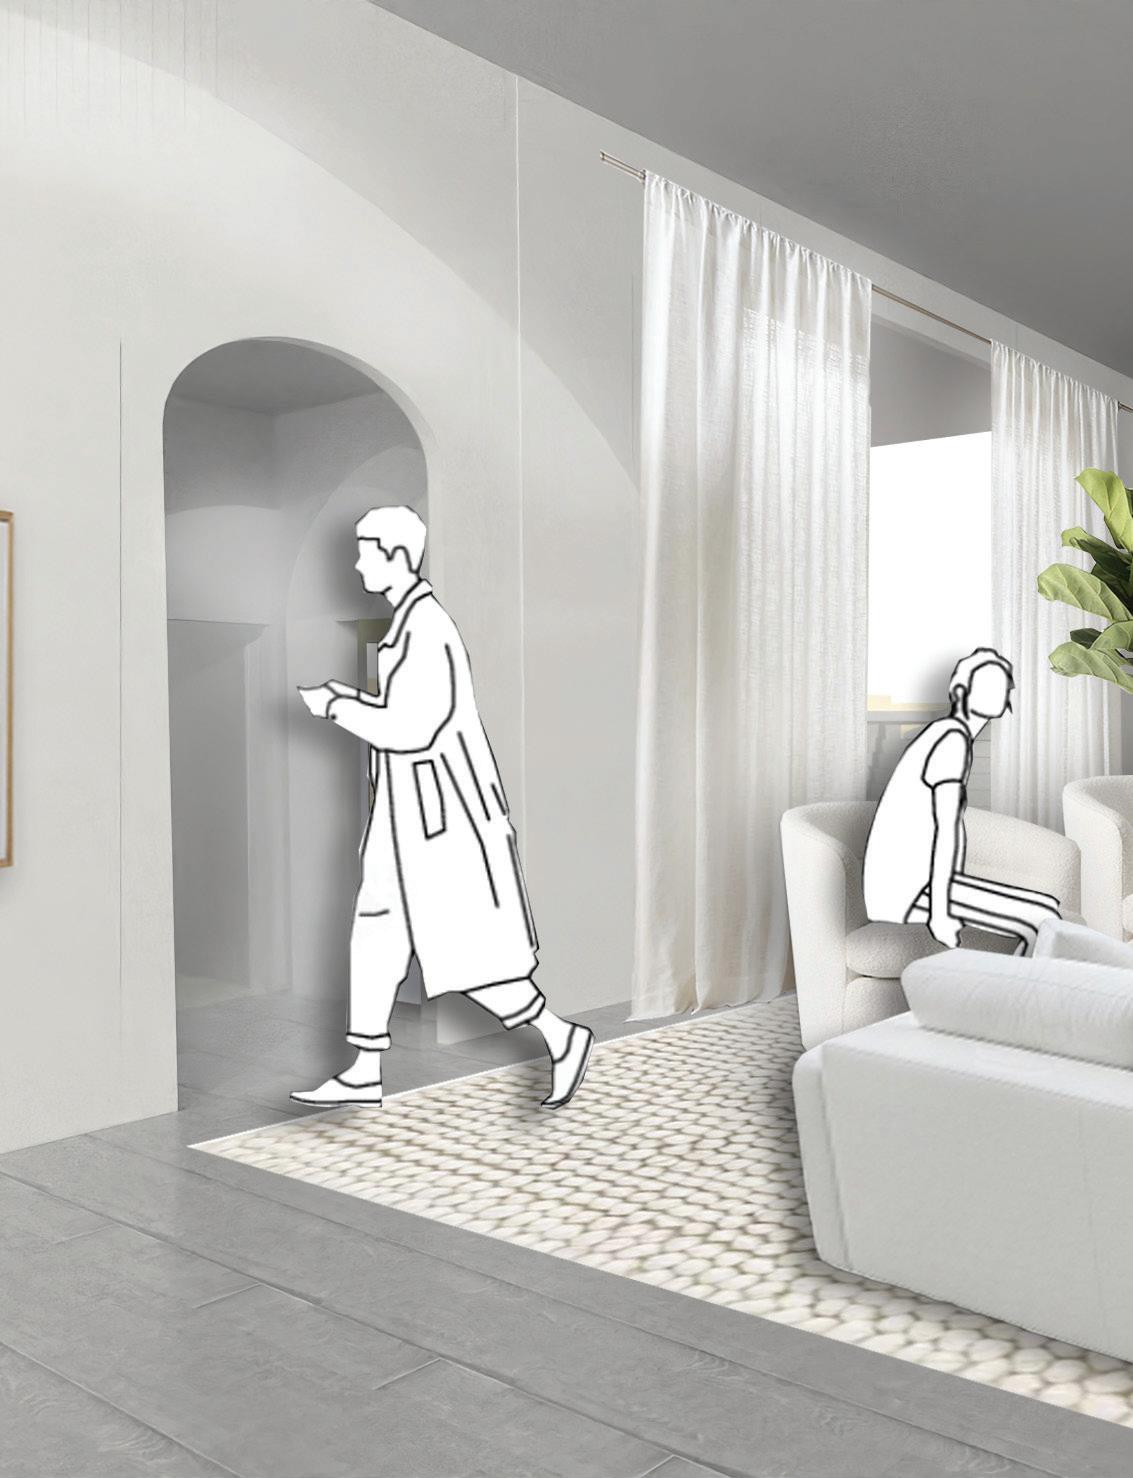
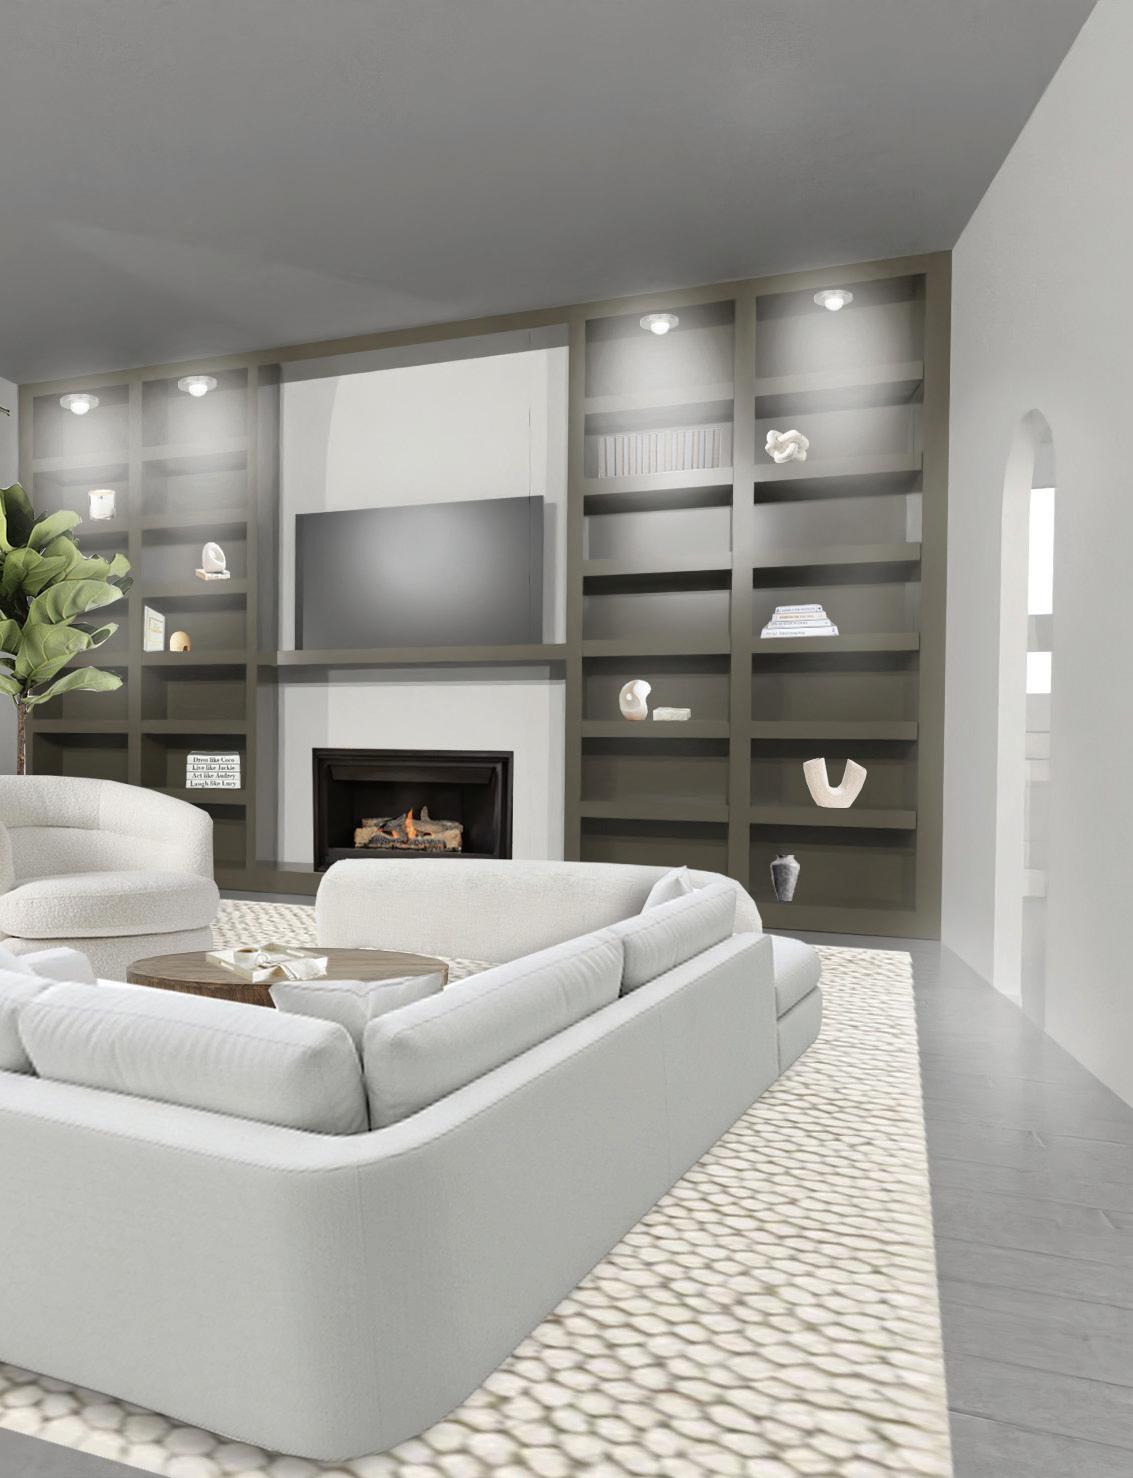
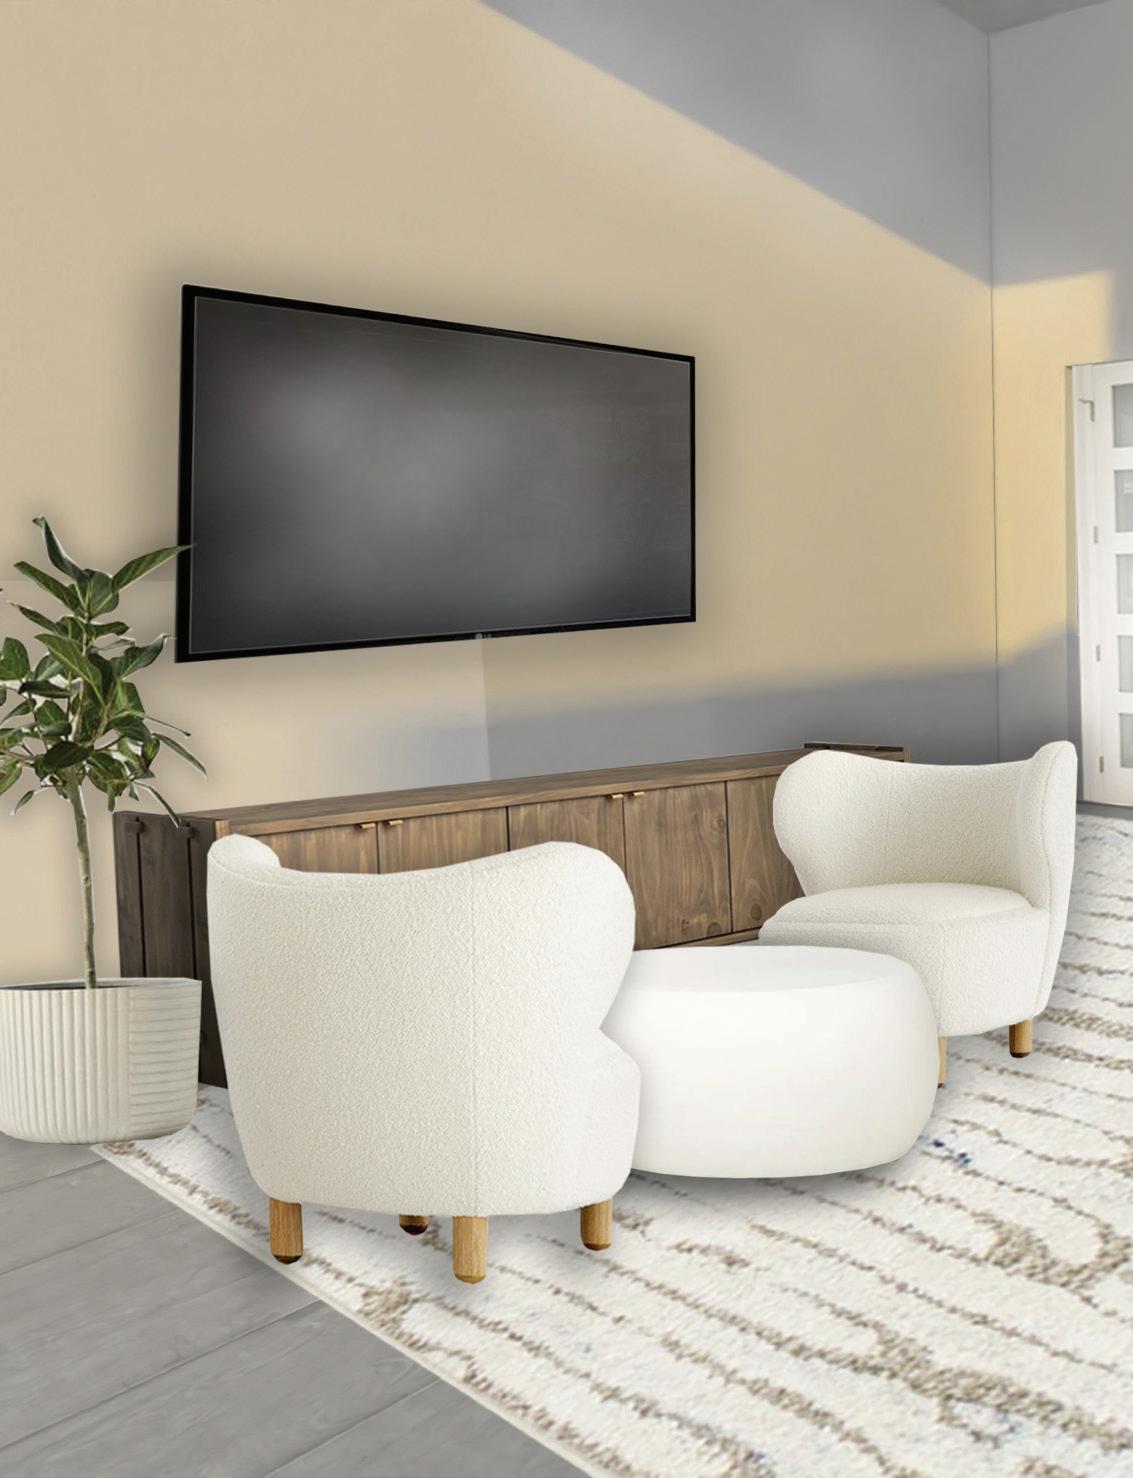
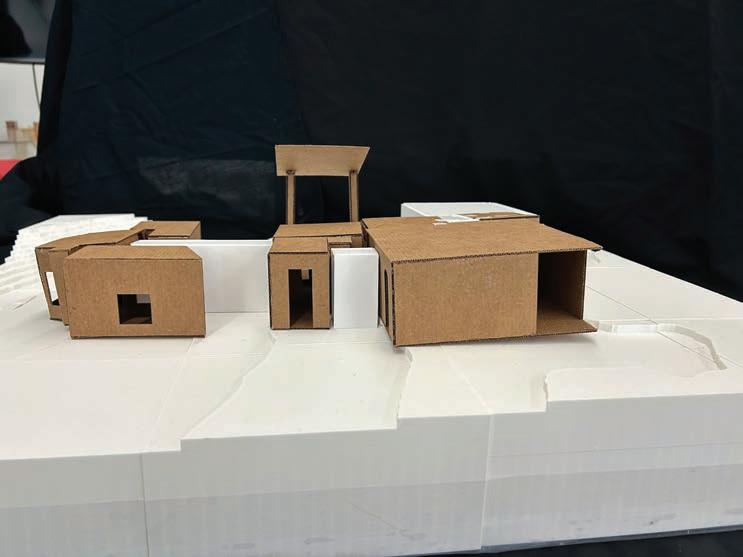
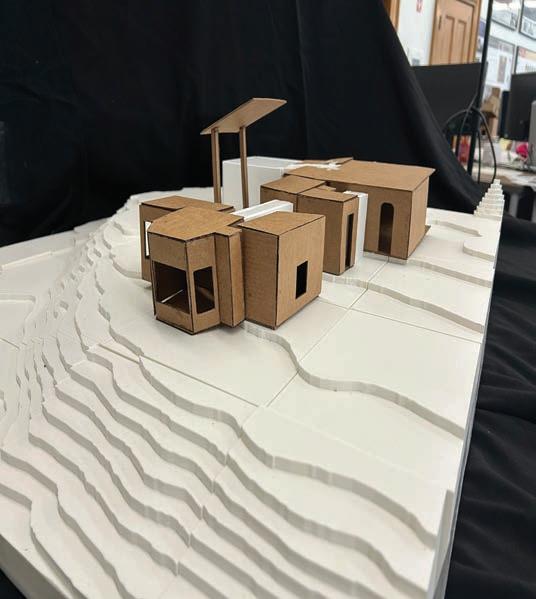
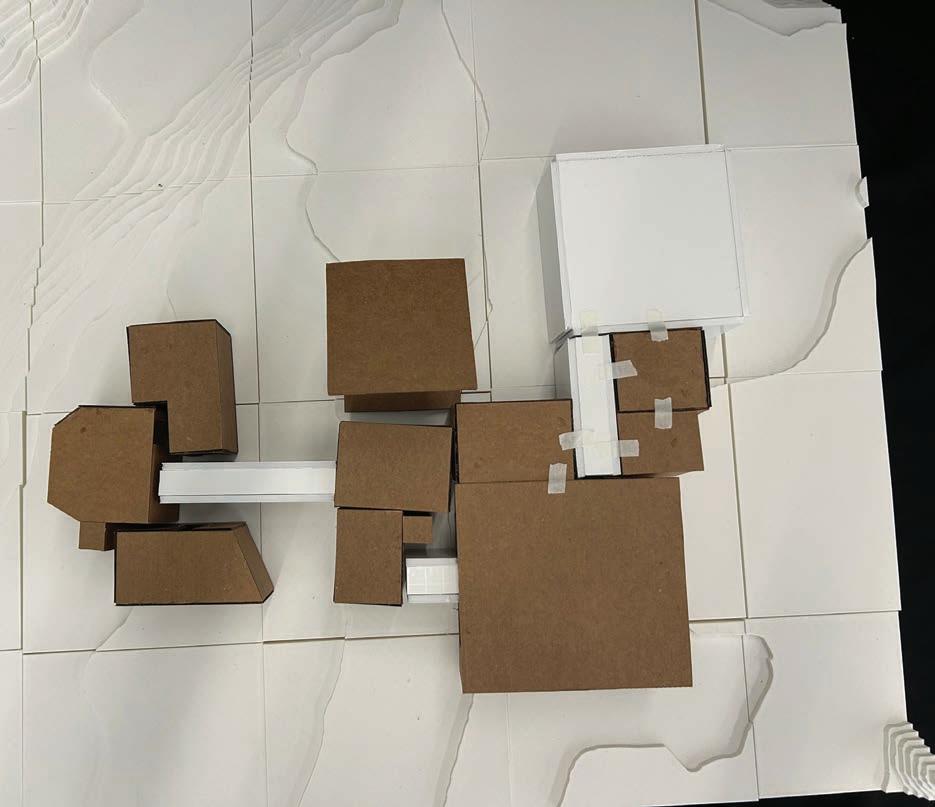
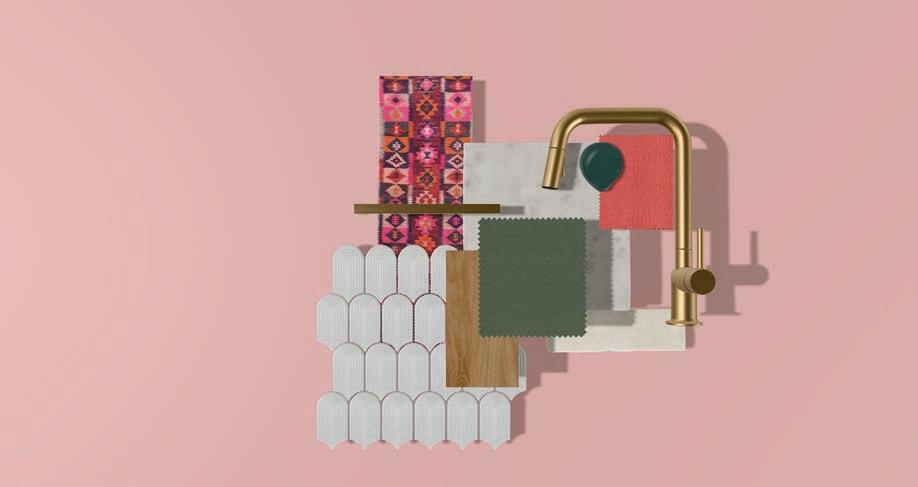
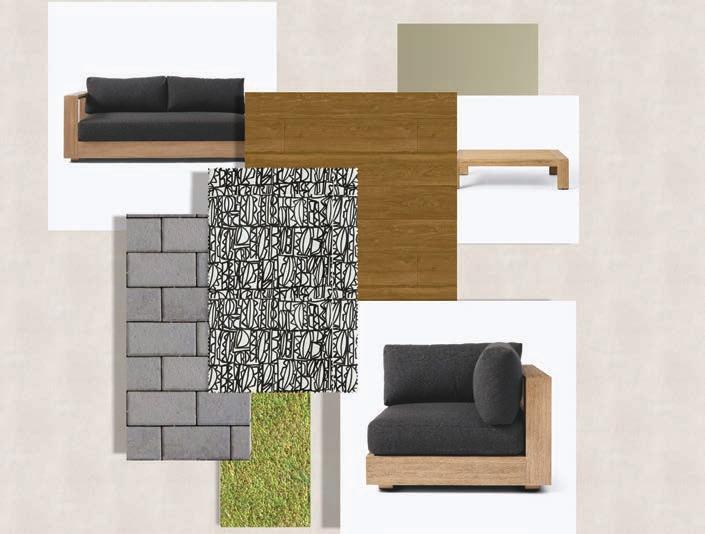
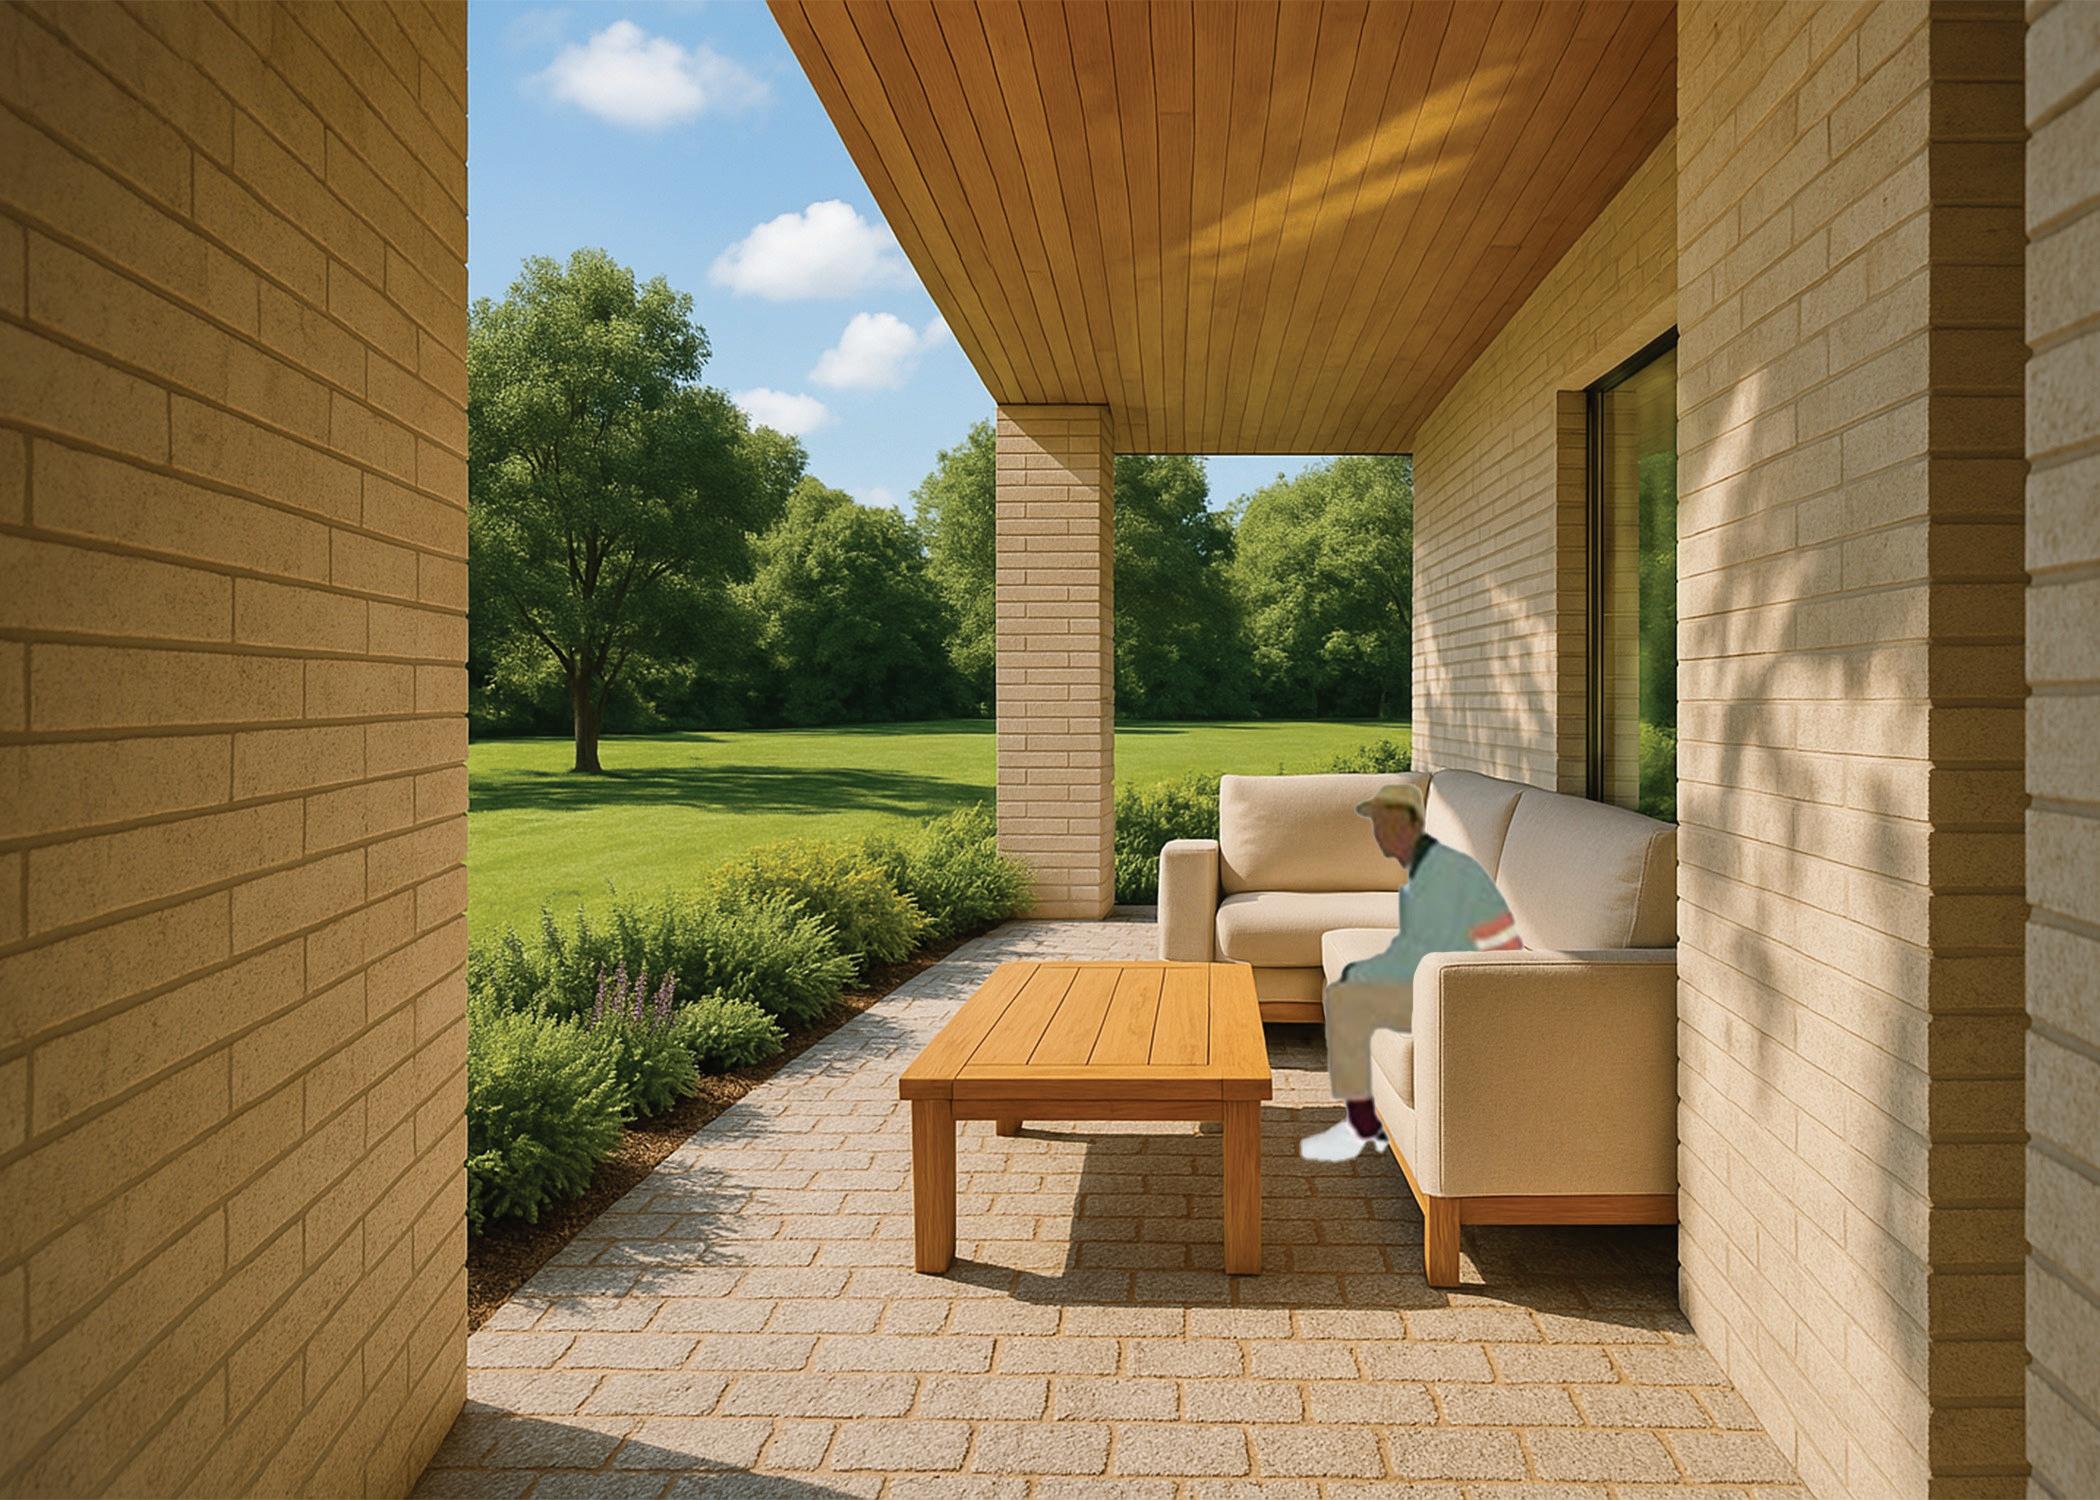
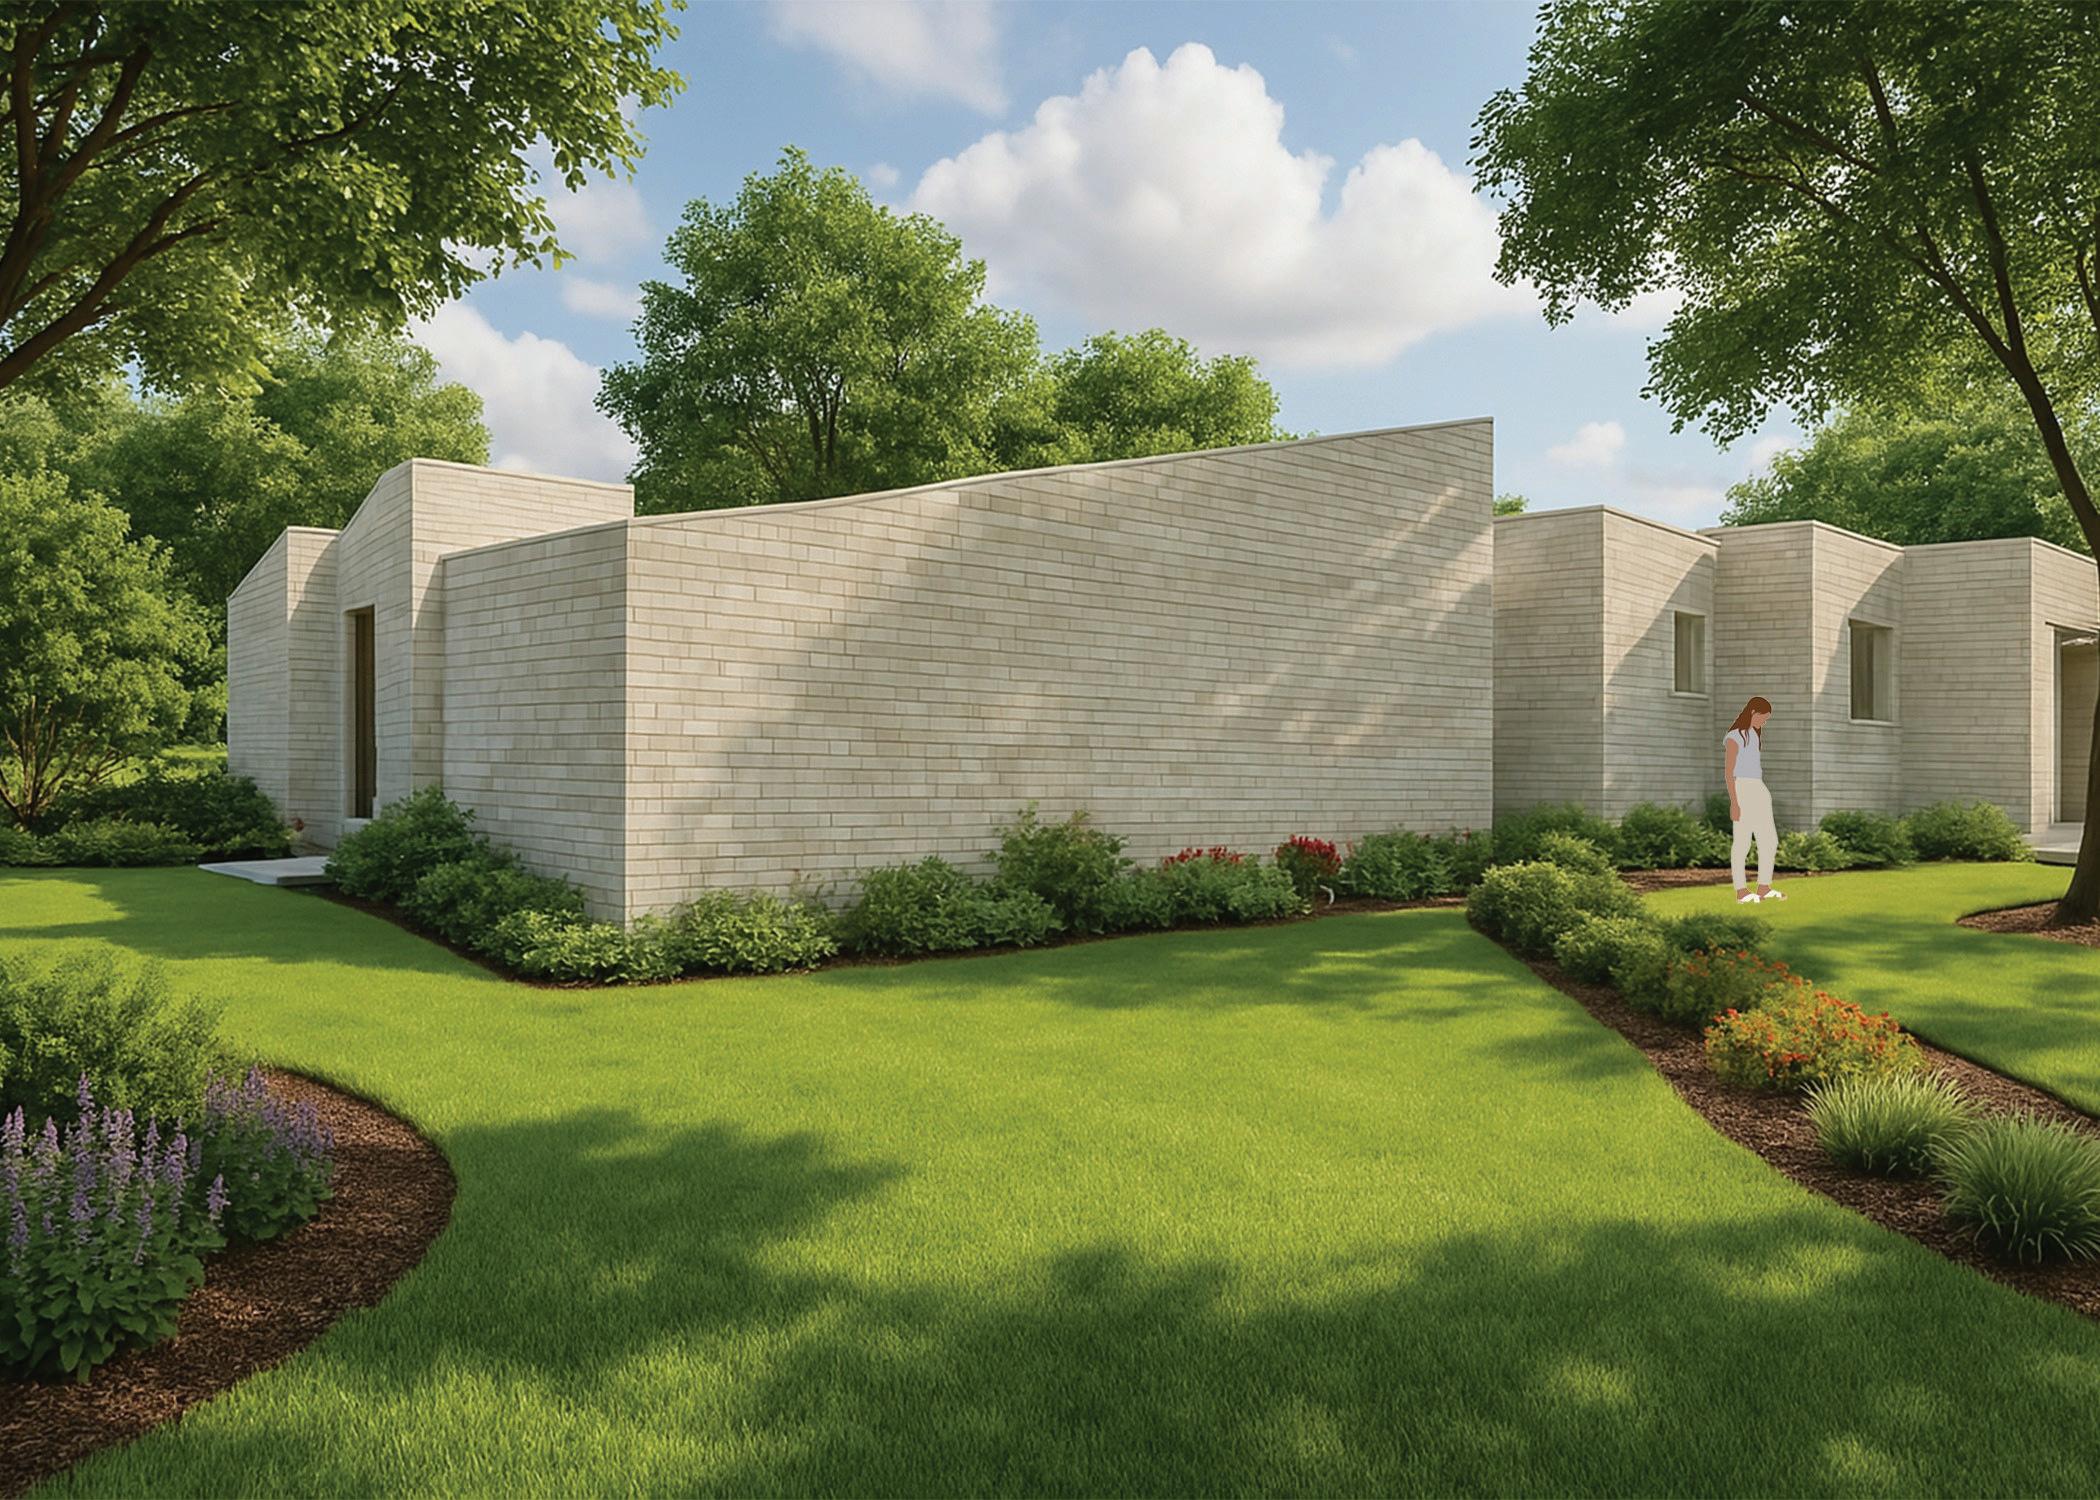
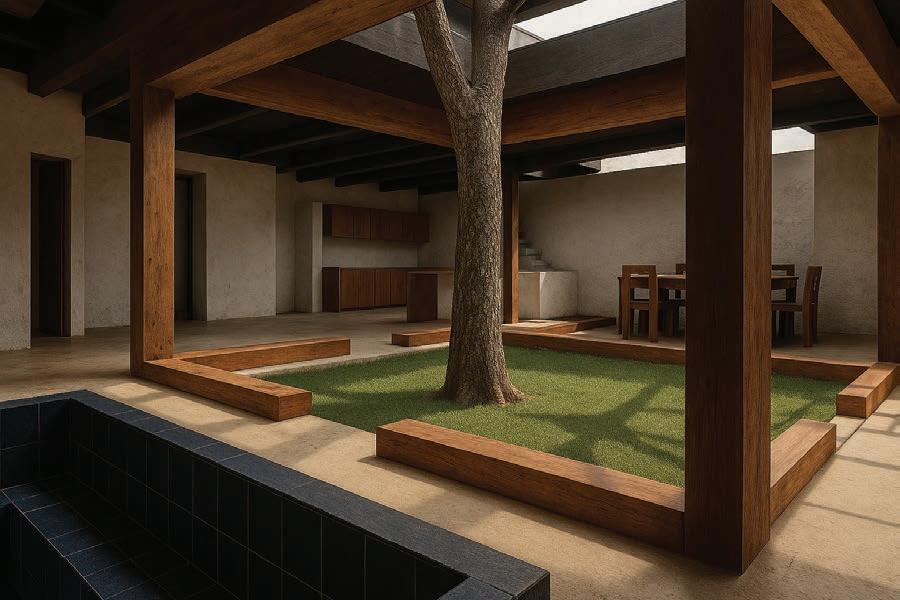
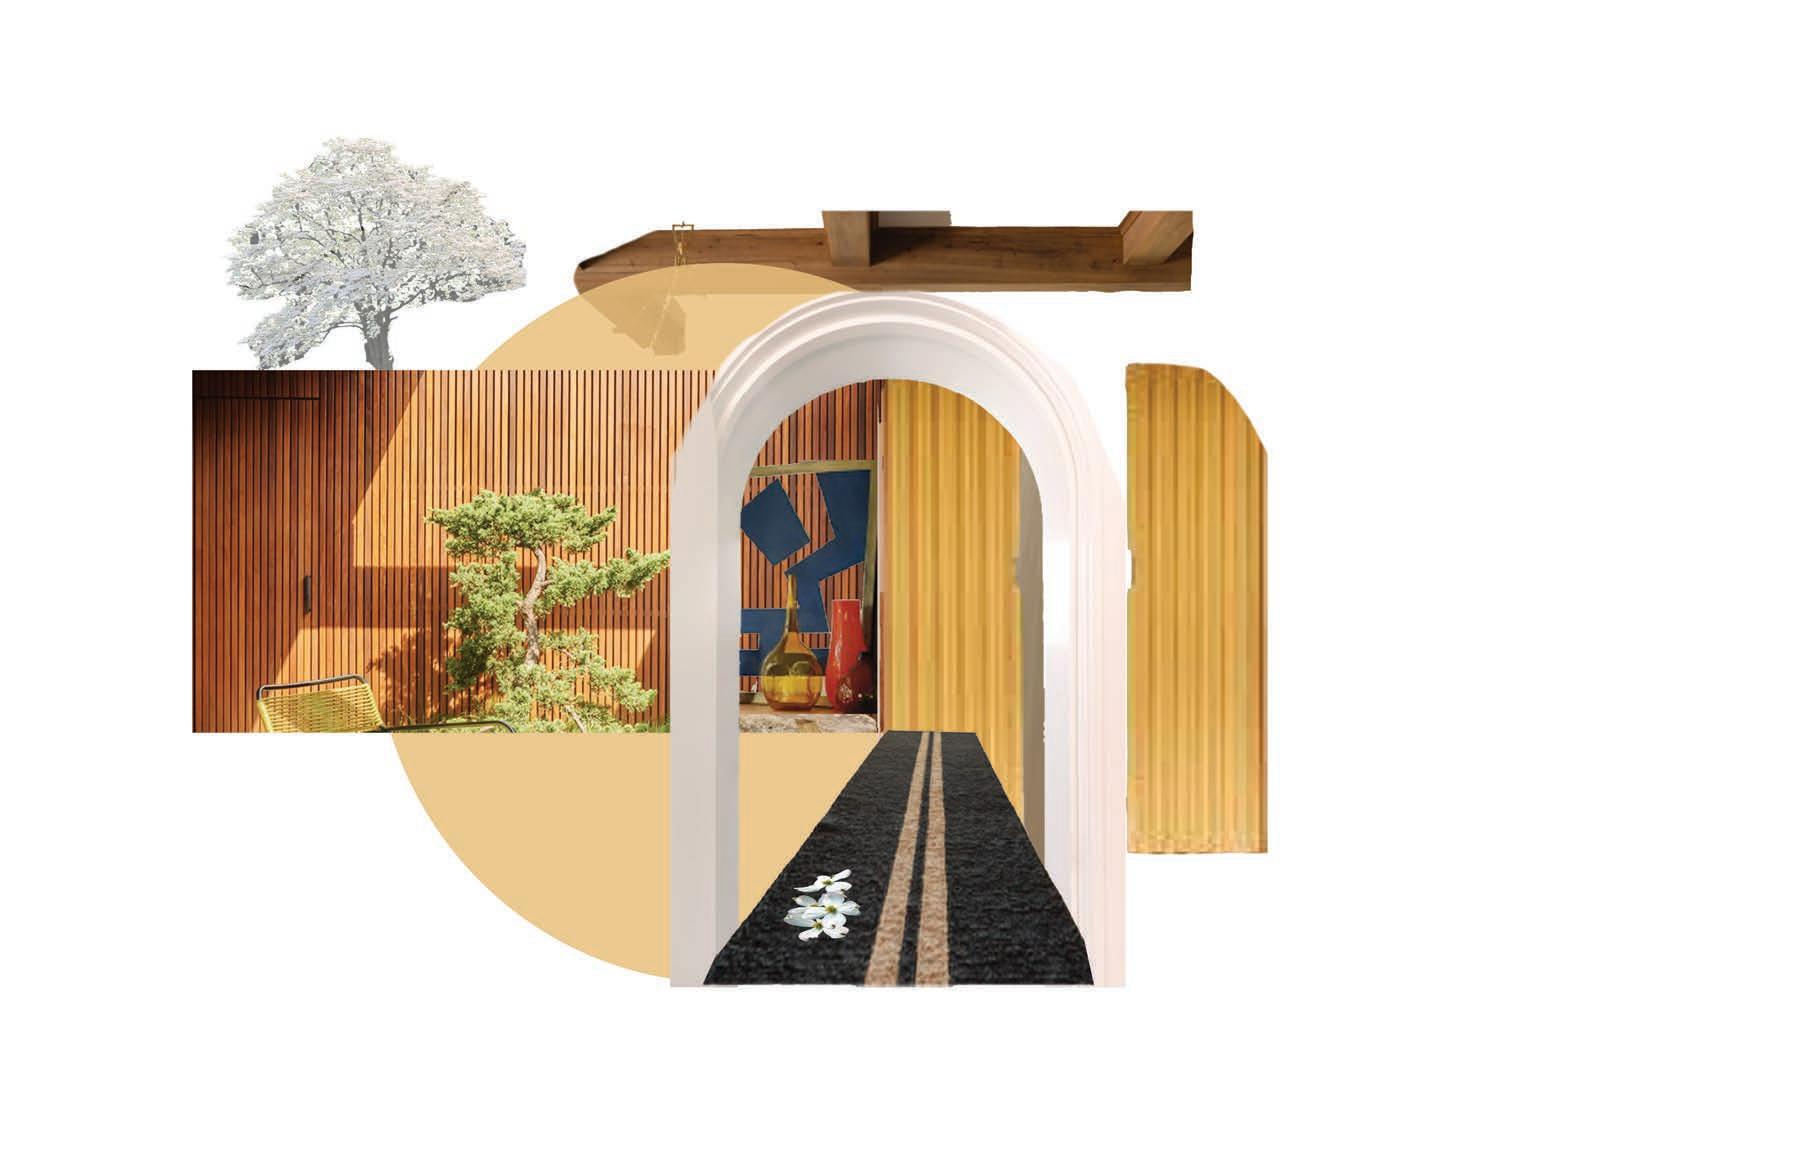
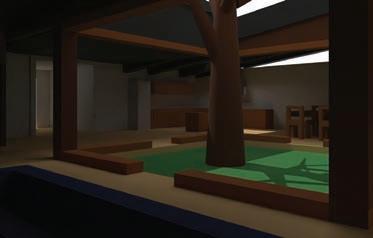
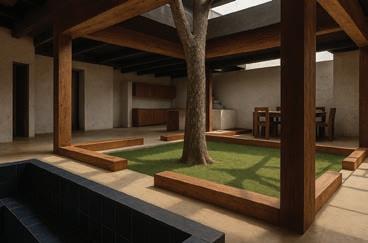
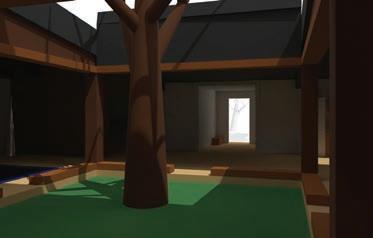
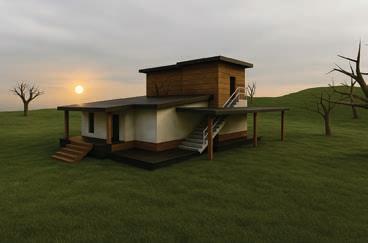
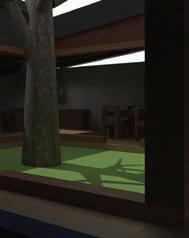
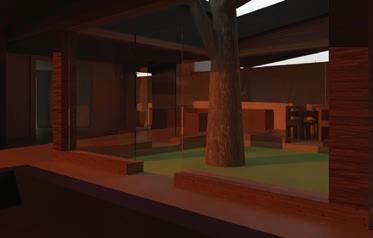
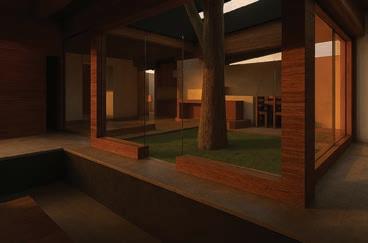
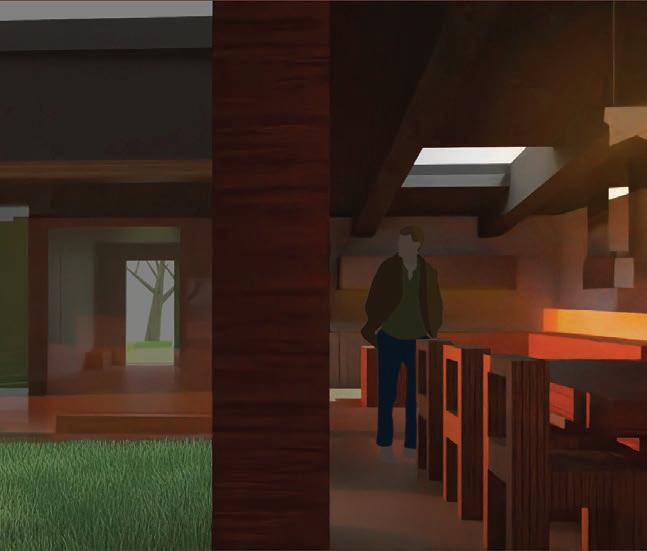
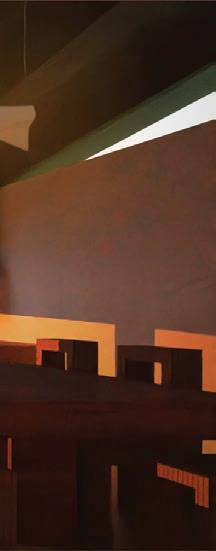
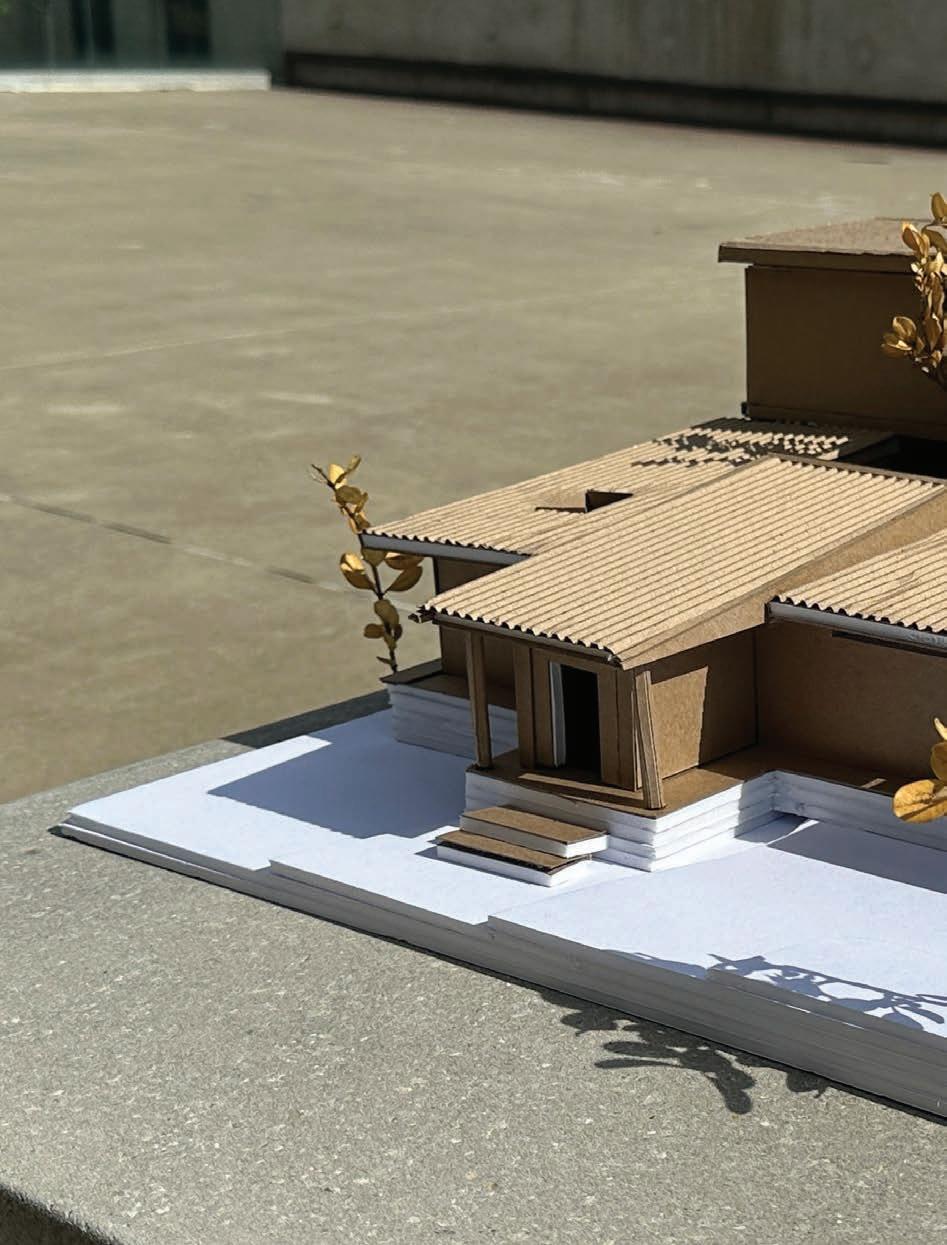
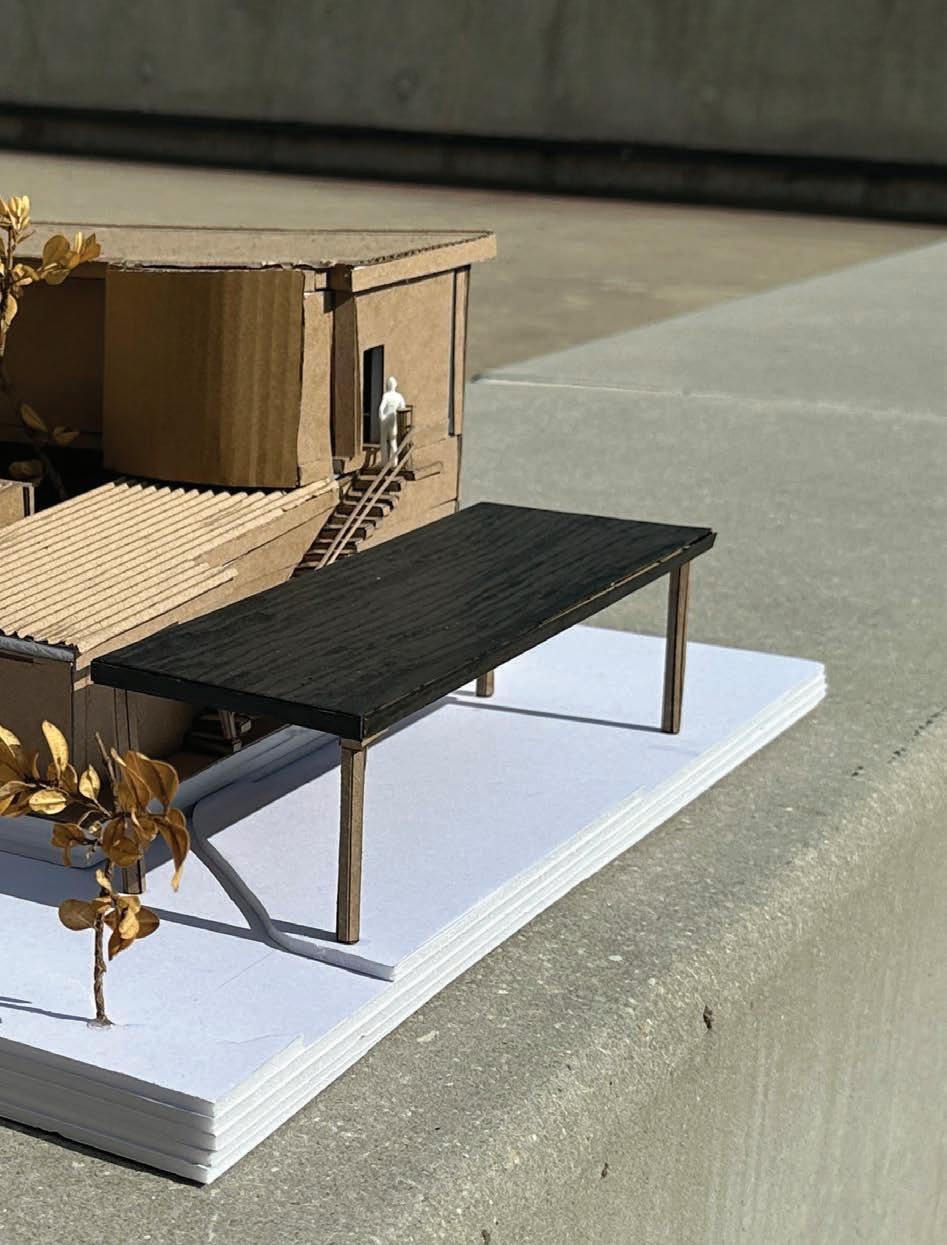
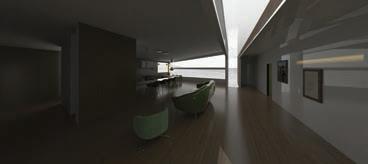
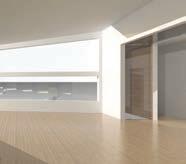
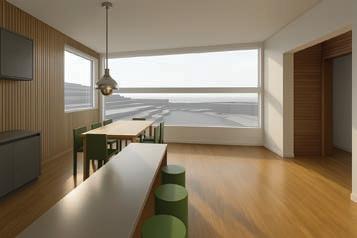
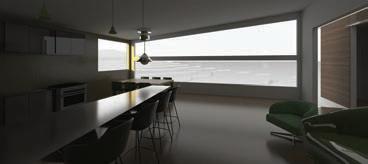
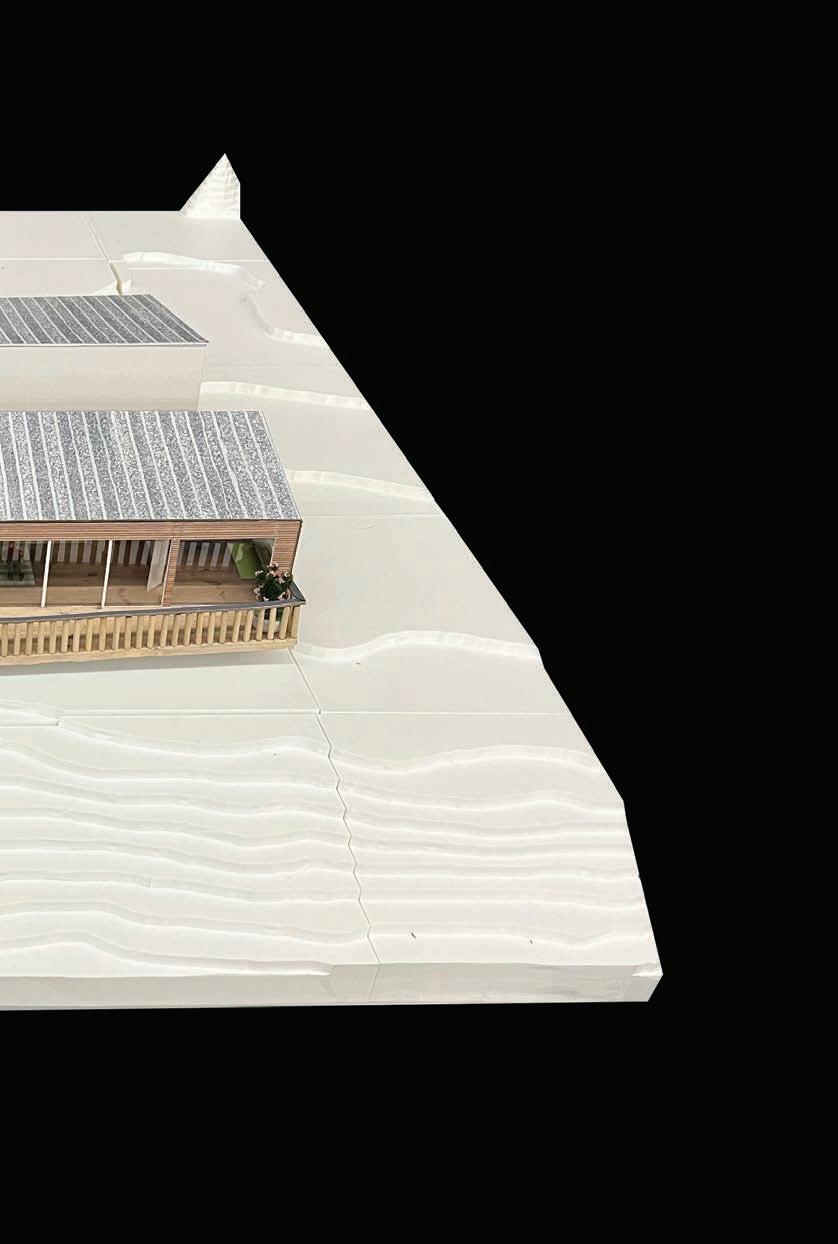
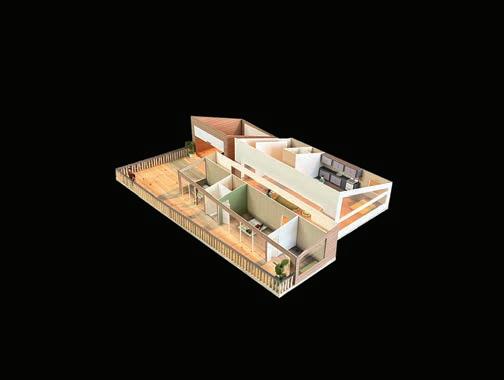
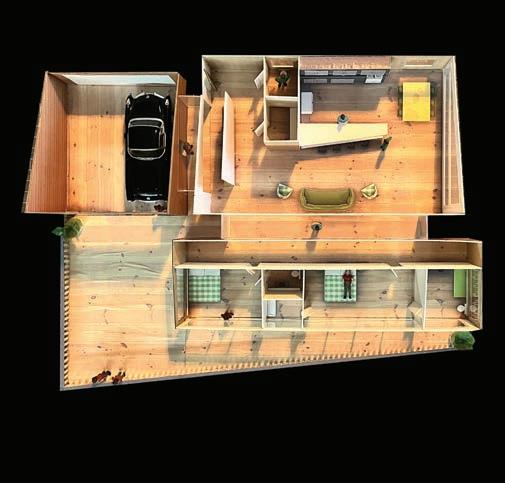
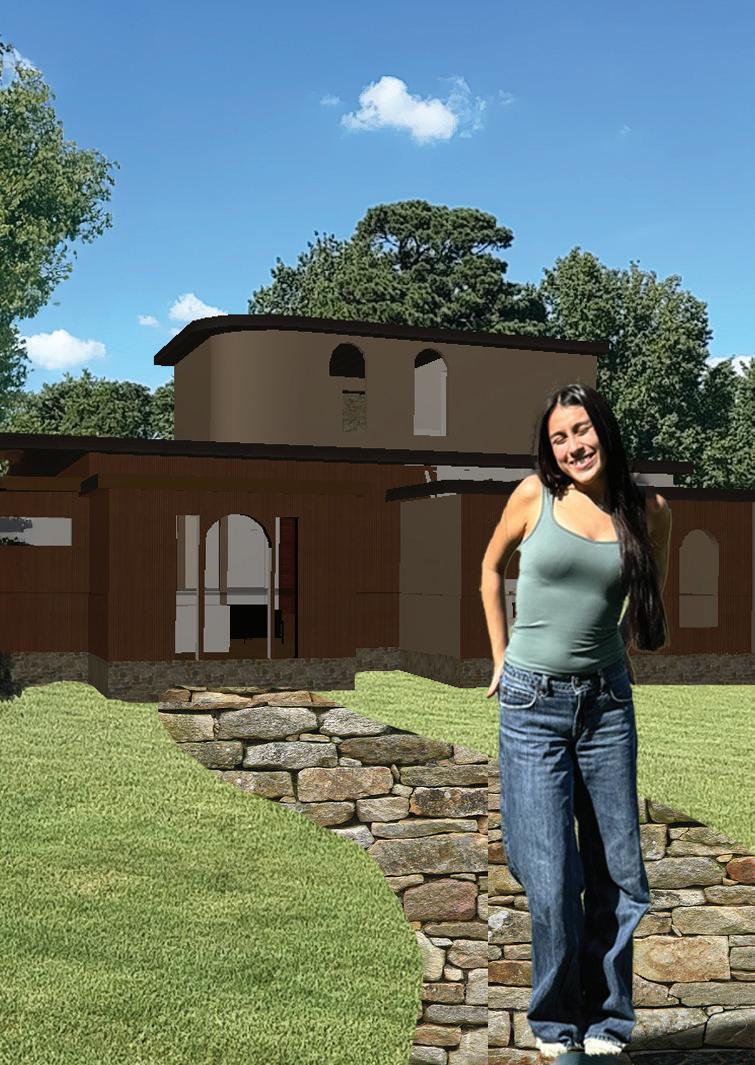
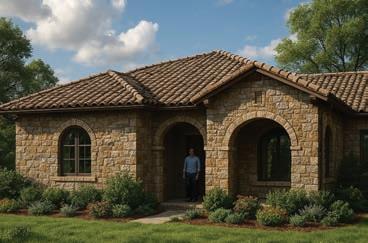
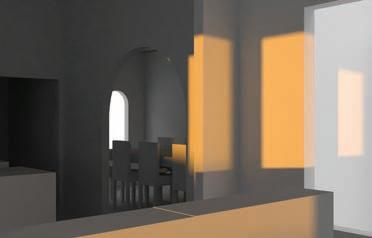
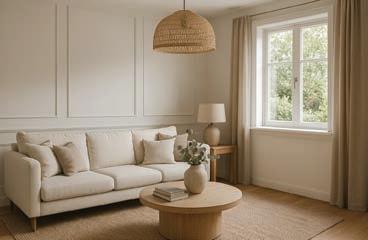
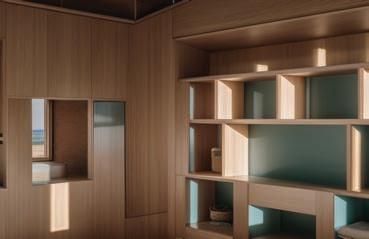
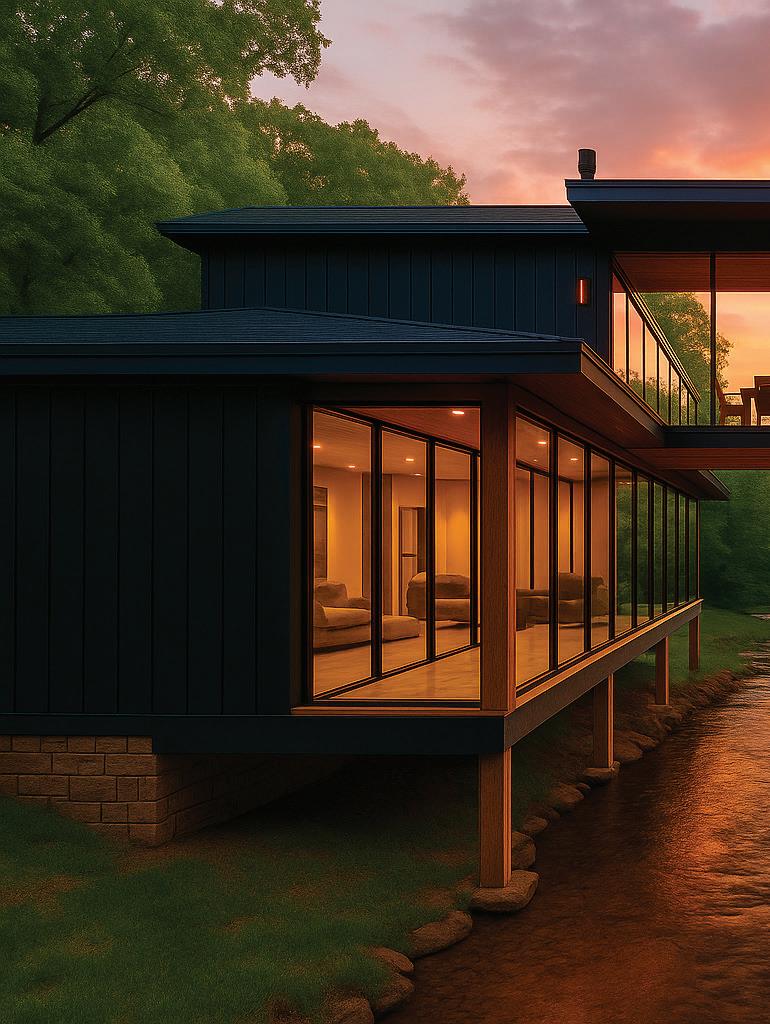
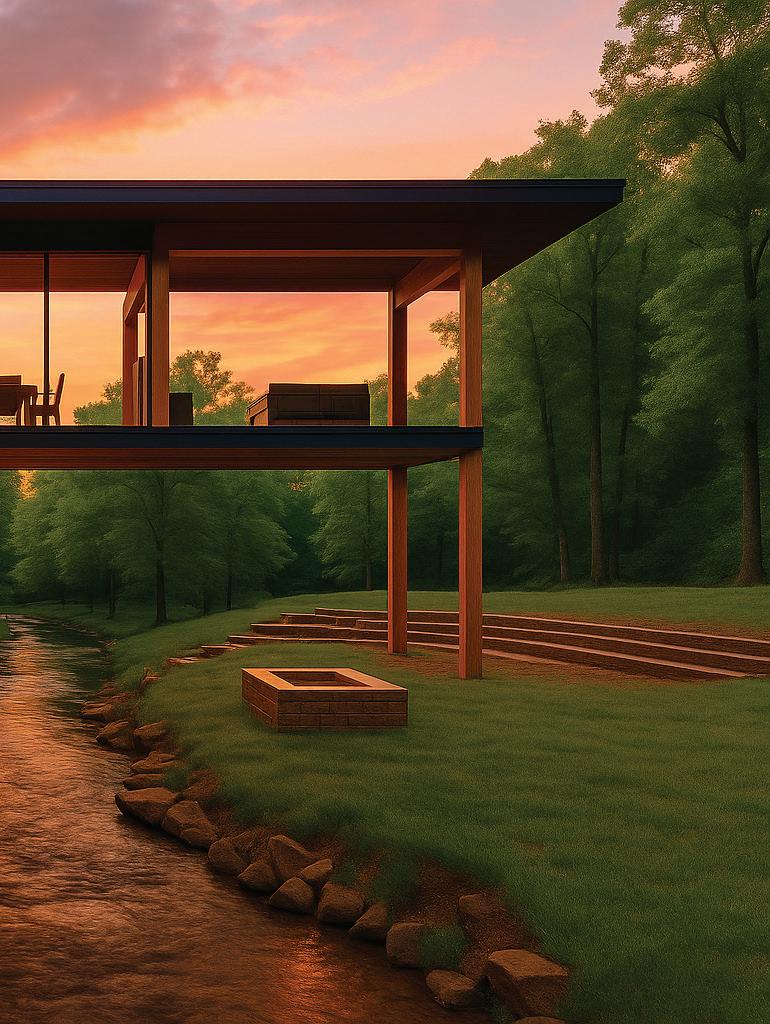
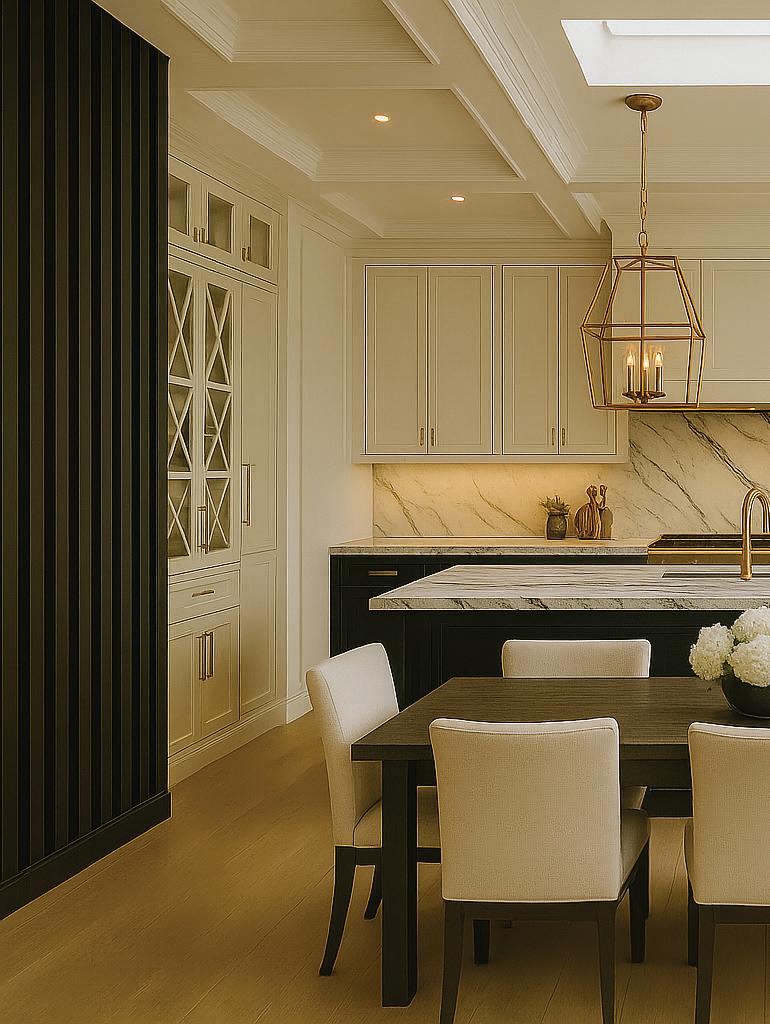
*. There is no restriction on academic use of the contents of this book.
*. The copyright of all design results contained in this book belongs to each (student) designer.
PUBLISHER’S NOTE
Since the beginning of my teaching career in Korea, I have always wished that I had a book such as this one. This wish may have originated from my 6th grade teacher, who made a graduation workbook containing students’ writings, drawings, and photographs. After my graduation and before my undergraduate years, I was able to see my growth in ways of thinking and understanding as a result of reading the book. With my colleagues, I made a school book including all the graduate projects completed at Hanyang University in 2006. By reading the book, I had been able to cheer up and reenergize myself whenever I was exhausted and burnt out in practice. With these memories, it has been four years since I made the course books for the subjects I taught.
During the process of creating this book, I learned something that I had never known before. I am gradually improving my skills as an instructor, learning what I have missed as an instructor, what I should remember when teaching next semester, which assignments to emphasize more, and what to emphasize less. Seeing the efforts and thoughts of the students that I had not yet discovered, I smiled at them and regretted that I had not been able to encourage them more.
After receiving this book, each recipient may have a different reaction to it. In the past four years, it has been observed that it serves as a tangible teaching portfolio for instructors, a data bank for students in the event of unexpected laptop failures, and an educational experience that motivates students to create their own portfolios. What will be your reaction when you receive this book? In the future, when you are about to graduate, what will you think after reading this book? In keeping with this thought, I completed the process of making the book.
In my opinion, the curriculum in the first two years is typically more focused on visualizing ideas by converting them into visualized outputs that can be shared with others. In the second half, the focus is more on materialization aligned with the realities, such as building codes, social issues, etc. It is my hope that you will be able to improve your ability to visualize and sense scale before the second half.
As a final note, I would like to thank you for all the time I spent with you. Despite the fact that this design studio with you has ended, please feel free to contact me at any time. I will be glad to respond to your contact. It has been a pleasure having you with me this semester.
I congratulate them on their successful completion.
-
Jinoh Park, Instructor and Publisher
42 Casco Martinez,Rebeca
96 Hallett,Carissa
Harrington,Ava 168 Penfield,Marilynn Mae 222 Rasch,Zeke 278 Reeds,Kyra
Sanchez,Yanury
Sukhija,Jasmine Leigh 438 Walker,Reece Elaine
Overall, what I have learned...
If I could talk to me before these five weeks, what would I like to share with me?
Main Themes
1. Self-Discovery and Personal Growth
- Self-Confidence and Potential
- Students expressed surprise at their ability to push beyond their perceived limits and achieve more than expected.
- Realization of inner strength and capabilities.
- Resilience and Adaptability
- Overcoming challenges, managing stress, and coping with unexpected difficulties.
- Emphasis on the importance of perseverance and trust in the process.
2. Importance of Time Management
- Managing heavy workloads through effective time management.
- Balancing productivity with good craftsmanship and attention to detail.
- Recognizing the value of taking breaks to maintain mental health.
3. Significance of Relationships and Support
- Importance of building friendships and collaborating with peers.
- Relying on classmates for support and encouragement during challenging times.
- Instructors as valuable resources for guidance and learning.
4. Embracing Challenges and Learning Opportunities
- Understanding that difficult experiences are integral to growth and learning.
- Emphasis on the rewarding nature of overcoming obstacles.
- Appreciation for the lessons learned and the skills acquired during the course.
5. Reflection on Stress and Workload
- Acknowledgment of the initial overwhelming nature of the course.
- Learning to manage stress and not overthink or complain excessively.
- The importance of maintaining a positive mindset despite challenges.
6. Enjoyment and Fulfillment
- Despite the challenges, students found joy and fulfillment in their work.
- The sense of accomplishment and pride in completed projects.
- The positive impact of enjoying the process and the work itself.
Sentiments and
Emotions
1. Positive Emotions
- Pride and Satisfaction: Many students felt proud of their
accomplishments and the progress they made.
- Joy and Enjoyment: Despite the hard work, students found enjoyment in the creative process and the outcomes.
- Gratitude: Appreciation for the opportunity to learn and grow, as well as for the support received from peers and instructors.
2. Negative Emotions
- Stress and Overwhelm: Initial feelings of being overwhelmed by the workload and the intensity of the course.
- Doubt and Anxiety: Moments of doubt about their abilities and the feasibility of completing the tasks.
3. Mixed Emotions
- Relief and Accomplishment: Relief at having completed the course and a sense of accomplishment.
- Reflection and Insight: Mixed feelings about the difficulty of the course, balanced by the recognition of its value and impact.
Key Takeaways and Advice
1. Trust in the Process
- Emphasizing the importance of trusting the process and believing in one’s abilities.
- Encouragement to embrace challenges and learn from them.
2. Importance of Community
- Highlighting the value of building relationships and seeking support from peers.
- Advice to engage with classmates and instructors for a richer learning experience.
3. Balanced Approach
- Advocating for a balance between hard work and self-care.
- Importance of managing time effectively and taking breaks when needed.
4. Embrace Creativity and Risk
- Encouragement to think outside the box and take creative risks.
- Recognition that mistakes and messes are part of the learning process.
5. Positive Mindset
- Advice to maintain a positive mindset and avoid unnecessary stress.
- Encouragement to focus on the rewarding aspects of the work and the progress made.
Overall, the reflections indicate a transformative experience for the students, characterized by personal growth, the development of resilience, and the acquisition of valuable skills. The recurring themes of self-discovery, the importance of time management, and the value of relationships underscore the holistic nature of their learning journey.
Mesa Alm Portfolio
Project #6 “Precedent Study”
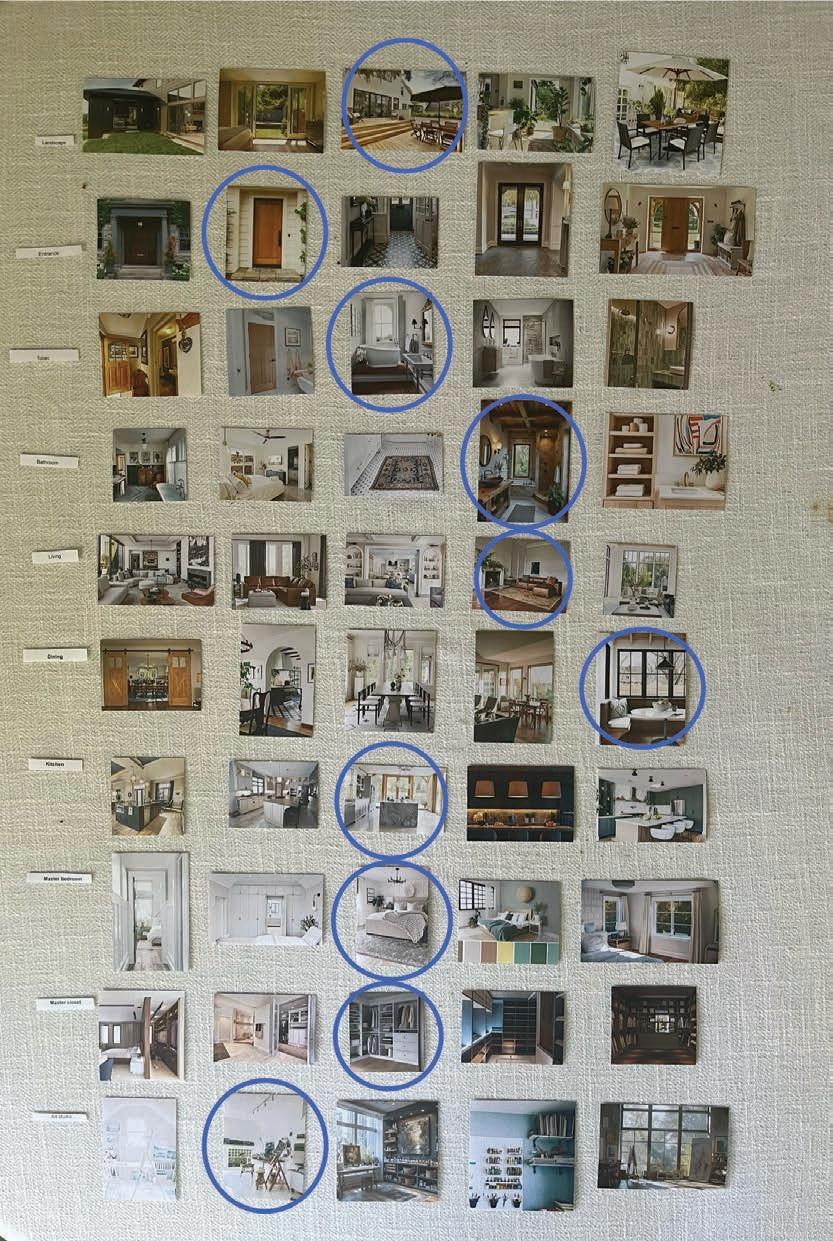
- We leared about well known houses to better understand their structures and the ideas behind them.
- Things like lighting and functionality
Project #7 “Space Program”
- Here we built our initial ideas for our houses. We started thinking through our overal design concepts adn meaning and intentions behind each room we created.
Project #8 “Space Design”
- We began to put all of our rooms together to create the overal structure of our house.
- Then we drew elevations and sections to give a better idea of the product.
Project #9 “Presentation”
- As we finalized floor plans and elevations, and chose materials and perspective views I began to see my house come together. We learned what it means to present a product to a client and recieved real feedback from an architecture firm during our final review.
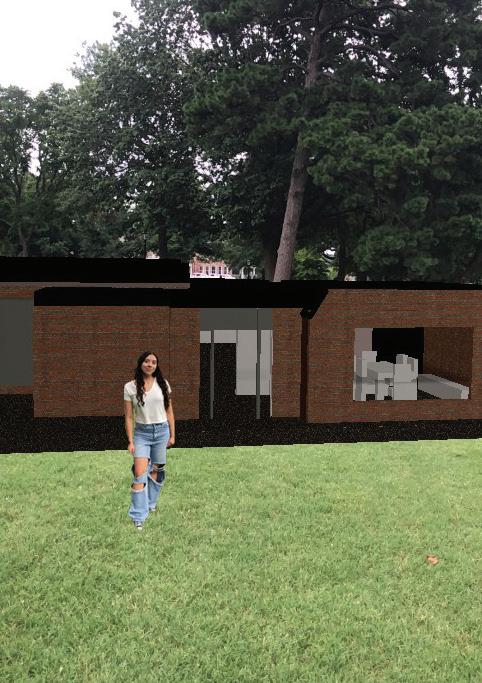
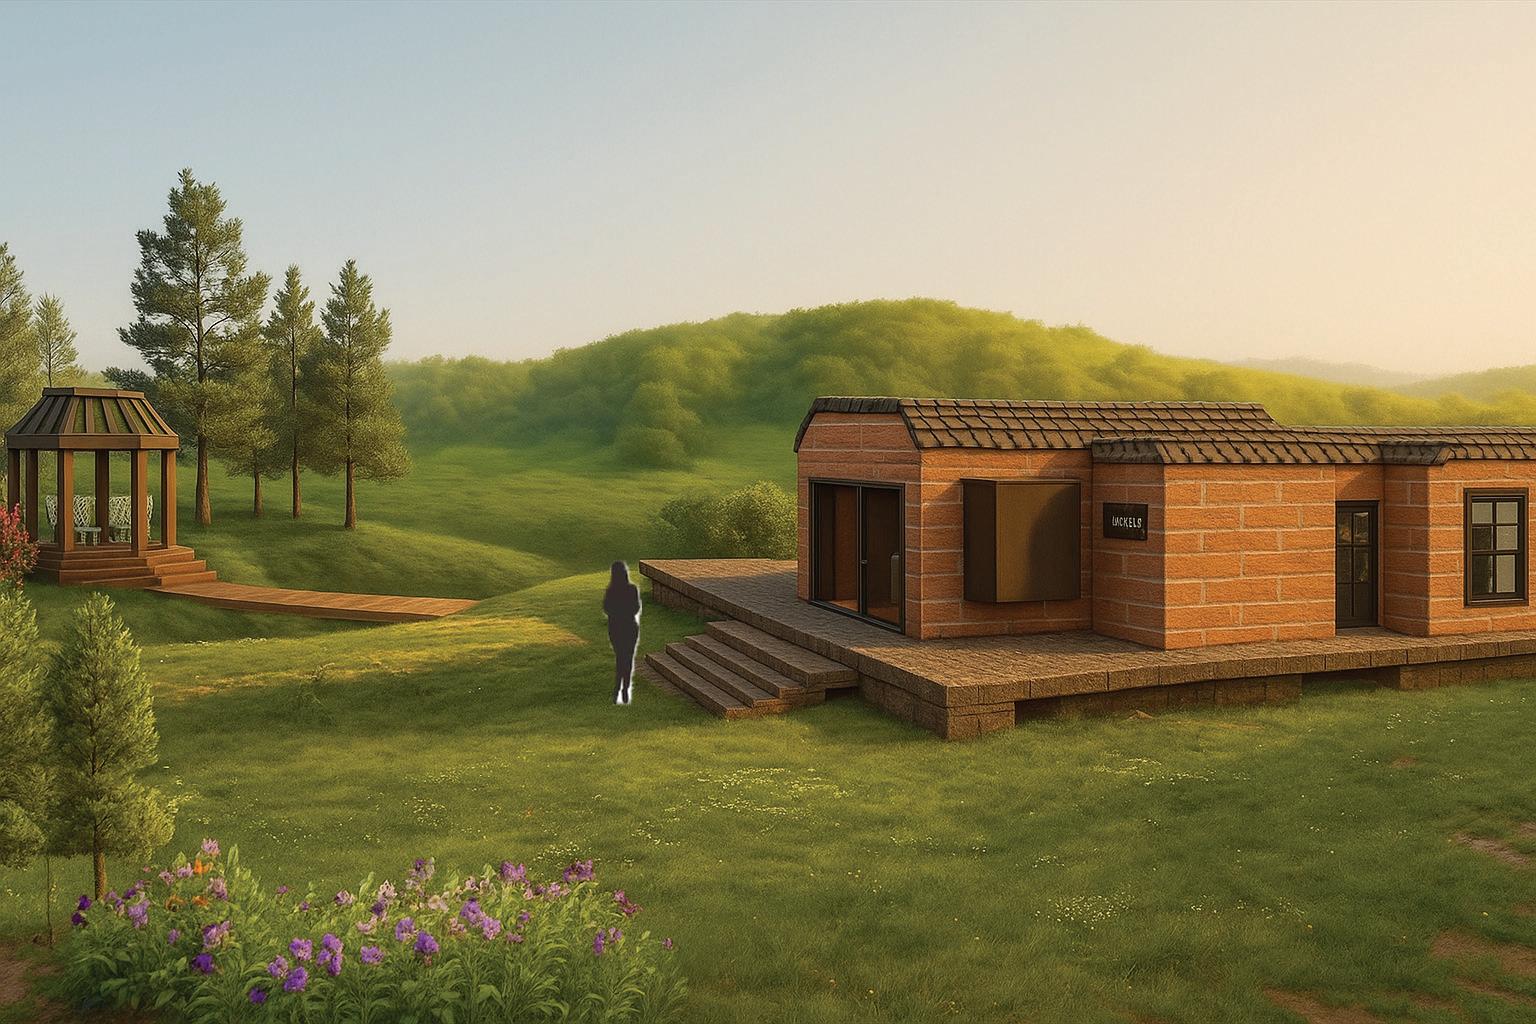
Project #10 “VR & AR Experiene”
- This experiences made me rethink how I represent and explain my designs by highlighting the importance of mood, movement, and perspective. I’d like to shift from static drawings to more dynamic tools, like animated walkthroughs, layered diagrams, and user-perspective visuals, to better capture the feeling and flow of a space.
If you could talk to you before these five weeks, what would you like to share with you?
- It’s not gong to be easy, and you arae going to want to give up, but to be able to look past the temporary hardship and know you wll be rewarded in the future, you will be able to have such a better perspective on this program as a whole. Make sure to have fun, be creative and express yourself through your work!
Space Design
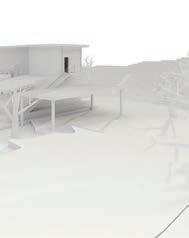
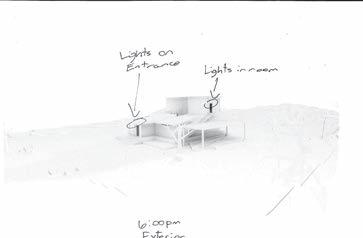
1. From Massing to Concept Model
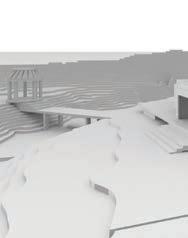
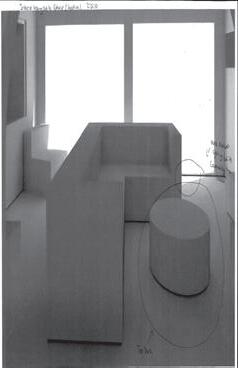
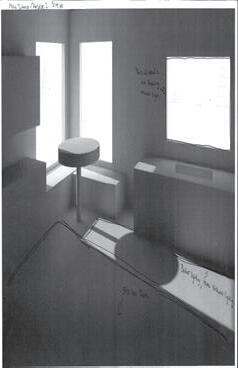
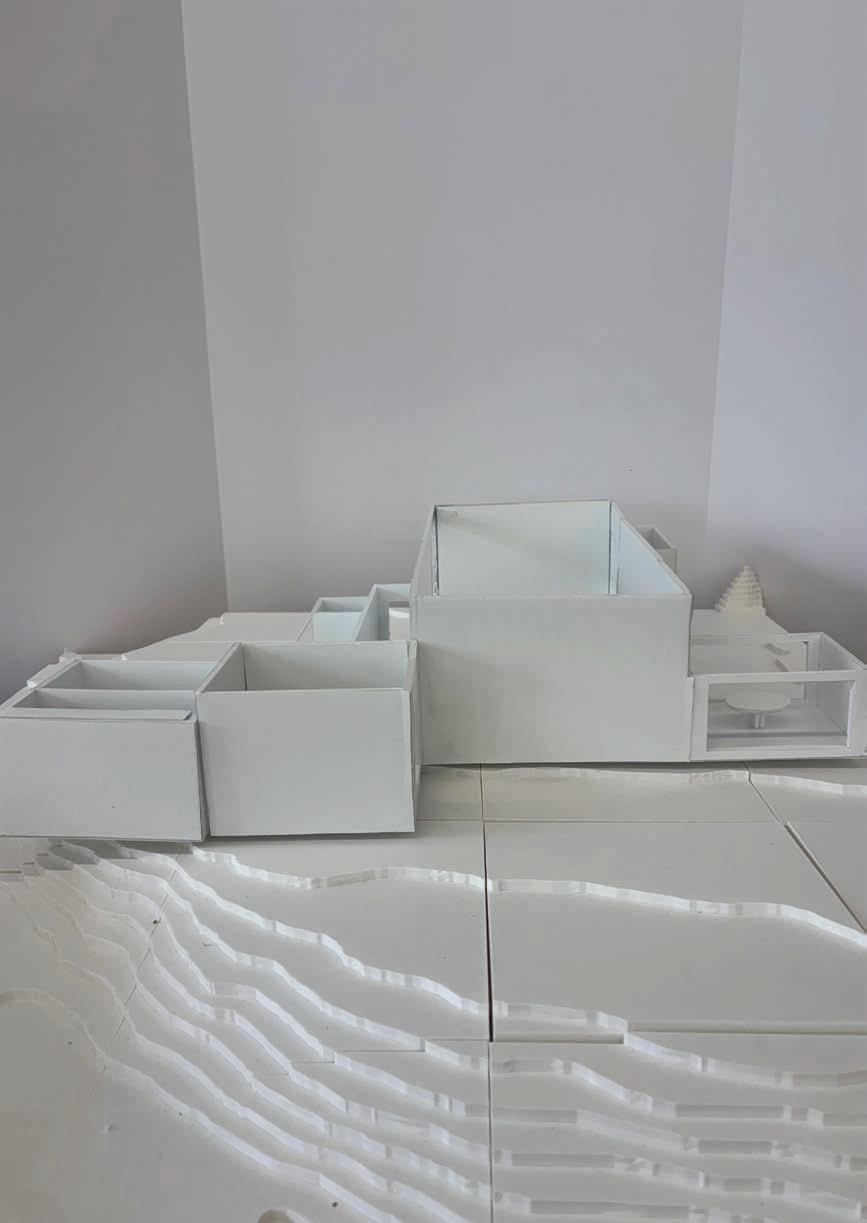
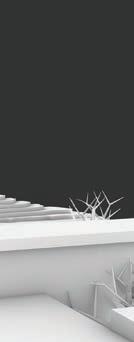
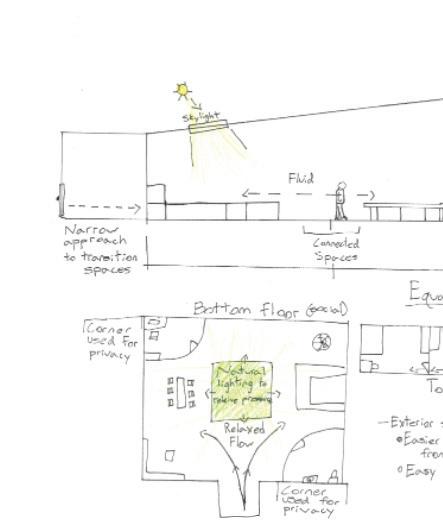
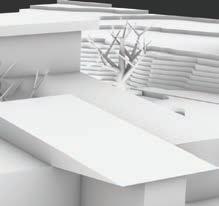
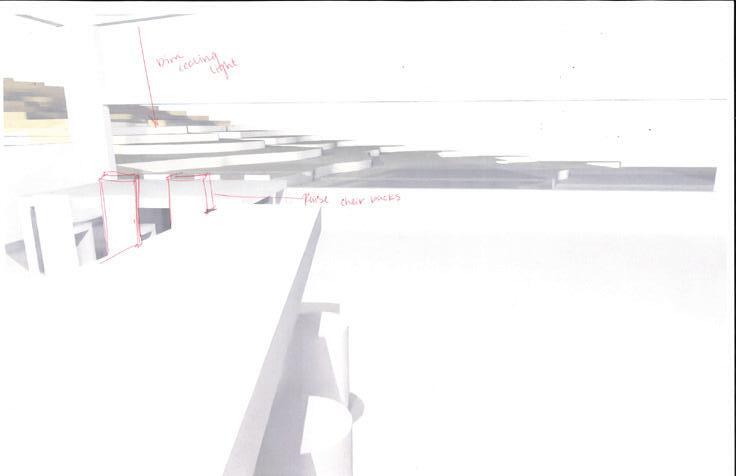
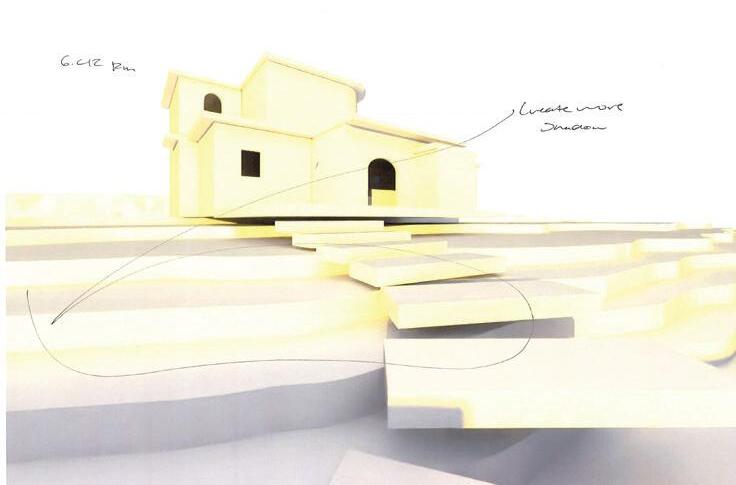
Students will refine their conceptual massing model by incorporating ideas of spatial sequence, light, atmosphere, and user experience. The goal is to transform a block-based structure into a design concept model that expresses the intended feeling, behavior, and identity of the home. The process will use section cuts, light and shadow tests, and interior–exterior spatial relationships to deepen design thinking.
2. Floor Plans + 3D
Students will transform their concept model into clearly articulated floor plans and further refine the Rhino 3D model to reflect architectural intent. The goal is to define programmatic zones, circulation, wall thickness, openings, and spatial proportions while maintaining conceptual clarity. Plans and 3D form must work in parallel to ensure consistency between design logic and space usability.
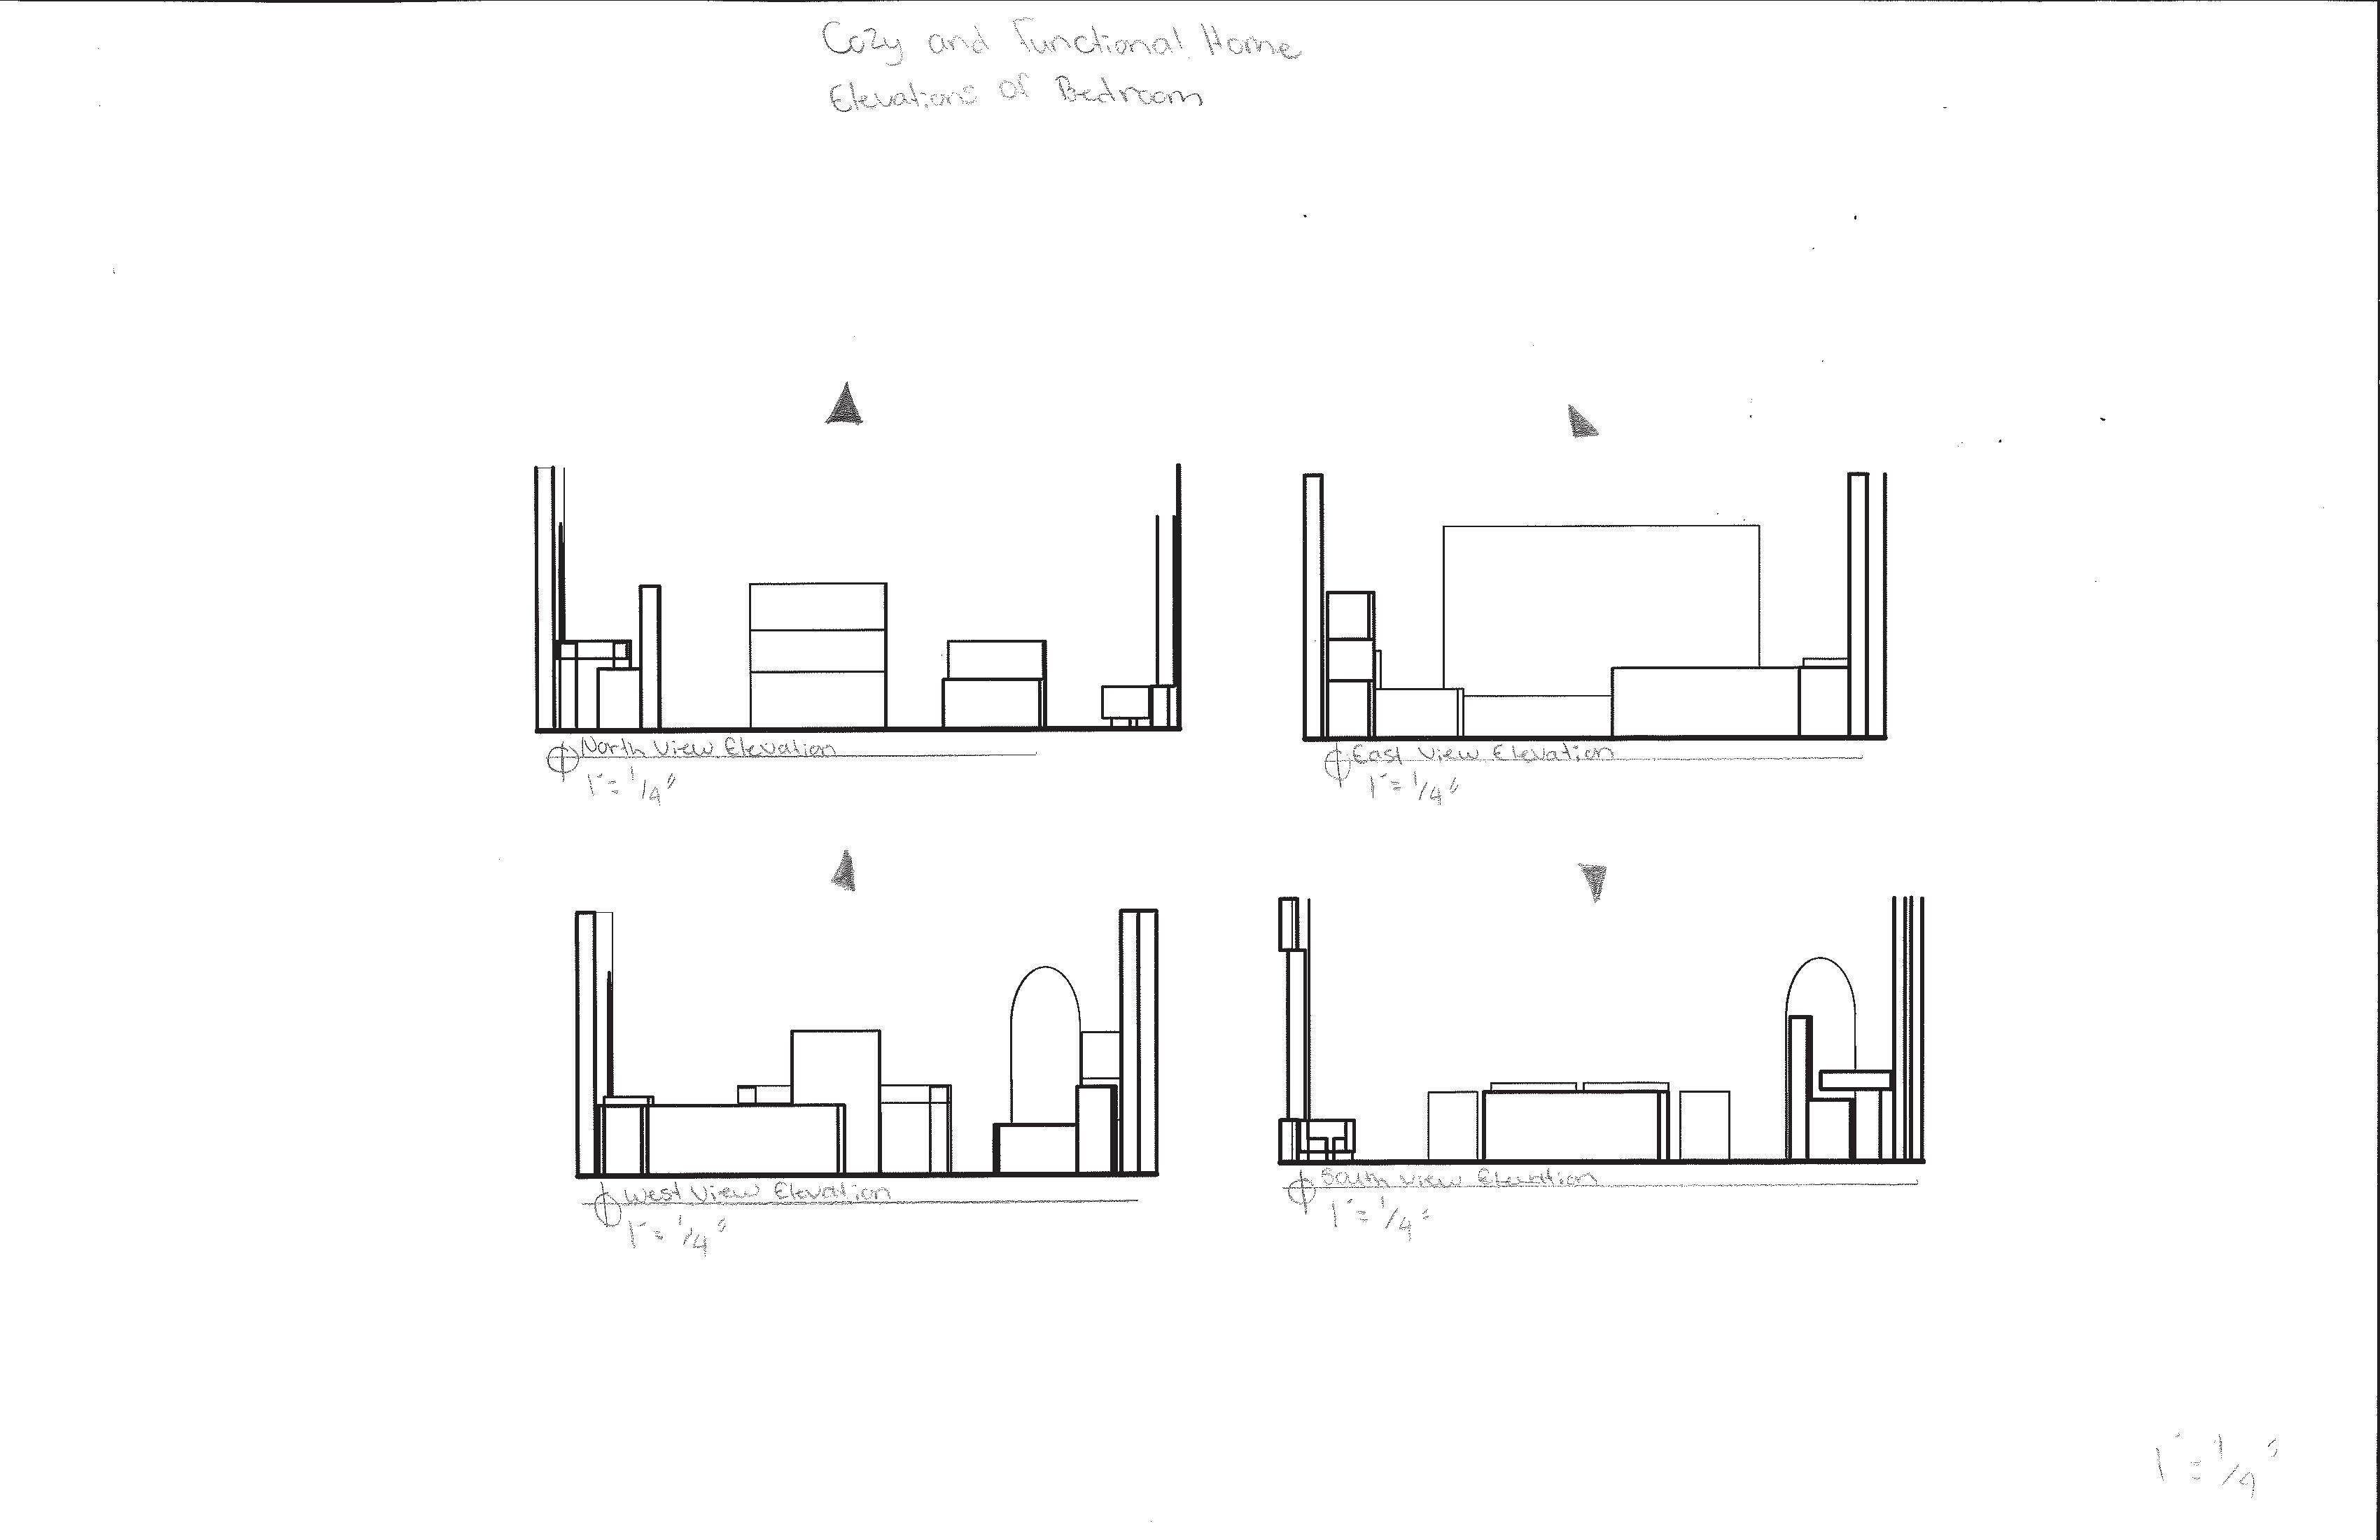
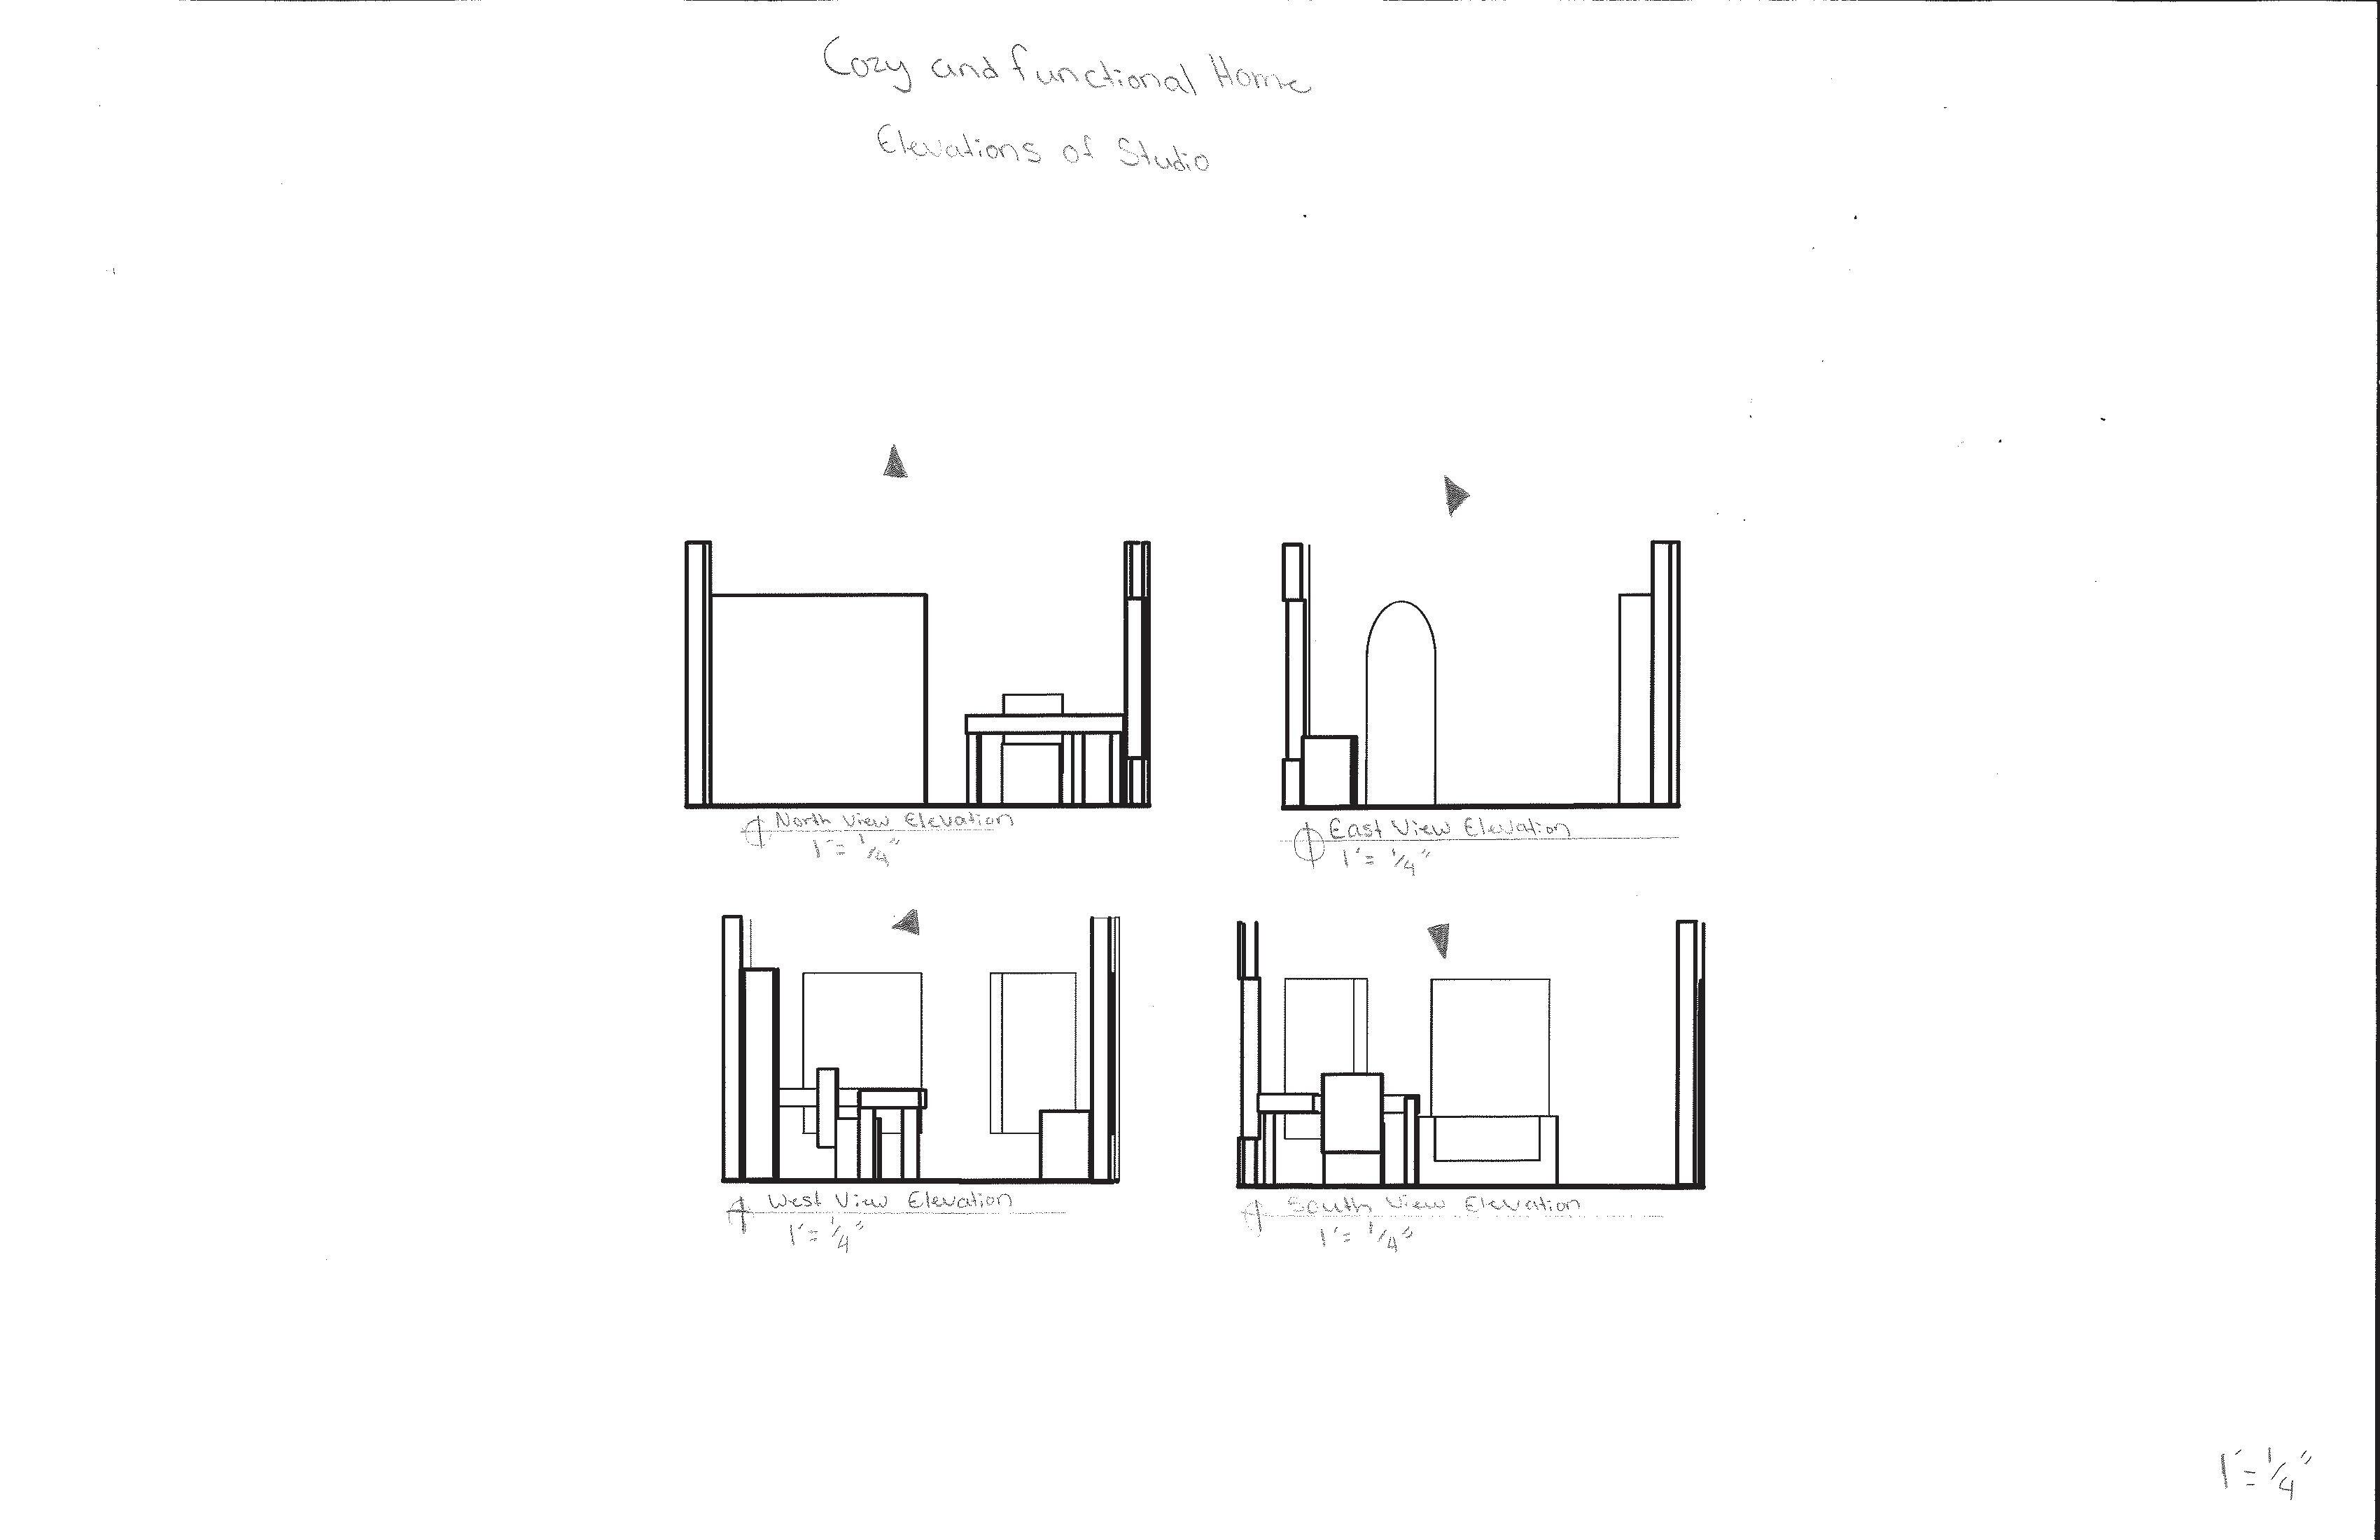
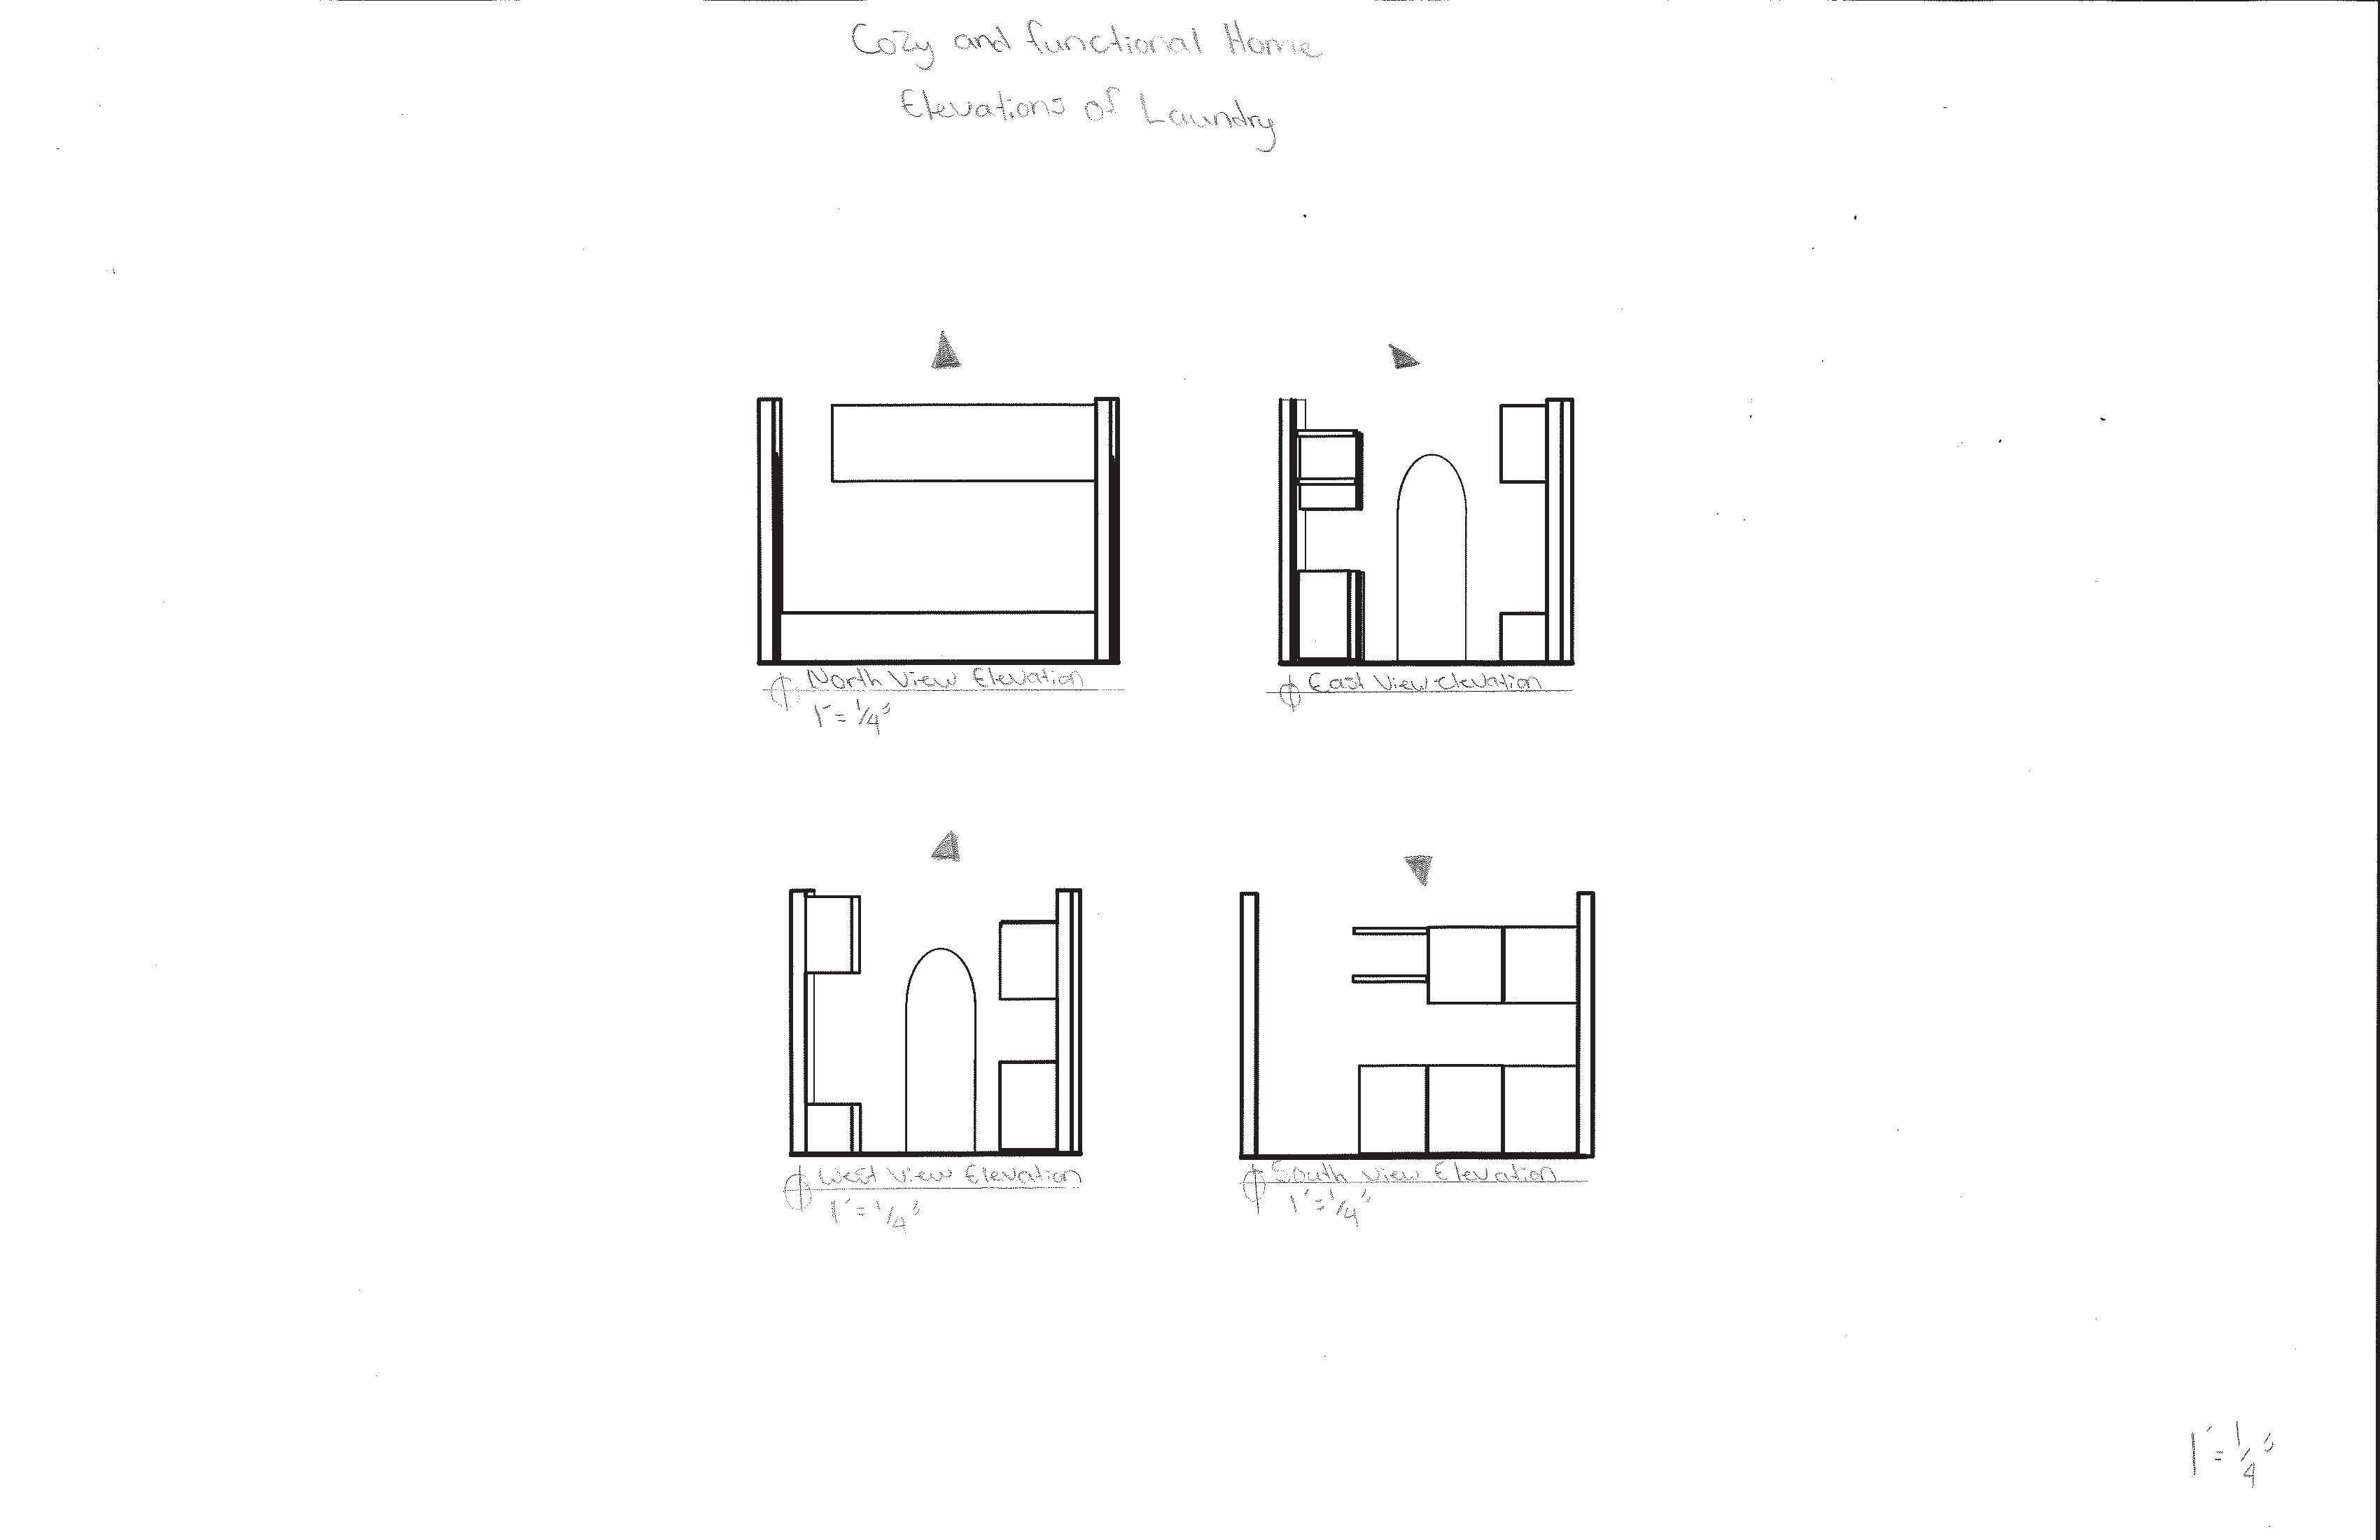
3. Elevations & Section
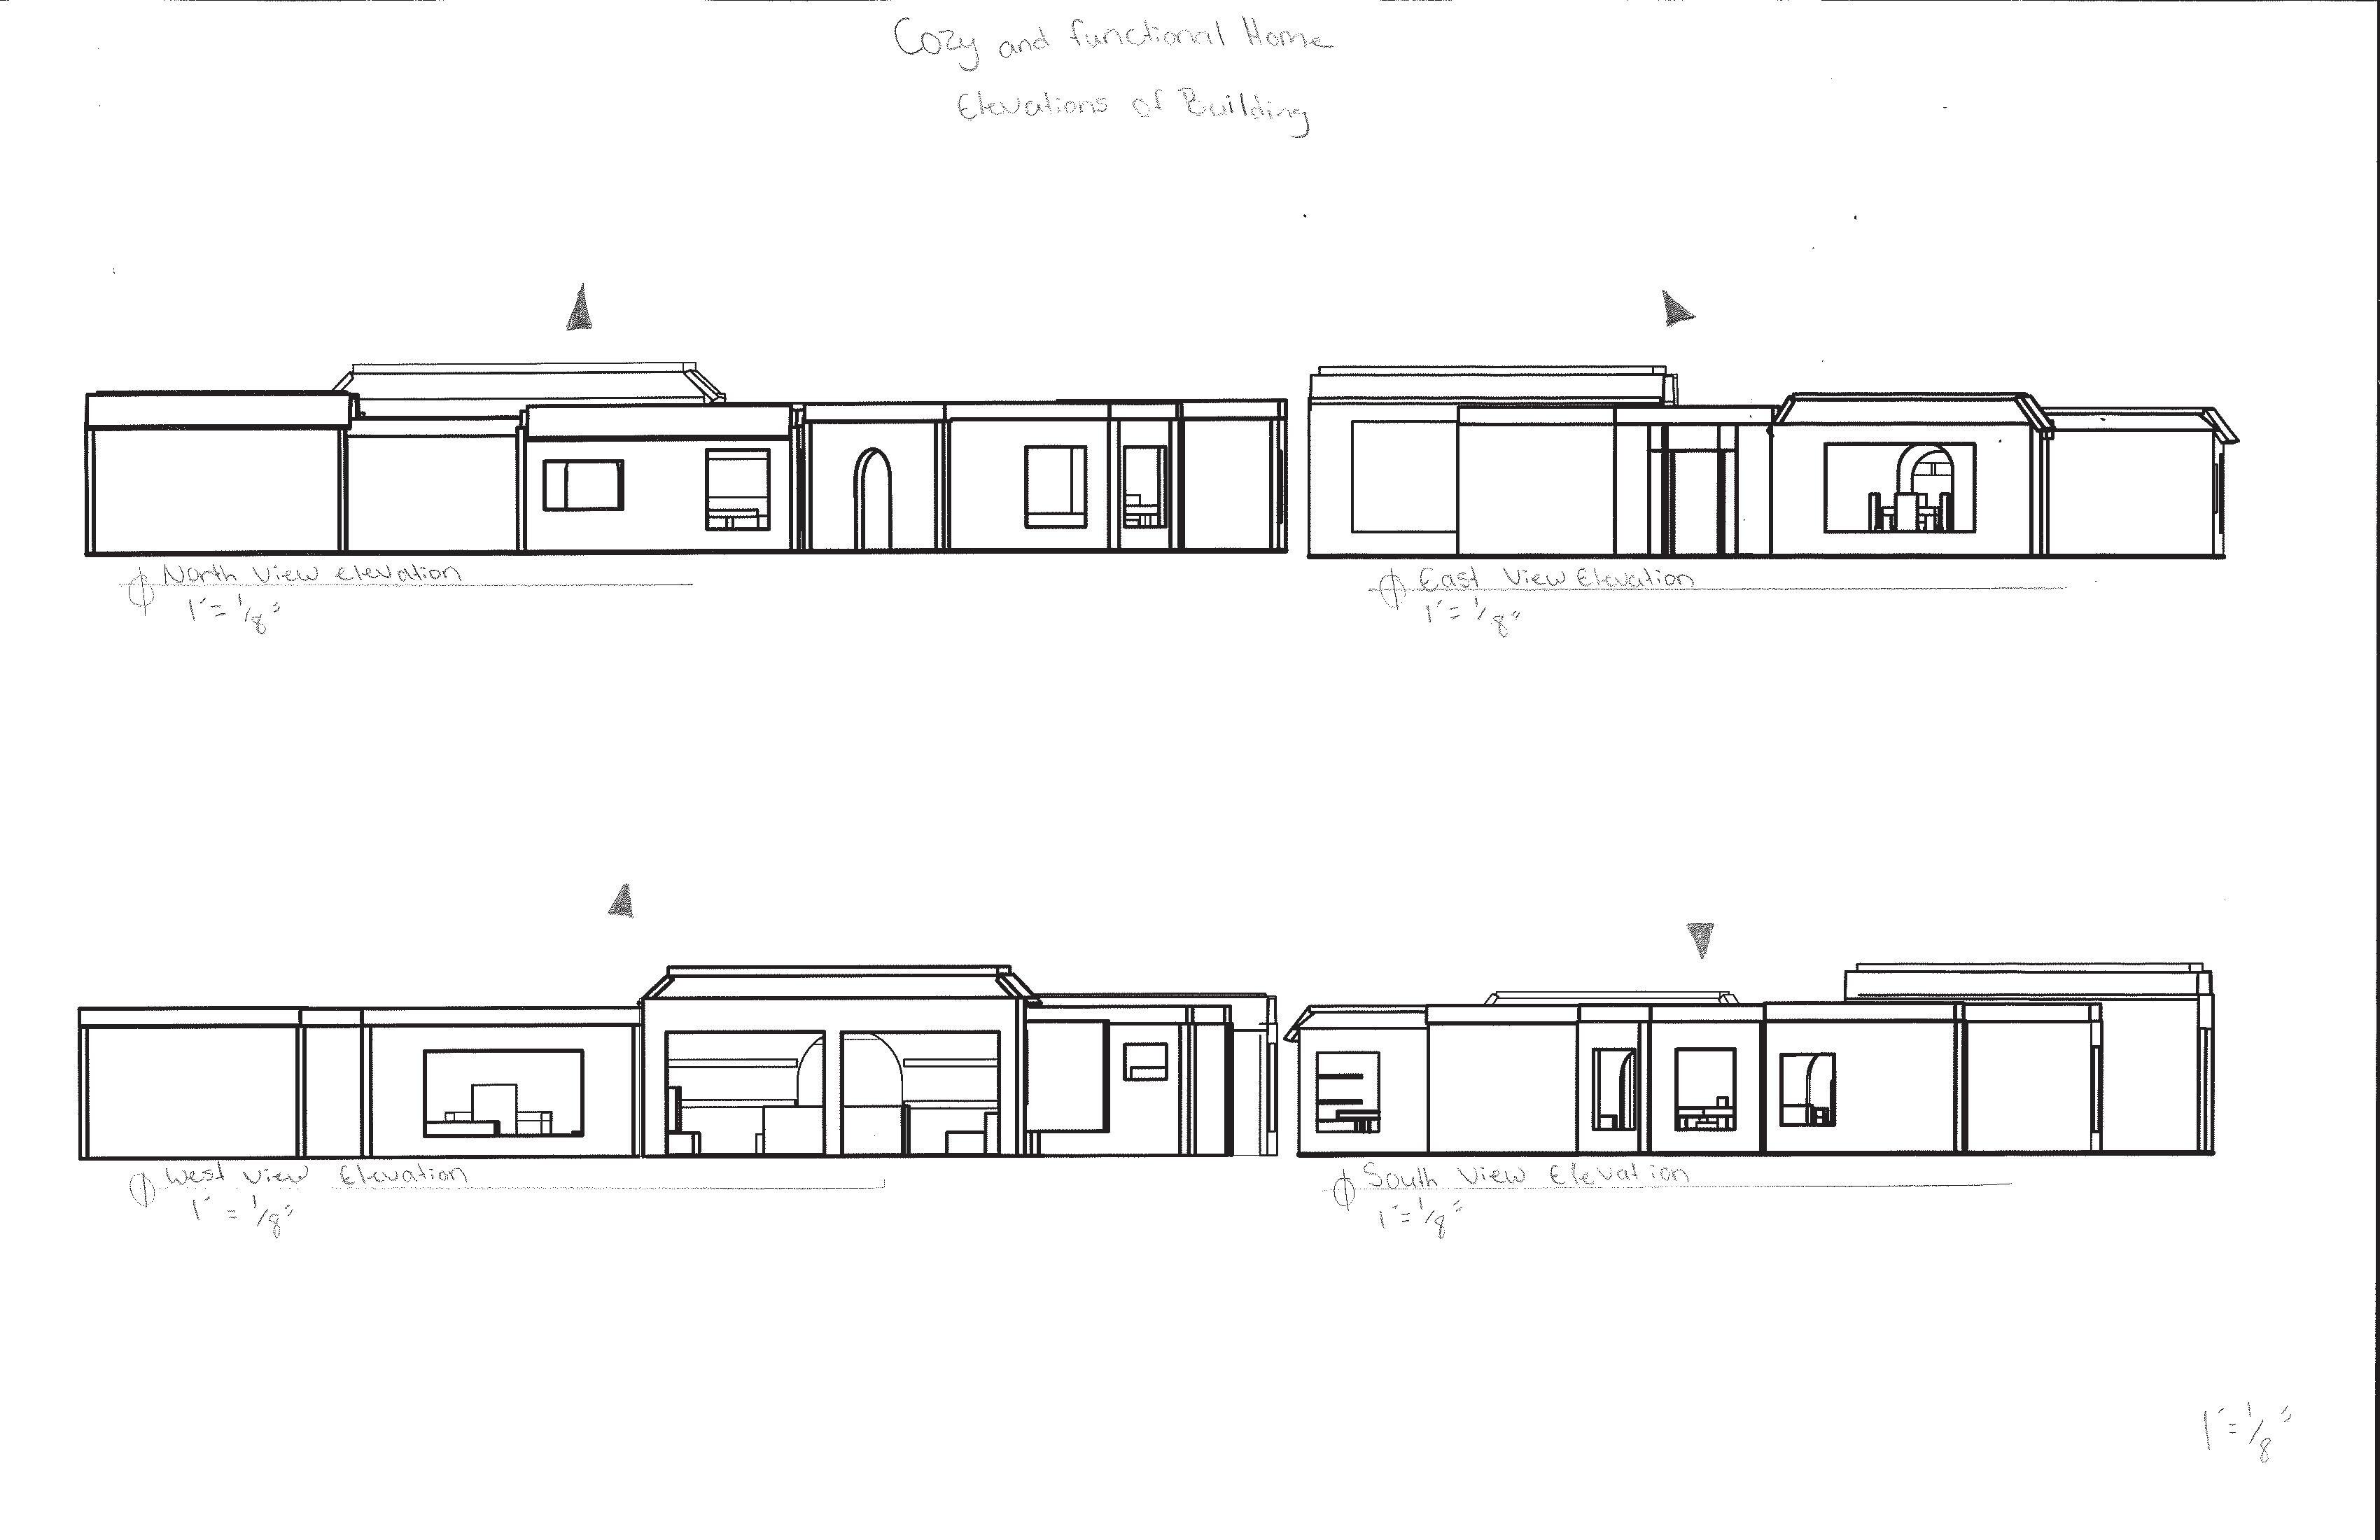
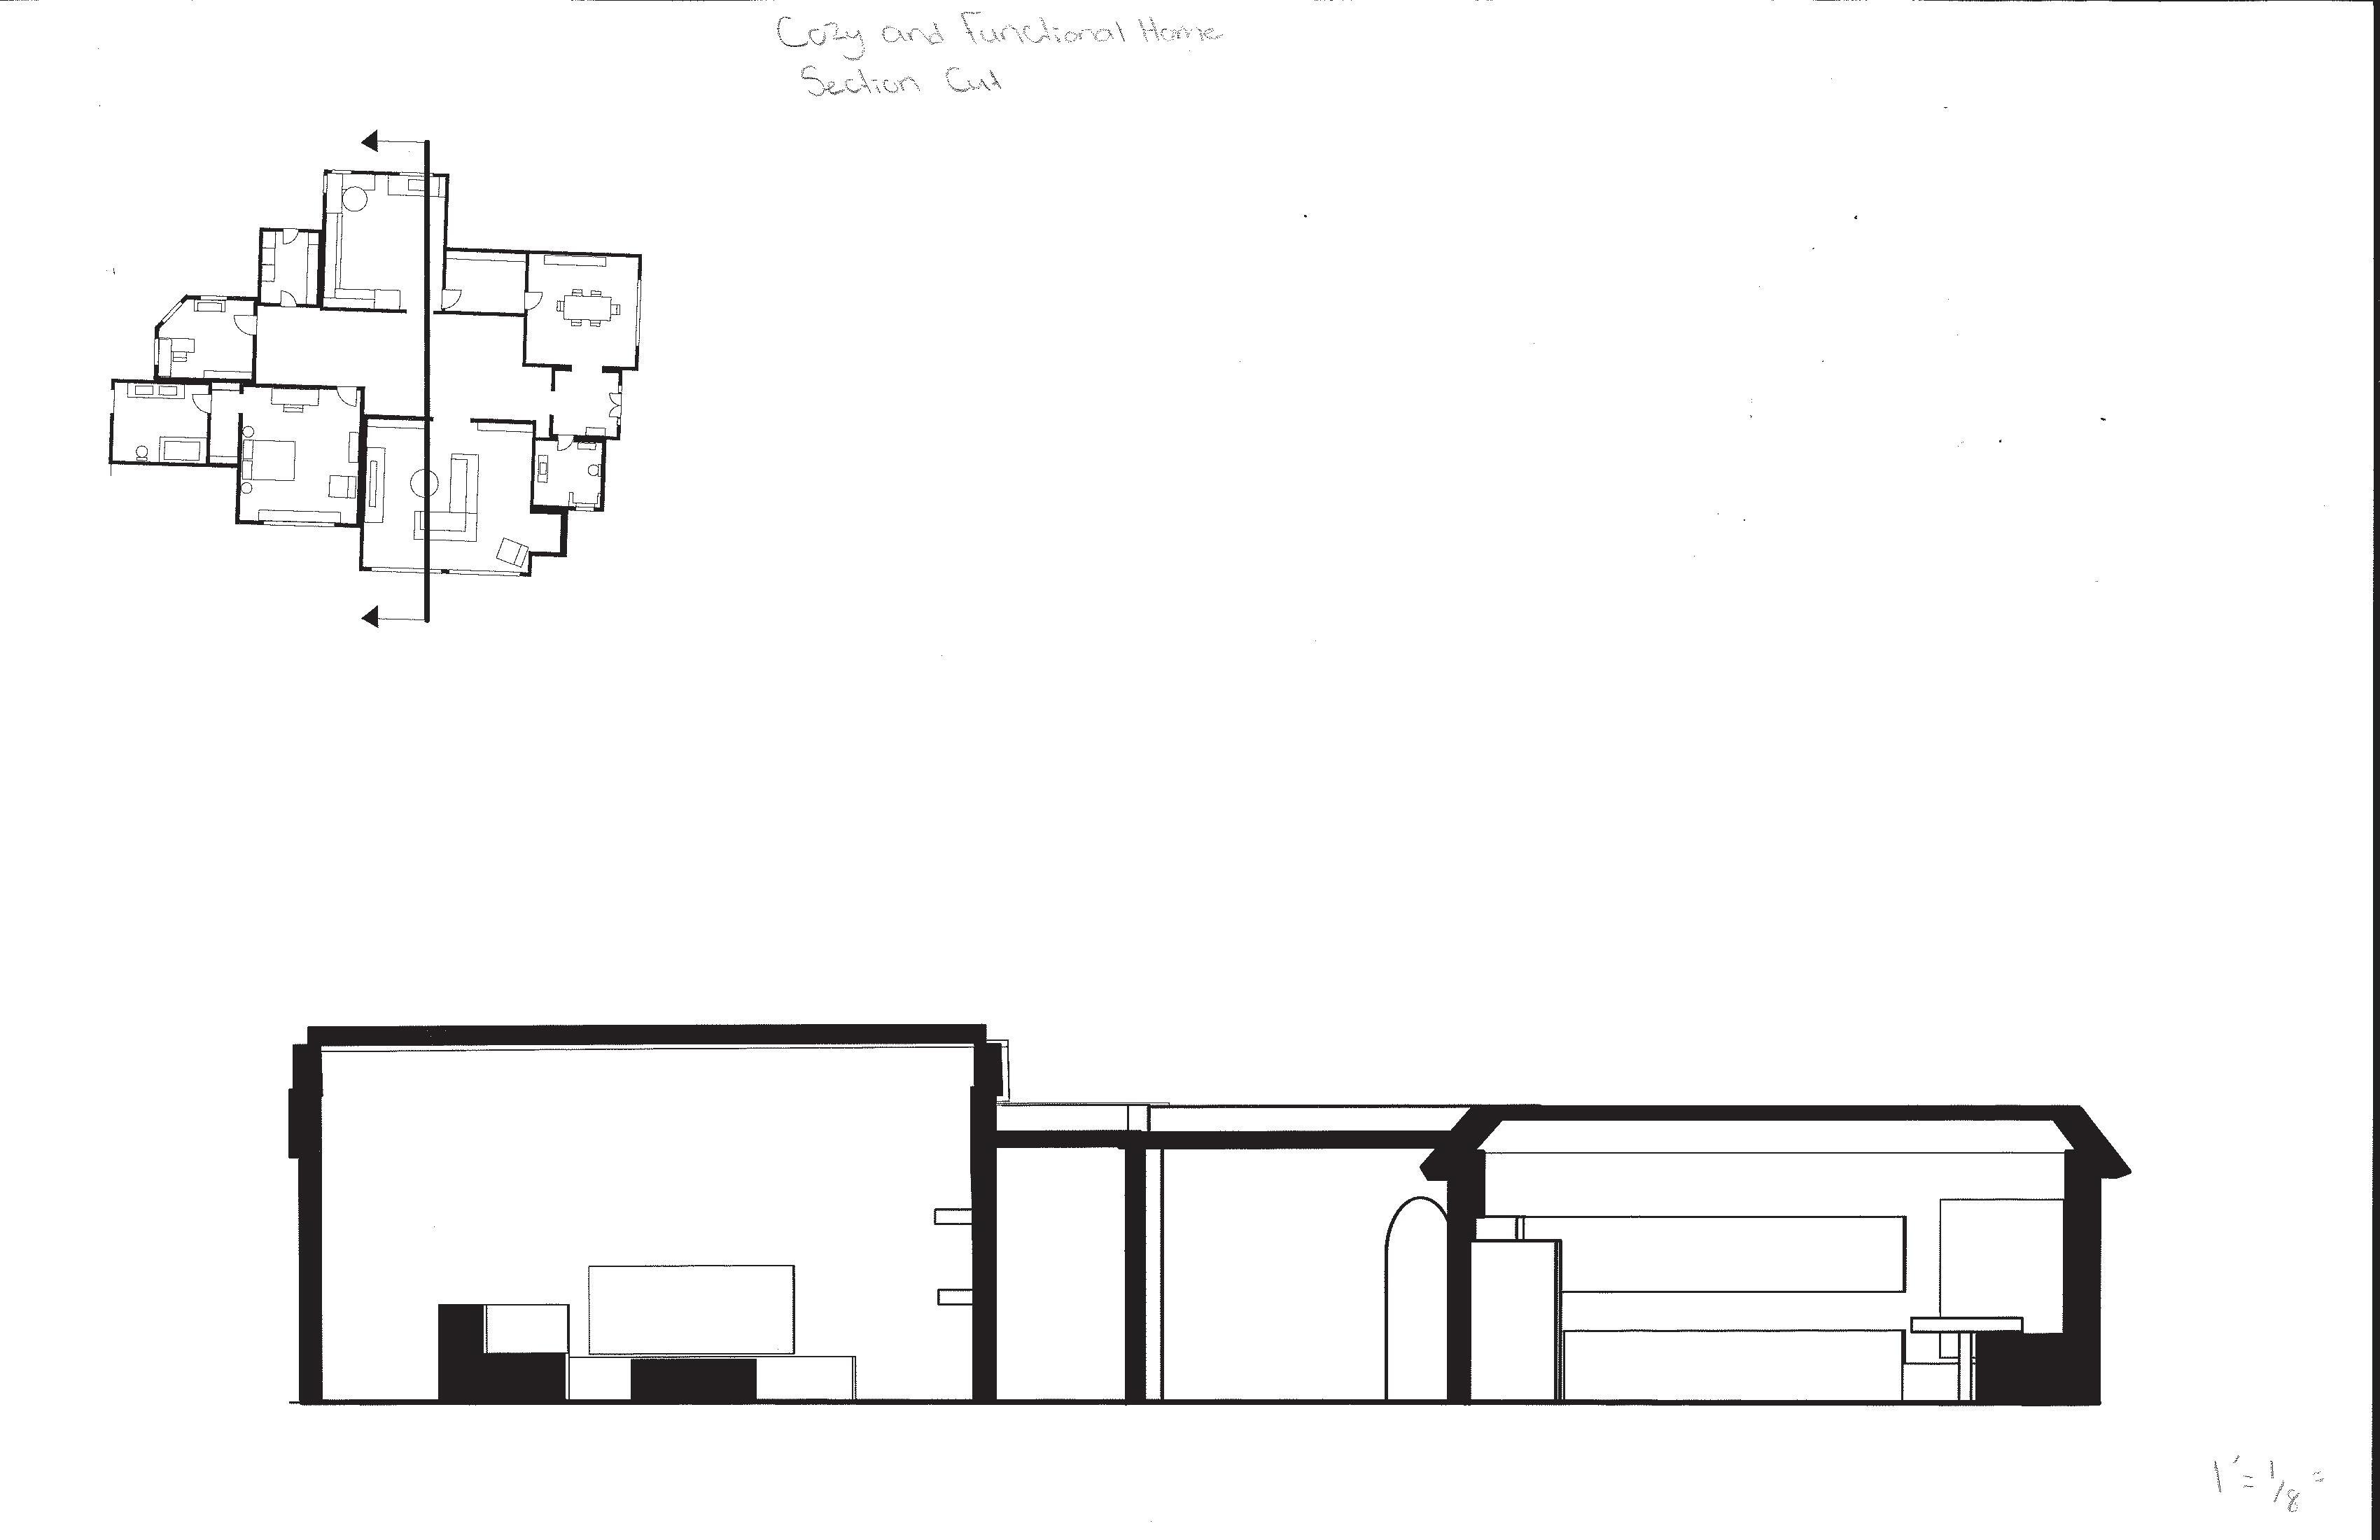
Students will generate elevation drawings and section cuts from their updated Rhino model and finalized plans to study vertical relationships, facade expression, and interior–exterior transitions. This will help articulate how the house presents itself spatially and formally, as well as how light, proportion, and structure are resolved across different views.
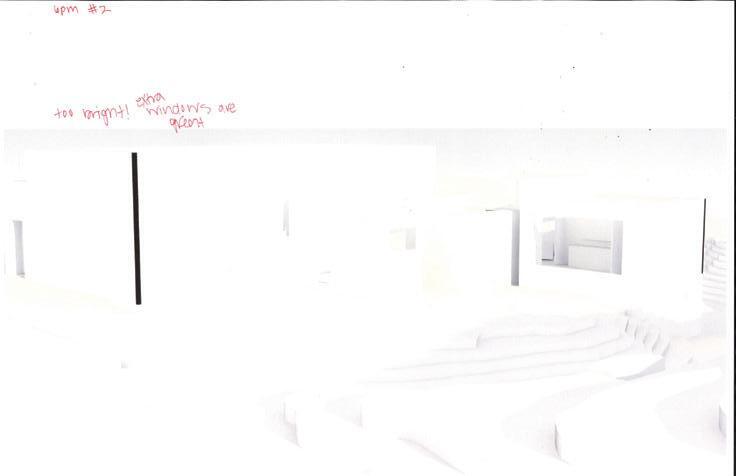
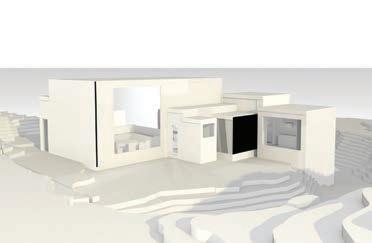
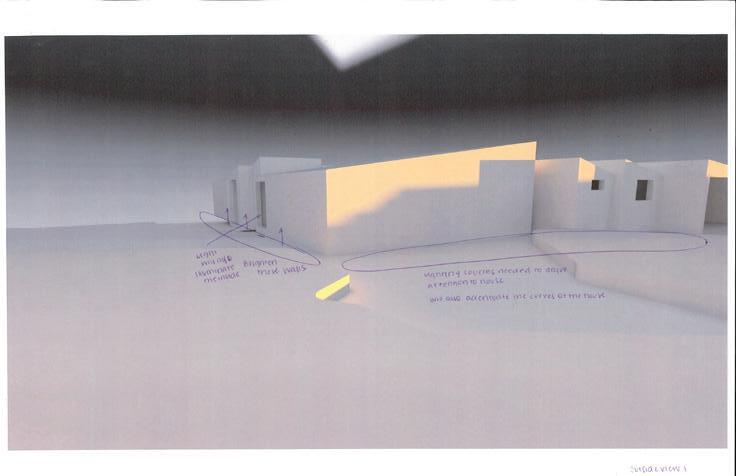
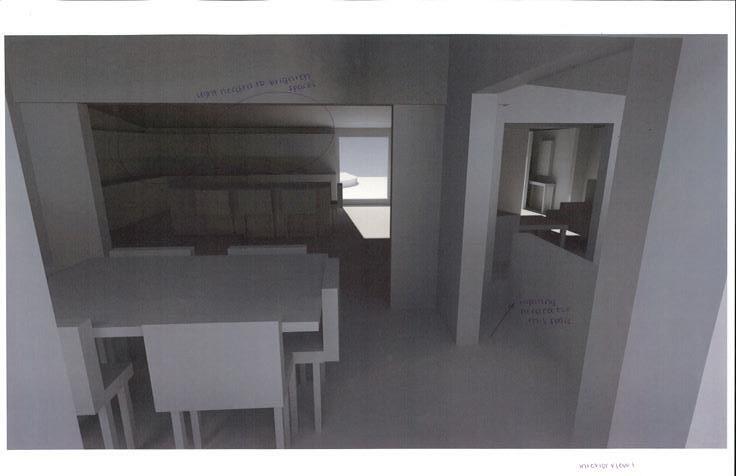
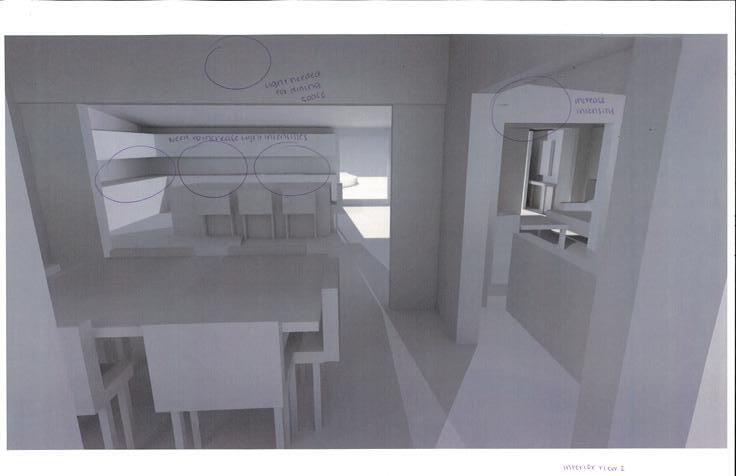
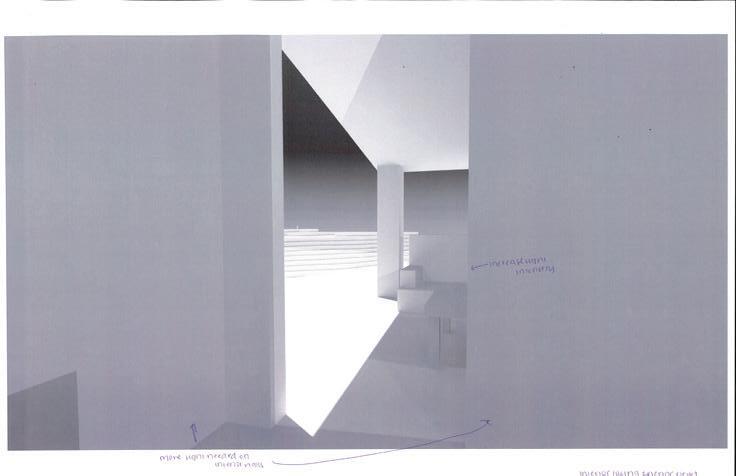
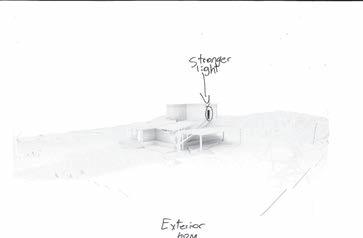
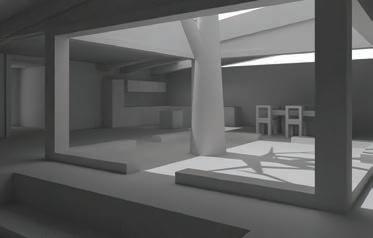
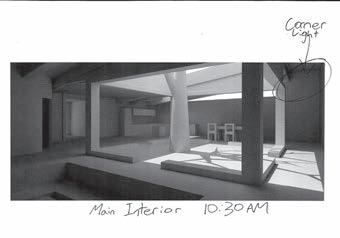
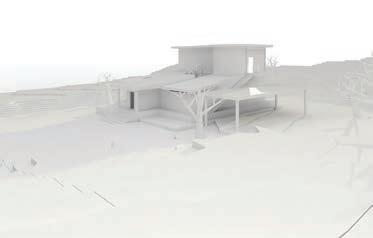
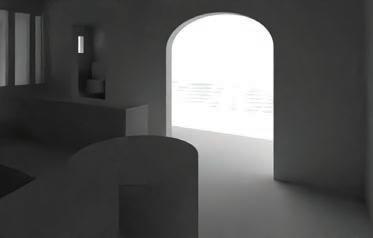
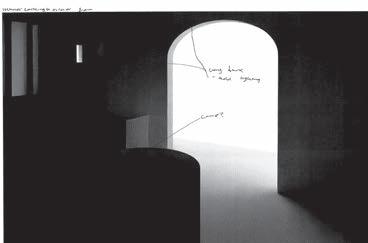
4. Perspectives (Form + Lighting Only)
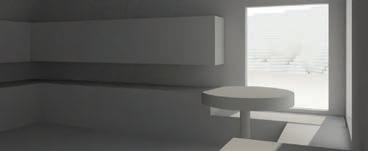
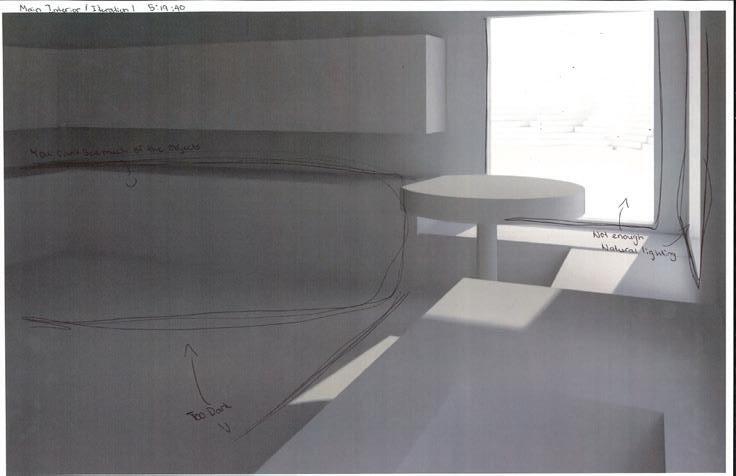
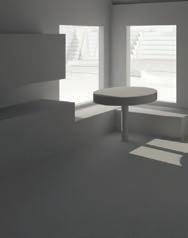
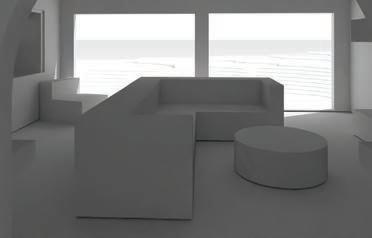
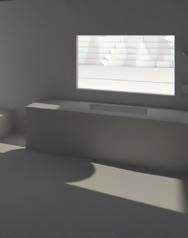
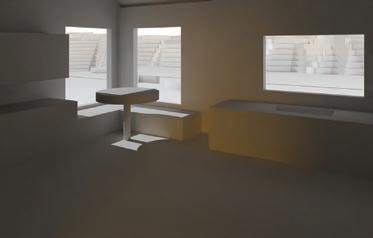
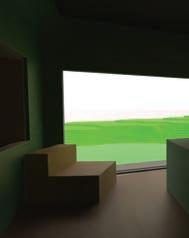
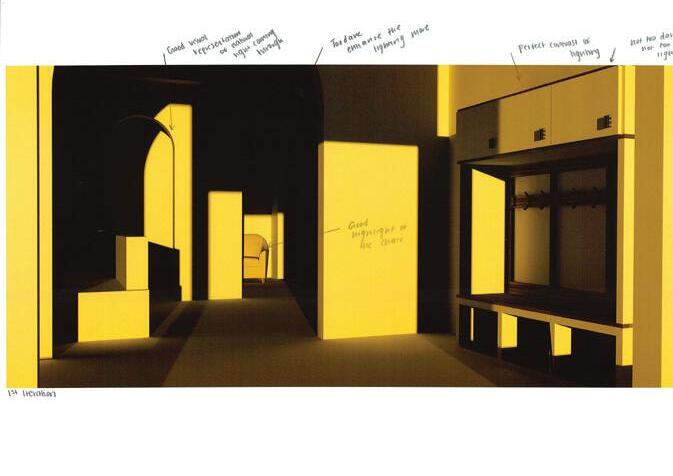
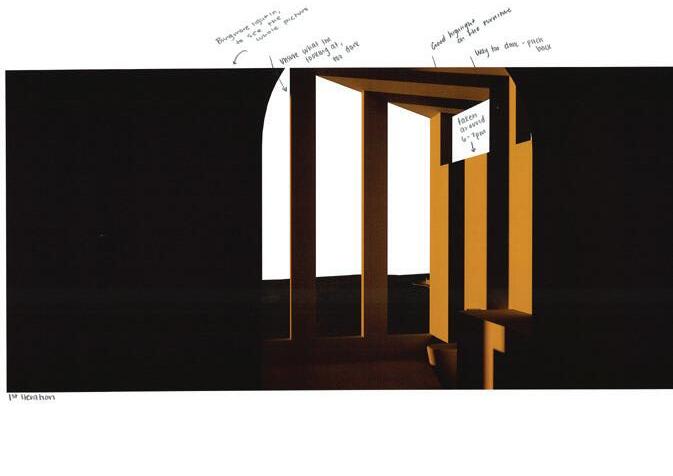
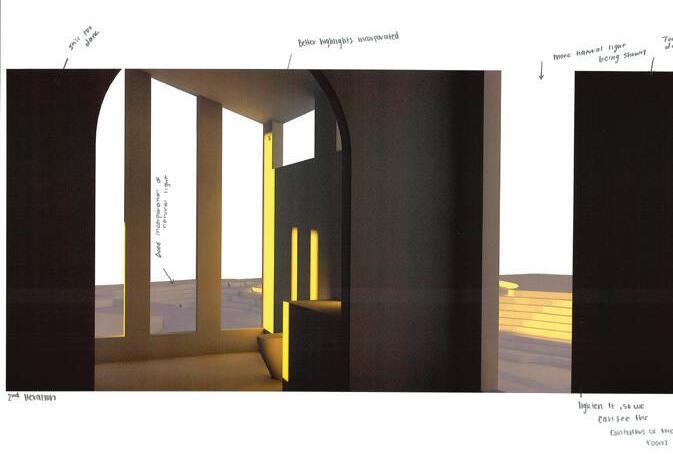
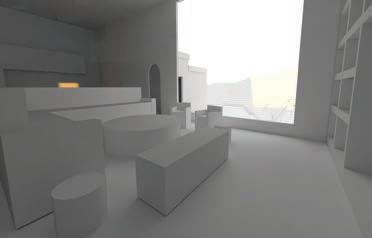
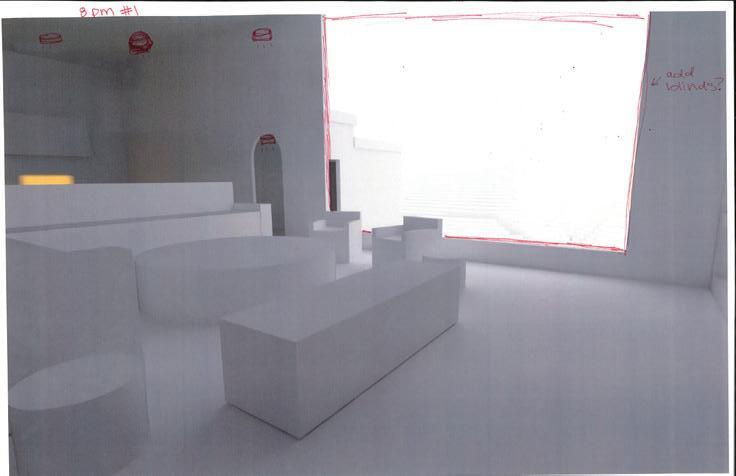
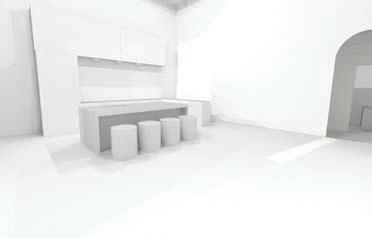
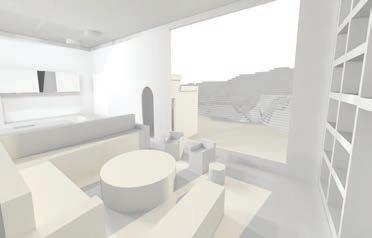
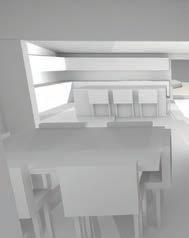
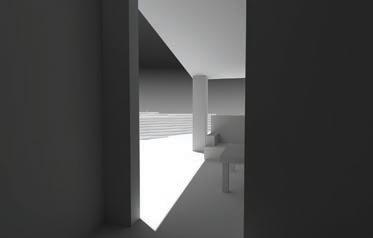
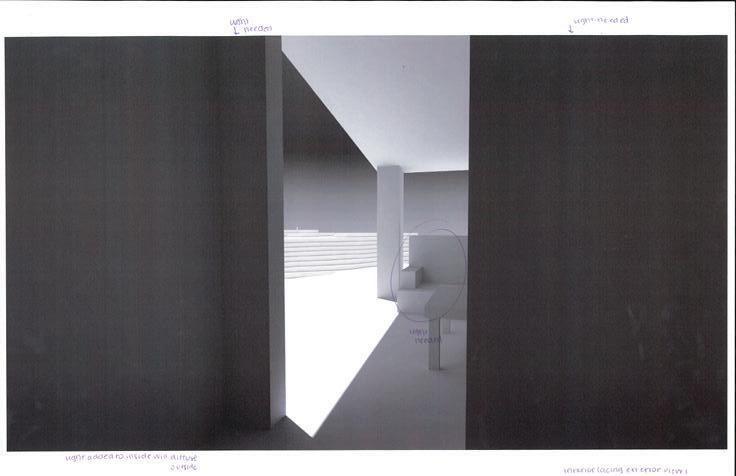
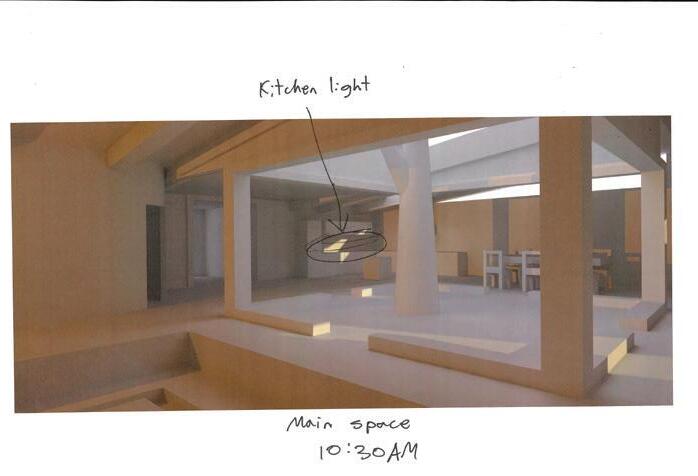
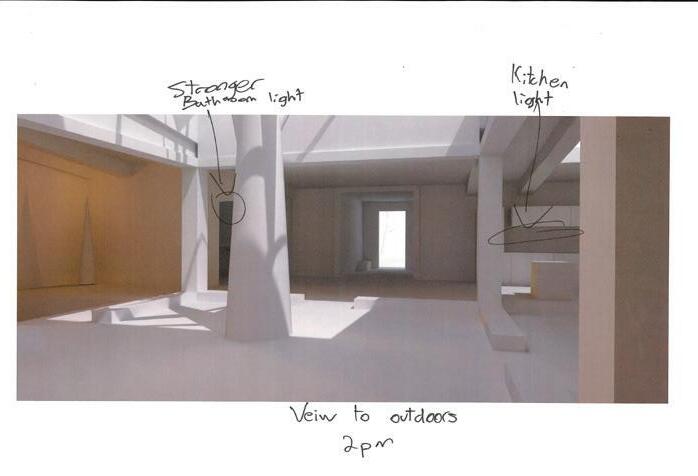
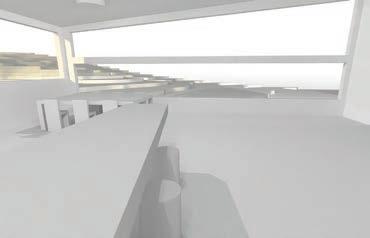
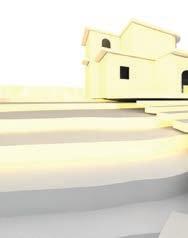
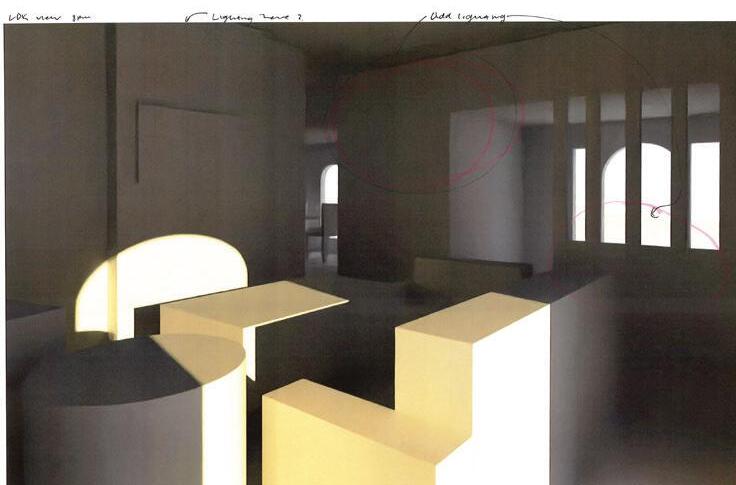
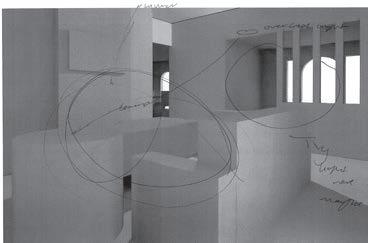
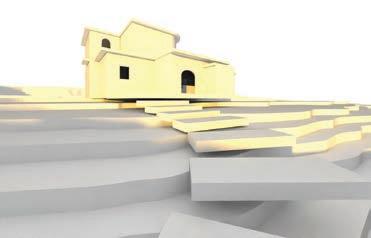
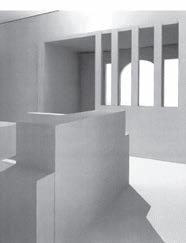
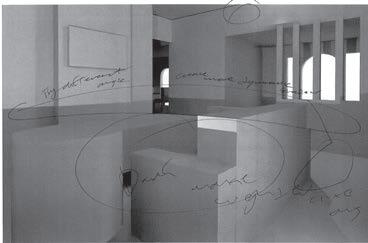
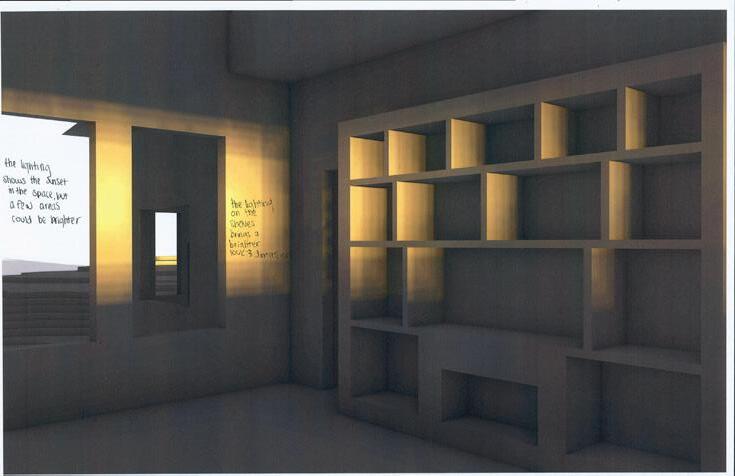
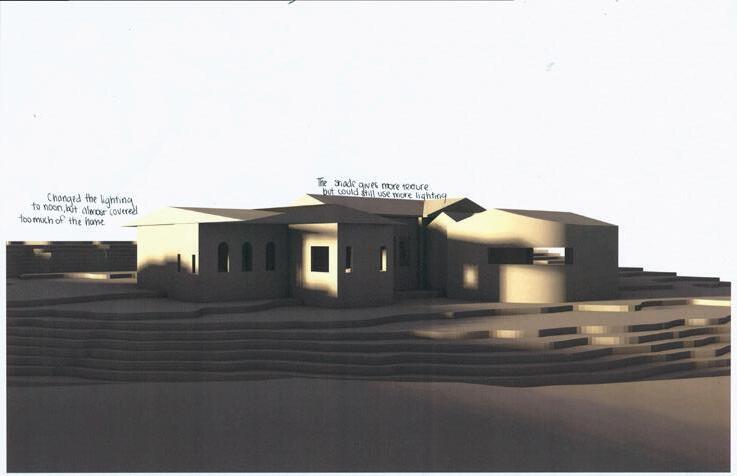
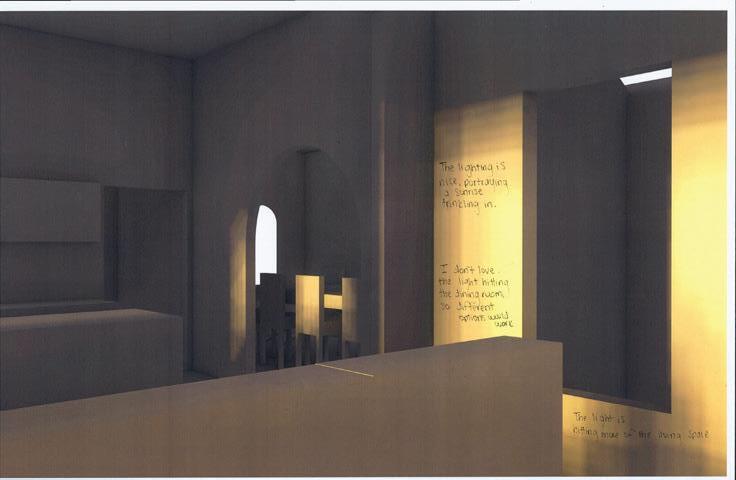
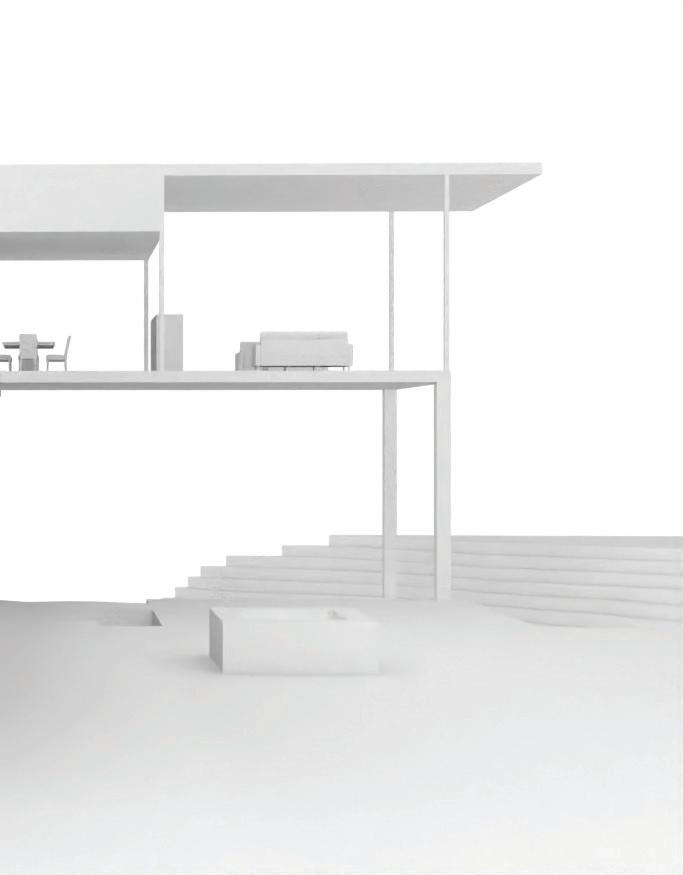
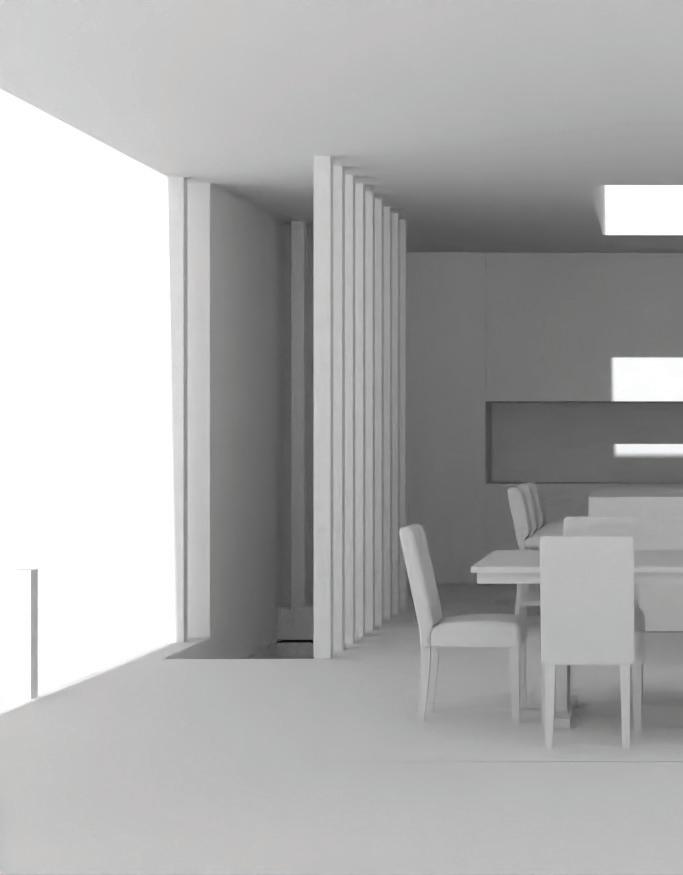
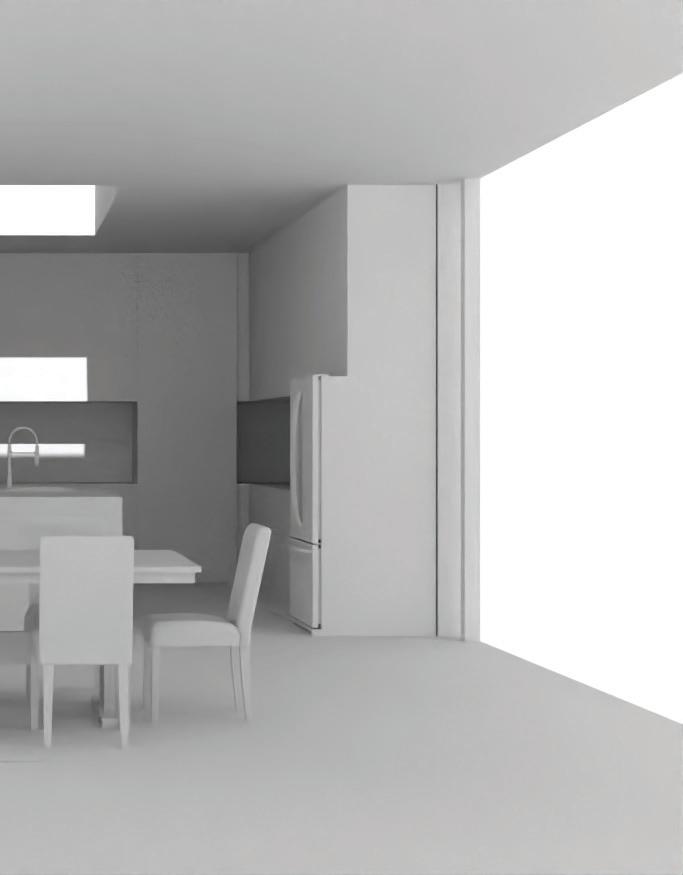
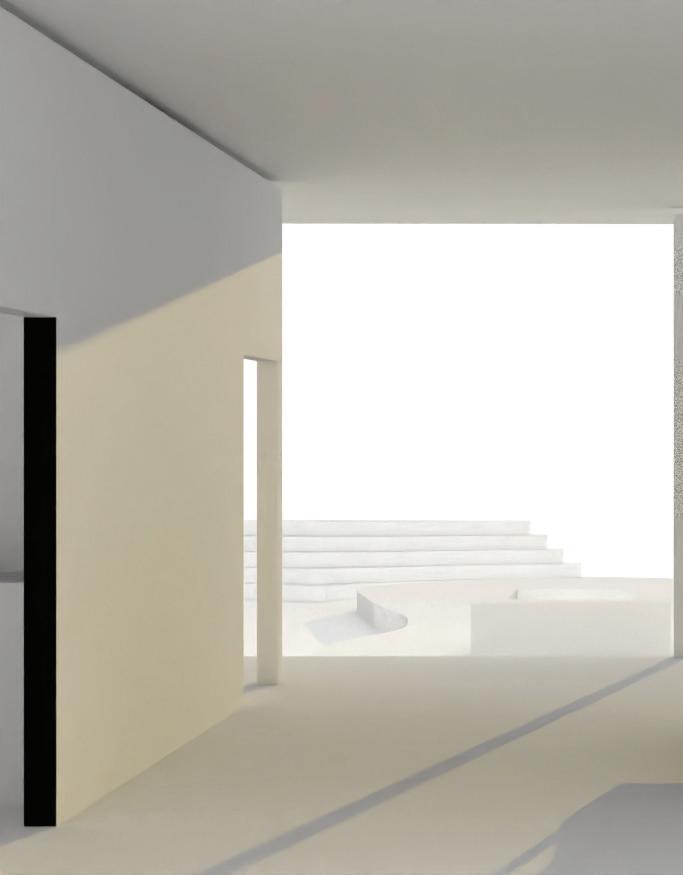
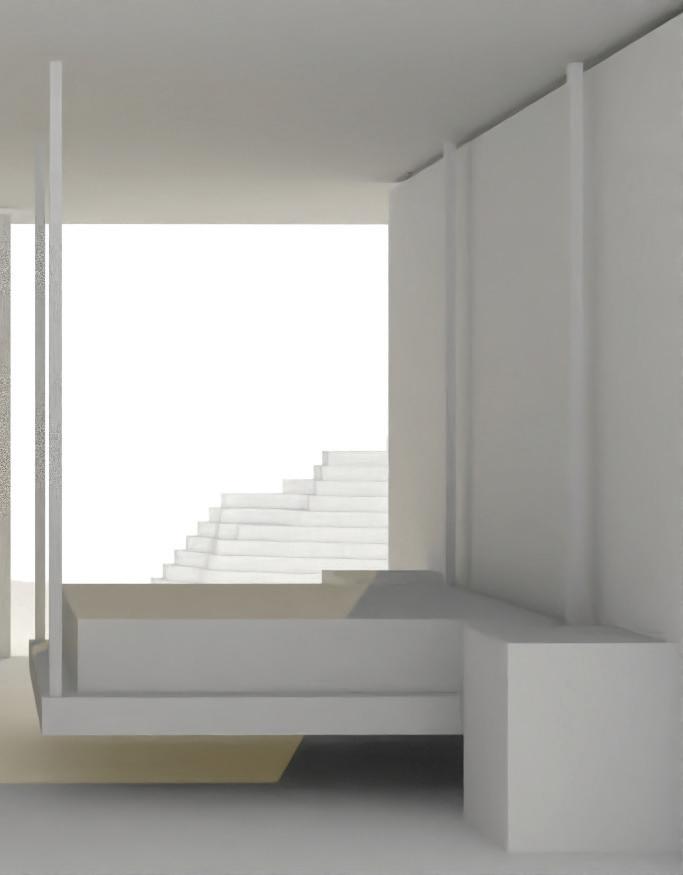
Students will generate and compose perspective views to study form, massing, and lighting qualities without applying material finishes. The goal is to visualize spatial atmosphere, shadow patterns, openness/enclosure, and user scale using clean geometry. This exercise will deepen students’ spatial intuition and provide visual feedback for further refinement.
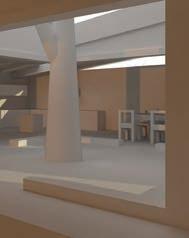
5. Materials, Finishes, and FF&E (Render final perspectives)
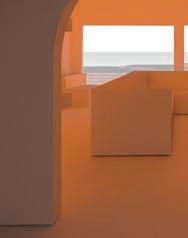
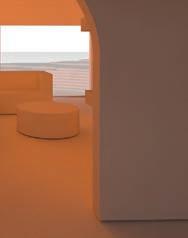
Students will complete final atmospheric renderings by applying materials, lighting, and FF&E (Furniture, Fixtures & Equipment) into the previously prepared Rhino model views. The goal is to communicate design intent and emotional quality by combining light, color, texture, and spatial use in realistic visualizations.
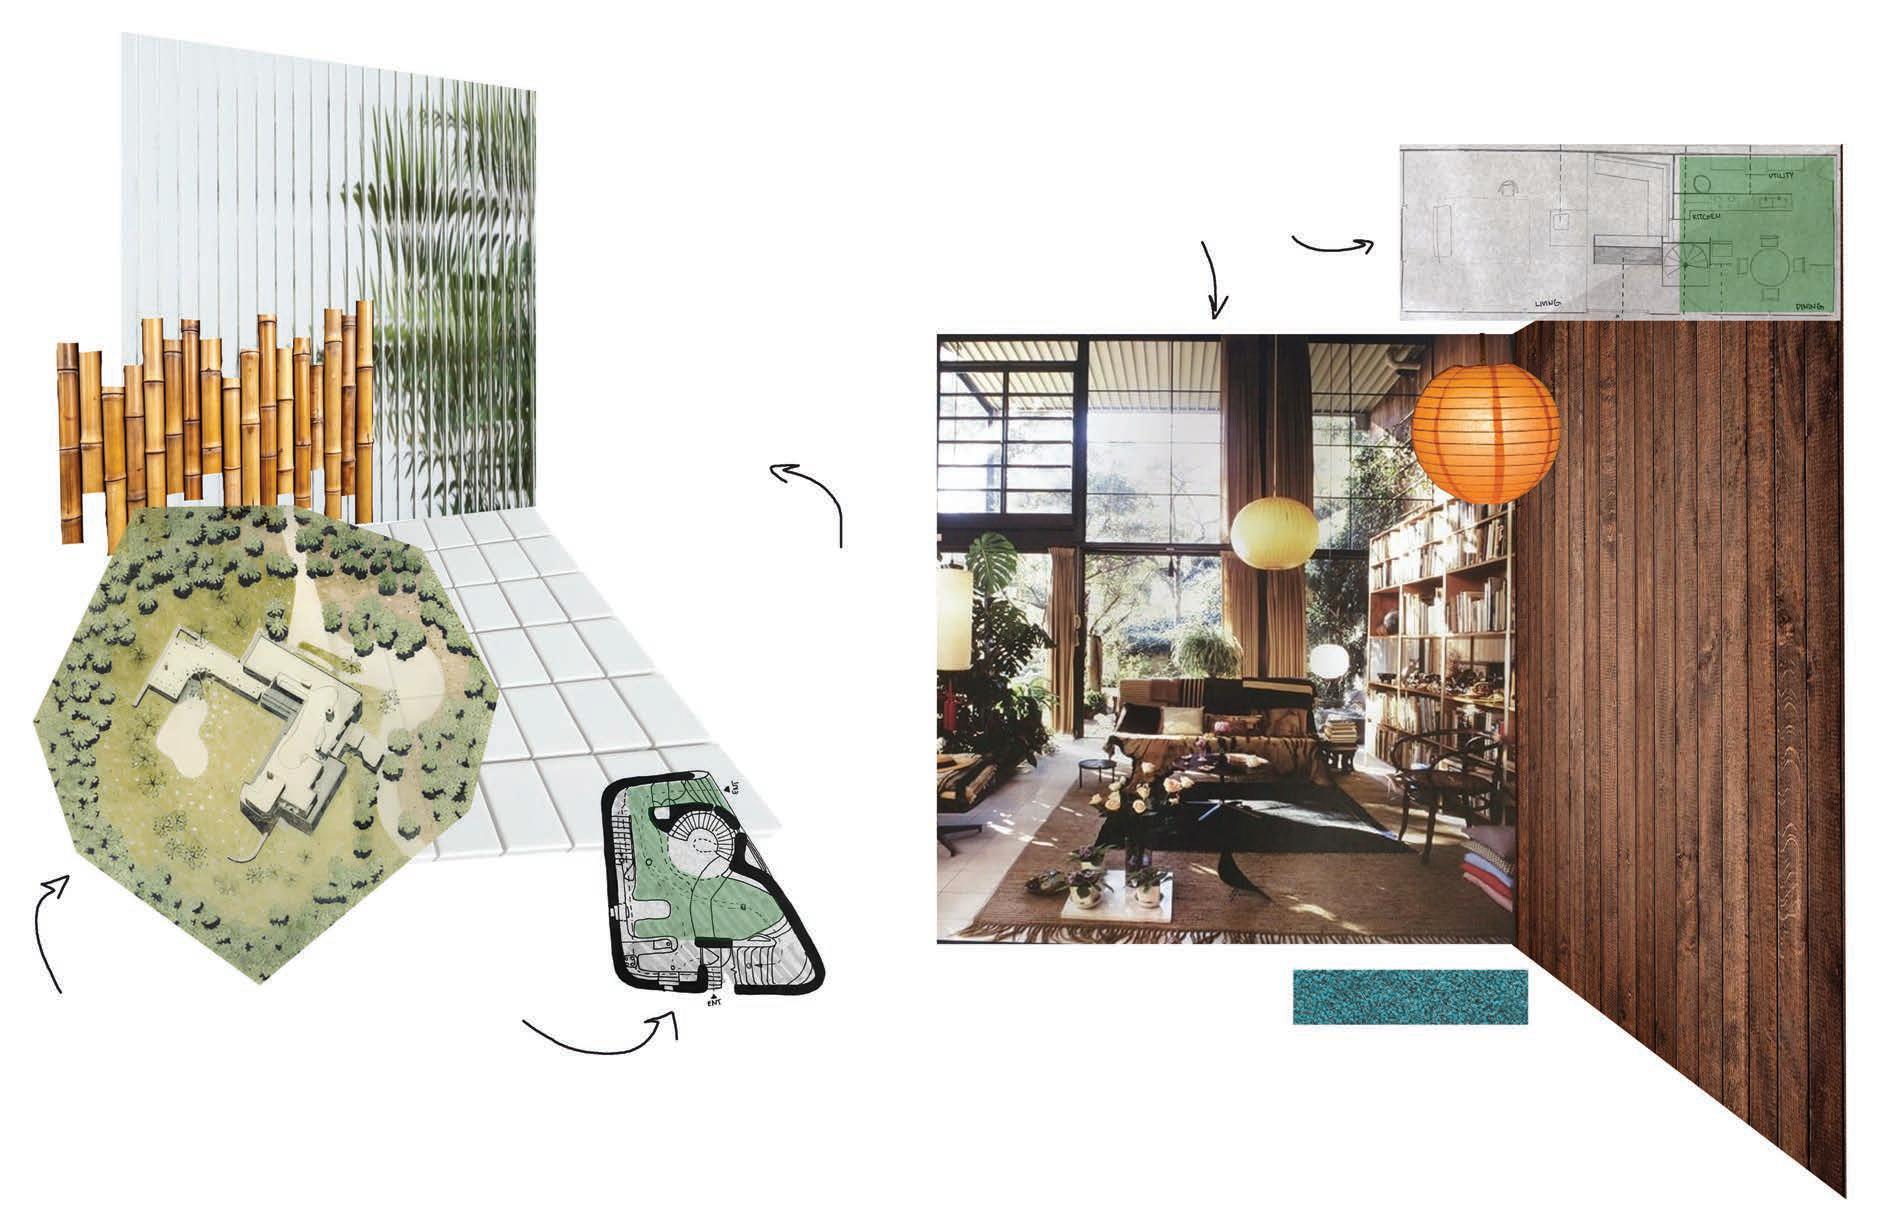
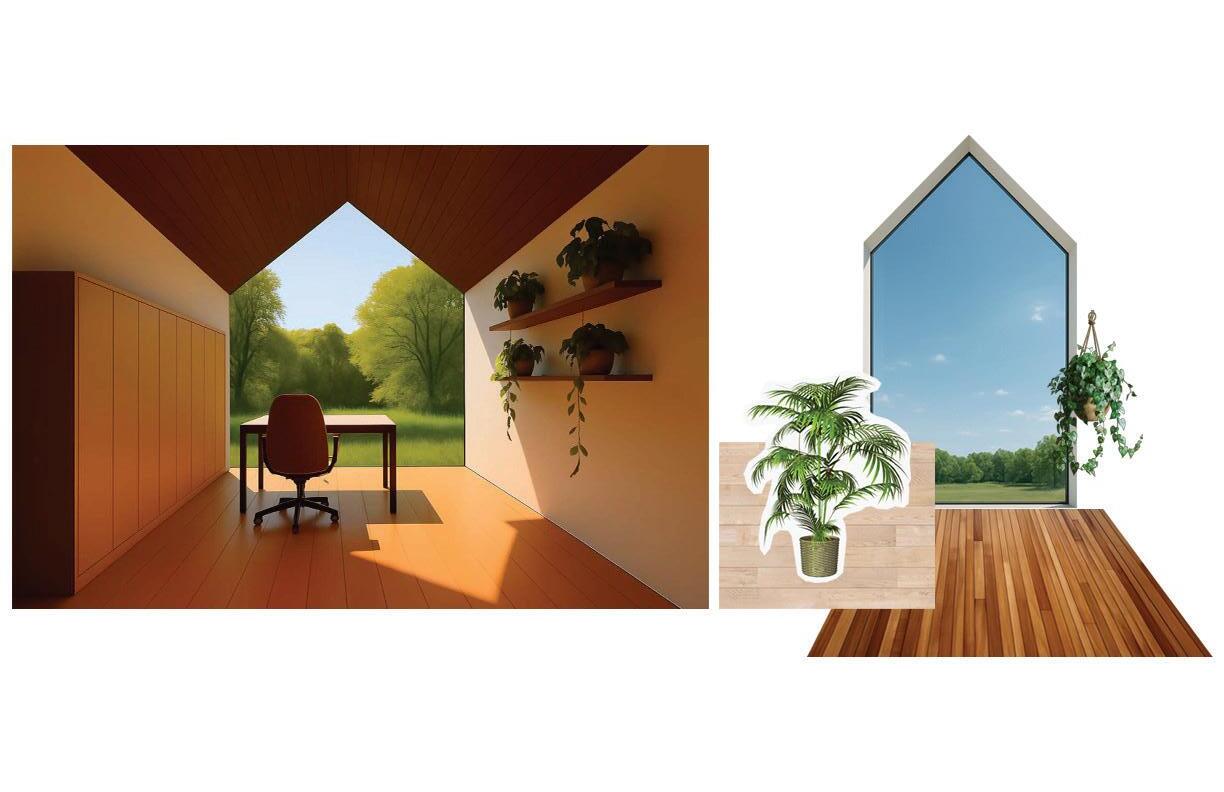
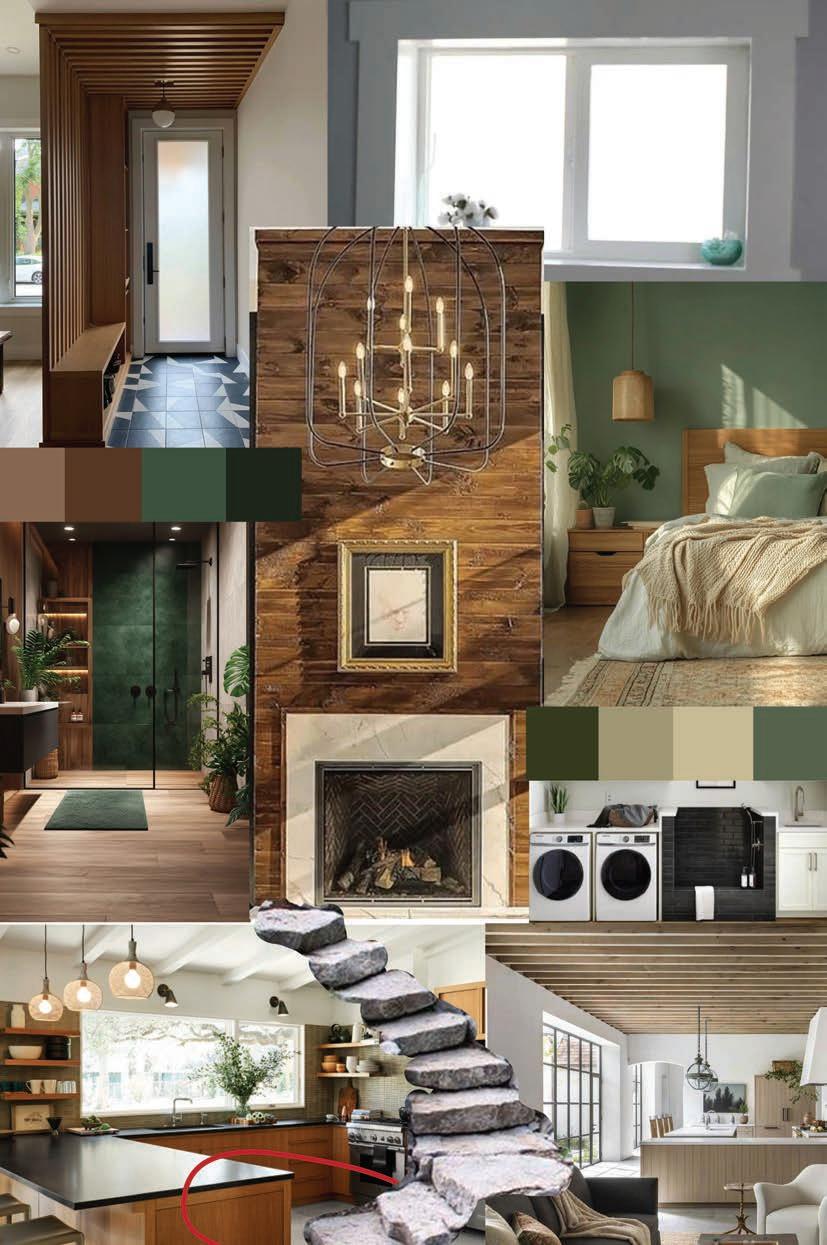
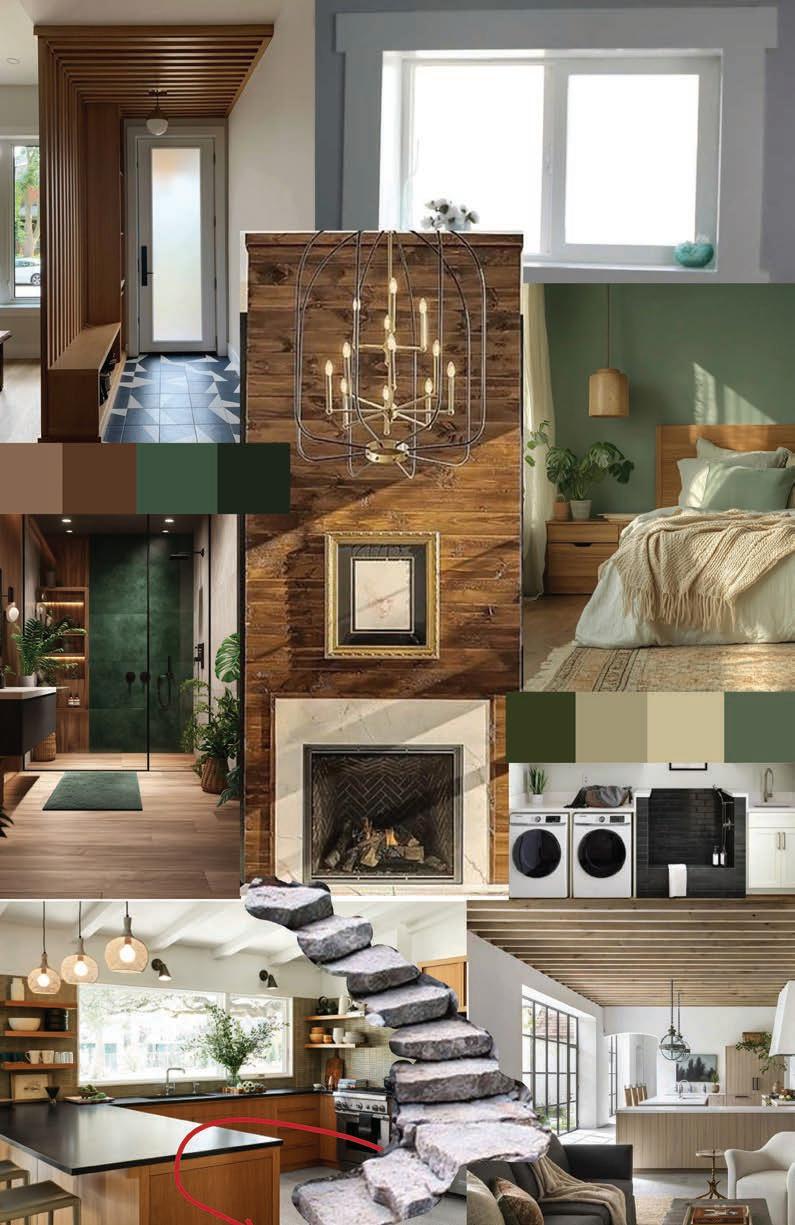
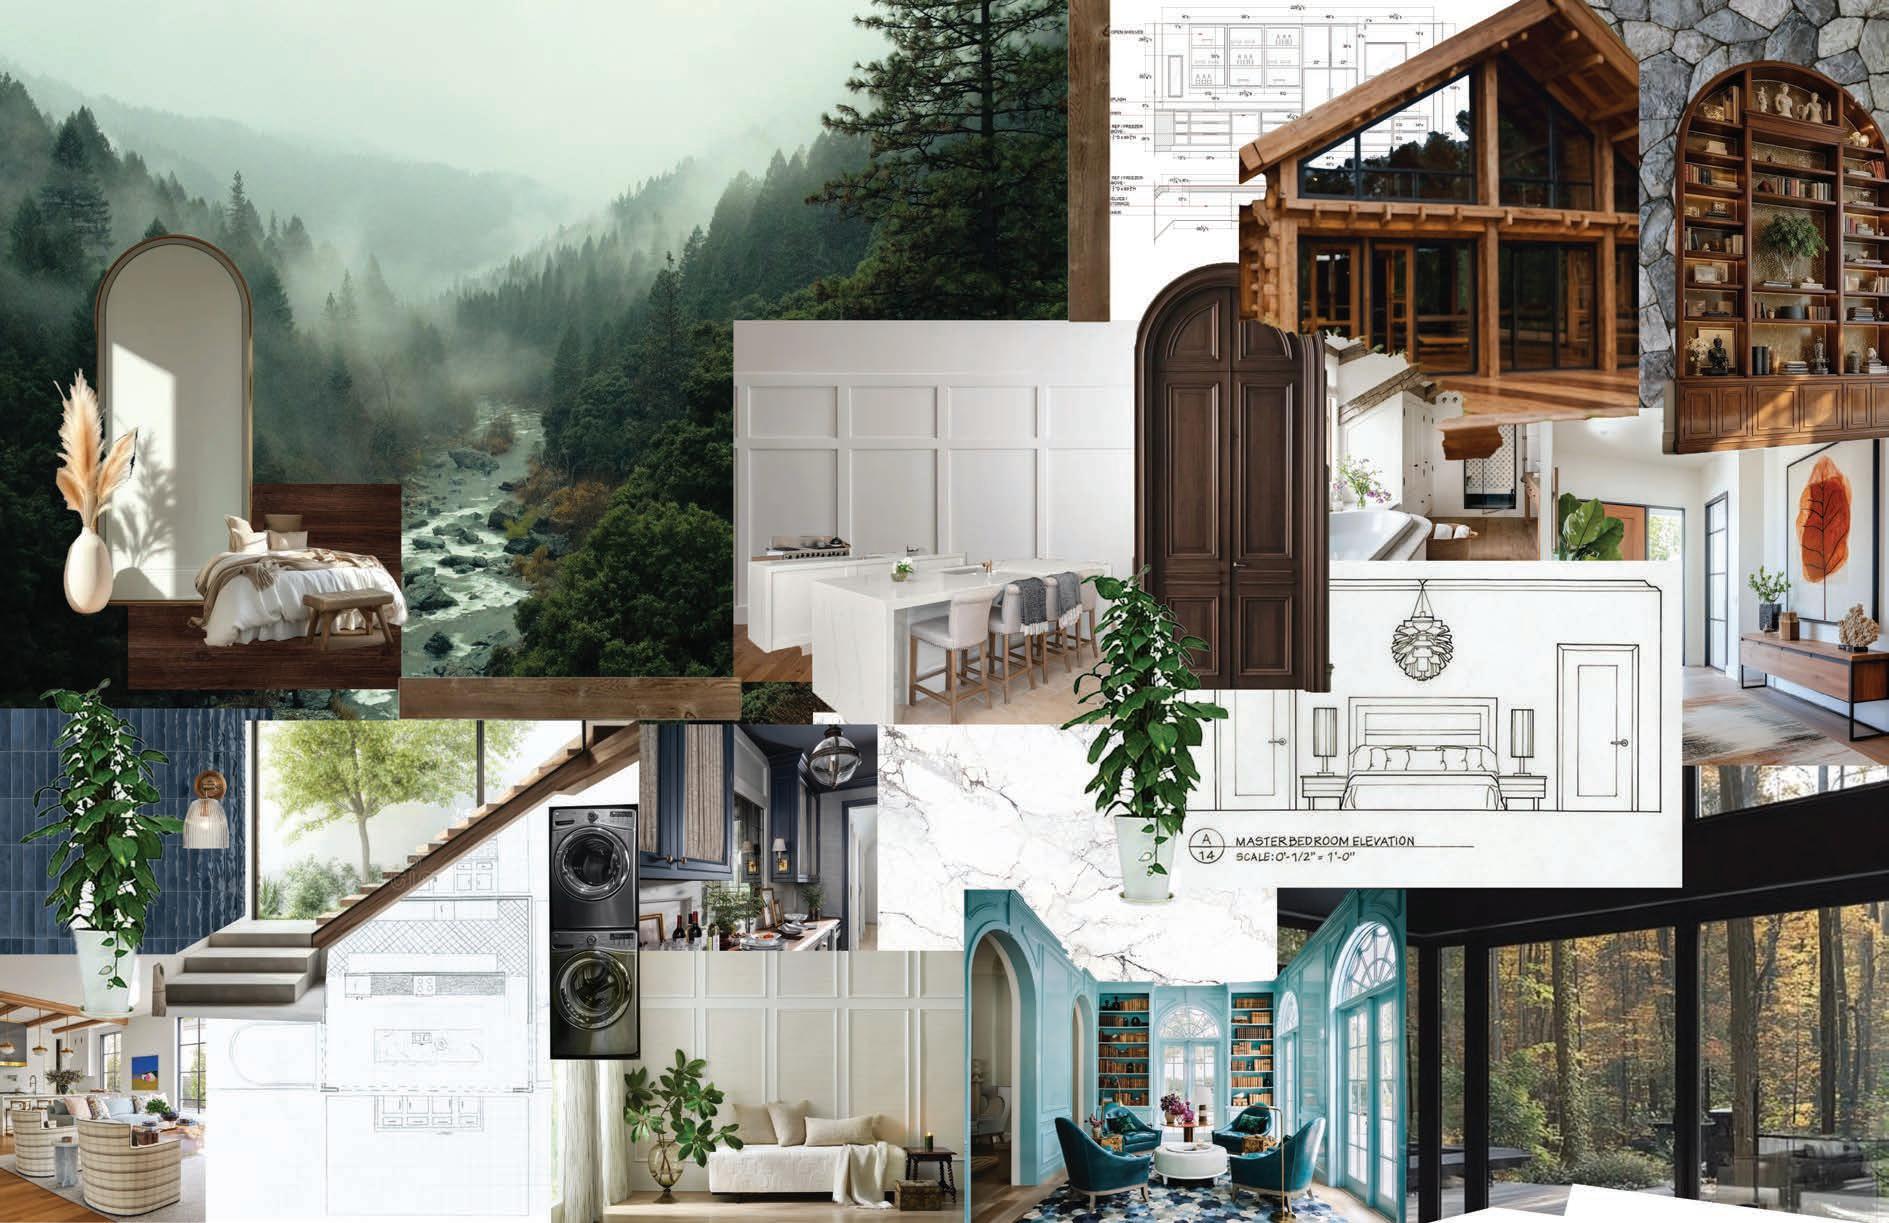
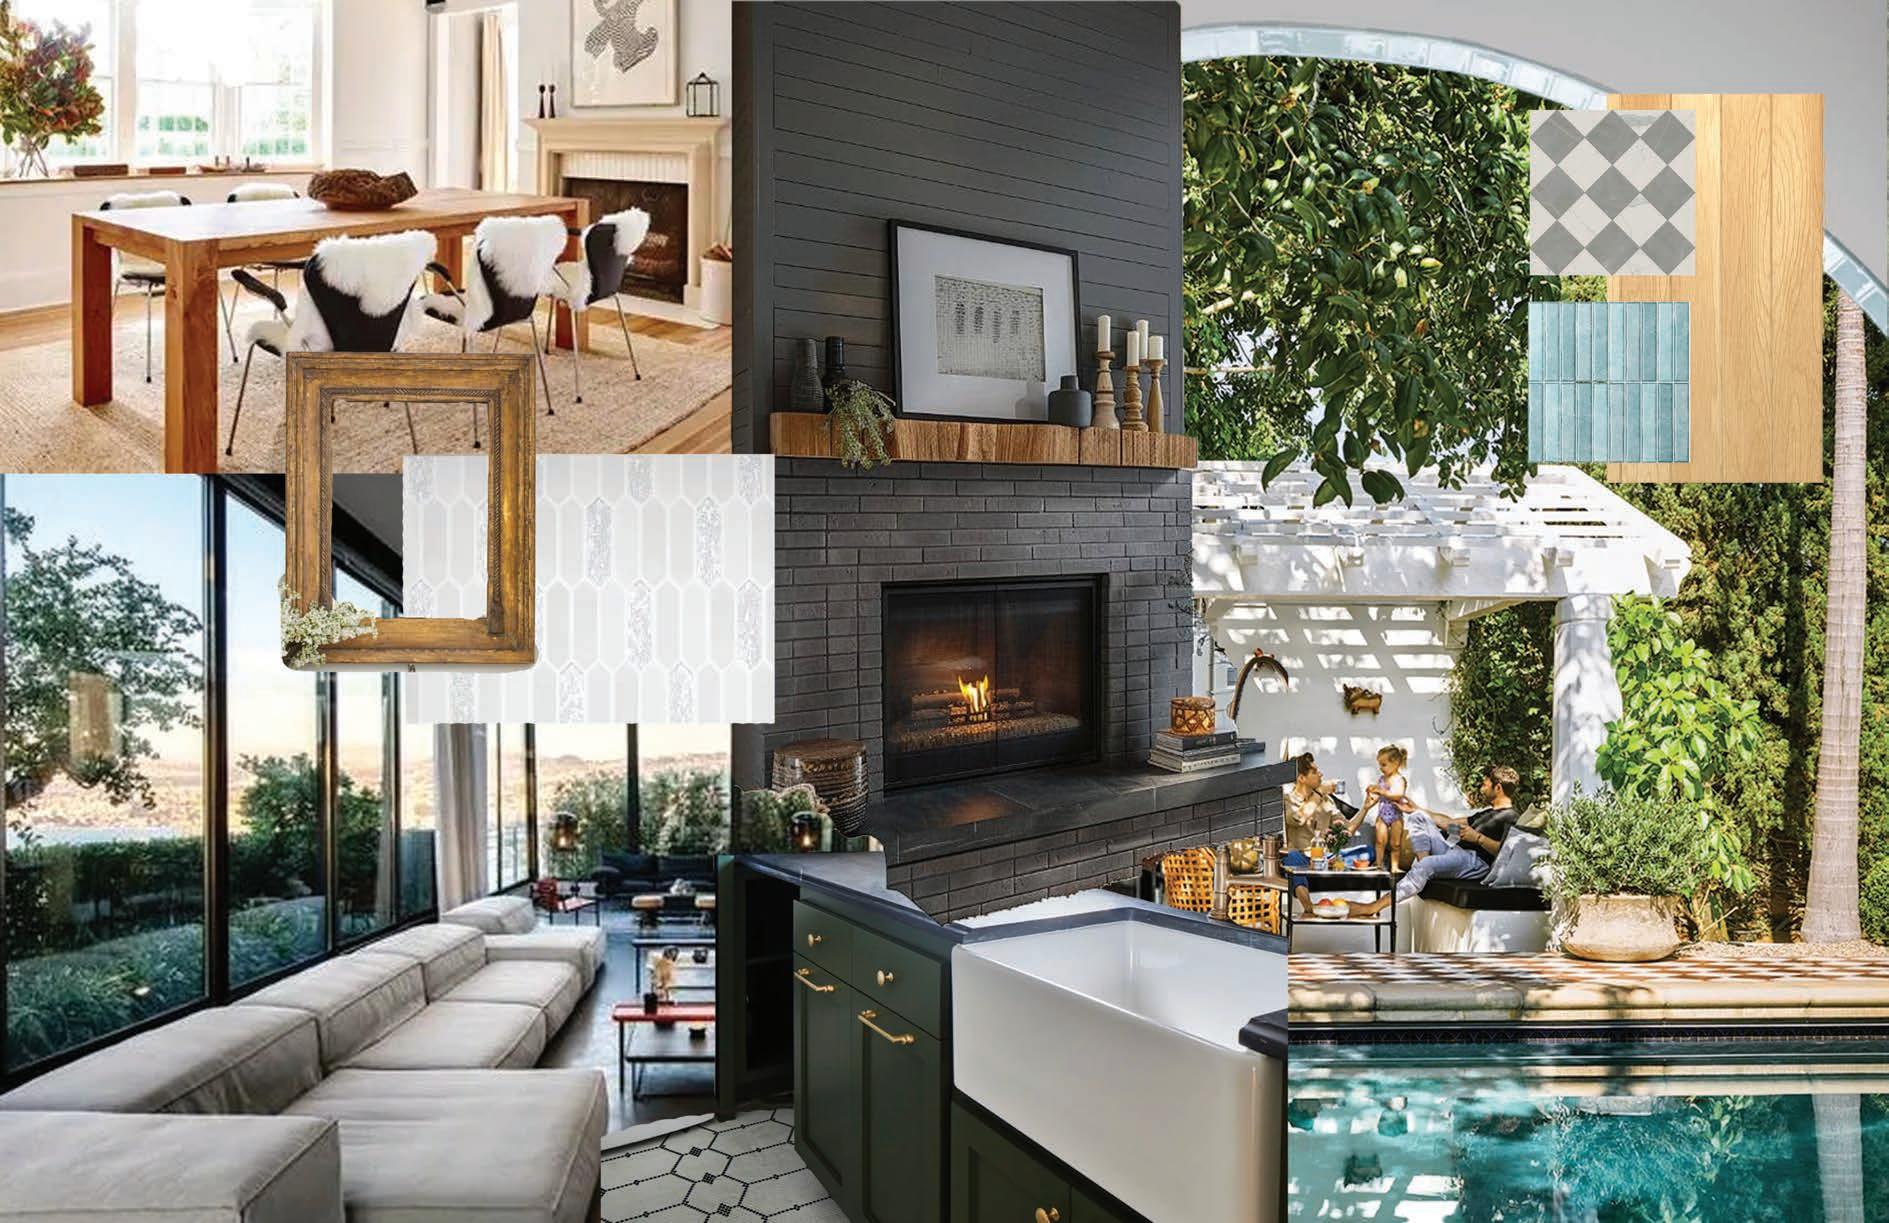
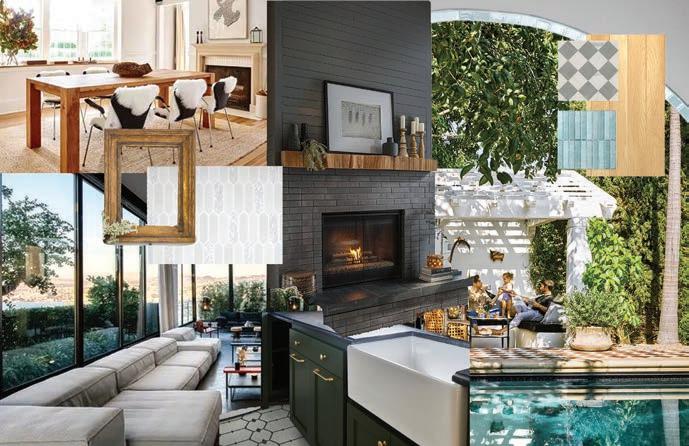
Concept Collage including Design Concept + Deisng Concept Statement
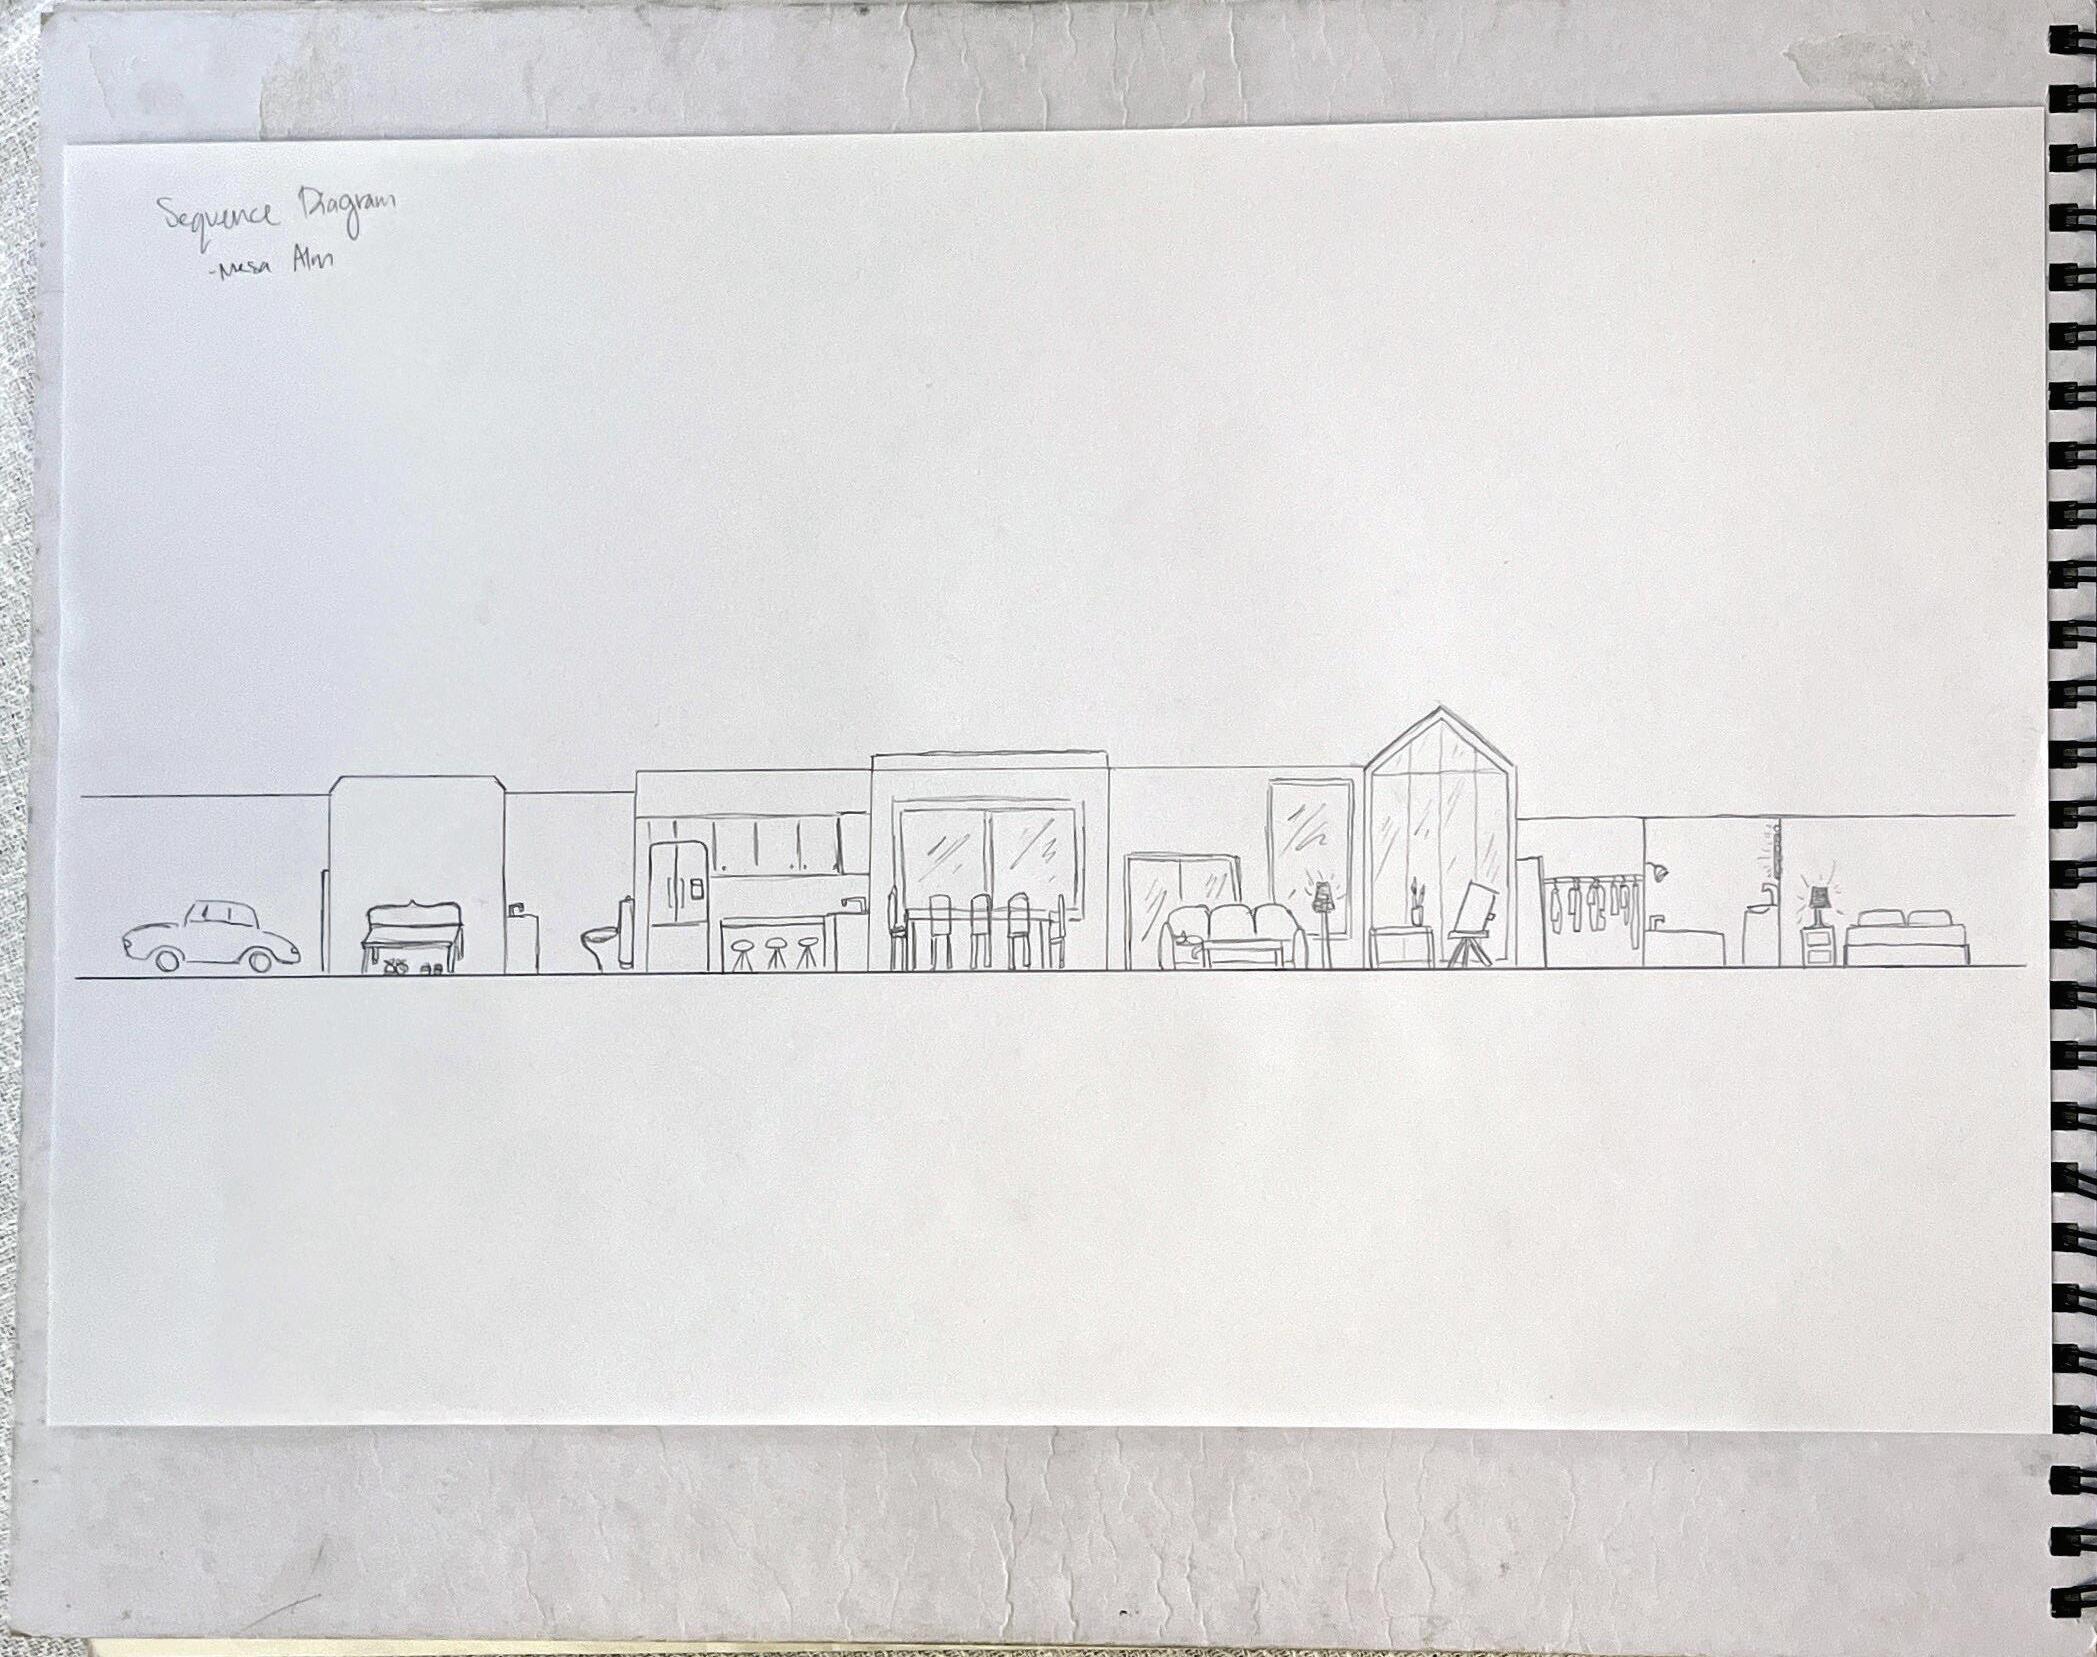
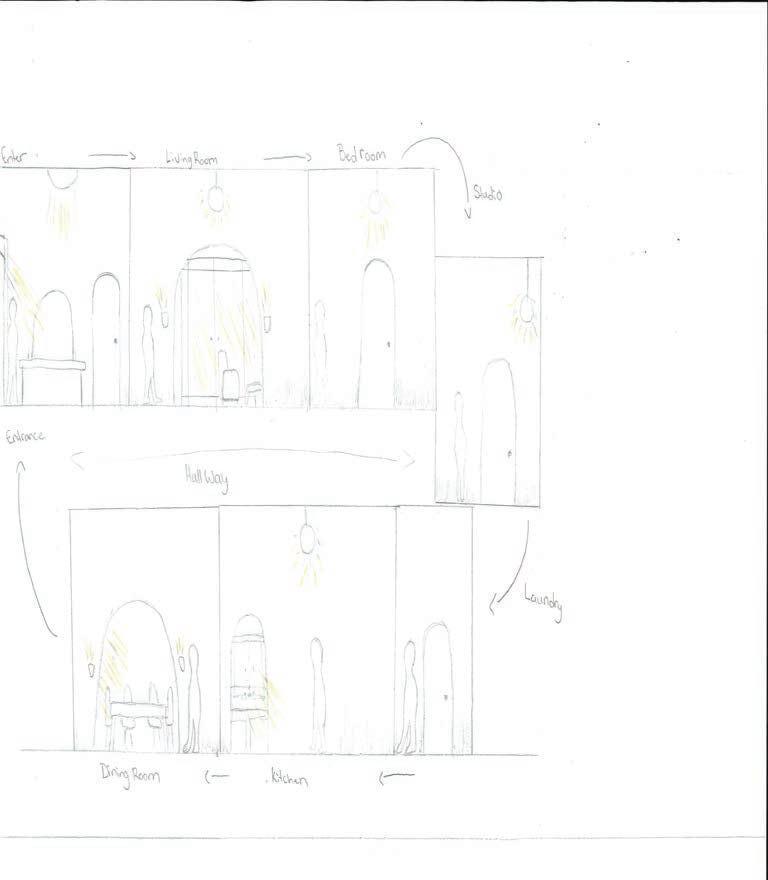
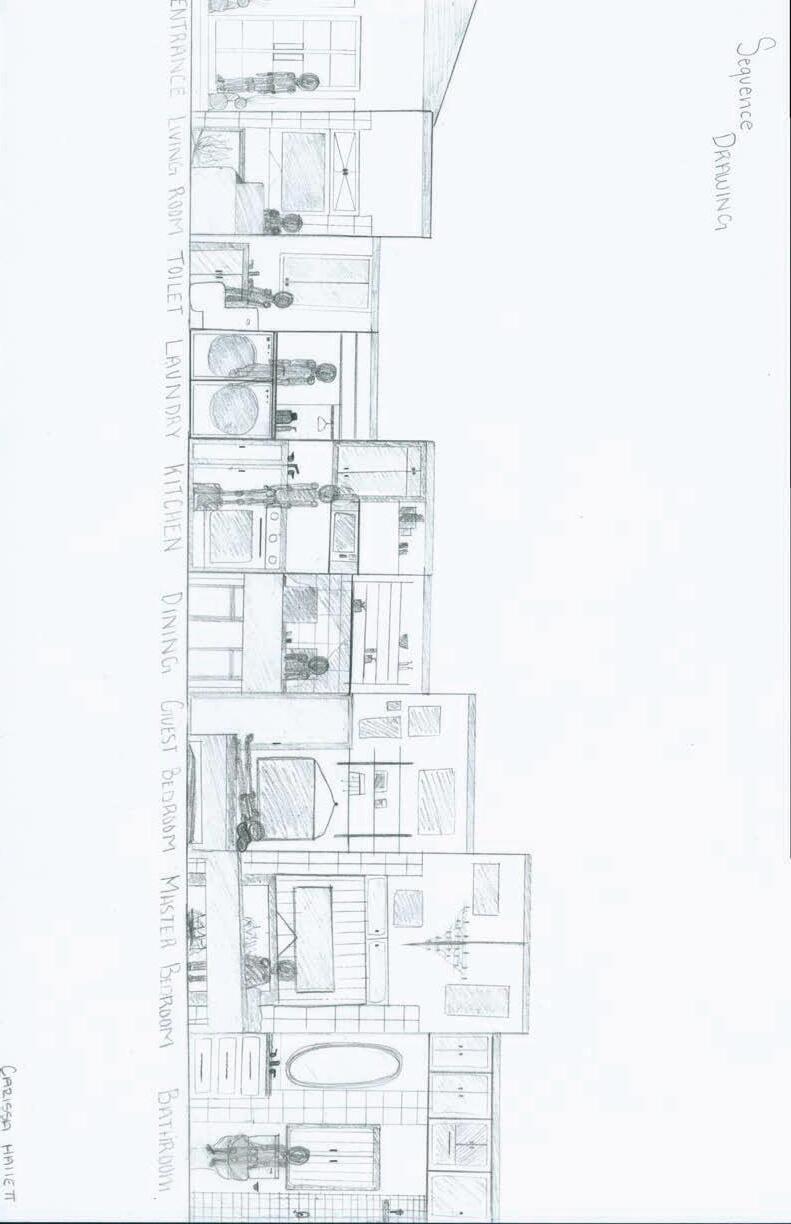
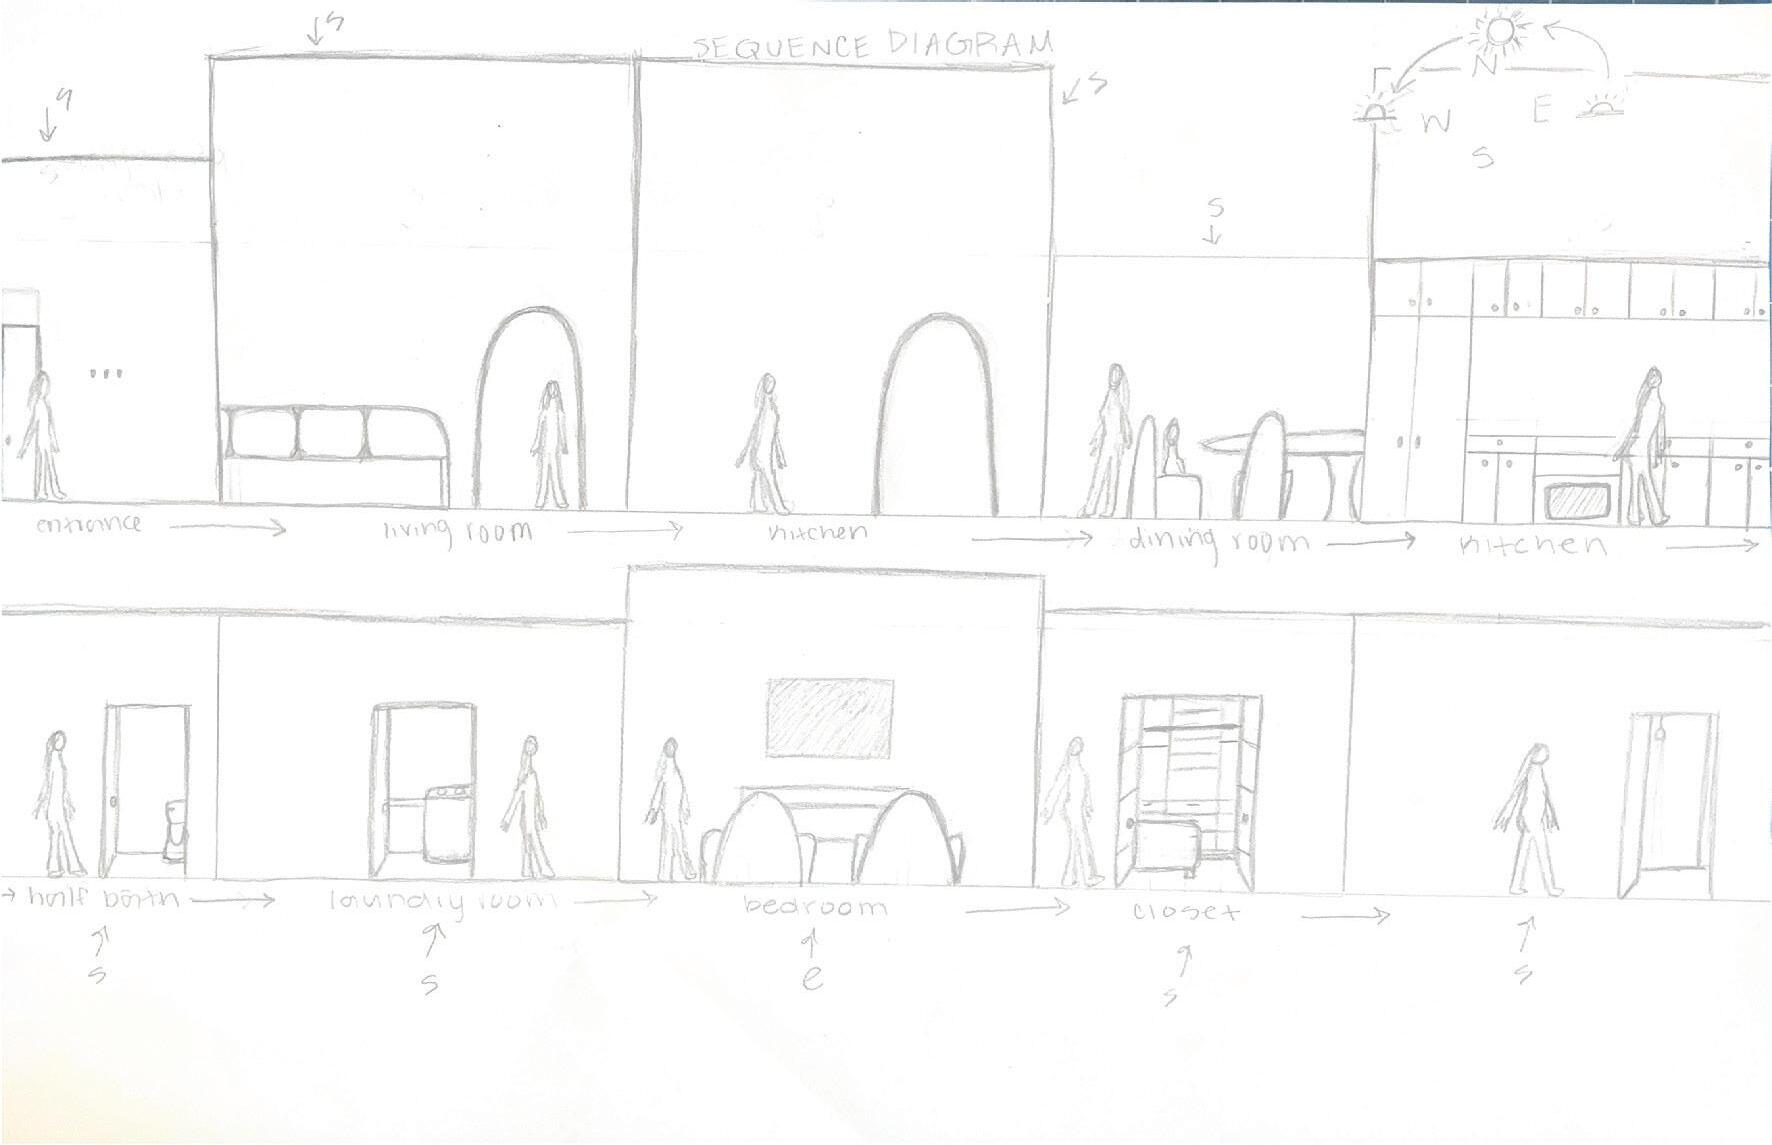
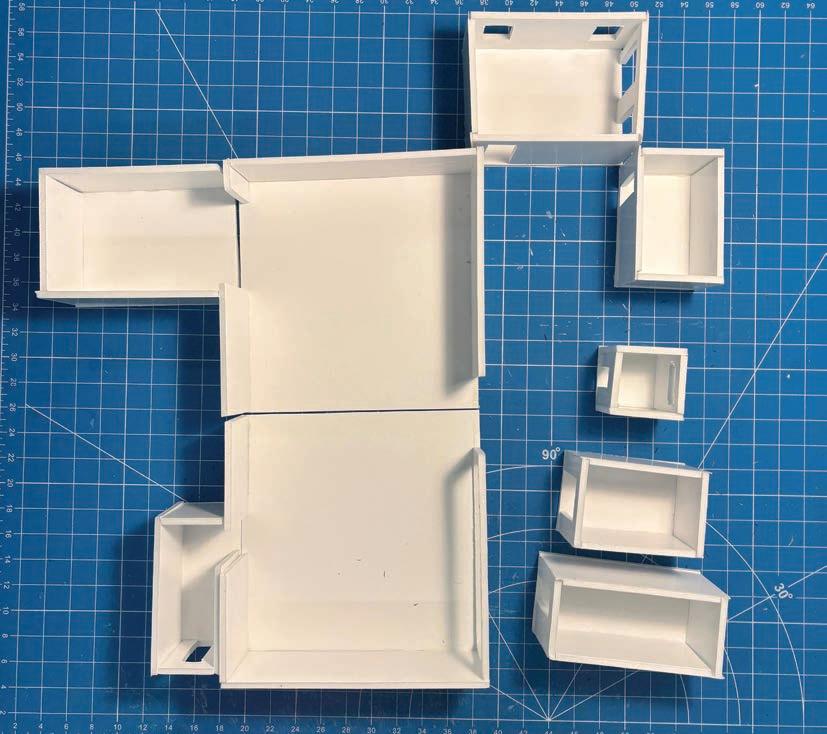
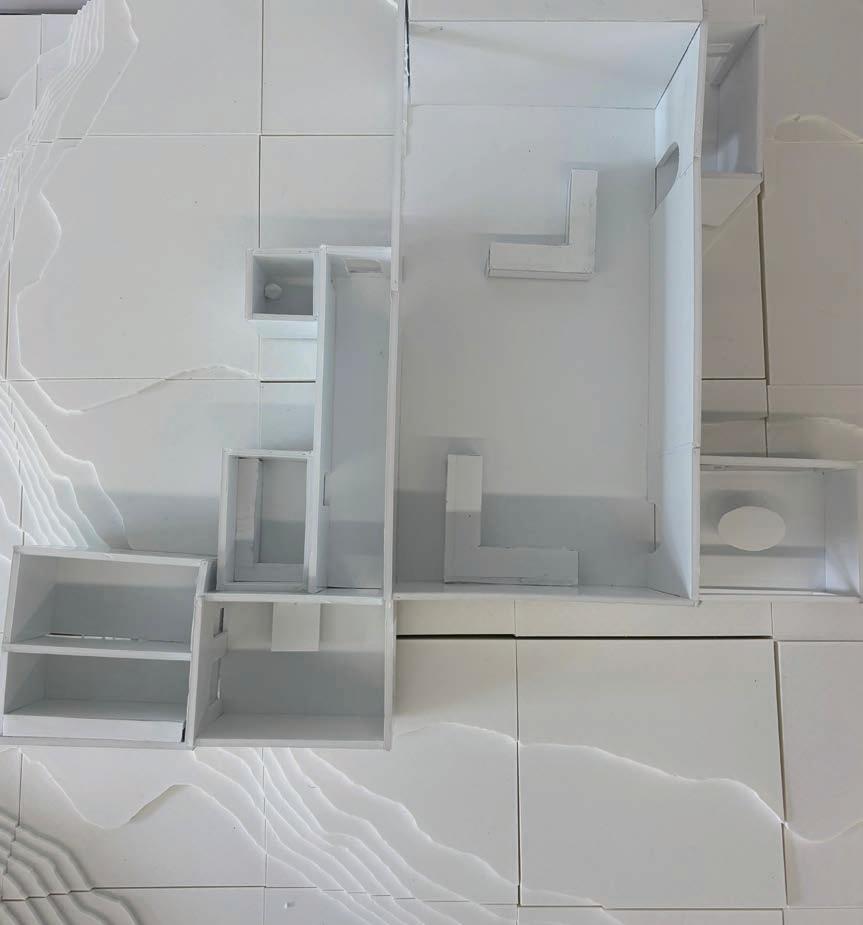
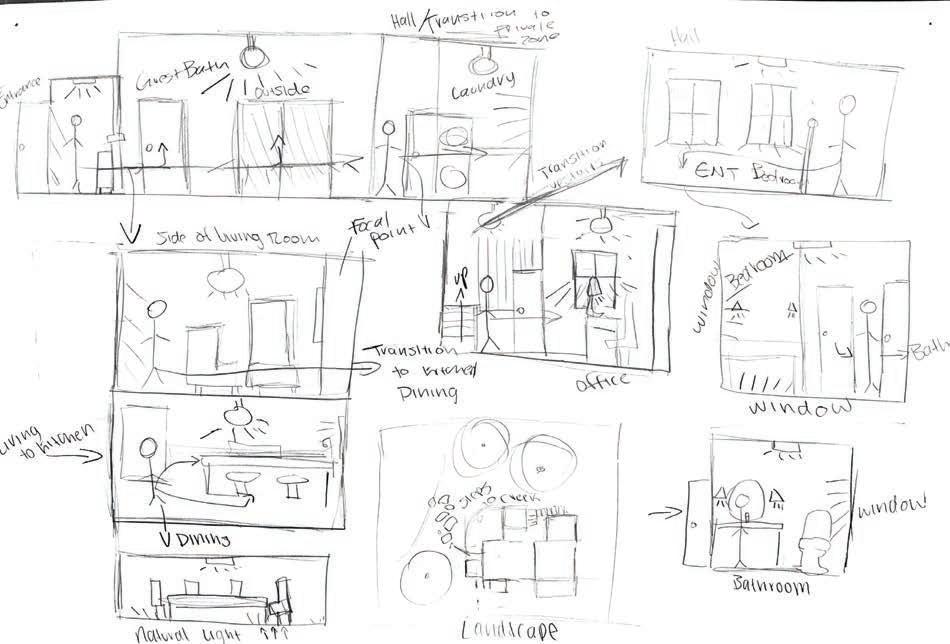
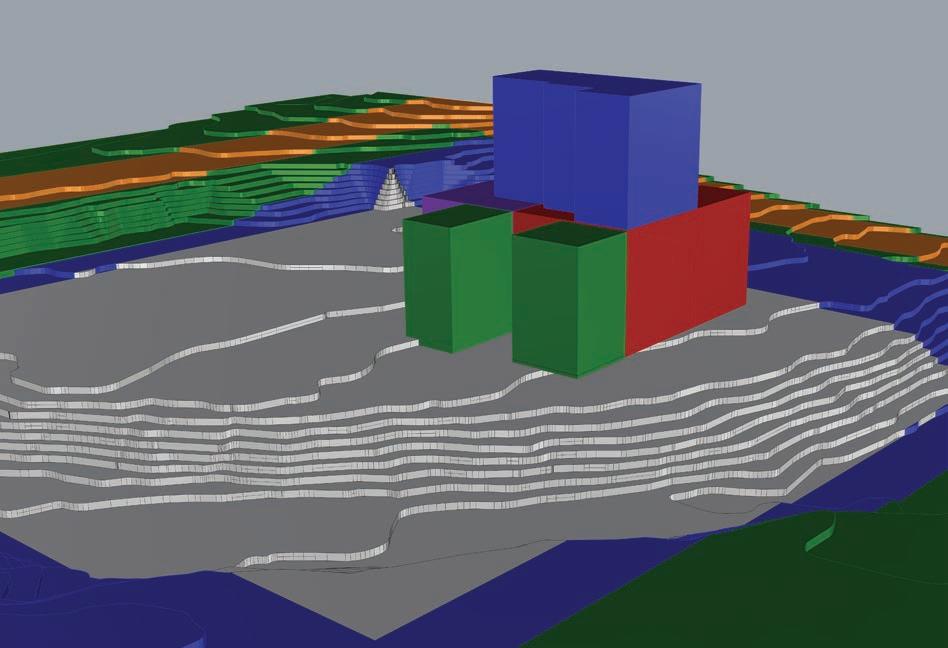
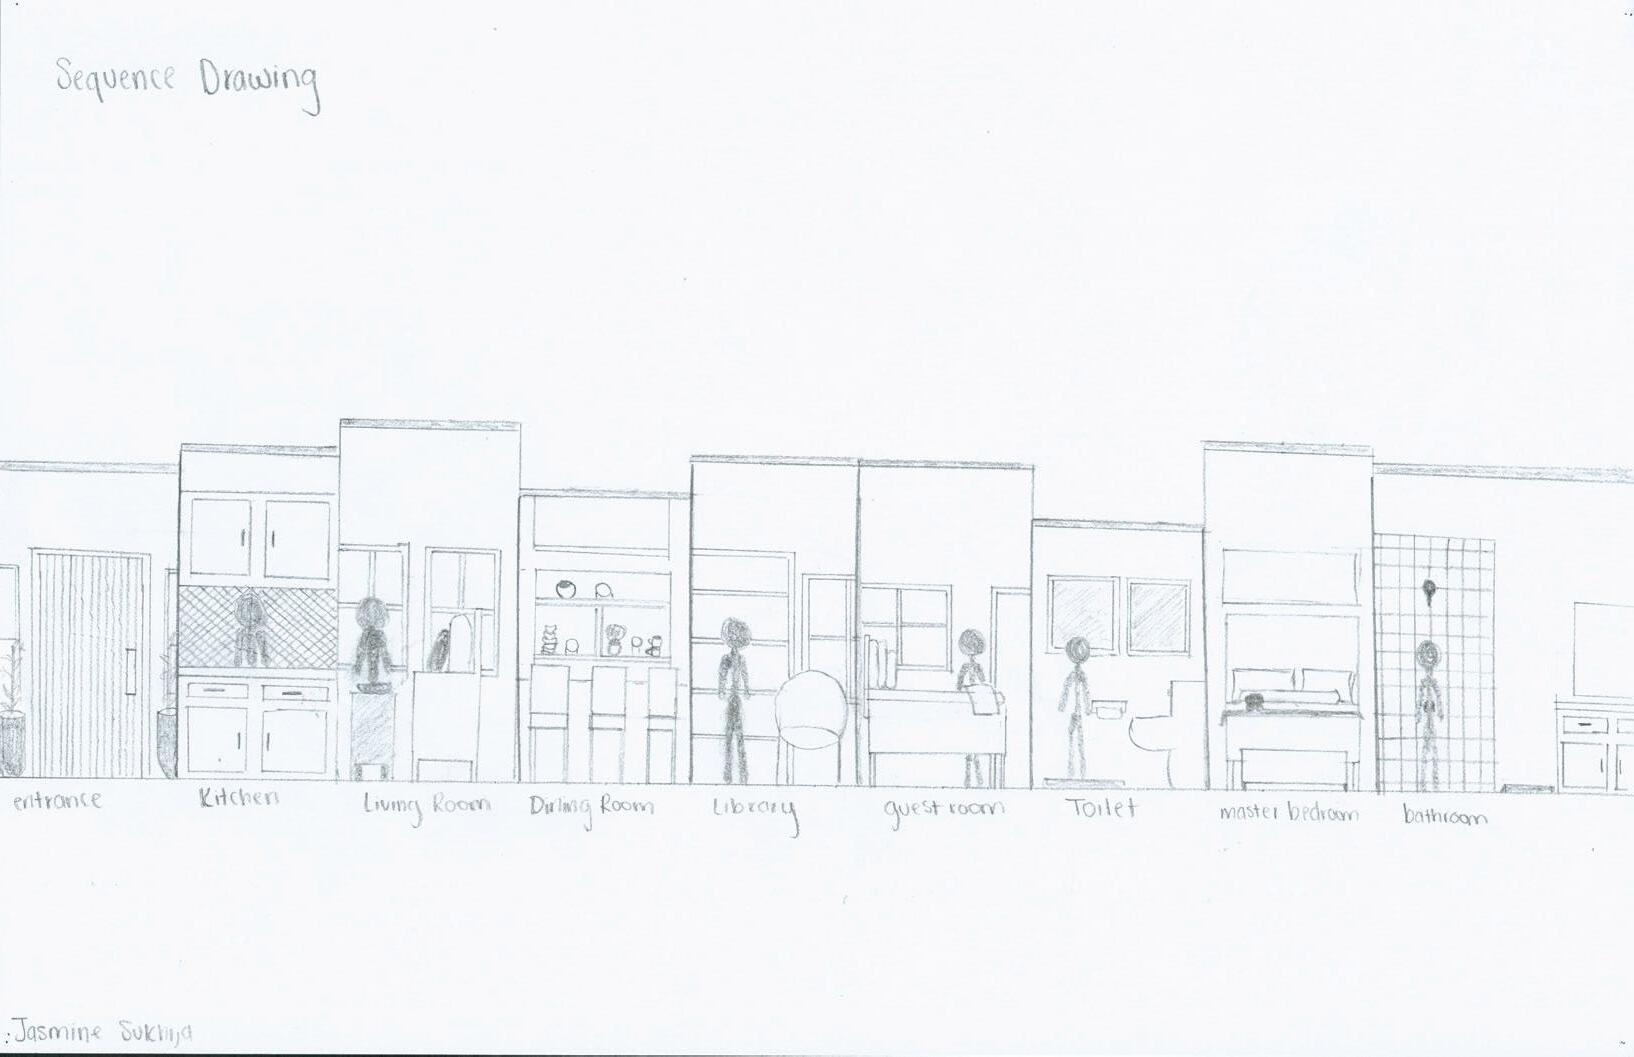
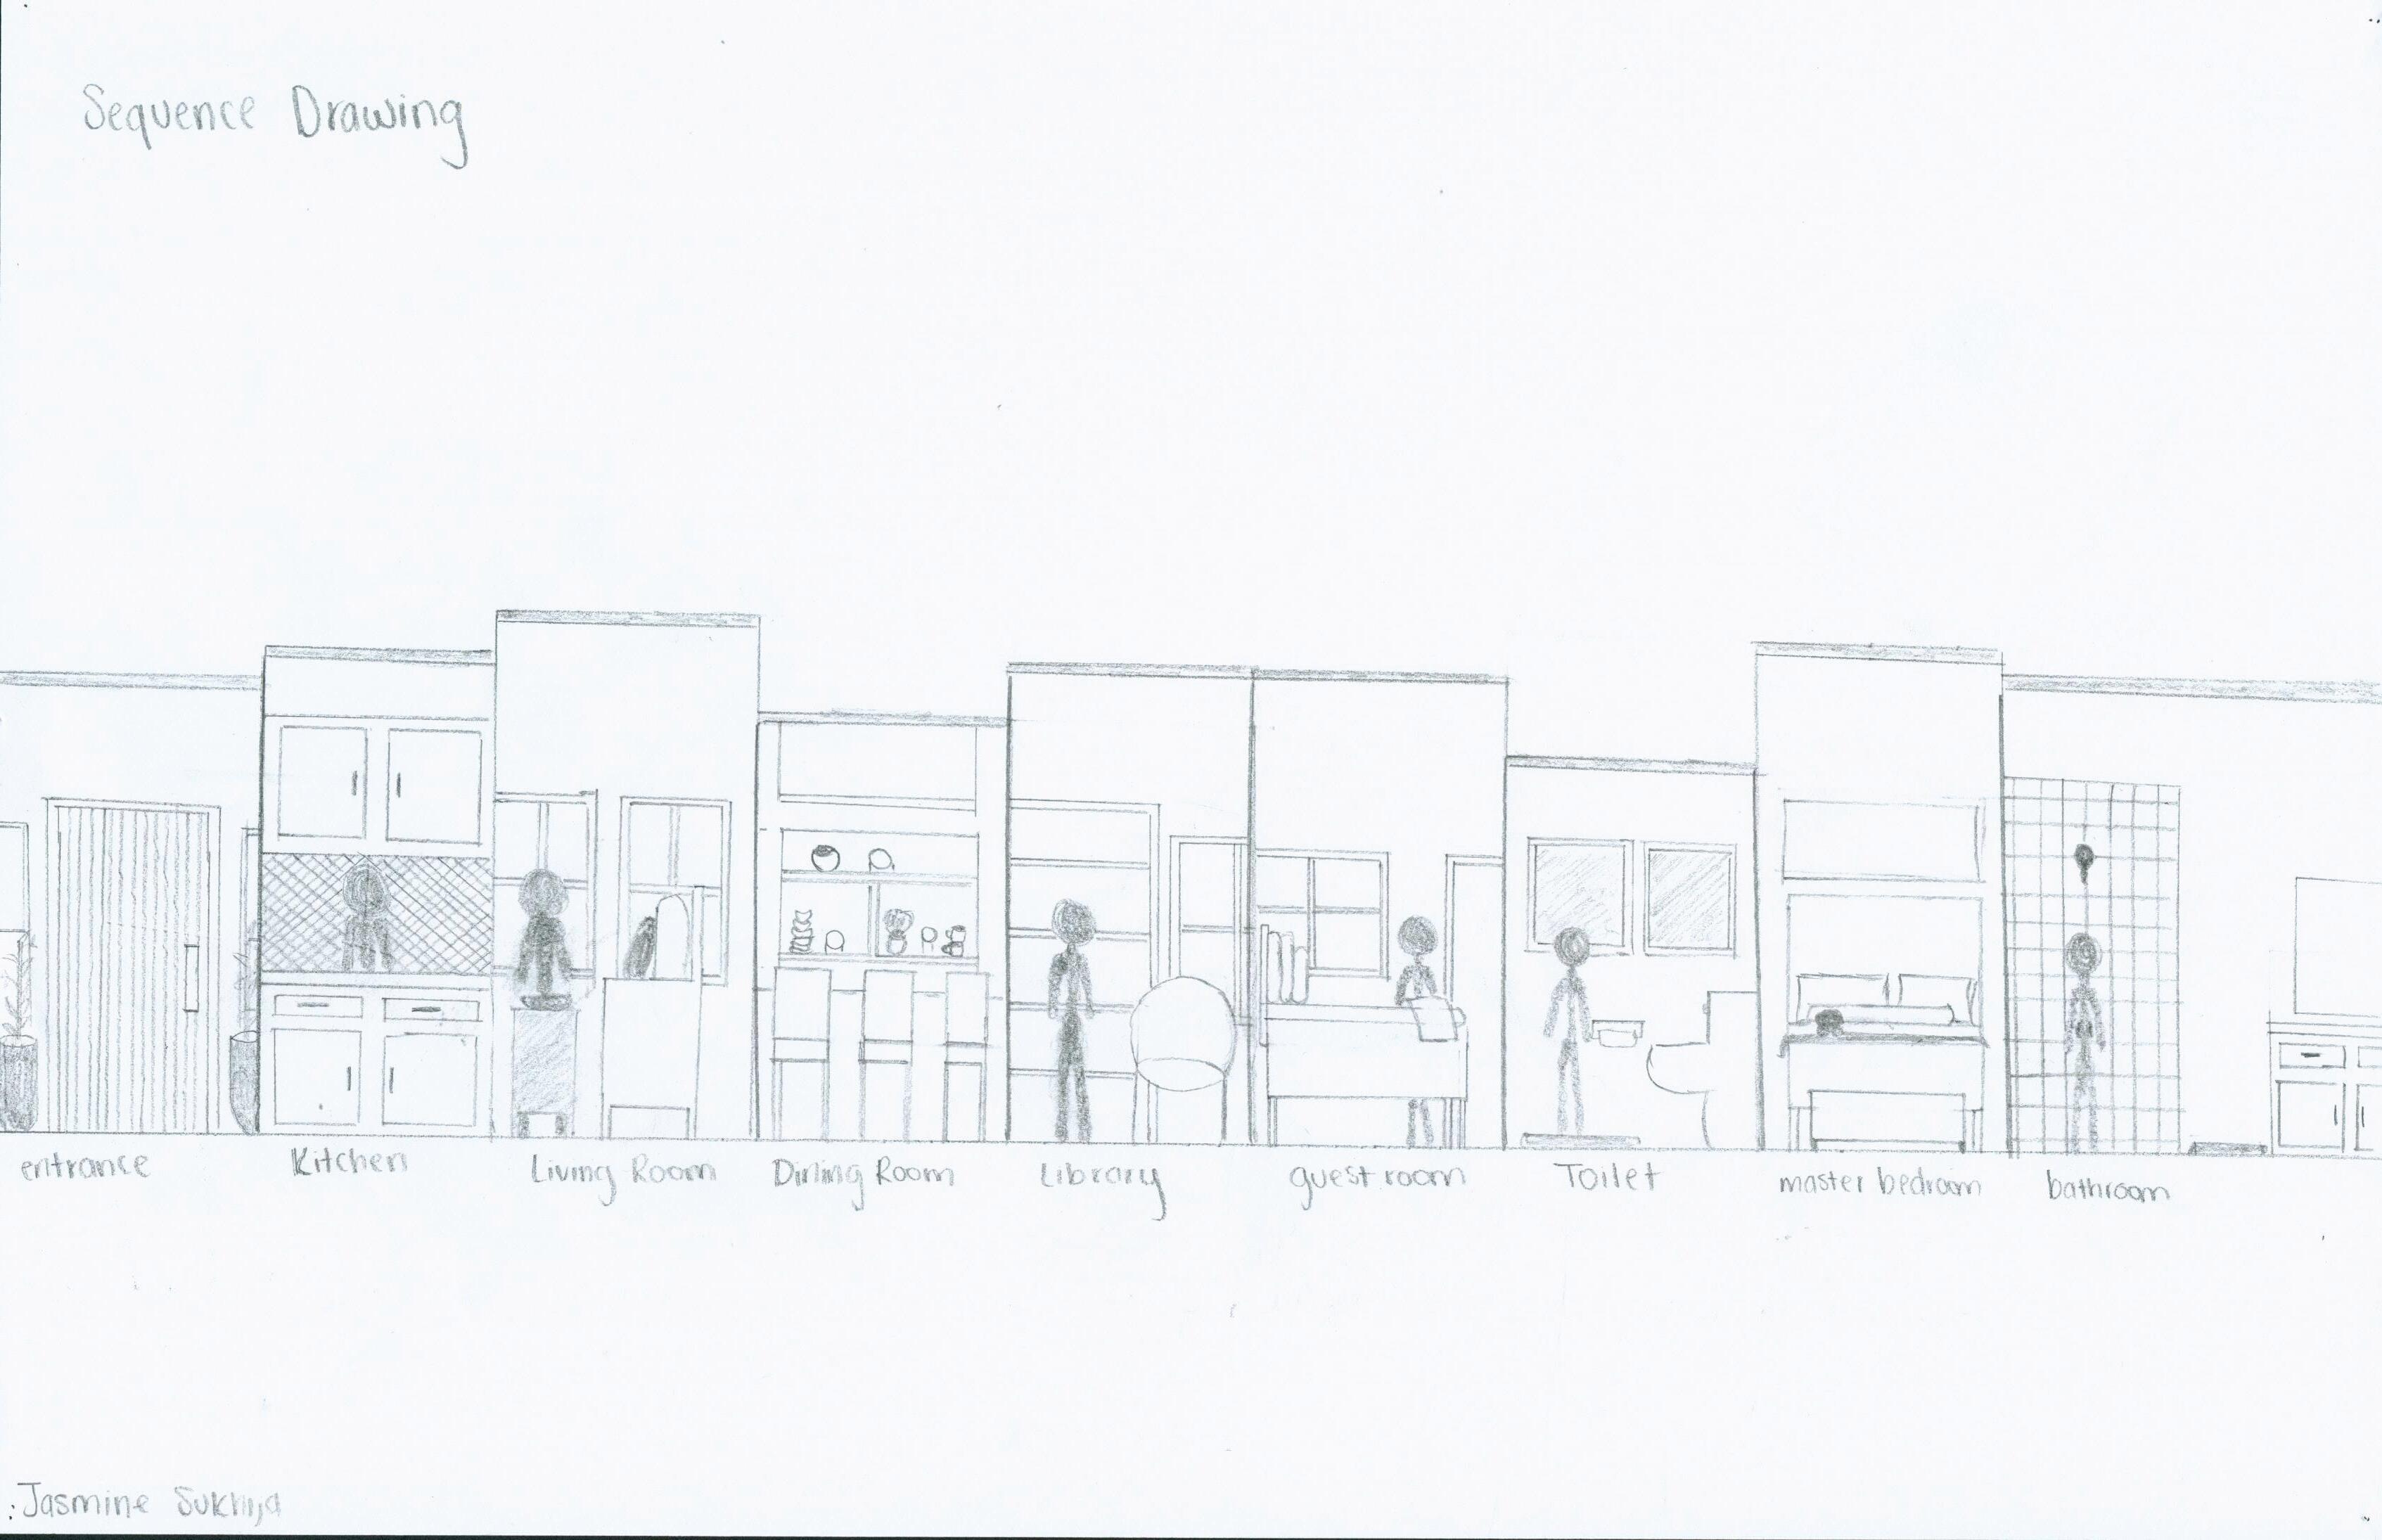
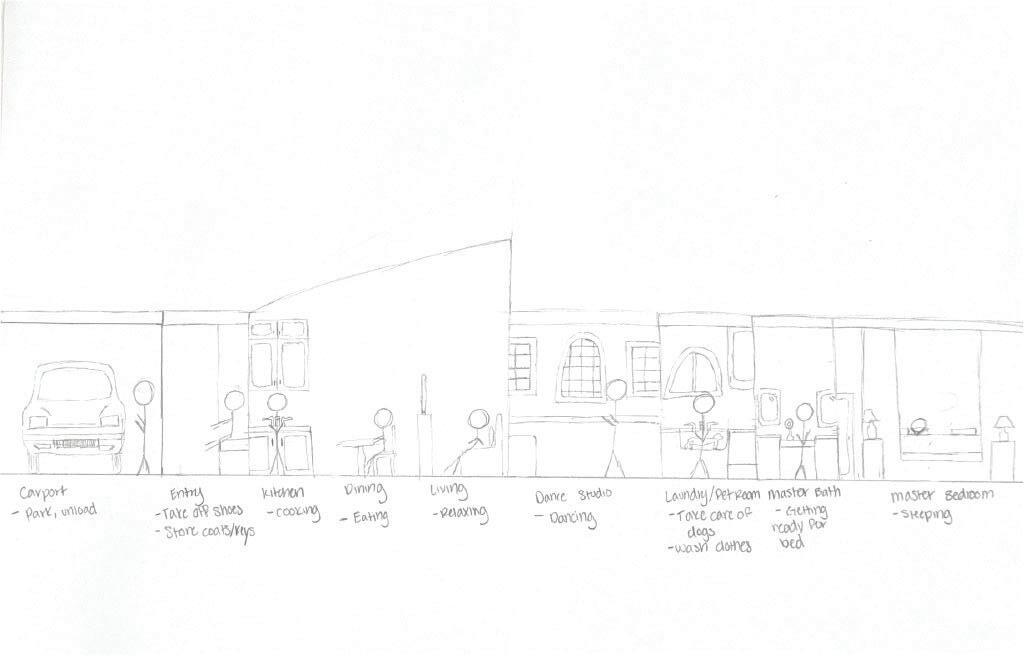
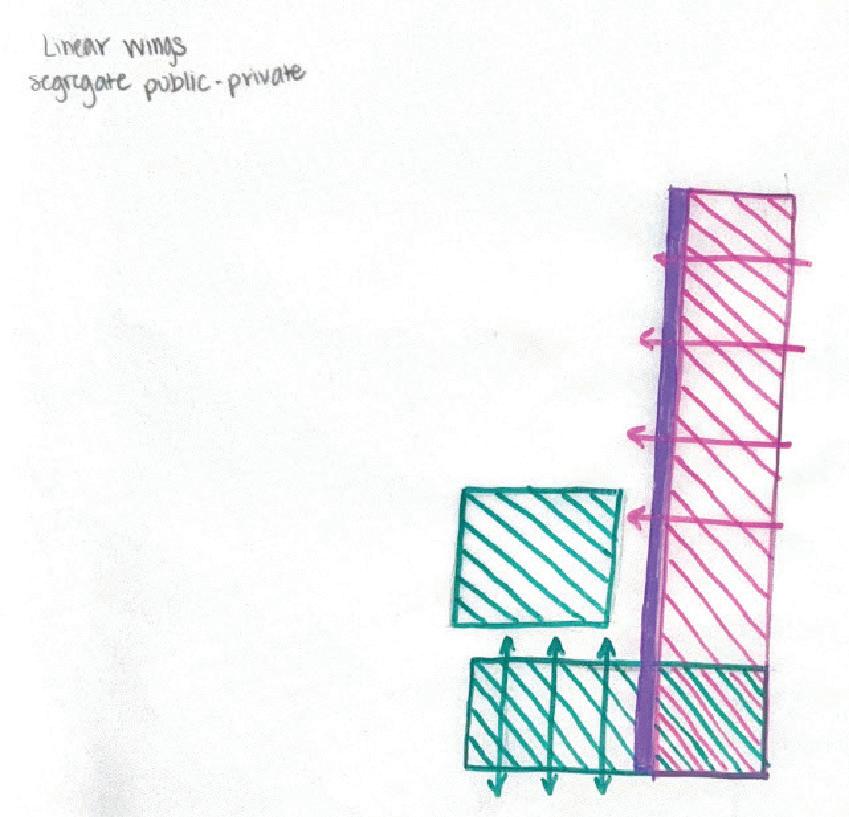
Work #1. Sequence Diagram + Conceptual Mass Model
Composited Scanned Sequence Diagram with Conceptual Mass Model View
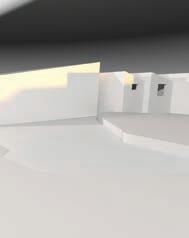
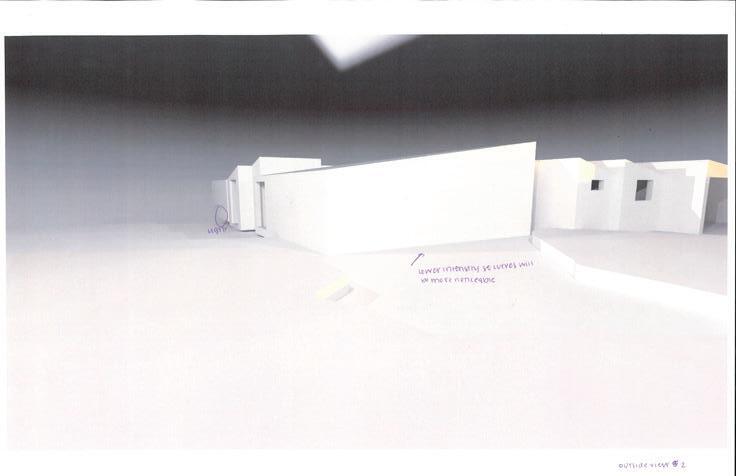
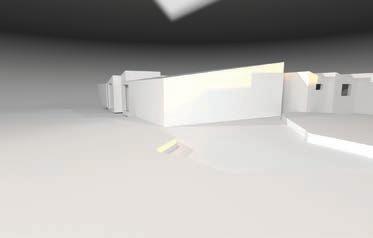
Work #4. Perspectives (Form + Lighting Only)
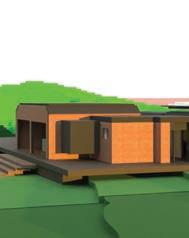
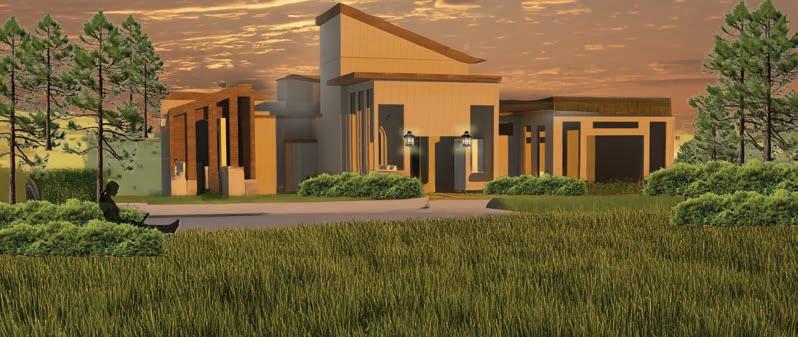
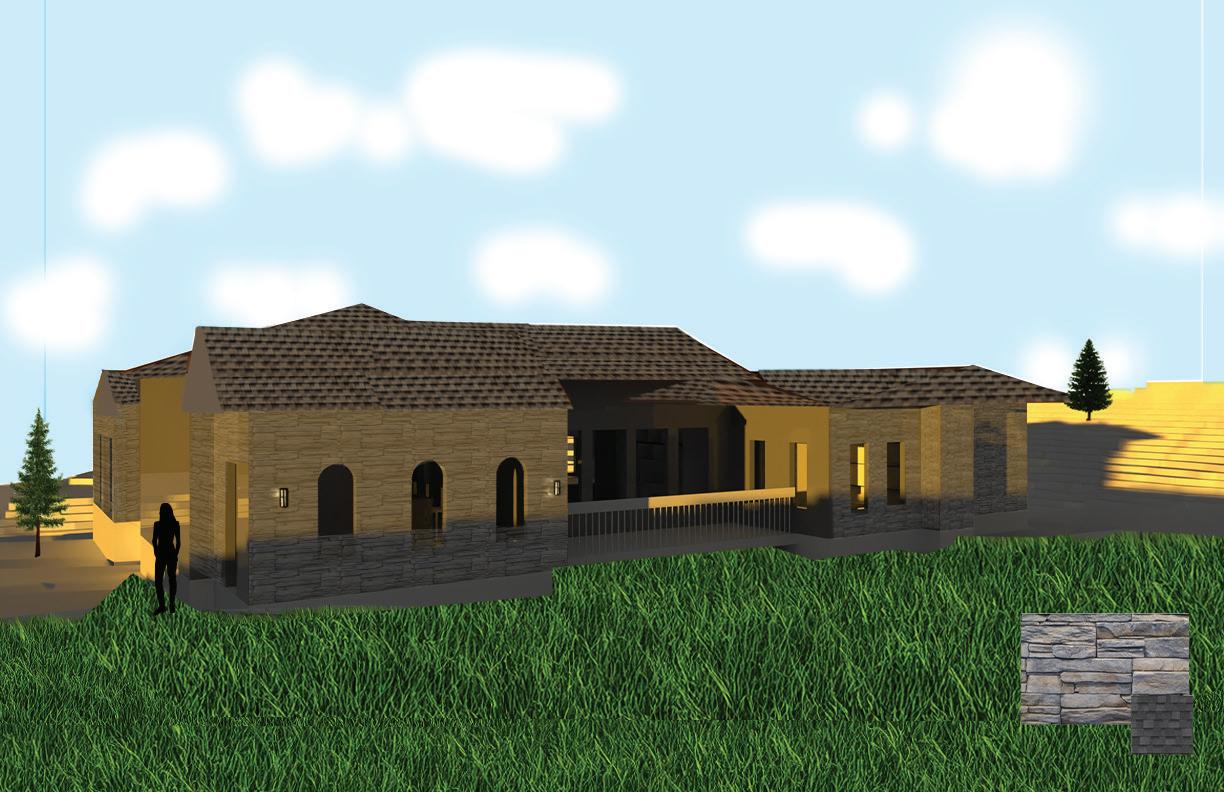
Exterior View
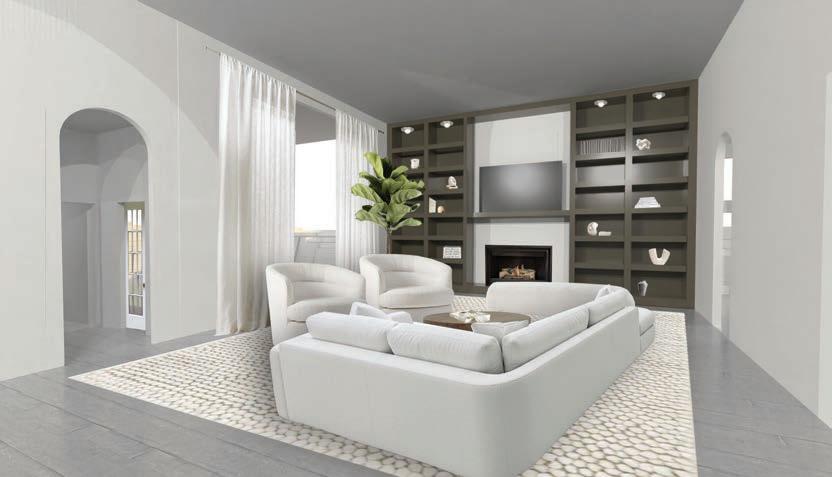
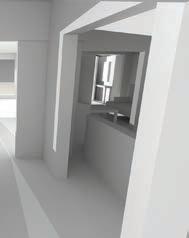
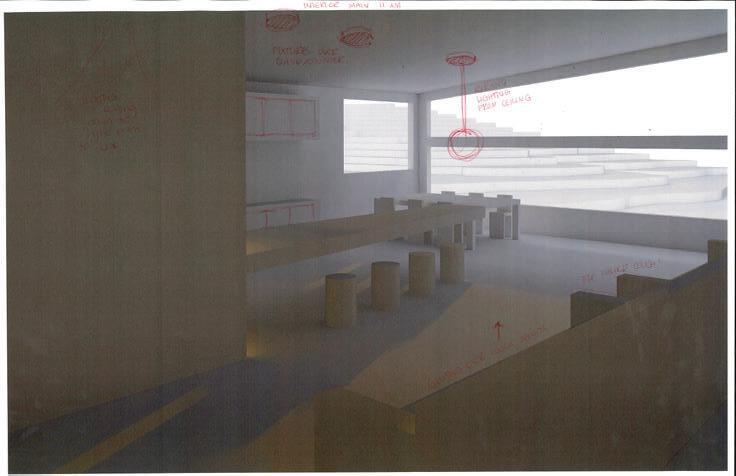
Main Interior Space
Work #5. Materials, Finishes, and FF&E (Render final perspectives)
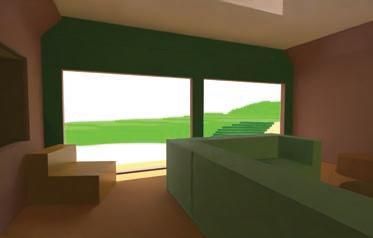
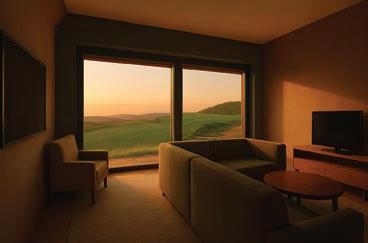
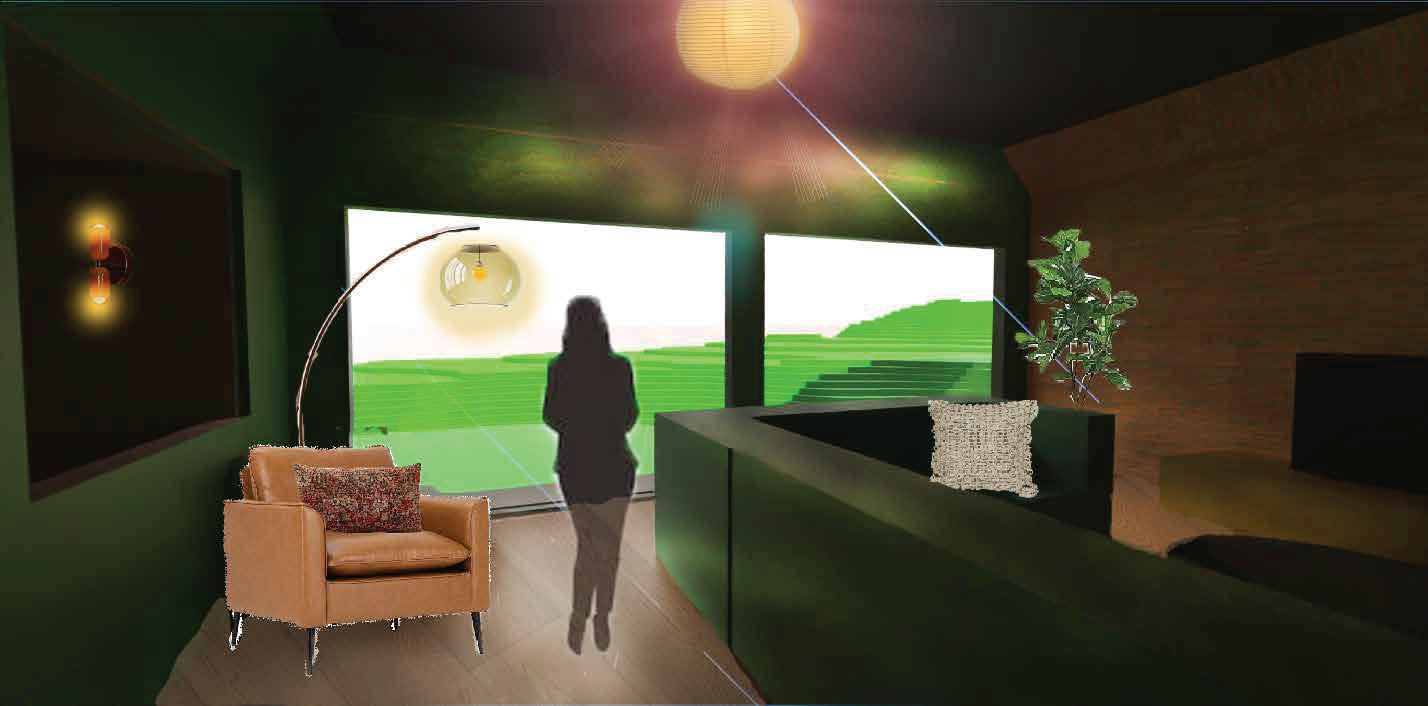
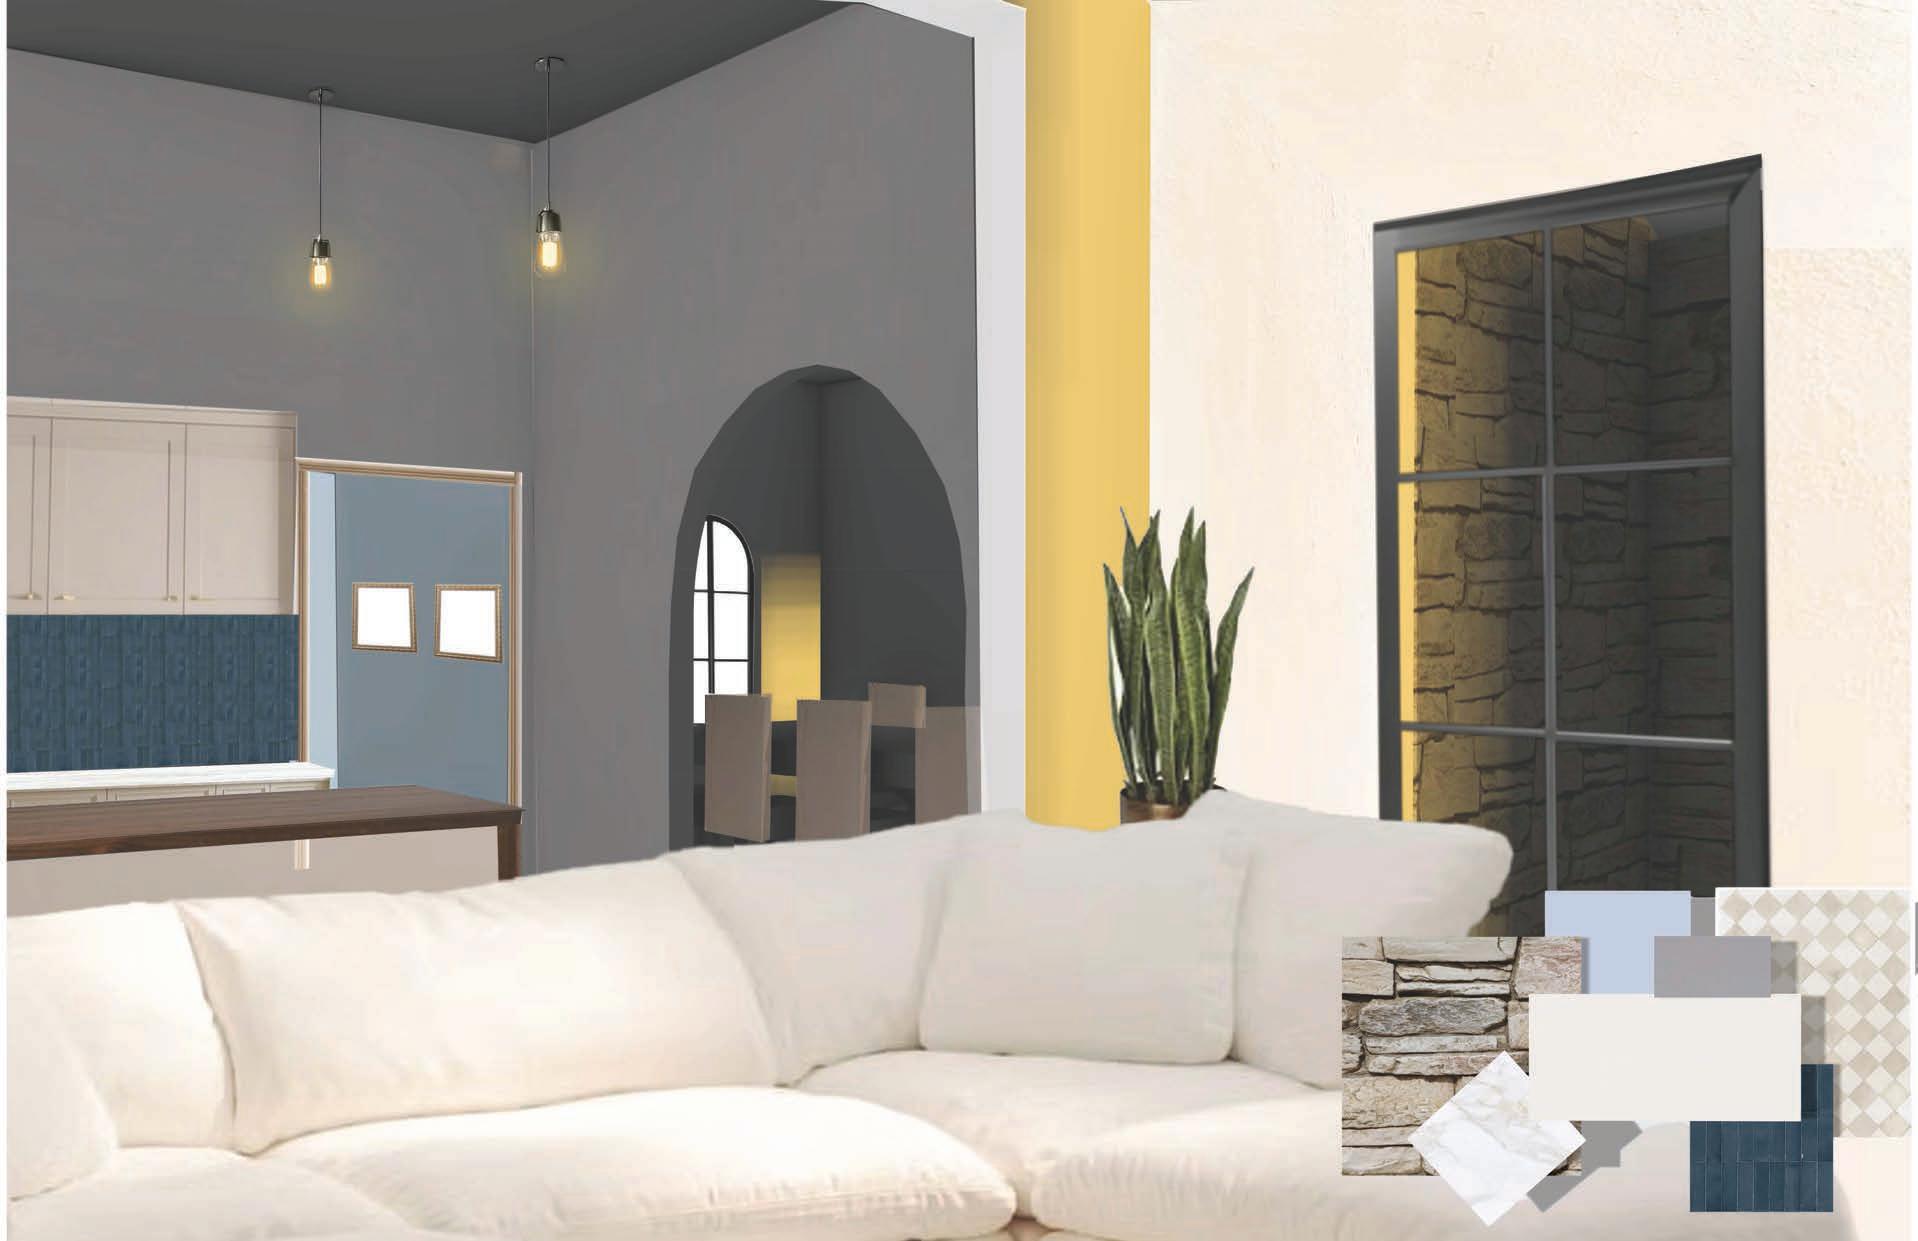
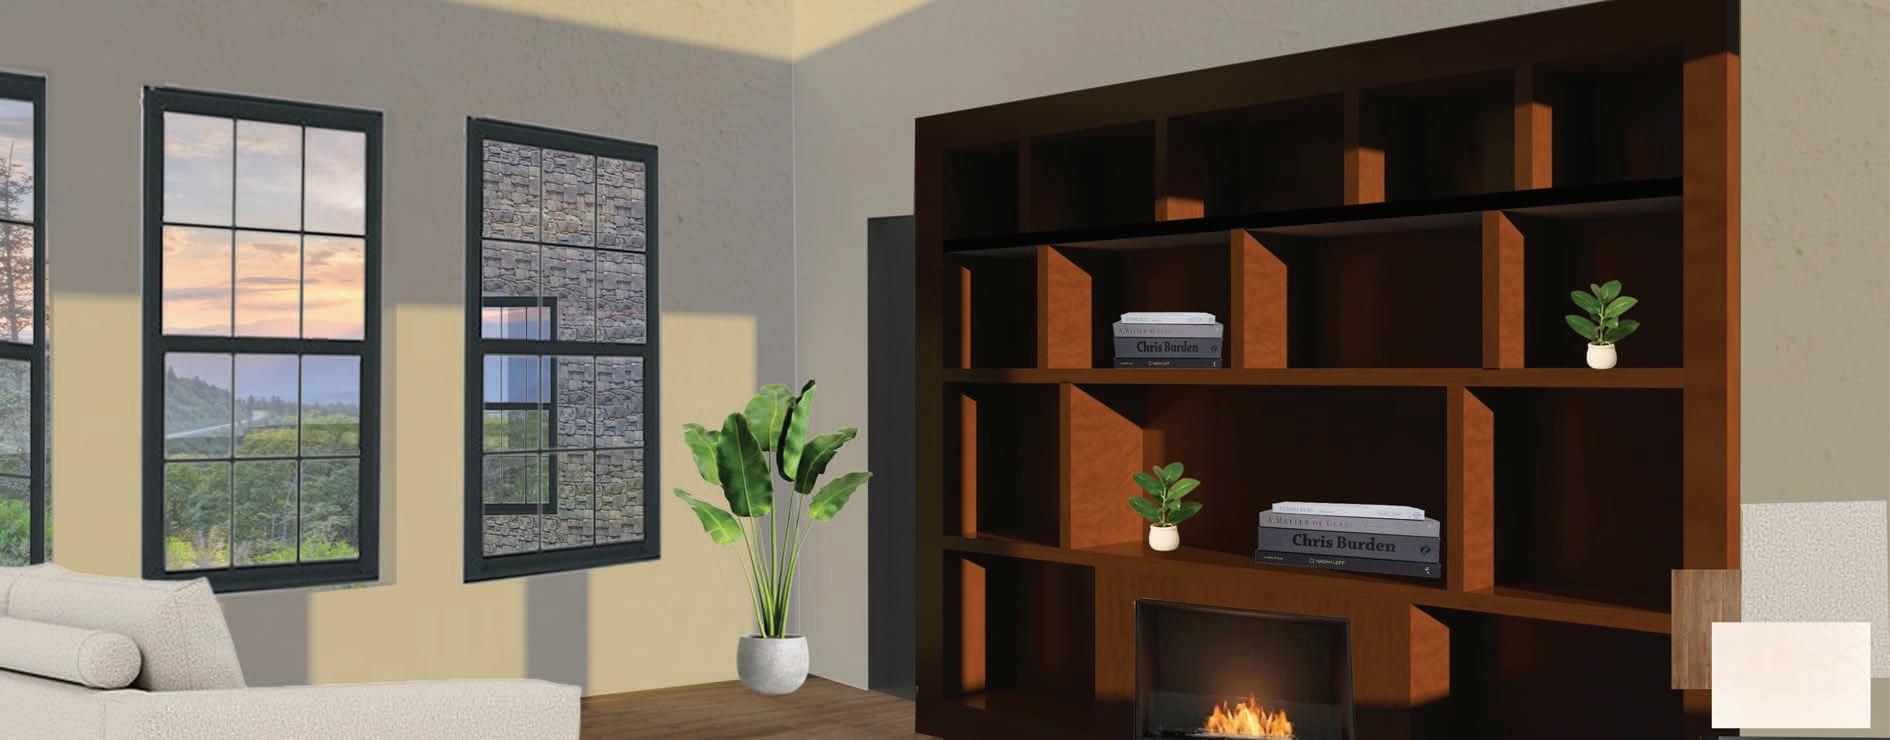
View from Interior Looking Out
PROJECT #9
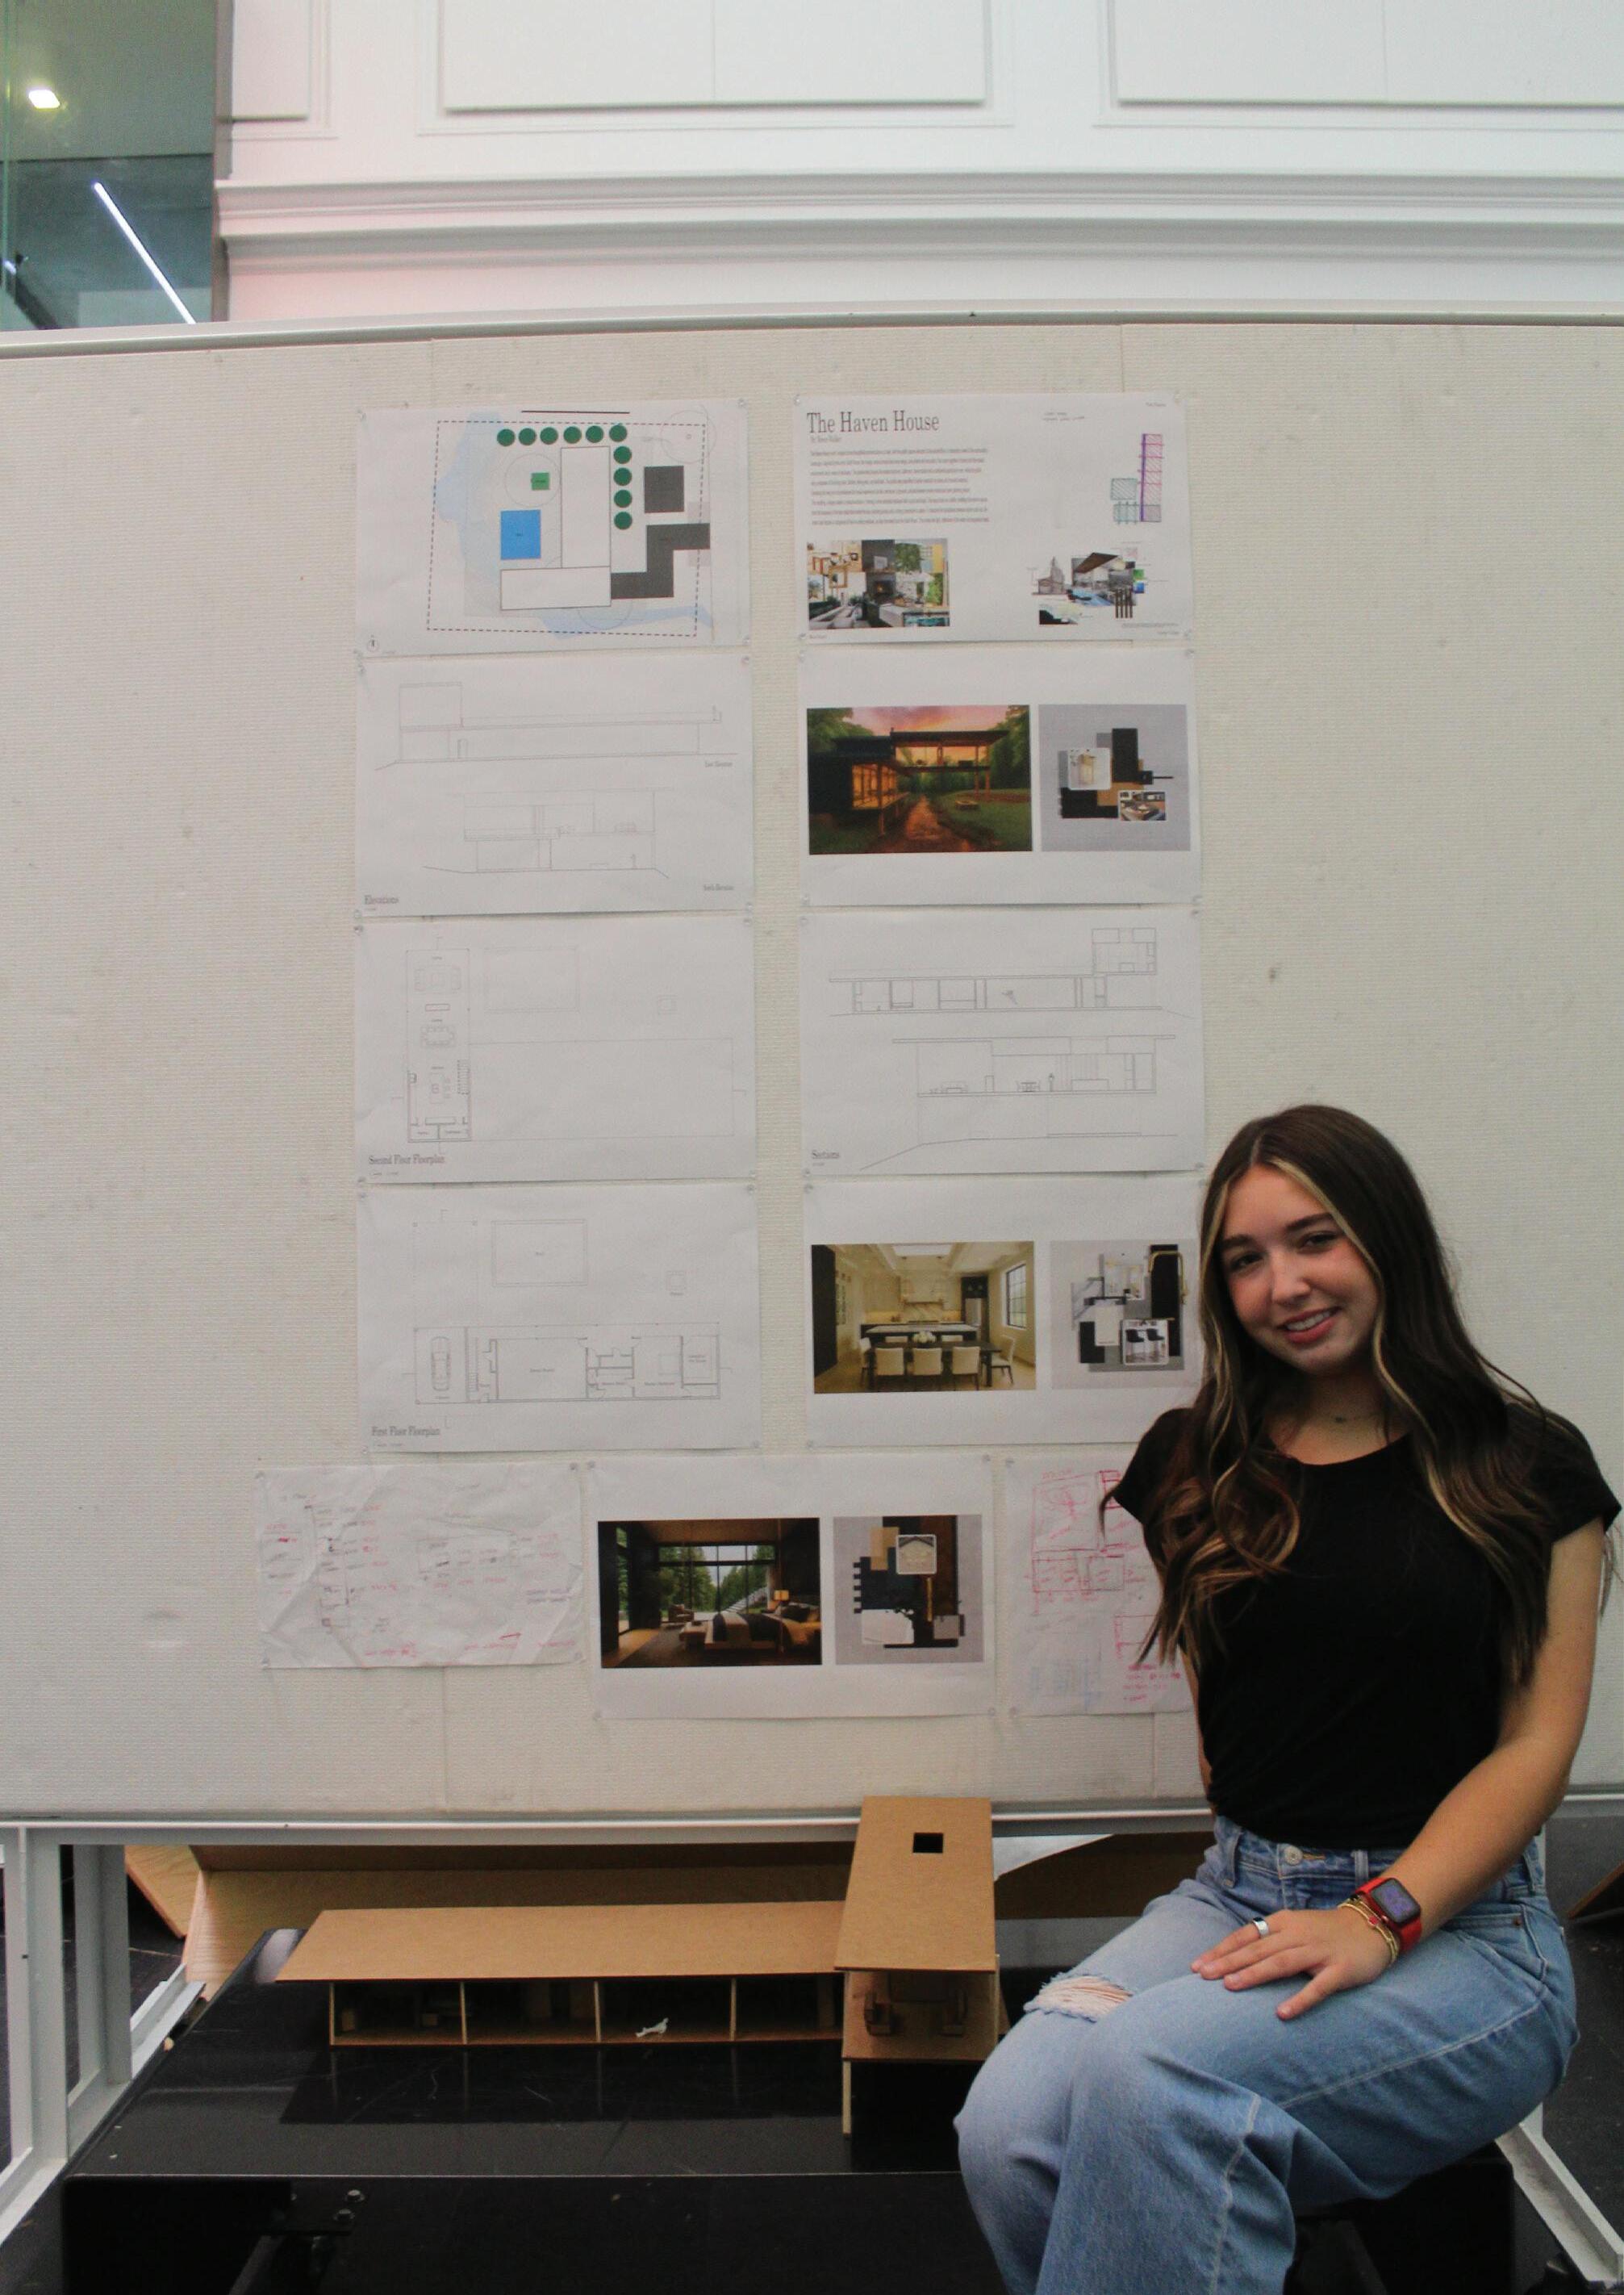
Final Review
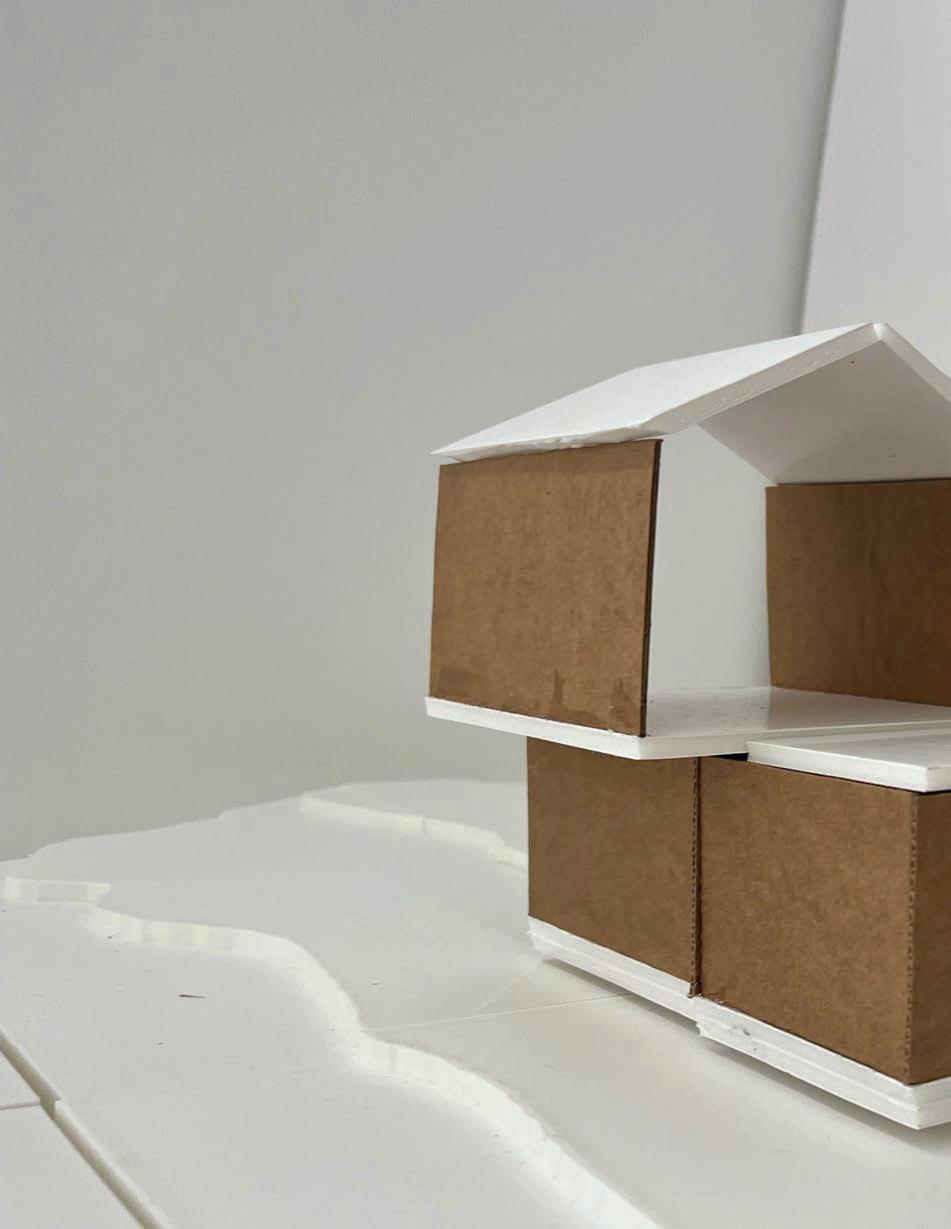
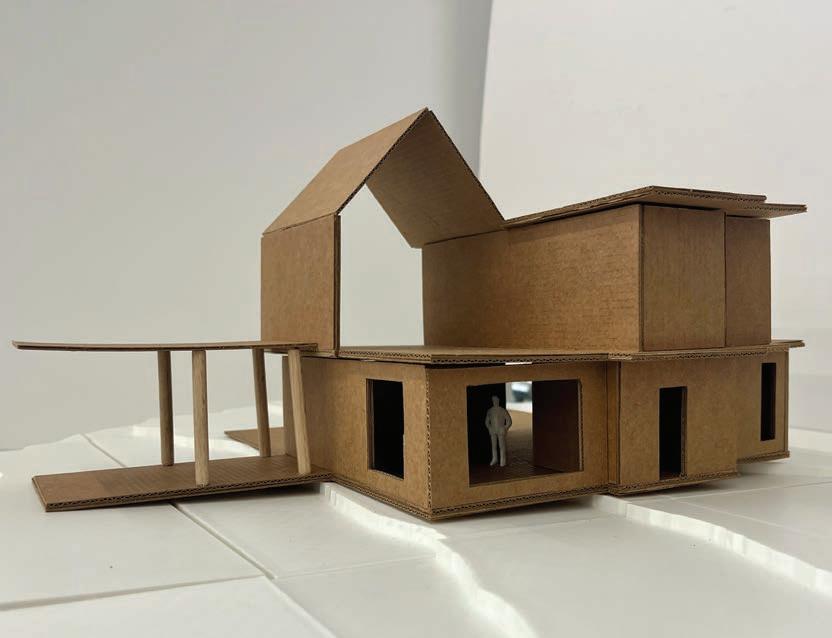
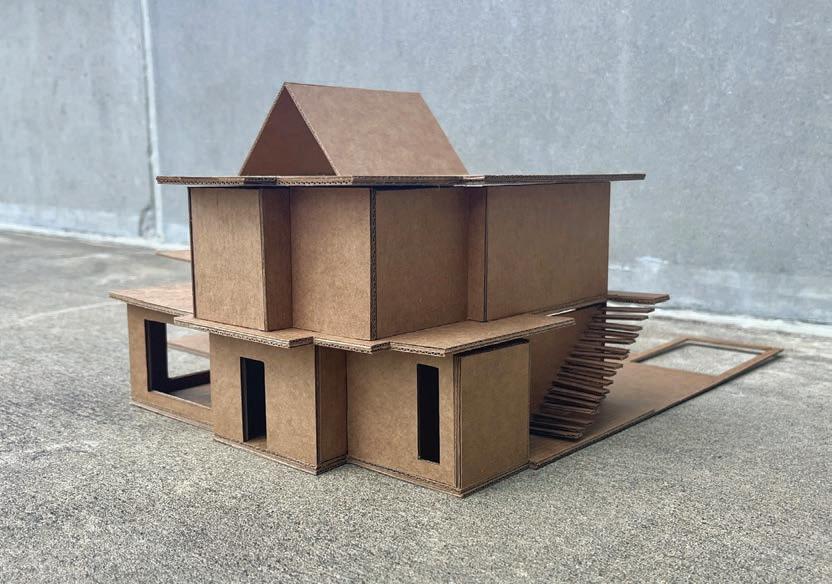
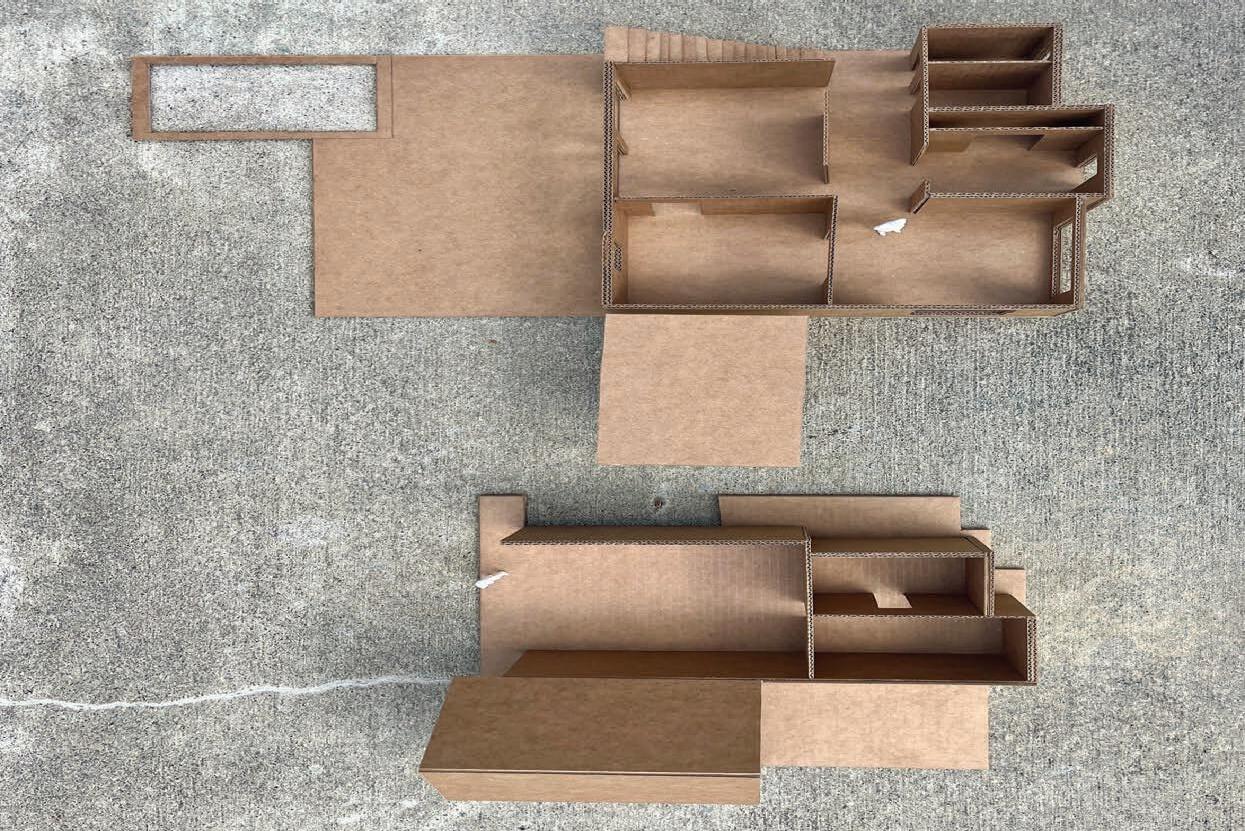
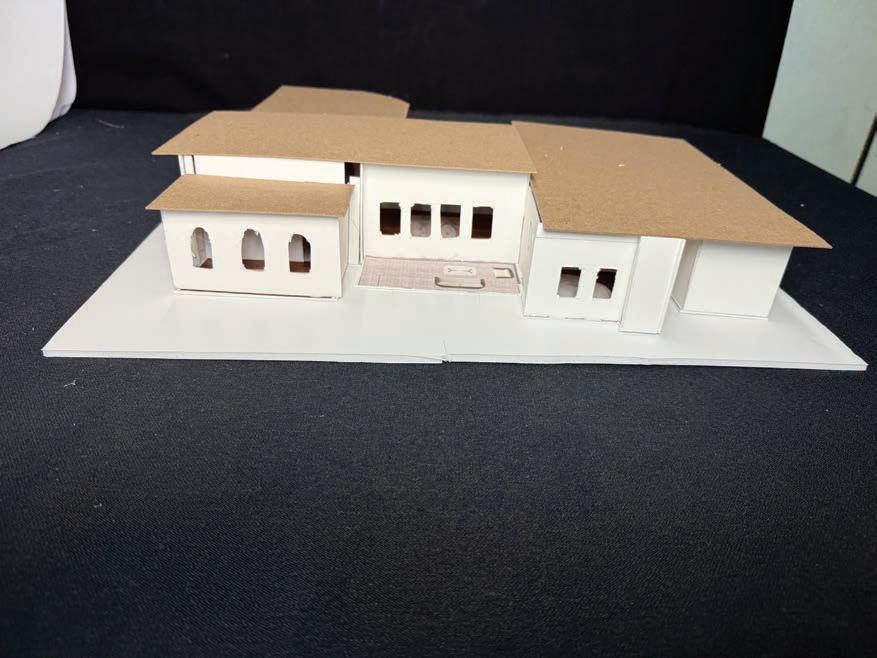
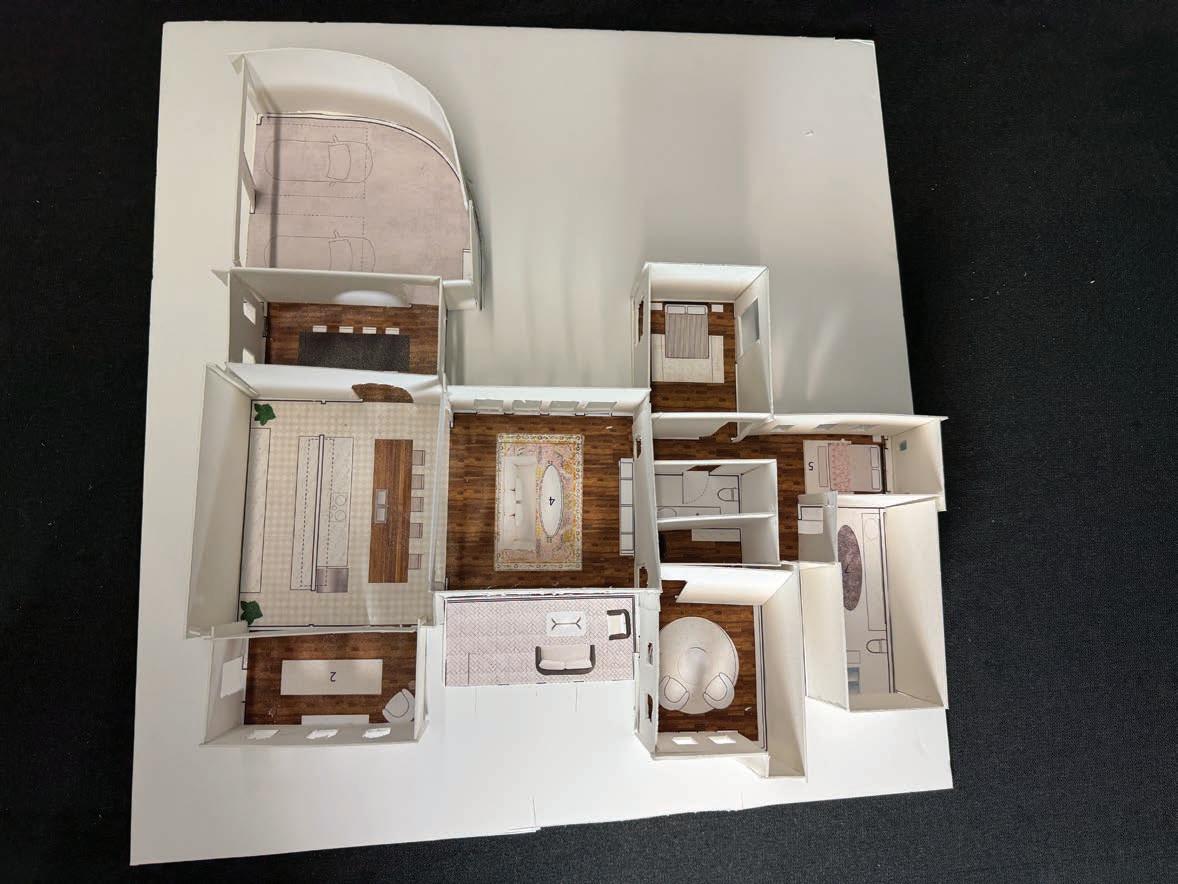
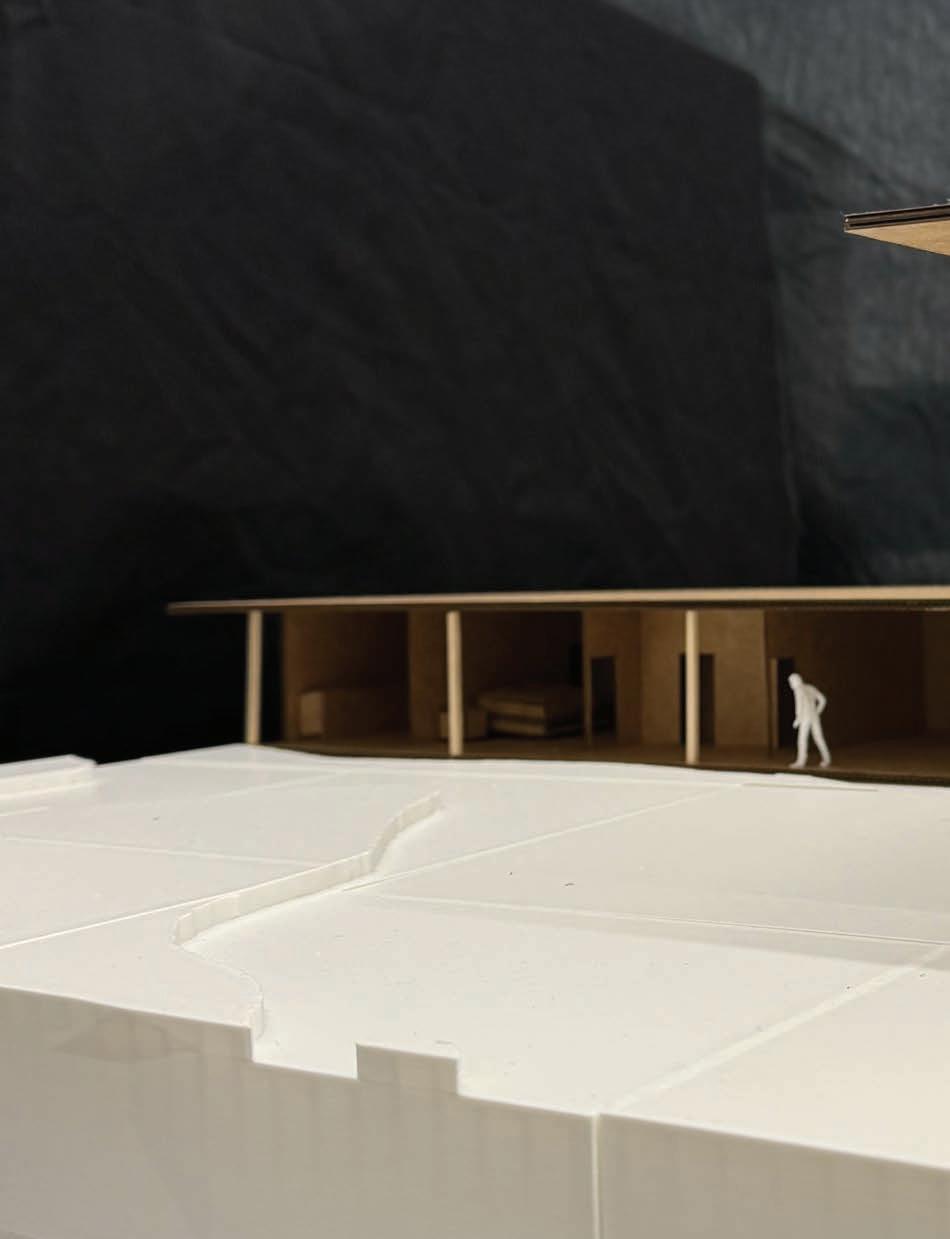
1. Perspective Post-Production + Physical Model + Material Board + Final Collage
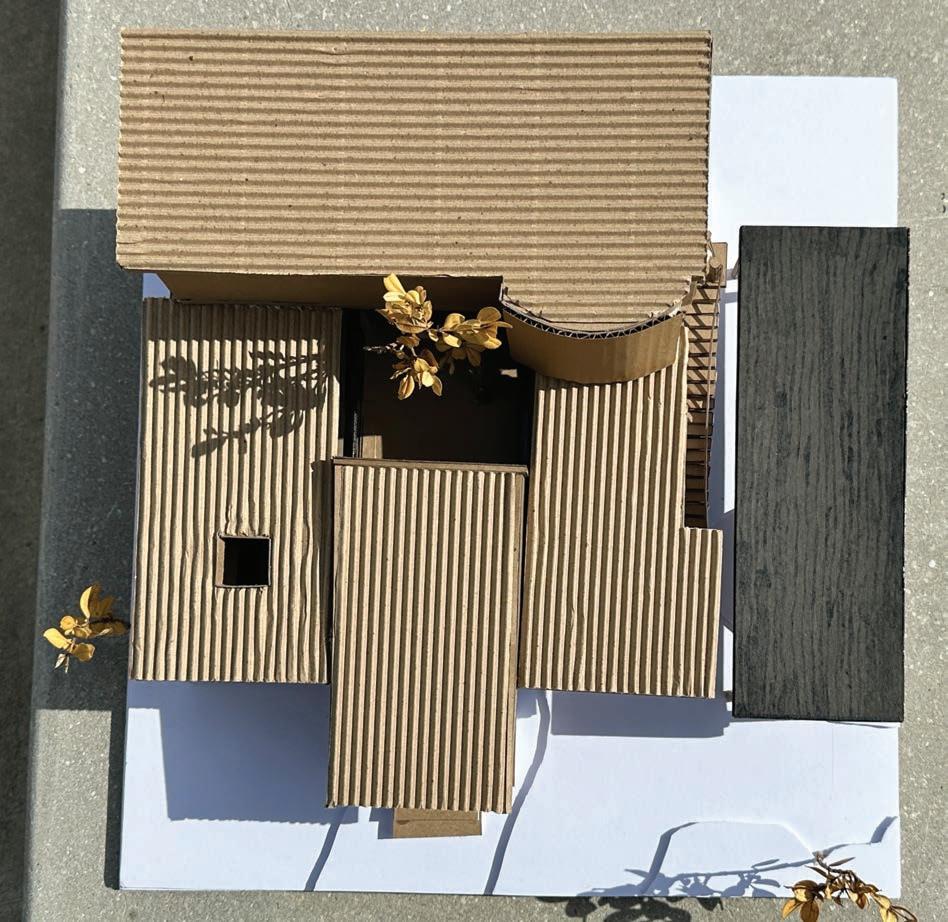
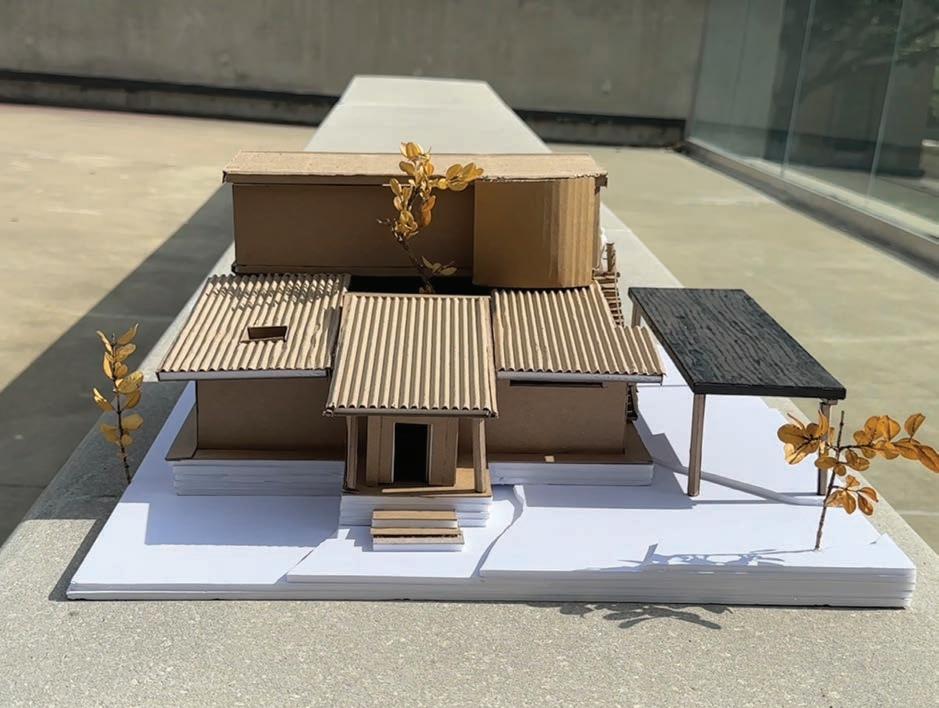
Students will finalize their design communication by enhancing rendered perspectives with detailed post-production, completing a physical model, and compiling material boards and updated conceptual collages. This work prepares the visual components for the final presentation.
2. Final Drawing & Presentation Material Assembly
Students will complete all drawing-based presentation materials—coloring plans, elevations, sections, and assembling final layout for boards or slides. The goal is to unify drawings and perspectives with a clear material logic and presentation flow.
3. Final Presentation Day
Students will present their final project in a formal critique setting. Each student will articulate their design concept, process, and final proposal using prepared boards/slides, models, and visuals.
PROPERTY LINE
SETBACK
TANGLEWOOD BRANCH CREEK
pool
RETAINING WALL
AVE
GREENWAY TO THE EAST
GREGG
First Floor
Second Floor
Building Elevation #2
Building Elevation #4
Rebeca Casco Martinez
Portfolio
What I learned...
Project #6 “Precedent Study”
- I learned how to develop a spatially and understanding of residential design by taking a look at multiple precedents. By observing how other designers incorporated certain elements, it inspired me to be more creative and technical with my design choices.
Project #7 “Space Program”
- I learned of the process of developing a well thoughtout spatial progam for certain zones of our homes. I was able to have a glimpse of the requirements needed to understand the interaction between human behavior and the environment. I gained a better sense of realistic spatial proportions, especially how generous circulation impacts how a space feels, not just functions.
Project #8 “Space Design”
- I learned how to refine my conceptual design by incorporating spatial sequence, light, atmosphere, and user experience into my massing model. Eventually turning my concepts into floor plans that reflect my architectural intent. I learned how to use lighting, proportain, and structures can create different perspectives our our study form.
Project #9 “Presentation”
- I learned how to communicate my design to others by developing rendered perspectives and incorporating elaborate models and conceptual collages. Which went into presenting our final projects in a formal setting, where we had to articlate our design process and concepts.
Project #10 “VR & AR Experiene”
- I learned how to view my work through the eyes of the user not just the designer by taking a look at how my design interacts with the real world. I gained a better understanding on using tools like VR and AR in order to develop well thought out design that takes into account the user’s perspective.
Project #12 “3 Hours observation”
- I learned how to be patient with my observations and look at certain things with a different eye. I gained a better perspective of abstract art and that art is in the eye of the beholder.
Overall
- Overall I had a great opportunity to develop a design that both works for me and functions in the real world. By Studying different precedents, creating a space program and design, communicating my work, and experiencing VR and AR I was able to gain a better understanding on how the design process works, and all that goes into developing a well thought out design.
If you could talk to you before these five weeks, what would you like to share with you?
- I would tell my past self that it gets better, that once you learn to push through, the process of designing becomes an enjoyable experience that will help you in the long run.
Space Design
1. From Massing to Concept Model
Students will refine their conceptual massing model by incorporating ideas of spatial sequence, light, atmosphere, and user experience. The goal is to transform a block-based structure into a design concept model that expresses the intended feeling, behavior, and identity of the home. The process will use section cuts, light and shadow tests, and interior–exterior spatial relationships to deepen design thinking.
2. Floor Plans + 3D
Students will transform their concept model into clearly articulated floor plans and further refine the Rhino 3D model to reflect architectural intent. The goal is to define programmatic zones, circulation, wall thickness, openings, and spatial proportions while maintaining conceptual clarity. Plans and 3D form must work in parallel to ensure consistency between design logic and space usability.
3. Elevations & Section
Students will generate elevation drawings and section cuts from their updated Rhino model and finalized plans to study vertical relationships, facade expression, and interior–exterior transitions. This will help articulate how the house presents itself spatially and formally, as well as how light, proportion, and structure are resolved across different views.
4. Perspectives (Form + Lighting Only)
Students will generate and compose perspective views to study form, massing, and lighting qualities without applying material finishes. The goal is to visualize spatial atmosphere, shadow patterns, openness/enclosure, and user scale using clean geometry. This exercise will deepen students’ spatial intuition and provide visual feedback for further refinement.
5. Materials, Finishes, and FF&E (Render final perspectives)
Students will complete final atmospheric renderings by applying materials, lighting, and FF&E (Furniture, Fixtures & Equipment) into the previously prepared Rhino model views. The goal is to communicate design intent and emotional quality by combining light, color, texture, and spatial use in realistic visualizations.
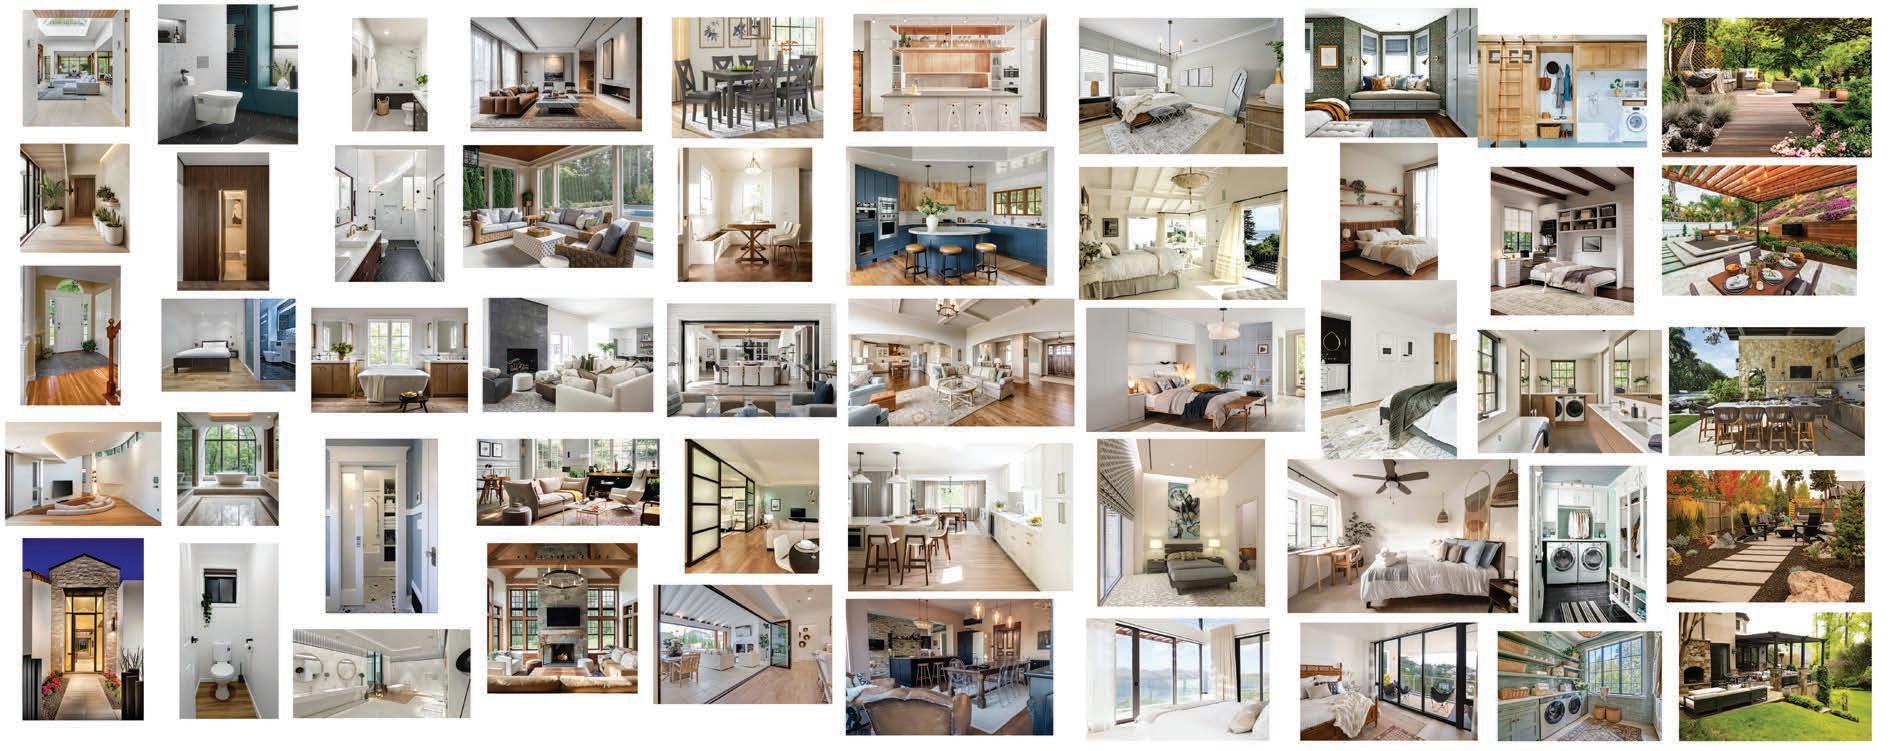
Cozy but Functional
is design concept embraces the idea of a space that incorporates emotional warmth with functionality. Each room is meant to give comfort to those occupying the space, with comfortable seating and light and dark colors, while still maintaining clear functionality. e layout is meant to support natural ow and place spaces for gathering up front, while private areas in the back. e speci c materials and lighting choices helps make this space feel livable and evokes a sense of comfort.
Exterior View
Main Interior Space
View from Interior Looking Out
Second View
Second View
Second View
Second Sketch
Second Sketch
Second Sketch Final Form + Lighting Final Form + Lighting Final Form + Lighting
Work #5. Materials, Finishes, and FF&E (Render final perspectives)
Exterior View
Main Interior Space
View from Interior Looking Out
Third View
Third View
Third View
Final AI Exploration
First AI Exploration
First AI Exploration
PROJECT #9
Final Review
1. Perspective Post-Production + Physical Model + Material Board + Final Collage
Students will finalize their design communication by enhancing rendered perspectives with detailed post-production, completing a physical model, and compiling material boards and updated conceptual collages. This work prepares the visual components for the final presentation.
2. Final Drawing & Presentation Material Assembly
Students will complete all drawing-based presentation materials—coloring plans, elevations, sections, and assembling final layout for boards or slides. The goal is to unify drawings and perspectives with a clear material logic and presentation flow.
3. Final Presentation Day
Students will present their final project in a formal critique setting. Each student will articulate their design concept, process, and final proposal using prepared boards/slides, models, and visuals.
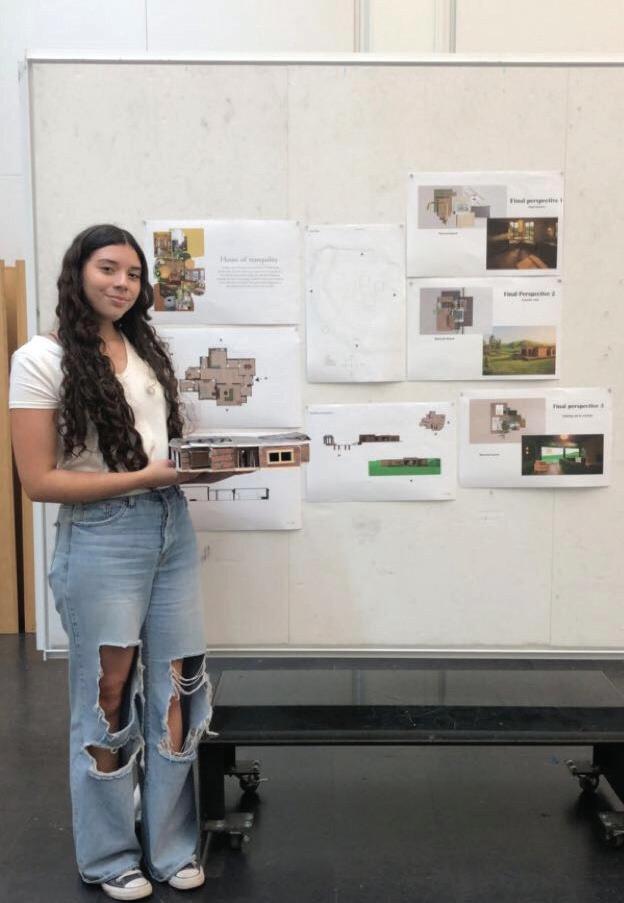
House of tranquility
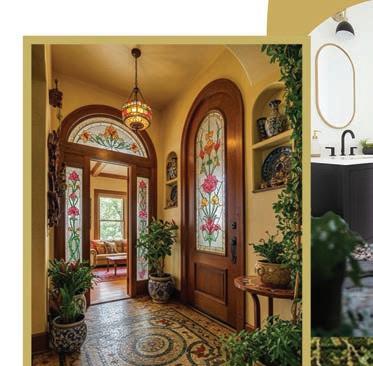
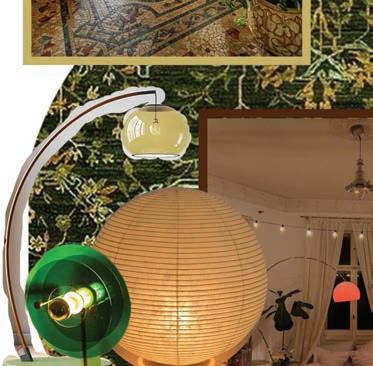
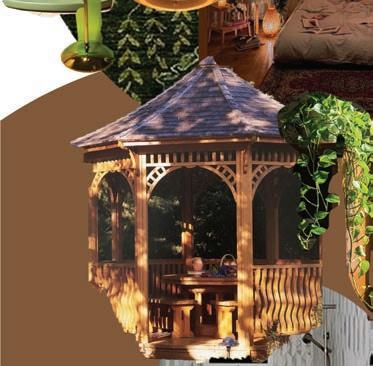
T he design concept of this space is the incorporation of emotional warmth functionality. Each room is meant to give comfort to those occupying the space, with comfortable seating as well as light and dark colors, while still maintaining clear functionality.The layout is meant to support natural flow and place spaces for gathering front, while private areas in the back.The specific materials and lighting choices helps make this space feel livable and evokes a sense of comfort.
1). Creek 2). Road
3). Driveway 4). Housing zone 5). Landscape area 6). Overhead train
Shaded
Shaded area
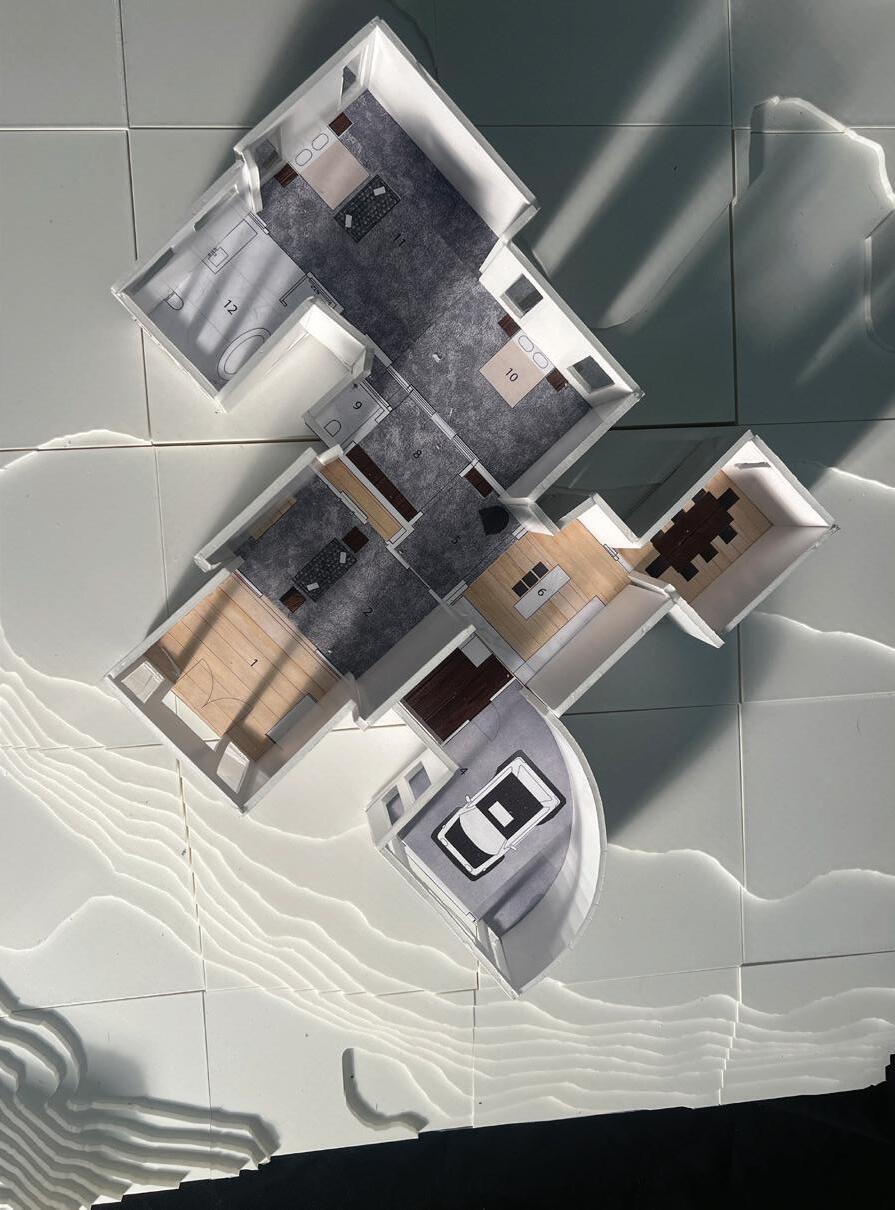
Main Floor plan
1). entrance
2). guest bath
3). living room
4). dining room
5). pantry
6.)kitchen
7.) laundry
8.)studio
9.) bathroom
10.) master bed room
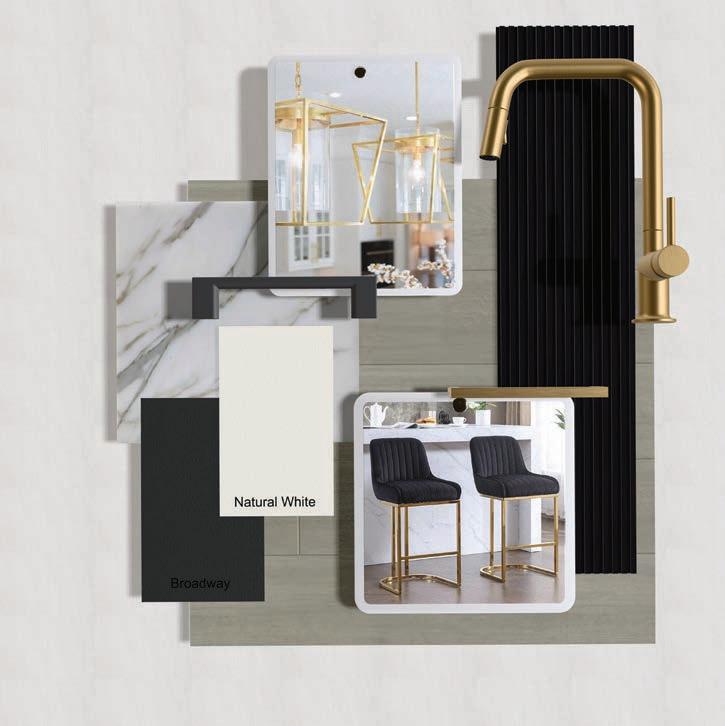
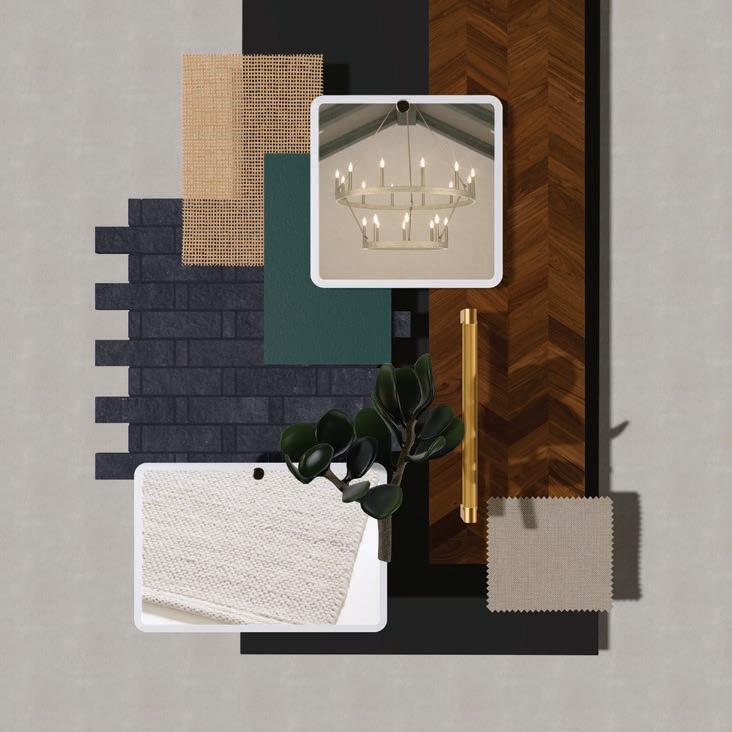
Material board
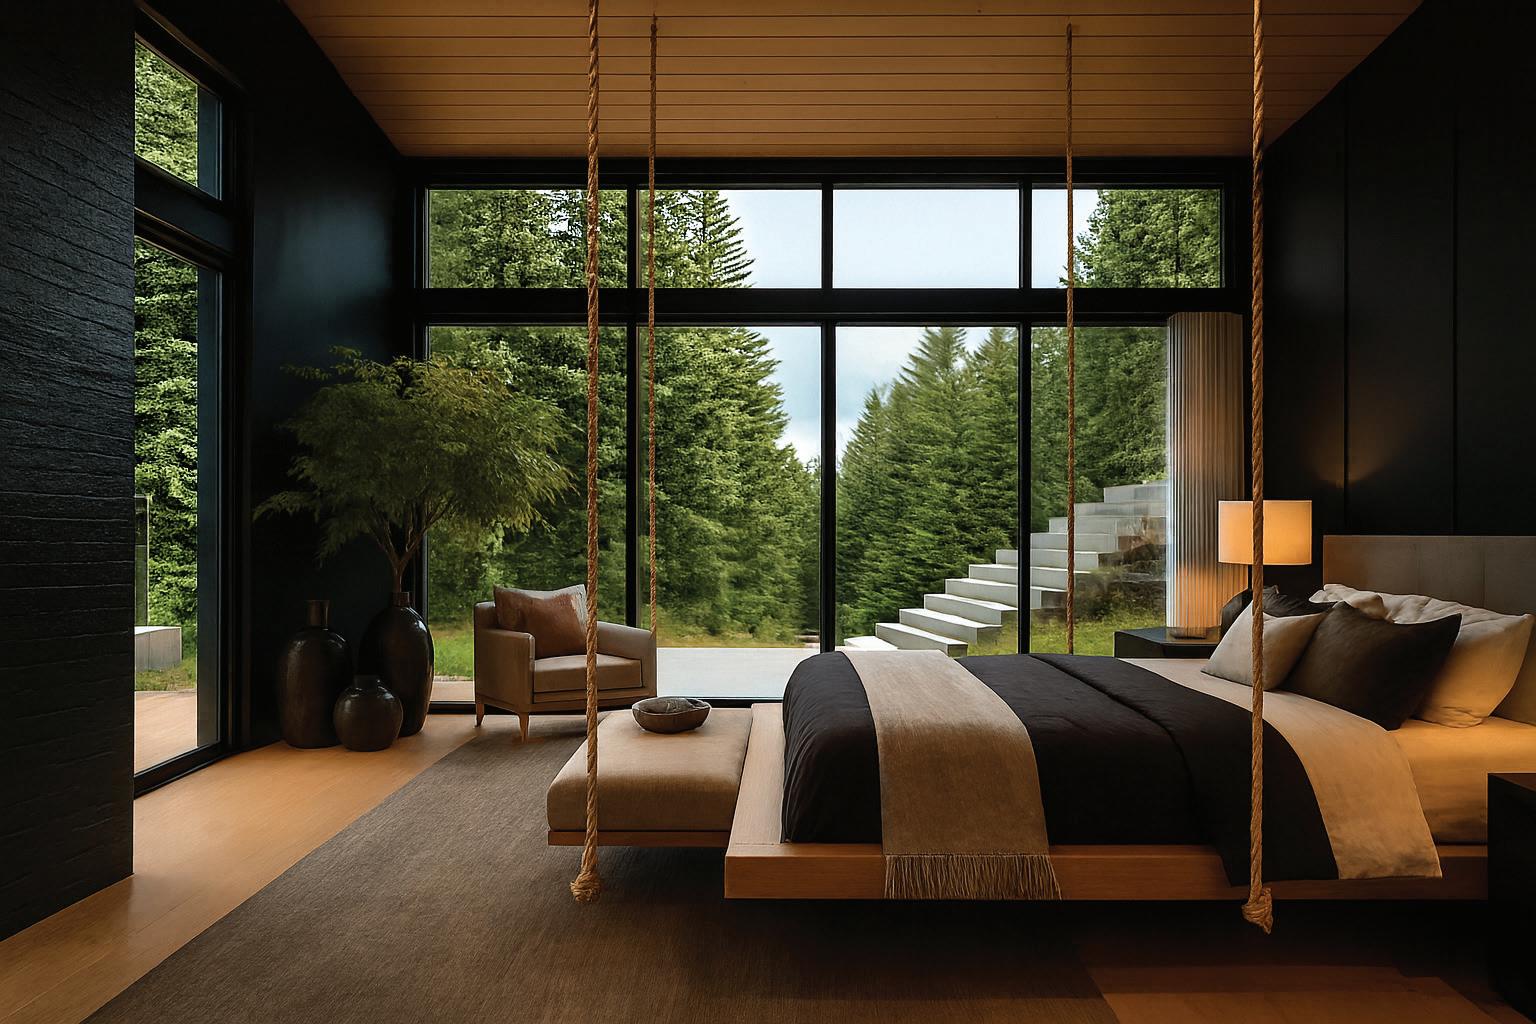
Final Perspective 1
Exterior view
Material board
Final perspective 2
Main interior
Material board
Final perspective 3
looking out to exterior
Carissa Hallett
Portfolio
What I learned...
Project #6 “Precedent Study”
- In this project, I studied different building types to understand how it was made and why it worked. I learned how to look closely at the layout, materials, and the way people move through the space. It helped me realize that every design choice has a reason behind it, and that good spaces are created by understanding how people live and move.
Project #7 “Space Program”
- This project was about planning what kinds of rooms or spaces were needed, and how they should connect. I had to think not just about shapes or styles, but what the space would be used for and by who. It made me more aware of how important it is to think about the user’s needs first before drawing or building anything.
Project #8 “Space Design”
- This was when I finally got to create my own space using what I learned. It was exciting but also challenging. I had to make a lot of changes and try different layouts. I realized that design is not just about what looks cool—it’s about how it feels to be inside and how everything fits together. This was when I started really thinking like a designer.
Project #9 “Presentation”
- In this project, I had to explain my design clearly using drawings, models, and words. It wasn’t enough to just do the work, I had to show and tell why my design made sense. I learned how important it is to communicate your ideas well, and how a good presentation can help people understand and connect with your work.
Project #10 “VR & AR Experiene”
- Trying out my space in virtual reality and augmented reality helped me see it in a new way. It felt more real than just looking at a drawing. I could walk around in the space and notice what worked and what felt off. It helped me think more about the user’s point of view and how to design spaces that feel good to move through.
Project #12 “3 Hours observation”
- For this project, I spent three hours just looking at one piece of artwork. At first, it was hard to stay focused for so long, but the more I looked, the more details I noticed things like colors, shapes, and how the artist used space. It taught me to slow down and really observe, which helped me understand how powerful small details can be in creating meaning and emotion in art and design.
Overall
- Over these five weeks, I learned that design is not just drawing cool buildings it’s about problem-solving, thinking about people, and constantly improving your ideas. Each project built on the last one and helped me grow more confident. I also started to trust my instincts more and saw how my ideas could really turn into something real.
If you could talk to you before these five weeks, what would you like to share with you?
- “Don’t be afraid to try new things, and don’t worry if your first idea isn’t perfect. Every step you take helps you learn. Be open, ask questions, and keep pushing your design forward. You’re going to surprise yourself.” Overall “stop trying to be a perfectionist, you will make mistakes and improve along the way.”
Space Design
1. From Massing to Concept Model
Students will refine their conceptual massing model by incorporating ideas of spatial sequence, light, atmosphere, and user experience. The goal is to transform a block-based structure into a design concept model that expresses the intended feeling, behavior, and identity of the home. The process will use section cuts, light and shadow tests, and interior–exterior spatial relationships to deepen design thinking.
2. Floor Plans + 3D
Students will transform their concept model into clearly articulated floor plans and further refine the Rhino 3D model to reflect architectural intent. The goal is to define programmatic zones, circulation, wall thickness, openings, and spatial proportions while maintaining conceptual clarity. Plans and 3D form must work in parallel to ensure consistency between design logic and space usability.
3. Elevations & Section
Students will generate elevation drawings and section cuts from their updated Rhino model and finalized plans to study vertical relationships, facade expression, and interior–exterior transitions. This will help articulate how the house presents itself spatially and formally, as well as how light, proportion, and structure are resolved across different views.
4. Perspectives (Form + Lighting Only)
Students will generate and compose perspective views to study form, massing, and lighting qualities without applying material finishes. The goal is to visualize spatial atmosphere, shadow patterns, openness/enclosure, and user scale using clean geometry. This exercise will deepen students’ spatial intuition and provide visual feedback for further refinement.
5. Materials, Finishes, and FF&E (Render final perspectives)
Students will complete final atmospheric renderings by applying materials, lighting, and FF&E (Furniture, Fixtures & Equipment) into the previously prepared Rhino model views. The goal is to communicate design intent and emotional quality by combining light, color, texture, and spatial use in realistic visualizations.
Exterior View
Main Interior Space
View from Interior Looking Out
Initial View Initial View
First Sketch First Sketch First Sketch
Second View
Second View
Second View
Second Sketch
Second Sketch
Second Sketch Final Form + Lighting Final Form + Lighting Final Form + Lighting
Work #5. Materials, Finishes, and FF&E (Render final perspectives)
Exterior View
Main Interior Space
from Interior Looking Out
View
Second View
Third View
Third View
Final Review
1. Perspective Post-Production + Physical Model + Material Board + Final Collage
Students will finalize their design communication by enhancing rendered perspectives with detailed post-production, completing a physical model, and compiling material boards and updated conceptual collages. This work prepares the visual components for the final presentation.
2. Final Drawing & Presentation Material Assembly
Students will complete all drawing-based presentation materials—coloring plans, elevations, sections, and assembling final layout for boards or slides. The goal is to unify drawings and perspectives with a clear material logic and presentation flow.
3. Final Presentation Day
Students will present their final project in a formal critique setting. Each student will articulate their design concept, process, and final proposal using prepared boards/slides, models, and visuals.
Elevation 2
Elevation 4
Ava Harrington Portfolio
What I learned...
Project #6 “Precedent Study”
- During our time working and studying different precedents, I found it to be an opportunity to learn how to slow down and pay closer attention to details and making intentional decisions. Researching the origins, processes, and design strategies of these precedents, I was also able to gain an understanding of my own design style, likes and dislikes. Each precedent provided me a different point of view on architectural styles and decisions, opening my eyes for further exploration through this semester.
Project #7 “Space Program”
- This project also taught me the importance on slowing down and creating intentional decisions. We learned how to make meaningful iterations and that your first idea should almost never be the one you settle on. The process of iterating is just as important as, or even more so, than every other process through out design work. While during our crunch for time of a summer, iterating sometimes felt draining and like a waste of time, I quickly learned the true importance of testing out different versions of your ideas and intentions and the wonderful outcomes that can come from such.
Project #8 “Space Design”
- Throughout this project, we continued to iterate and experiment with different layouts and flows within our spaces. We also used tools to begin to understand the true feeling and weight within our spaces, playing with different lighting, materials, and furniture aspects. This project taught me, again, to never settle with your first idea or inspiration, to always continue editing and making your work better. That there are always aspects that can be changed and tweaked to make the design even more accurately portray your design concept.
Project #9 “Presentation”
- During our final review portion of this semester, I was tested in many ways and learned a lot about myself in the end. It pushed me outside my comfort zone and made me a stronger person because of it. I learned to always be confident and true to your work, and to always have a reason and intention behind every aspect of it. While I did feel extremely rushed in the process of creating my own house design, it ultimately taught me to be confident and intention in all of my work despite certain outside factors making it difficult.
Project #10 “VR & AR Experiene”
- Working with VR and AR tools to further explore the house I created, I learned that there are wonderful tools at our advantage to continue using in the design process in the future. Having these virtual experienes within my space further allowed me to understand the true feeling my space created and how well it was able to portray my design concept. These tools will be helpful in the future to use throughout the design process to ensure I am staying on the right track in being aligned with my initial concept.
Project #12 “3 Hours observation”
- This project truly taught me the power of patience. While I sat and observed the same piece of art for three hours straight, I was tested in many ways. From staying focused, exploring my thoughts deeper, and finding a meaning within the piece I can truly say I had never examined a work of art this closely. It ultimitaley taught me to “stop and smell the roses”, that even a piece of art that initital just looks like random brush strokes, still has incredible intention and a deeper meaning. If we look close enough, a deeper meaning can always be found within something.
Overall
- Overall this semester I learned to push through difficult times and to continue believing in myself. The transition from first to second semester this summer proved to be difficult for me, with switching locations and sitting in a new section of people. I often found myself growing with frustration this semester although that showed me truly how much I care about this field. I believe that if I didn’t truly want to succeed in this, I wouldn’t have such strong emotions when completing each step of the process. While this shows a form of character for myself, I did learn that this is also not always a positive aspect. Throughout this stressful and intense field, it is truly important to keep a calm and cool mind and to always believe in yourself.
If you could talk to you before these five weeks, what would you like to share with you?
- If I could talk to myself before these five weeks began I would tell myself to coninue being confidence. I would say that is something that changed within me transitioning between semester, the amount of confidence I exuded. I feel as though I got comfortable this semester and in a way believed in myself slightly less. I would tell my five week ago self to remain at that great level of confidence because you can achieve anything if you believe you can. Look at us now...we completed summer studio!
Space Design
1. From Massing to Concept Model
Students will refine their conceptual massing model by incorporating ideas of spatial sequence, light, atmosphere, and user experience. The goal is to transform a block-based structure into a design concept model that expresses the intended feeling, behavior, and identity of the home. The process will use section cuts, light and shadow tests, and interior–exterior spatial relationships to deepen design thinking.
2. Floor Plans + 3D
Students will transform their concept model into clearly articulated floor plans and further refine the Rhino 3D model to reflect architectural intent. The goal is to define programmatic zones, circulation, wall thickness, openings, and spatial proportions while maintaining conceptual clarity. Plans and 3D form must work in parallel to ensure consistency between design logic and space usability.
3. Elevations & Section
Students will generate elevation drawings and section cuts from their updated Rhino model and finalized plans to study vertical relationships, facade expression, and interior–exterior transitions. This will help articulate how the house presents itself spatially and formally, as well as how light, proportion, and structure are resolved across different views.
4. Perspectives (Form + Lighting Only)
Students will generate and compose perspective views to study form, massing, and lighting qualities without applying material finishes. The goal is to visualize spatial atmosphere, shadow patterns, openness/enclosure, and user scale using clean geometry. This exercise will deepen students’ spatial intuition and provide visual feedback for further refinement.
5. Materials, Finishes, and FF&E (Render final perspectives)
Students will complete final atmospheric renderings by applying materials, lighting, and FF&E (Furniture, Fixtures & Equipment) into the previously prepared Rhino model views. The goal is to communicate design intent and emotional quality by combining light, color, texture, and spatial use in realistic visualizations.
Design Concept Statement: e goal of this project is to cultivate a home that feels comfortable and inviting to anyone that walks through the doors. is is achieved by bright, engaging natural lighting, so textures and fabrics, and strong, sharp angles throughout the space. So , bright colors and comfortable textures are balanced with a clean, sleek aesthetic, incorporating elements like plain white countertops and lighter hardwood oors. e ow of the space is natural and intuitive for individuals to feel comfortable as if they are right at home. I also wanted this space to be easy and ideal for myself to navigate through. I made it a priority to visually represent the division between the public and private zones of the house. While I love hosting friends and family, it was also extremely important to have my own space that is just for me. e private zone of the space acts as a sort of sanctuary for myself. is spatial strategy focuses on a smooth transition from a comforting, enclosed entrance into larger, open living areas, ensuring visitors feel at ease and eager to explore the home. e combination of comfortable, rounded furnishings with sharp, rectangular elements further reinforces the sophisticated yet inviting design. Design Concept: Comfortable and Inviting
Exterior View
Main Interior Space
View from Interior Looking Out
Initial View Initial View Initial View
First Sketch First Sketch First Sketch
Second View
Second View
Second View Second Sketch Second Sketch
Form
Work #5. Materials, Finishes, and FF&E (Render final perspectives)
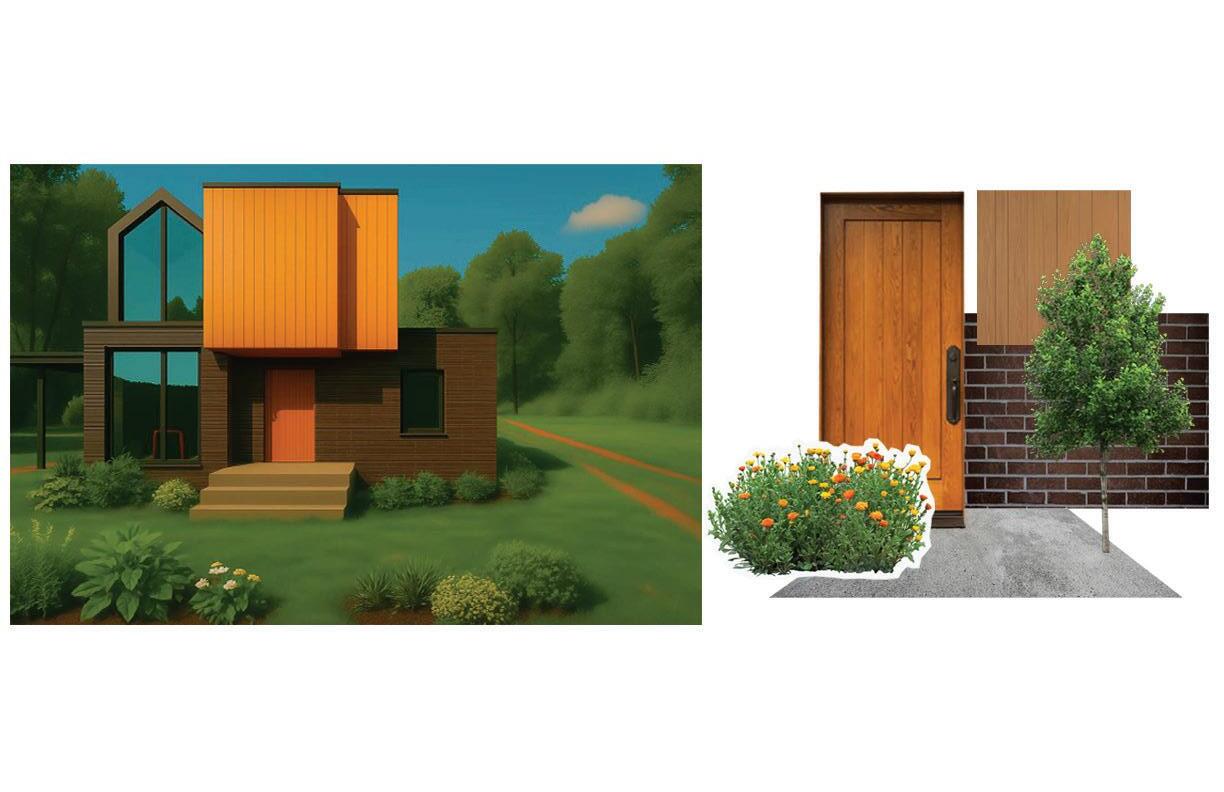
Exterior View
Initial View
First AI Exploration
AI Prompt: Generate a version of this space how you would enhance this space. Make it in the setting of Arkansas with lots of trees in the landscape.
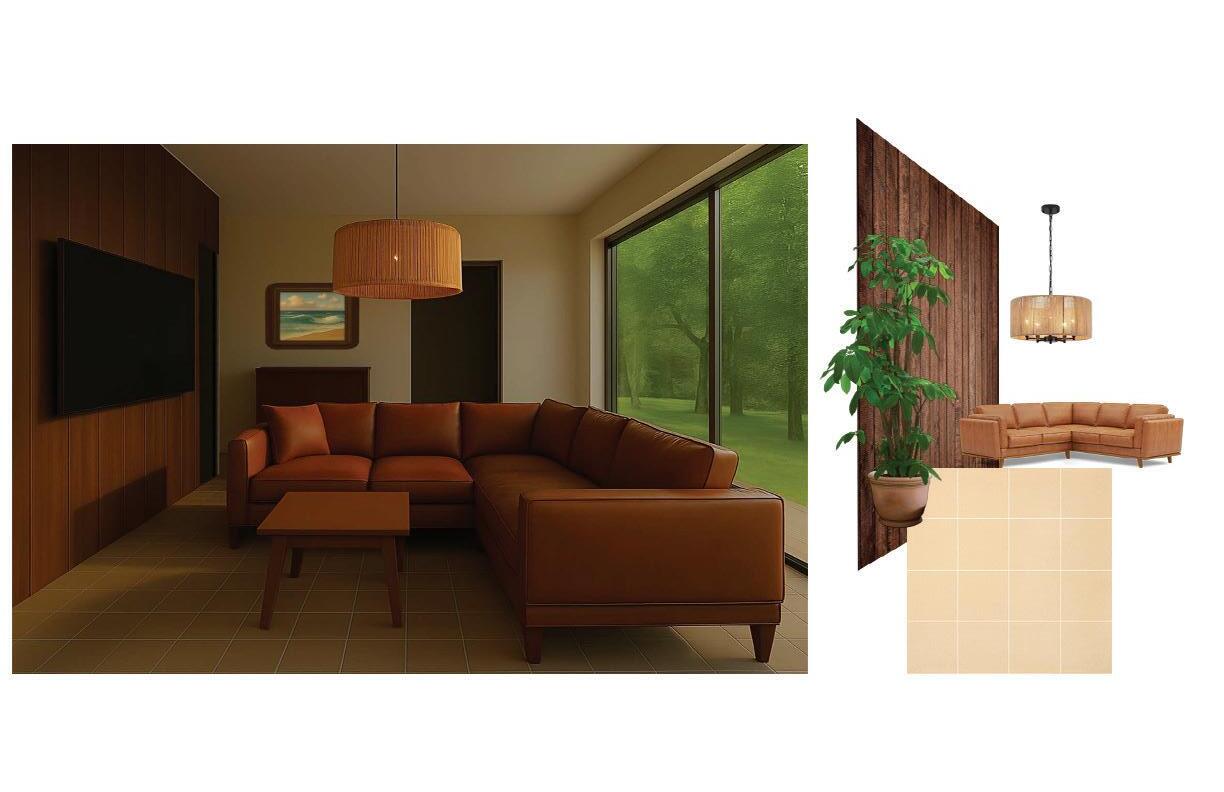
Main Interior Space
Initial View
First AI Exploration
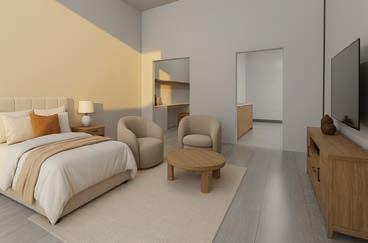
AI Prompt: Can you generate an image of this exact space with the addition of comfortable funriture. The colors should be neautrals, white creams browns, with wood finishes. There should be a bed, night stand, tv, edia table, two comfortable chairs and a coffee table.
View from Interior Looking Out
Initial View
First AI Exploration
AI Prompt: Make this space more comfortable feeling, the furniture should be rounded and cozy, while the walls and cabinets maintain strong and sharp.
AI Prompt: I really like the first image! Can you make the driveway feel less modern? Going off the first image, make the exterior walls of the house white not black or brown, also make the roofs flat.
AI Prompt: Generate a version of this space how you would enhance this space.
AI Prompt: Generate a version of this space how you would enhance this space. This is perfect, can you make the chairs a little further apart from each other? Can you also make the outside have lots of trees?
Second View
Second View
Second View
PROJECT #9
Final Review
1. Perspective Post-Production + Physical Model + Material Board + Final Collage
Students will finalize their design communication by enhancing rendered perspectives with detailed post-production, completing a physical model, and compiling material boards and updated conceptual collages. This work prepares the visual components for the final presentation.
2. Final Drawing & Presentation Material Assembly
Students will complete all drawing-based presentation materials—coloring plans, elevations, sections, and assembling final layout for boards or slides. The goal is to unify drawings and perspectives with a clear material logic and presentation flow.
3. Final Presentation Day
Students will present their final project in a formal critique setting. Each student will articulate their design concept, process, and final proposal using prepared boards/slides, models, and visuals.
northelevation
section cut
Marilynn Penfield Portfolio
What I learned...
Project #6 “Precedent Study”
- During this project, I was able to learn and understand how the categories from Session 1 played a roll in successful projects around the world. I was able to see how these different space created an interesting overall composition. I was then able to take these learnings and apply them to my own interpretation of my ideal space.
Project #7 “Space Program”
- This assignment allowed for me to put my learned information from the precedent studies into practice by allowing me to be creative and test out different spacial compositions. I was able to figure out what I needed and wanted in varying spaces throughout my designed home. I was able to find iterations that boosted productivity, mood, or relaxation depending on the room.
Project #8 “Space Design”
- This assignment allowed for me to grow my skills in Rhino, AI, lighting, and materials. I learned how to make the base in Rhino and use the image to create my true version by using AI tools. Photohshop is also a helpful tool that I was able to gain a better understanding of.
Project #9 “Presentation”
- During my presentation, I realized how much I had immersed myself into the process of creating this home. I felt confident about my ideas and was able to learn a lot based on the reviewers’ comments. While there are things that I would change for the following reviews, I am proud that I was able to pin-up every assignment and confidently talk about my work.
Project #10 “VR & AR Experience”
- For this assignment, I learned how drastically AR and VR can change the feel and look of my project. I learned more about these tools and how to apply them.
Project #12 “3 Hours observation”
- This was a more difficult assignment for me because it forced me to find observations that I would have not normally found. I found that through this assignment, I was able to gain a deeper understanding and appreciation for the piece that I would have not gained otherwise.
Overall
- Overall, I am so proud of myself for completing each task to the best of my current ability. I feel like I learned so much and I feel confident that my abilities will only grow from here. I know more about different homes and what makes them so successful and I also know how to apply these successes to projects of my own.
If you could talk to you before these five weeks, what would you like to share with you?
- I would tell myself that these five weeks would be so much better than the first five weeks because of how much I had learned previously. I would explain that while these next five weeks are difficult, they are so much more enjoyable.
Space Design
1. From Massing to Concept Model
Students will refine their conceptual massing model by incorporating ideas of spatial sequence, light, atmosphere, and user experience. The goal is to transform a block-based structure into a design concept model that expresses the intended feeling, behavior, and identity of the home. The process will use section cuts, light and shadow tests, and interior–exterior spatial relationships to deepen design thinking.
2. Floor Plans + 3D
Students will transform their concept model into clearly articulated floor plans and further refine the Rhino 3D model to reflect architectural intent. The goal is to define programmatic zones, circulation, wall thickness, openings, and spatial proportions while maintaining conceptual clarity. Plans and 3D form must work in parallel to ensure consistency between design logic and space usability.
3. Elevations & Section
Students will generate elevation drawings and section cuts from their updated Rhino model and finalized plans to study vertical relationships, facade expression, and interior–exterior transitions. This will help articulate how the house presents itself spatially and formally, as well as how light, proportion, and structure are resolved across different views.
4. Perspectives (Form + Lighting Only)
Students will generate and compose perspective views to study form, massing, and lighting qualities without applying material finishes. The goal is to visualize spatial atmosphere, shadow patterns, openness/enclosure, and user scale using clean geometry. This exercise will deepen students’ spatial intuition and provide visual feedback for further refinement.
5. Materials, Finishes, and FF&E (Render final perspectives)
Students will complete final atmospheric renderings by applying materials, lighting, and FF&E (Furniture, Fixtures & Equipment) into the previously prepared Rhino model views. The goal is to communicate design intent and emotional quality by combining light, color, texture, and spatial use in realistic visualizations.
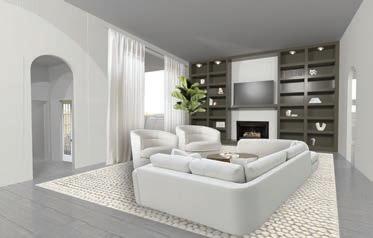
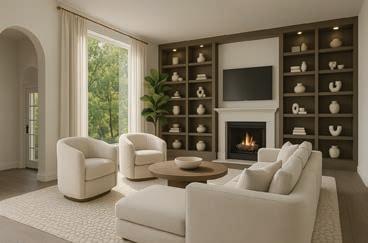
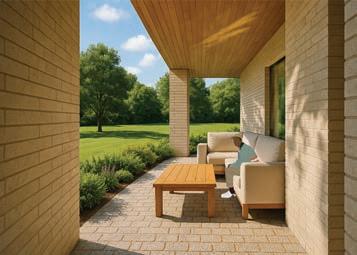
I intend for the space to be an inviting area where I can entertain guests as well as relax by myself. My goal was to incorporate large windows into the space to allow for an abundance of natural light to enter the structure and create an area where arti cial light is needed only when the sun sets. e structure is purposefully laid out in a manner that separates private and public spaces to allow for the home to fully support both experiences.
Exterior View
Main Interior Space
View from Interior Looking Out
Initial View Initial View
View
First Sketch
Second View
Second View
Second View
Second Sketch
Second Sketch
Second Sketch Final Form + Lighting Final Form + Lighting Final Form + Lighting
Work #5. Materials, Finishes, and FF&E (Render final perspectives)
Exterior View
Main Interior Space
View from Interior Looking Out Initial View Initial View
View First AI Exploration Make this view more realistic. Make this view more realstic.
this view more realstic.
First AI Exploration First AI Exploration
Second View
Do not change the layout of this image, but add landscaping, trees, and change the brick color to be lighter.
Second View
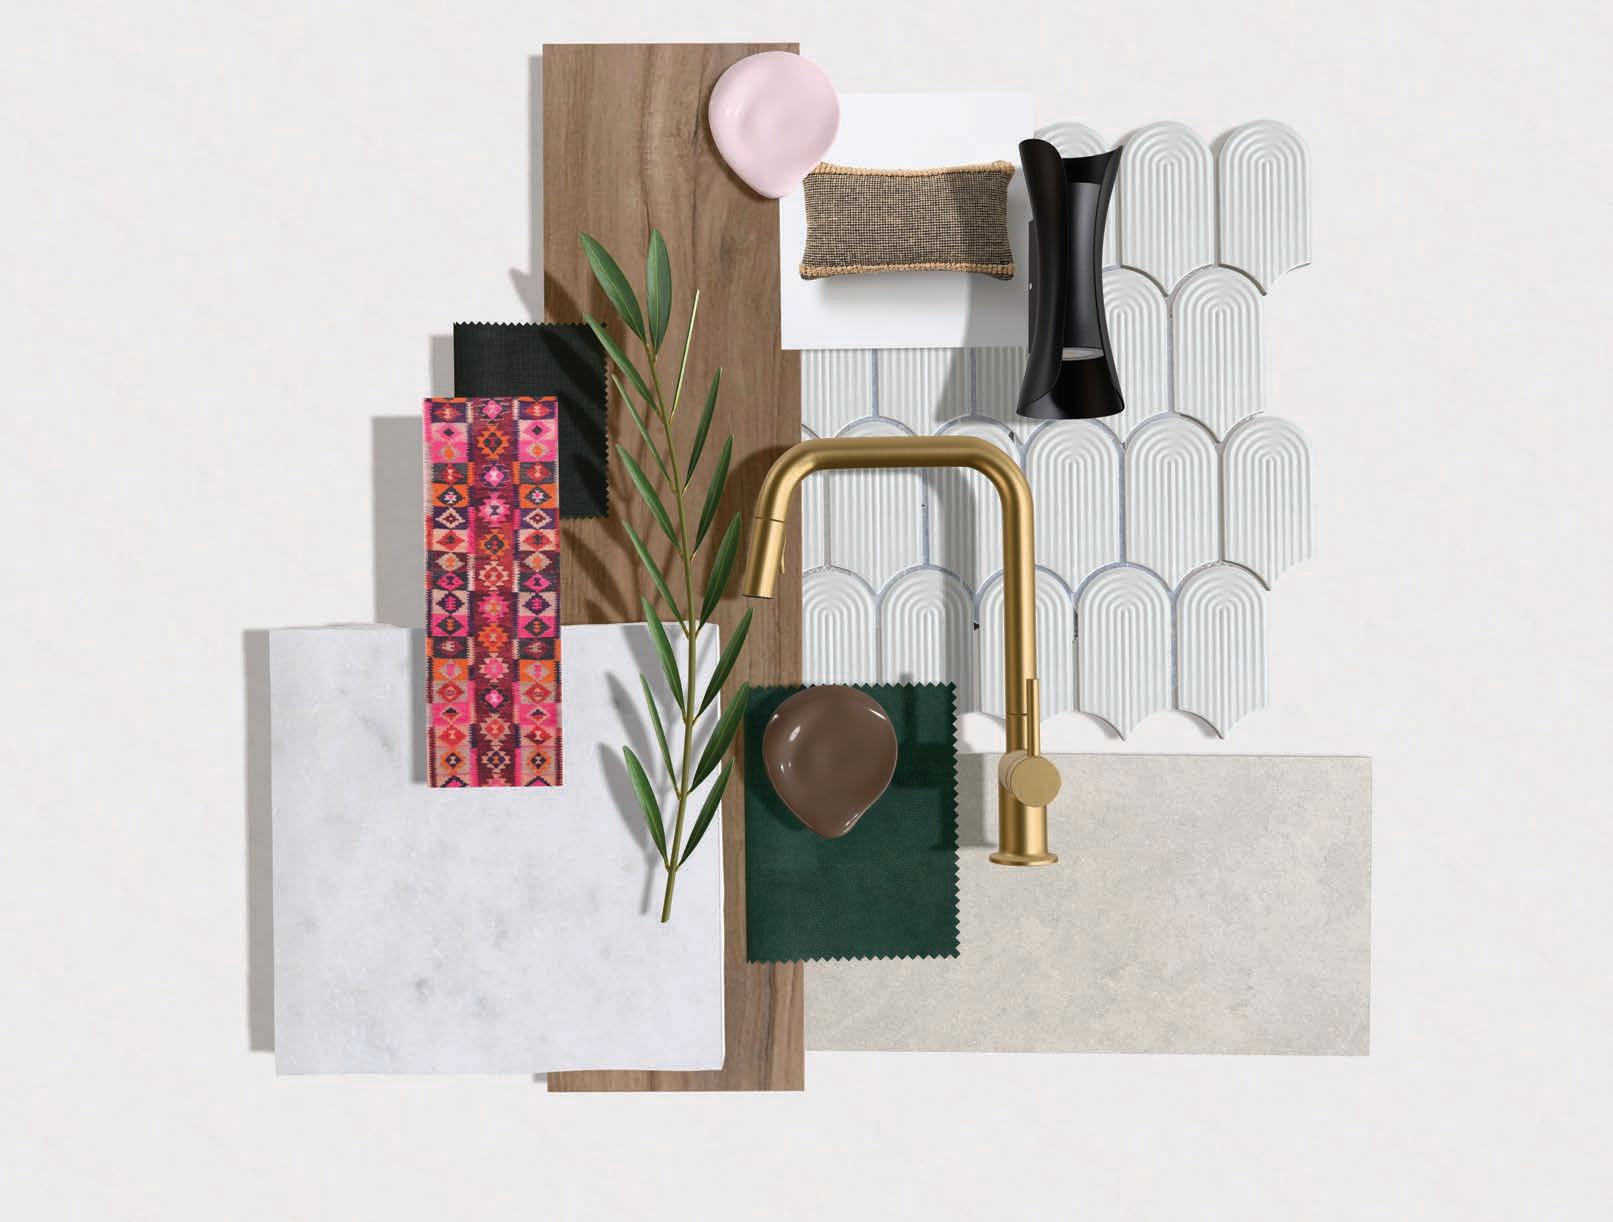
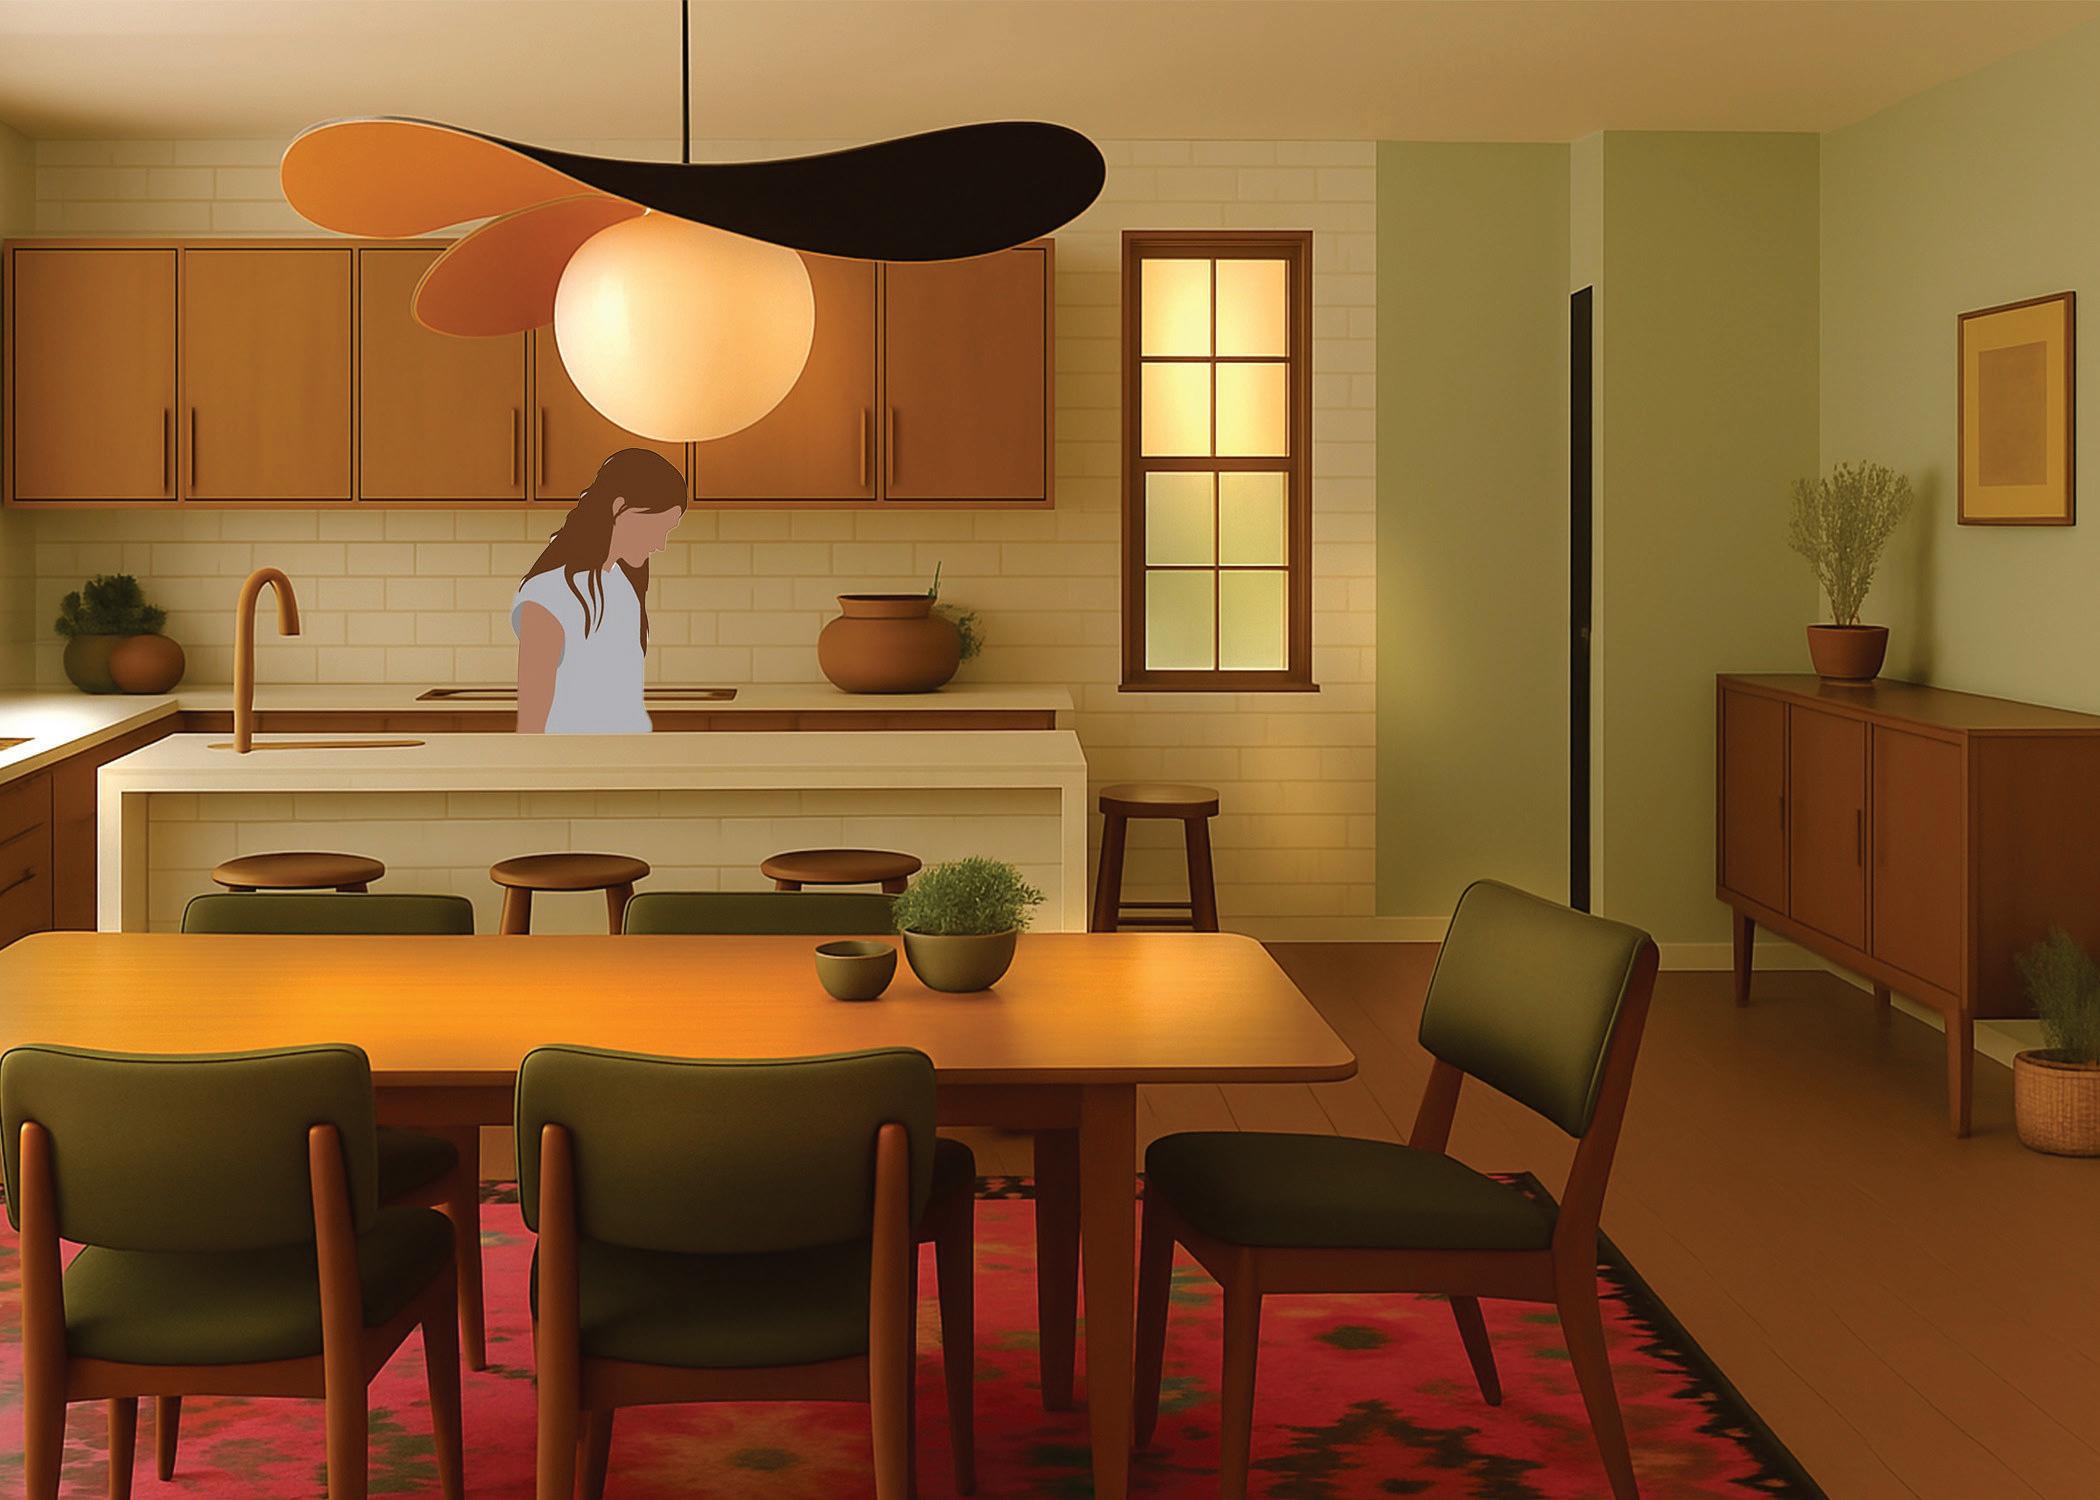
Use this image as inspiration to create a refined image similar to the one I am about to send. Do not change the layout of this image, but add tones that tie in with the exterior. Now, without changing the layout of the image, add marble countertops. Replace the current barstools with these ones. Perfect, now add this light above the dining room table without changing the layout. Great, replace the dining room table chairs with this chair, and do `not change anything about the design. Perfect. now replace the dining room table with this. DO NOT CHANGE THE LAYOUT. add touches that make it look less like a model home. add this rug pattern to the rug. great! Now just add a fun, white backsplash tile
Second View
Using the exact layout of the image, add a slightly darker wood to the patio space and make the furniture usable for the outdoors. Also, add landscaping with trees.
Third View
Third View
Third View
PROJECT #9
Final Review
1. Perspective Post-Production + Physical Model + Material Board + Final Collage
Students will finalize their design communication by enhancing rendered perspectives with detailed post-production, completing a physical model, and compiling material boards and updated conceptual collages. This work prepares the visual components for the final presentation.
2. Final Drawing & Presentation Material Assembly
Students will complete all drawing-based presentation materials—coloring plans, elevations, sections, and assembling final layout for boards or slides. The goal is to unify drawings and perspectives with a clear material logic and presentation flow.
3. Final Presentation Day
Students will present their final project in a formal critique setting. Each student will articulate their design concept, process, and final proposal using prepared boards/slides, models, and visuals.
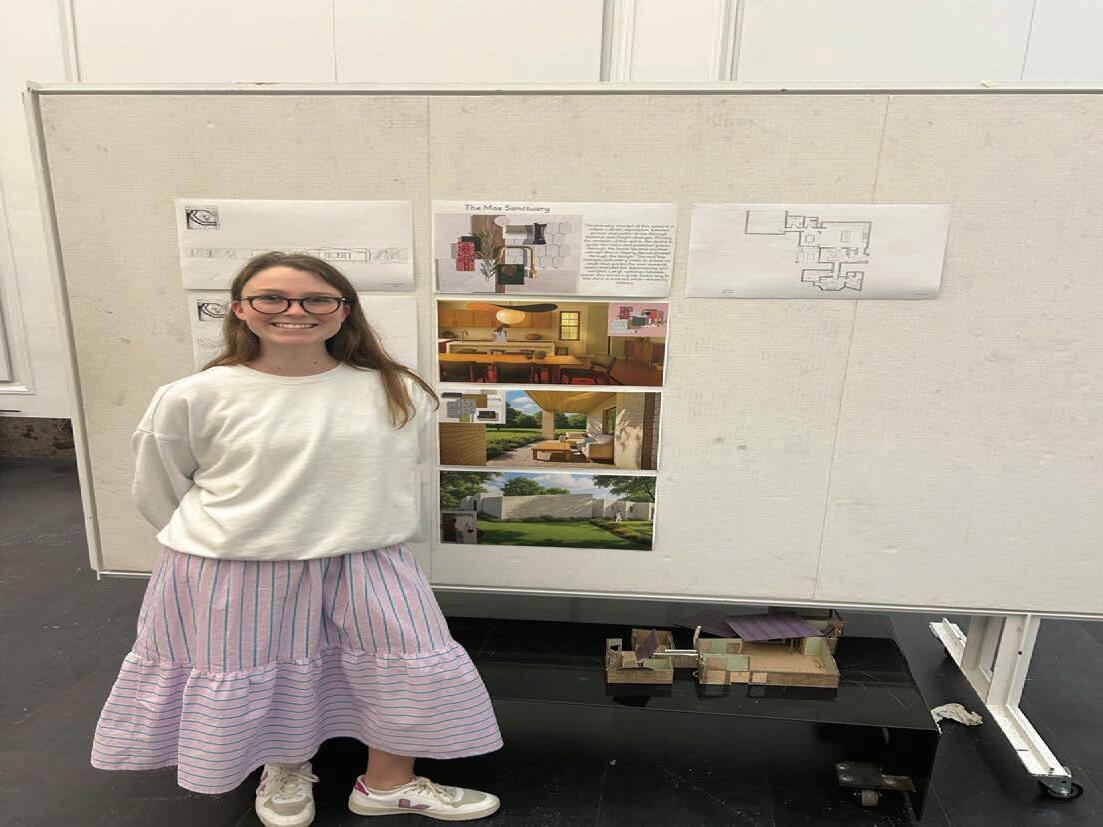
The Mae Sanctuary
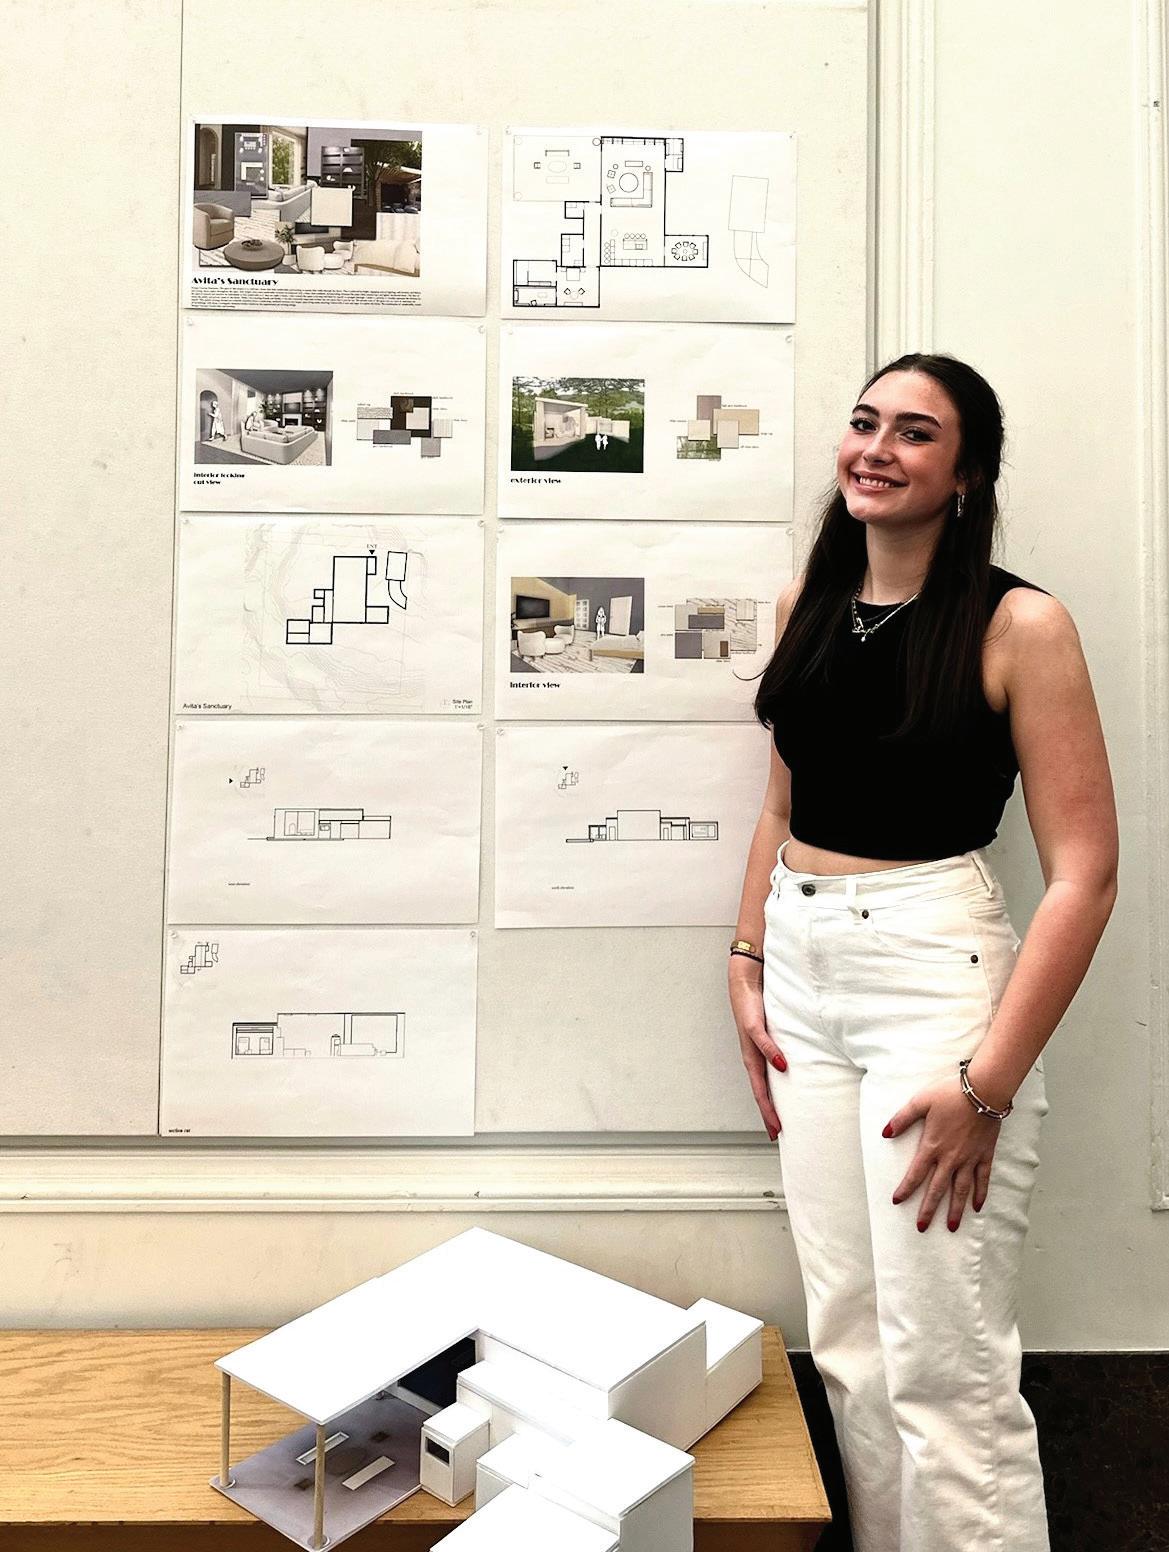
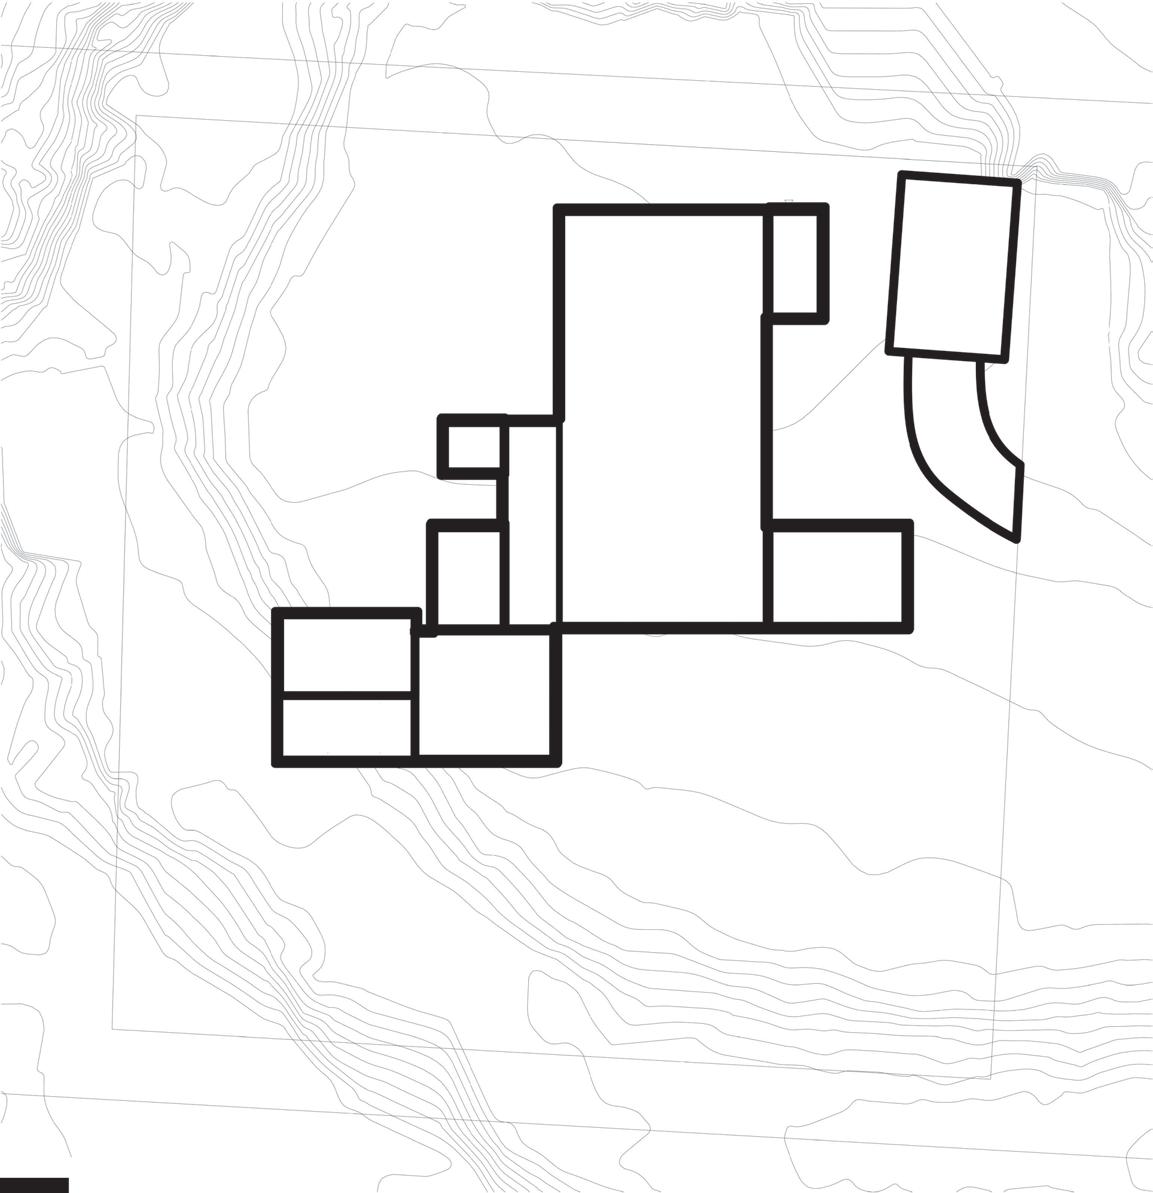
The primary concept of this space is to create a direct separation between private and public areas through distance and height changes. During the creation of this space, the desire to guide the client and potential guests through the home became another concept that is clearly demonstrated through the design. The roof line changes with every room to create an angle that guides the user towards areas intended for entertaining and comfort. Large openings between spaces also act as a guide and a way for the client to interact while remaining solitary.
Zeke Rasch Portfolio
Project #6 “Precedent Study”
- I learned the importance of studing other architectural pieces and learning from them.
Project #7 “Space Program”
- I learned how crucial the process of background research is when designing for a client.
Project #8 “Space Design”
- I learned that iteration is an extensive process and that a design may later greatly from its original form.
Project #9 “Presentation”
- I learned that confidence is key in presentation. Your ideas dont sell themselves, you need to be able to.
Project #10 “VR & AR Experiene”
- The process of visualition is key when designing a fully proportional building.
Project #12 “3 Hours observation”
- Patience is a learned virtue that can be used as an asset throughout one’s life.
Overall
- The process of design is immensely extensive, the proces is one that seemingly never ends.
If you could talk to you before these five weeks, what would you like to share with you?
- Work the full day and sometimes even nights, when you leave work for later its always you who has to complete it.
Space Design
1. From Massing to Concept Model
Students will refine their conceptual massing model by incorporating ideas of spatial sequence, light, atmosphere, and user experience. The goal is to transform a block-based structure into a design concept model that expresses the intended feeling, behavior, and identity of the home. The process will use section cuts, light and shadow tests, and interior–exterior spatial relationships to deepen design thinking.
2. Floor Plans + 3D
Students will transform their concept model into clearly articulated floor plans and further refine the Rhino 3D model to reflect architectural intent. The goal is to define programmatic zones, circulation, wall thickness, openings, and spatial proportions while maintaining conceptual clarity. Plans and 3D form must work in parallel to ensure consistency between design logic and space usability.
3. Elevations & Section
Students will generate elevation drawings and section cuts from their updated Rhino model and finalized plans to study vertical relationships, facade expression, and interior–exterior transitions. This will help articulate how the house presents itself spatially and formally, as well as how light, proportion, and structure are resolved across different views.
4. Perspectives (Form + Lighting Only)
Students will generate and compose perspective views to study form, massing, and lighting qualities without applying material finishes. The goal is to visualize spatial atmosphere, shadow patterns, openness/enclosure, and user scale using clean geometry. This exercise will deepen students’ spatial intuition and provide visual feedback for further refinement.
5. Materials, Finishes, and FF&E (Render final perspectives)
Students will complete final atmospheric renderings by applying materials, lighting, and FF&E (Furniture, Fixtures & Equipment) into the previously prepared Rhino model views. The goal is to communicate design intent and emotional quality by combining light, color, texture, and spatial use in realistic visualizations.
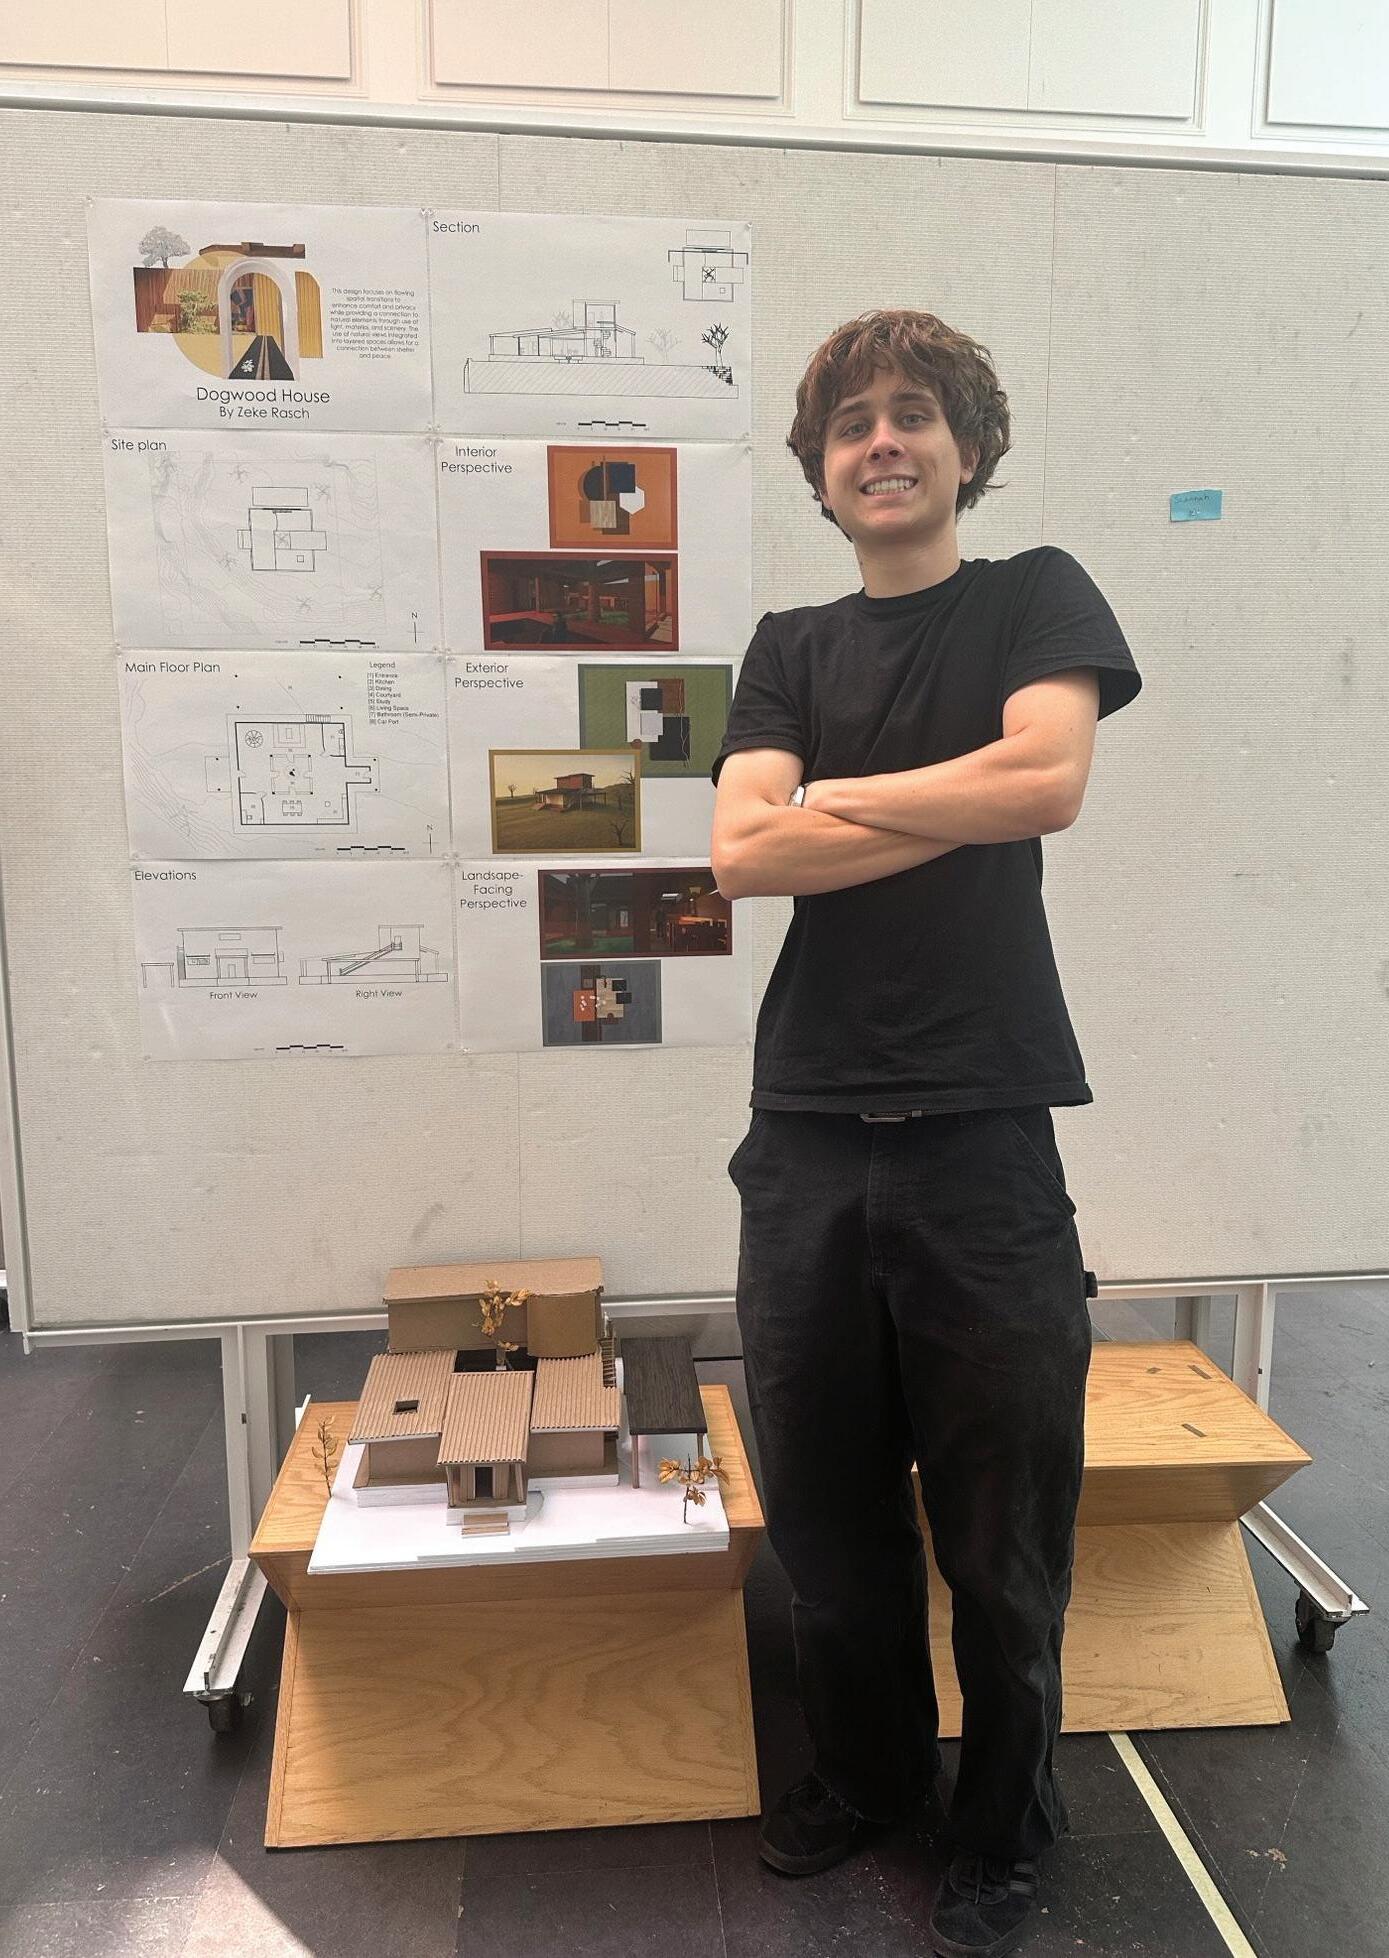
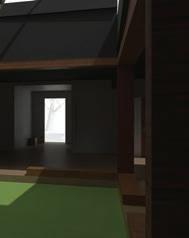
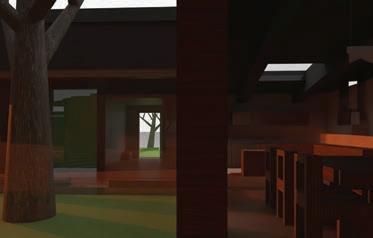
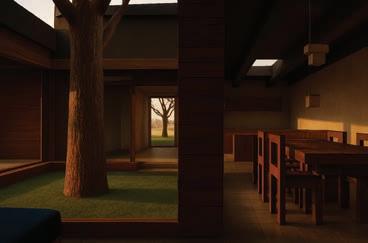
Dogwood
This design focuses on flowing spatial transitions to enhance comfort and privacy while providing a connection to natural elements through use of light, material, and scenery. The use of natural views integrated into layered spaces allows for a connection between shelter and peace.
Work #1. Sequence Diagram + Conceptual Mass Model
Exterior View
Main Interior Space
View from Interior Looking Out Initial View Initial View
First Sketch First Sketch First Sketch
Second View
Second View
Second View
Work #5. Materials, Finishes, and FF&E (Render final perspectives)
Exterior View
from Interior Looking Out
Main Interior Space
View
Third View
Third View
PROJECT #9
Final Review
1. Perspective Post-Production + Physical Model + Material Board + Final Collage
Students will finalize their design communication by enhancing rendered perspectives with detailed post-production, completing a physical model, and compiling material boards and updated conceptual collages. This work prepares the visual components for the final presentation.
2. Final Drawing & Presentation Material Assembly
Students will complete all drawing-based presentation materials—coloring plans, elevations, sections, and assembling final layout for boards or slides. The goal is to unify drawings and perspectives with a clear material logic and presentation flow.
3. Final Presentation Day
Students will present their final project in a formal critique setting. Each student will articulate their design concept, process, and final proposal using prepared boards/slides, models, and visuals.
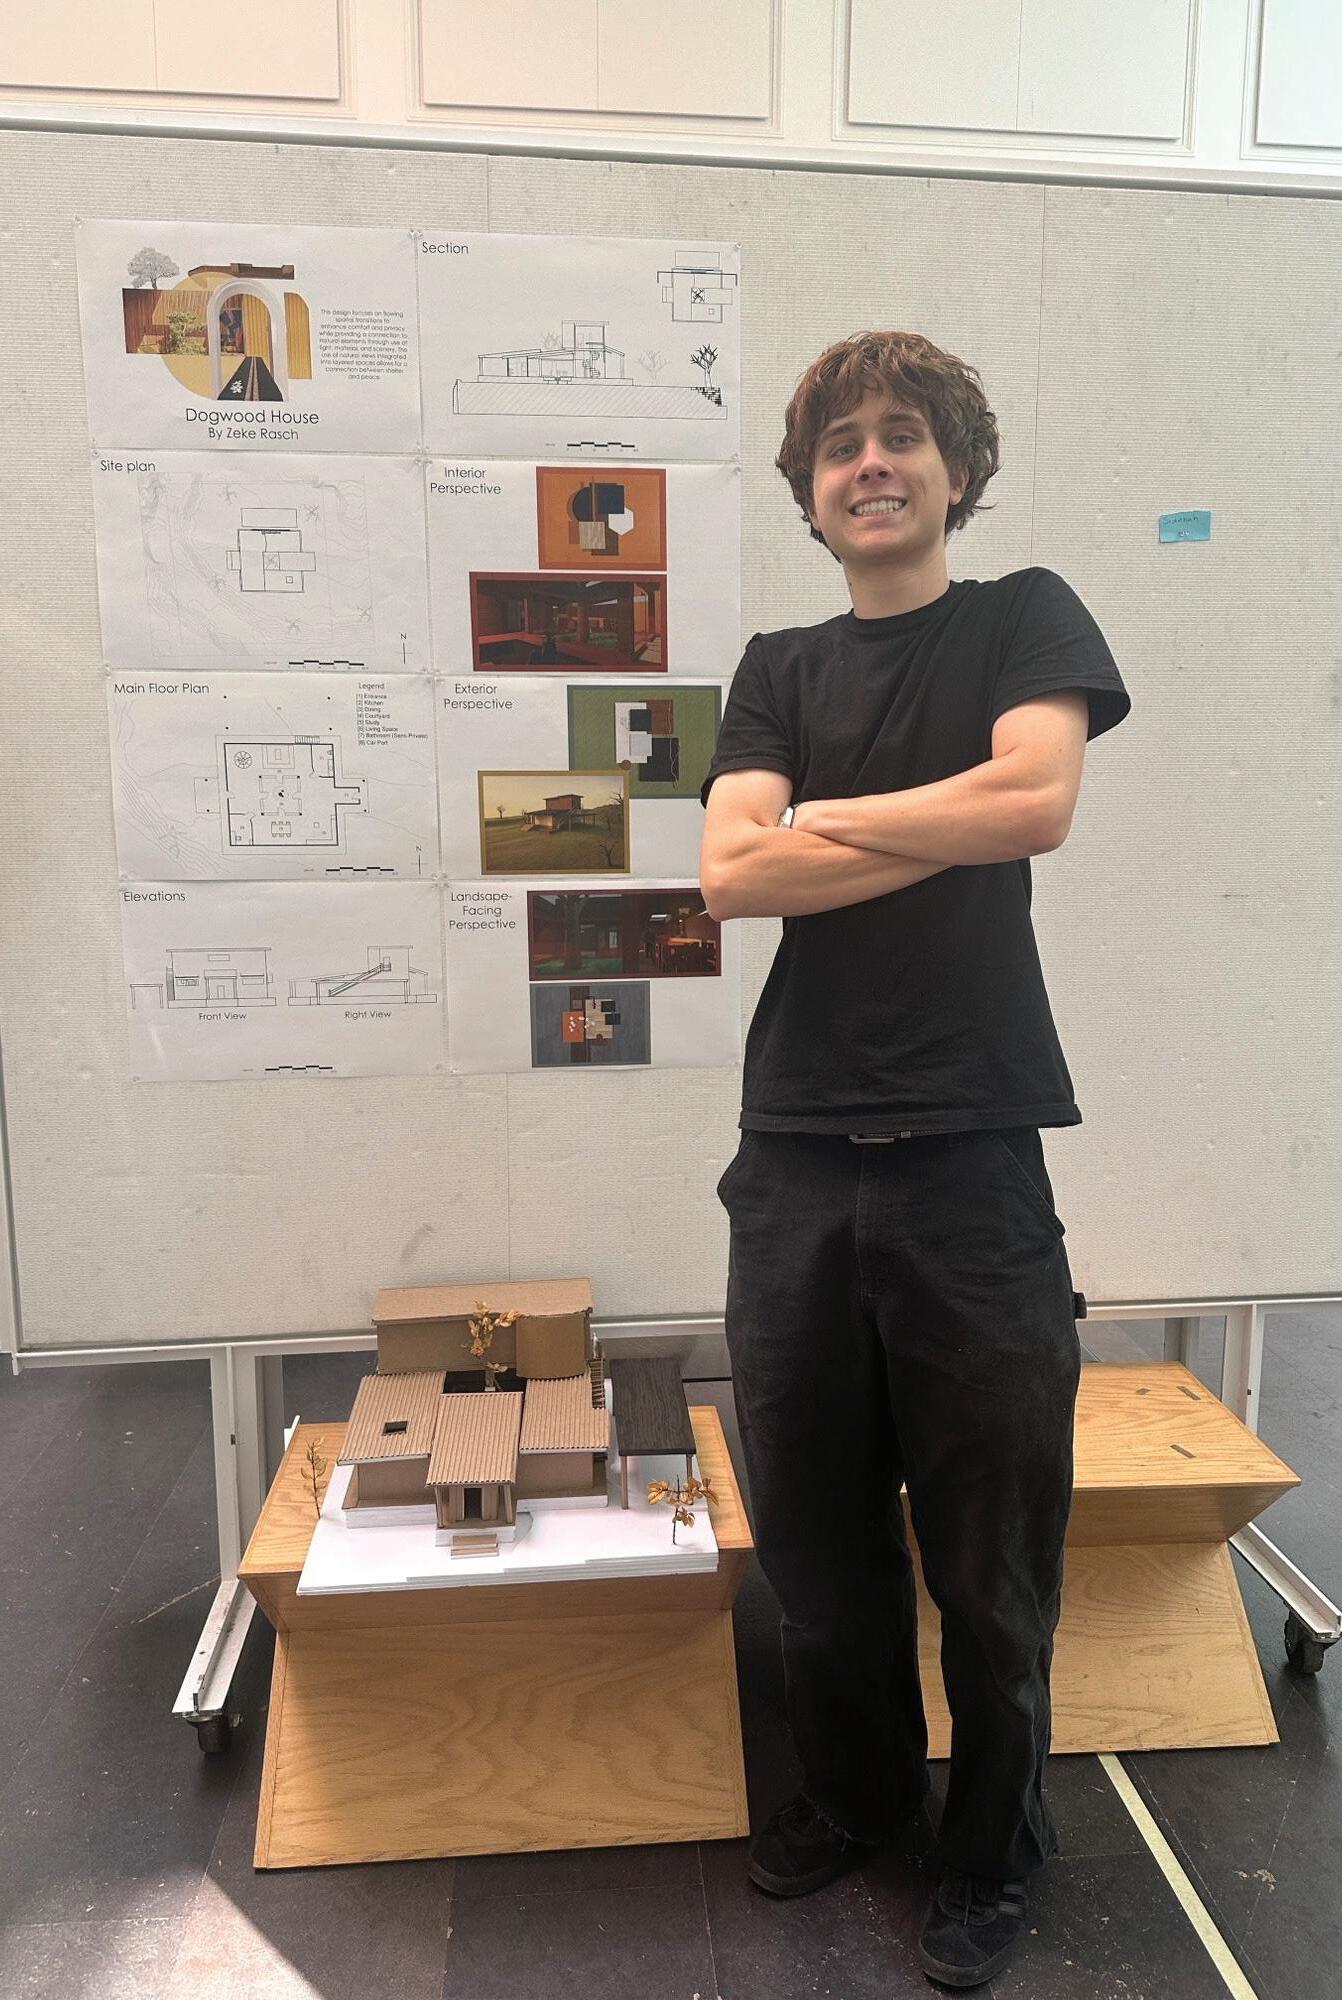
Dogwood By Zeke Rasch
House Rasch
This design focuses on flowing spatial transitions to enhance comfort and privacy while providing a connection to natural elements through use of light, material, and scenery. The use of natural views integrated into layered spaces allows for a connection between shelter and peace.
Dogwood
Site plan
Main Floor Plan
[1]Entrance
[2]Kitchen
[3]Dining
[4] Courtyard
[5]Study
[6]Living Space
[7]Bathroom(Semi-Private)
[8] Car Port
BACK VIEW
FRONT VIEW
RIGHT VIEW
LEFT VIEW
Section
Bathroom 1/4”=1’
Bedroom 1/4”=1’
Study 1/4”=1’
Interior Perspective
Exterior Perspective
LandsapeFacing Perspective
Kyra Reeds
Portfolio
Project #6 “Precedent Study”
- By working on the precedent study I was able to learn what I like and dont like when it comes ot interior and exterior architecture.
Project #7 “Space Program”
- During the Space design probram I furthered my knowledge on the basics of a space. How much area you need to freely move around without feeling constrained, but balancing not makign your space to large and void like. Measurments really came into play here.
Project #8 “Space Design”
- When designing my space I was able to learn so much about prober lighting and how differetn materials can greatly inmact the mood of your space. Brighter colors and more natuiral light created a much more inviting fun space for my home in particular.
Project #9 “Presentation”
- Preparing my presentation I leanred the importance of time managment. Having all my work complete and extra time to go back and make any last minute revisions was crucial for my process. As for the actual presentation, I learned that other peoples opinions can be so helpful to develope your design and that you dont alwasy have to agree with their opinions on your home, but its nice to get others insight.
Project #10 “VR & AR Experiene”
- Through the AR and VR experience I was able fully experience my home asthough its already been build, which really brought my ideas to life and allowed me to realize what could be chnaged to improve the basics of my home.
Project #12 “3 Hours observation”
- During my observation time I was able to realize the importance of taking extra time to observe. During this extended time you are able to make realizations not possible if you only sit there for a few minutes.
Overall
- I was able to learn an incredible amount! What I leanred most is that your ideas are just as important as your craft. You need to take equal time coming up with a unique and fun ideas as you do to bring the ideas to life.
If you could talk to you before these five weeks, what would you like to share with you?
- I would tell myself to stay strong, I know youre tired but the next 5 week will be so rewarding at the end. Keep killing it!
Space Design
1. From Massing to Concept Model
Students will refine their conceptual massing model by incorporating ideas of spatial sequence, light, atmosphere, and user experience. The goal is to transform a block-based structure into a design concept model that expresses the intended feeling, behavior, and identity of the home. The process will use section cuts, light and shadow tests, and interior–exterior spatial relationships to deepen design thinking.
2. Floor Plans + 3D
Students will transform their concept model into clearly articulated floor plans and further refine the Rhino 3D model to reflect architectural intent. The goal is to define programmatic zones, circulation, wall thickness, openings, and spatial proportions while maintaining conceptual clarity. Plans and 3D form must work in parallel to ensure consistency between design logic and space usability.
3. Elevations & Section
Students will generate elevation drawings and section cuts from their updated Rhino model and finalized plans to study vertical relationships, facade expression, and interior–exterior transitions. This will help articulate how the house presents itself spatially and formally, as well as how light, proportion, and structure are resolved across different views.
4. Perspectives (Form + Lighting Only)
Students will generate and compose perspective views to study form, massing, and lighting qualities without applying material finishes. The goal is to visualize spatial atmosphere, shadow patterns, openness/enclosure, and user scale using clean geometry. This exercise will deepen students’ spatial intuition and provide visual feedback for further refinement.
5. Materials, Finishes, and FF&E (Render final perspectives)
Students will complete final atmospheric renderings by applying materials, lighting, and FF&E (Furniture, Fixtures & Equipment) into the previously prepared Rhino model views. The goal is to communicate design intent and emotional quality by combining light, color, texture, and spatial use in realistic visualizations.
Exterior View
Main Interior Space
View from Interior Looking Out Initial View
Sketch
Second View
Second View
Second View Second Sketch
Work #5. Materials, Finishes, and FF&E (Render final perspectives)
Exterior View
Main Interior Space
View from Interior Looking Out
Second View
Second View
PROJECT #9
Final Review
1. Perspective Post-Production + Physical Model + Material Board + Final Collage
Students will finalize their design communication by enhancing rendered perspectives with detailed post-production, completing a physical model, and compiling material boards and updated conceptual collages. This work prepares the visual components for the final presentation.
2. Final Drawing & Presentation Material Assembly
Students will complete all drawing-based presentation materials—coloring plans, elevations, sections, and assembling final layout for boards or slides. The goal is to unify drawings and perspectives with a clear material logic and presentation flow.
3. Final Presentation Day
Students will present their final project in a formal critique setting. Each student will articulate their design concept, process, and final proposal using prepared boards/slides, models, and visuals.
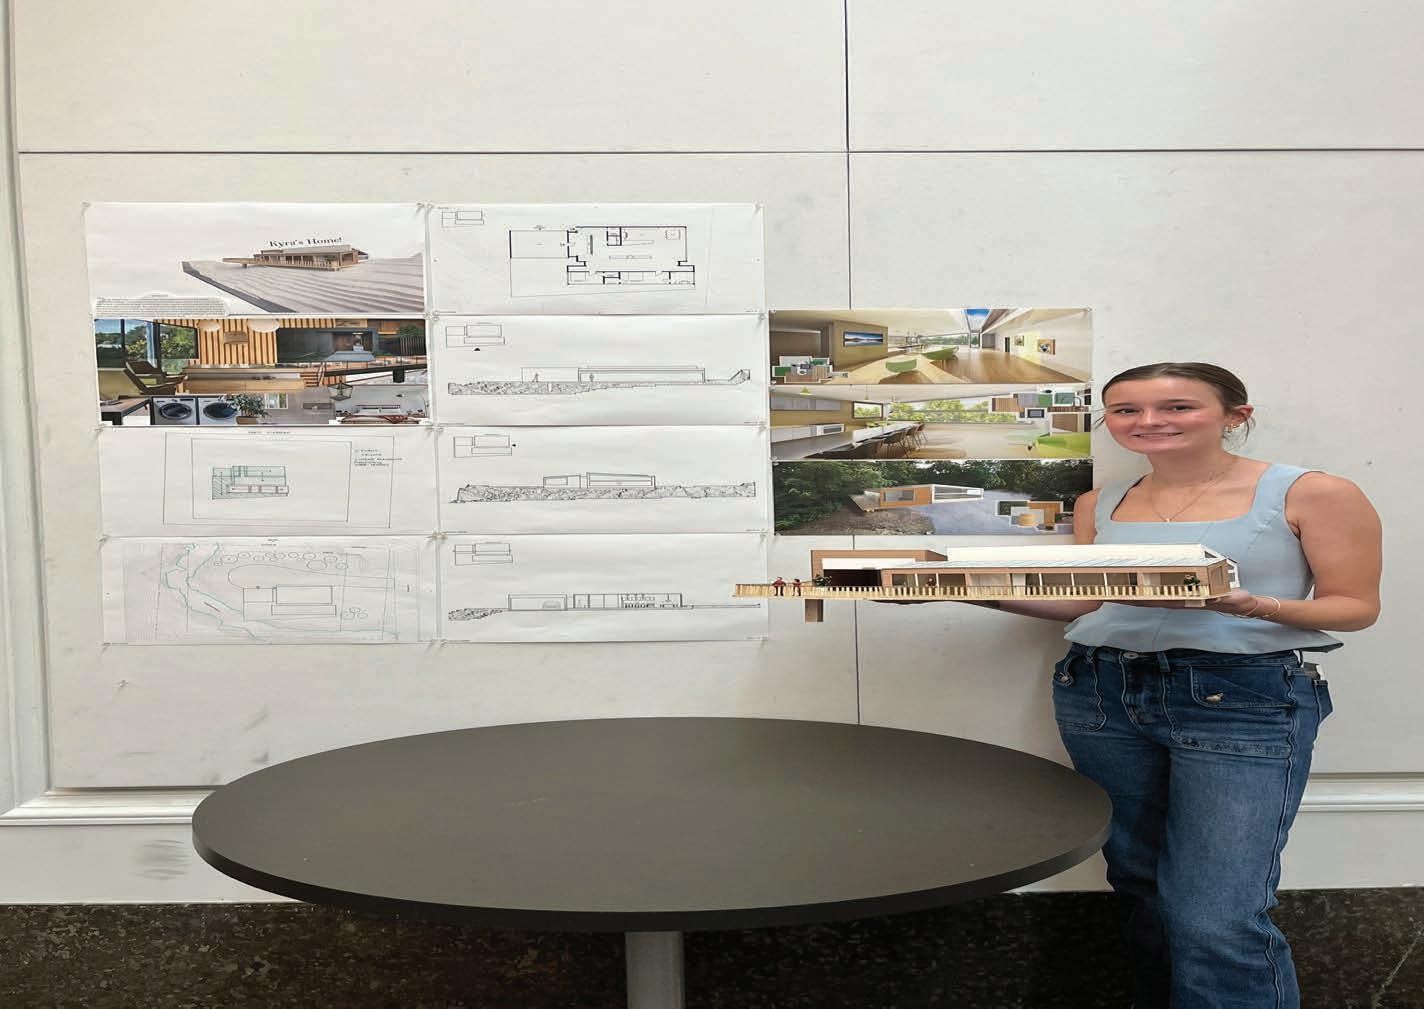
KYRA’S HOME!
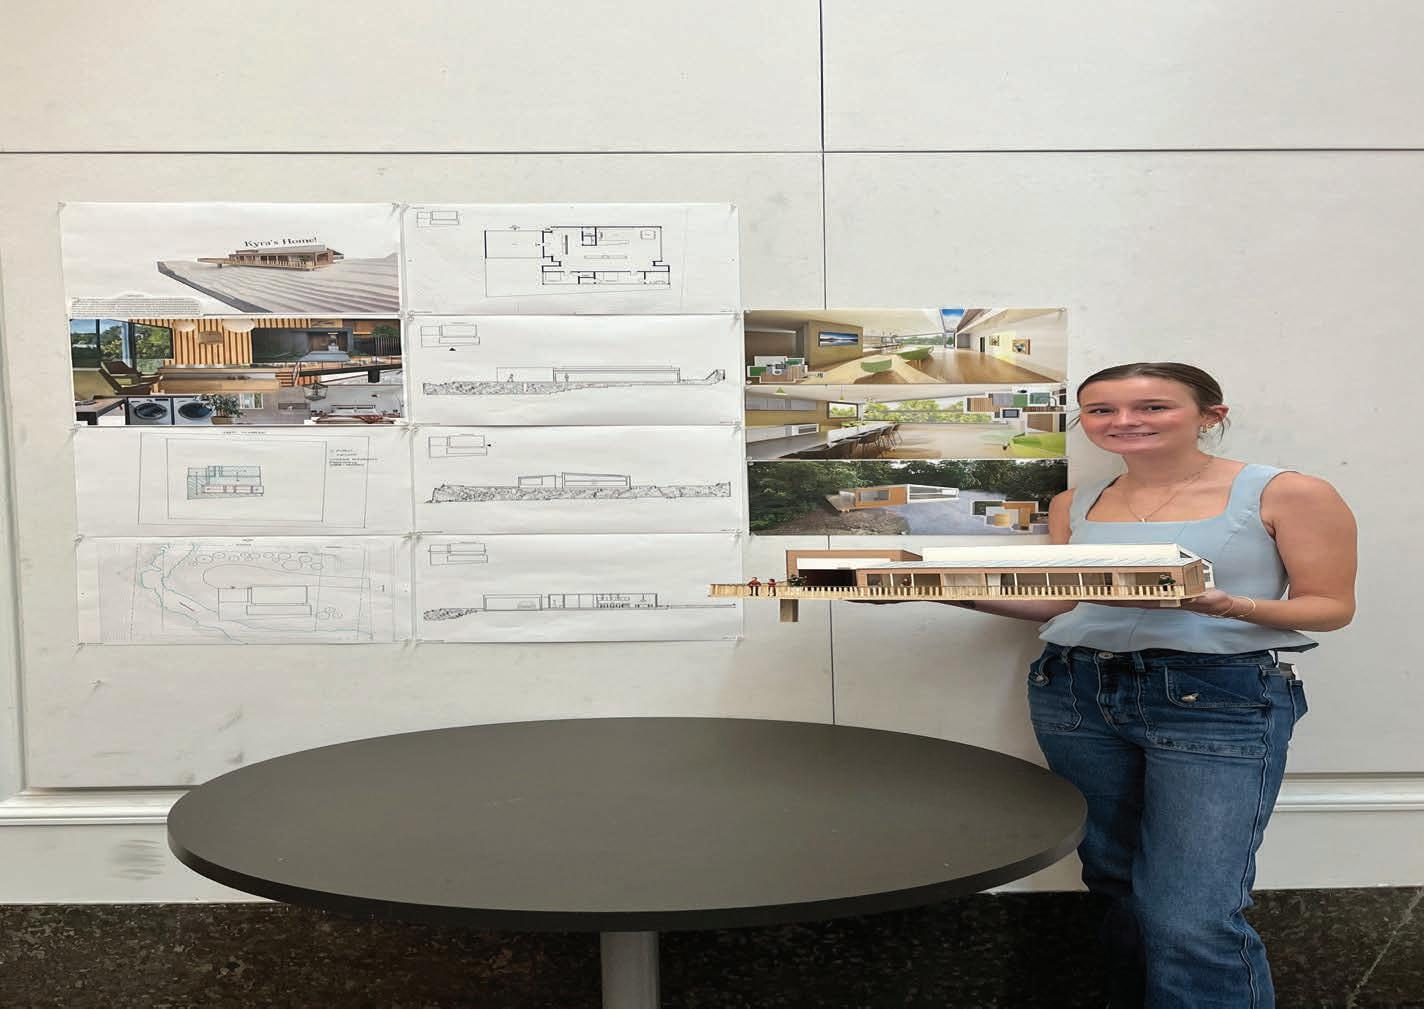
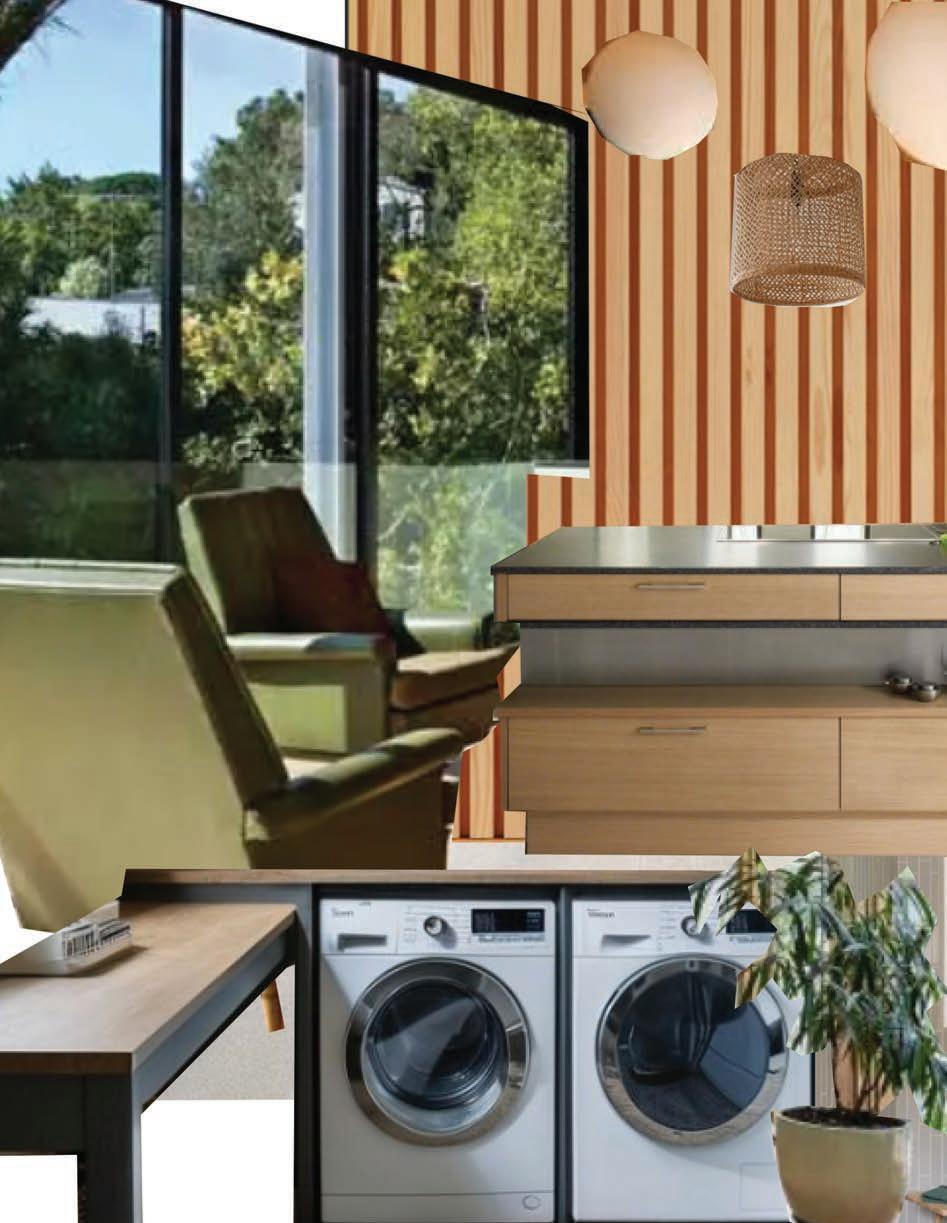
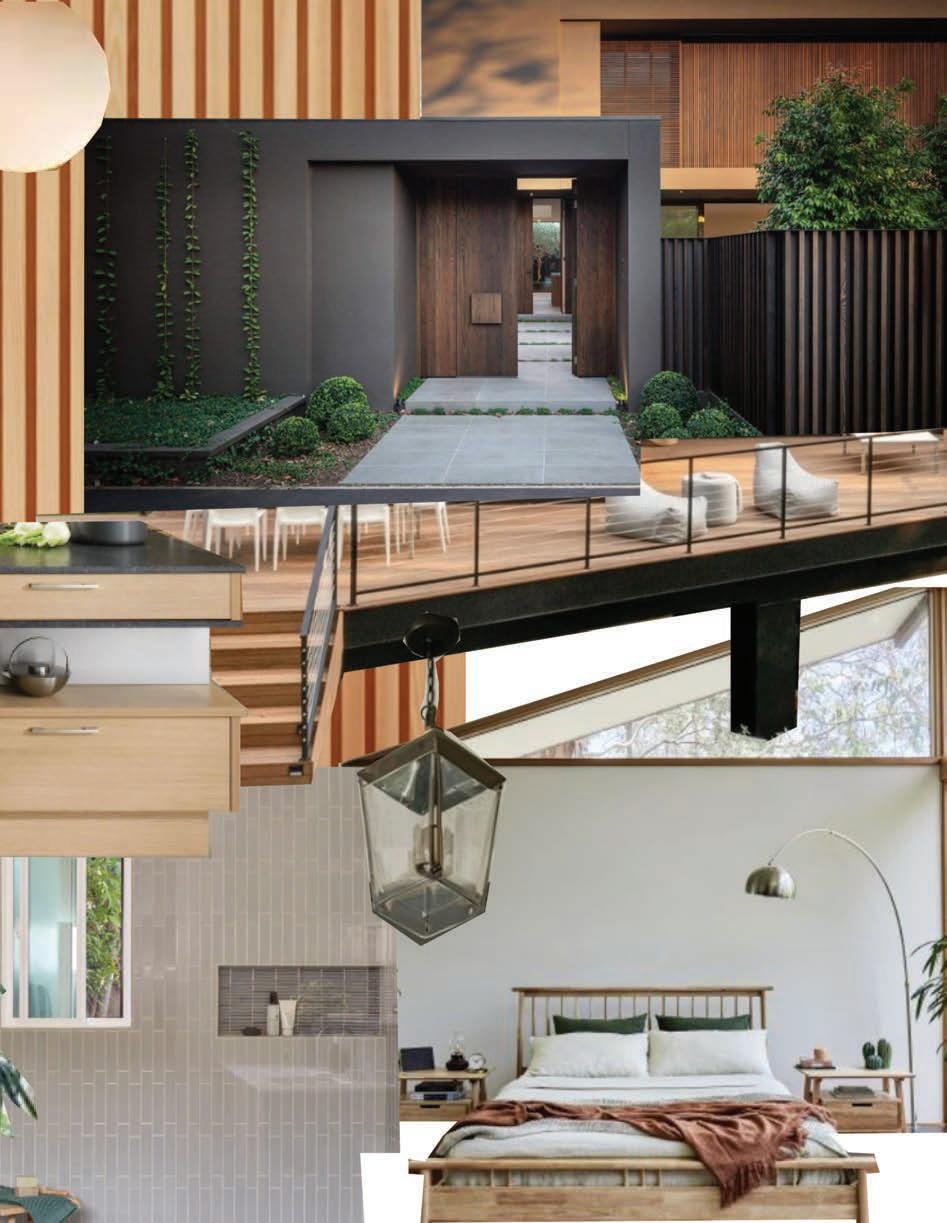
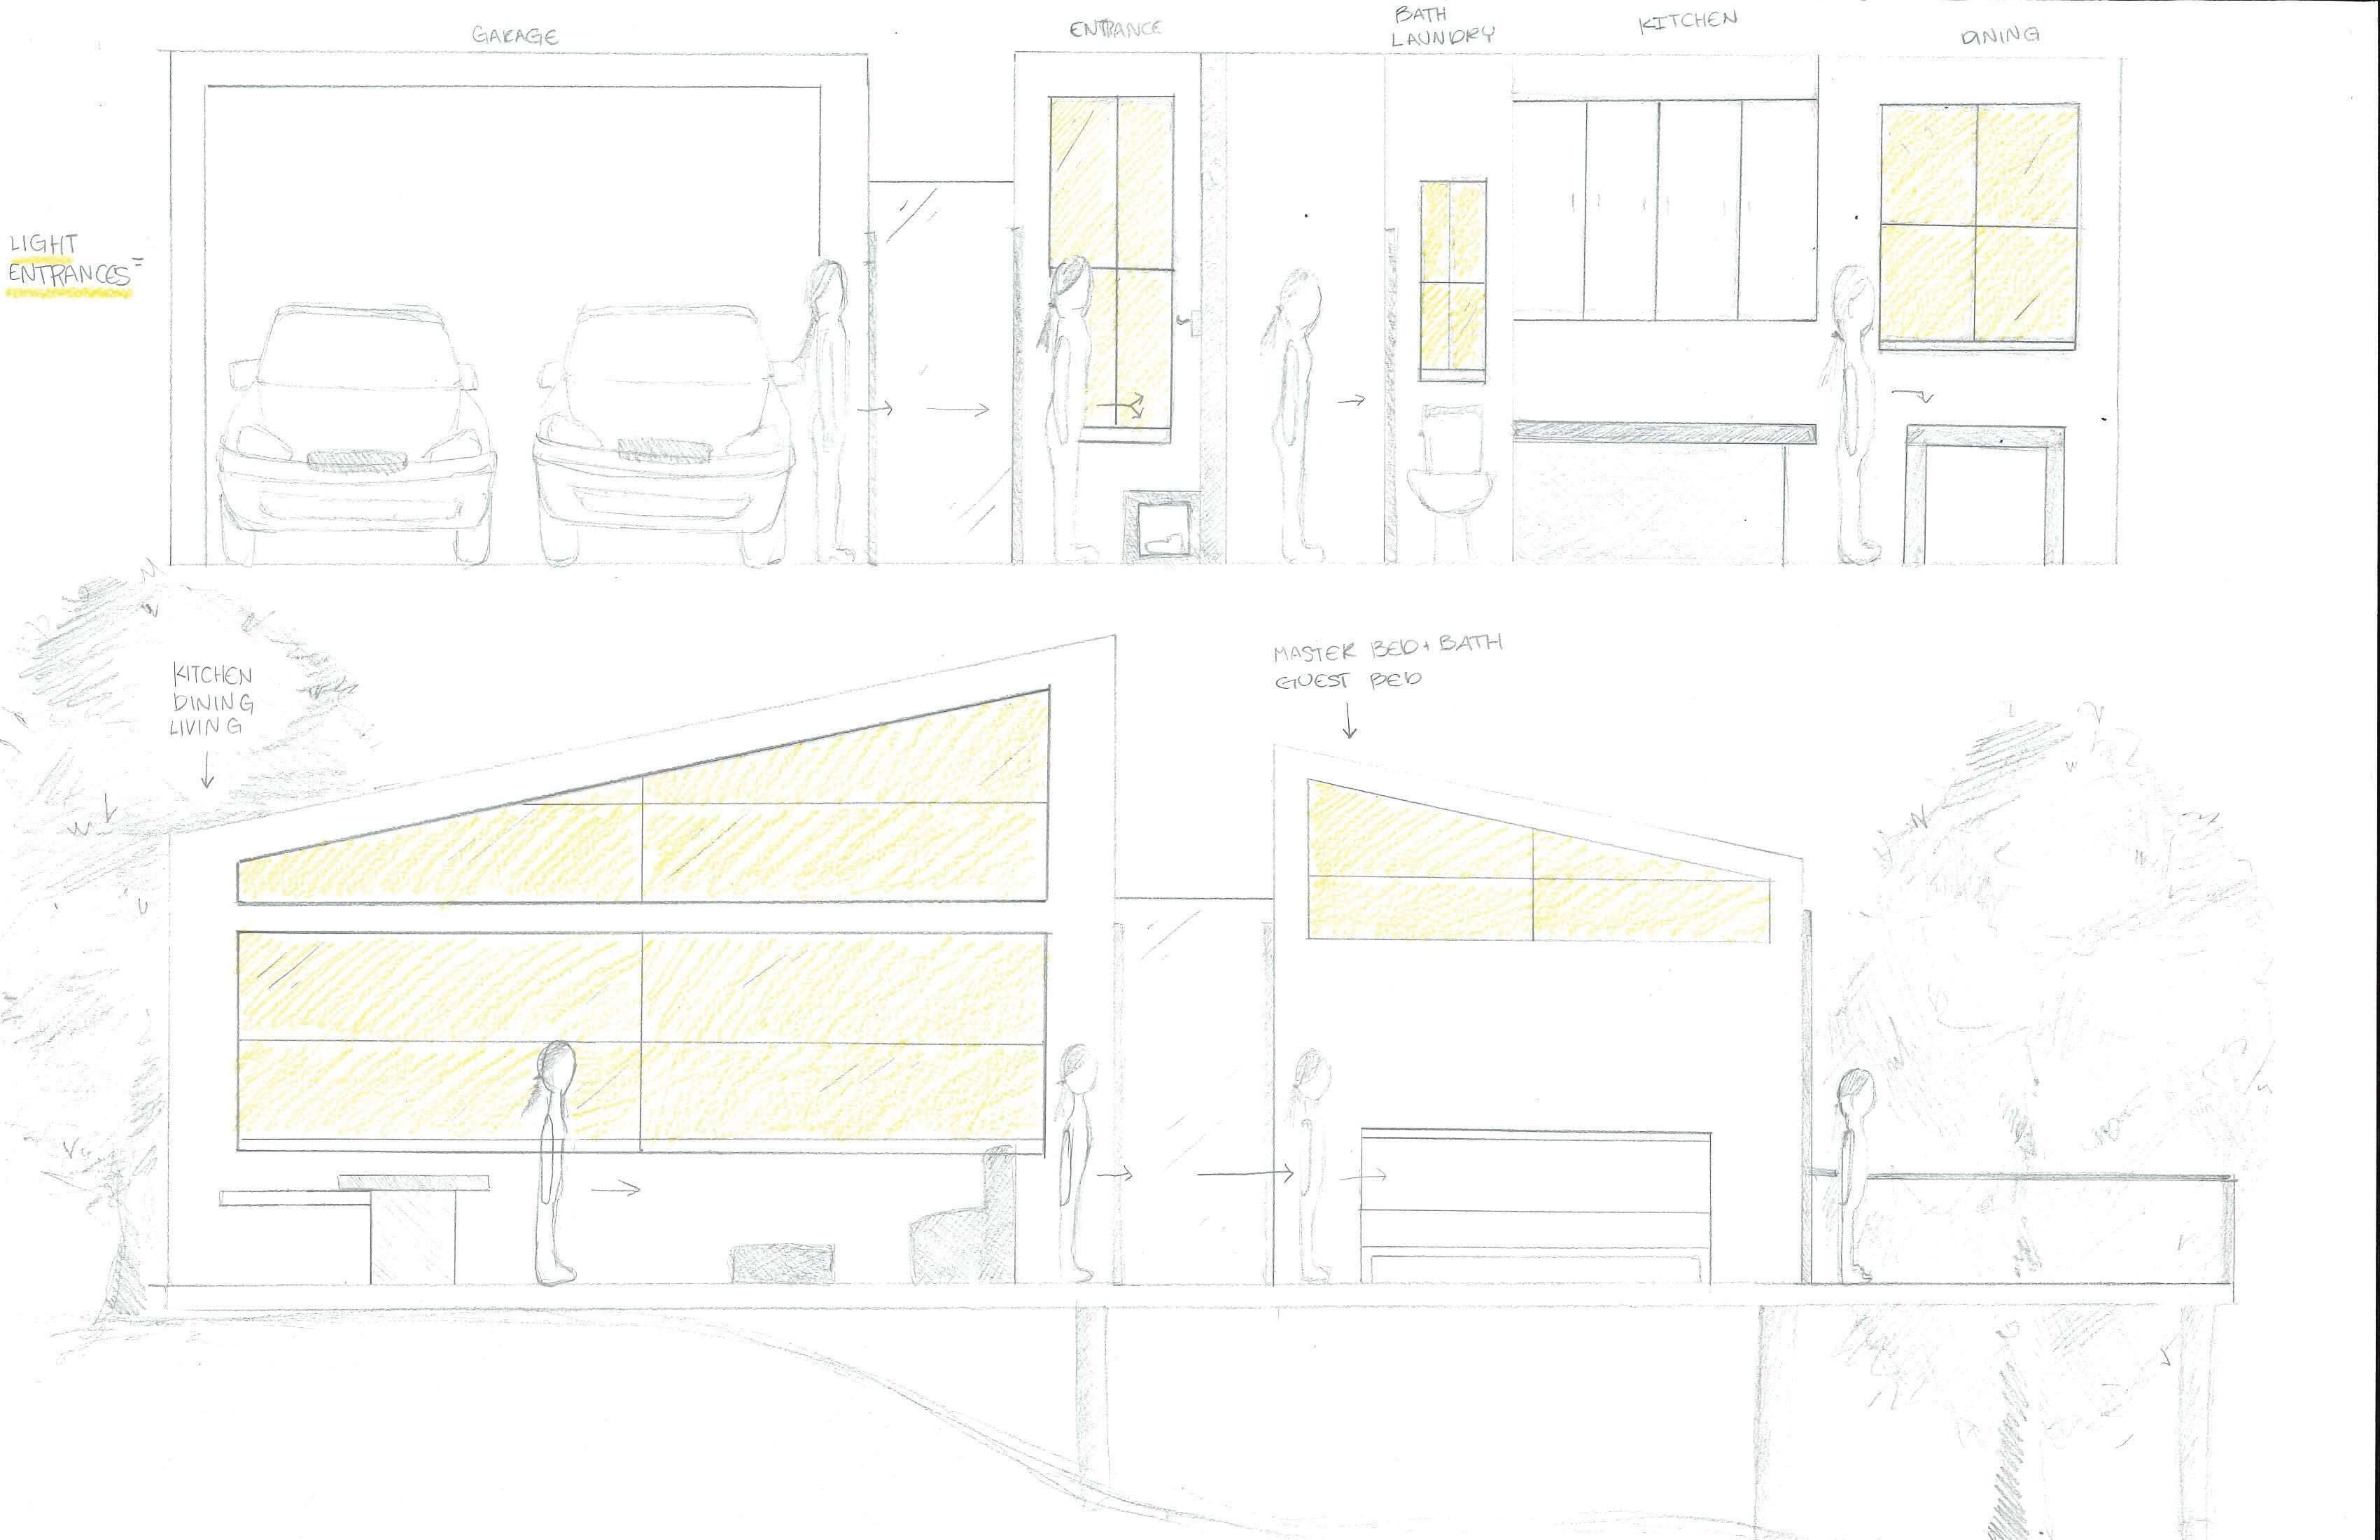
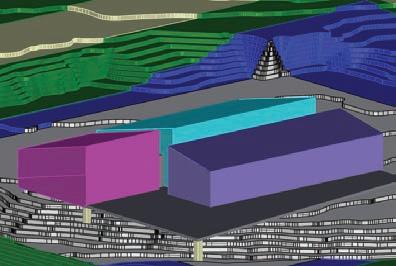
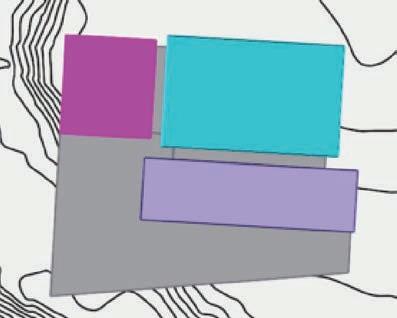
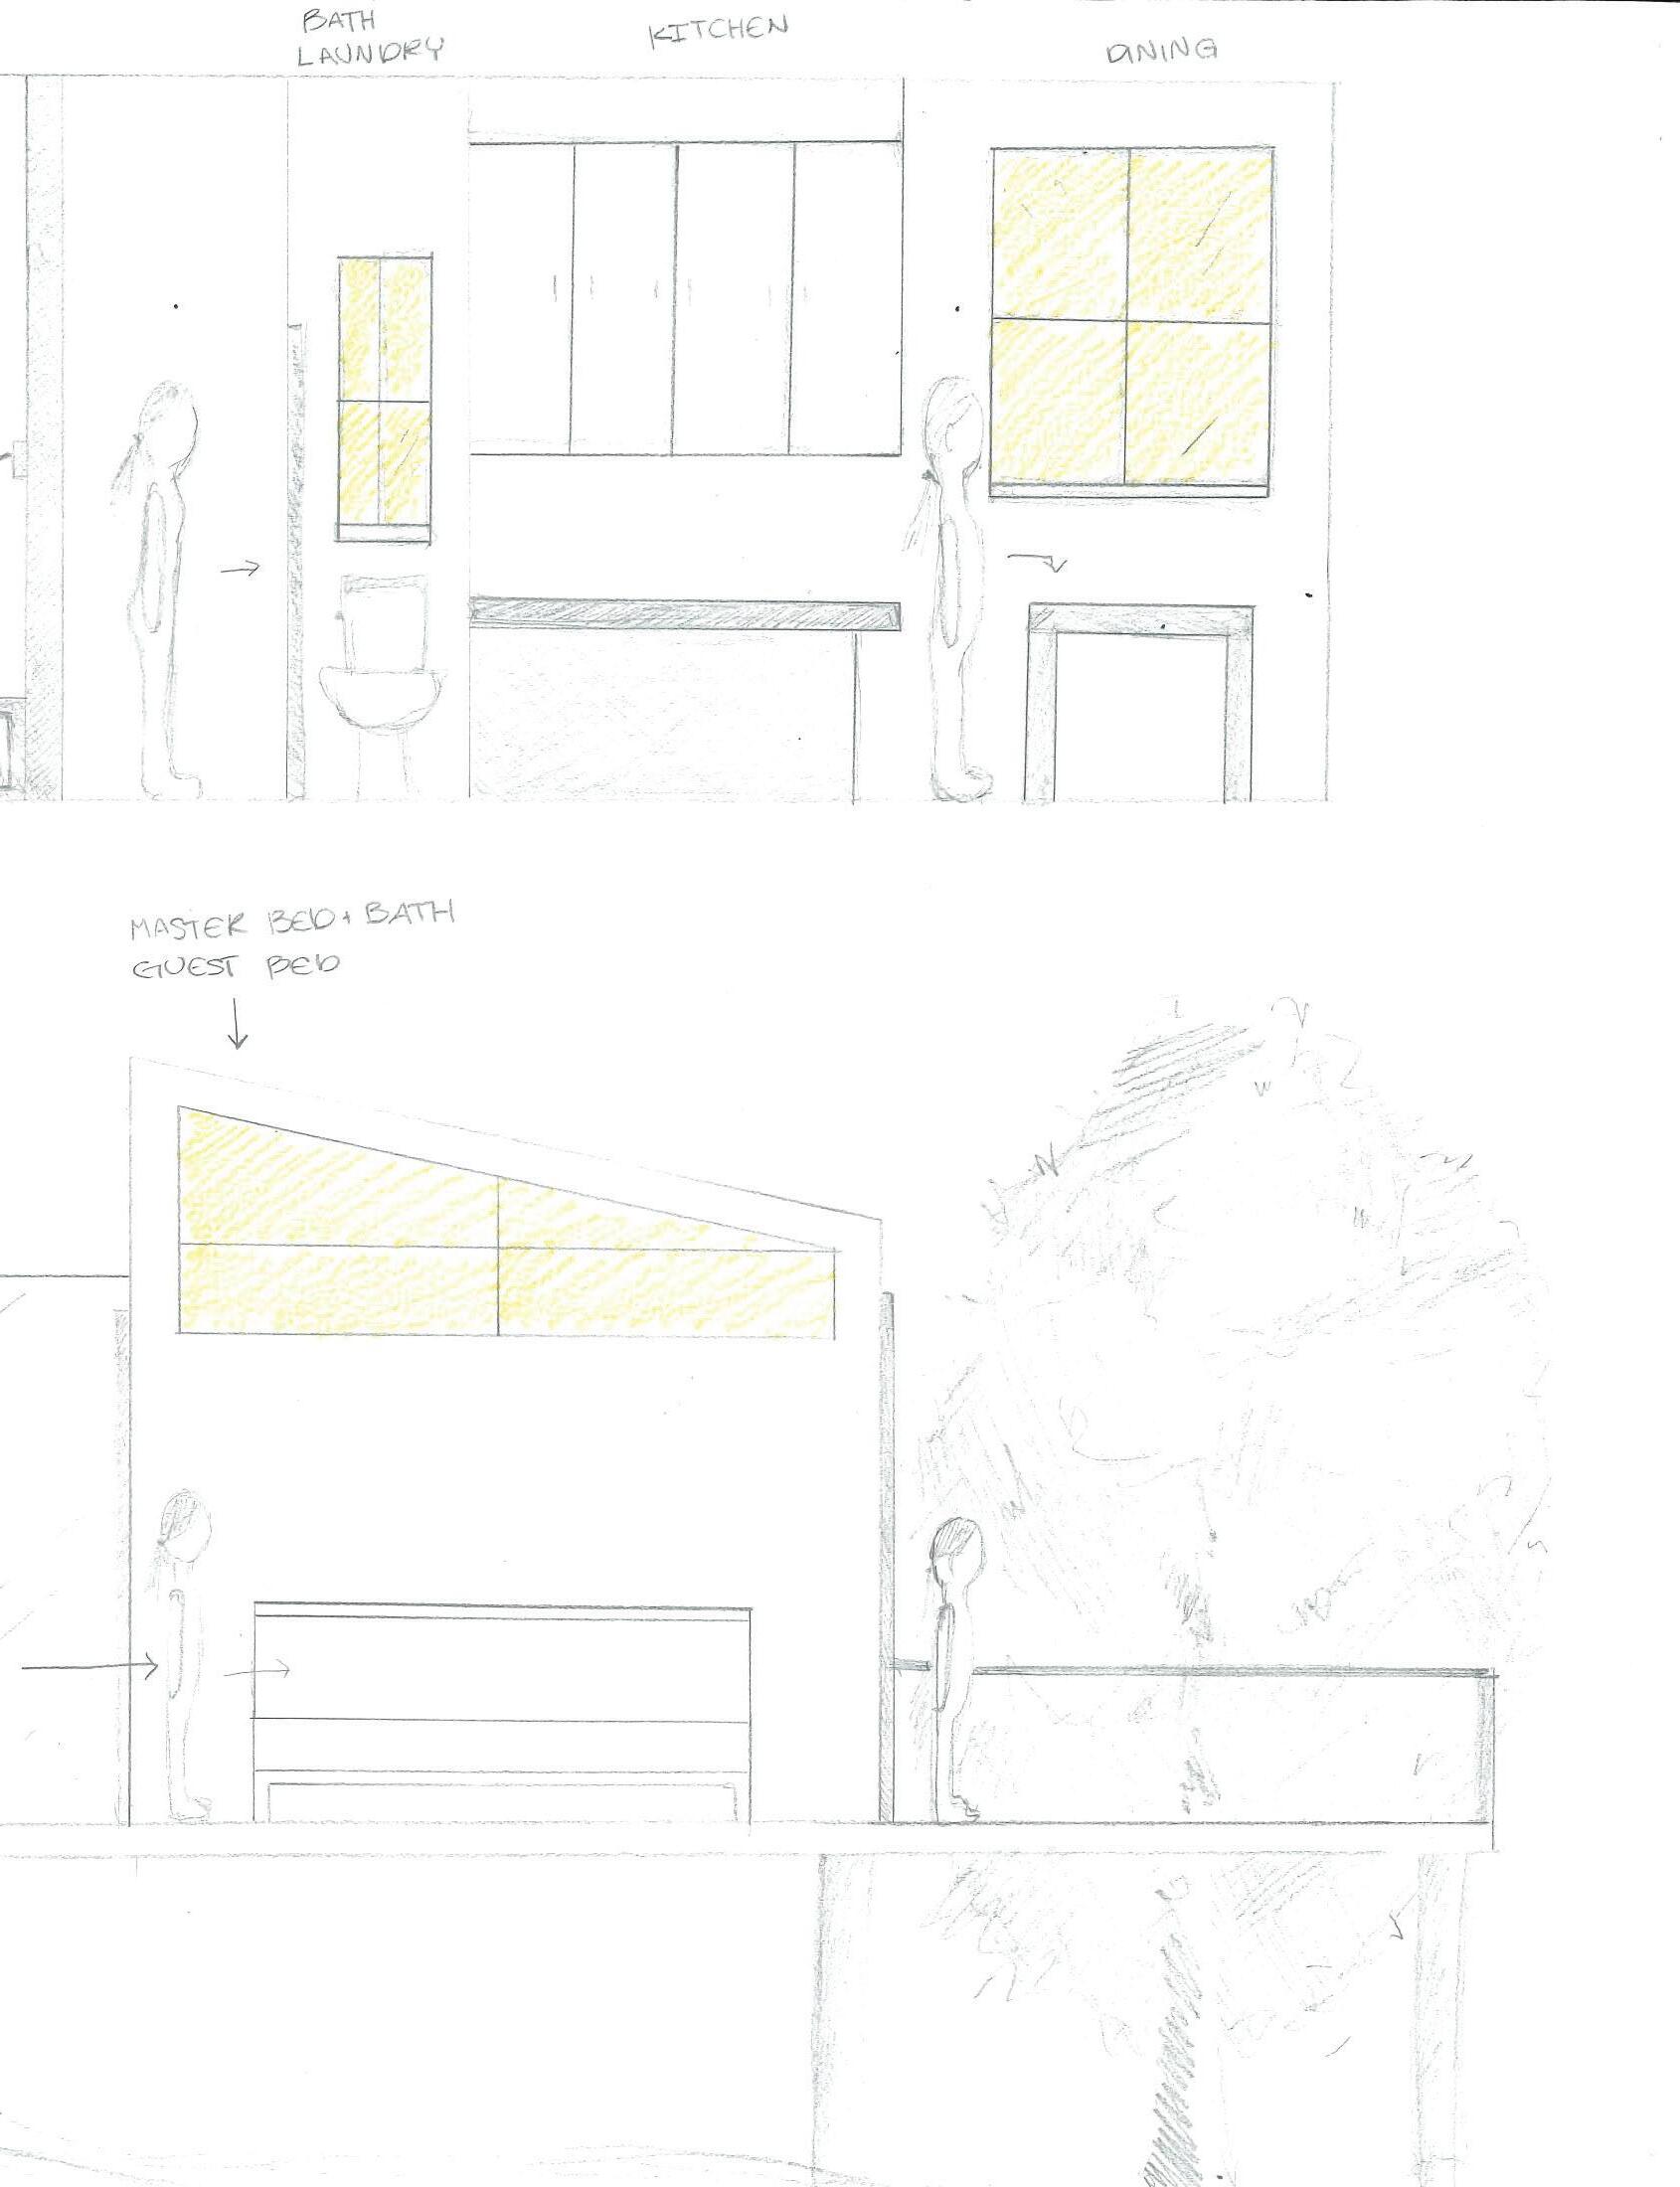
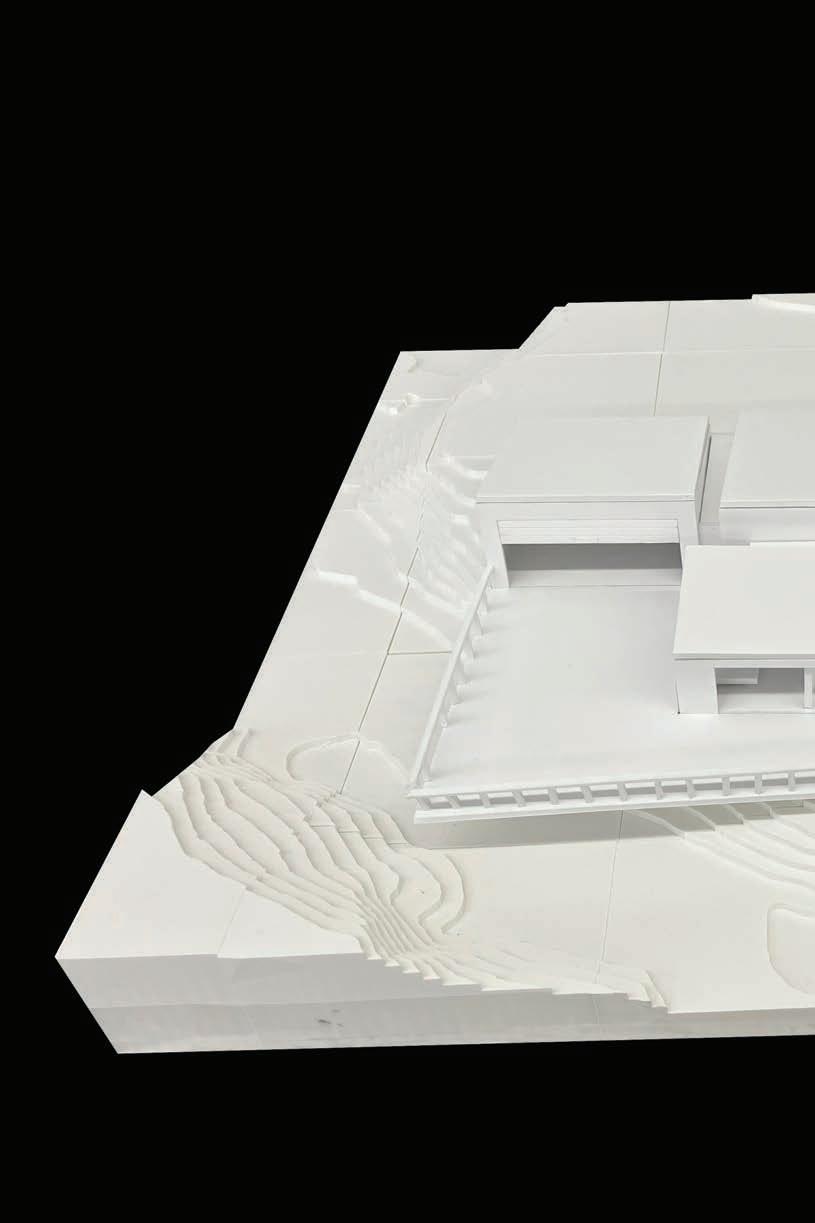
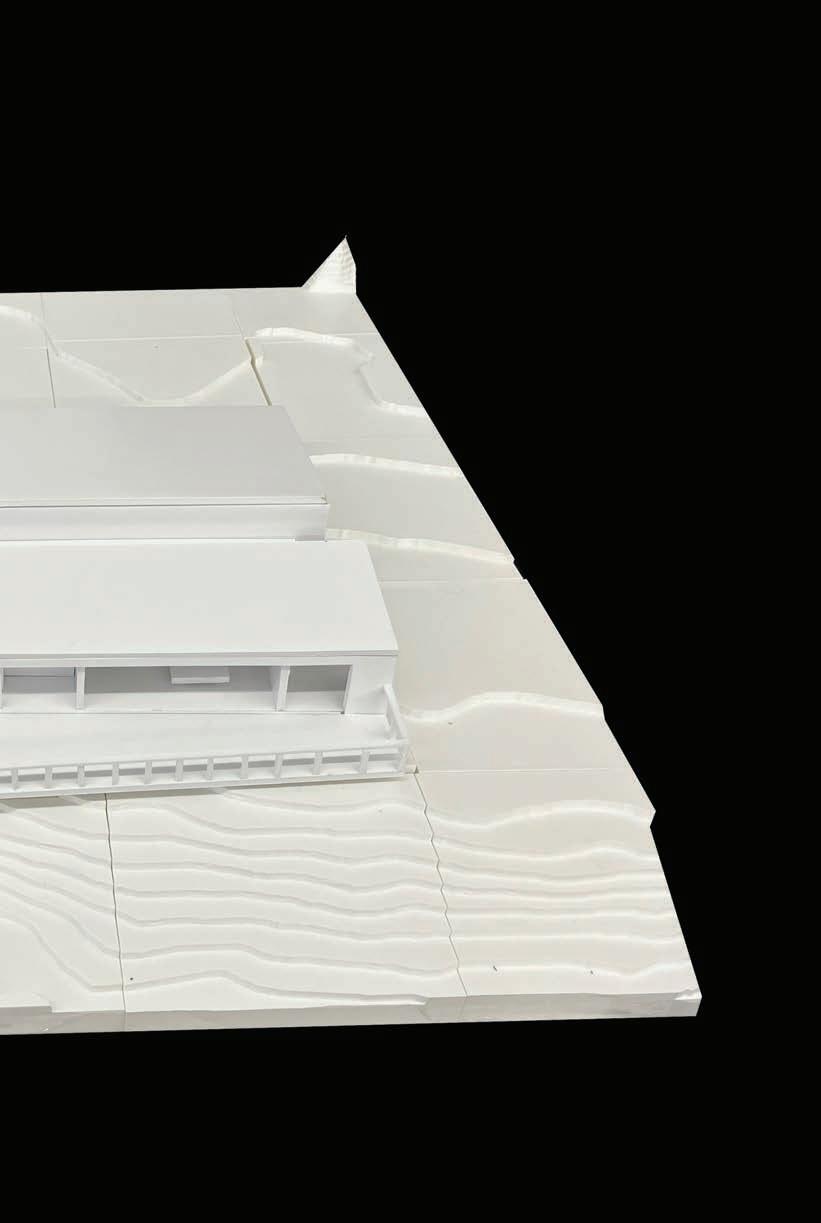
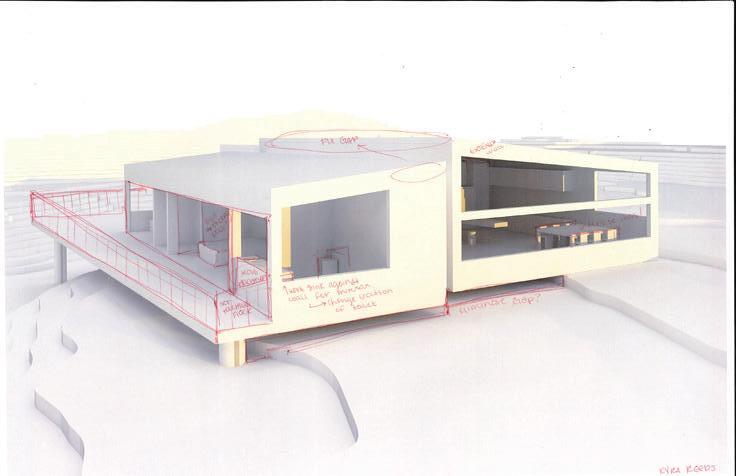
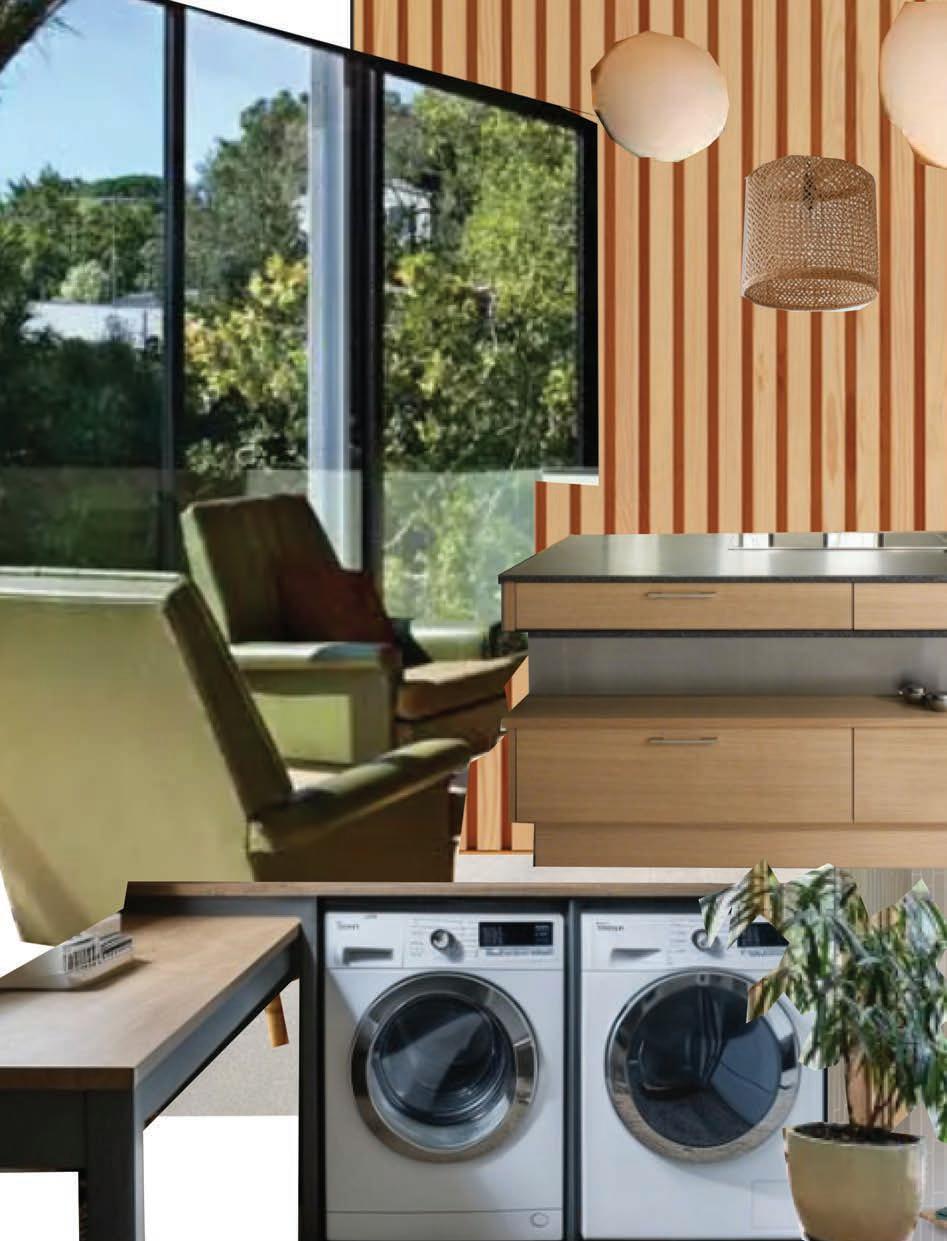
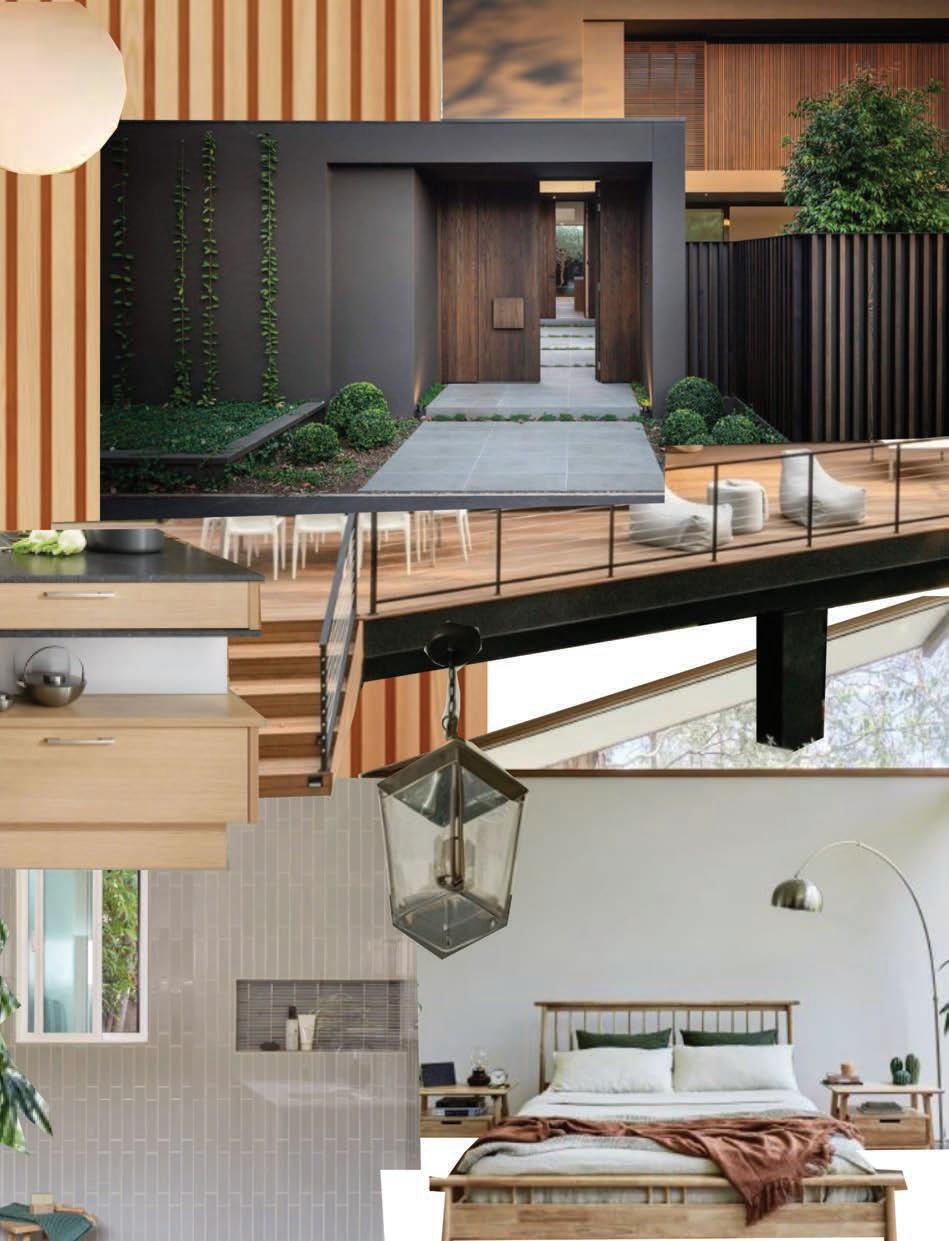
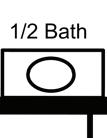
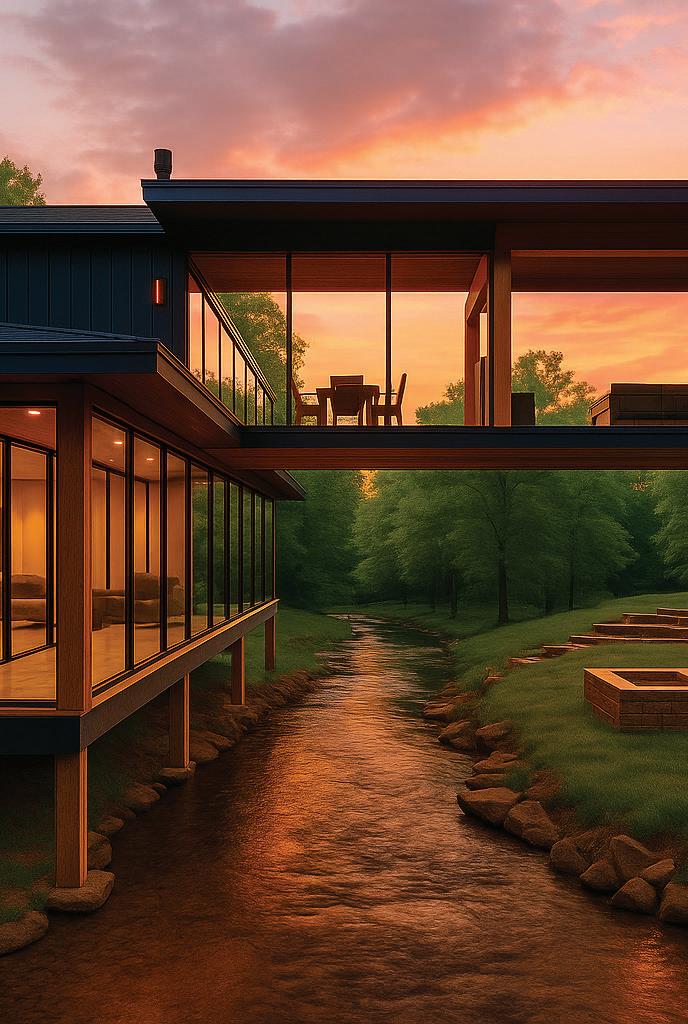
My design intent for my home through the chosen picture is a very simple minimalistic design. I am aiming to create a very livable space that is not over the top by any means. I would like to keep a minimalistic color palette and incorporate lots of natural woods and light into my design. You will process through the entrance into the living space where the laundry and ½ bath are adjacent, once in the living space you will move through into the second structure built primarily of windows where the master bedroom and bath is as well as the guest bedroom and ½ bath. From here you are able to process onto the huge porch made of natural wood material that overlooks the creek.
Elelavtion 1
1/8”=1’-0”
1/8”=1’-0”
1/8”=1’-0”
1/8”=1’-0”
1/8”=1’-0”
1/8”=1’-0”
1/8”=1’-0”
1/8”=1’-0”
1/8”=1’-0”
1/8”=1’-0”
1/8”=1’-0”
1/8”=1’-0”
1/8”=1’-0”
1/8”=1’-0”
1/8”=1’-0”
1/8”=1’-0”
1/8”=1’-0”
1/8”=1’-0”
1/8”=1’-0”
1/8”=1’-0”
1/8”=1’-0”
1/8”=1’-0”
1/8”=1’-0”
1/8”=1’-0”
1/8”=1’-0”
1/8”=1’-0”
1/8”=1’-0”
1/8”=1’-0”
Yanury Sanchez Portfolio
Project #6 “Precedent Study”
- I learned how to research in a way where I gained valuable information that would be useful to me in the future
Project #7 “Space Program”
- This project improved my iteration skills. It helped me practice creating different ideas and not sticking to the first one
Project #8 “Space Design”
- Through this project, I gained a stronger understanding of line weights, scale, elevations, etc. It improved my drafting skills and computer skills in the softwares we use
Project #9 “Presentation”
- I was introduced to an architectural critic and have an understanding on what makes a good presentation.
Project #10 “VR & AR Experiene”
- Using VR and AR introduced me to the idea of online tools providing 3D visuals in the architectural world. It showed me how to use these tools to visual my project
Project #12 “3 Hours observation”
- The 3 hour observation refined my writing and observational skills. I learned to pay attention to the most minor details to fully appreciate a painting or any other visual
Overall
- I refined the drafting skills that I was introduced to my first semester of school. In these 5 weeks, I practiced drafting, model making, and research, helping me gain a better understanding of what a project would typically look like in the field. I improved upon my online modeling skills and practiced on other softwares.
If you could talk to you before these five weeks, what would you like to share with you?
- I would tell myself to think ahead of designs that I want to incorporate or don’t want to incorporate. I had a hard time visualizing my house because I didn’t think ahead and I believe having a sort of direction would have resulted in a stronger design.
Space Design
1. From Massing to Concept Model
Students will refine their conceptual massing model by incorporating ideas of spatial sequence, light, atmosphere, and user experience. The goal is to transform a block-based structure into a design concept model that expresses the intended feeling, behavior, and identity of the home. The process will use section cuts, light and shadow tests, and interior–exterior spatial relationships to deepen design thinking.
2. Floor Plans + 3D
Students will transform their concept model into clearly articulated floor plans and further refine the Rhino 3D model to reflect architectural intent. The goal is to define programmatic zones, circulation, wall thickness, openings, and spatial proportions while maintaining conceptual clarity. Plans and 3D form must work in parallel to ensure consistency between design logic and space usability.
3. Elevations & Section
Students will generate elevation drawings and section cuts from their updated Rhino model and finalized plans to study vertical relationships, facade expression, and interior–exterior transitions. This will help articulate how the house presents itself spatially and formally, as well as how light, proportion, and structure are resolved across different views.
4. Perspectives (Form + Lighting Only)
Students will generate and compose perspective views to study form, massing, and lighting qualities without applying material finishes. The goal is to visualize spatial atmosphere, shadow patterns, openness/enclosure, and user scale using clean geometry. This exercise will deepen students’ spatial intuition and provide visual feedback for further refinement.
5. Materials, Finishes, and FF&E (Render final perspectives)
Students will complete final atmospheric renderings by applying materials, lighting, and FF&E (Furniture, Fixtures & Equipment) into the previously prepared Rhino model views. The goal is to communicate design intent and emotional quality by combining light, color, texture, and spatial use in realistic visualizations.
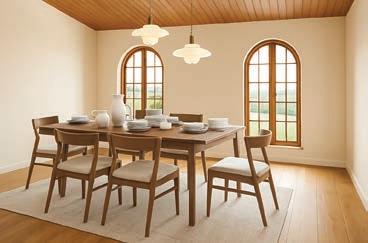
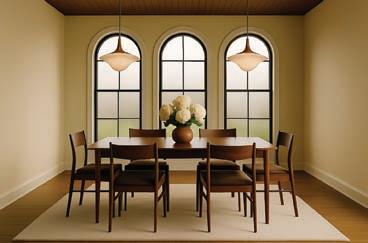
Design Concept: A soothing environment
Design Concept Statement: is design explores the use of natural materials, and functional spatial organization to foster a calming emotional experience. Architectural elements included are natural light, wooden elements, and muted color palette to enhance a soothing atmosphere. e spaces are intentionally divided between public, semi-private, and private areas through partition walls, light changes, and level changes to create a seamless spatial ow. e result is a home that balances human connection with opportunities for retreat.
Exterior View
Main Interior Space
View from Interior Looking Out
View
Sketch
Second View
Second View
Second Sketch
Second Sketch
Second Sketch
Final Form + Lighting
Final Form + Lighting Final Form + Lighting
Work #5. Materials, Finishes, and FF&E (Render final perspectives)
Exterior View
First AI Exploration
AI Prompt: “Refine model with added materials”
AI Prompt: “Refine model with wood and stone materials”
AI Prompt
Main Interior Space
View from Interior Looking Out
Initial View Initial View Initial View
First AI Exploration
First AI Exploration
AI Prompt: “ Refine model to a hyper realisitic model surrounded by trees”
AI Prompt: “Refine model with mid-century modern elements and make it hyper realistic”
Prompt
Second View
Second View
Second View
Third View
Third View
Third View
PROJECT #9
Final Review
1. Perspective Post-Production + Physical Model + Material Board + Final Collage
Students will finalize their design communication by enhancing rendered perspectives with detailed post-production, completing a physical model, and compiling material boards and updated conceptual collages. This work prepares the visual components for the final presentation.
2. Final Drawing & Presentation Material Assembly
Students will complete all drawing-based presentation materials—coloring plans, elevations, sections, and assembling final layout for boards or slides. The goal is to unify drawings and perspectives with a clear material logic and presentation flow.
3. Final Presentation Day
Students will present their final project in a formal critique setting. Each student will articulate their design concept, process, and final proposal using prepared boards/slides, models, and visuals.
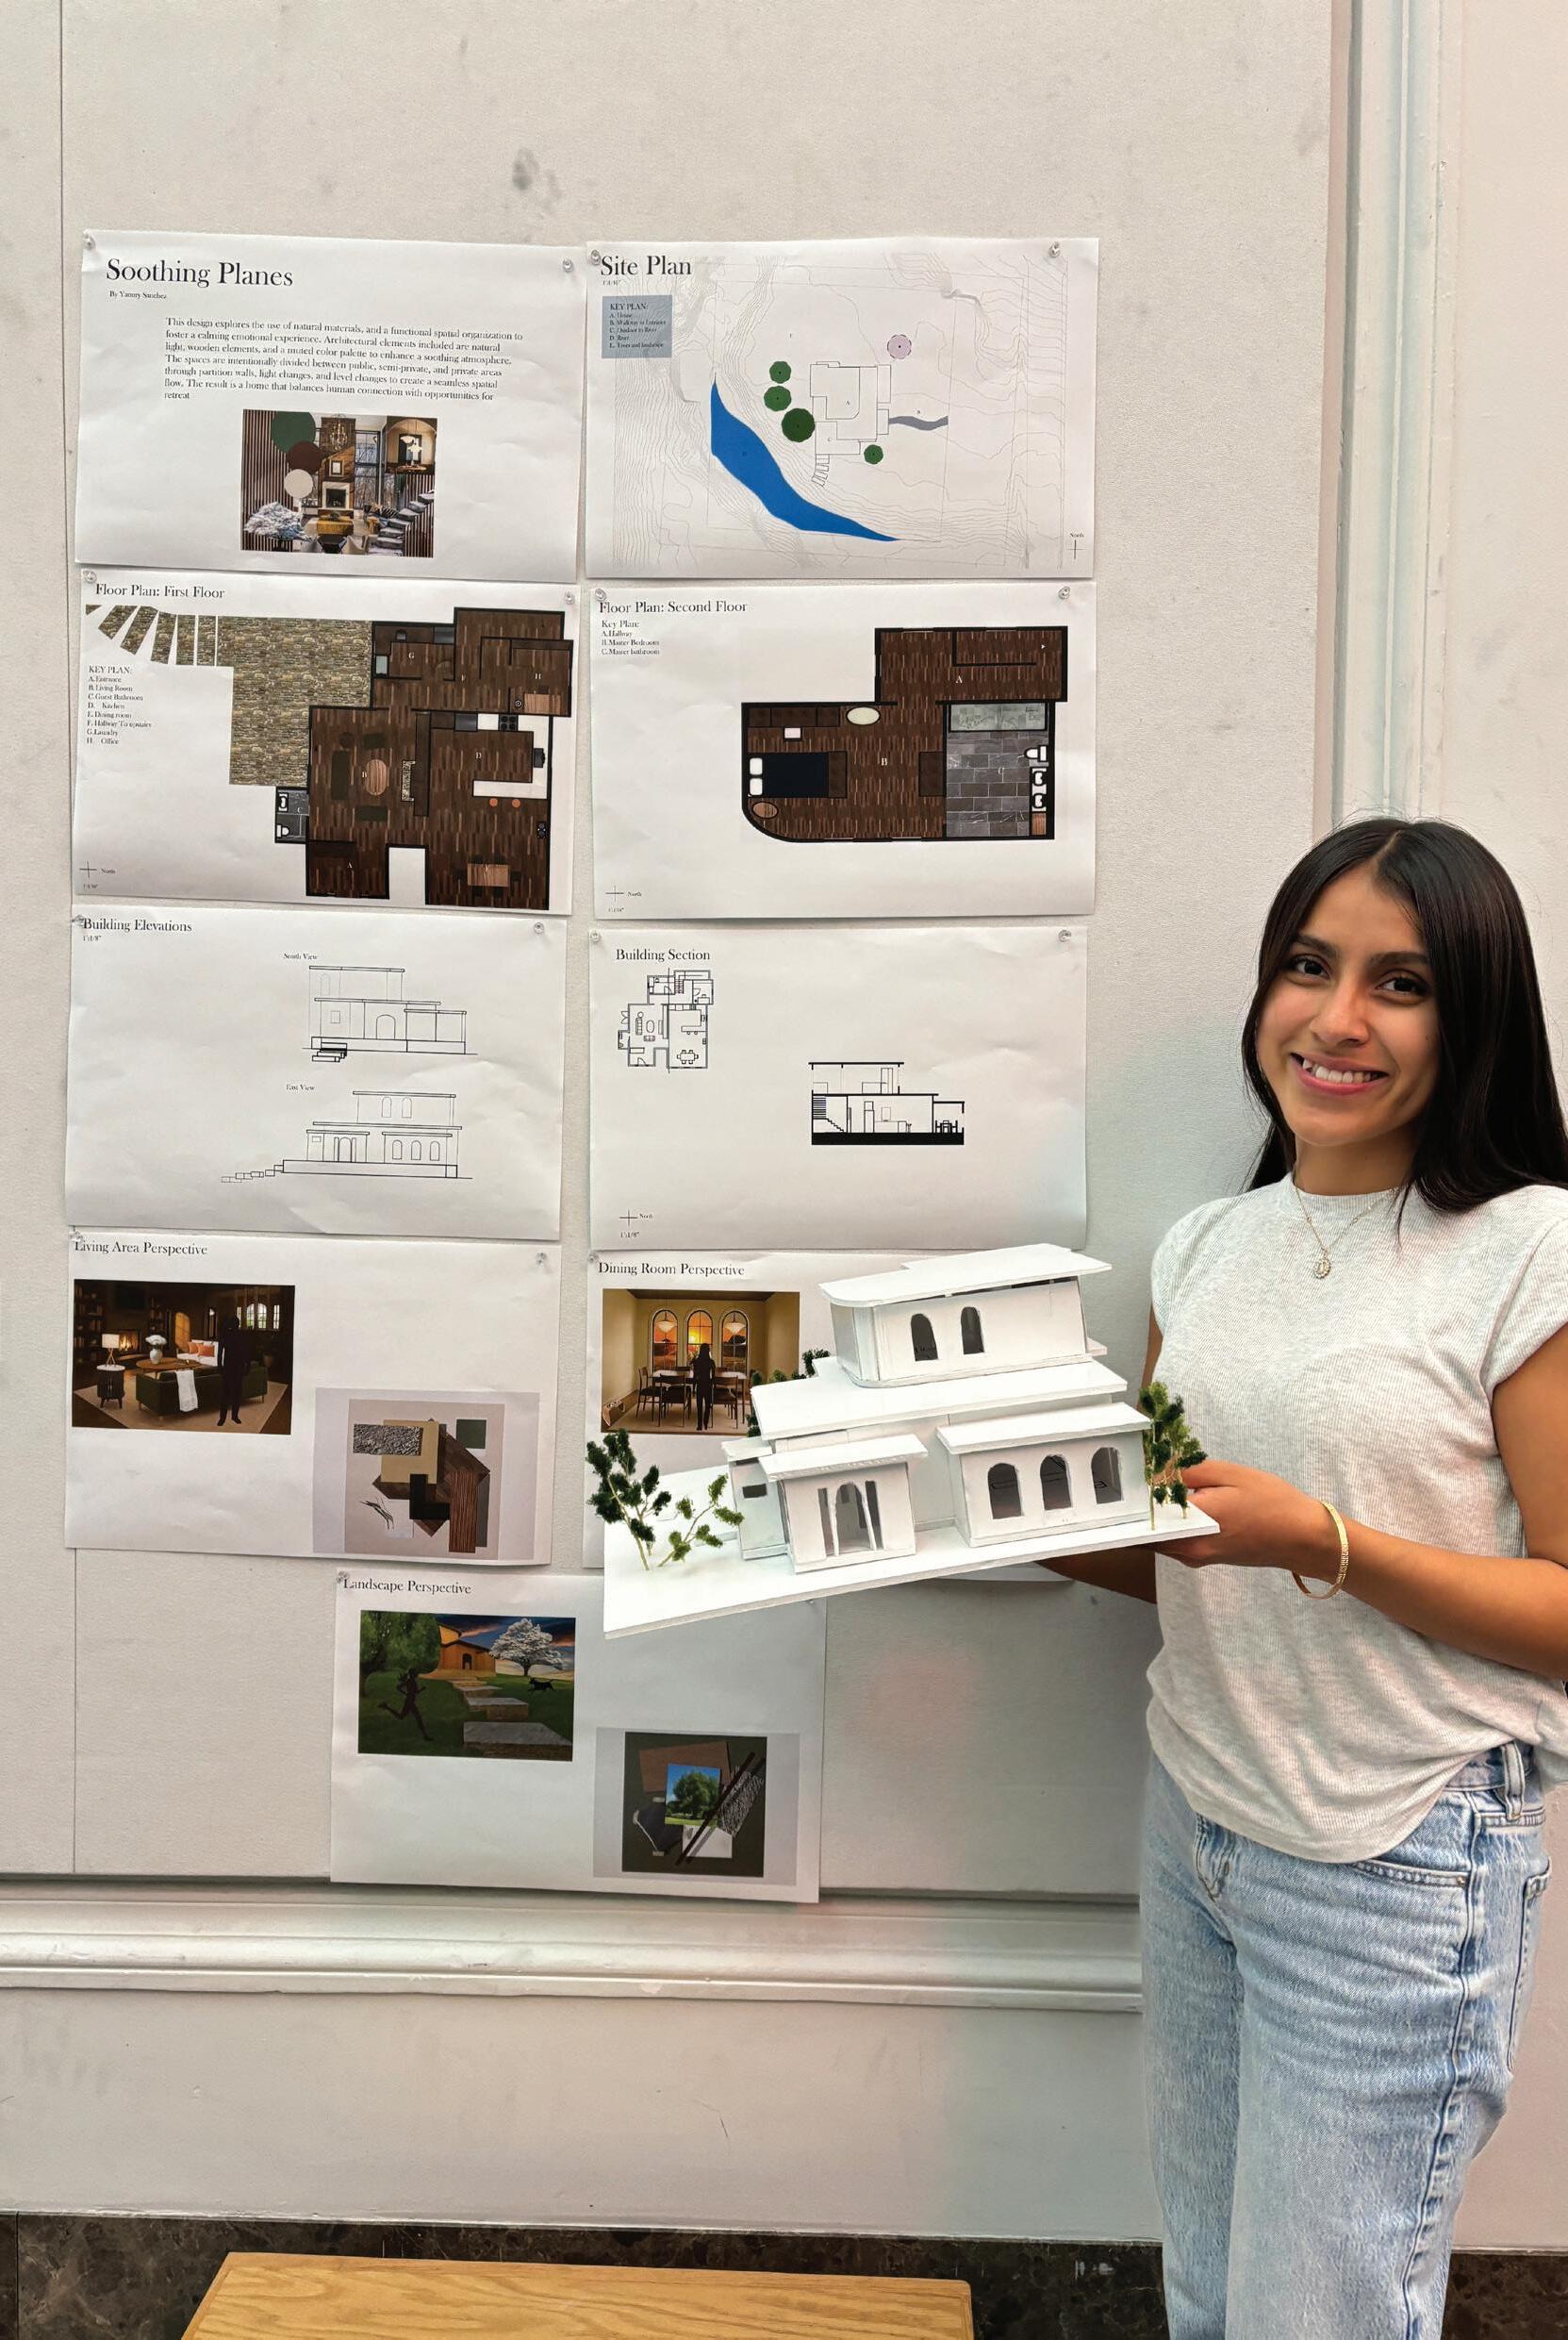
Soothing Planes
By Yanury Sanchez
This design explores the use of natural foster a calming emotional experience. light, wooden elements, and a muted The spaces are intentionally divided between through partition walls, light changes, flow. The result is a home that balances retreat
natural materials, and a functional spatial organization to experience. Architectural elements included are natural color palette to enhance a soothing atmosphere. between public, semi-private, and private areas changes, and level changes to create a seamless spatial balances human connection with opportunities for
Site Plan
1’:1/16”
KEY PLAN:
A. House
B. Walkway to Entrance
C. Outdoor to River
D. River
E. Trees and landscape
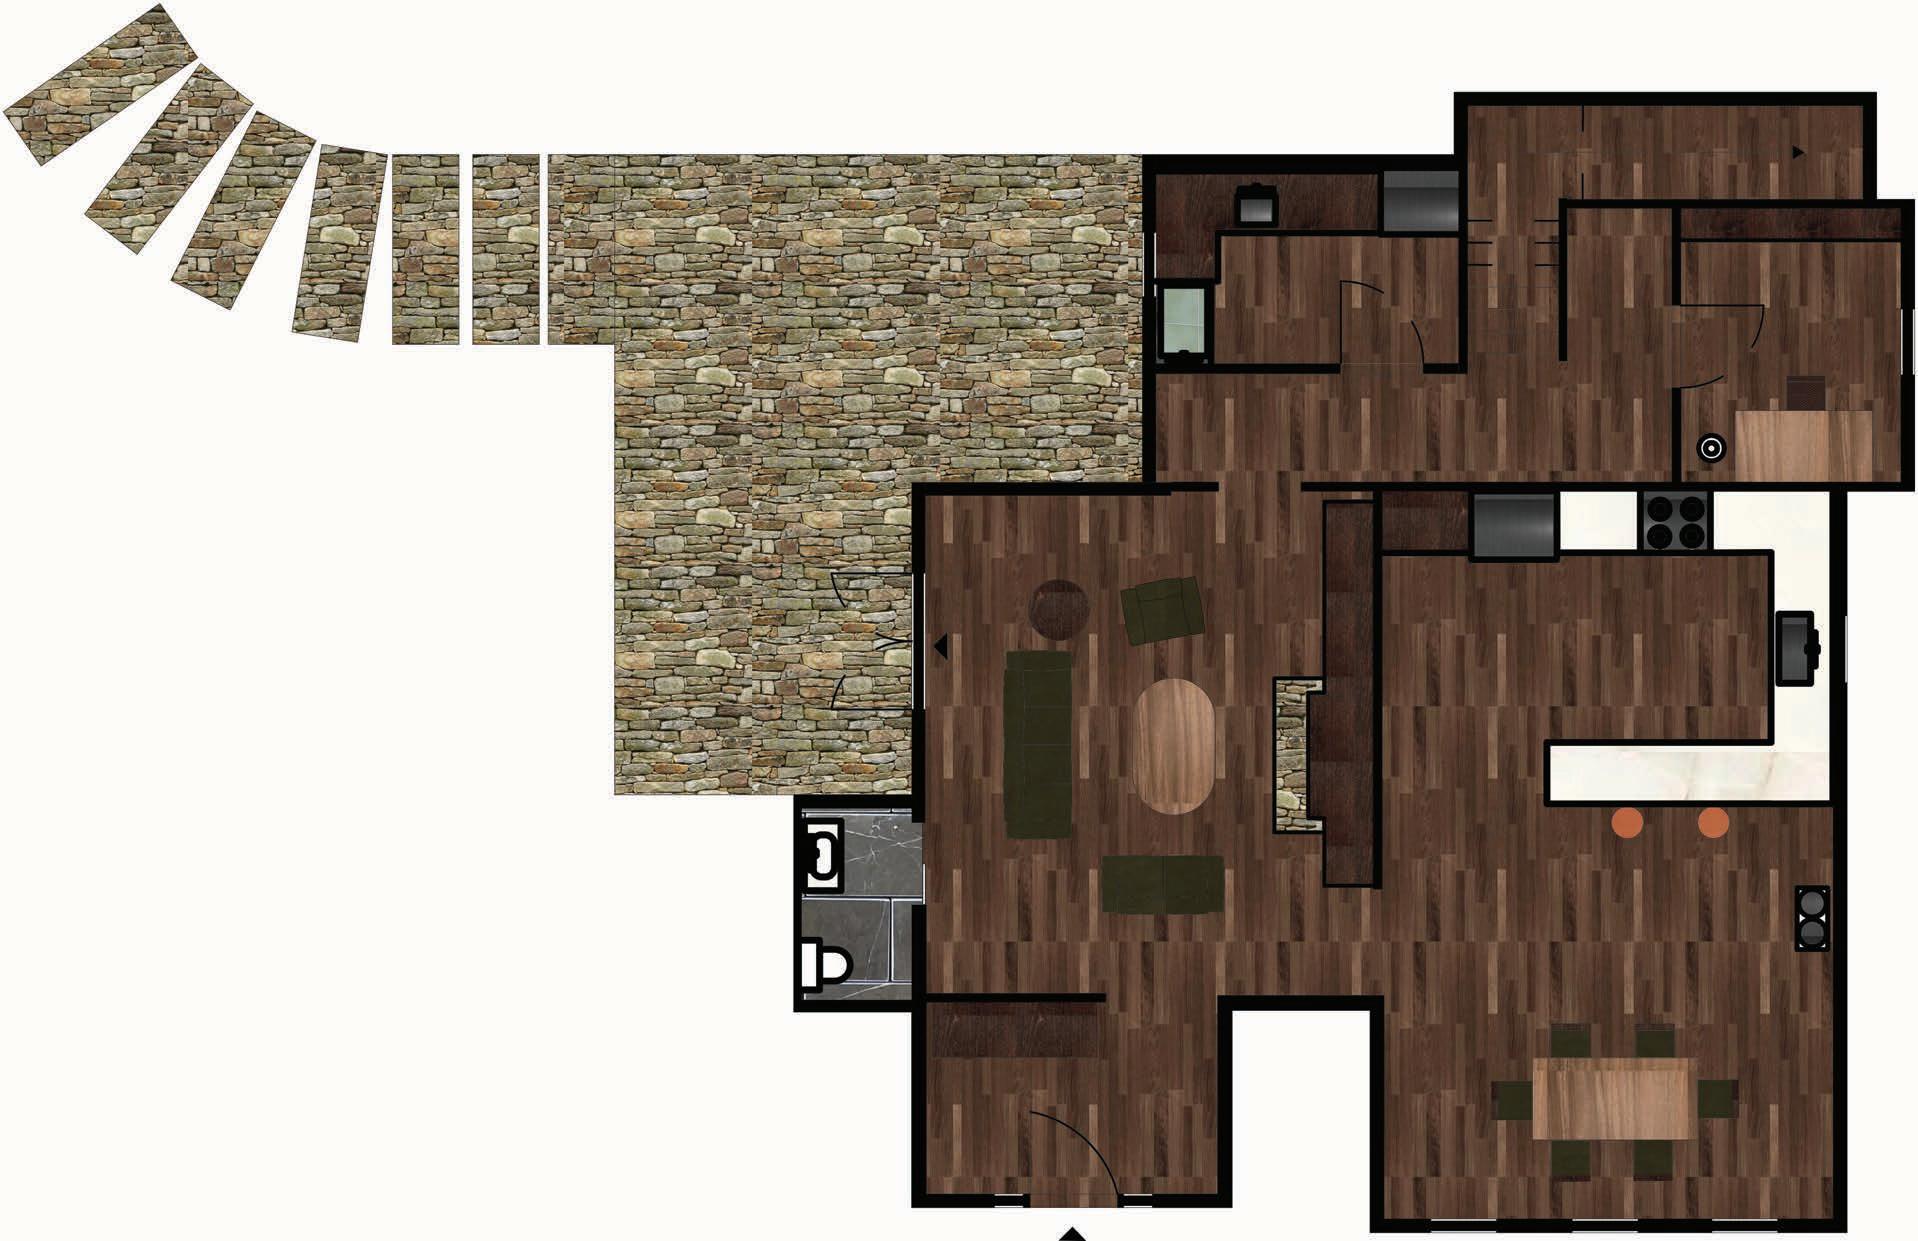
Floor Plan: First Floor
KEY PLAN:
A.Entrance
B.Living Room
C.Guest Bathroom
D.Kitchen
E.Dining room
F.Hallway To upstairs
G.Laundry
H.Office
1’:1/16”
Second Floor
Key Plan:
A. Bedroom
B. Hallway
C. Bathroom
Building Elevations
1’:1/8”
South View
East View
Building Section
North
1’:1/8”
Landscape Perspective
Living Area Perspective
Dining Room Perspective
Jasmine Sukhija Portfolio
Project #6 “Precedent Study”
- This project opened my horizons to all of the different possibilities when it comes to constructing a home. As I went through the precidents, I understood how spaces work in comparison to the structure of the home. I also got many ideas to use when it comes to my house. Furthermore, these were very useful in getting the best ideas for my home to be the most functional.
Project #7 “Space Program”
- This project consisted of making iterations of each room in order to find the best match for the house. I was able to expierement with different styles to see how they worked with the space. This helped give multiple ideas for the space overall, and ideas I can use in future spaces.
Project #8 “Space Design”
- I learned how lighting, elevations, perspectives and more were helpful in showing the client the design process. Picking out textures assisted the space and how it flowed throughout the rooms. This also gave me a realistic view of the space, picking what landscape and furniture I wanted to include.
Project #9 “Presentation”
- My work in project 8 was finalized and fixed to work best in the presentation, this consisted of my elevations, sections, perspectives, floorplans, and site plan. I was able to successfully present my work the the architects and give them an idea of how the space would turn out in the end.
Project #10 “VR & AR Experience”
- The VR and AR expierence was something I had never done in a space before, like looking at it through the times of days and standing outside next to my home. I was able to see how it would look in real life. There was many different ways to use the programs which could be useful in future projects.
Project #12 “3 Hours observation”
- During the semester we took a trip to crystal bridges museum, which we sat in front of a piece of art and understood the meanings behind the work. This was very interesting because the research before the and after seeing the piece gave me a different perspective. I think this was useful and super interesting as something I would do again in the future.
Overall
- This semester helped me learn so much more than imagined, from looking at precidents to creating my very own home through what I learned. I enjoyed how custom this was and how my house turned out in the end. These projects were enjoyable and allowed me to get better at all the softwares used along the way. I will definitley use the skills I have learned in my future projects at the Faye Jones School.
If you could talk to you before these five weeks, what would you like to share with you?
- There are going to be long nights that are stressful, but if you keep pushing and doing your best, you will truly be proud of all the work you accomplished. Seeing how much we were able to do in 5 weeks is amazing, and the work is worth it in the end.
Space Design
1. From Massing to Concept Model
Students will refine their conceptual massing model by incorporating ideas of spatial sequence, light, atmosphere, and user experience. The goal is to transform a block-based structure into a design concept model that expresses the intended feeling, behavior, and identity of the home. The process will use section cuts, light and shadow tests, and interior–exterior spatial relationships to deepen design thinking.
2. Floor Plans + 3D
Students will transform their concept model into clearly articulated floor plans and further refine the Rhino 3D model to reflect architectural intent. The goal is to define programmatic zones, circulation, wall thickness, openings, and spatial proportions while maintaining conceptual clarity. Plans and 3D form must work in parallel to ensure consistency between design logic and space usability.
3. Elevations & Section
Students will generate elevation drawings and section cuts from their updated Rhino model and finalized plans to study vertical relationships, facade expression, and interior–exterior transitions. This will help articulate how the house presents itself spatially and formally, as well as how light, proportion, and structure are resolved across different views.
4. Perspectives (Form + Lighting Only)
Students will generate and compose perspective views to study form, massing, and lighting qualities without applying material finishes. The goal is to visualize spatial atmosphere, shadow patterns, openness/enclosure, and user scale using clean geometry. This exercise will deepen students’ spatial intuition and provide visual feedback for further refinement.
5. Materials, Finishes, and FF&E (Render final perspectives)
Students will complete final atmospheric renderings by applying materials, lighting, and FF&E (Furniture, Fixtures & Equipment) into the previously prepared Rhino model views. The goal is to communicate design intent and emotional quality by combining light, color, texture, and spatial use in realistic visualizations.
Concept Collage including Design Concept + Deisng Concept Statement
Work #1. Sequence Diagram + Conceptual Mass Model
Composited Scanned Sequence Diagram with Conceptual Mass Model View
each view first file (jpeg)
each view first file (jpeg)
scanned the first printed views
scanned the first printed views
each view second file
scanned the first printed views
each view second file
Exterior View
Main Interior Space
View from Interior Looking Out
view last file file scanned the second printed views each view last file
Second View
Second View
Second View
Second Sketch
Second Sketch
Second Sketch
Final Form + Lighting
Final Form + Lighting Final Form + Lighting
Work #5. Materials, Finishes, and FF&E (Render final perspectives)
Exterior View
Main Interior Space
each view first file (jpeg)
each view first AI file (jpeg)
each view first file (jpeg)
each view second fi
each view second fi
each view second fi
View from Interior Looking Out
PROJECT #9
Final Review
1. Perspective Post-Production + Physical Model + Material Board + Final Collage
Students will finalize their design communication by enhancing rendered perspectives with detailed post-production, completing a physical model, and compiling material boards and updated conceptual collages. This work prepares the visual components for the final presentation.
2. Final Drawing & Presentation Material Assembly
Students will complete all drawing-based presentation materials—coloring plans, elevations, sections, and assembling final layout for boards or slides. The goal is to unify drawings and perspectives with a clear material logic and presentation flow.
3. Final Presentation Day
Students will present their final project in a formal critique setting. Each student will articulate their design concept, process, and final proposal using prepared boards/slides, models, and visuals.
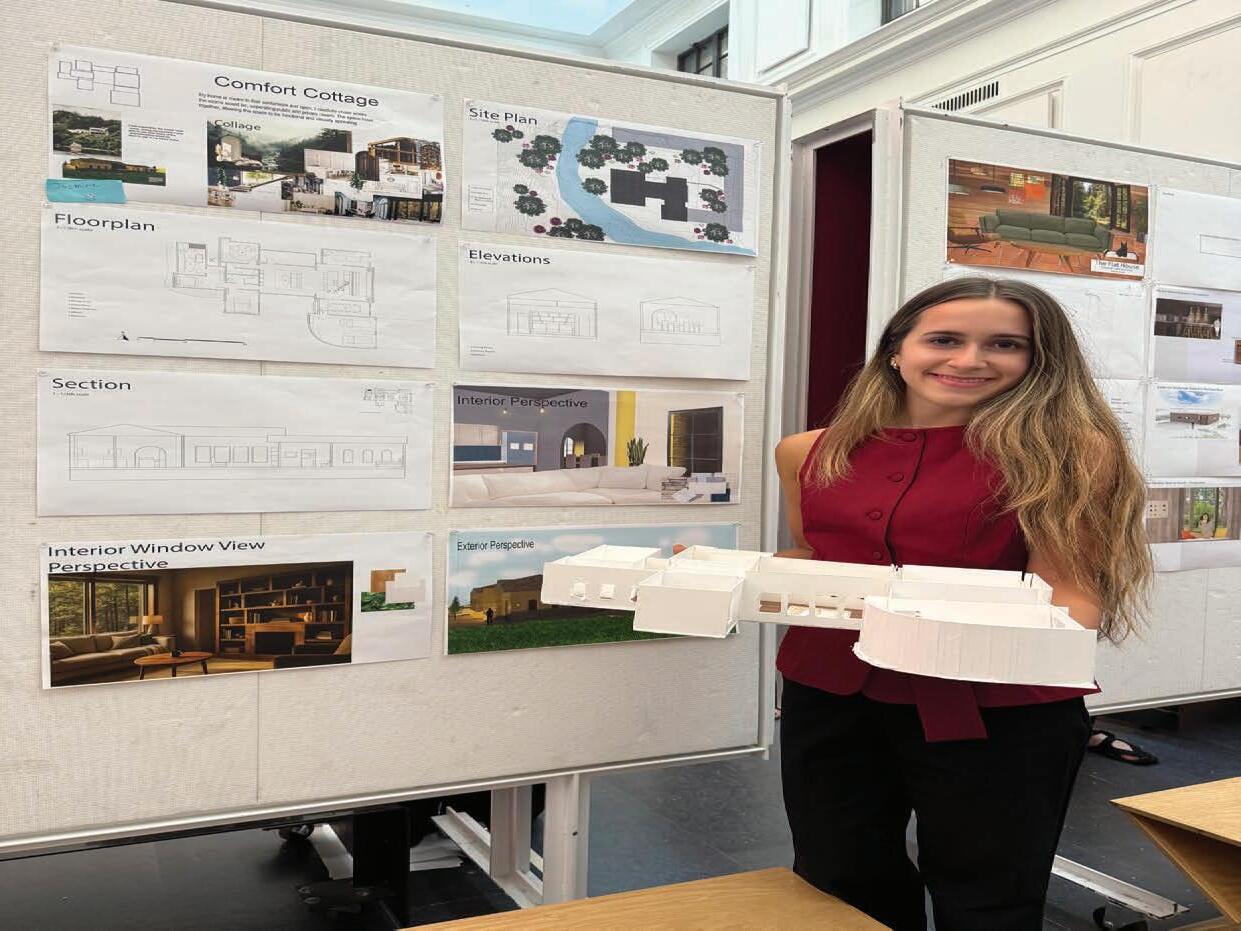
Comfort
My home is meant to feel the rooms would be, seperating together, allowing the space
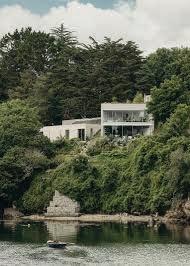
I was inspired by the Creek Vean home, during my research I was able to see how many of the characteristics would be ideal to use in my future home.
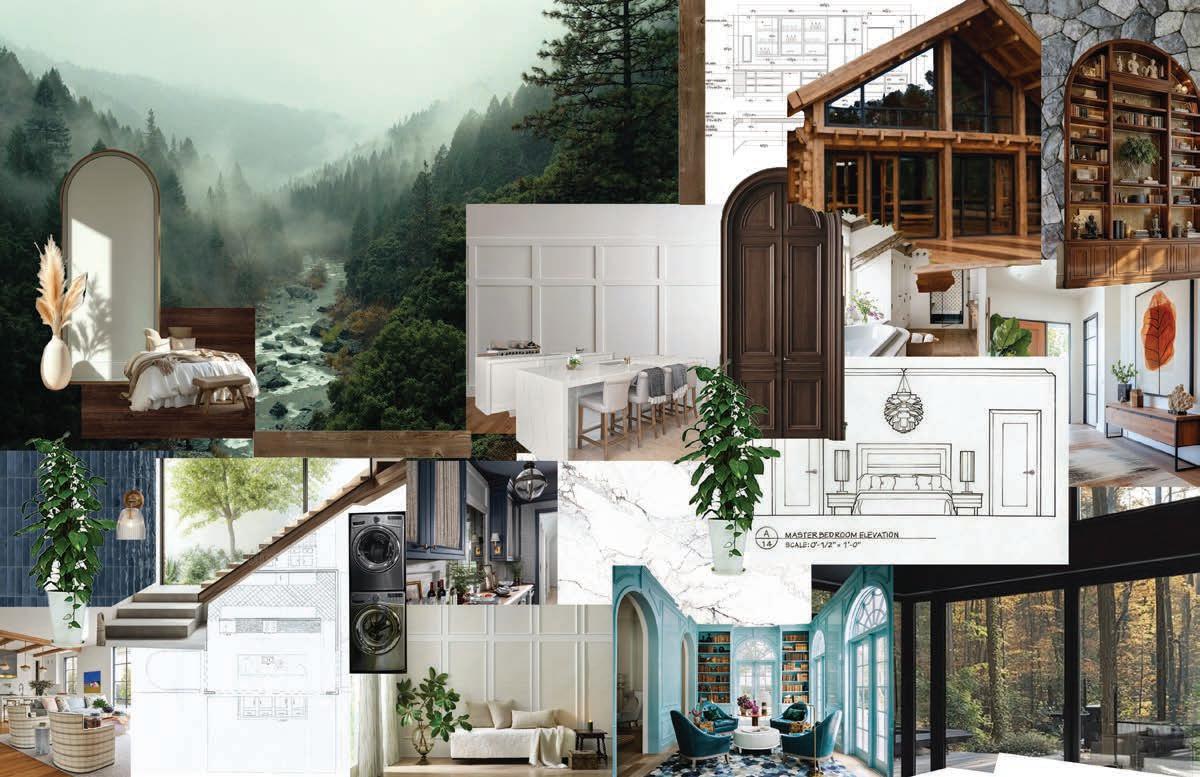
Collage
Comfort Cottage
confortable and open, I carefully chose where seperating public and private clearly. The space flows space to be functional and visually appealing.
Site Plan
1=1/16th scale
Section
1=1/4th scale
Toilet
Primary Bathroom
Dining Room
Living Room
Primary Bedroom
Guest Room
Models
Reece Walker Portfolio
What I learned...
Project #6 “Precedent Study”
- This project taught us how different design elements and spaces can be put together in order to create different feelings throughout different spaces. We were able to see many famous houses that use creative and practical design methods in order to understand how we might build our houses.
Project #7 “Space Program”
- This project taught us how to create different spaces that fit ourselves, our site and our needs. We created all the rooms in our houses and used different ideas and techniques we gathered from the precedent studies.
Project #8 “Space Design”
- This project we put together our houses and learned how to correctly draw out our floorplans, elevations and sections as well as we rendered images to show different materials we wanted.
Project #9 “Presentation”
- This project was our first time having a final review. We put together everything we had been working on and presented our designs to architects. This taught us the importance of being really sure and proud of your design and how to take different critiques and ideas back to finalize our designs.
Project #10 “VR & AR Experiene”
- This project had us take our houses and put them into VR and AR. This taught us how important and useful these tools can be for showing our designs to clients and trying to explain our ideas to them.
Project #12 “3 Hours observation”
- This project taught us the importance of observation and patience. We observed a painting for three hours and learned how much our perspectives change when we take the time to really sit with the painting.
Overall
- Overall, we learned what all goes into designing a space and creating a house that can actually be built and used. We learned different ways to iterate room ideas and choose materials as well as picking out things like how people will circulate our houses. All things we learned will help us when creating new spaces each time.
If you could talk to you before these five weeks, what would you like to share with you?
- If I could talk to myself before these five weeks I would like to tell myself that while it is going to be the most challenging thing I have ever done, it is going to be worth it. I would say to put in the work and make sure that I am turning in work that I am very proud of and that I believe shows who I am as a designer.
Space Design
1. From Massing to Concept Model
Students will refine their conceptual massing model by incorporating ideas of spatial sequence, light, atmosphere, and user experience. The goal is to transform a block-based structure into a design concept model that expresses the intended feeling, behavior, and identity of the home. The process will use section cuts, light and shadow tests, and interior–exterior spatial relationships to deepen design thinking.
2. Floor Plans + 3D
Students will transform their concept model into clearly articulated floor plans and further refine the Rhino 3D model to reflect architectural intent. The goal is to define programmatic zones, circulation, wall thickness, openings, and spatial proportions while maintaining conceptual clarity. Plans and 3D form must work in parallel to ensure consistency between design logic and space usability.
3. Elevations & Section
Students will generate elevation drawings and section cuts from their updated Rhino model and finalized plans to study vertical relationships, facade expression, and interior–exterior transitions. This will help articulate how the house presents itself spatially and formally, as well as how light, proportion, and structure are resolved across different views.
4. Perspectives (Form + Lighting Only)
Students will generate and compose perspective views to study form, massing, and lighting qualities without applying material finishes. The goal is to visualize spatial atmosphere, shadow patterns, openness/enclosure, and user scale using clean geometry. This exercise will deepen students’ spatial intuition and provide visual feedback for further refinement.
5. Materials, Finishes, and FF&E (Render final perspectives)
Students will complete final atmospheric renderings by applying materials, lighting, and FF&E (Furniture, Fixtures & Equipment) into the previously prepared Rhino model views. The goal is to communicate design intent and emotional quality by combining light, color, texture, and spatial use in realistic visualizations.
Work
Materials, Finishes, and FF&E (Render final perspectives)
Work #5. Materials, Finishes, and FF&E (Render final perspectives)
Work #5. Materials, Finishes, and FF&E (Render final perspectives)
PROJECT #9
Final Review
1. Perspective Post-Production + Physical Model + Material Board + Final Collage
Students will finalize their design communication by enhancing rendered perspectives with detailed post-production, completing a physical model, and compiling material boards and updated conceptual collages. This work prepares the visual components for the final presentation.
2. Final Drawing & Presentation Material Assembly
Students will complete all drawing-based presentation materials—coloring plans, elevations, sections, and assembling final layout for boards or slides. The goal is to unify drawings and perspectives with a clear material logic and presentation flow.
3. Final Presentation Day
Students will present their final project in a formal critique setting. Each student will articulate their design concept, process, and final proposal using prepared boards/slides, models, and visuals.
The Haven House
By: Reece Walker
The Haven House is an L-shaped home thoughtfully perched above a creek, with the public spaces elevated to the second floor to maxmimze views of the surrounding landscape. Inspiried by the iconic Stahl House, the design centers around two linear wings, one private and one public, that come together to frame both the natural enviornment and a sense of seclusion. The private wing houses the master bedroom, bathroom, dance studio and a combined laundry/pet room, while the public wing comprises of the living room, kitchen, dining area, and half-bath. The public wing was lifted to better overlook the creek and forested backdrop. Elevating this wing not only enhances the visual experience but also reinforces a dynamic contrast between private retreat and open gathering space. The resulting L-shape creates a natural enclosure, forming a more secluded backyard with a pool and firepit. This layout acts as a buffer, sheilding the interior spaces from the busyness of the two roads that border the site, ensuring privacy and a strong connection to nature. To dissolve the boundaries between indoors and out, the entire back facade is composed of floor-to-ceiling windows, an idea borrowed from the Stahl House. This invites the light, reflections of the water and expansive views.
Mood Board
Parti Diagram
Concept Collage
Pool
Firepit
Driveway
Guest Parking
Second Floor Floorplan
PantryHalf Bath
Floorplan
Dance Studio
Pool
Carport
Studio
Master Bath
Master Bedroom
Laundry/ Pet Room
Firepit
Elevations
1’=1/8”
East Elevation
Sections
1’=1/8”
Overall, what I have learned...
Main Themes
1. Self-Discovery and Personal Growth
- Self-Confidence and Potential
- Students expressed surprise at their ability to push beyond their perceived limits and achieve more than expected.
- Realization of inner strength and capabilities.
- Resilience and Adaptability
- Overcoming challenges, managing stress, and coping with unexpected difficulties.
- Emphasis on the importance of perseverance and trust in the process.
2. Importance of Time Management
- Managing heavy workloads through effective time management.
- Balancing productivity with good craftsmanship and attention to detail.
- Recognizing the value of taking breaks to maintain mental health.
3. Significance of Relationships and Support
- Importance of building friendships and collaborating with peers.
- Relying on classmates for support and encouragement during challenging times.
- Instructors as valuable resources for guidance and learning.
4. Embracing Challenges and Learning Opportunities
- Understanding that difficult experiences are integral to growth and learning.
- Emphasis on the rewarding nature of overcoming obstacles.
- Appreciation for the lessons learned and the skills acquired during the course.
5. Reflection on Stress and Workload
- Acknowledgment of the initial overwhelming nature of the course.
- Learning to manage stress and not overthink or complain excessively.
- The importance of maintaining a positive mindset despite challenges.
6. Enjoyment and Fulfillment
- Despite the challenges, students found joy and fulfillment in their work.
- The sense of accomplishment and pride in completed projects.
- The positive impact of enjoying the process and the work itself.
Sentiments and Emotions
1. Positive Emotions
- Pride and Satisfaction: Many students felt proud of their accomplishments and the progress they made.
- Joy and Enjoyment: Despite the hard work, students found enjoyment in the creative process and the outcomes.
- Gratitude: Appreciation for the opportunity to learn and grow, as well as for the support received from peers and instructors.
2. Negative Emotions
- Stress and Overwhelm: Initial feelings of being overwhelmed by the workload and the intensity of the course.
- Doubt and Anxiety: Moments of doubt about their abilities and the feasibility of completing the tasks.
3. Mixed Emotions
- Relief and Accomplishment: Relief at having completed the course and a sense of accomplishment.
- Reflection and Insight: Mixed feelings about the difficulty of the course, balanced by the recognition of its value and impact.
Key Takeaways and Advice
1. Trust in the Process
- Emphasizing the importance of trusting the process and believing in one’s abilities.
- Encouragement to embrace challenges and learn from them.
2. Importance of Community
- Highlighting the value of building relationships and seeking support from peers.
- Advice to engage with classmates and instructors for a richer learning experience.
3. Balanced Approach
- Advocating for a balance between hard work and self-care.
- Importance of managing time effectively and taking breaks when needed.
4. Embrace Creativity and Risk
- Encouragement to think outside the box and take creative risks.
- Recognition that mistakes and messes are part of the learning process.
5. Positive Mindset
- Advice to maintain a positive mindset and avoid unnecessary stress.
- Encouragement to focus on the rewarding aspects of the work and the progress made.
Overall, the reflections indicate a transformative experience for the students, characterized by personal growth, the development of resilience, and the acquisition of valuable skills. The recurring themes of self-discovery, the importance of time management, and the value of relationships underscore the holistic nature of their learning journey.
My students in IARD10405 Fundamental Design Methodology use of precedents for understanding principles of design and natural and formal ordering systems; design development using both iterative and alternative methods of exploration in 2-dimensions and 3-dimensions using analog and digital tools; continued development of visual and verbal communication skills.