M
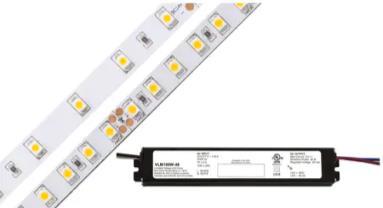
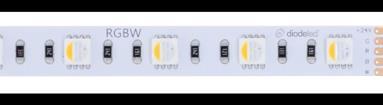
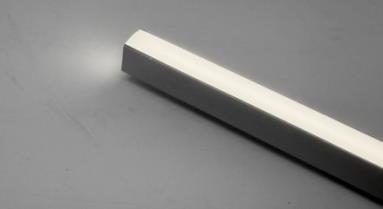
z Backlit Metal Solutions deliver ready-to-install and include LED light strips and drivers along with optional lightdiffusing backers to evenly distribute illumination throughout the feature. Integrating lighting makes patterns pop and uses shadows to cast patterns onto surfaces, transforming Walls,
Backlighting Options
There are two common ways we integrate lighting into our products:
Direct Backlighting
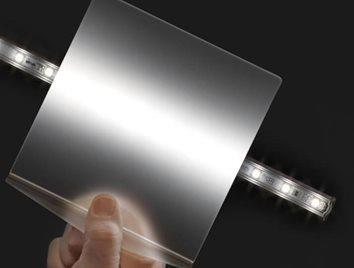
Integrating a light diffusing panel to create an even illumination for a continuous glow. The most common material is an Acrylic or a Polycarbonate.
Acrylic
● White ⅛” thick translucent Acrylic #2447 has a light transmission of approx 50%. Meaning, 50% of the light comes through and the other 50% is absorbed and diffused causing the glow of the acrylic.
● Available in a gloss or a matte surface finish. The normal gloss finish can appear plastic like whereas a matte finish provides a softer glow to the acrylic when back lit.
Polycarbonate
● 1/16” thick polycarbonate can be an alternative to acrylic as it is more flexible for cold forming and can come in larger sizes.
● Polycarbonate is lighter and is more pliable and less brittle than acrylic which is plus for applications like flex-fitting inside of a round column.
● Polycarbonate is more expensive.
Wall Wash
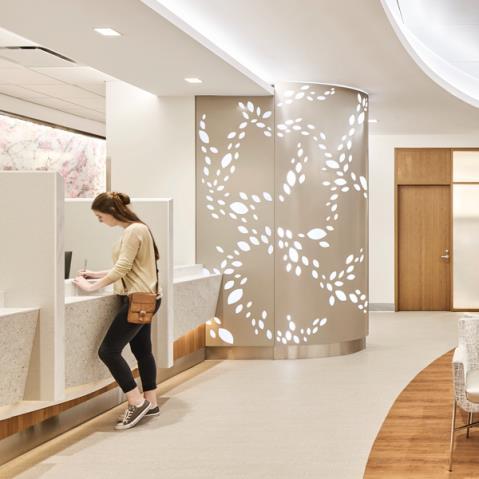
A cost-effective way to create accent lighting behind a laser cut out pattern is to cast the LED lighting on to the wall behind known as Wall Washing or Wall Grazing. The LED light strips are normally placed top and bottom and the depth can be a bit shorter at 3” to 4” depending on the overall height. Also, the wall area behind can be a different color or a different material that refracts light.
It is important to note that as the light is directed upwards and downwards, there may be some spillage of light and shadow around the perimeter. In most cases the decorative cut pattern will be the focus.
Backlit Walls
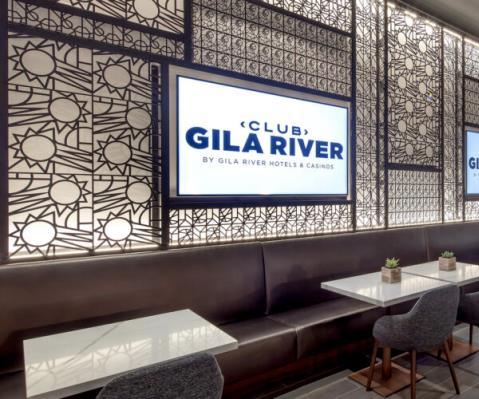
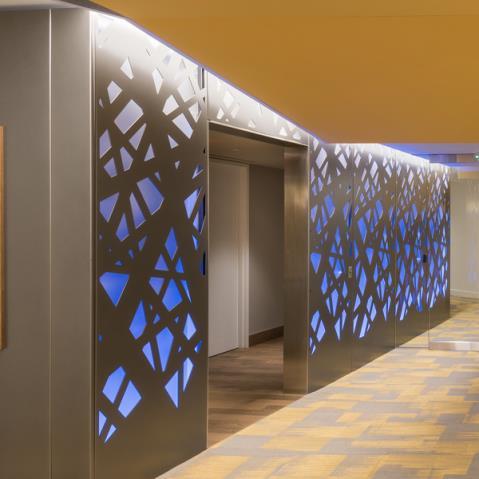
Backlighting walls can be easy with the integration of LED light strips. LED light strips are pre-mounted to an aluminum flat bar for added rigidity and then installed onto the back wall. Light diffuser is mounted to the back of the panel. Allow for at least a 6” depth from lighting to panel for proper light dispersal.
Hat Channel Wall Panels (flat panels)
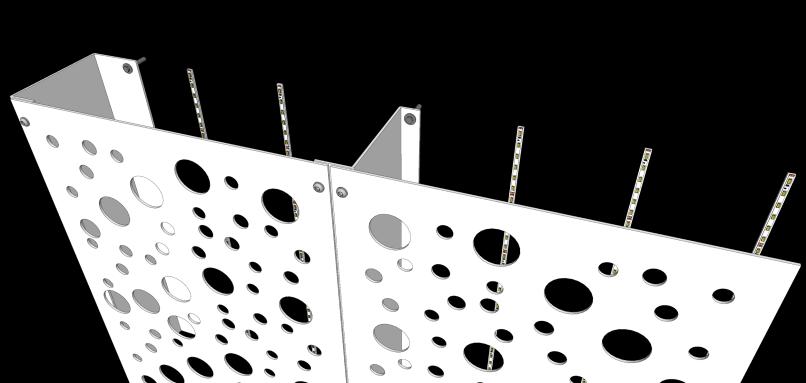
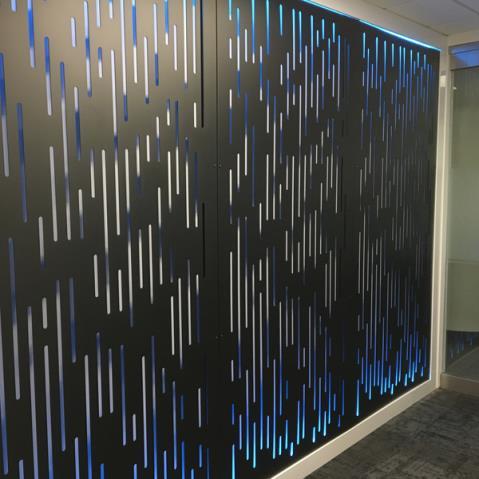
The most cost effective and straight forward mounting system with visible fasteners. The channels create the minimum 6” depth to adequately disperse the 120º light spread.
Key-Slot Wall Panels (formed panels)
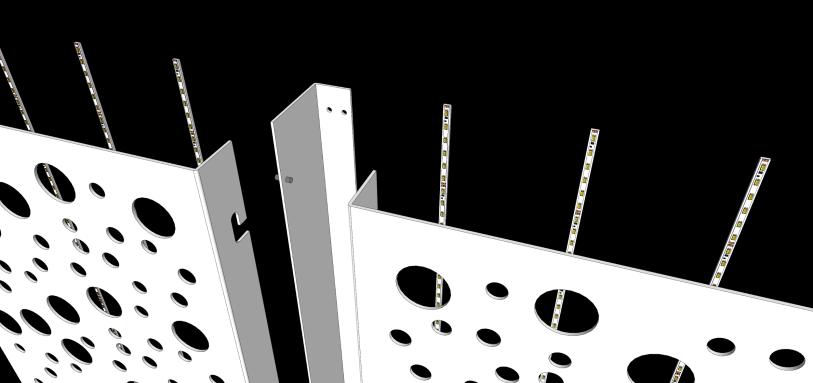
For cleaner look without visible fasteners, the Móz Key Slot system uses preformed panels with a drop and lock attachment on to a companion bracket that is anchored to the wall surface.
Backlit Ceilings:
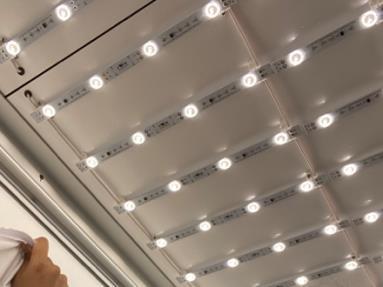
Ceilings can be easily backlit similar to walls. For both situations, LED light strips with the supporting fat bar backing can be positioned above the panels and secure to the sub-framing. A 6” depth is required for proper light dispersal. Light diffuser is mounted to the back of the panel.
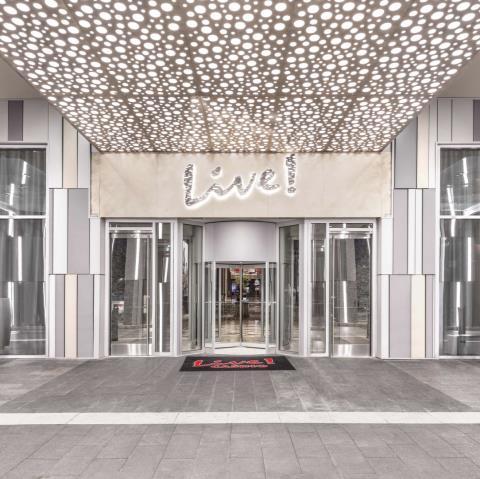
Hat Channel Mount (flat panels)
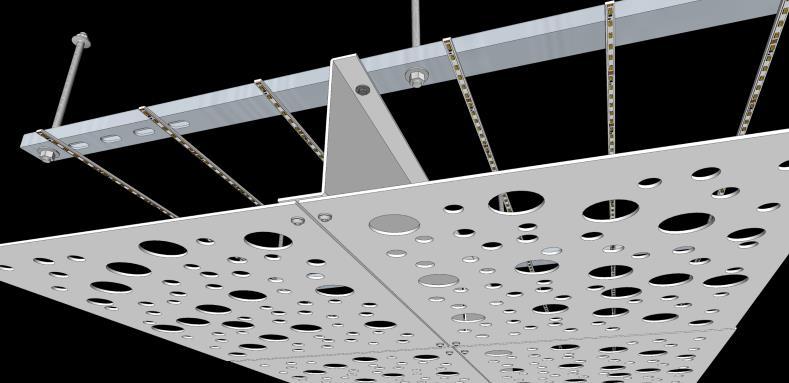
Similar to the wall mounting, the same hat channel with flat panels can be used to mount to a sub-frame or even a hard lid of a ceiling. This works best when set inside a recessed ceiling cove with gyp soffits on all sides. Popular for ceiling accents at such locations as porte cocheres, pre-event spaces and elevator lobbies.
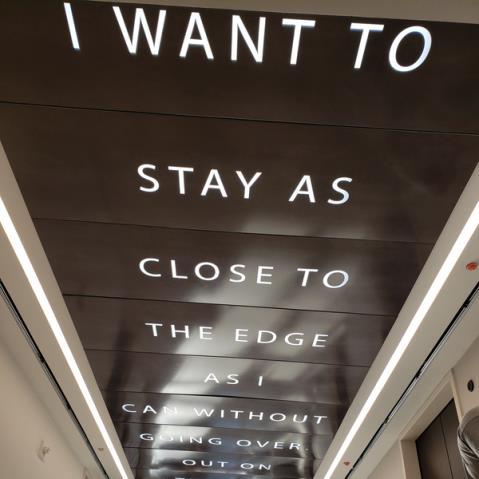
Key Slot (formed panels)
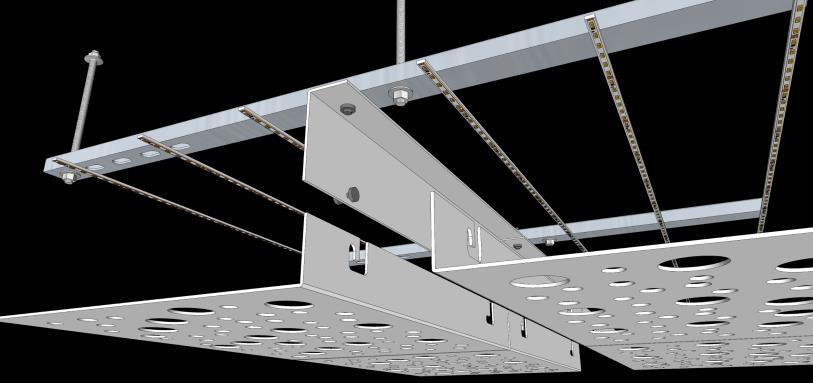
Similar to the wall mounting, a modified key slot on formed panels that clip to a companion bracket that is mounted to a sub-frame or even a hard lid of a ceiling. The sub-framing to be provided by others. These panels do require a perimeter trim as a small gap is required to slide and lock the panels into place.
Backlit Column Covers:
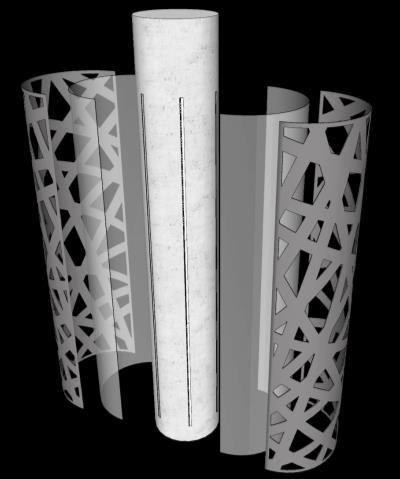
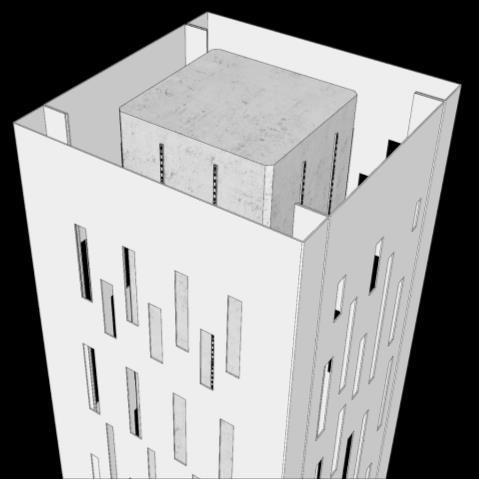
Backlighting columns are typically done using the direct backlit method. The max segment height is 10’ without a seam due to the lighting diffuser panel size.
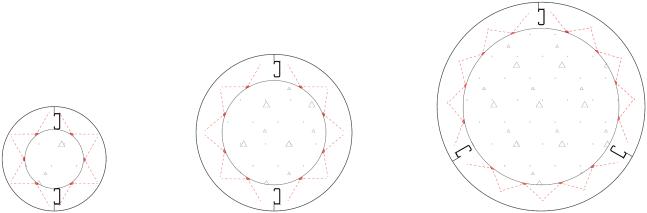
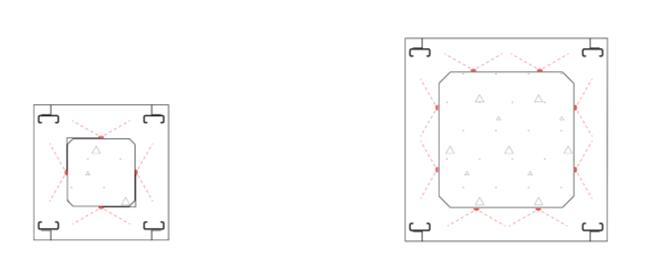
Column covers go over and surround structural columns. The type of structural column can vary, not only in size, but also shape. Most commonly, the structural columns would be either round concrete, square concrete or a steel i-beam. Position of the LED light strips will go onto these structural columns and exact position will vary pending the size and number of sections.
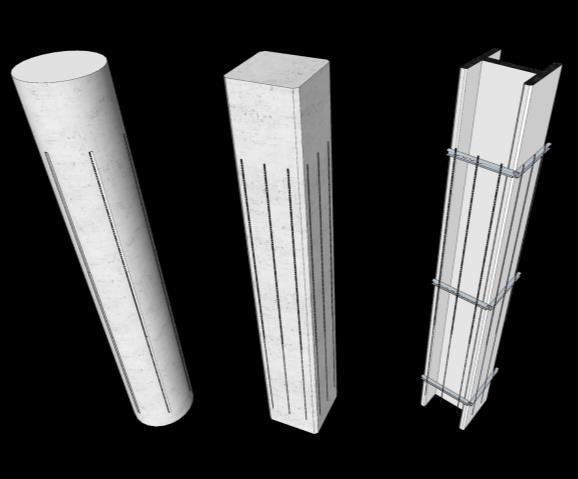
Column covers will require varying amounts of LED depending on the size and diameter of the surround. A typical 6” gap from the LED lights to the back of the cover applies. The surround size will dictate the number of LED light strips needed. If there is more internal space, such as a small diameter structural column with a large diameter cover, less LED strips may be needed.