Christmas craft:
eed What you’ll n
White Air Dry Clay
Christmas Cutters
KC1026
CS2345
Leather Cord
Bio-Glitter Rose Gold
CRV528
Air Dry Clay Decorations
CS1102
Strong Craft Glue
CL3974
CS0004
1
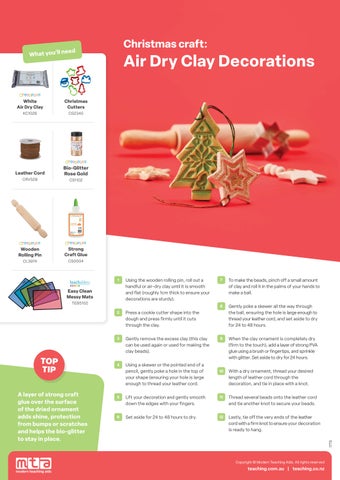
Using the wooden rolling pin, roll out a
7
handful or air-dry clay until it is smooth and flat (roughly 1cm thick to ensure your decorations are sturdy).
Easy Clean Messy Mats TEB5102 2
Press a cookie cutter shape into the
of clay and roll it in the palms of your hands to make a ball. 8
Gently remove the excess clay (this clay
9
can be used again or used for making the clay beads).
TOP TIP A layer of strong craft glue over the surface of the dried ornament adds shine, protection from bumps or scratches and helps the bio-glitter to stay in place.
4
5
Using a skewer or the pointed end of a pencil, gently poke a hole in the top of your shape (ensuring your hole is large enough to thread your leather cord.
10
Lift your decoration and gently smooth
11
Set aside for 24 to 48 hours to dry.
When the clay ornament is completely dry (firm to the touch), add a layer of strong PVA glue using a brush or fingertips, and sprinkle with glitter. Set aside to dry for 24 hours.
With a dry ornament, thread your desired length of leather cord through the decoration, and tie in place with a knot.
down the edges with your fingers. 6
Gently poke a skewer all the way through the ball, ensuring the hole is large enough to thread your leather cord, and set aside to dry for 24 to 48 hours.
dough and press firmly until it cuts through the clay. 3
To make the beads, pinch off a small amount
Thread several beads onto the leather cord and tie another knot to secure your beads.
12
Lastly, tie off the very ends of the leather cord with a firm knot to ensure your decoration is ready to hang. 1773
Wooden Rolling Pin
Copyright All rights rights reserved reserved Copyright© ©Modern Modern Teaching Teaching Aids. Aids. All
teaching.com.au | teaching.co.nz