Thank you for choosing XTRIG. All our products are designed and manufactured to the highest standards using the best materials available. XTRIG products are race proven and ensure ultimate performance. XTRIG cannot be held responsible for incorrect assembly or the incorrect use
Please follow the installation instructions. Expert advice and correct installation of XTRIG products by an authorised XTRIG dealer are essential to ensure optimum safety and functionality.
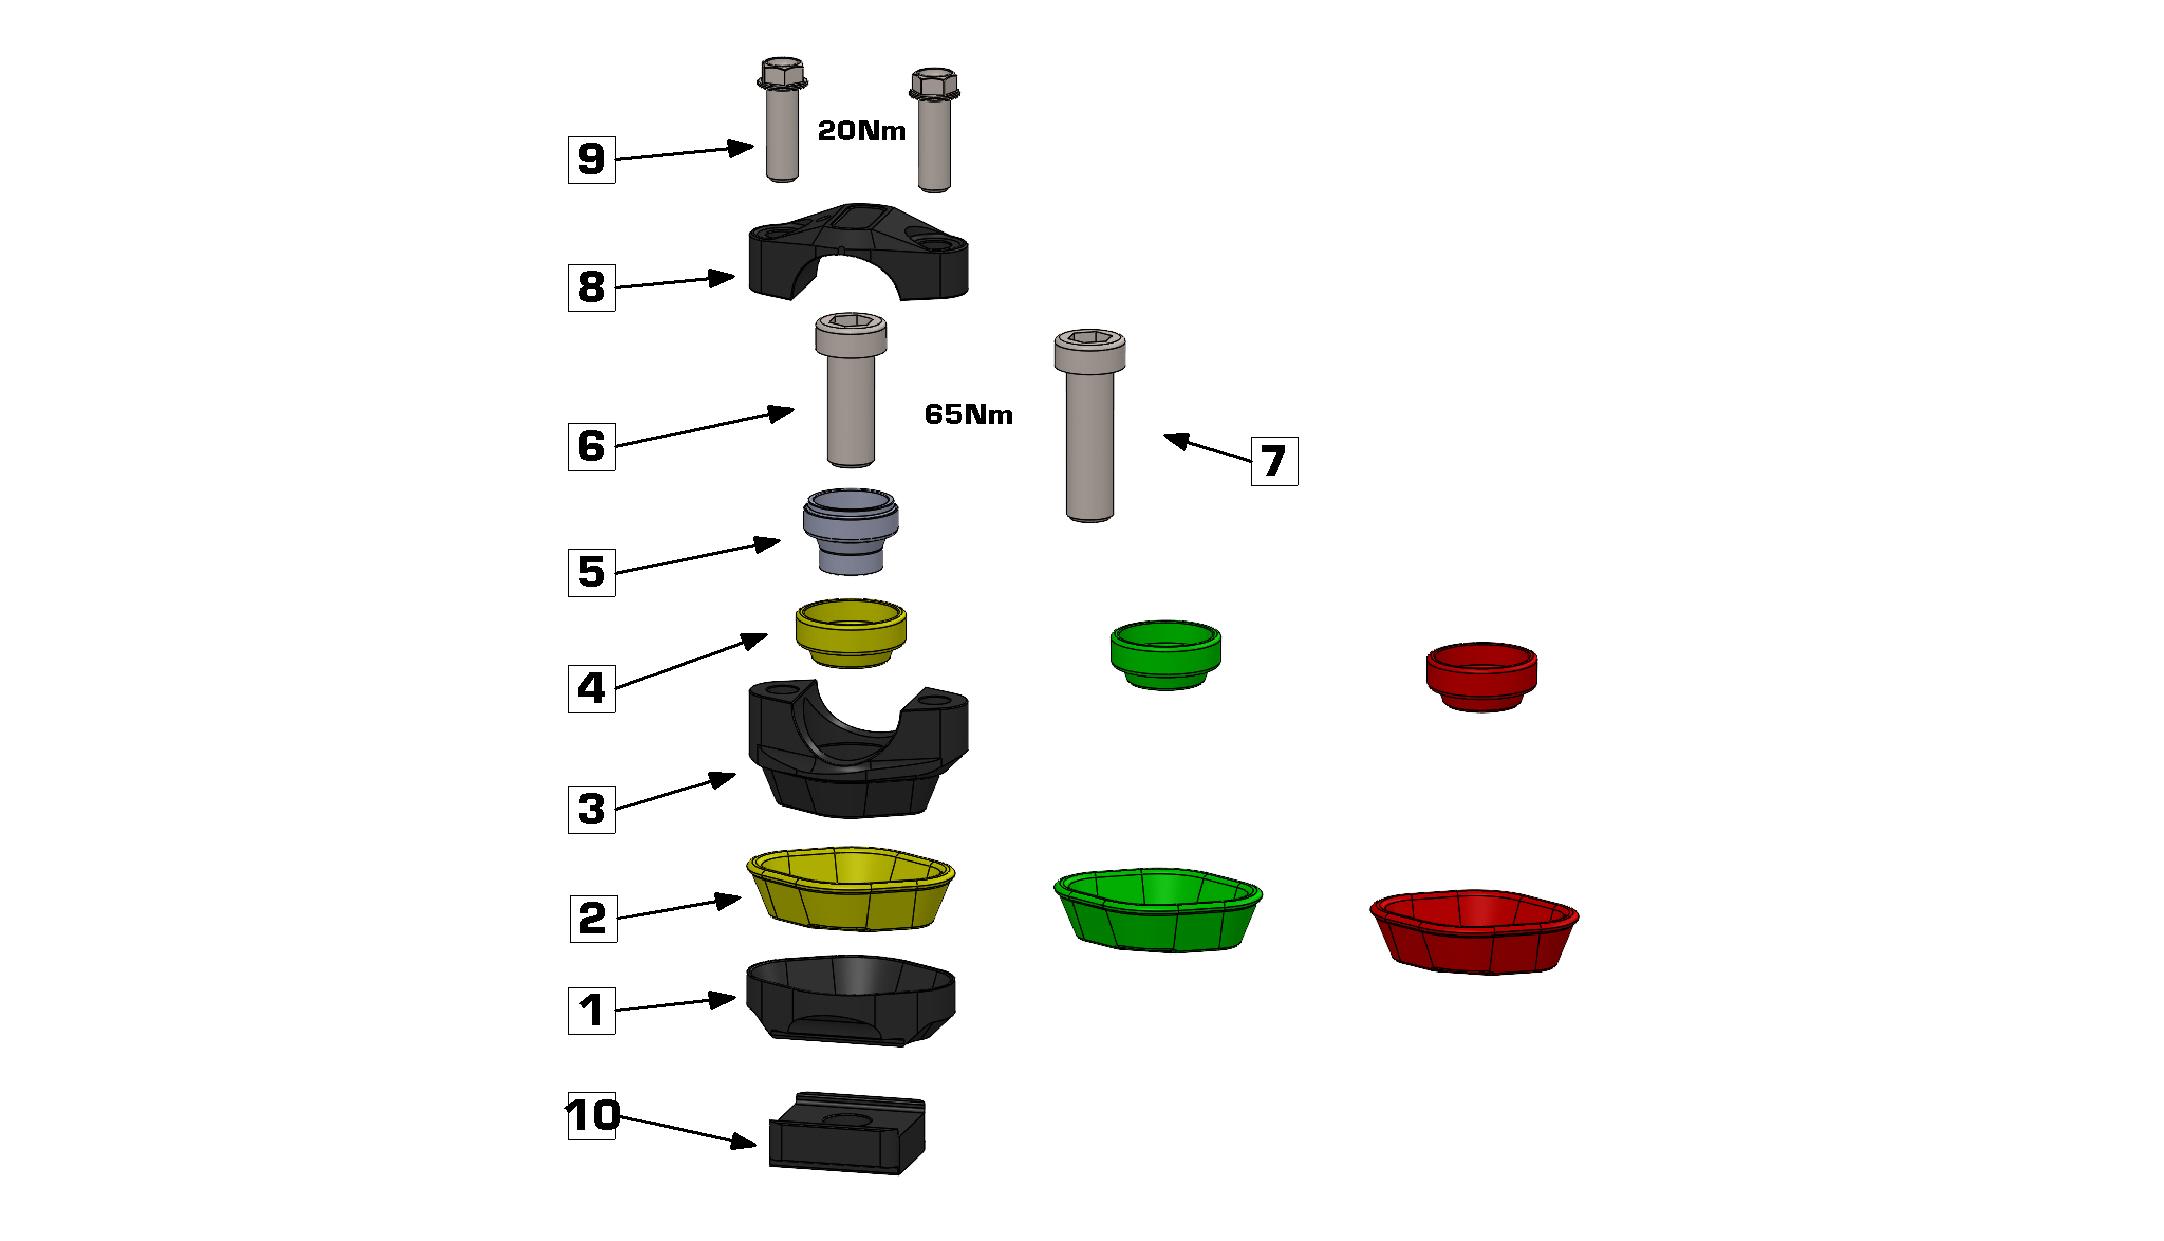
(1) 2x base support (2) 2x elastomers outside (yellow/medium) (3) 2x lower handlebar cups (4) 2x elastomers inside (yellow/medium) (5) 2x cone
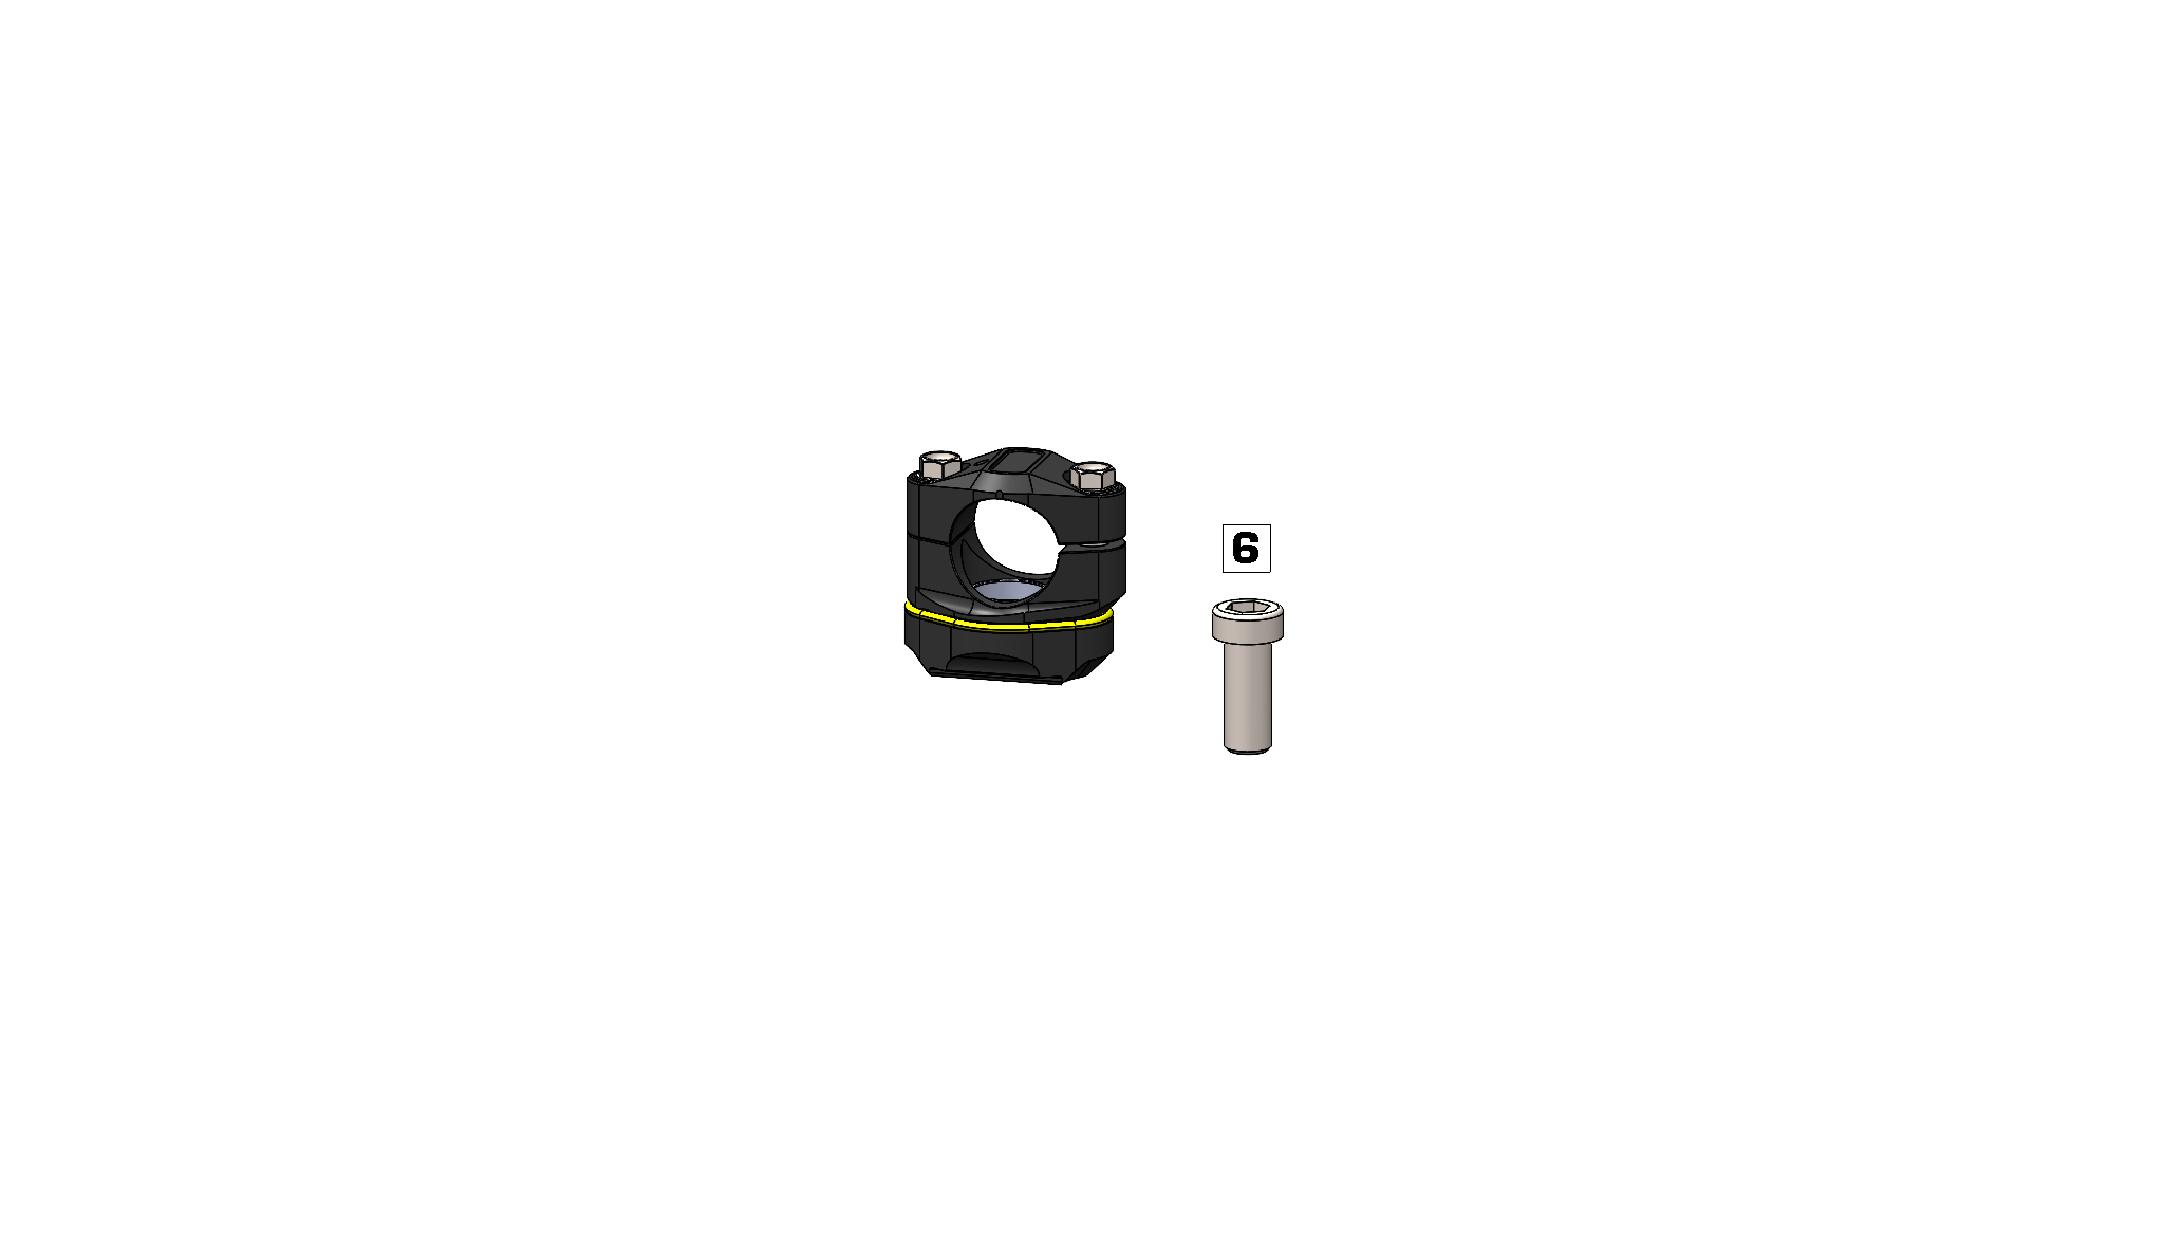
(6) 2x bolt
(7)2x bolt
M12x30 (65Nm)
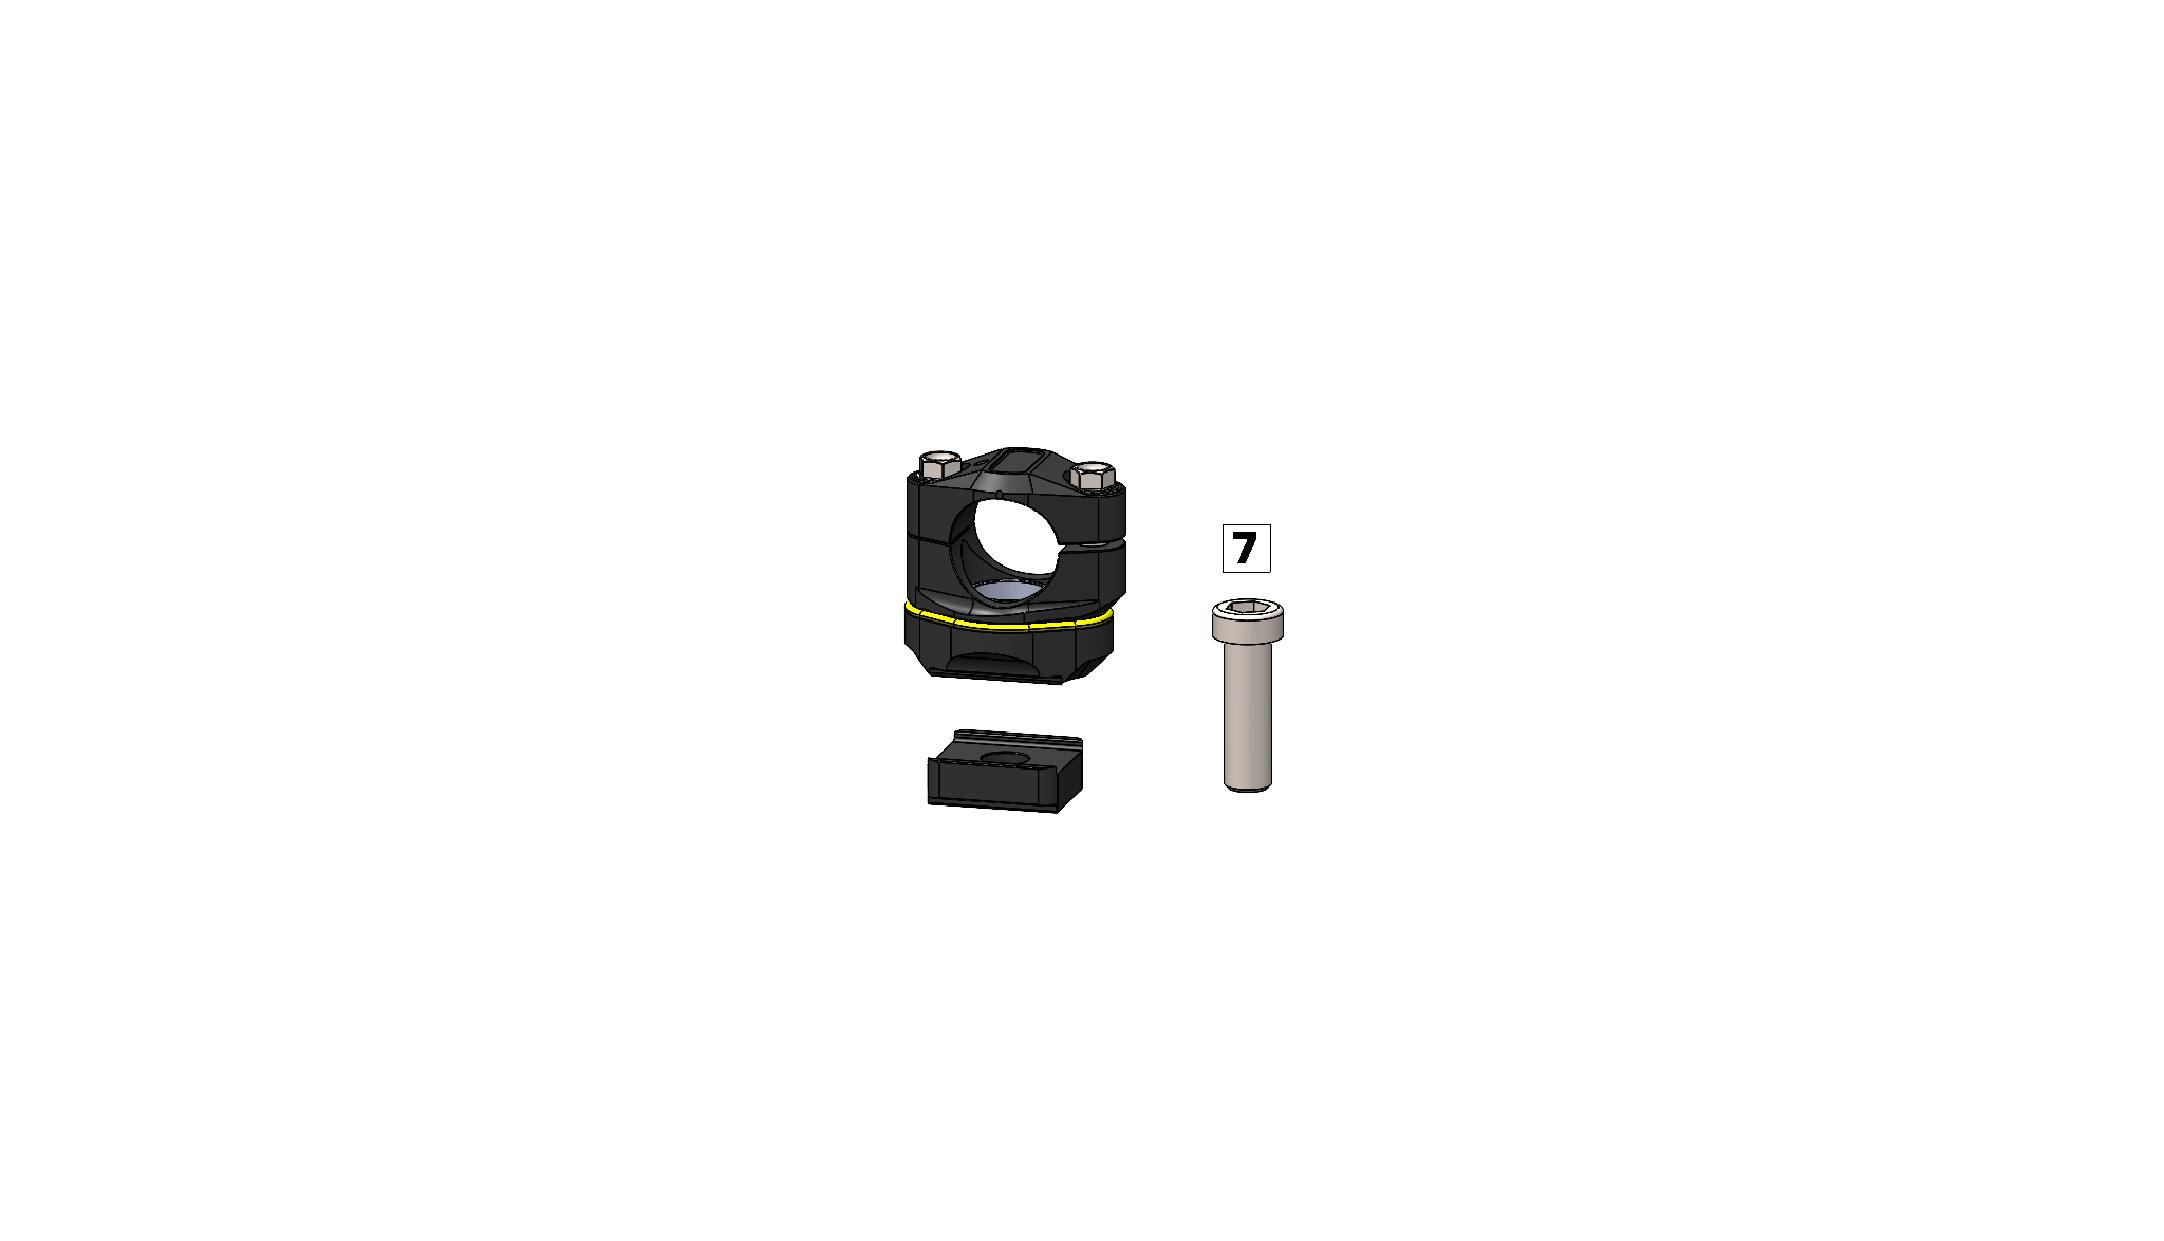
M12x40 (65Nm)
(9)4x bolt
(8)2x upper handlebar cups
M8x25 AF=10 (20Nm)
(10)2x handlebar spacers 10mm
Functionality:
On Elastomers supported handlebar clamp absorbs vibrations. Maintains steering precision. Adjustable handlebar position due to the modular design. Tuned by exchangable, individually adjustable elastomers. (2+4)
Hardness
soft
medium (standard) hard
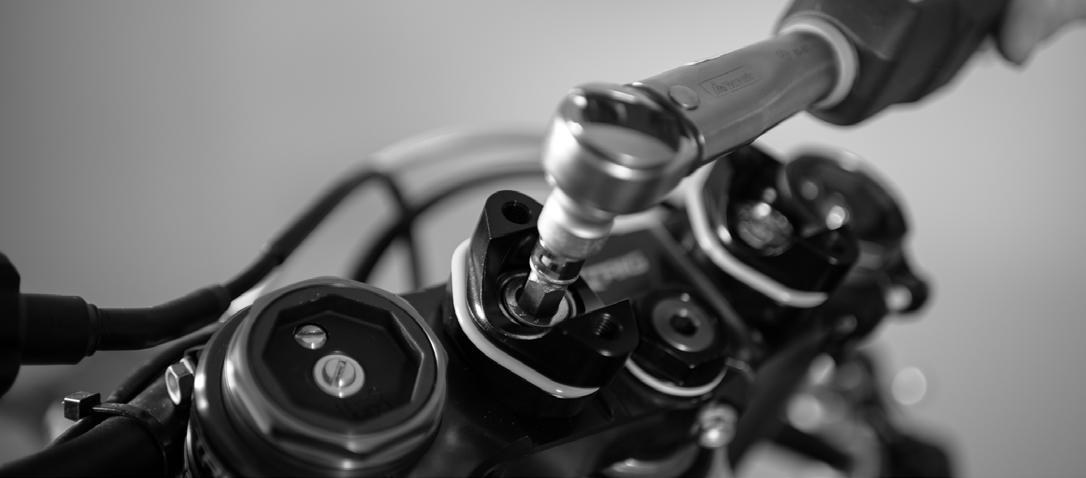
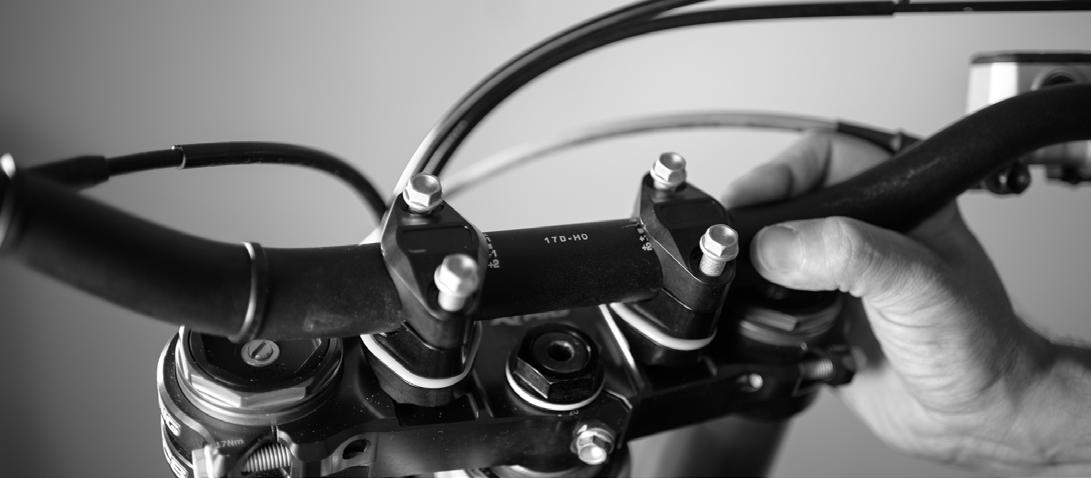
Screw base support (1) with lower handlebar cup preassembled elastomers (2+4) and preassembled cone the triple clamp. Tighten the M12x30 bolt
If necessary, add handlebar spacers (see picture above)
NOTE: make sure the offset direction


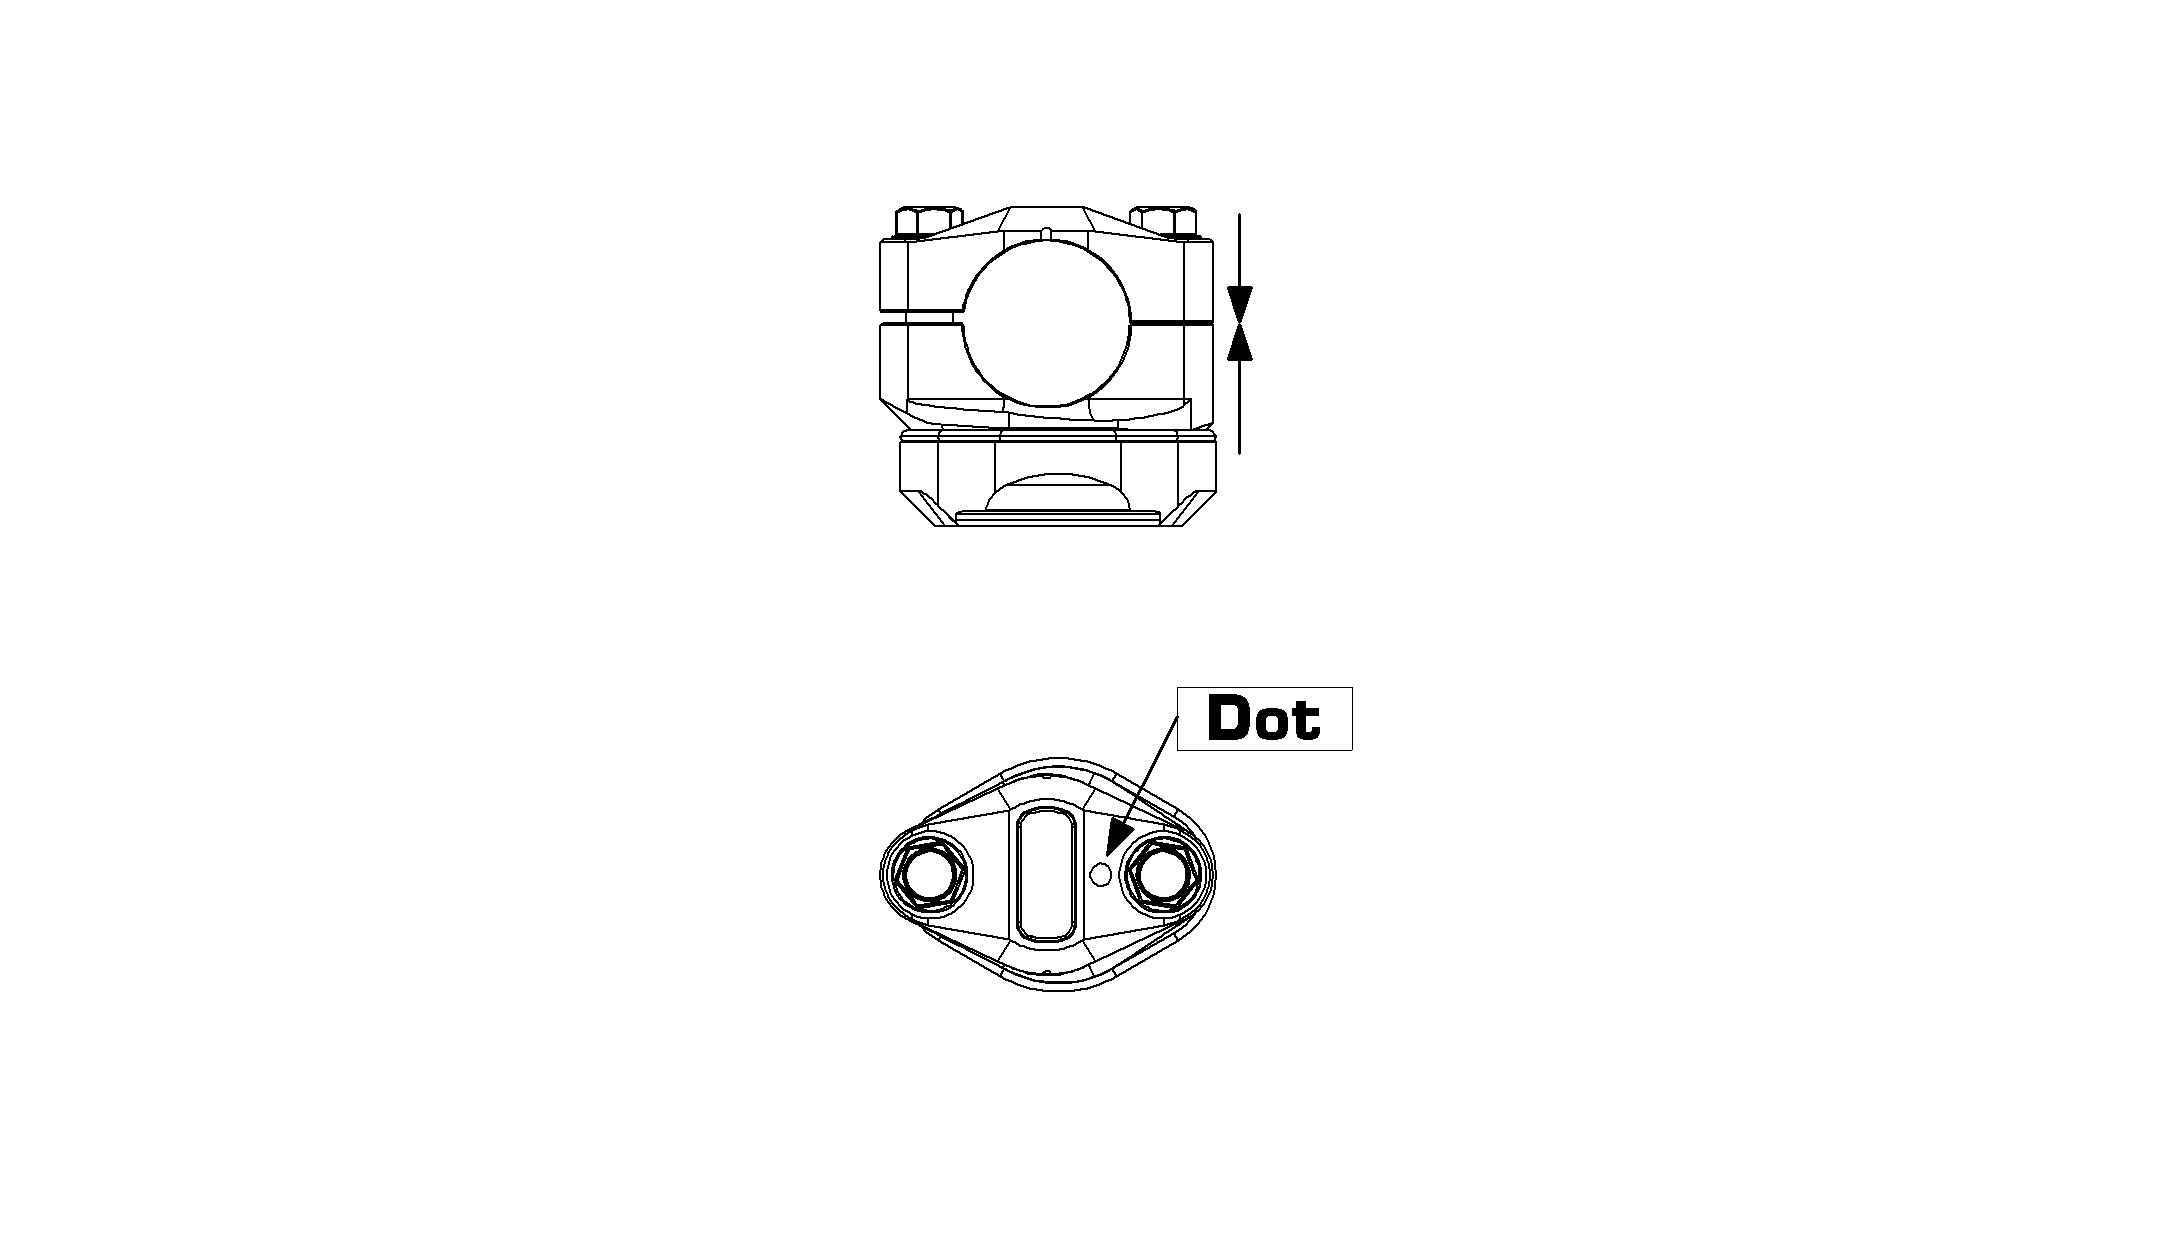
Pay attention to the same direction of point!
