REVOLUTIONARY OPPOSING CLAMP SYSTEM
MOUNTING INSTRUCTIONS
Scope of Supply:
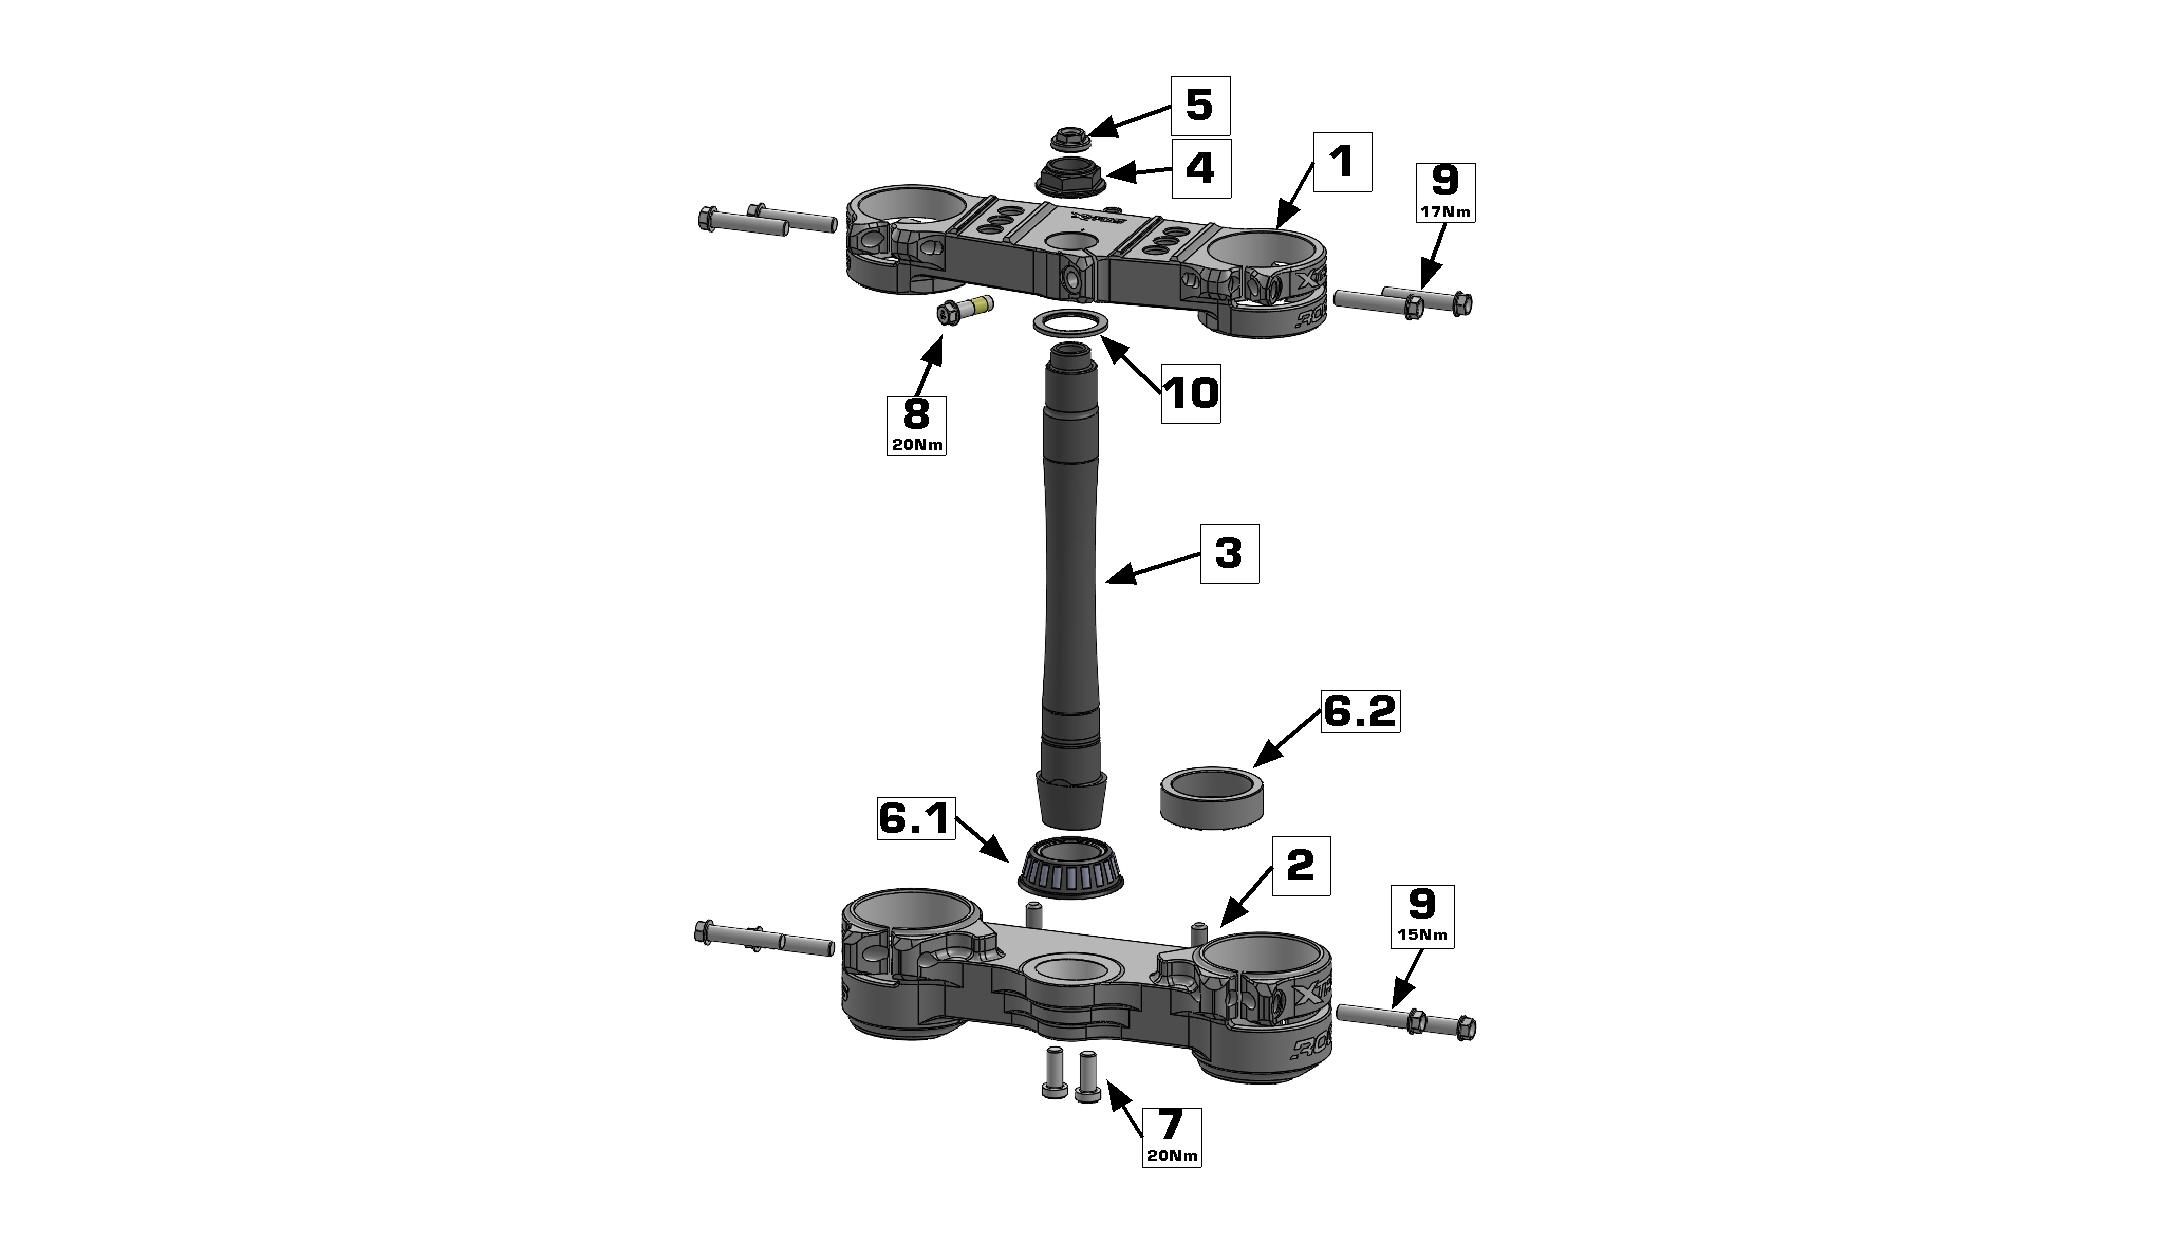
triple clamp triple clamp
1x XTRIG Pro steerer tube with eccentric adjustment depending on model
TRIPLE CLAMP MOUNTING INSTRUCTIONS
These instructions may differ in individual details depending on the model. Basically, the installation of the triple clamp is described and the adjustment of
Support the cleaned motorcycle on the frame so that the front wheel is raised.
REMOVING THE FACTORY TRIPLE CLAMP:
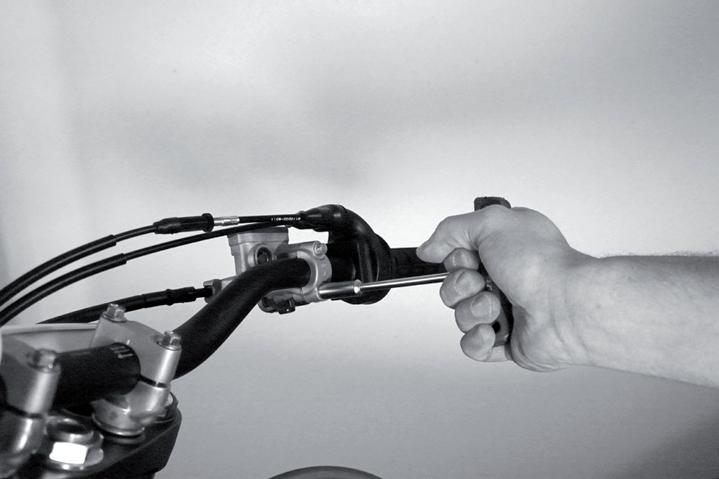
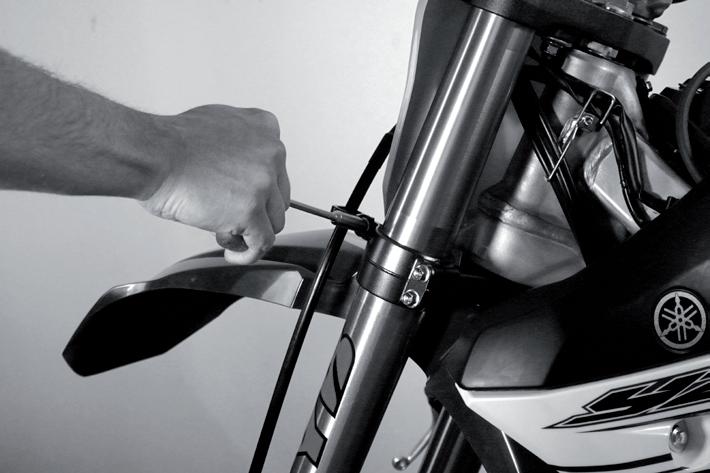
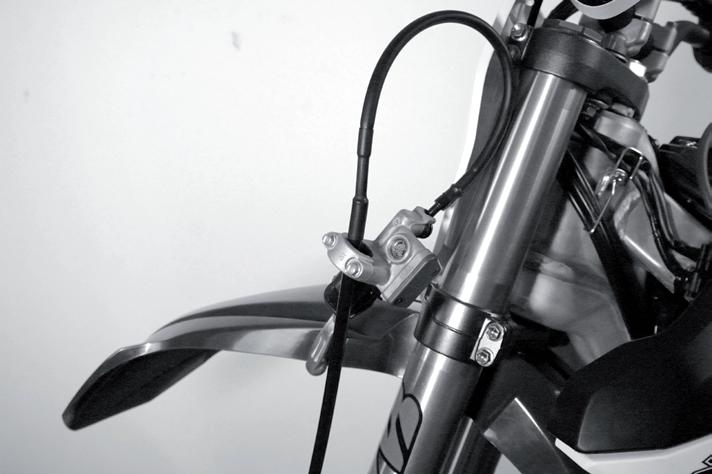
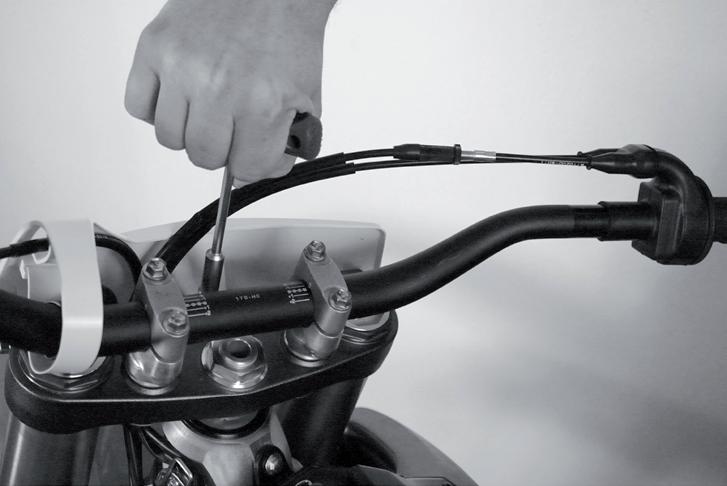
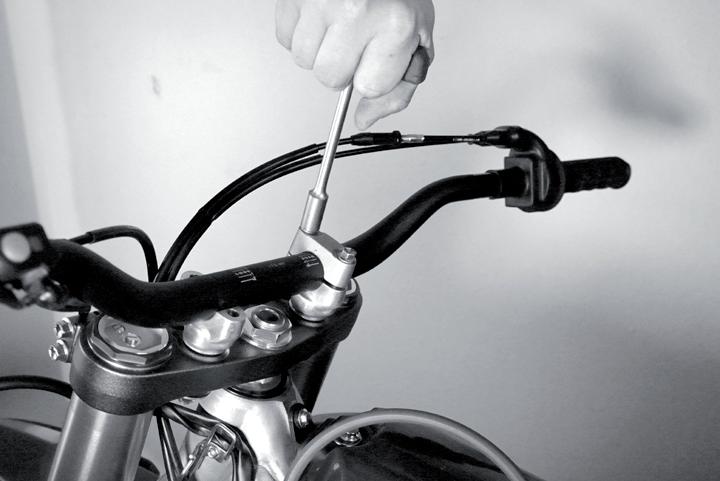
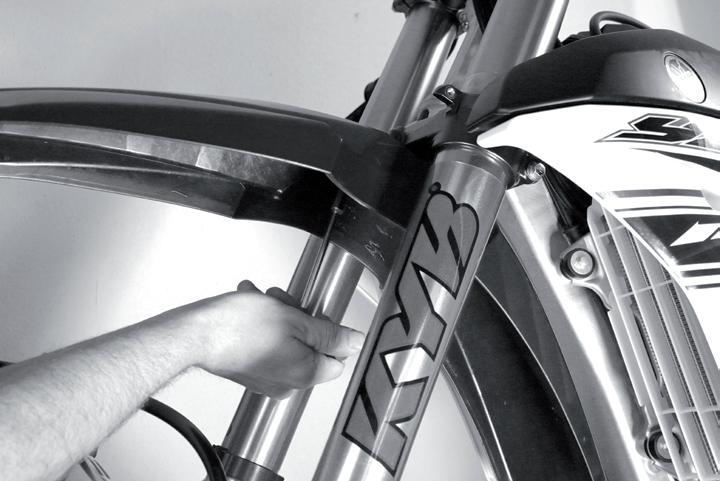
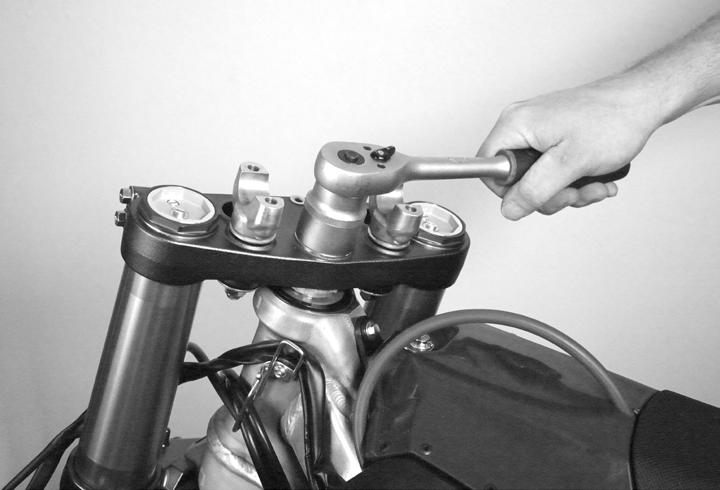
Loosen the fastening nut of the upper triple clamp
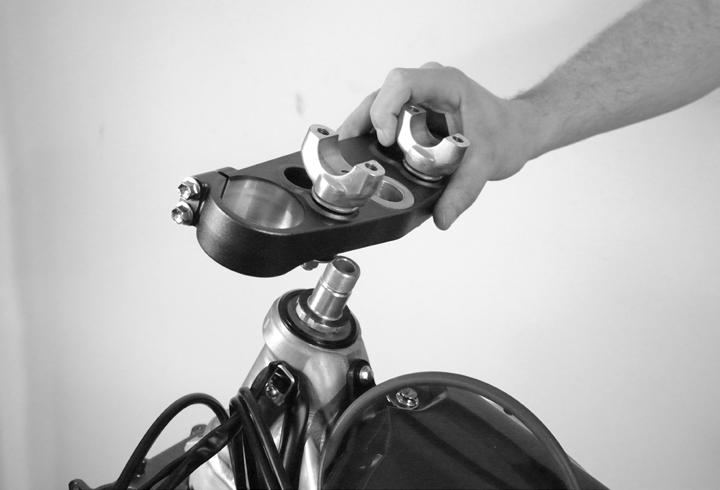
Remove upper triple clamp
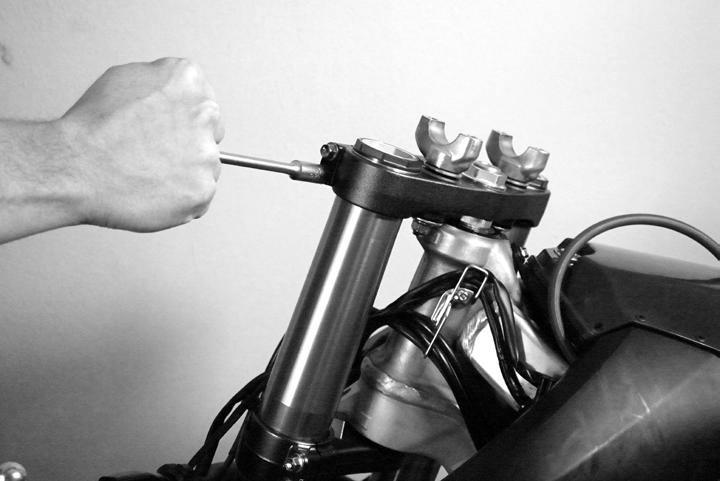
Loosen the clamps of the upper and lower triple clamp
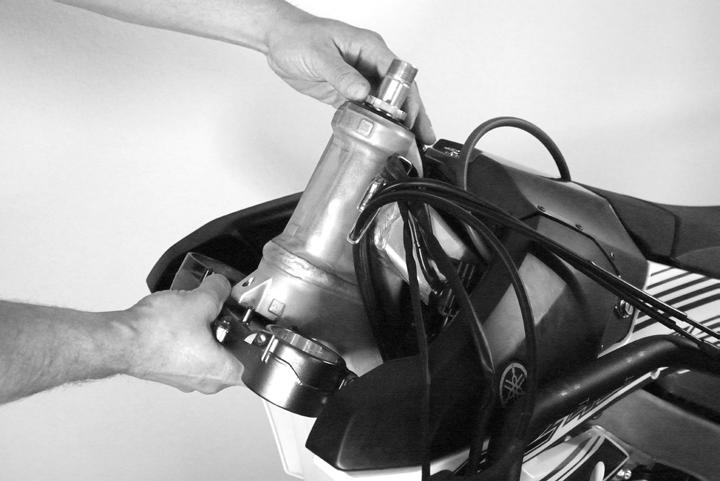
Hold the lower triple clamp and remove the adjusting nut of the steering head bearing
MOUNTING THE XTRIG ROCS PRO TRIPLE CLAMP:
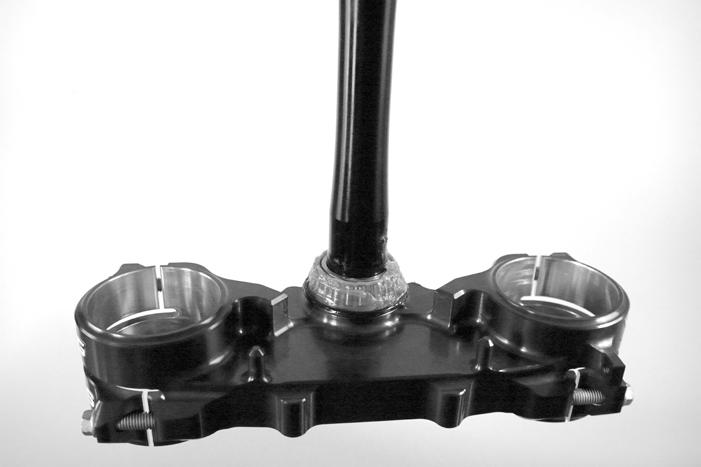
Grease the steering head bearing of the preassembled XTRIG triple clamp with suitable bearing grease
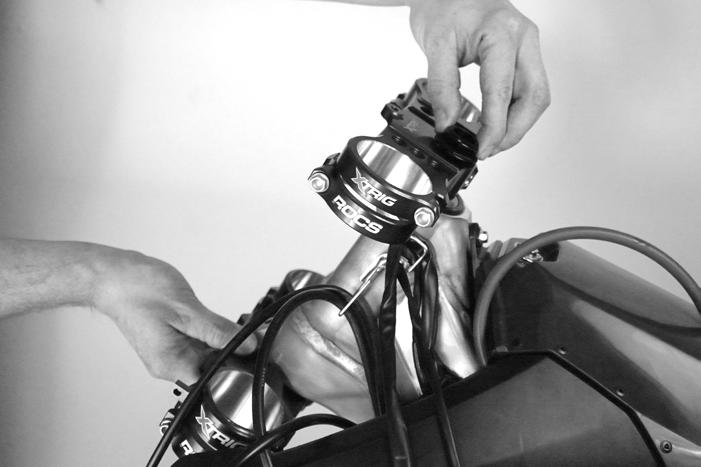
Place the upper triple clamp and tighten the adjusting nut (4) by hand
NOTE: only now the lower triple clamp can be released
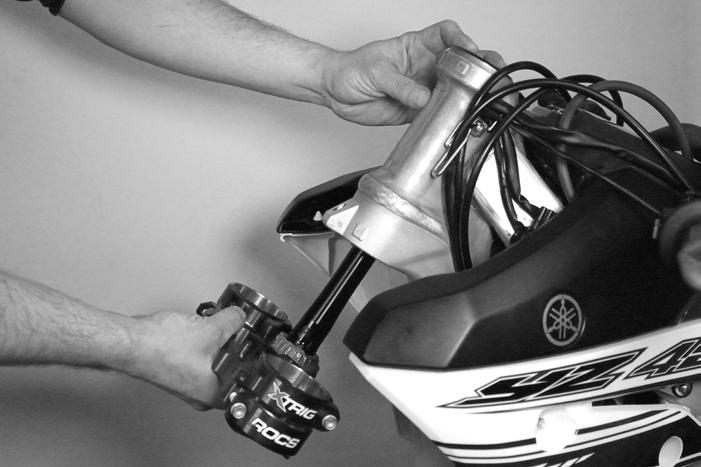
Slide the lower triple clamp into the steering head while holding the upper steering head bearing and sealing washer
NOTE: Do not release the lower triple clamp, continue to press in the direction of installation
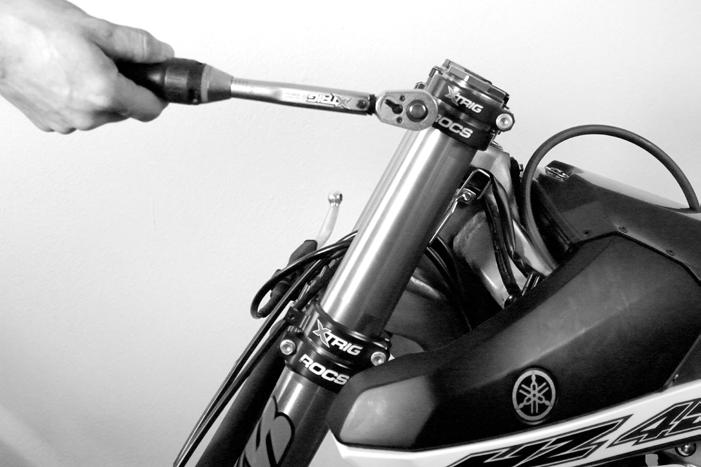
Insert fork including front wheel and brake system into the triple clamp
WARNING: now tighten only the bolts M8x40 (9) of the upper triple clamp with a torque of 17 Nm.
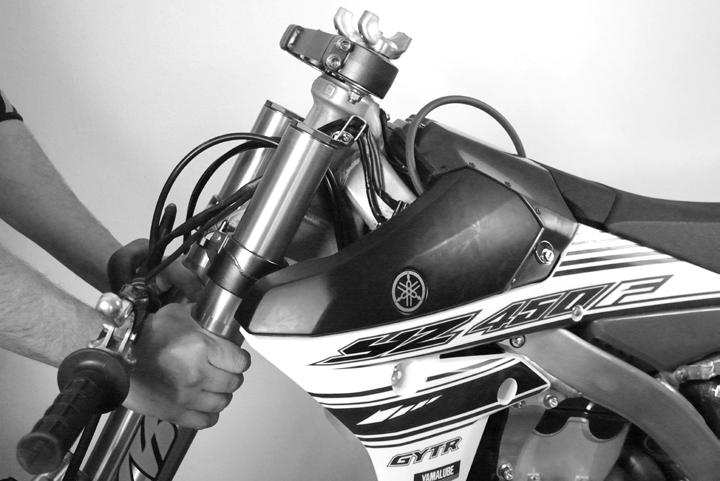
Pull out fork together with front wheel and brake system downwards
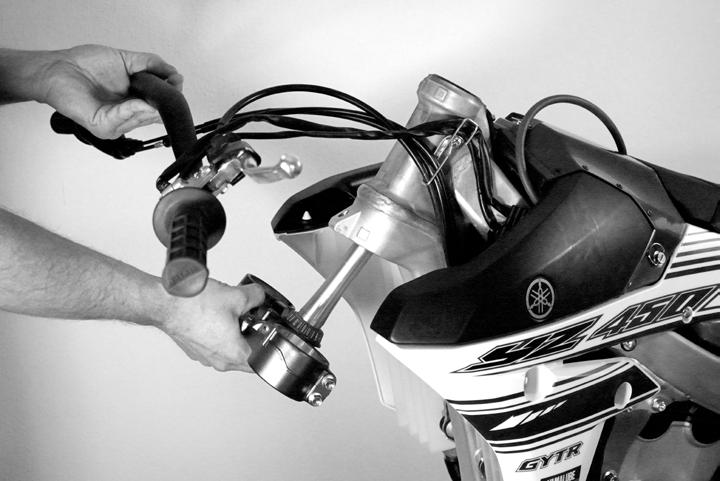
Dismantle the lower triple clamp. Clean the steering head and bearing seat of the motorcycle
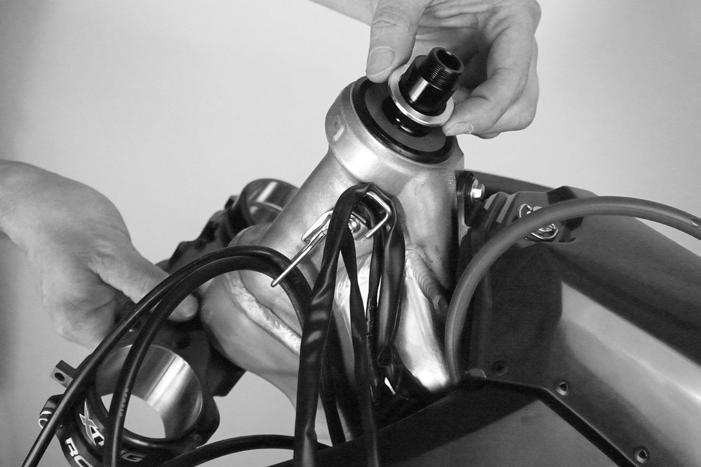
Depending on the model, install the seal for the steering head bearing (sealing ring or O–ring)
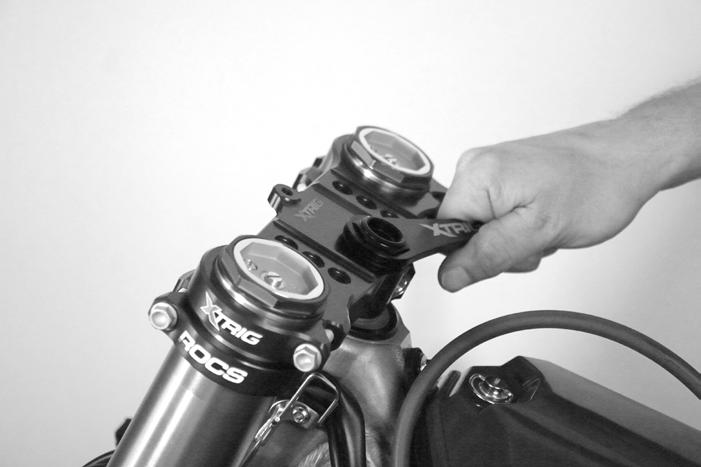
Set the required bearing clearance with the adjusting nut (4)
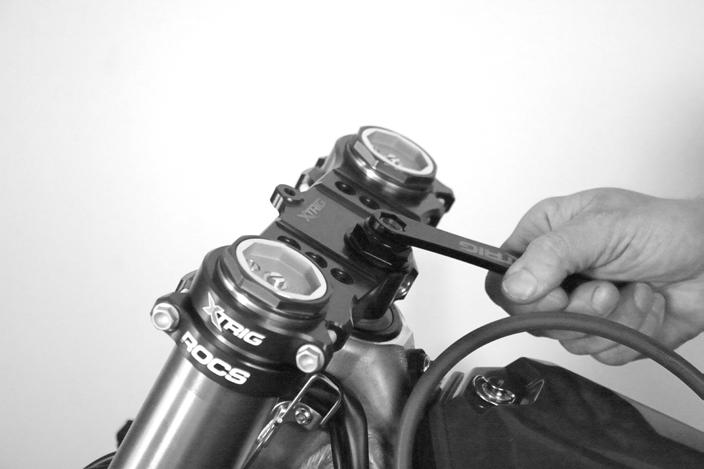
anziehen
Screw the locking bolt (5) into the adjusting nut (4) and tighten with 10 Nm.
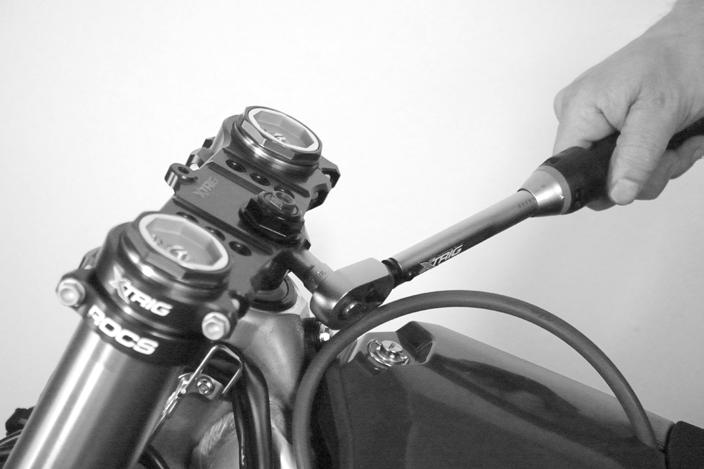
the
to
Achtung!
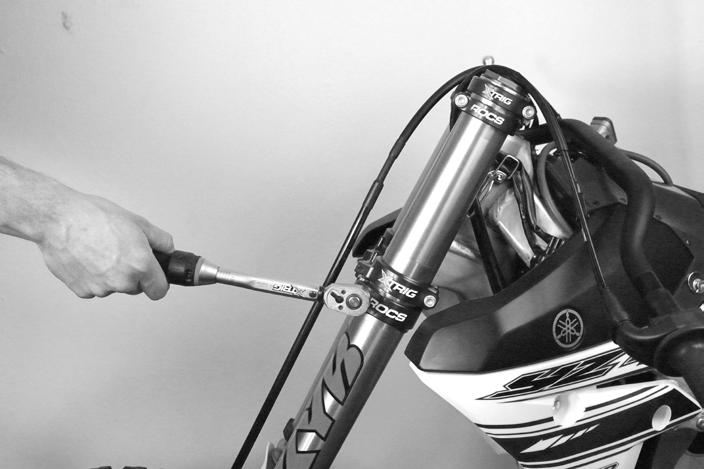
Die Klemmschrauben ( 9 ) der unteren Gabelbrücke mit 15 Nm anziehen. Kotflügel vorne und Bremsleitungsführung wieder montieren.
Tighten the bolts M8x40 (9) of the lower triple clamp to 15 Nm. Reinstall the front fender and brake line guide
Ist die Steuerkopflagerung nicht spielfrei eingestellt, tritt unruhiges Fahrverhalten auf.
CAUTION
Das Motorrad kann dabei ausser Kontrolle geraten.
Vorsicht!
If the steering head bearing is not adjusted free of play, unsteady driving behaviour will occur. The motorcycle can get out of control. If driving with play in the steering head bearing for a longer period of time, the bearings and subsequently the bearing seats in the frame will be destroyed.
Wird über längere Zeit mit Spiel in der Steuerkopflagerung gefahren, werden die Lager und in weiterer Folge die Lagersitze im Rahmen zerstört.
Die Steuerkopflager sollten mindestens einmal jährlich nachgefettet werden
Regrease the steering head bearings at least once a year. On this occasion, change the supplied bearing shell if the installed one is worn.
Versatz:
OFFSET:
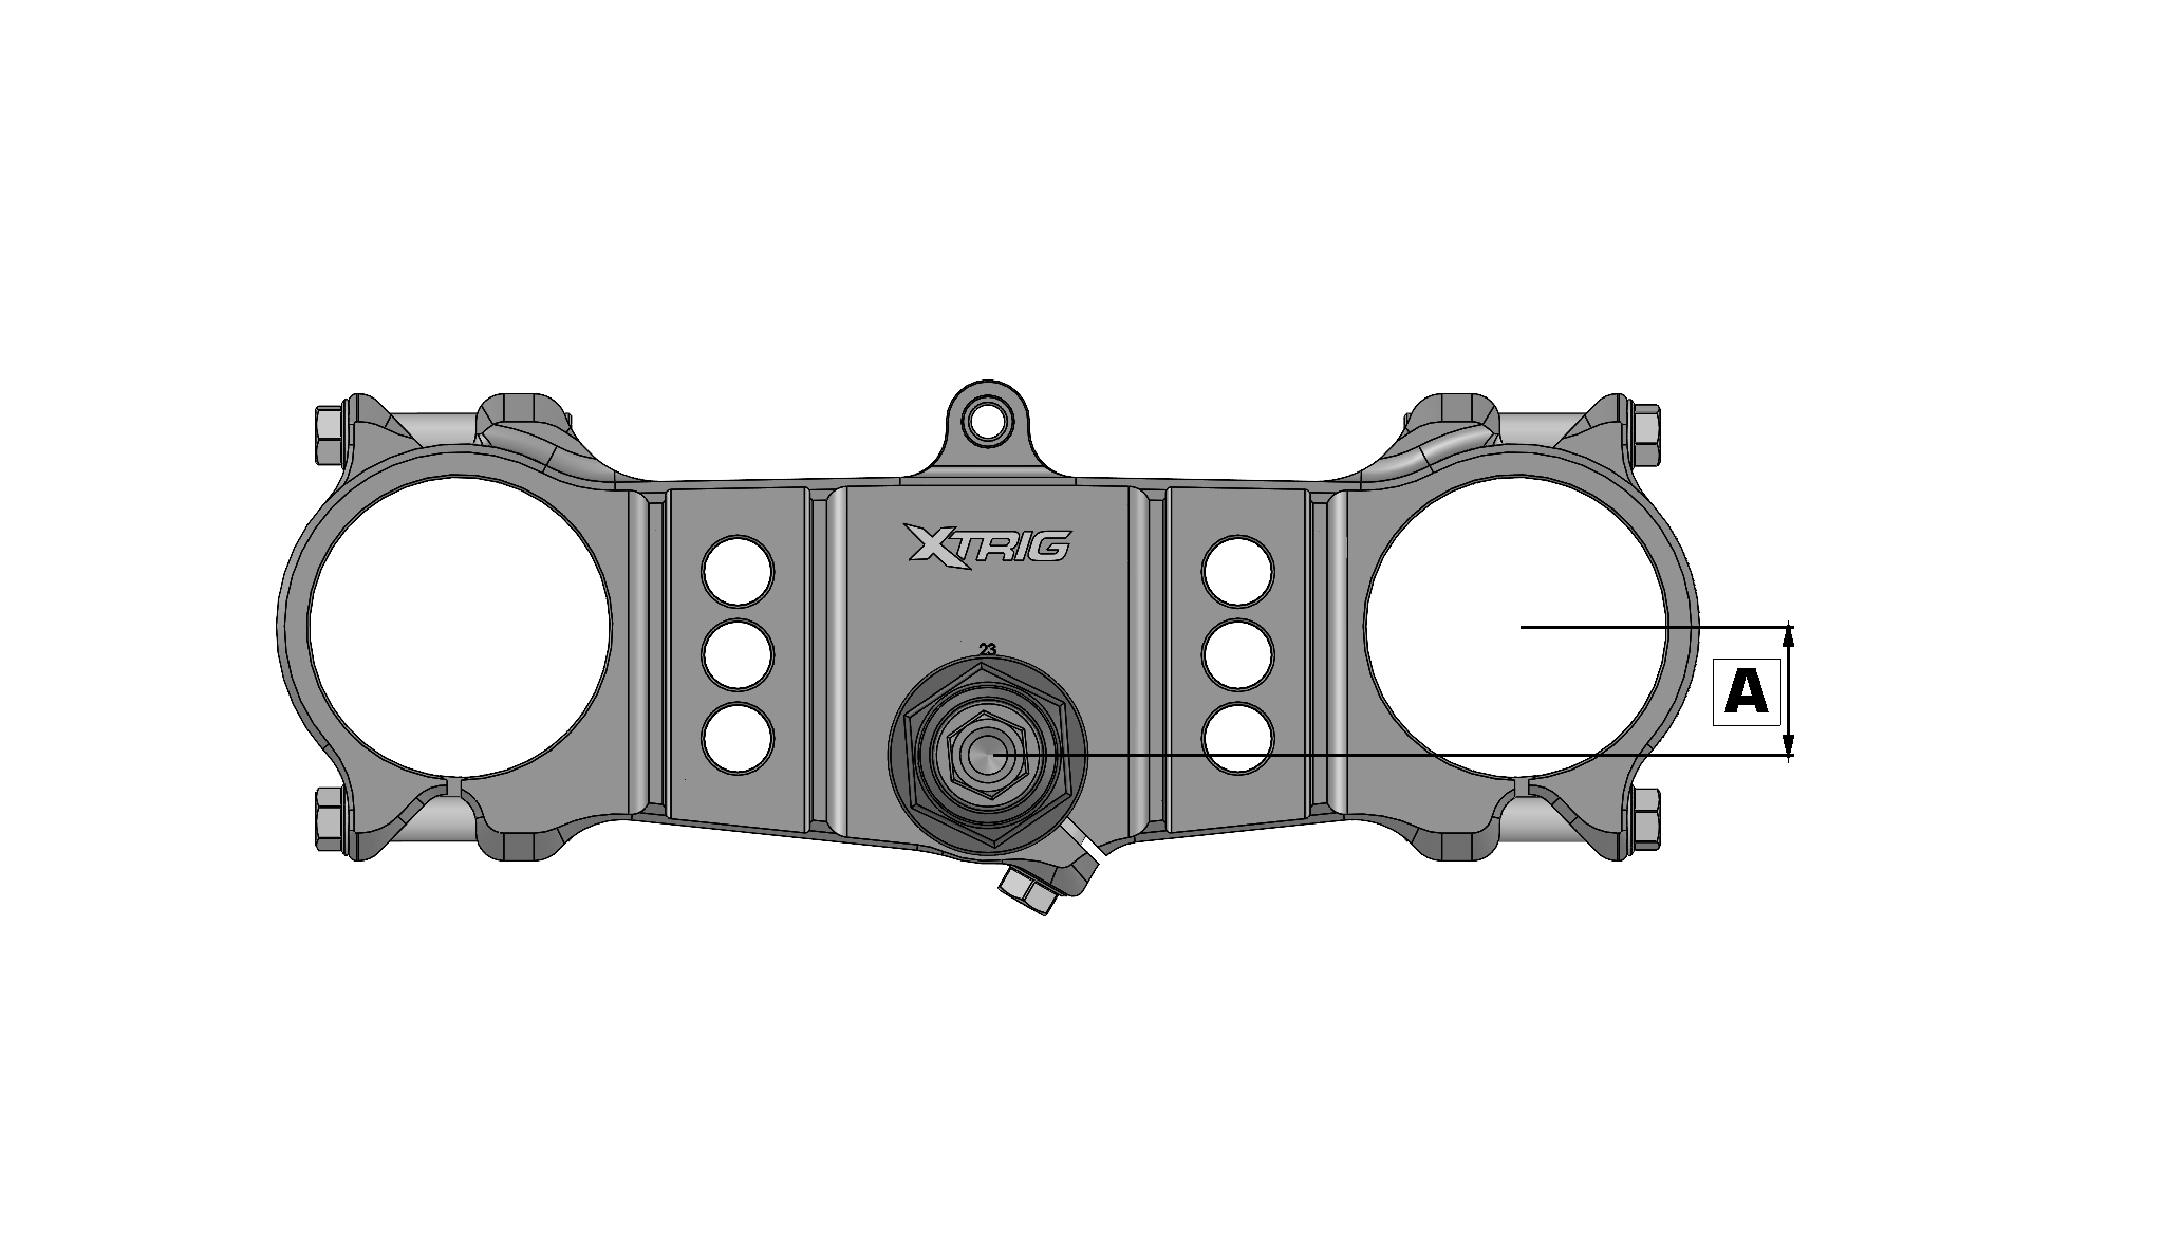
With the XTRIG triple clamp, the offset (A) of the clamp (centre of clamp leg to centre of headset bearing) can be adjusted as desired. The handling can thus be adapted even better to the race tracks.
( A ) der Gabel ( Mitte Gabelbeine zu Mitte Steuerkopflager ) wahlweise eingestellt werden. Das Handling kann dadurch noch besser den Rennstrecken angepasst werden. Welcher Versatz eingestellt ist, sehen Sie an der eingravierten Zahl die vor oder hinter der Einstellmutter zu sehen ist.
Gabelversatz ändern:
CHANGING THE CLAMP OFFSET
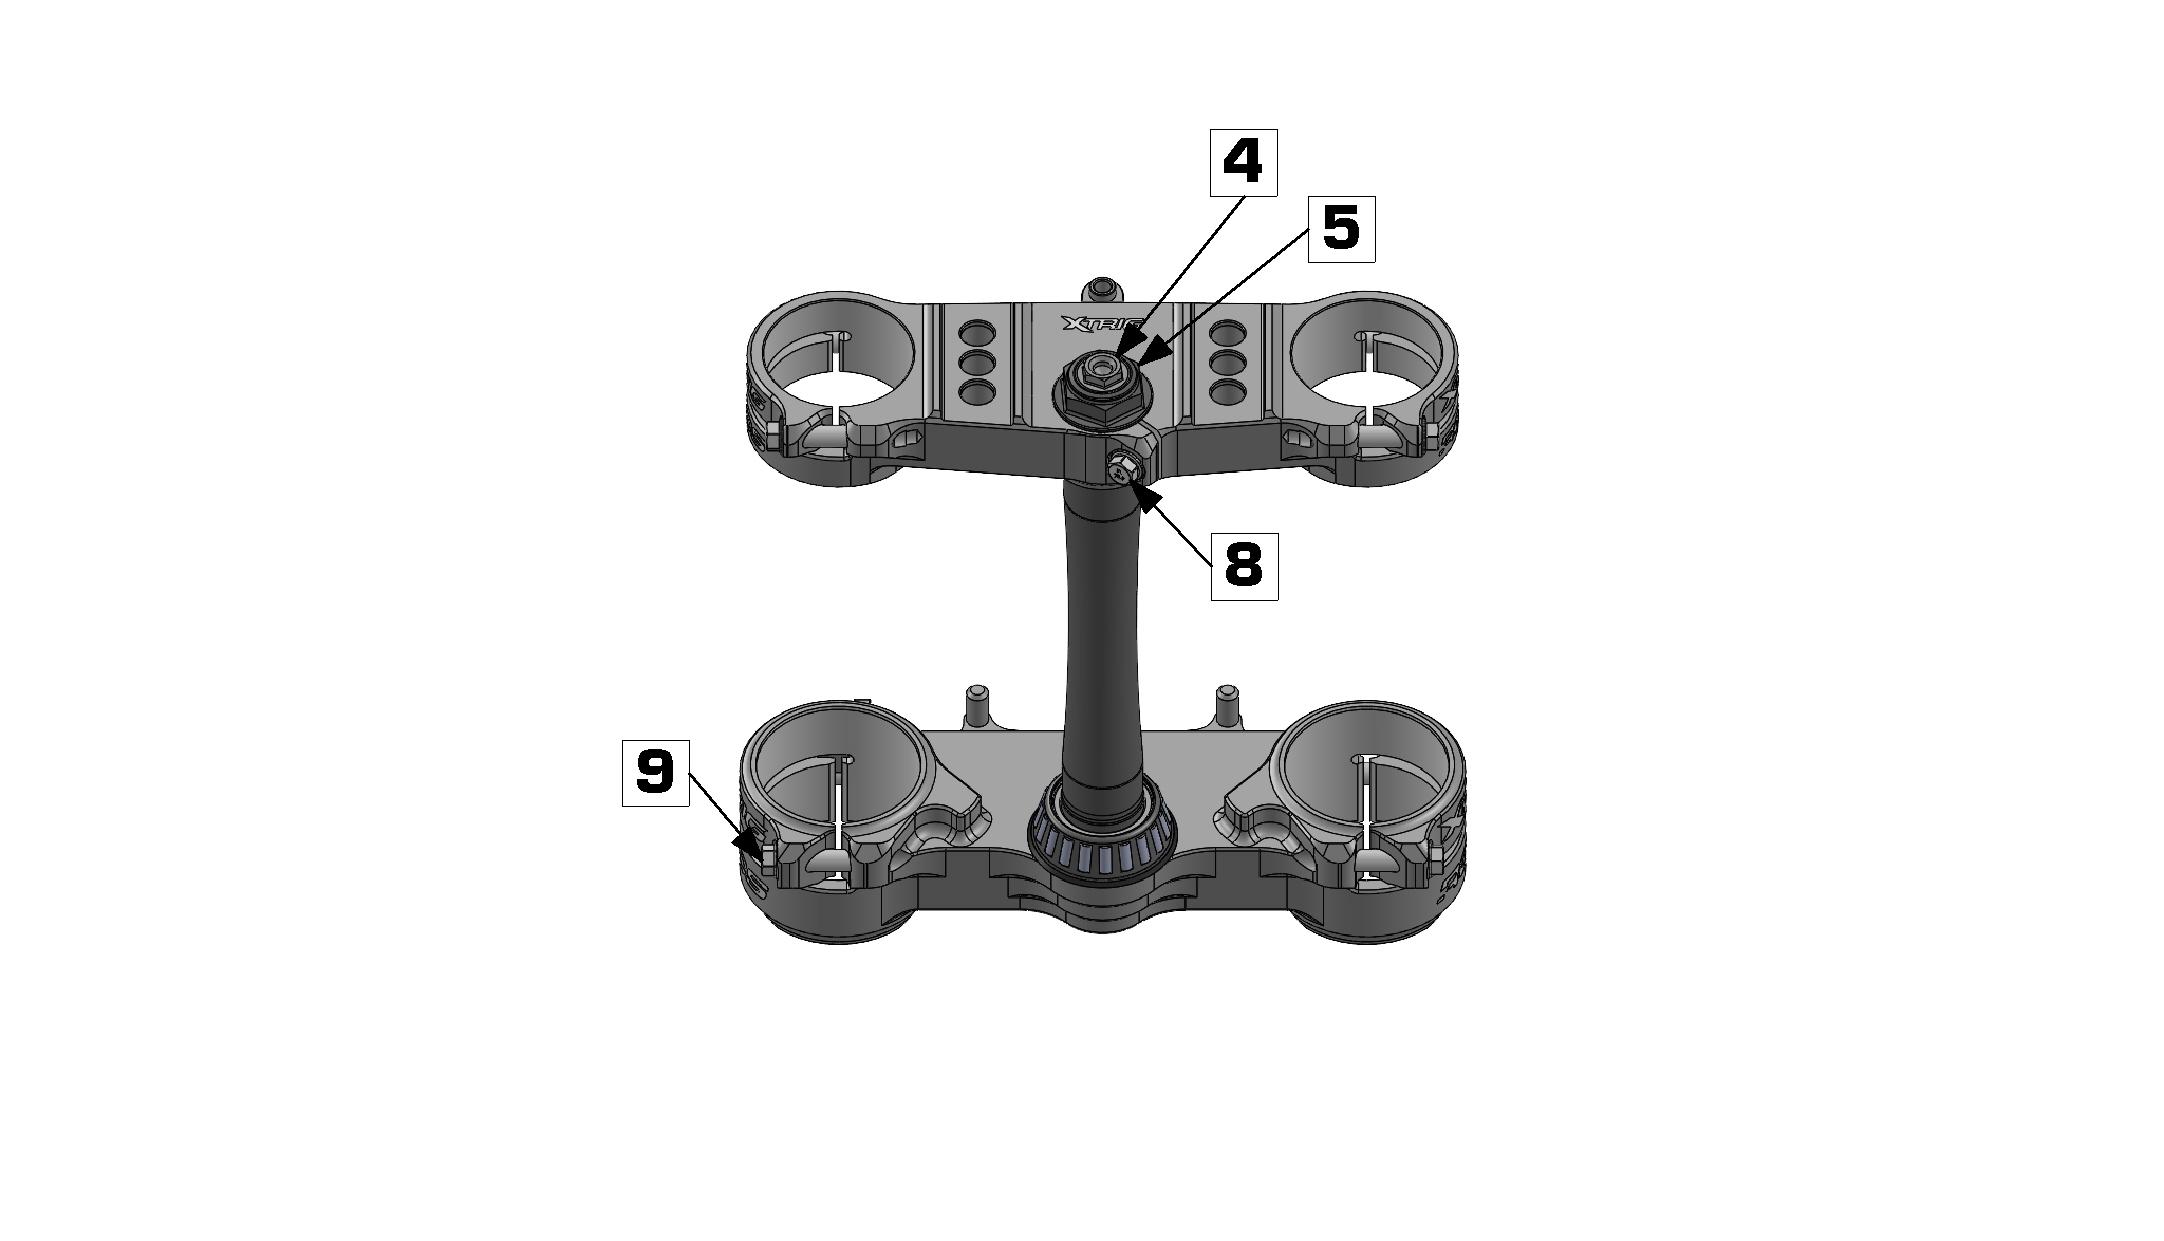
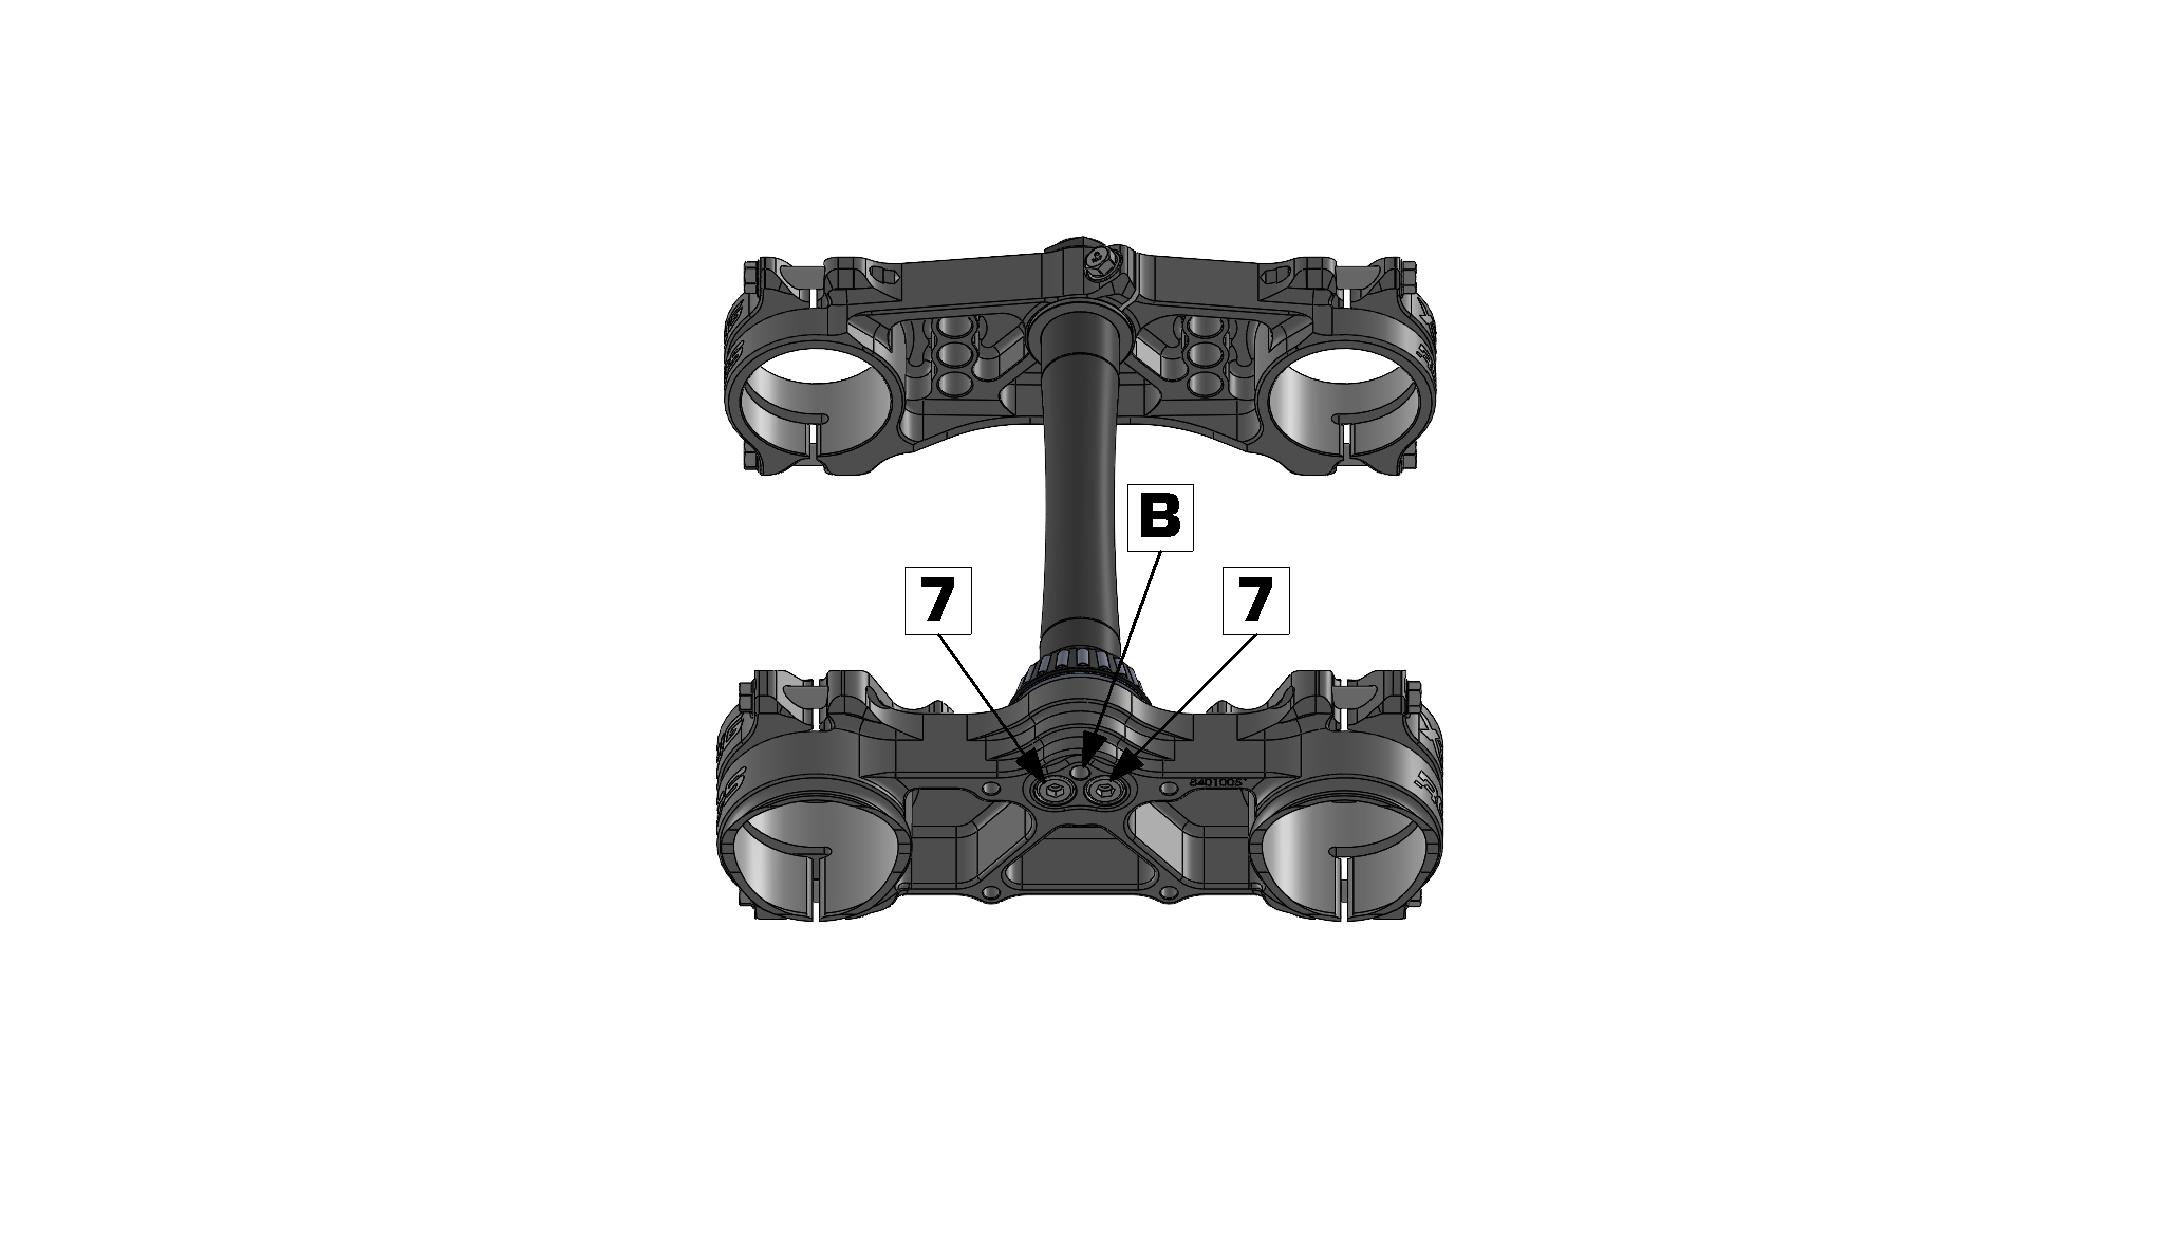
To change the offset, support the motorbike on the frame so that the front wheel is raised. Disassemble the front fender. Loosen the 5 bolts M8x25 (8) and M8x40 (9) and unscrew the two bolts M8x20 (7) Push the lower triple clamp down by approx. 22mm, making sure that the fork is not loaded in this state.
Ist der geringere Versatz eingestellt, erzielen Sie bessere Fahrstabilität auf schnellen Rennstrecken. Wird der größere Versatz eingestellt wird das Handling in engen kurven verbessert.
You can see which offset is set by the lasered number that can be seen in front of or behind the adjusting nut. If the lower offset is set, you will achieve better driving stability on fast race tracks. If the larger offset is set, the handling in the curves is improved.
Vorderrad angehoben ist. Den vorderen Kotflügel demontieren. Die 5 Stück Klemmschrauben ( 8 ) und ( 9 ) lockern und die beiden Schrauben ( 7 ) ausschrauben. Die untere Gabelbrücke um ca. 22mm nach unten schieben und dabei darauf achten, dass die Gabel in diesem Zustand nicht belastet wird.
Note: If the lower triple clamp is tight, the lower triple clamp can be loosened from the taper of the shaft tube by screwing the M8x20 bolt (7) into the hole (B)
HINWEIS: Sollte die untere Gabelbrücke fest sitzen, kann durch Einschrauben der Inbusschraube ( 7 ) M8x20 in die Bohrung ( B ) die untere Gabelbrücke vom Kegel des Schaftrohres gelöst werden.
( 4 ) um 180 im Uhrzeigersinn drehen, dabei muss die Konterschraube ( 5 ) angezogen bleiben. Die eventuell benötigte Bundschraube aus Bohrung ( B ) entfernen und die untere Gabelbrücke wieder ganz nach oben schieben. Die beiden Schrauben ( 7 ) einschrauben und anziehen. Die 5 Klemmschrauben ( 8 ) und ( 9 ) anziehen und den Kotflügel montieren. Das Steuerkopflagerspiel kontrollieren und nötigenfalls das Einstellen wiederholen.
Turn the steerer tube clockwise by 180° only at the adjusting nut (4) using a suitable wrench (AF 27); the locking bolt (5) must remain tightened. Remove the screw that may be needed from the hole (B) and push the lower triple clamp all the way up again. Screw in an tighten the 2 M8x20 bolts (7) to 20 Nm. Tighten the 1 bolt M8x25 (8) with 20 Nm and the 4 bolts M8x40 (9) with 15 Nm and mount the fender. Check the headset bearing clearance and repeat the adjustment if necessary.
