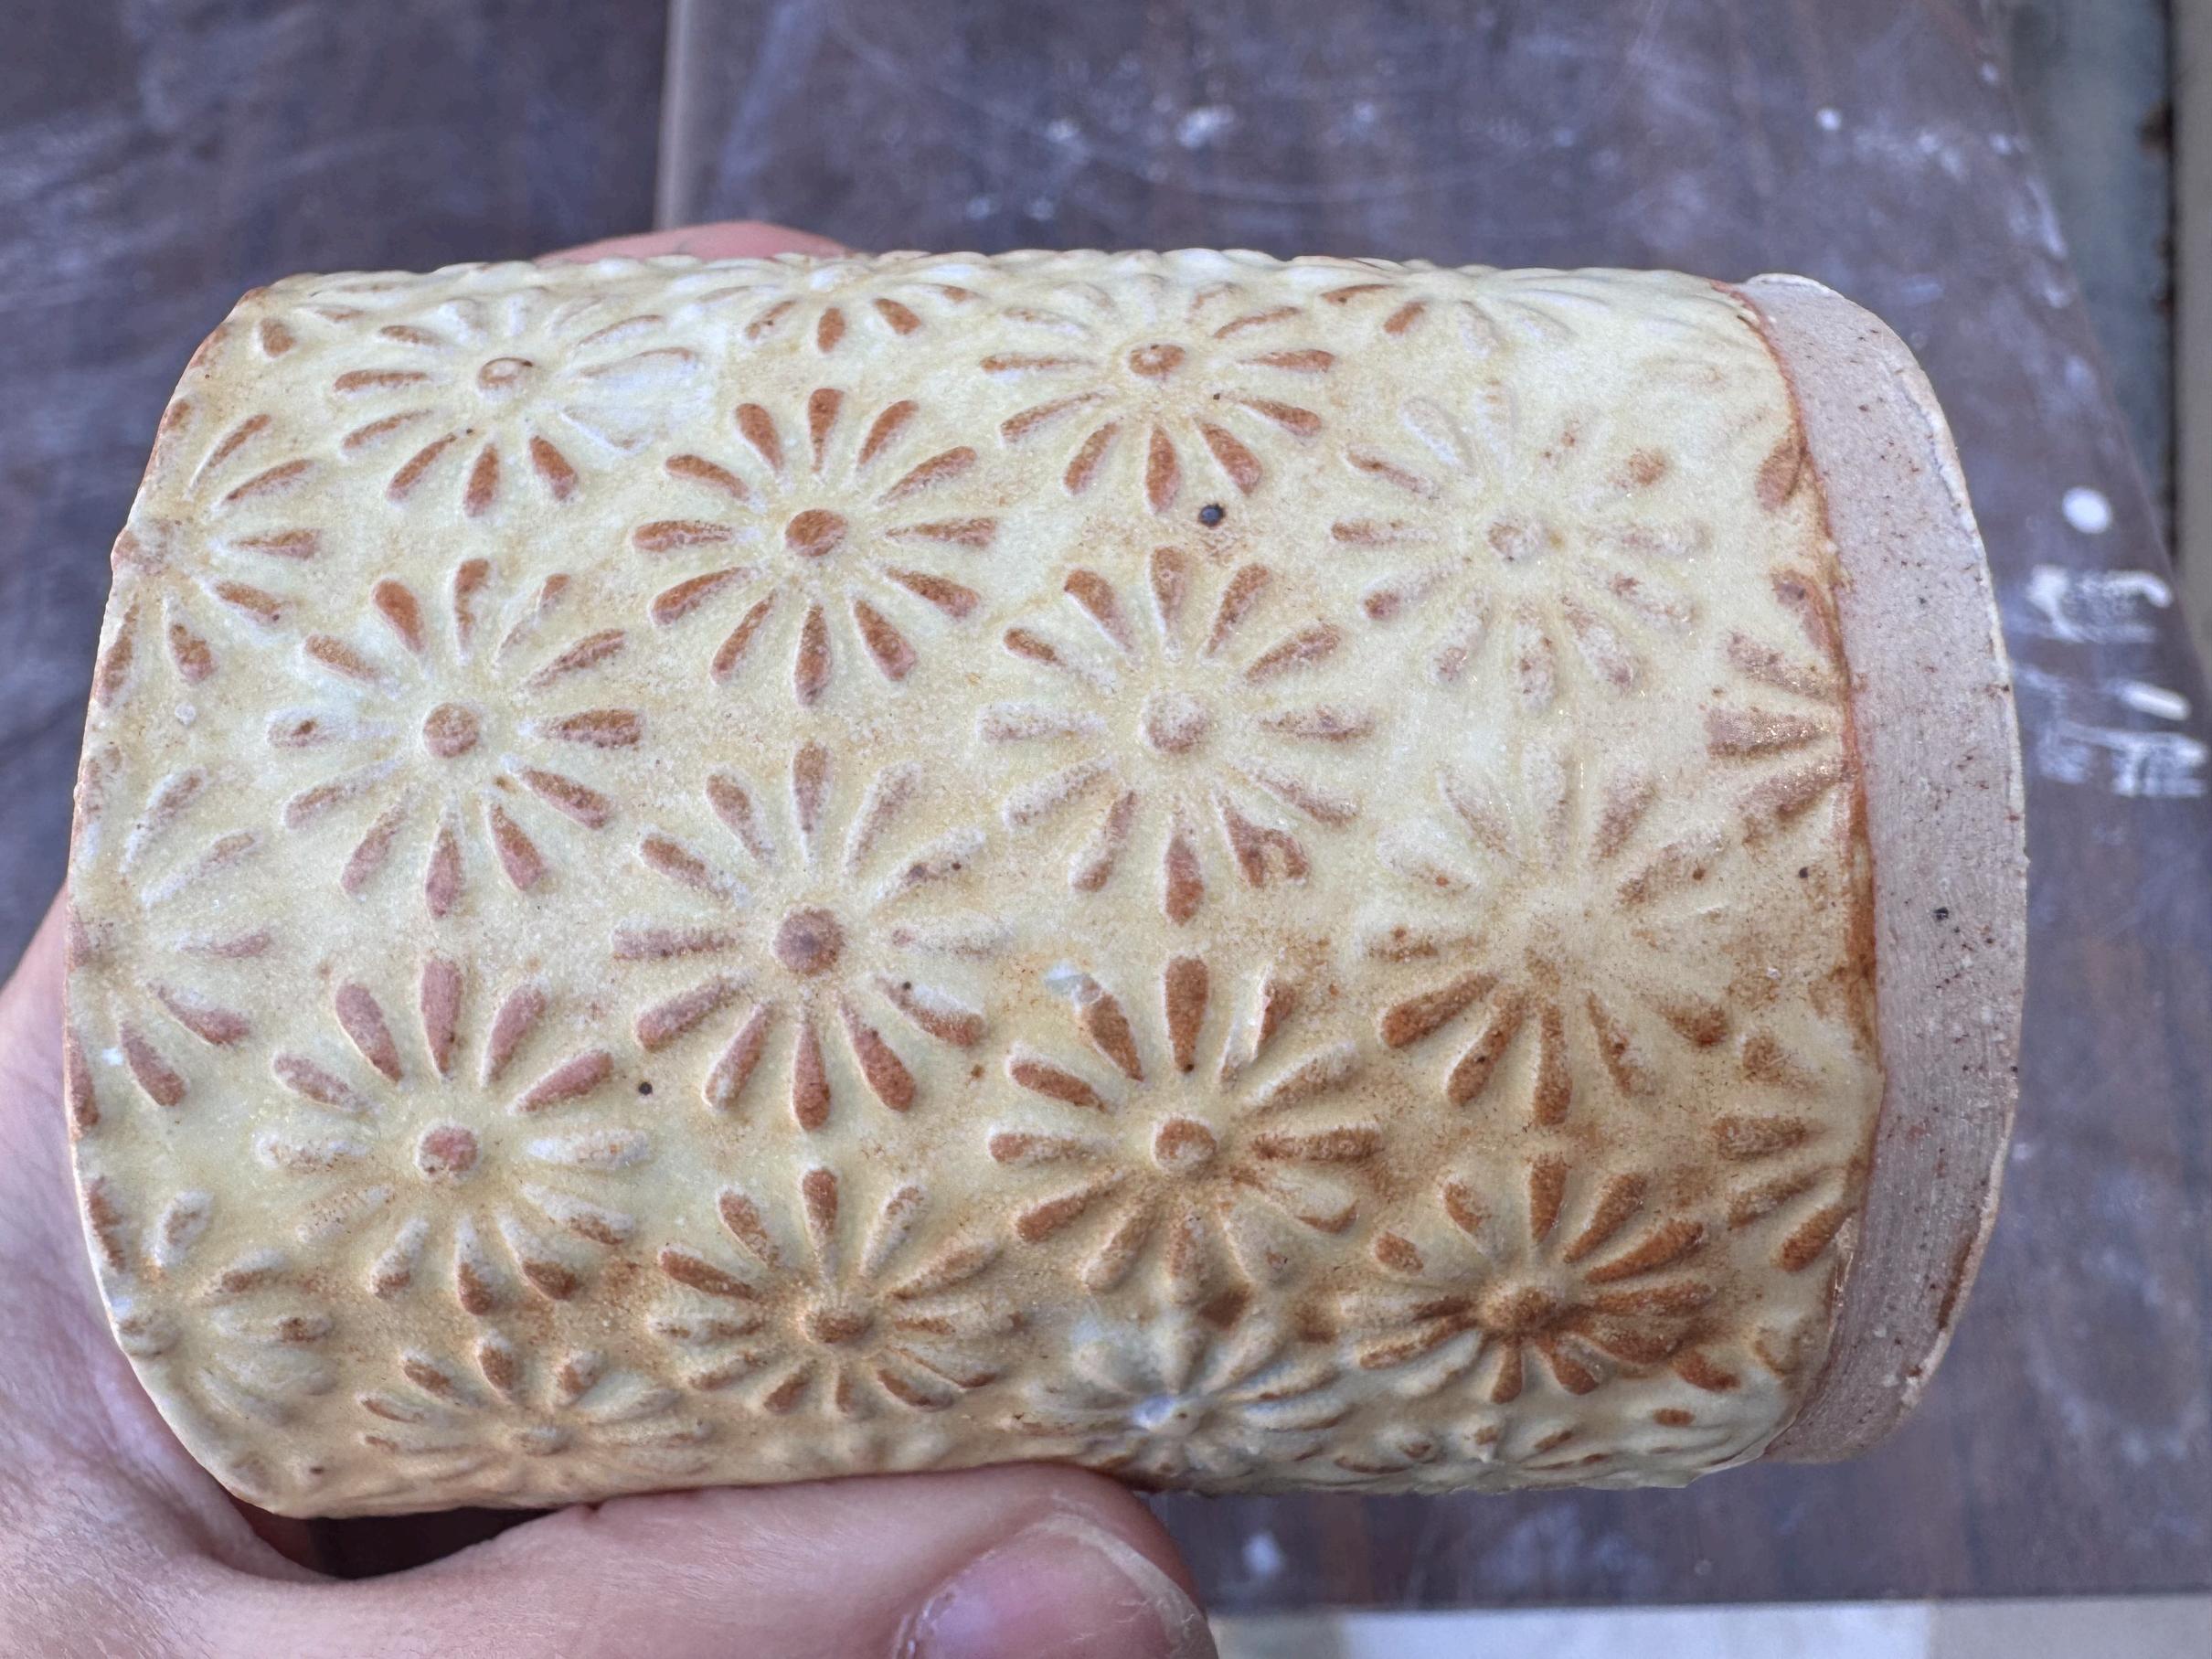
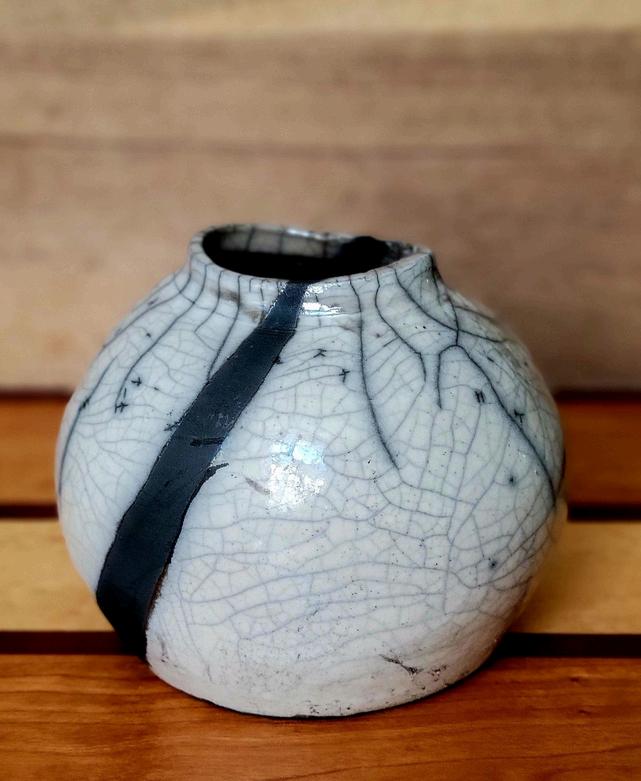
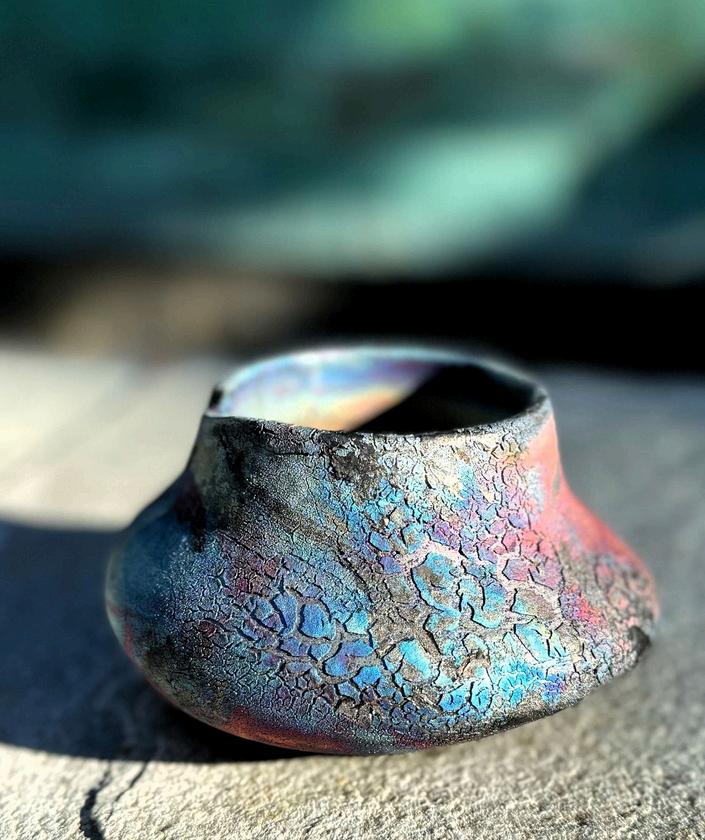
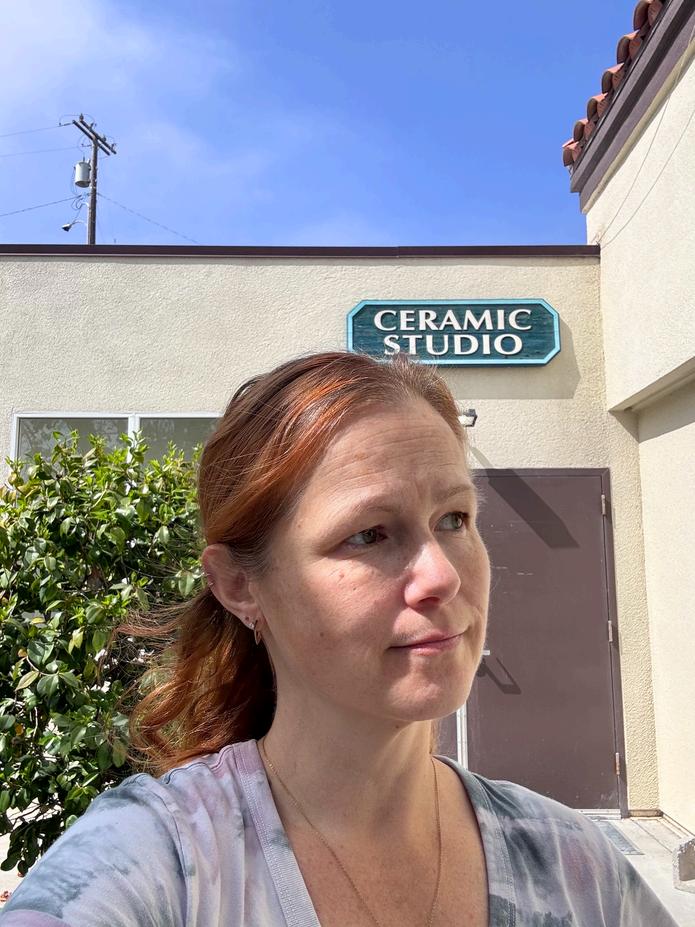
Join Chrystal and Chris and learn the ancient art of Raku, where you glaze and fire your piece in just a few hours.
WORKSHOPS
Held at the Manhattan Beach Art Center, 1560 Manhattan Beach Blvd. April 29 at 5pm - 8pm May 20 at 5pm - 8pm
Bring 2-4 medium pieces of bisque fired pottery (coarse clays are best) to join this hands on workshop. Please wear closed toed shoes and long pants.
There have been a lot of changes in the ceramics studio! Staff Changes – While we were sad to see Tommi and Michele leave, we wish them the best of luck in life and art! We are pleased to welcome back Eilen Stewart. You may have seen or taken classes with Eilen in the past. After a brief break, she is back to help organize the studio, teach classes, and keep her hands covered in clay as they should be. For any thoughts, questions, or concerns regarding the MB Ceramics Studio, please do not hesitate to reach out to Eilen at estewart@manhattanbeach.gov She will be on site most Mondays through Thursdays
STUDIO MATTERS: WHO MOVED MY CHEESE?
Who moved my piece and
why??
If you ’ ve ever had this question in the studio, read on.
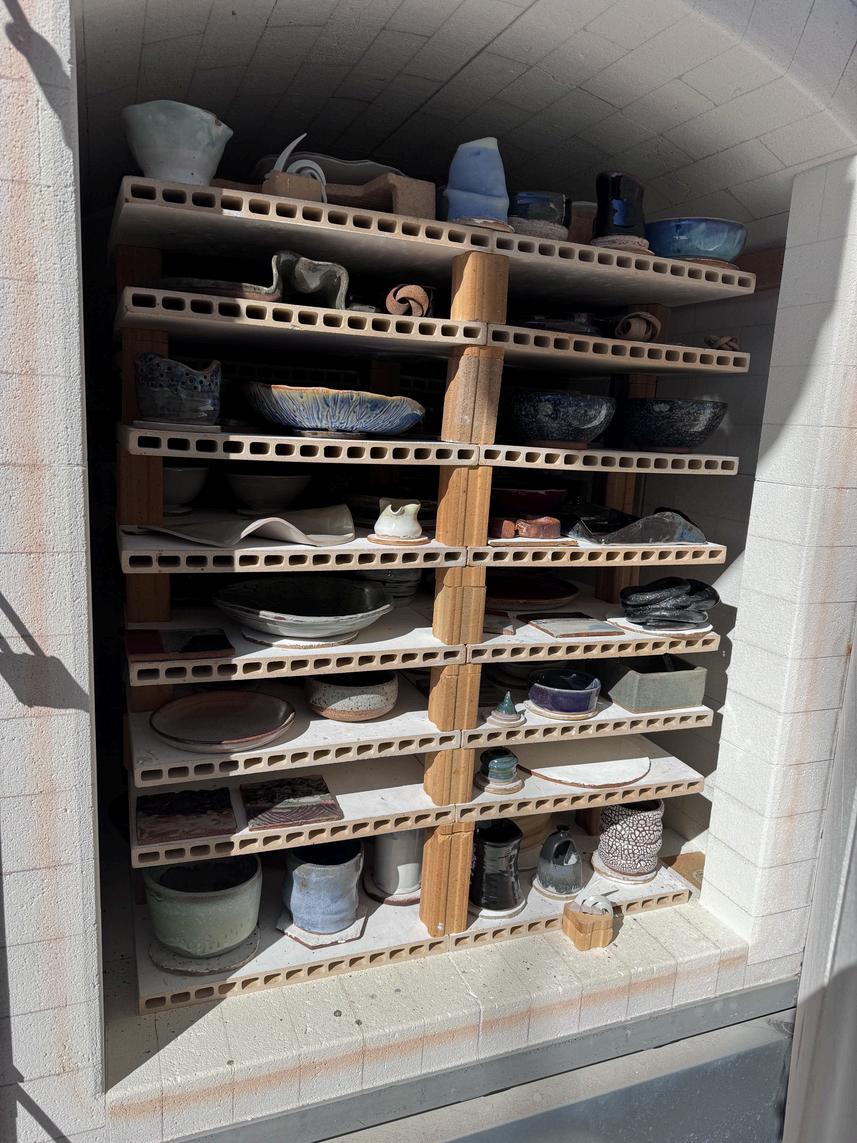
While our studio is amazing, it is, as you probably noticed, rather small. In order to accommodate the most people, we try to move work through quickly and efficiently. If we see an opportunity to create more space for everyone ’ s use, we will take it, and that means, maybe moving a piece.
Here are a few things to avoid, if you want to make sure your piece will not be moved unnecessarily:
Small piece on large board.
Short piece on tall shelf.
Piece at the front of the shelf when there is room in the back.
BEHIND THE SCENES: WHO
MOVED MY CHEESE?
Use the smallest board your piece can fit on.
Place work on the shortest shelf it will fit on.
Push the piece as far back and to the side as possible.
Tips to keep your work safe in the studio:
Use transparent plastic so it is easy to see what something is in case it needs to be moved.
Cover each board in a separate piece of plastic so it can be shifted individually.
Move work off bats and onto boards as soon as possible, bats are in high demand and may be removed from under a piece for student use.
Utilize less obvious shelves: all the way at the top or bottom. Leave the ‘easy’ shelves for those who may not be able to reach the other ones.
SCIENCE CORNER: SEEING RED
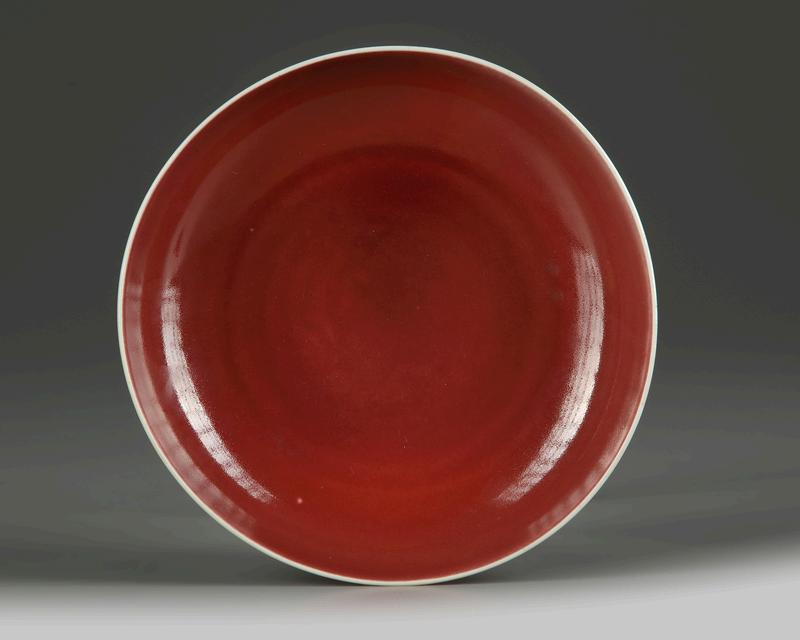
What is the deal with Pete’s Red?
How can I get more predictable results?
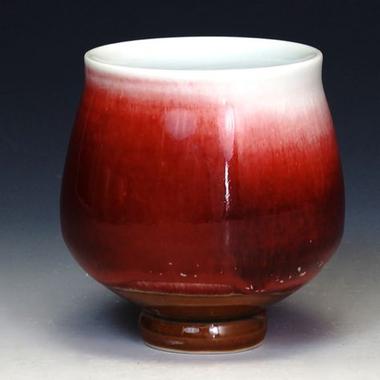
Subtle to intense “breaking” on the rim and high elements; the glaze turns clear, revealing the clay underneath where it is thinner.
Contrast between the rich red and pristine white of the porcelain underneath.
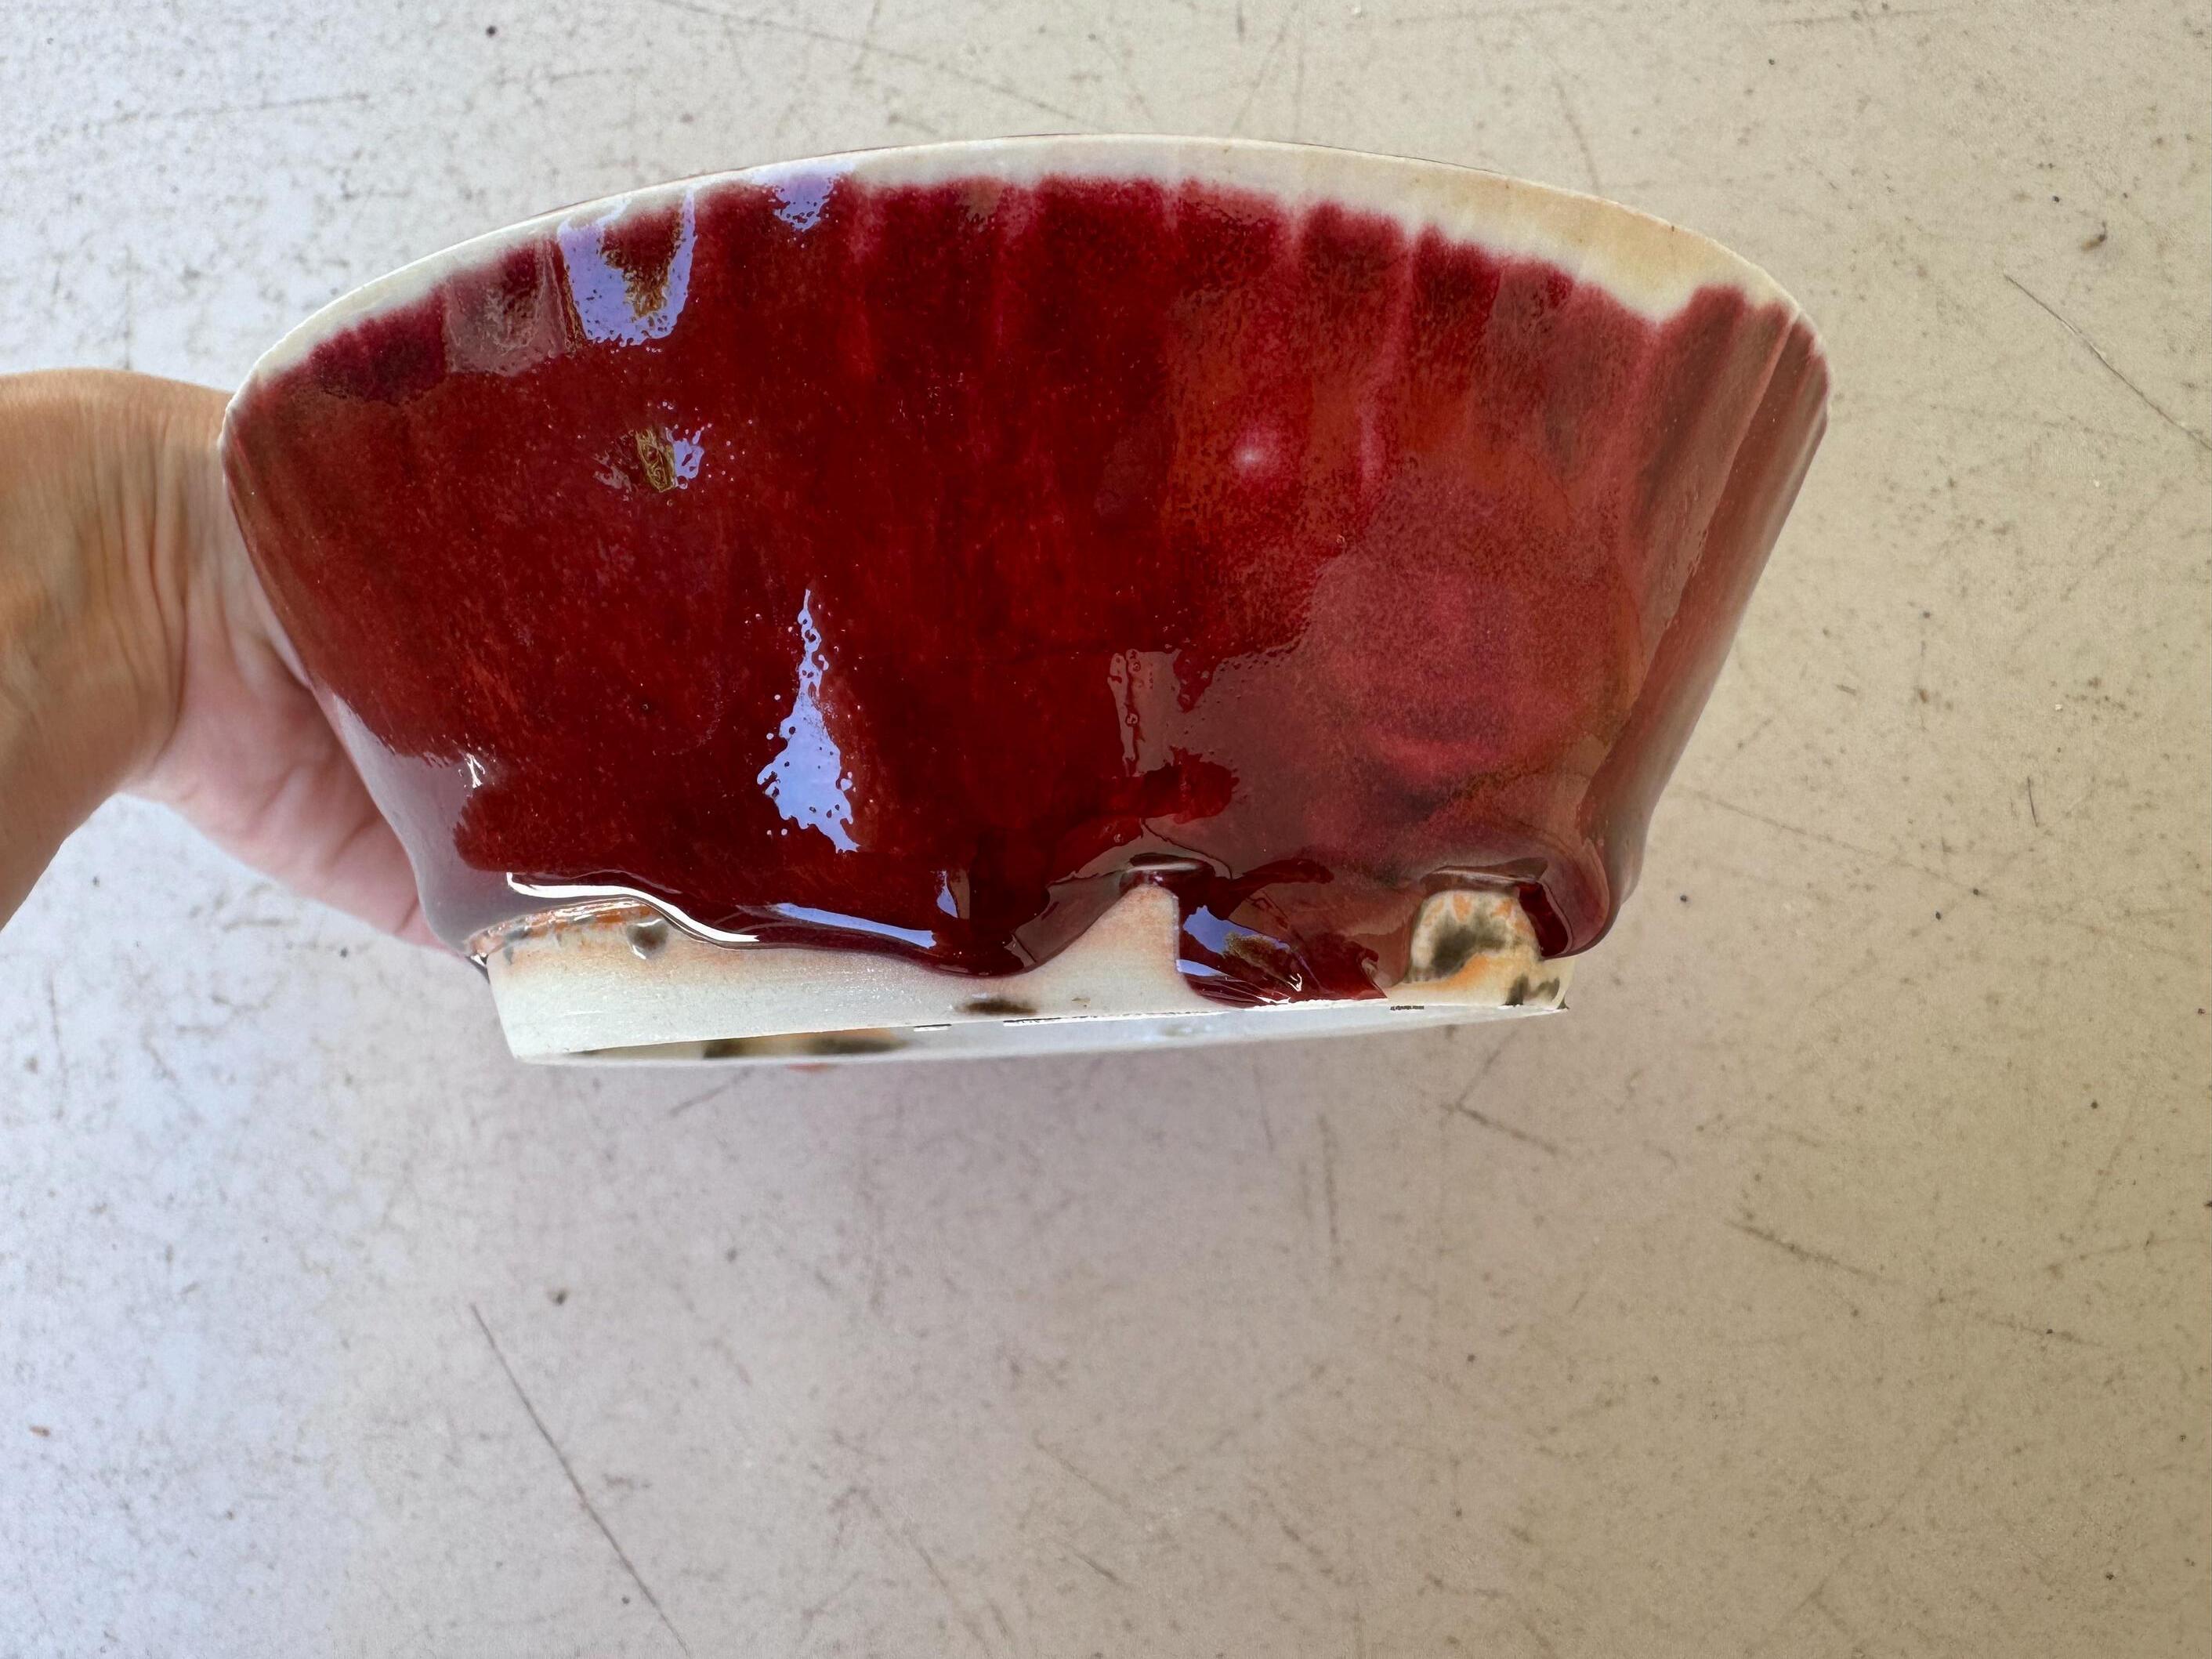
Pete’s Red is a traditional Copper Red glaze that can trace its origins for over a thousand years to China. The most desirable elements in a copper red glaze are: Rich red color ranging from tomato red to oxblood and deep purples.
So, how do I actually get red?
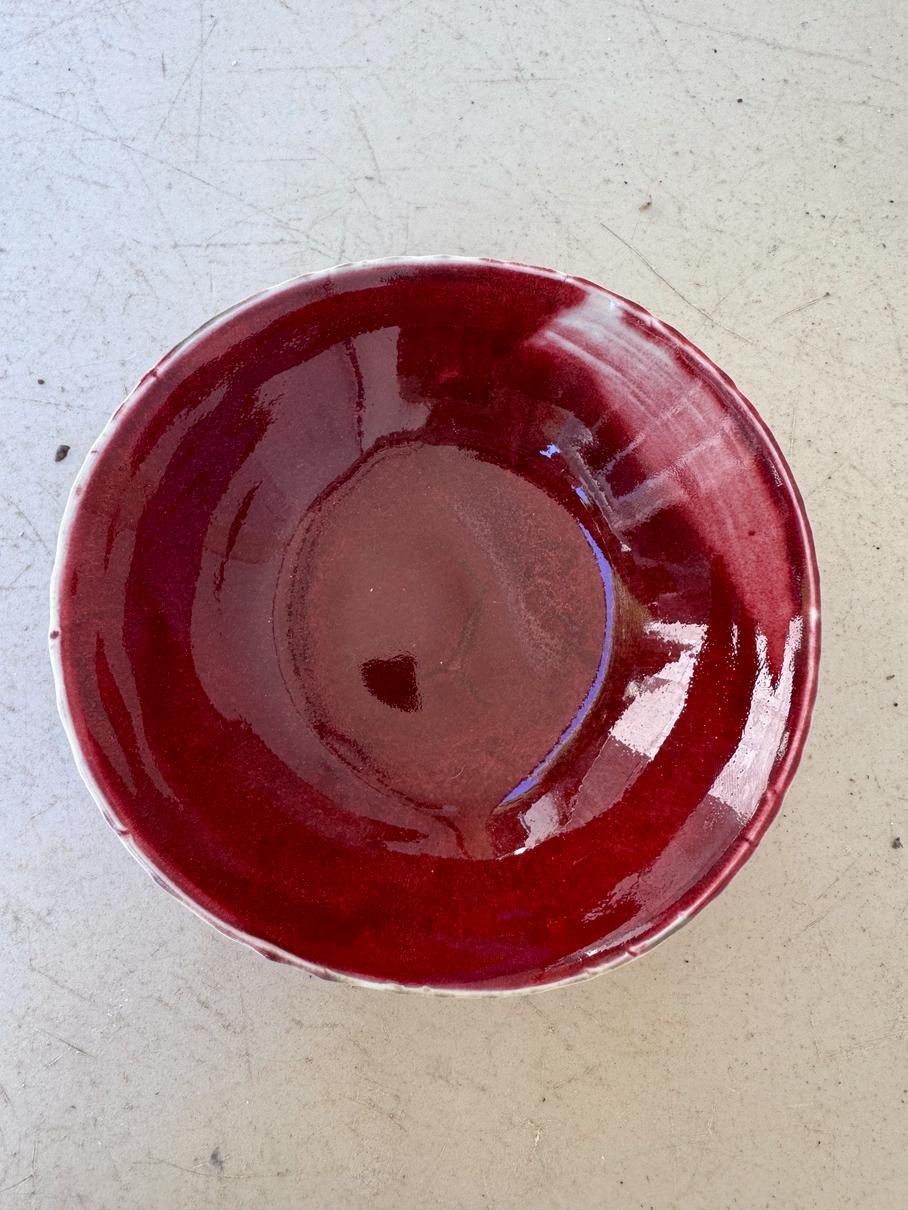
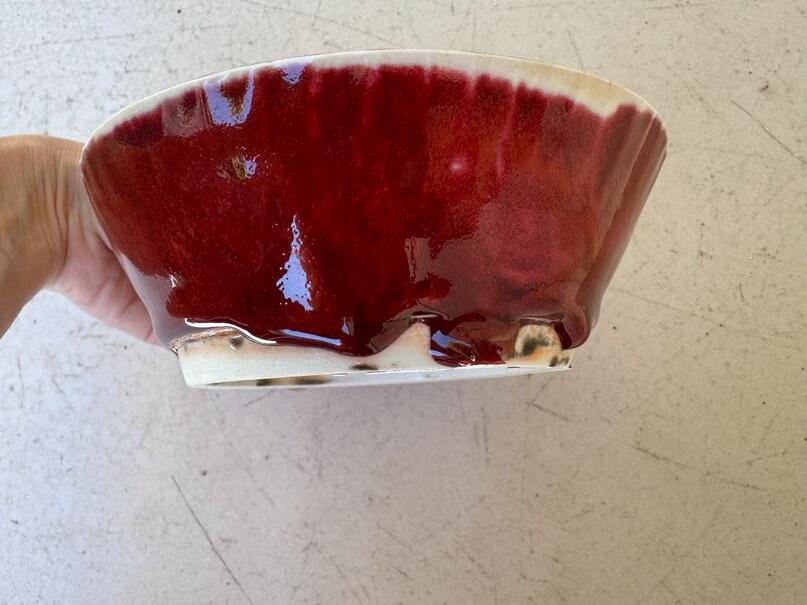
Pete’s Red relies on the abundance of copper to turn red, here are some tips for success. This glaze: Needs to be THICK. HOWEVER! It is also quite runny, so either reserve it for the inside, or leave about an inch of space at the bottom. Does best on BMix or Porcelain, the cleaner/whiter the clay is, the more red Pete’s Red will look. Remember, the color of the clay will show where the glaze breaks, so if that color is brown, that’s what you will see. Does best on the inside of things. This is where you can make it a bit thicker and not worry about runs.
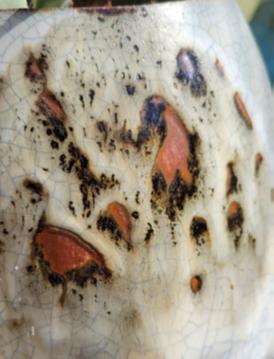
Lovely Pete’s Red from our kiln! Application is thick enough to get deep red color, with a little porcelain peeking through where it’s thinner.
Same piece unfortunately ran on the outside. Artist unknown.
SCIENCE CORNER: PREVENTING BARE SPOTS
Bare spots with no glaze, ugh!
Glaze cracking and falling off, why?
Bare spots with no glaze or glaze cracking and “falling off,” before or during the firing is called Crawlling and it is caused by poor glaze adhesion to the pot.
Think of your bisque like a sponge. When it is dry and absorbent, it can soak in the moisture from the glaze causing the glaze to stick to it.
But if it is already wet/saturated, the glaze dries like a shell on the surface, without permiating the body of the piece and truly adhering.
The glaze separation where glaze dries in a separate layer from the pot, occurs when there is a poor bond between the glaze and the clay surface.
Threre are two common causes:
The piece is wet from double dipping or washing off pot prior to glazing or
There is a physical barrier such as dust from sanding or sitting on the shelf, or grease from lotion, handling etc.
Do
How do we prevent glaze crawling?
1.Make sure your glaze is fully mixed! Extra water on the surface will fill your “ sponge ” to rapidly.
2.Limit your single dips to “3 Mississippi” at most. Longer dips run the risk of oversaturating your pot.
3.If you are doing a second coat, wait
1.a week (min. day) for the “ sponge ” to dry out and become more absorbent.
4.If you are doing one glaze inside a pot and then a different one outside, see #3. Wait!
Don’t
1.Wash off your piece in the sink like you ’ re doing the dishes. If you must do this, wait at least 24 hours to glaze.
2.If possible, do not sand your piece, it creates dust that can cause the glaze to crawl.
3.Handle your piece unnecessarily as the oils from your hands, lotion, and other grease and debris can also cause the glaze to crawl.
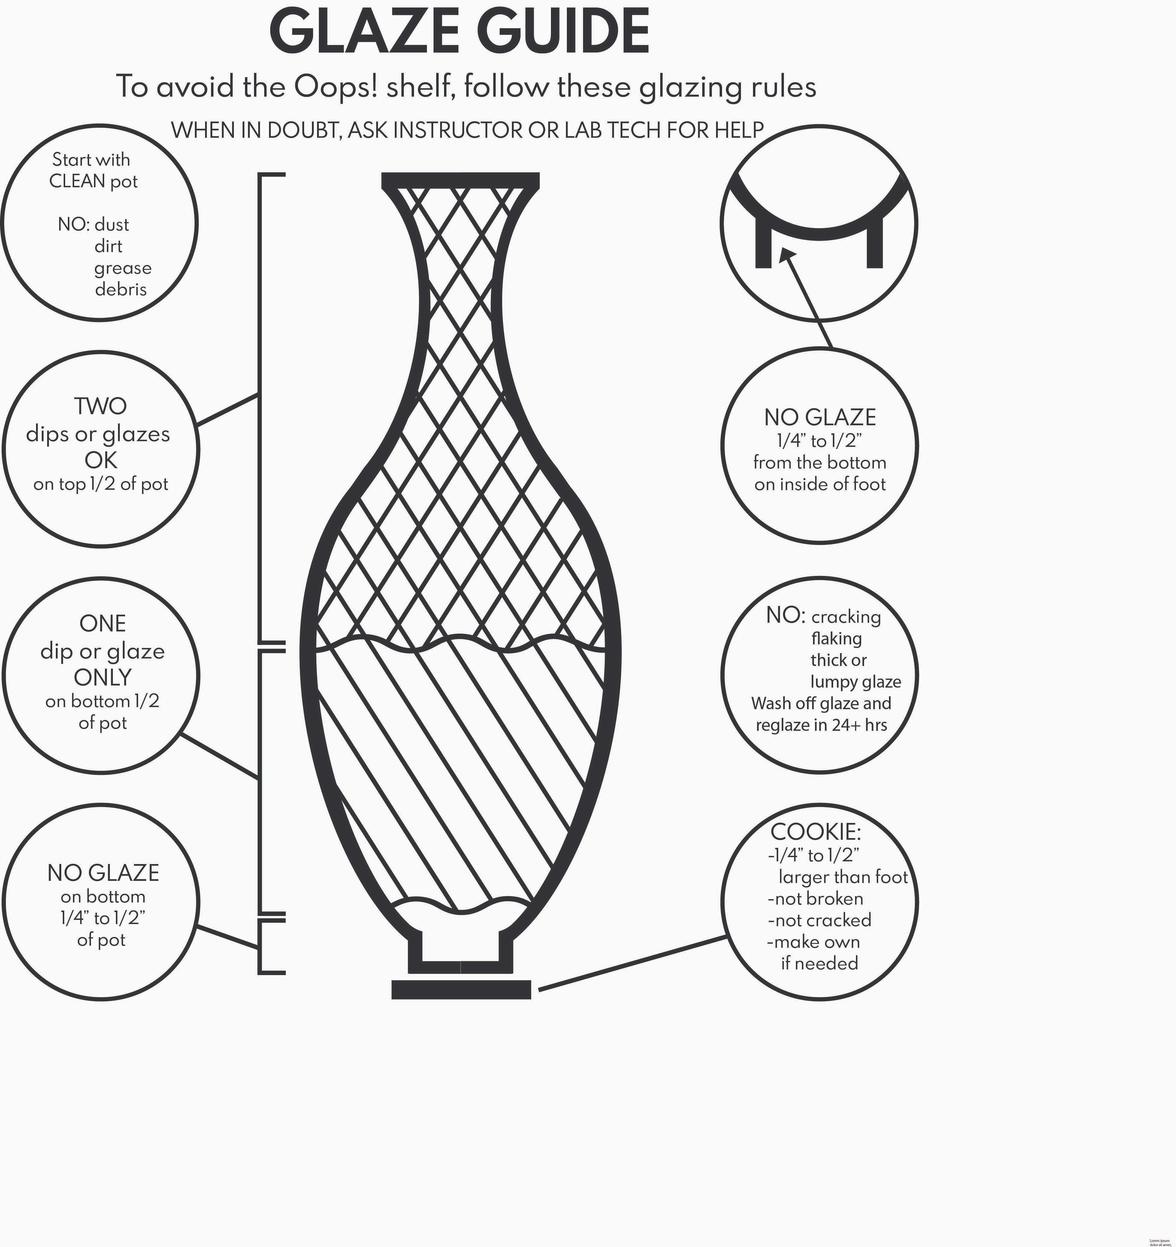
When in doubt, refer to this giant glaze chart, located in the glaze room
BEHIND THE SCENES:
WHAT HAVE WE BEEN UP TO?
Though we have been low on staff, we have been busy:
Making 70+ new test tiles for the glaze test board
Firing hundreds of pieces in Reduction, Oxidation, and Bisque firings
Diagnosing kiln problems and repairing the two kilns that were down
Making 70+ new wareboards
Providing a handbuilding workshop for the Rotary Club
And as always, keeping our studio CLEAN, SAFE AND FUN!
DID YOU KNOW?
It takes about 200 pieces to fill the new reduction kiln. So the more you glaze, the faster we can fill the kiln and fire!
GLAZE OF THE WEEK
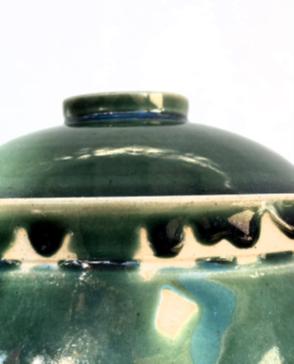
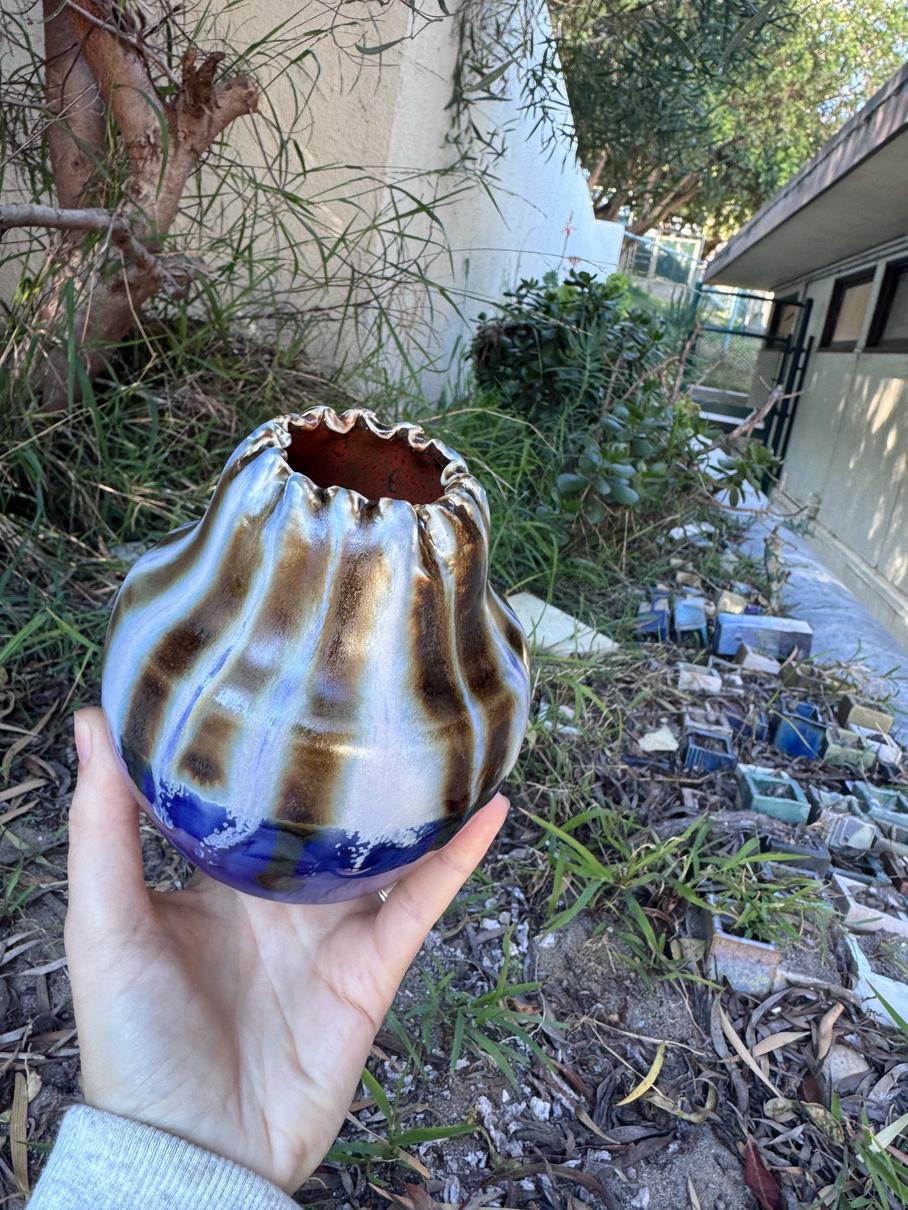
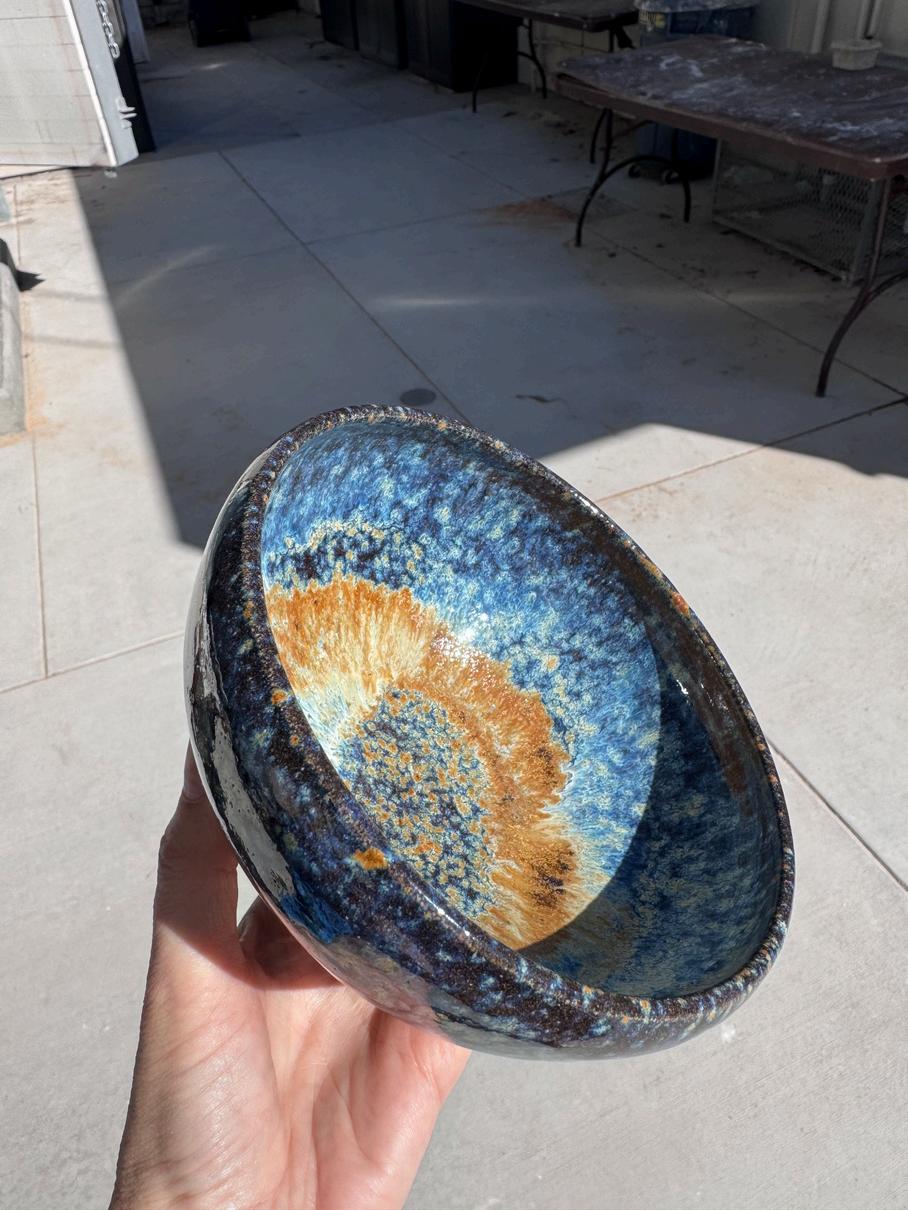
It is hard to capture the lustre and depth on this piece! Educated guess on glazes: Cobalt on bottom, Market Blue on top, Bailey’s Red inside and dripped outside.
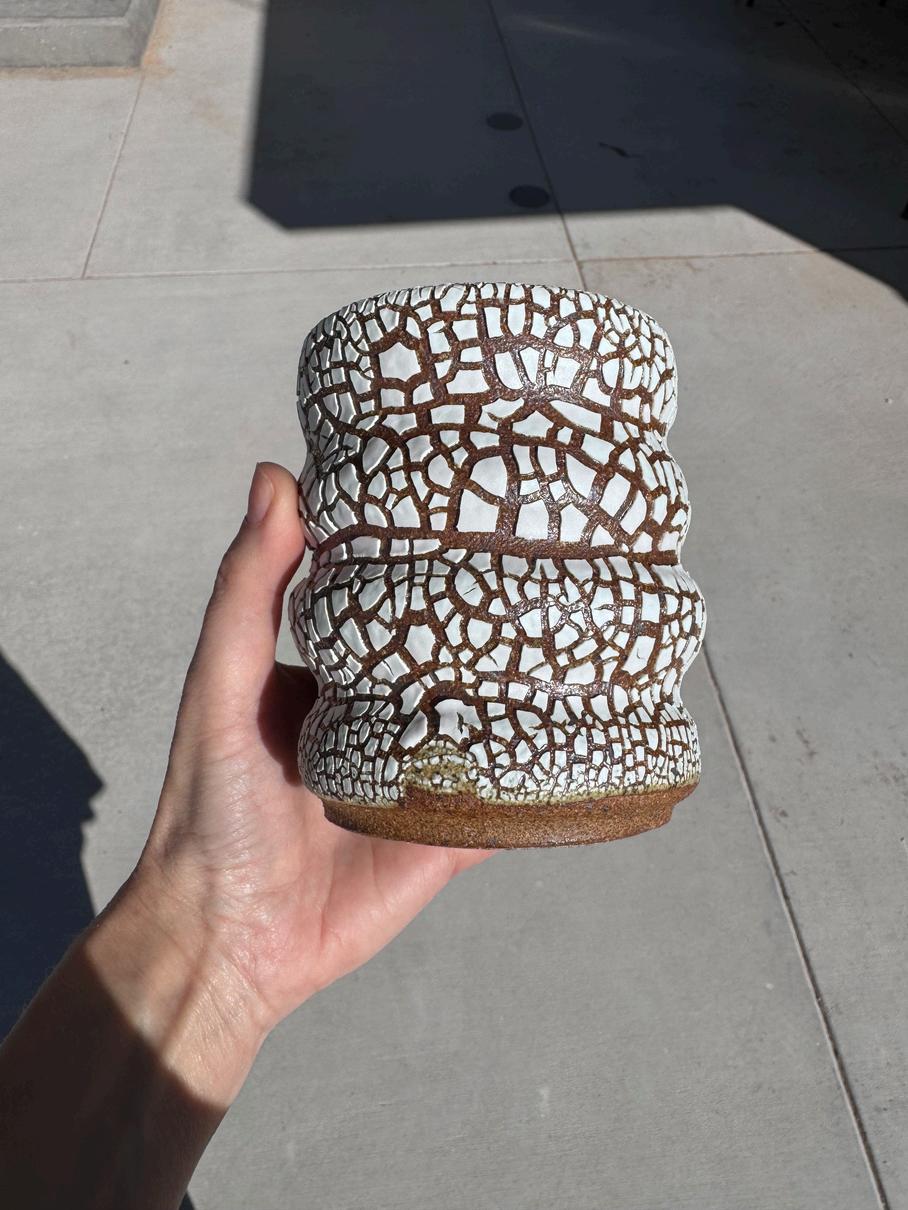
Perfect application and use of the White Crawl, you couldn’t wish for better! I especially love the finger mark at the bottom, a perfect signature.
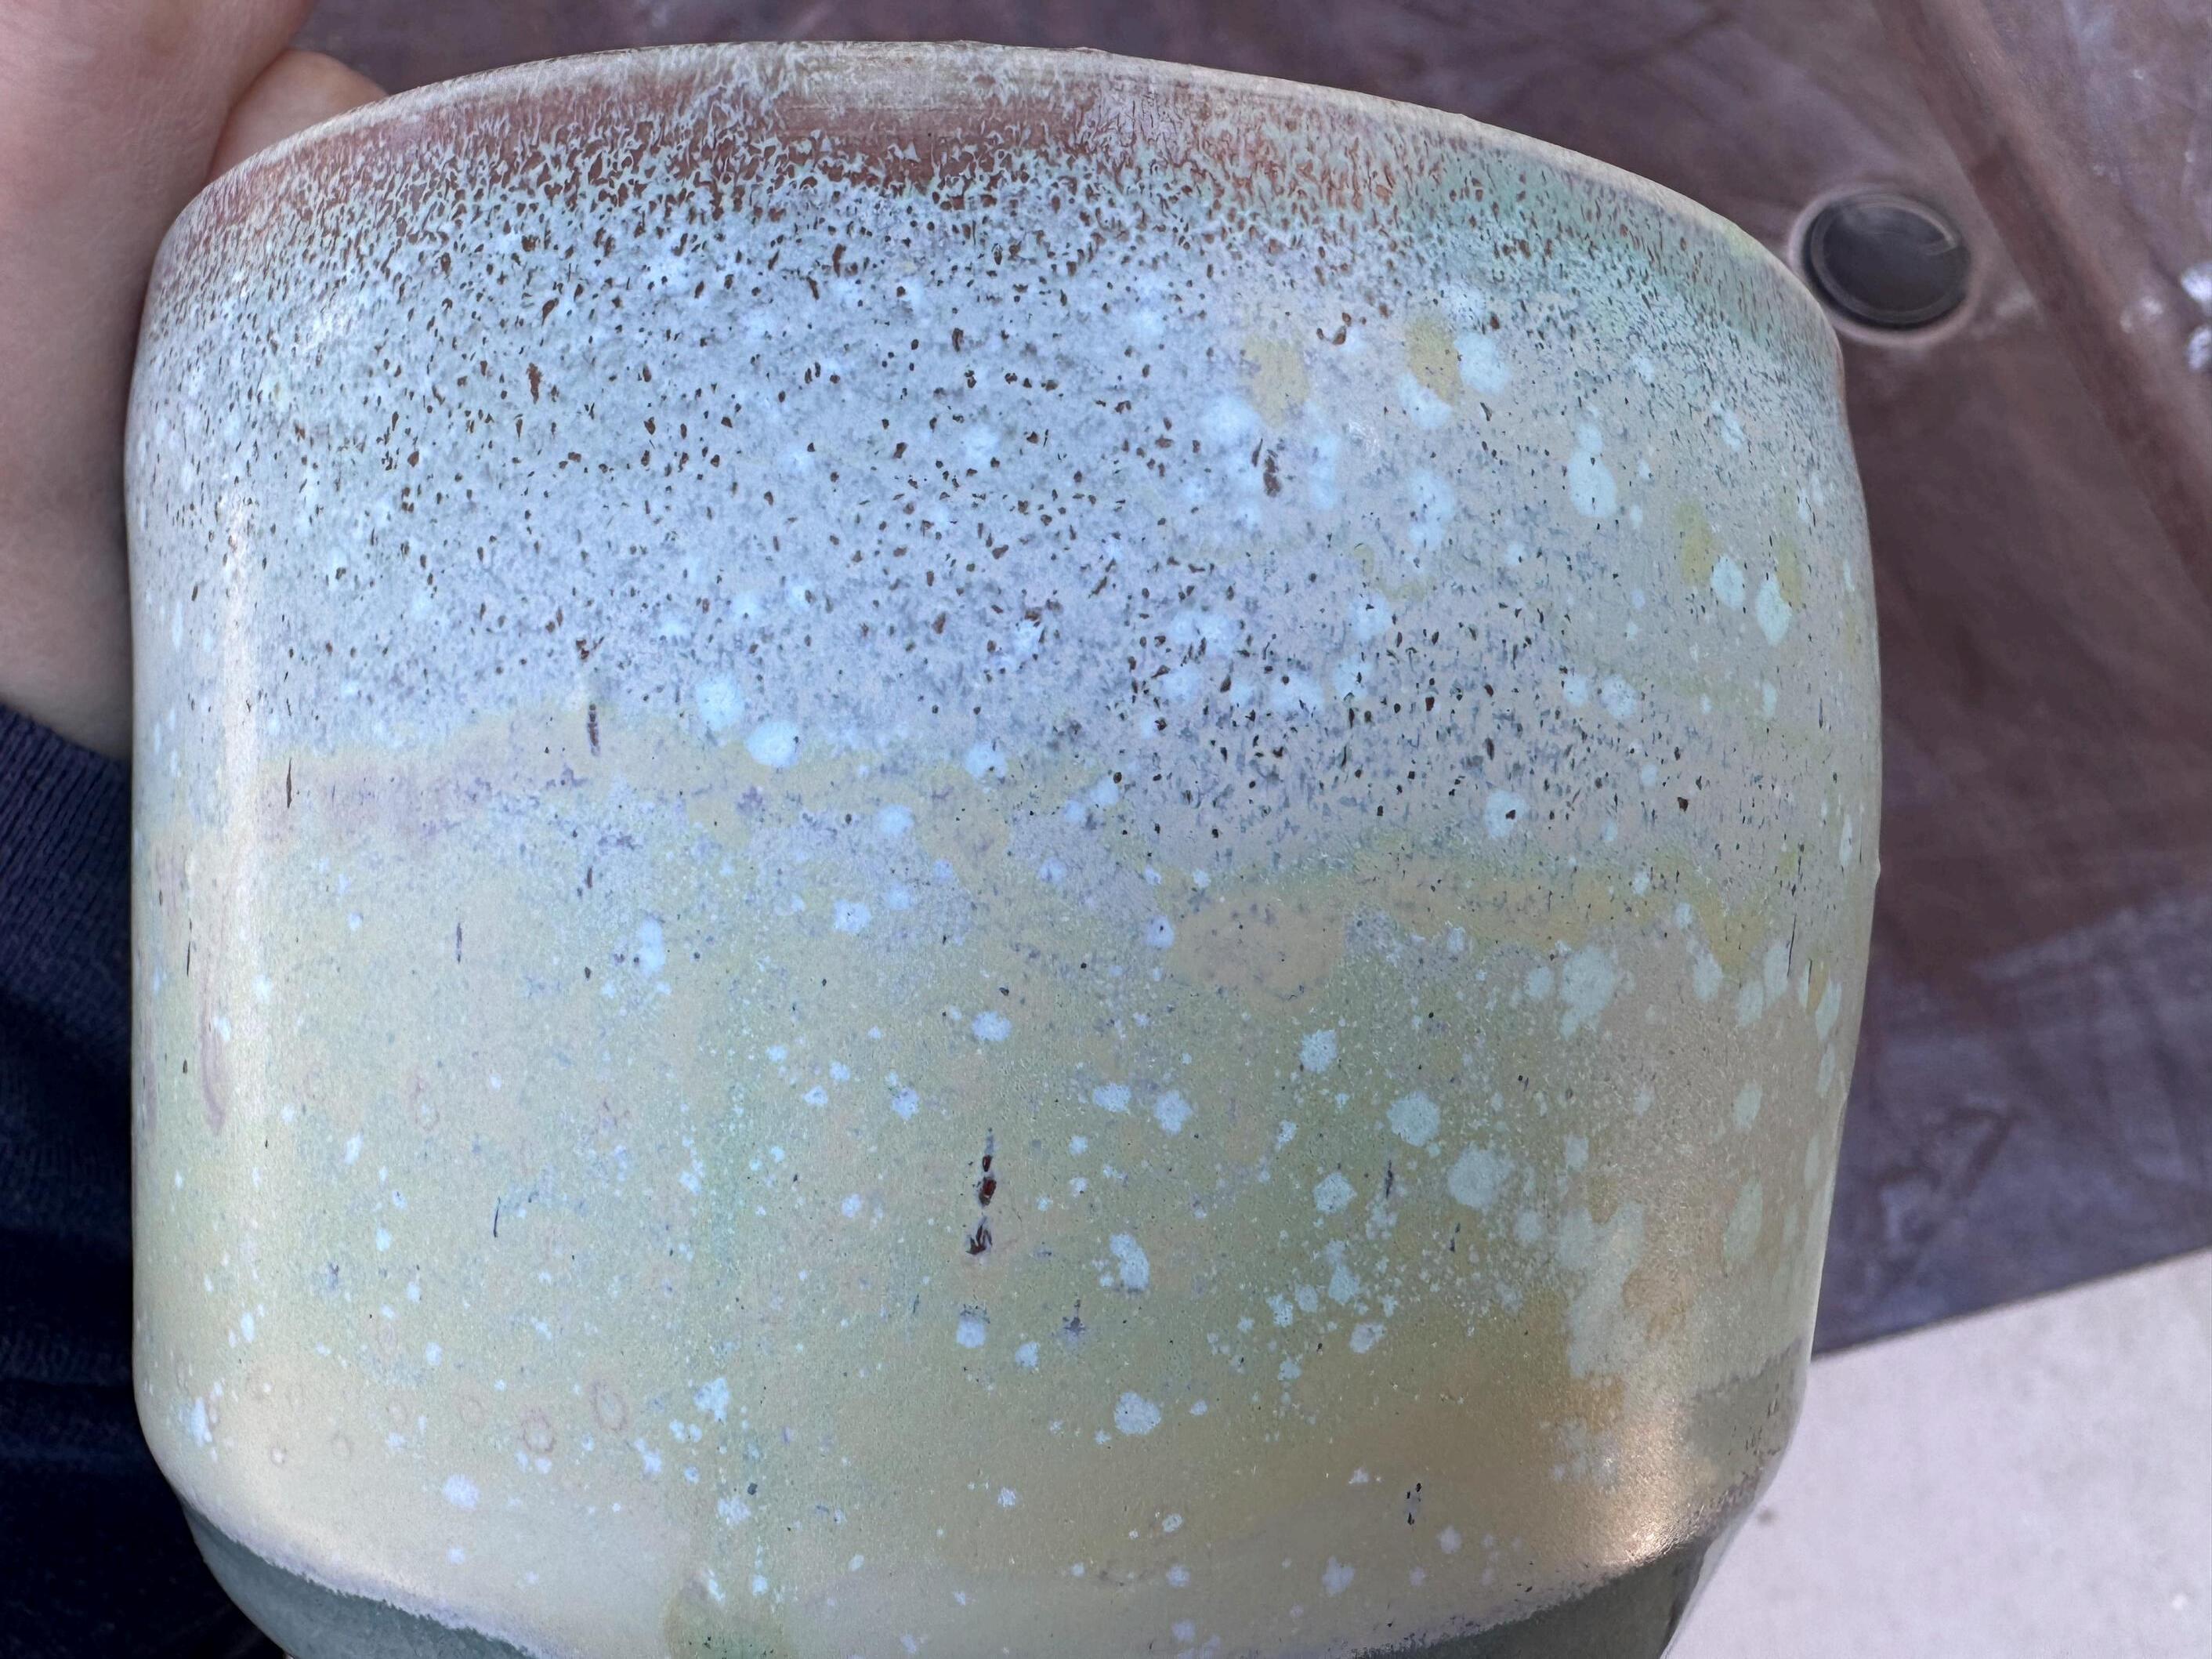
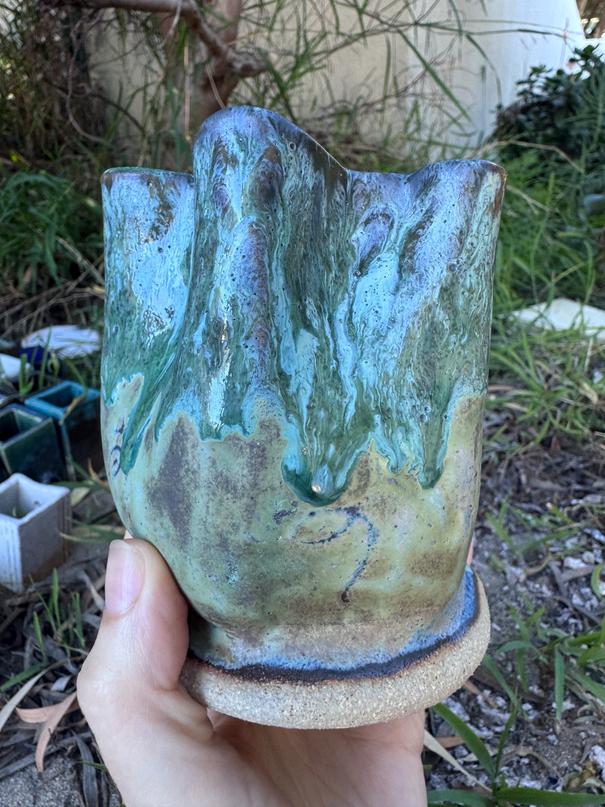
This one is as unique as it is confusing – in the best way possible. The glazes have me stumped, but I’m pretty sure Turquoise Matt is on the bottom. Would love to hear confirmation from artist!
GLAZE OF THE WEEK
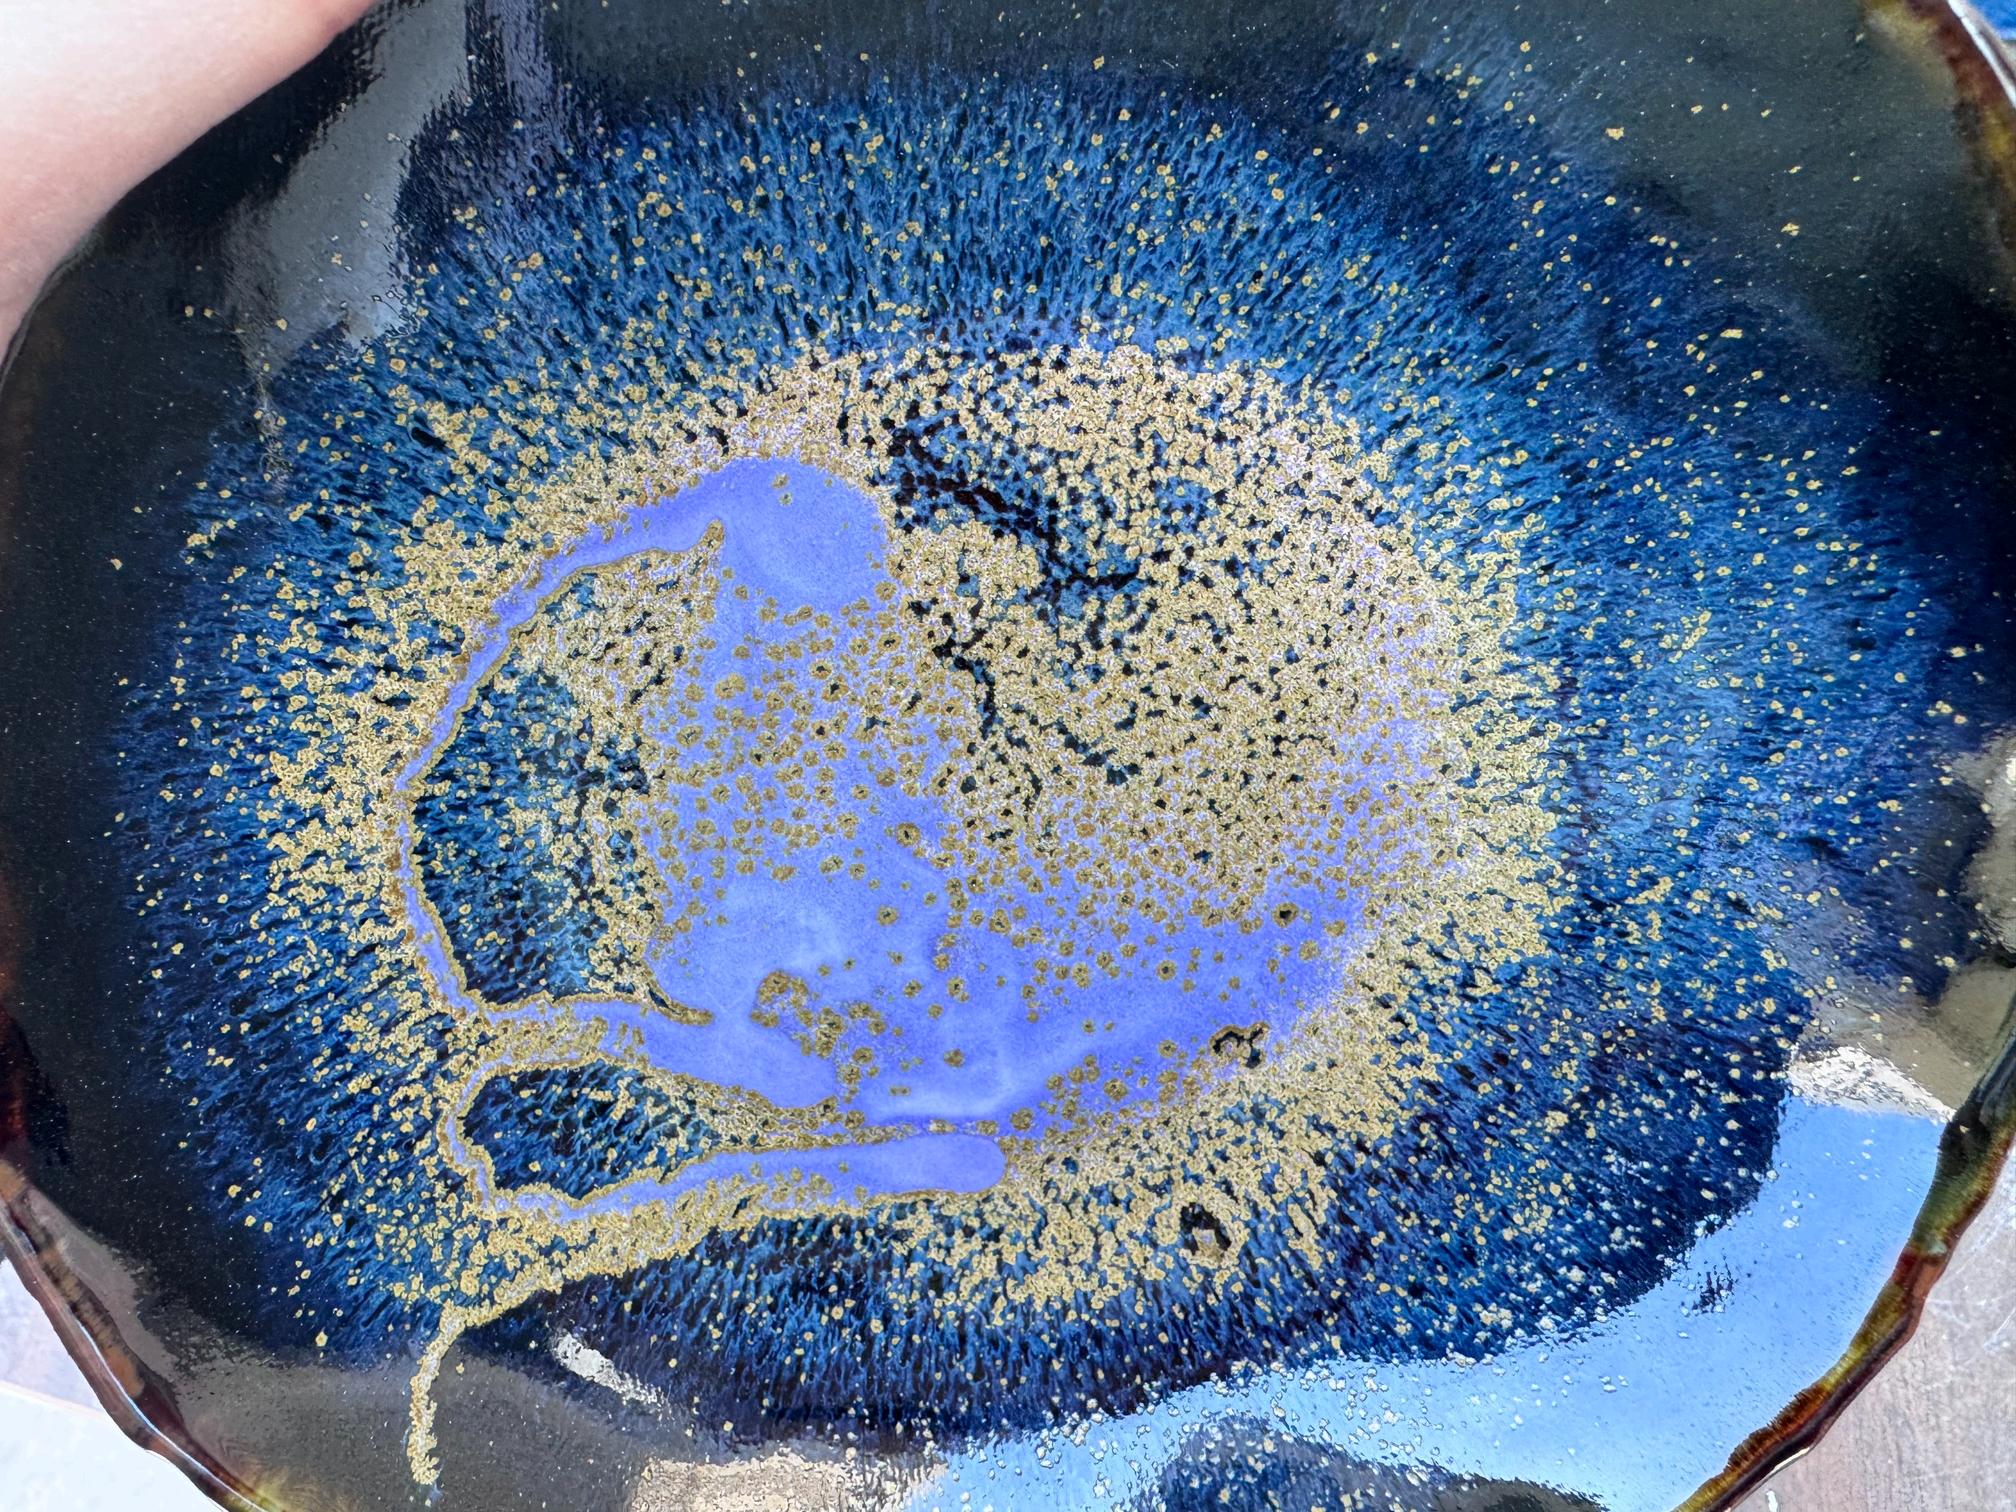
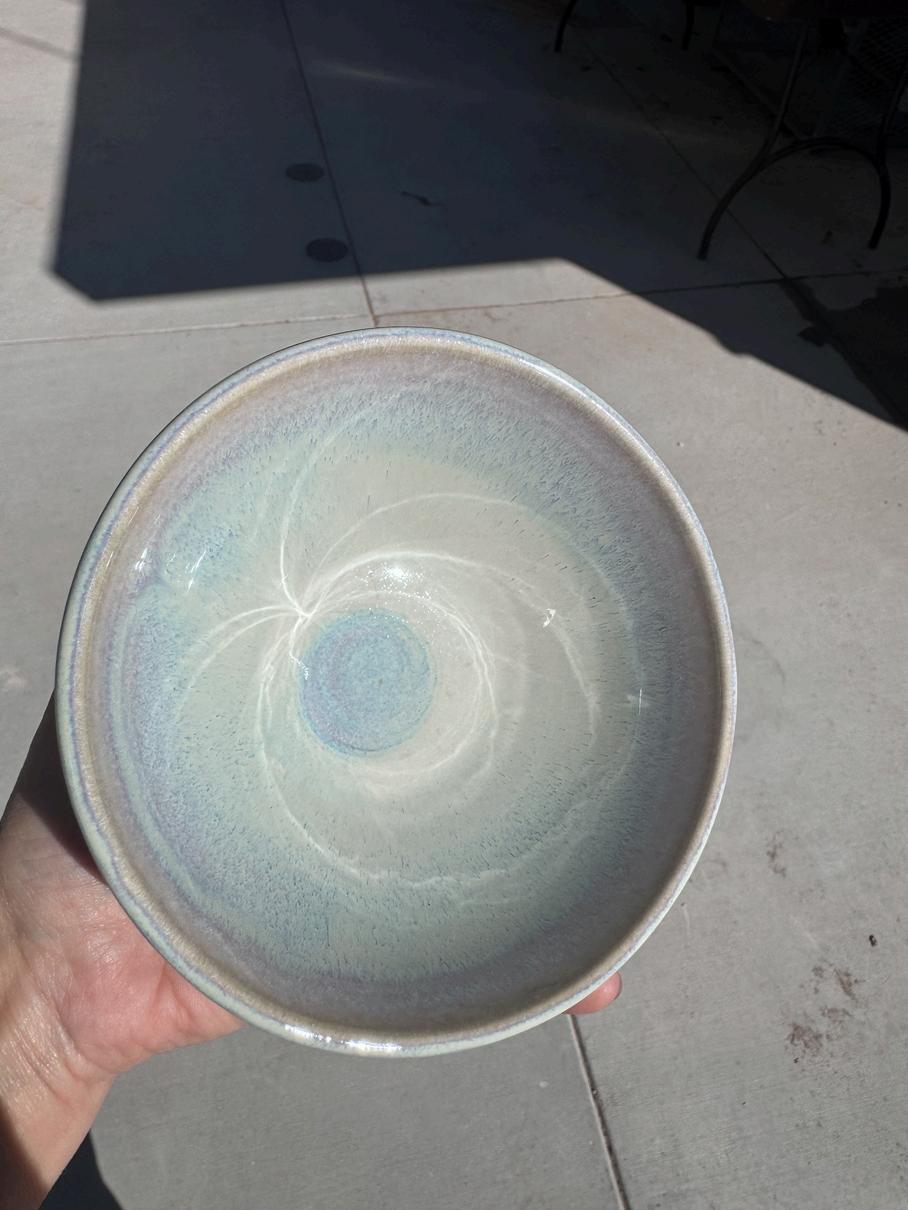
Honest admission: Moonlight Chun is not my favorite glaze. But that’s because I’ve never seen it like this! This piece is stellar, it actually looks like a galaxy.
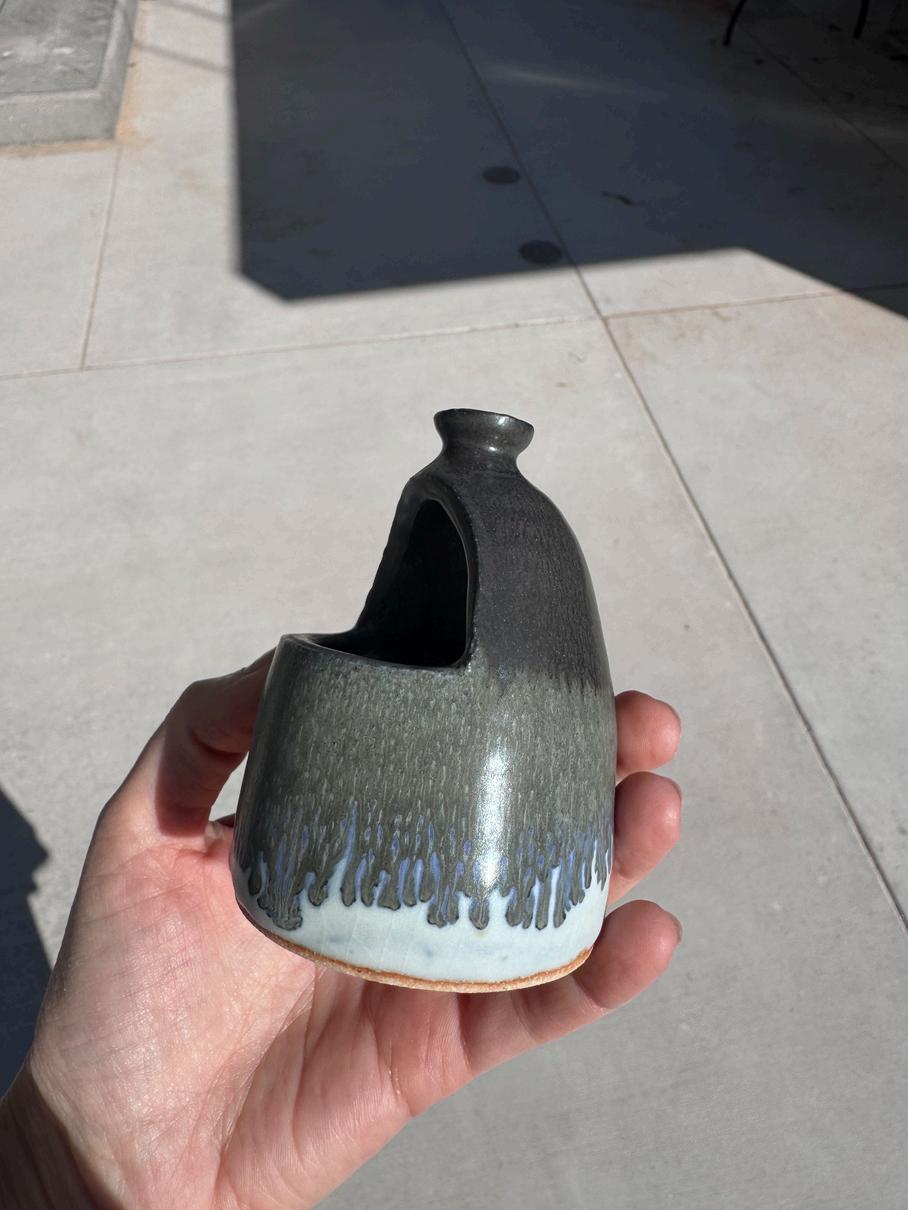
Tiny but mighty! An amazing example of Pier’s Black over Waxy Acero. The variegation of the glazes on the overlap is, Mwwah, Chef’s Kiss.
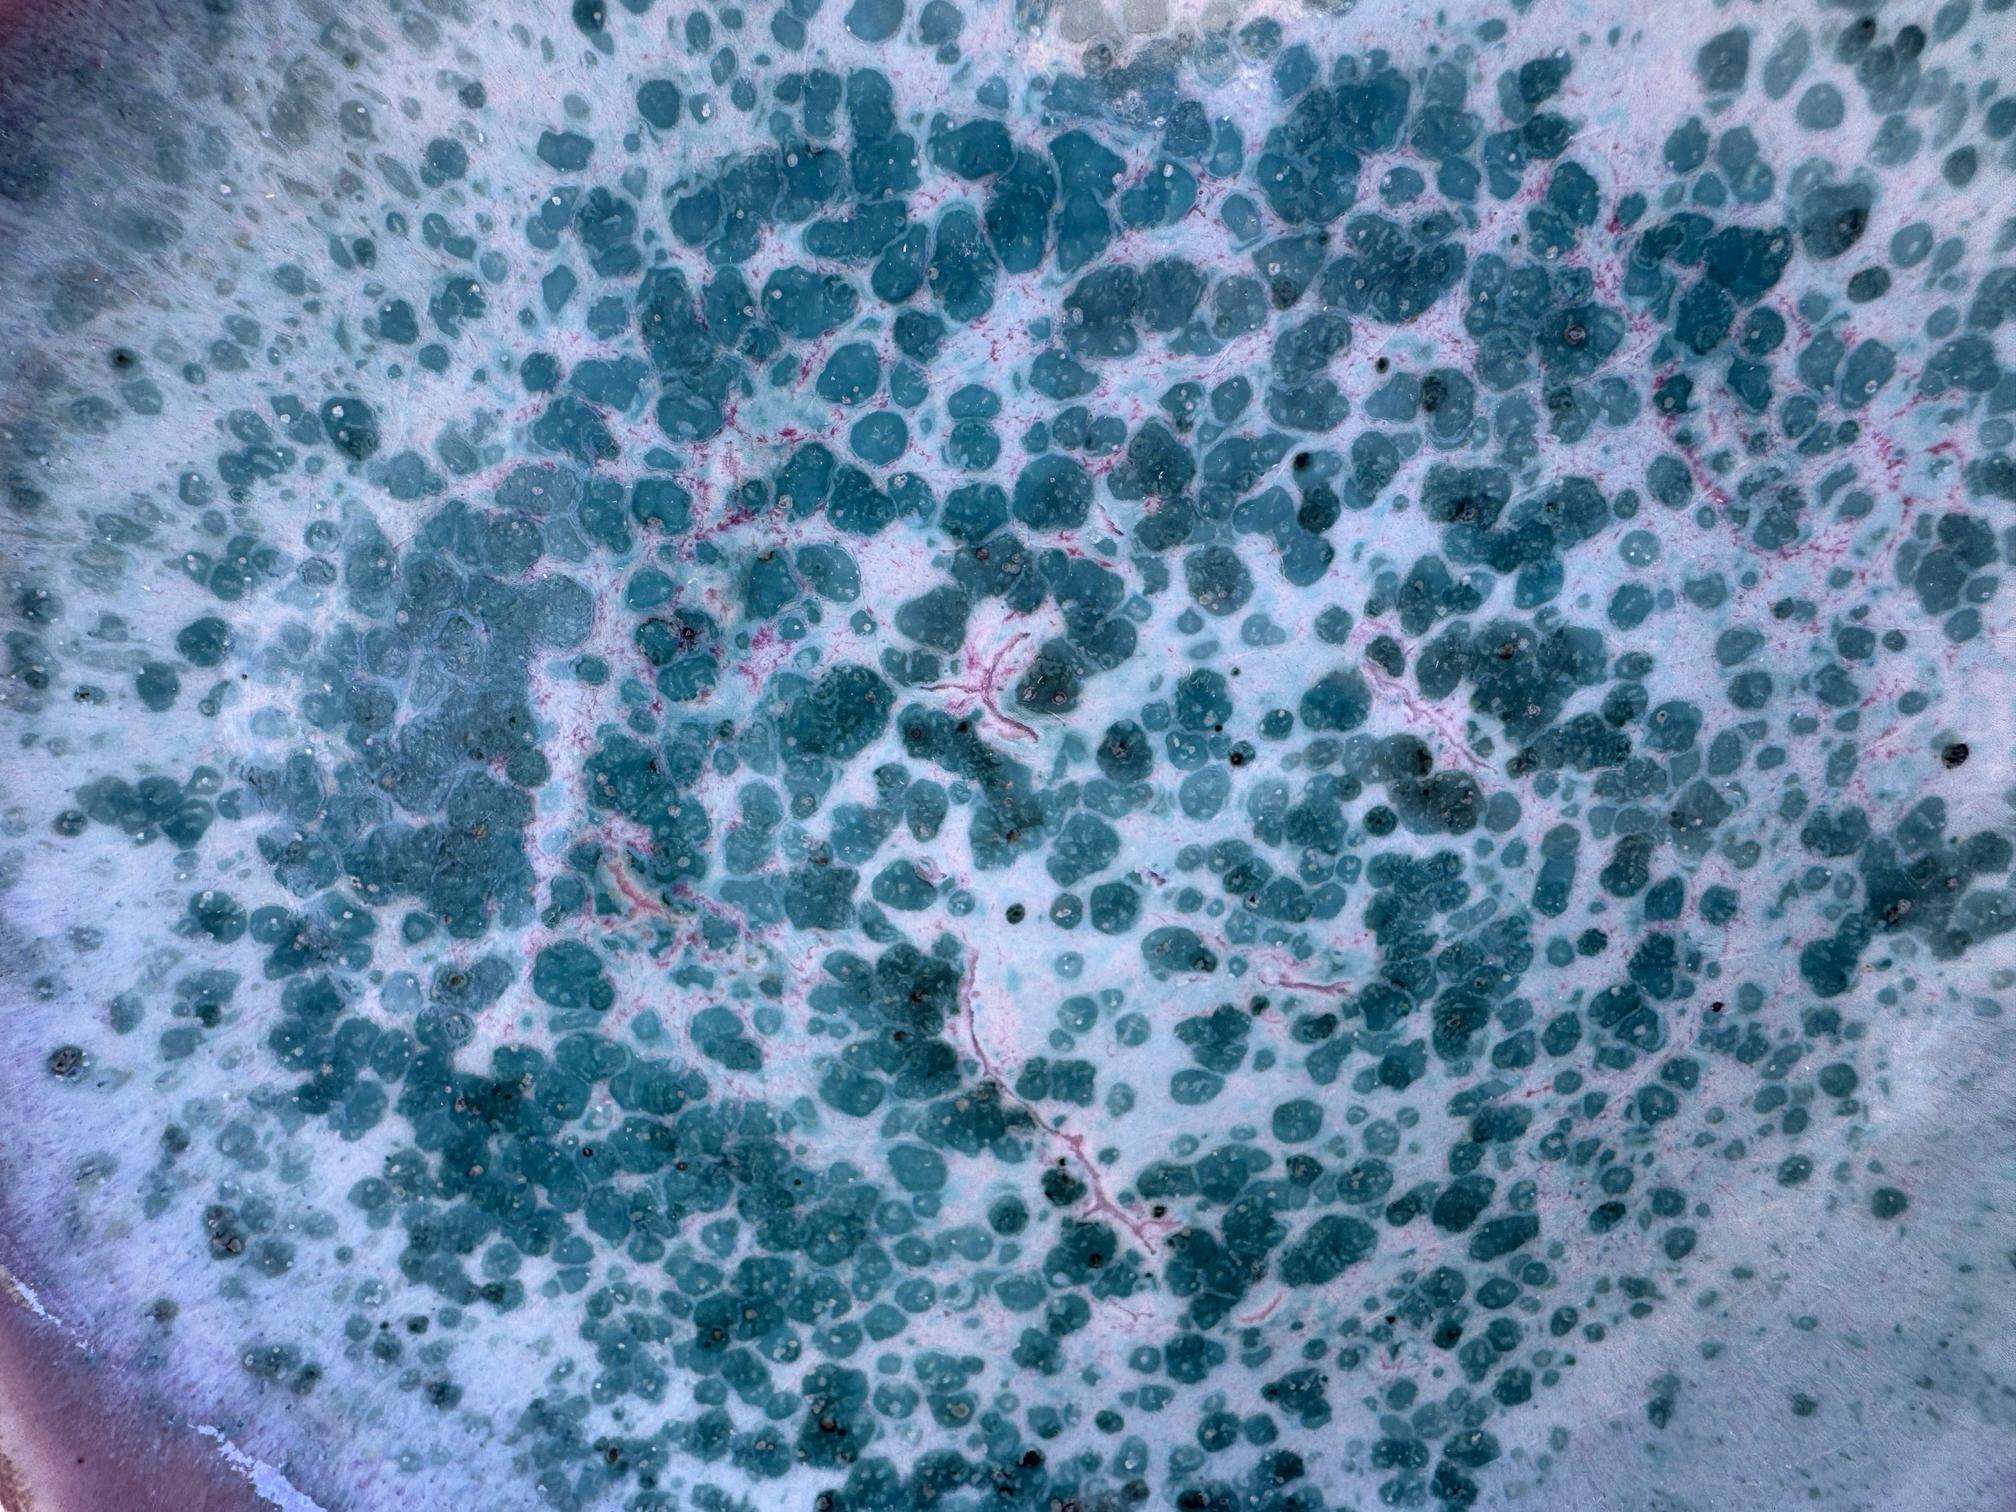
Rutile, on the other hand, is always a favorite of mine. And this is a perfect example of its subtle beauty and depth. On porcelain, it will tend to be this paler color.
Sunday
SPRING 2026 SCHEDULE
Open Lab
9:00 - 1:00 Open Lab
(Alan) 1:30 - 4:30 Teens Class (Alan) 4:30-6:00
1:00 - 5:00 Open Lab 9:00 - 1:00 Ceramics Class (Chris) 6:30 - 9:30 Ceramics Class (Alan) 6:30 - 9:30
Ceramics Class (Mitsuko) 10:00 - 1:00 Ceramics Class (Mitsuko) 1:00 - 4:00
Teens Class (Kate) 4:30-6:00
Ceramics Class (Alan) 6:30 - 9:30 Ceramics Class (Lowell) 10:00 - 1:00 Ceramics Class (Lowell) 1:15 - 4:15 Ceramics Class (Eilen) 6:30 - 9:30 Ceramics Class (Kathryn) 10:00 - 1:00 Ceramics Class (Kathryn) 1:00 - 4:00 Ceramics Class (Noah) 10:00 - 1:00 Ceramics Class (Noah) 1:00 - 4:00
Lab 10:00 - 2:00
Lab 2:00 - 6:00 Kids Class (Kate) 4:30-6:00 Kids Class (Kate) 4:30-6:00