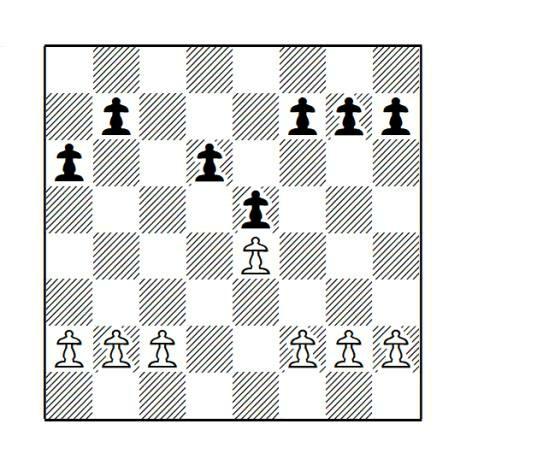
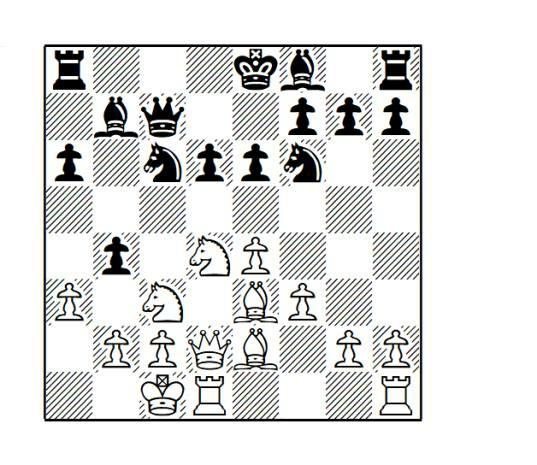
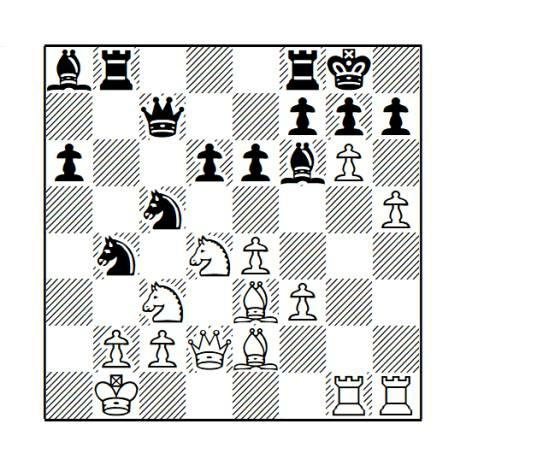
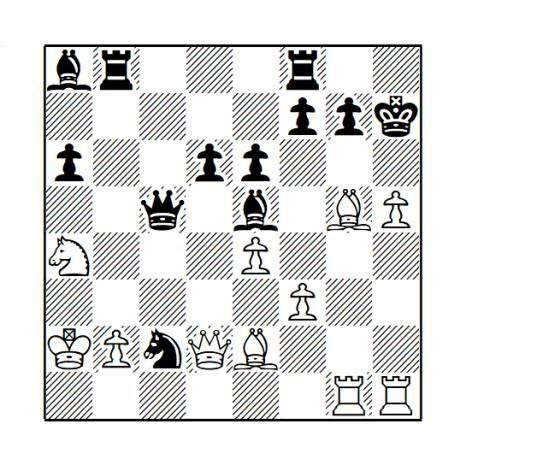
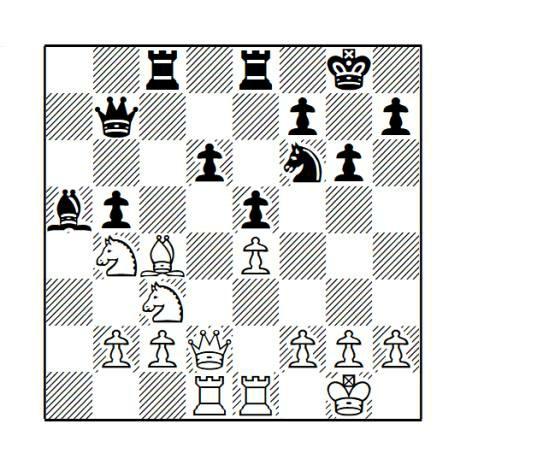
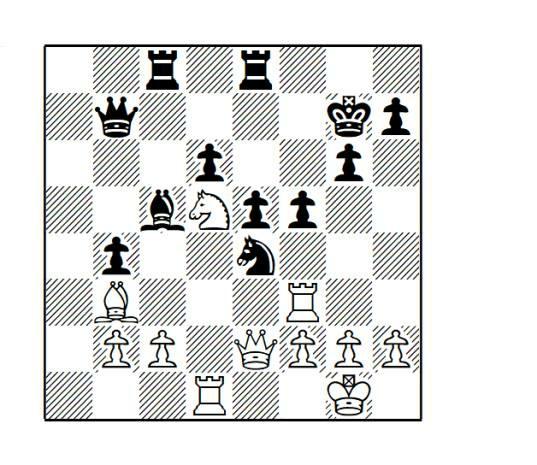
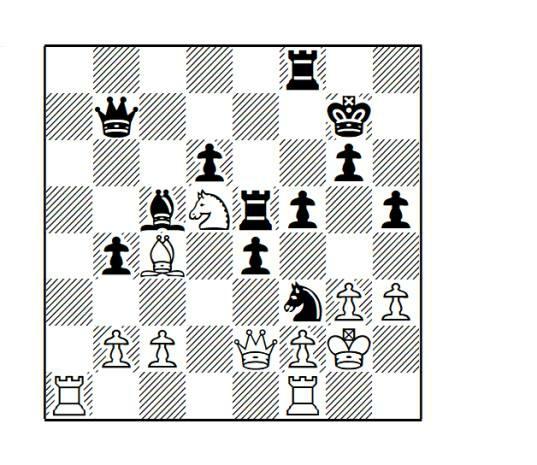
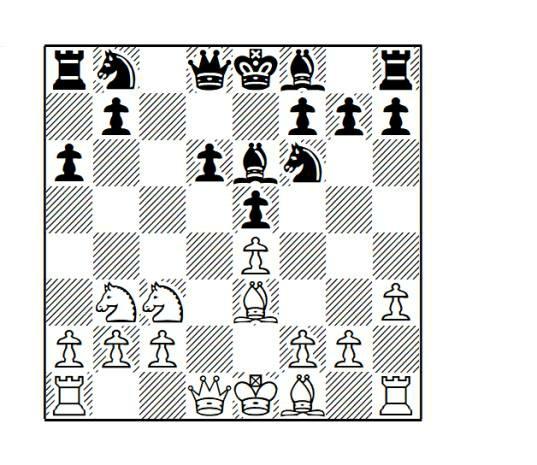
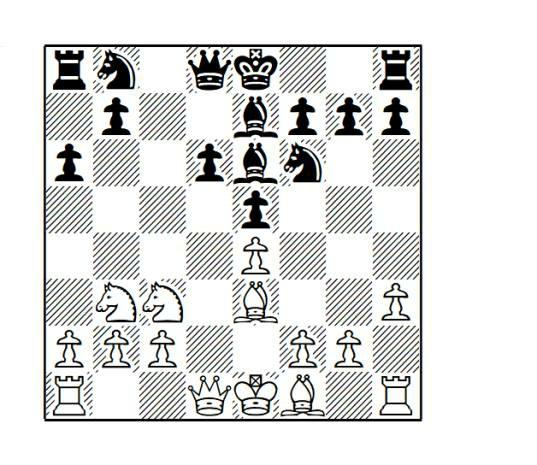
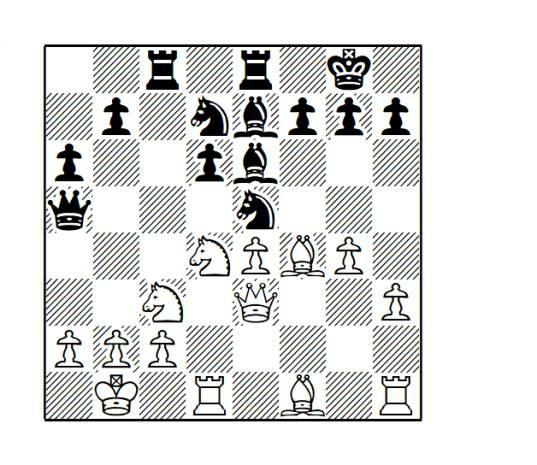
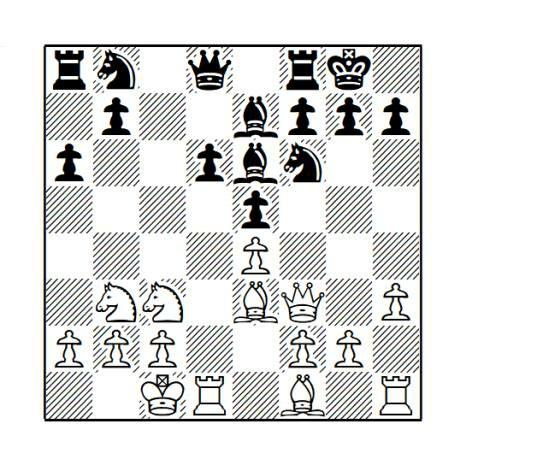
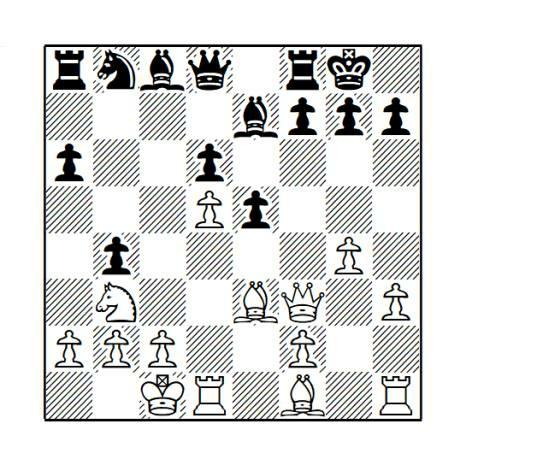
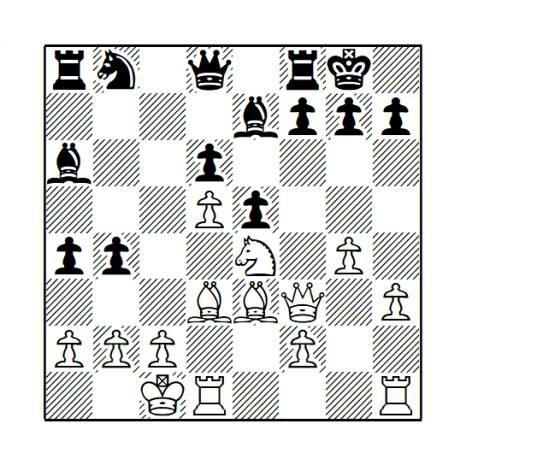
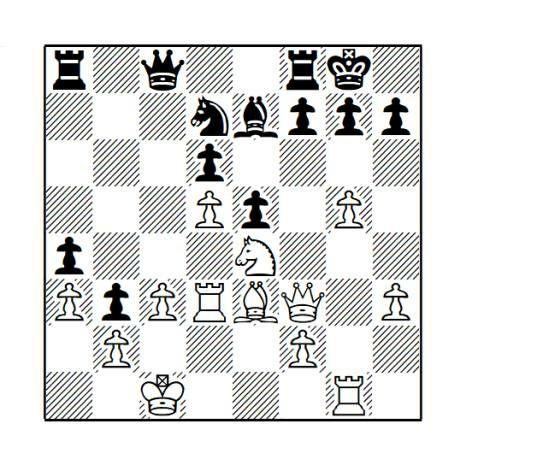
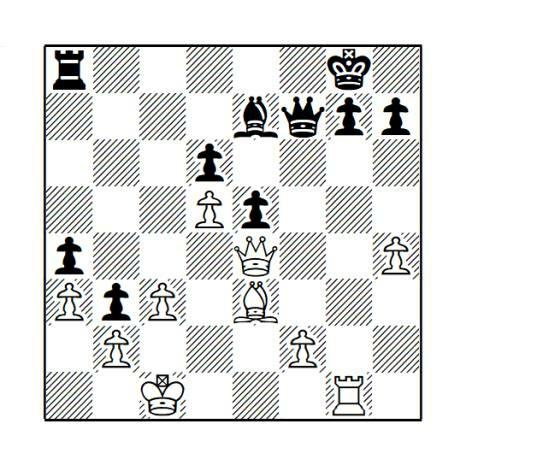
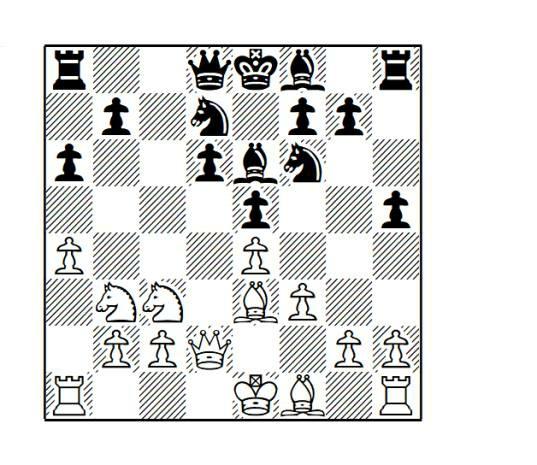
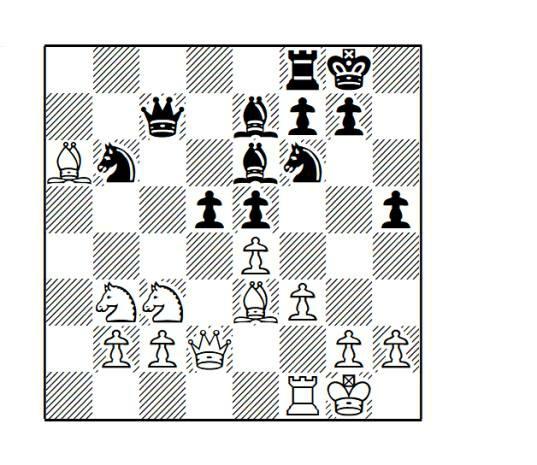
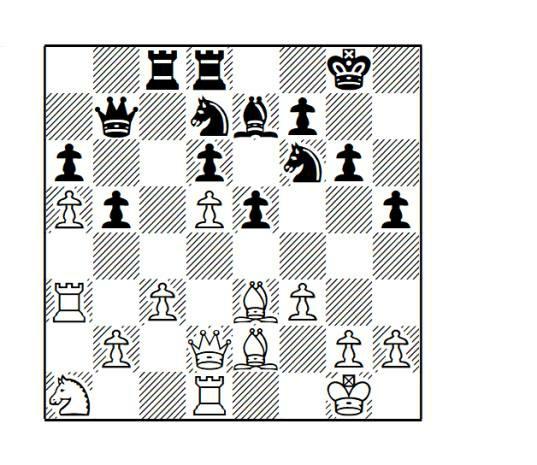
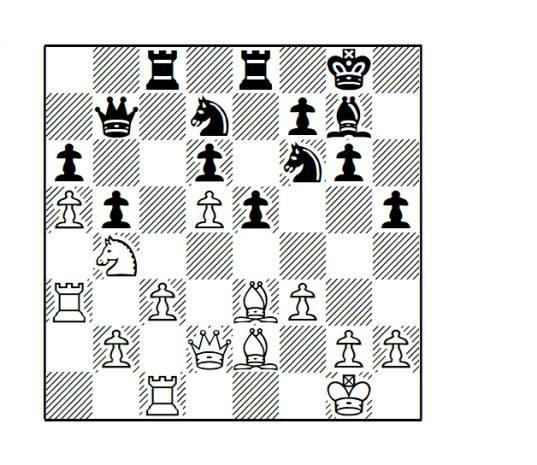
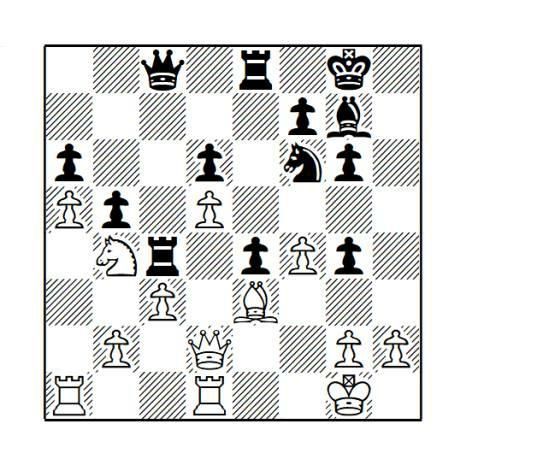
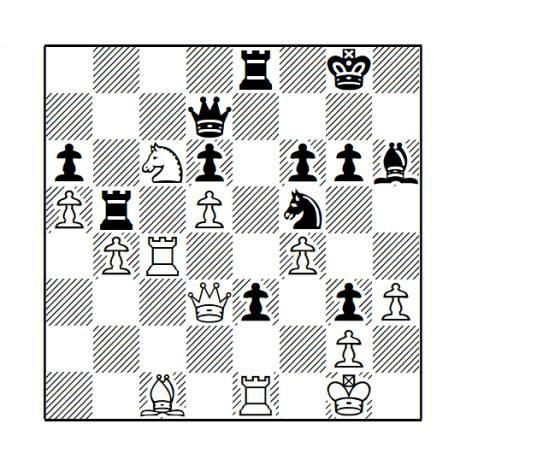
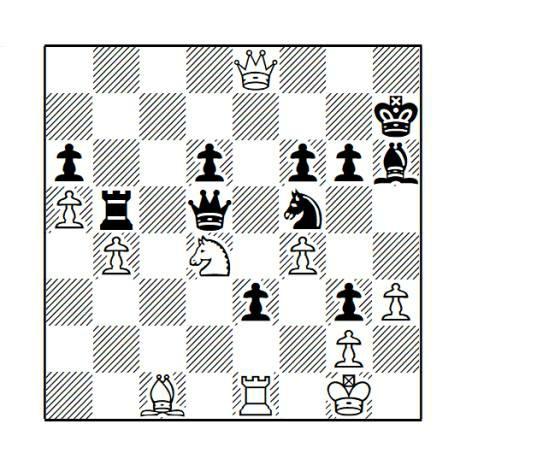
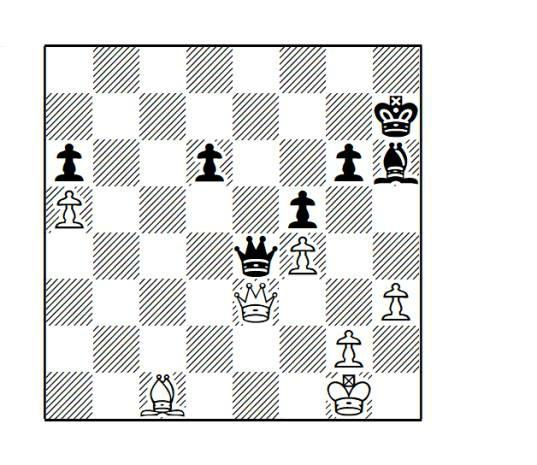
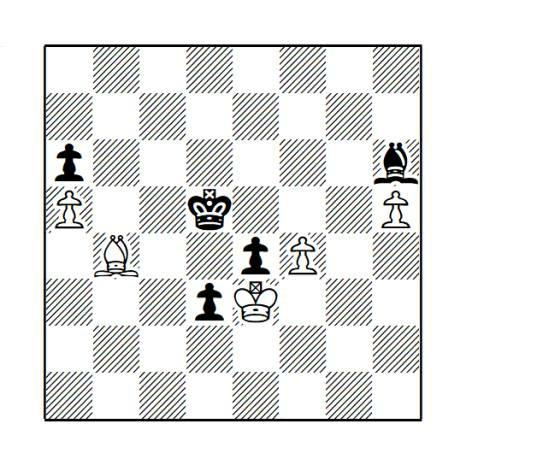
The English Attack: 6 Be3
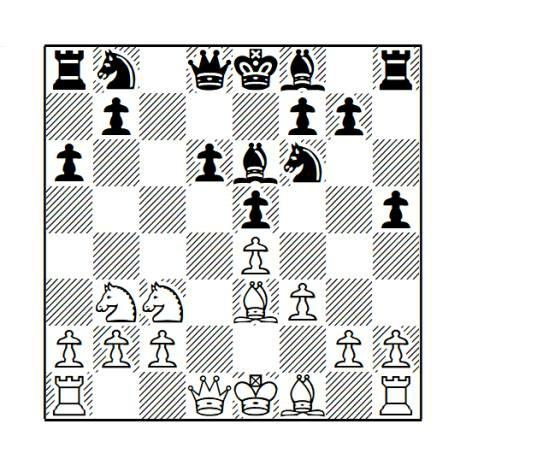
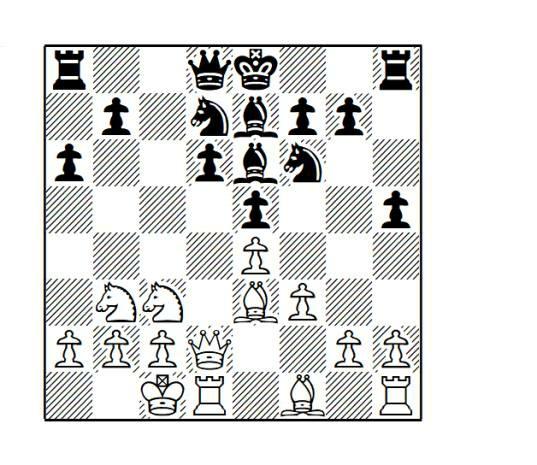
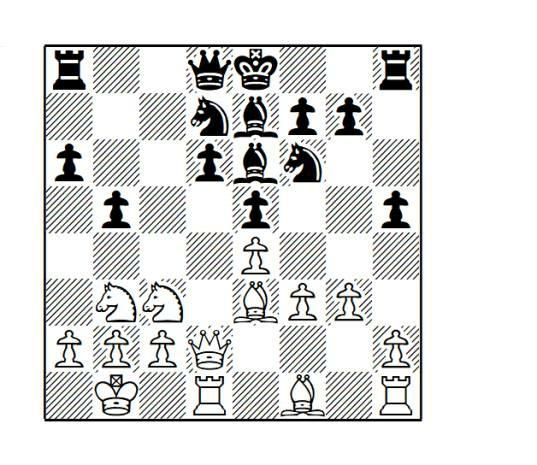
The English Attack with 6 Be3 is a popular and aggressive way to meet the Najdorf. The main idea of the English Attack is simply to castle queenside and push the g- and h-pawns against Black’s king. Our recommendation for Black is the fashionable 8 ... h5 variation, slowing down a potential kingside pawn storm from White. This usually leads to rich positions where Black has excellent chances for dynamic play.
White also can play positionally after 6 Be3 e5, and in Game 1 we will have a look at 7 Nf3 and 7 Nde2. Both of these moves are aimed at slower play and don’t pose serious problems for Black. In this game, we will see how Black is able to generate play on the queenside which allows him to win a pawn and eventually the game.
The chapter then moves on to the position after 7 Nb3 Be6. In Game 2 we look at some of White’s sidelines on move 8 In these lines, we refrain from playing an early h5 because White would be able to play f4! and have excellent attacking chances on the kingside The game is a typical example of a pawn race, where Black quickly advances his pawns on the queenside and gains a much better position Then, he switches to the kingside to prevent White’s threats but is unable to convert an endgame with an extra pawn.
The next five games focus on 8 f3, White’s most popular choice. As mentioned above, we meet this with 8 ... h5!, giving White difficulties to create kingside play.
In Game 3 we cover White’s kingside castling plan. The play leads to similar positions that we see in the chapter with 6 Be2 and Black doesn’t have much to worry about in these lines. This game is an excellent example of many of the typical ideas for both sides. White plays on the queenside but, after a quick counter-attack on the kingside, Black is able to convert his advantage in the endgame.
White’s normal English Attack plan is dealt with in Game 4. White plays 9 Qd2 and castles queenside but finds that his attack is much harder to carry out with Black’s pawn on h5. Black gains powerful queenside play right out of the opening and, after sacrificing the exchange, he is able to finish off an interesting endgame.
White’s most common way of meeting 8 ... h5 is 9 Nd5, which is the topic of the next three games. In Game 5, we see White combine this 9 Nd5 plan with queenside castling. This idea is frequently connected with White sacrificing a pawn for play in the centre. In the game Black gives this pawn back and both sides begin attacking on opposite flanks. Black’s queenside attack proves to be more powerful and he finishes off the game without giving White any counterplay.
Games 6 and 7 focus mostly on the positional systems of 9 Nd5 and the various plans from which both sides can choose. In Game 6, White tries 13 Na5!?, which is an idea based on a quick queenside expansion. Black responds accurately and counters with ... e4 at the right moment, breaking through in the centre and obtaining excellent counterplay.
In Game 7, we see the main line of the entire 8 ... h5 system, where White tries to play on the queenside and Black plays in the centre or on the kingside. In this game, Black is able to execute his attack accurately on the kingside while preventing White’s queenside play with ... b6 and ... a5.
Game 1
M.Perunovic-A.Areshchenko
Hungarian Team Championship 2017
1 e4
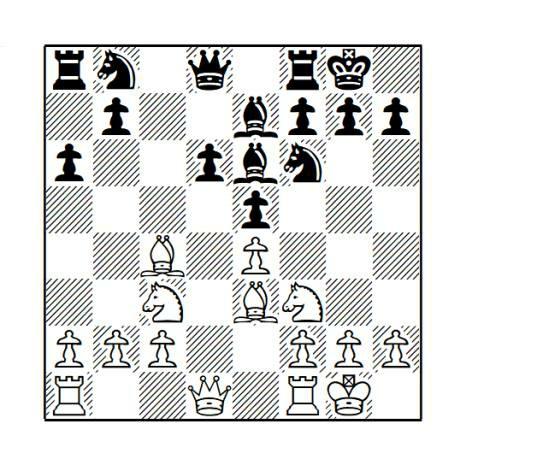
After 7 Nde2 Black should take advantage of White’s slow play by developing quickly. The knight retreat gives Black time to achieve an ideal Najdorf set-up with 7 ... Be6 8 f4 Nbd7 9 f5 Bc4 10 Nc1 (10 Ng3 is worse for White because the knight on g3 blocks White’s g4-pawn and Black can continue with 10 ... Bxf1 11 Rxf1 Be7) 10 ... Bxf1 11 Rxf1 Be7 (11 ... b5 12 Nb3 Rc8 13 a3 Nb6 was played in D.Andreikin-A.Areshchenko, Dresden 2007, and also gave Black a good position). Here Black has achieved an ideal Najdorf position. From f6, Black’s knight guards the d5-square, and White’s knight on c3 is tied down to defending the e4-pawn. If White plays Bg5 and Bxf6, Black can recapture with the other knight. Play may continue 12 Nb3 b5 13 a3 Nb6 14 Bxb6 Qxb6 and Black dominates on the dark squares; once unleashed, the e7-bishop will become an unopposed monster.
7 ... Be7 8 Bc4 0-0 9 0-0 Be6
We chose this move over 9 ... Nc6 in order to allow the knight to move to the more flexible d7square. Black’s knight on d7 reinforces the knight on f6 (which is an important defender of the d5square). If the f6-knight is exchanged, the knight on d7 can then recapture and take its place. This idea is fundamental in many Najdorf positions, in order for Black to protect the d5-square.
9 ... Nc6 is still not a bad alternative. Play may continue 10 Bb3 (10 Qe2 can be met by 10 ... Na5)
10 ... Be6 11 Bg5 Nd7 with a fairly balanced position (and 11 ... Na5 is interesting as well).
10 Bb3
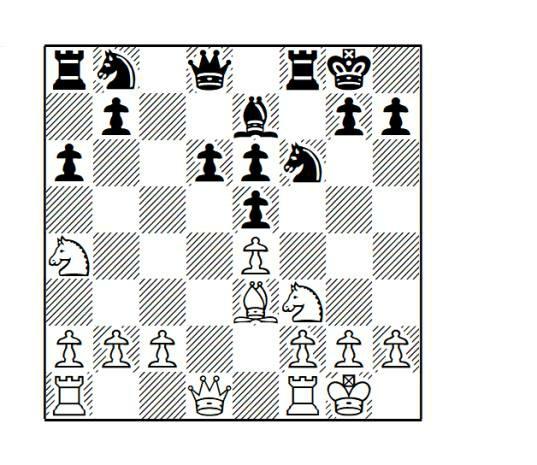
After 10 Bxe6 fxe6, White has allowed Black to control the previously weak d5-square as well as the f-file. In return, White has gained a temporary attack, as both the e6-pawn and b6-square are weak. White will spend the next few moves trying to take advantage of these weaknesses. Play can continue 11 Na4.
White tries to set up a bind. However, if Black responds dynamically this isn’t very threatening.
a) 11 ... Nfd7!? is the solid choice, simply covering the weak b6-square. Following 12 c4 Nc6, we consider two of White’s main moves:
a1) 13 Qb3 is most popular, and after 13 ... Na5 14 Qd3 Qe8!, Black is on the way to developing strong kingside play (14 ... Qc7 and 14 ... Nc6 are the only moves examined by Milos Pavlovic in The Cutting Edge 2 – Sicilian Najdorf 6 Be3, and also Georgiev and Kolev in The Sharpest Sicilian 2012). a2) 13 Rc1 Nc5 14 Nxc5 was agreed a draw in F.Bindrich-A.Brkic, Dresden 2007. Black could have played on with 14 ... dxc5 as considered by Georgiev and Kolev. The doubled c-pawns prevent White’s knight from controlling key squares. Even though Black’s pawns look ugly, control of all the important squares yields at least an equal game.
b) 11 ... Nxe4? is a mistake, after which White is able to punish Black by attacking all of his weaknesses (the b6-square, the vulnerable e4-knight and the weak e6-pawn) with 12 Nb6 Ra7 13 Qd3!! (if 13 Nd5?! Ra8 14 Bb6 Qd7 15 Nc7, White wins the exchange, but 13 Qd3 is even stronger) 13 ... Nf6 (neither 13 ... Nc5 14 Bxc5 dxc5 15 Qb3 nor 13 ... Ng5 14 Bxg5 Bxg5 15 Nxg5 Qxg5 16 Qxd6 help Black) 14 Ng5! and Black has no way to defend the e6-pawn. All of Black’s pieces are completely dominated by White’s.
c) The active move 11 ... Ng4! is completely justified because White’s knight on a4 is temporarily out of play. This gives Black time to start creating viable threats. 12 Qd3 is mentioned by Georgiev and Kolev as not giving Black enough activity, but we think Black has a good position. For example, 12 ... Nxe3 13 Qxe3 b5! gives the rook on a8 room to escape along the seventh rank, once it is forced to move to a7. This is seen after 14 Nb6 Ra7 15 Nd5 Rb7 and now:
c1) 16 Qd2 Qd7 17 Nxe7+ Qxe7 18 Rfd1 Rb6 gives Black a very solid position.
c2) 16 Qd3 and best here is 16 ... Nd7, as given by Pavlovic, intending ... Nb6 followed by play along the c- and f-files. This gives Black good play and the position has been seen in a few games, such as M.Palac-E.Najer, Gjakova 2016.
Other tries for White are 10 Qd3 and 10 Qe2. After 10 Qd3 Bxc4 (10 ... Nbd7 11 Bxe6 fxe6 12 Ng5! wins the e6-pawn) 11 Qxc4 b5 12 Qd3 Nbd7 Black had a typical Najdorf position in I.KhairullinP.Negi, Moscow 2007. While the d5-square may appear weak, Black has many resources available. This includes pushing ... b4 and playing ... Nb6 (inviting White to exchange his good dark-squared bishop).
Finally, 10 Qe2 Qc7! gains a tempo on White’s c4-bishop to develop the queen. A sample line is 11 Bb3 b5 12 Rfd1 Rc8 with a comfortable position for Black.
10 ... Qc7
The immediate 10 ... b5! is our recommendation, but our main game is a good example of how to play this structure as Black. By playing ... b5 Black threatens the ... b4 push and forces White to remain vigilant. If the c3-knight is chased away, then the e4-pawn could easily fall. 11 Qd3 (11 Qe2 Qc7 12 Rfd1 transposes to O.Korneev-D.Khismatullin, Nakhchivan 2014, and here we recommend 12 ... b4 with a balanced position; 11 Nh4 with the threat of Nf5 should be met by 11 ... g6!, when 12 Nf3 Qc7 13 a3 Rc8 gives Black nothing to worry about) 11 ... Qc7, followed by ... Rc8 and ... Nc6, gives Black a good position.
11 Nh4 g6
As mentioned in the previous variation, this is a very useful move to prevent White from playing Nf5.
12 Bh6
12 Nf3 is also possible, but 12 ... b5 is fine for Black.
12 ... Re8 13 Qd2
Exercise: Can you spot the move that allows Black to take advantage of White’s misplaced pieces on h4 and h6?
Answer: 13 ... Ng4!
Black creates a double attack on the bishop and knight.
14 Nf3 Nd7 15 Rad1 Rac8 16 Bg5!
Trying to exchange bishops is a good idea. If Black loses the e7-bishop, the d6-pawn will be weaker. In addition, the vulnerable squares around Black’s king will be difficult to defend
16 ... Ngf6!
Correctly avoiding the exchange.
17 Ne1 b5
Threatening ... b4, which will win Black the e4-pawn.
18 Nd3 Bc4!
Black prevents White’s knight from moving to d5 via b4. If Black played slowly with 18 ... Qb7?! then 19 Nb4! a5 20 Nbd5 sees White beginning to take over the initiative.
19 a4
19 Rfe1 gives Black the opportunity to expand on the queenside with 19 ... a5!.
19 ... Qb7!
An excellent move – Black renews the ... b4 threat, and the queen on b7 attacks the e4-pawn.
20 axb5 axb5 21 Bxf6
By surrendering his dark-squared bishop, White no longer has any counter to its opposite number. If Black can activate the bishop on e7, White’s dark squares will feel vulnerable.
21 ... Nxf6 22 Rfe1
Question: How should Black improve his dark-squared bishop?
Answer: By regrouping with 22 ... Bd8!
Remember this move! Playing ... Bd8 in the Najdorf is a typical way to activate the dark-squared
bishop. Note how Black can get away with this move because White is not attacking the d6-pawn at the moment.
23 Nb4 Ba5
Suddenly, Black’s dark-squared bishop has become one of his best pieces. It attacks four of White’s pieces along the a5-e1 diagonal.
24 Bxc4
Question: Should Black take the bishop on c4 or the knight on b4? Which of White’s pieces is truly stronger?
Answer: Black should take the bishop on c4. The knight on b4 may appear strong (since it is going to d5) but it will lack support when placed on this square, due to the pressure the bishop on a5 exerts on White’s pieces.
24 ... Bxb4?!
Instead, 24 ... Rxc4! is better and, after 25 Nbd5 Nxd5, White is unable to recapture with the knight because of the pin from the a5-bishop. 26 Qxd5 Qxd5 27 Rxd5 Bxc3 gives Black a much better endgame.
25 Bb3
While Black is better, White’s light-squared bishop will exert constant pressure on both the d5square and against the black king.
25 ... Kg7
Since in the game White began to untangle with 26 Re3, perhaps it was better to force matters with 25 ... Bxc3 26 bxc3 Nxe4 27 Qe3 Nxc3 28 Rxd6 b4, which makes the position complex, but also provides Black with some advantage.
26 Re3!
Beginning a counter-attack.
26 ... Bc5?
Again, 26 ... Bxc3 was necessary as White’s attack is becoming rather dangerous. Then 27 bxc3 Nxe4 leads to an unclear game.
27 Rf3?
This move gives Black time to win the e4-pawn and regain the initiative. 27 Rh3! was more accurate and comes with tempo since 28 Qh6+ is threatened.
27 ... b4 28 Nd5 Nxe4 29 Qe2 f5
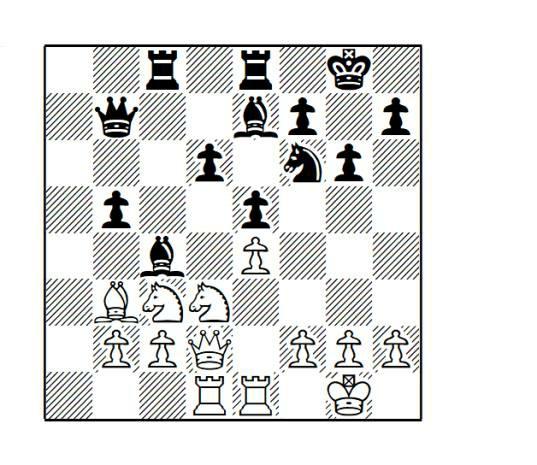
Now Black is back in control. Areshchenko spends the rest of the game methodically converting his extra pawn into a win. The next eight moves are especially instructive. Notice how Black involves all of his pieces in the attack, while at the same time putting constant pressure on White’s position.
30 h3 Rf8 31 Kh2 Qa7
38 Bc4 Re5
Every single one of Black’s pieces (and some pawns!) are actively participating in the struggle.
39 Nf4 Nd4 40 Qd1 Rfe8
40 ... e3+ immediately was also decisive. After 41 f3 the reply 41 ... h4! strikes a serious blow against White’s kingside.
41 Kh2 h4 42 c3 hxg3+ 43 fxg3 bxc3 44 bxc3 Qb2+ 45 Ne2 Nf3+ 46 Kh1 Rh8 47 h4 Nxh4! 48 gxh4 Rxh4+ 49 Kg2 Rg4+ 0-1
With ... Re8-h8 to follow.
White’s core idea in the 7 Nf3 line is to control the d5-square. Therefore, Black should employ the development set-up with ... Be6 and ... Nbd7, keeping d5 firmly defended. Afterwards, Black can seek activity by playing the ... b5 thrust, with the goal of gaining space on the queenside and threatening the c3-knight. The moves 13 ... Ng4 and 22 ... Bd8 are also important middlegame ideas to remember, as they often prove to be very useful resources for Black.
Game 2
A.Shirov-A.Volokitin
European Club Cup, Eilat 2012 1 e4 c5 2 Nf3 d6 3 d4 cxd4 4 Nxd4 Nf6 5 Nc3 a6 6 Be3 The actual move order of the game was 6 h3 e5 7 Nb3 Be6 8 Be3 Be7. 6 ... e5 7 Nb3 Be6 8 h3!?
An interesting idea that prepares a kingside attack with g4. Compared to the more common 8 f3, White now retains the option of playing f4 in one move. Others:
a) 8 f4 exf4 9 Bxf4 Nc6 10 Qd2 (instead, 10 Qe2 Be7 gives White nothing better than 11 h3 which takes us to the line after 8 h3 Be7 9 f4) 10 ... d5! gives Black easy equality, and here White has a choice between two options:
a1) 11 exd5 Nxd5 12 Nxd5 Qxd5 13 Qxd5 Bxd5 14 0-0-0 0-0-0 was considered by Georgiev and Kolev in The Sharpest Sicilian 2012 and is completely fine for Black.
a2) 11 0-0-0 can be met by 11 ... Bb4 12 Qd3 Bxc3 13 Qxc3 0-0 14 exd5 Nxd5 15 Qg3 Rc8 (or 15 ... Ncb4 which aims at an attack against White’s king; M.Parligras-A.Florean, Bucharest 2000, saw 16 Bd6 Qc8 and Black obtained good counterplay) 16 Bd6 Re8, which was balanced in M.VavulinG.Oparin, Kolomna 2016.
b) 8 Qd2 Nbd7! (8 ... Be7 is met by 9 f3! which takes us out of our repertoire; this is seen after 9 ... h5 10 Nd5 Bxd5 11 exd5 and we prefer to have the dark-squared bishop fianchettoed on g7 as we will see later in the chapter) 9 0-0-0 (if 9 f3, we can play 9 ... h5 and this transposes to a later game in this chapter; 9 f4 is met by 9 ... b5 which prepares to meet White’s f5 with ... Bc4) 9 ... Be7 10 f4 threatens f5 and Black should meet this with 10 ... b5!. After 11 Kb1, Black has two good continuations:
b1) 11 ... 0-0 12 f5 Bc4 gives White the choice between: b11) 13 g4!?, which is an interesting pawn sacrifice, but 13 ... Nxg4 14 Rg1 Nxe3 15 Qxe3 Bxb3 didn’t give White full compensation in L.Nisipeanu-S.Karjakin, Khanty-Mansiysk 2007. b12) 13 Rg1 is simply met by 13 ... Ng4! 14 h3 Nxe3 15 Qxe3 Rb8 16 g4 Bg5 and White’s kingside play isn’t very effective.
b2) 11 ... Rc8 12 f5 Bc4 13 g4 h6! (slowing down White’s kingside play) 14 Qg2 Bxf1 15 Rhxf1 b4 16 Nd5 Nxd5 17 Rxd5 Qc7, followed by ... Nf6 and expanding on the queenside, gives Black a comfortable position.
Note that 8 ... h5?! is inaccurate because of 9 f4 exf4 10 Bxf4. White’s lead in development as well as Black’s slight pawn weakness on h5 gives White an improved version of the 8 ... Be7 9 f4 lines.
9 Qf3
Others: a) 9 f4 exf4 (9 ... Nc6!? is another way to play, but we prefer the immediate capture) 10 Bxf4 Nc6 11 Qe2! is the best placement for the queen because the d-file can now be used for the rook (11 Qd2 allows Black to play 11 ... Nh5, threatening to take the f4-bishop or play ... Bh4). Black should try to control the e5-square by playing 11 ... Nd7! 12 0-0-0 Nce5 13 Kb1 (13 Nd4 or 13 g4 can also be tried, but Black achieves a fine position by simply following the set-up shown after 13 Kb1) 13 ... 0-0 14 g4 (14 Nd4 Rc8 15 Qe3 and now 15 ... Qa5 is similar to our main variation and gives Black good prospects on the queenside) 14 ... Rc8 15 Qe3 Re8 16 Nd4 Qa5!, which is the best way for Black to develop the attack and has been tried in a few top-level games.
Now:
a1) 17 a3 has been tried several times, but Black has excellent results here. This is likely due to the weakening of the queenside that a3 has caused. Black has several decent options such as: 17 ... Bf8 (or 17 ... b5 18 Nf5 Bxf5 19 gxf5 Nf6 is good as well) 18 Nf5 (18 g5 b5 19 Nd5 Bxd5 20 exd5 Nb6 was fine for Black in J.Martí Pericot-M.Auzins, correspondence 2015) 18 ... Nb6! and Black developed a dangerous initiative in D.Navara-W.So, 1st matchgame, Prague 2015.
a2) 17 Qe1 threatens Nd5 and was played in D.Swiercz-R.Wojtaszek, Poznan 2016. Instead of the game’s 17 ... Bf8, we prefer 17 ... Bd8!? and a possible continuation is 18 g5 Nc5 19 Nb3 Nxb3 20 axb3 Ng6.
b) 9 g4 was tried in the famous game D.Navara-R.Wojtaszek, Biel 2015. Now Black has two decent options:
b1) 9 ... d5 10 exd5 Nxd5 11 Bg2 Nxe3 12 Qxd8+ Bxd8 13 fxe3 Bh4+ 14 Kf1 Nc6 15 Nc5 and Black has two ways to play from here: b11) 15 ... 0-0 16 Bxc6 (16 Nxb7 Nb4! is excellent for Black) 16 ... bxc6 17 Rd1 Rae8! promises Black good counterplay. For example, 18 e4 (or 18 Nd7 Bxd7 19 Rxd7 f5) 18 ... h5! 19 gxh5 f5 with good play on the kingside.
b12) 15 ... Bc4+ 16 Kg1 Bg5 17 Re1 0-0-0 18 b3 Bh4 19 Rb1 Bg5 20 Kf2 (20 Re1 Bh4 just leads to a repetition of moves) 20 ... Bh4+ 21 Kf3 e4+ 22 Kf4 g5+ 23 Kf5 Rhe8 24 Rhd1 (24 Bxe4 also doesn’t hold for White: 24 ... Ne7+ 25 Kf6 Rd6+ 26 Kg7 Rg8+ 27 Kxh7 Bg3 and White is unable to escape the threat of ... Be5 and ... Rh8 mate without losing a lot of material), and the refutation of Navara’s king march is 24 ... Bd3! 25 cxd3 Ne7+ 26 Kf6 Ng8+! 27 Kg7 Bg3! (threatening ... Be5 to put White’s king in a mating net) 28 Kxh7 Ne7 29 Kg7 Be5+ 30 Kxf7 Nc6 31 Kg6 Rf8. Of course, this line isn’t practical for most players, and Black can choose to deviate with 15 ... 0-0 or even earlier by playing 9 ... 0-0, which is discussed below.
b2) 9 ... 0-0 (avoiding the endgame and keeping the game more complicated) 10 g5 Nfd7 11 h4 (11
Qd2 a5! 12 a4 Nc6 13 0-0-0 Nb4 is a good idea to take advantage of the weakened b4-square, and now 14 Kb1 f5 gives Black good counterplay) 11 ... a5 12 a3 Nc6 13 Nd5 (13 Bh3!? a4 14 Nd2 Nc5! isn’t bad for Black) 13 ... a4 14 Nd2 Nc5 15 Bb5 Na7 16 Bc4 b5 led to an interesting position where both sides had their chances in O.Hesse-A.Pantazi, correspondence 2016.
9 ... 0-0 10 0-0-0
10 g4?! is inaccurate because of 10 ... a5!, and now White has a few ways to respond to this:
a) 11 a4 could be tried, but this weakens the b4-square and in Z.Andriasian-M.Ragger, Gjakova 2016, Black took advantage of this by playing 11 ... Nc6 12 0-0-0 Nb4.
b) If 11 0-0-0? then 11 ... a4 12 Nc5 a3! 13 b3 Qa5 gives Black an excellent position.
c) 11 Bb5 can be met by 11 ... Na6, followed by ... Nc7, attacking White’s bishop and preparing ... d5.
Exercise: Should Black continue his development or start attacking on the queenside?
Answer: 10 ... b5!
Black needs to start attacking on the queenside immediately. The natural developing move 10 ... Nbd7 is too slow because White has 11 g4 b5 12 g5 Ne8 13 h4, and a powerful attack against Black’s king will soon follow. If Black plays the same idea that we saw in the 10 g4 variation with 10 ... a5?!, White would be able to take advantage of this by playing 11 Nc5!.
11 g4 b4 12 Nd5 Nxd5 13 exd5 Bc8!
Black’s plan is to expand on the kingside and then play ... Ba6 to exchange off the light-squared bishops. Meanwhile, White will try to bring his b3-knight to the e4-square via d2.
14 Bd3
14 Kb1 a5 15 Nd2 (15 Nc5!? can also be tried and in P.Andyka-Le Quang Liem, Ho Chi Ming City 2017, Black responded accurately with 15 ... a4 16 Ne4 Ba6 17 g5 Nd7 and had a comfortable position) 15 ... a4 16 Bd3 Ba6 17 Ne4 Nd7 18 Bxa6 Rxa6 19 g5 Qc7 20 Rd3 f5 is fine for Black, as in V.Aleksandrov-F.Bleker, correspondence 2015.
14 ... a5 15 Nc5!?
15 Nd2 Nd7 16 g5 (16 h4 is met by 16 ... a4) gives Black several moves to choose from, but we prefer 16 ... Ba6! (exchanging off White’s strong light-squared bishop) and in I.Oren-I.Ryzhkov, correspondence 2016, play continued 17 Bxa6 Rxa6 18 Rhg1 a4 19 Qe2 Qa5, with good attacking chances on the queenside for Black.
15 ... a4
15 ... dxc5 is playable, but White will have excellent compensation for the pawn after 16 d6 Ra7 17 dxe7 Qxe7 18 Rhe1.
16 Ne4
An interesting try to immediately attack Black is 16 Qe4 g6 17 h4!, but 17 ... Nd7 18 Ne6 fxe6 19 dxe6 d5 20 Qxd5 Nb6 21 Qc6 Qd5! 22 Qxb6 e4 gave Black good play in D.Morozov-V.Ivanov, correspondence 2013.
16 ... Ba6!
Exchanging off the light-squared bishops is a good idea, especially because White’s bishop is currently a stronger attacking piece than Black’s. 16 ... Nd7 17 Kb1 Bb7, targeting the d5-pawn, was fine as well.
17 g5 b3
Not a bad move, but this seems kind of rushed and allows White to close off the queenside. 17 ... Nd7 would have allowed Black to keep his options open and bring more pieces in to prepare the attack on the queenside; for example, 18 Kb1 Bxd3 19 Rxd3 Qa5 with balanced chances.
18 a3 Qc8 19 c3 Bxd3 20 Rxd3 Nd7 21 Rg1
Exercise: How can Black deal with White’s upcoming kingside threats?
Answer: 21 ... f5!
Black switches from playing on the queenside to the kingside and is able to take advantage of White’s pawn structure.
22 gxf6 Nxf6 23 Nxf6+ Rxf6 24 Qg4 Qf8 25 Rdd1 Qf7 26 h4?
This gives Black the opportunity to play a nice tactic and win a pawn. 26 Qe4 would have been more solid.
26 ... Rg6 27 Qe4 Rxg1 28 Rxg1
28 ... Bxh4! 29 Rh1
29 Qxh4?? would run into 29 ... Qf5!, threatening mate on c2, and 30 Kd2 Qc2+ 31 Ke1 Qb1+ picks up the g1-rook.
29 ... g5 30 Kd2 Bxf2?!
As the game continuation led to a drawn endgame without much trouble for White, Black could have considered slowly improving his position; for example, with 30 ... h5 31 Kd3 Rf8.
31 Bxg5 Qg6
After the queen exchange, Black doesn’t have many chances to play for the win.
32 Qxg6+ hxg6 33 Ke2 Bc5 34 Rh6 Kg7 35 Rh4 Ra5 36 Rc4 Ra7 37 Kd3 Kf7 38 Rh4 Kg7 39 Rc4 Kf7 40 Rh4 Kg7 41 Rc4 ½-½
In this game we looked at a couple of White’s attacking plans besides the main line with 8 f3. In most of these, White delays f3 in order to play f4 in one move. Or, as tried by Shirov in this game, White can place his queen on f3. This leads to a complicated middlegame with attacking play for both sides; after our recommendation of a quick queenside expansion, Black has excellent prospects in the arising positions.
Game 3
P.Leko-V.Topalov Wijk aan Zee 2008
A preventive move, designed to stop Black from pushing ... b5. However, Black can still obtain counterplay on the queenside by using the resource ... Nb6.
White can also play quietly with 10 Be2 and then:
a) The pawn push with 10 ... b5?! is premature: 11 a4! and White seizes the initiative. In the Sicilian, be careful about pushing ... b5 too early. If you play it while undeveloped, it can backfire. Play can continue 11 ... b4 12 Nd5 Bxd5 13 exd5 Nb6 14 f4!, when White rips open the centre and Black’s position becomes untenable; e.g. 14 ... Nbxd5 (if 14 ... Be7 15 fxe5 dxe5 16 d6 Bxd6 17 0-0-0 White’s position is overwhelming; Black has too many weak pieces and his king is still in the centre) 15 Bf3 leads to a nice position for White following 15 ... Nxe3 16 Bc6+ Nd7 17 Qxe3 and the e5-pawn is falling. White’s lead in development gives him a comfortable edge.
b) We recommend 10 ... Be7 11 0-0 b5 (11 ... Rc8 is also reasonable) 12 Rfd1 (notice how 12 a4 is no longer dangerous on account of 12 ... b4 13 Nd5 Bxd5 14 exd5 Nb6 15 f4 Nbxd5 16 Bf3 Nxe3 17 Bc6+ Kf8! and Black is simply a pawn up; in the 10 ... b5 variation, Black wasn’t able to play ... Kf8 because the bishop was still on f8) 12 ... Nb6 13 Bf1, and now 13 ... Qc7 gave Black a promising position in V.Ivanchuk-L.Dominguez, Havana 2006.
10 ... Be7
11 a5 0-0 12 Be2 Qc7 has been seen in a few games, such as O.Kurmann-N.Georgiadis, Flims 2016, which continued 13 Nd5 (13 0-0 transposes to the 13 a5 variation of the main game) 13 ... Bxd5 14 exd5 b5 with a dynamically balanced position.
11 Be2 Qc7 12 0-0 0-0 13 Rfd1
13 a5 is mentioned as an alternative to 13 Rfd1 by Jesus de la Villa in Dismantling The Sicilian (2009), but he does not consider 13 ... b5! (13 ... Rac8 was tried in P.Idani-Y.Kuzubov, Dubai 2015, and Black was fine there as well), which allows Black to obtain good play on the queenside. For example, 14 axb6 Nxb6 15 Rxa6?! (capturing this pawn is very dangerous for White) 15 ... Rxa6 16 Bxa6 d5!
When your opponent plays on the flank, strike in the centre! Playing ... d5 is one of Black’s most powerful resources in the Sicilian, but he should only play it when White is unprepared. This position is an excellent example.
13 ... Rfd8!?
13 ... Rac8! is probably best. By putting pressure on the c-file, Black prevents White’s knight from moving to d5. Without this move, White has problems gaining a real advantage on the queenside. Play can continue 14 a5 (if 14 Rac1 Nb6, White must exchange one of his bishops, giving Black at least an equal game; 14 Nd5?? Bxd5 15 exd5 Qxc2 is the point of 13 ... Rac8!) 14 ... Rfd8 15 Qe1 Qc6! (Black shows that playing ... b5 is not his only resource; he also prepares to push ... d5, since White’s pieces are passively placed) 16 Qf2 (16 Bg5 d5! is noted by Pavlovic and was seen in B.Jeran-A.Saric, Nova Gorica 2009; Black is seizing the initiative in the centre) 16 ... d5 gives Black a comfortable position.
14 a5
14 Qe1 is met with 14 ... Nb6!. This is an example of the principle that when White declines to play a5 then Black should always play ... Nb6 if given the chance. As mentioned previously, White will have to give up one of his bishops and, following 15 Qf2 Nc4 16 Bxc4 Qxc4, Black has no problems. Playing 14 Nd5! was probably White’s best attempt to seize the initiative, although Black still has no problems. Following 14 ... Nxd5 15 exd5 Bf5 16 Rac1 (16 c4 is de la Villa’s recommendation, but Black has 16 ... a5!, shutting down White’s play on the queenside and forming a dark-squared blockade), White is about to push the c-pawn to c5, ripping open Black’s position. Black must respond actively in order to counter this plan with 16 ... Nc5!, correctly realizing that giving White a passed pawn is no major concession. For example, 17 Nxc5 dxc5 18 c4 Bd6 19 b4 e4 yields a dynamic position where both sides have an equal share of the chances. 14 ... b5! 15 Nd5
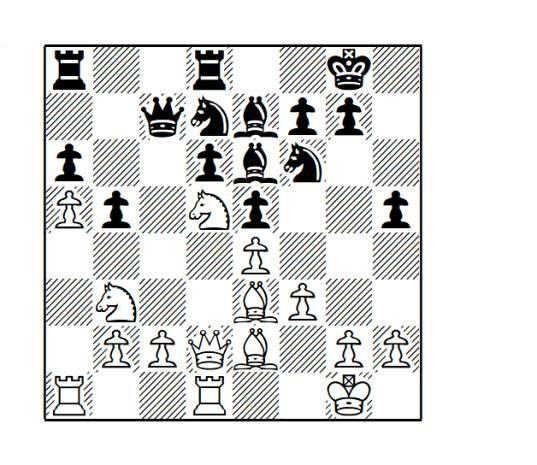
Question: Why did White play Nd5 right after Black played ... b5 - ?
Answer: By playing ... b5, Black no longer has a pawn protecting c6. White’s idea is to recapture on d5 with the e-pawn, giving him control over the weakened c6-square.
After 15 axb6 Nxb6 16 Rxa6 Rxa6 17 Bxa6 d5!, Black has plenty of compensation for the pawn.
15 ... Bxd5
Playing 15 ... Nxd5 was a slightly better move – if Black can keep his light-squared bishop he should generally choose to do so. After 16 exd5 Bf5, Black’s active light-squared bishop gives him at least an equal game.
16 exd5
An interesting position has arisen. White’s main plan will be to open up the queenside so that his light-squared bishop can attack Black’s fixed pawns on b5 and a6. Black will focus on keeping the queenside closed and exchanging his bad e7-bishop for White’s good e3-bishop.
16 ... Rac8!
With the idea of preventing White from pushing c4. This plays in accordance with the plan we discussed of keeping the queenside closed.
17 c3 Qb7
17 ... Re8 is an interesting alternative that prepares to put pressure on the e-file and was played in J.Lopez Martinez-E.Miroshnichenko, Zürich 2009.
18 Ra3 g6!?
Black prepares to relocate his bishop, in order to open up the e-file for his rook. However, in view of White’s next move, perhaps it is a bit too slow. Instead, the thrust 18 ... e4! works well since White’s rook is out of play on a3. Black’s idea is seen after 19 f4 Ng4!, going after one of White’s bishops (a recurring theme in this variation of the English Attack).
Question: Where is the knight headed?
Answer: It is going to c6 via the c2- and b4-squares. If White manages to get the knight to c6, Black’s position will be perilous.
19 ... Re8 20 Nc2 Bf8 21 Nb4 Bg7 22 Rc1
Note that 22 Nc6? runs into 22 ... Nxd5!. For now, this tactical resource keeps White’s knight away from c6.
Exercise: White is about to push c4 and open up the queenside with a better game. How can Black stop this?
Answer: 22 ... e4!
By attacking first! This move doesn’t give White time to play c4. 23 f4
Or 23 c4? Ne5!, “forking” c4 and f3. After 24 cxb5 Rxc1+ 25 Qxc1 exf3 26 gxf3 Nxd5, Black’s dynamic pieces are more effective than White’s queenside passers.
23 ... Ng4 24 Bxg4?!
In order to still be able to play c4, White needed to keep his light-squared bishop on the board. Pushing the f-pawn with 24 f5! is the best option. Play may continue with 24 ... Nxe3 25 Qxe3 gxf5 26 Rf1 Re5, when a very unclear position results.
24 ... hxg4 25 Qe2 Nf6
Consolidating with 25 ... f5 was likely the best choice, since all of Black’s pawns receive solid protection.
26 Rd1 Rc4
An instructive position. Without the light-squared bishop, White is unable to make real progress on the queenside.
27 Qd2 Qc8 28 Raa1
Exercise: Black would like to attack White’s f4-pawn, but the problem is that White can play g3. How can Black prevent this?
Answer: 28 ... g3!?
By pushing his own pawn there first. In addition to cutting off support to the f4-pawn, Black tries to weaken White’s kingside.
29 h3
Correctly deciding to not capture on g3. While White’s f4-pawn lacks pawn support, Black’s g3pawn is also isolated. On 29 hxg3, Black has 29 ... Ng4 30 Nc2 Qf5!, when the threat of ... Qh5 and ... Qh2+ is too much for White to deal with.
29 ... Nh5 30 Rac1 Bh6 31 b3 Rc7 32 Nc6!
White plays to his advantages. Black may have pressure on the kingside, but White is now making use of his queenside pawn majority.
32 ... Ng7?!
Bringing the knight back to f5. Black could also continue by attacking on the queenside before White obtains sufficient counterplay there. 32 ... Rb7 is an interesting defensive manoeuvre. Black prevents White from pushing c4, since doing so will activate Black’s rook along the b-file; for example, 33 c4 bxc4 34 bxc4 Rb3 and Black has active play.
33 c4 bxc4 34 Rxc4 Qd7 35 Qc2!
A great rejoinder. White attacks e4, while strengthening his pressure on the c-file.
35 ... Rb7!
Black counters with a resourceful move. If White takes on e4, then he will lose the b3-pawn. In this tense position both players manage to navigate with a high degree of precision.
36 b4
Possible is 36 Rxe4!?, switching the field of play. On 36 ... Rxe4 37 Qxe4 Rxb3 38 Re1 Nf5 39 Bb6, White’s idea is to suddenly gain the initiative on the e-file. However, Black should have no real problems as White lacks targets to attack.
36 ... Nf5 37 Bc1 e3 38 Re1
Black has a good deal of activity but the problem is that his pieces are dispersed over the board. In contrast, White’s pieces are working harmoniously.
38 ... Rb5 39 Qd3 f6!
Question: What is Black’s idea behind this curious move?
Answer: To play ... Qf7, and attack White’s weak d5-pawn. The way that Black manages to keep coming up with counterplay is very instructive.
40 Re4
40 Bxe3 fizzles out to a double-edged ending after 40 ... Qf7 41 Re4 Rxe4 42 Qxe4 Qxd5 43 Qxd5+ Rxd5. White’s queenside pawn majority is blockaded for now and Black has some tactical tricks on the kingside. While the position is objectively equal, a draw seems like an unlikely result (especially if time trouble was a factor at this point in the game).
40 ... Rxe4?!
This gives White’s queen an outpost on e4 for free. Instead, 40 ... Qf7! prevents White’s queen from reaching e4. Black will only exchange rooks once he can immediately take on d5. For example, 41 Bxe3 Rxe4 42 Qxe4 Qxd5 43 Qxd5+ Rxd5, reaching the same ending as discussed previously.
41 Qxe4 Qf7 42 Nd4!?
An interesting move, involving the knight in the attack on Black’s king.
42 ... Qxd5!
Topalov correctly sees that, due to a neat tactical resource, he is not losing his rook.
Exercise: How does Black win after 44 Nxb5 - ?
Answer: 44 Nxb5?? loses to 44 ... Nh4!, which targets the weakest point in White’s position. A picturesque situation has arisen where White has no way to defend against mate without giving up the queen.
44 Nxf5 Qxf5 45 Qxe3 Rxb4 46 Qxg3 Re4
A good practical decision. In a tense situation, White’s rook seems more menacing than Black’s, since it is threatening to play a check on e7.
46 ... d5?! needlessly allows 47 Re7+ Kg8 48 Re8+ Kf7 49 Qe3 and, while the position is objectively equal, Black must be careful.
47 Rxe4 Qxe4 48 Qe3 f5!
An extremely instructive moment. By playing 48 Qe3, White has displayed his intention of wanting to exchange queens. Knowing this, Topalov will only allow the exchange if he can get two connected passed pawns. Since White was already in the mindset of desiring a queen exchange, it is difficult to back away from it now.
49 Qxe4?
More accurate was 49 Kh2!. This strange move seems to keep up the tension; both queens are at an impasse.
49 ... fxe4
Black has excellent winning chances because of his two connected passers and White’s weak a5pawn (which is fixed on a dark square, allowing Black’s bishop to attack it indefinitely).
50 Kf2 d5 51 g4!
An excellent move, trying to distract Black from advancing the d-pawn.
51 ... d4!
Black recognizes that White has no real threats on the kingside and coolly continues with his plan. Many players would have felt the need to deal with White’s kingside pawn advance.
52 Bb2 Bg7 53 Ba3 Kg8
Or even 53 ... d3! which seems to lose the e4-pawn, but Black is doing fine after 54 Ke3 Bc3 55 Bc1 Bxa5. White’s pieces are stuck, and Black’s a-pawn will be running down the board shortly. Since White’s kingside pawns lack piece support, they pose no danger to Black.
54 h4 Kf7 55 Bc5 Ke6 56 h5 gxh5 57 gxh5 d3
Another plan was 57 ... Kf5! with the idea of rounding up White’s pawns before continuing. Possible is 58 h6 Bf6 (58 ... Bxh6? 59 Bxd4 Bxf4 60 Ke2 leaves only a few pawns on the board, giving White excellent drawing chances) 59 Bd6 Kg6 60 Bf8 Bh4+ 61 Ke2 Bg3!, when White’s bishop is unable to defend both pawns.
58 Ke3 Bh6 59 Bb4 Kd5
Black is in full control and White’s pieces can’t do anything.
60 Bd2 Bf8 61 Bc1 Bc5+ 62 Kd2 Kc4 63 h6 Bf2!
The final finesse. Black guards the e1-square, preparing to march the e-pawn towards promotion.
64 Kd1 e3 65 Bxe3
65 h7 also loses to 65 ... e2+ 66 Kd2 e1Q mate.
65 ... Bxe3 66 h7 Bd4 0-1
In the 10 a4 line of the English Attack, Black best plan is to try to play ... Nb6 without ... b5. When White pushes a5 to stop ... Nb6, Black is then able to push ... b5 after all. Notice that it is fine to sacrifice the a6-pawn here if Black can immediately strike in the centre with ... d5! (see the variation on move 15 for an example).
Game 4
A.Gabrielian-L.Dominguez Perez Russian Team Championship 2013
The actual move order was 6 ... Ng4 7 Bc1 Nf6 8
e5 9 Nb3 Be6 10 Be3, reaching the same position as after 8 f3 below. 6 ... Ng4 is definitely playable, but there is quite a bit of theory to learn after 7 Bg5.
7 Nb3 Be6 8 f3 h5 9 Qd2 Nbd7 10 0-0-0
The more positional approach with 10 Nd5 will transpose to the next games after 10 ... Bxd5 11 exd5 g6.
10 ... Be7
Normally in the English Attack, White begins attacking immediately with g4. In this position, Black’s h5-pawn makes this difficult to accomplish (which was the entire point of ... h5). So White’s best course of action is to play more positionally in the centre, trying to prove that Black wasted a move with ... h5. In turn, Black should attack on the queenside while making sure to still focus on fighting for the centre. This means that mindlessly pushing the b- and a-pawns up the board is not an effective strategy.
11 Kb1
Because much of the action will be happening the centre, it makes sense to move the king to safety. Fixing the pawn structure with 11 Nd5 Nxd5 12 exd5 Bf5 is completely fine for Black. For example, 13 Bd3 Bxd3 14 Qxd3 Bg5! gave Black very few problems in V.Krishnan-M.Amanov, Los Angeles 2012. 11 h3 goes against White’s best strategy of focusing on the centre. After 11 ... b5 12 Bd3 b4, Black is already assuming the initiative. If White just tries to attack on the kingside with g4 (without trying to play in the centre), Black’s queenside attack will be far faster. 11 ... b5
Castling at this point with 11 ... 0-0? is a bad idea, as Black’s h5-pawn now lacks support from the h8-rook. In the ... h5 system, Black should typically delay castling until the centre becomes too dangerous for the king. For example, White can play 12 h3 and meet 12 ... h4 with 13 Bg5. 12 g3!?
Question: What is the purpose of this quiet move?
Answer: The move 12 g3 defends some of White’s weak kingside dark squares (f4 and h4) and discourages Black from playing ... h4. However, White’s main idea is just to wait and see what Black plays. Since whoever controls the centre will control the game, both sides tend to be cautious about playing any committal moves. For example, White usually refrains from Nd5 unless he is sure he can gain the initiative in the centre.
Others:
a) 12 h3 is more natural with the idea of pushing the f-pawn, since now the f6-knight cannot jump to g4. Black should continue with 12 ... Qc7 (12 ... h4!? is not the most useful move since White’s main idea behind 12 h3 was to push the f-pawn and not the g-pawn; however, it is often a good waiting move for Black to use, in order to see what plan White chooses) 13 f4 (13 Bd3?! b4! is the correct time to attack the c3-knight, since the knight is unable to jump to d5 effectively; i.e. 13 Nd5 Bxd5 14 exd5 Nb6 and now the weak d5-pawn forces White to give up his good dark-squared bishop following 15 Bxb6 Qxb6 16 Na5 Rc8, with a comfortable position for Black; the tactical resource ... Nxd5 takes the sting out of Nc6).