Jim Zuckerman’s
PHOTO INSIGHTS October 2025
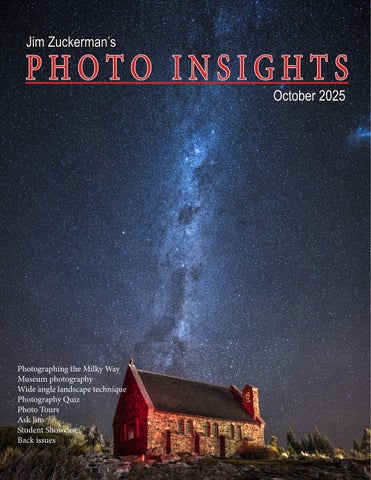
Photographing the Milky Way When photography You Really Needed a Zoom Museum Wide angle landscape technique Anatomy of Natural Light Portraits Photography Quiz Upside Down Reflections Photo Tours Photo Ask Jim toursVStudent showcase Student Showcase Ask Jim Back issues index Subject
1