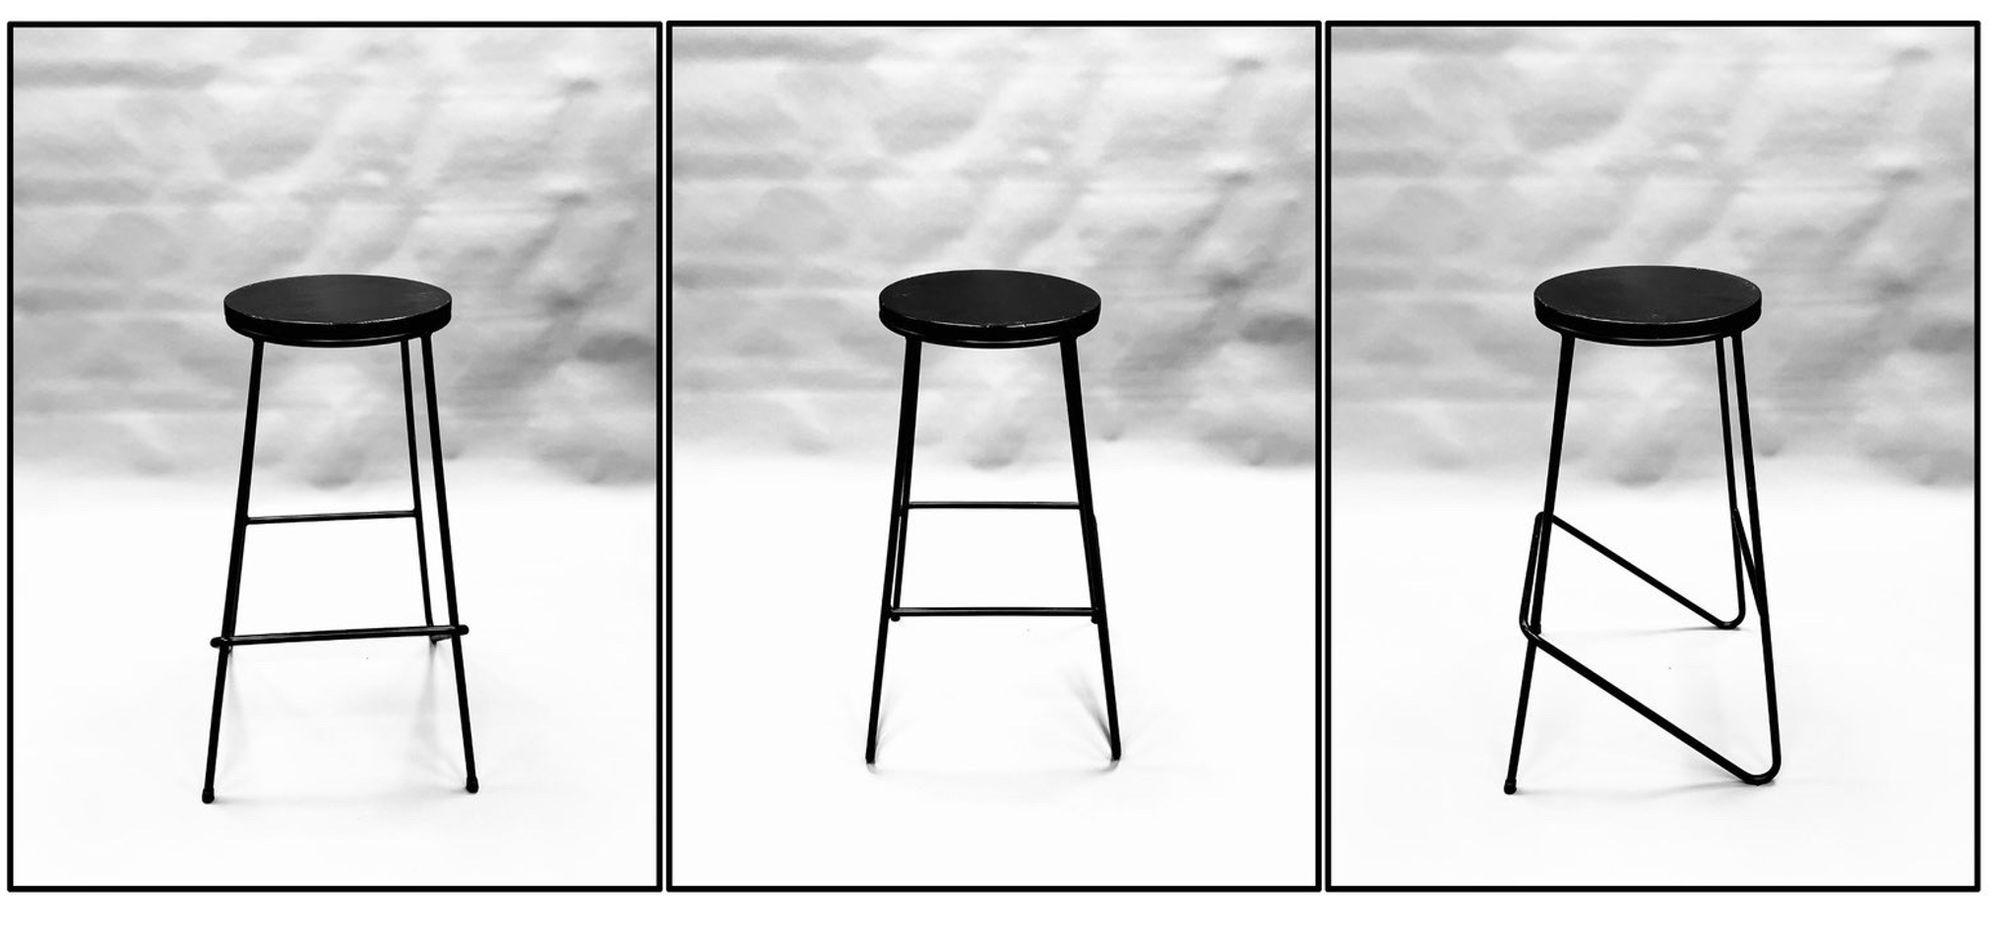
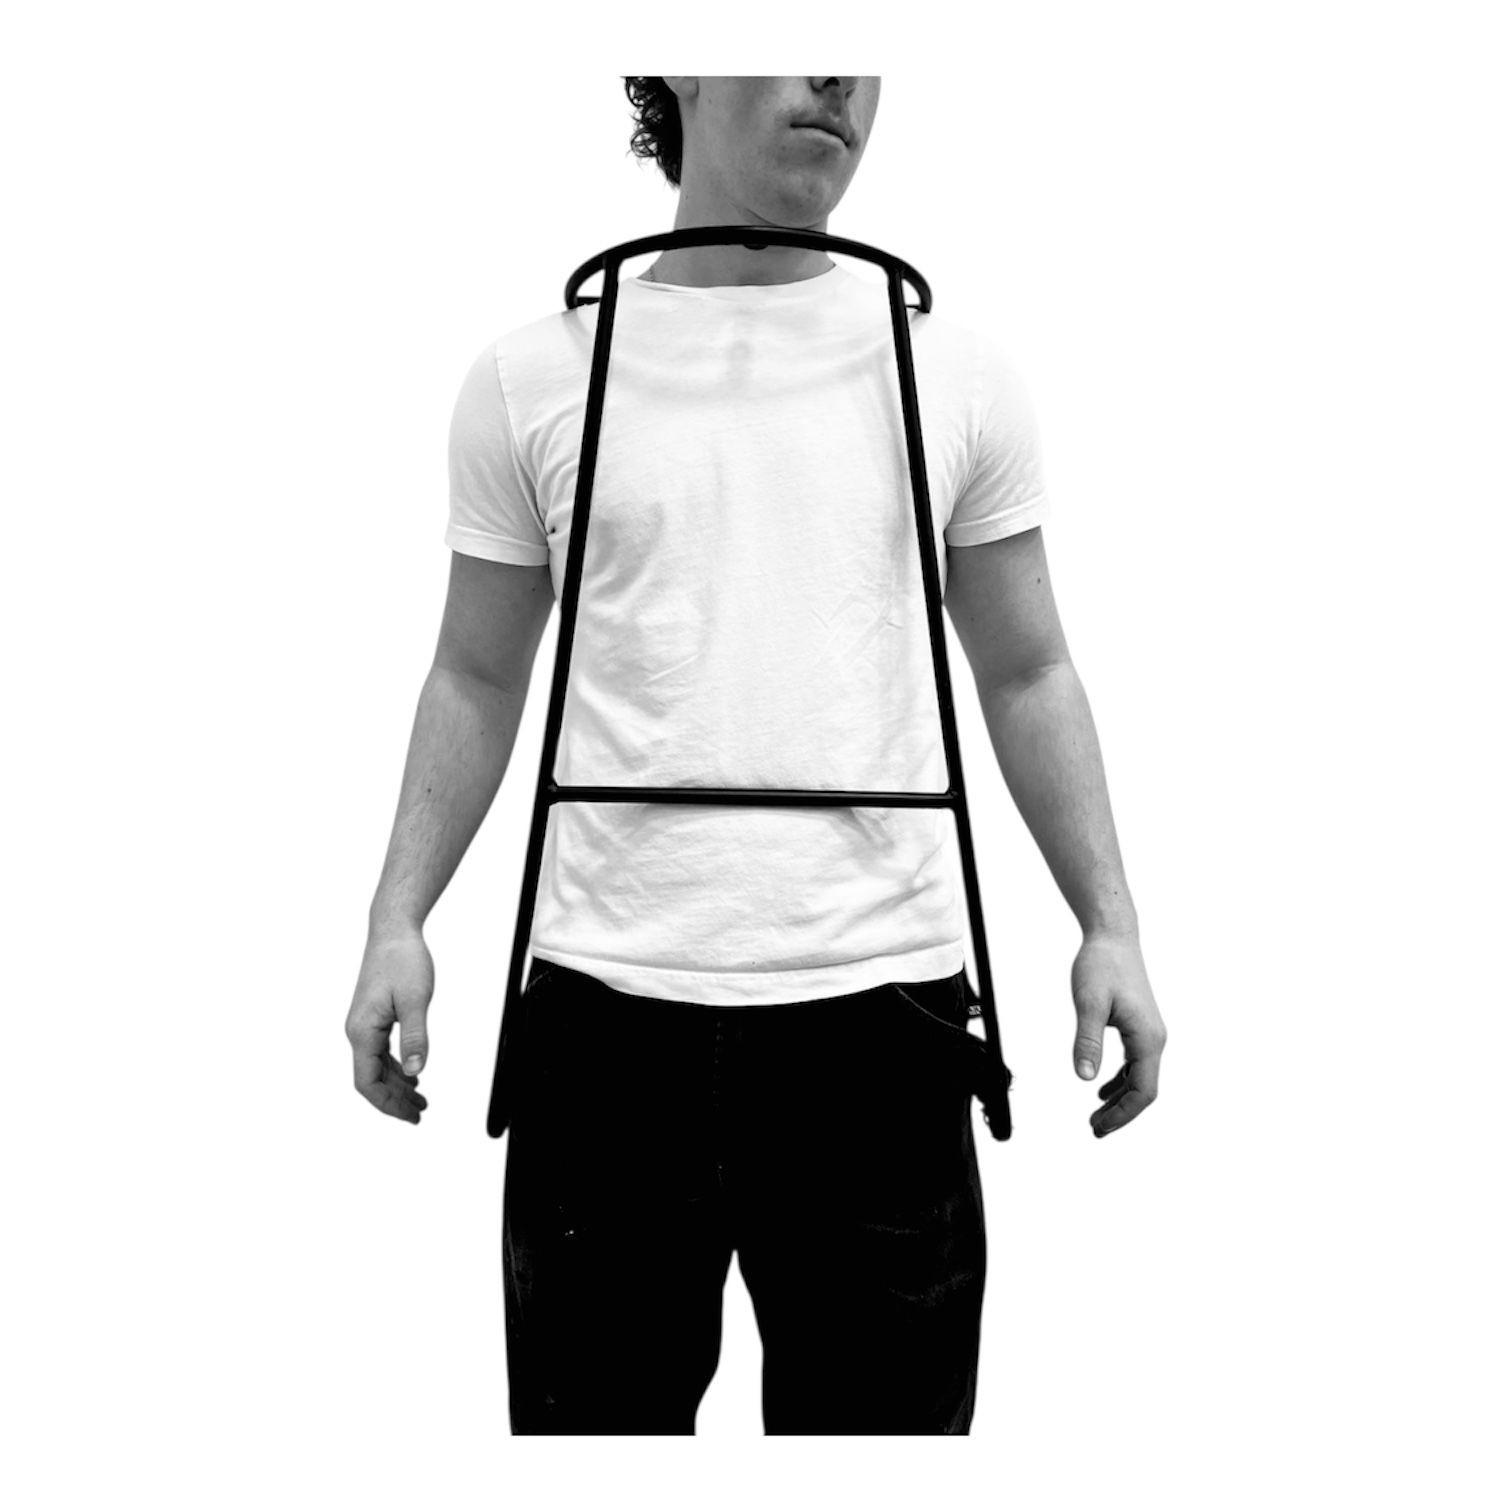
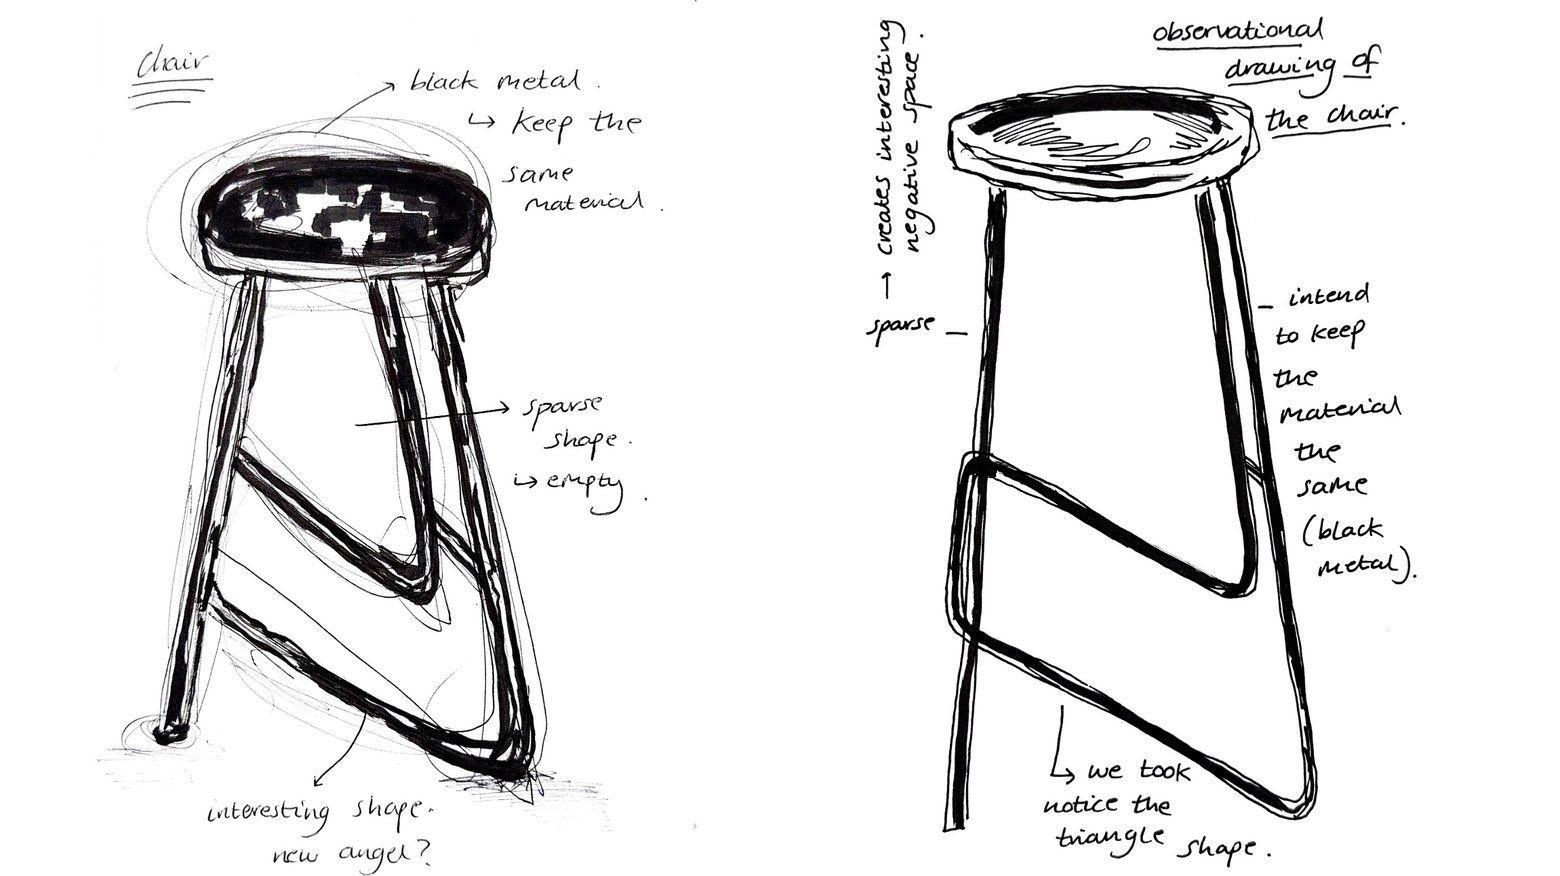
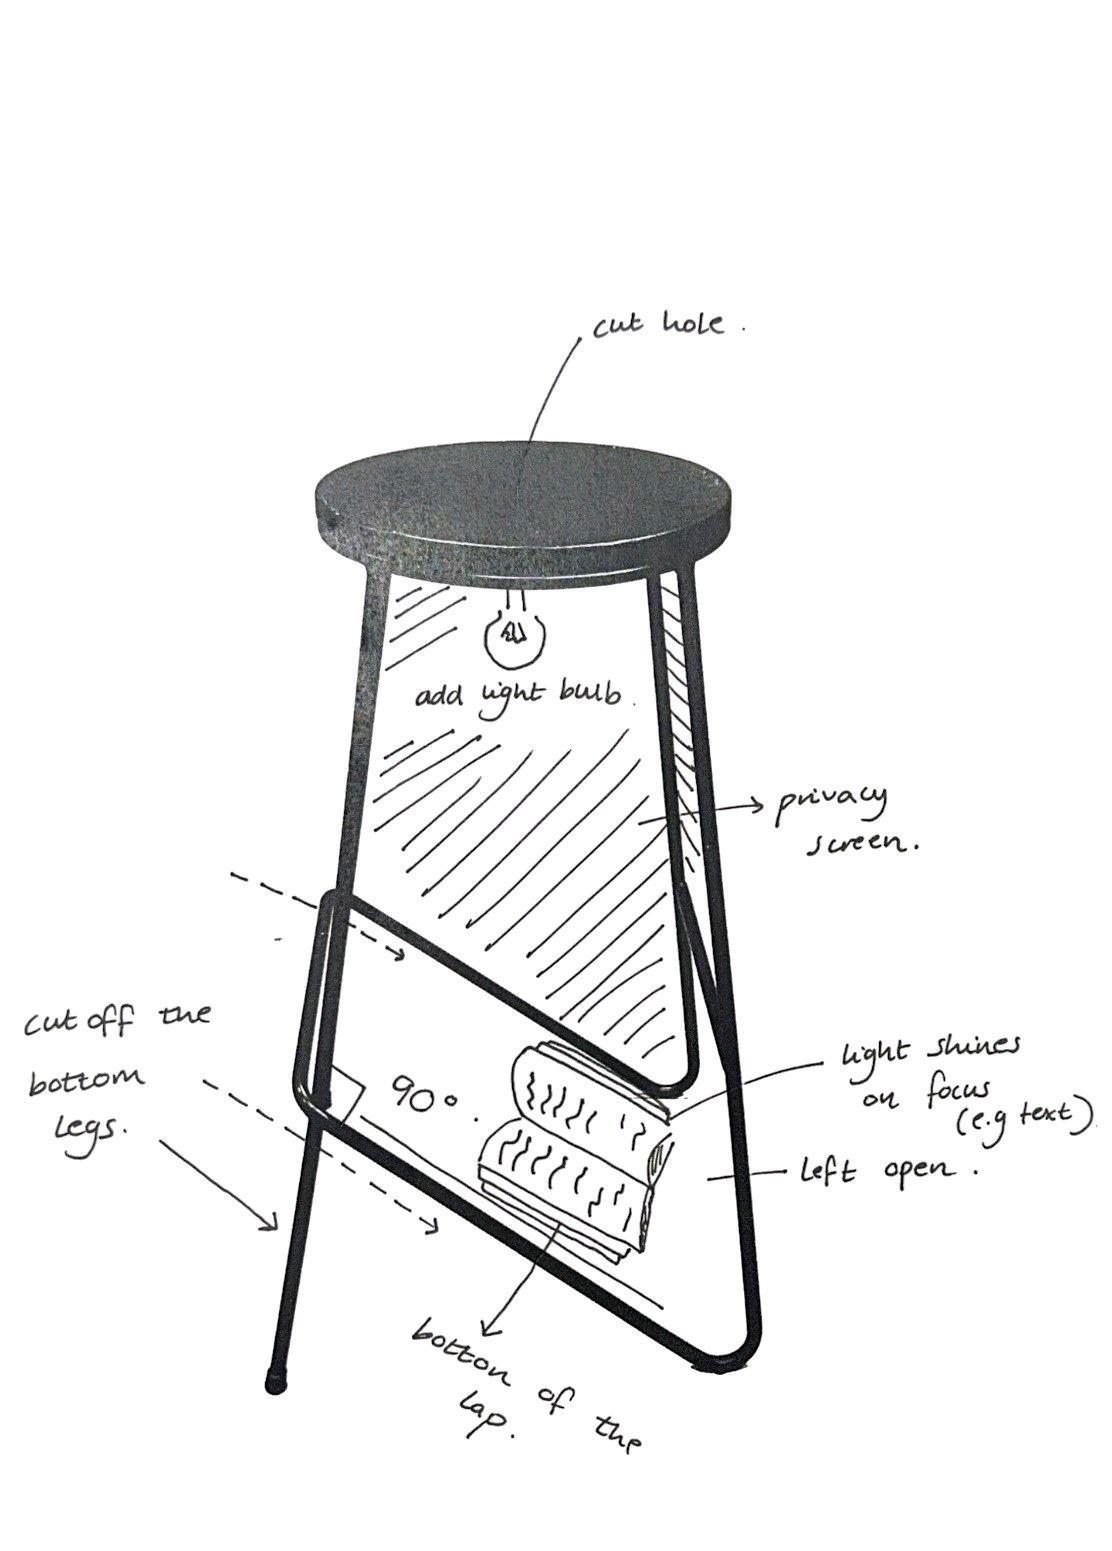
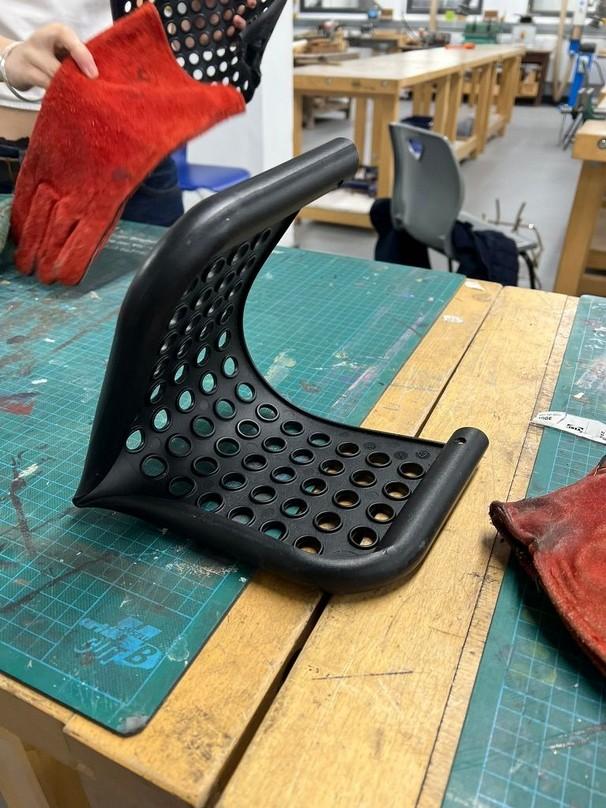
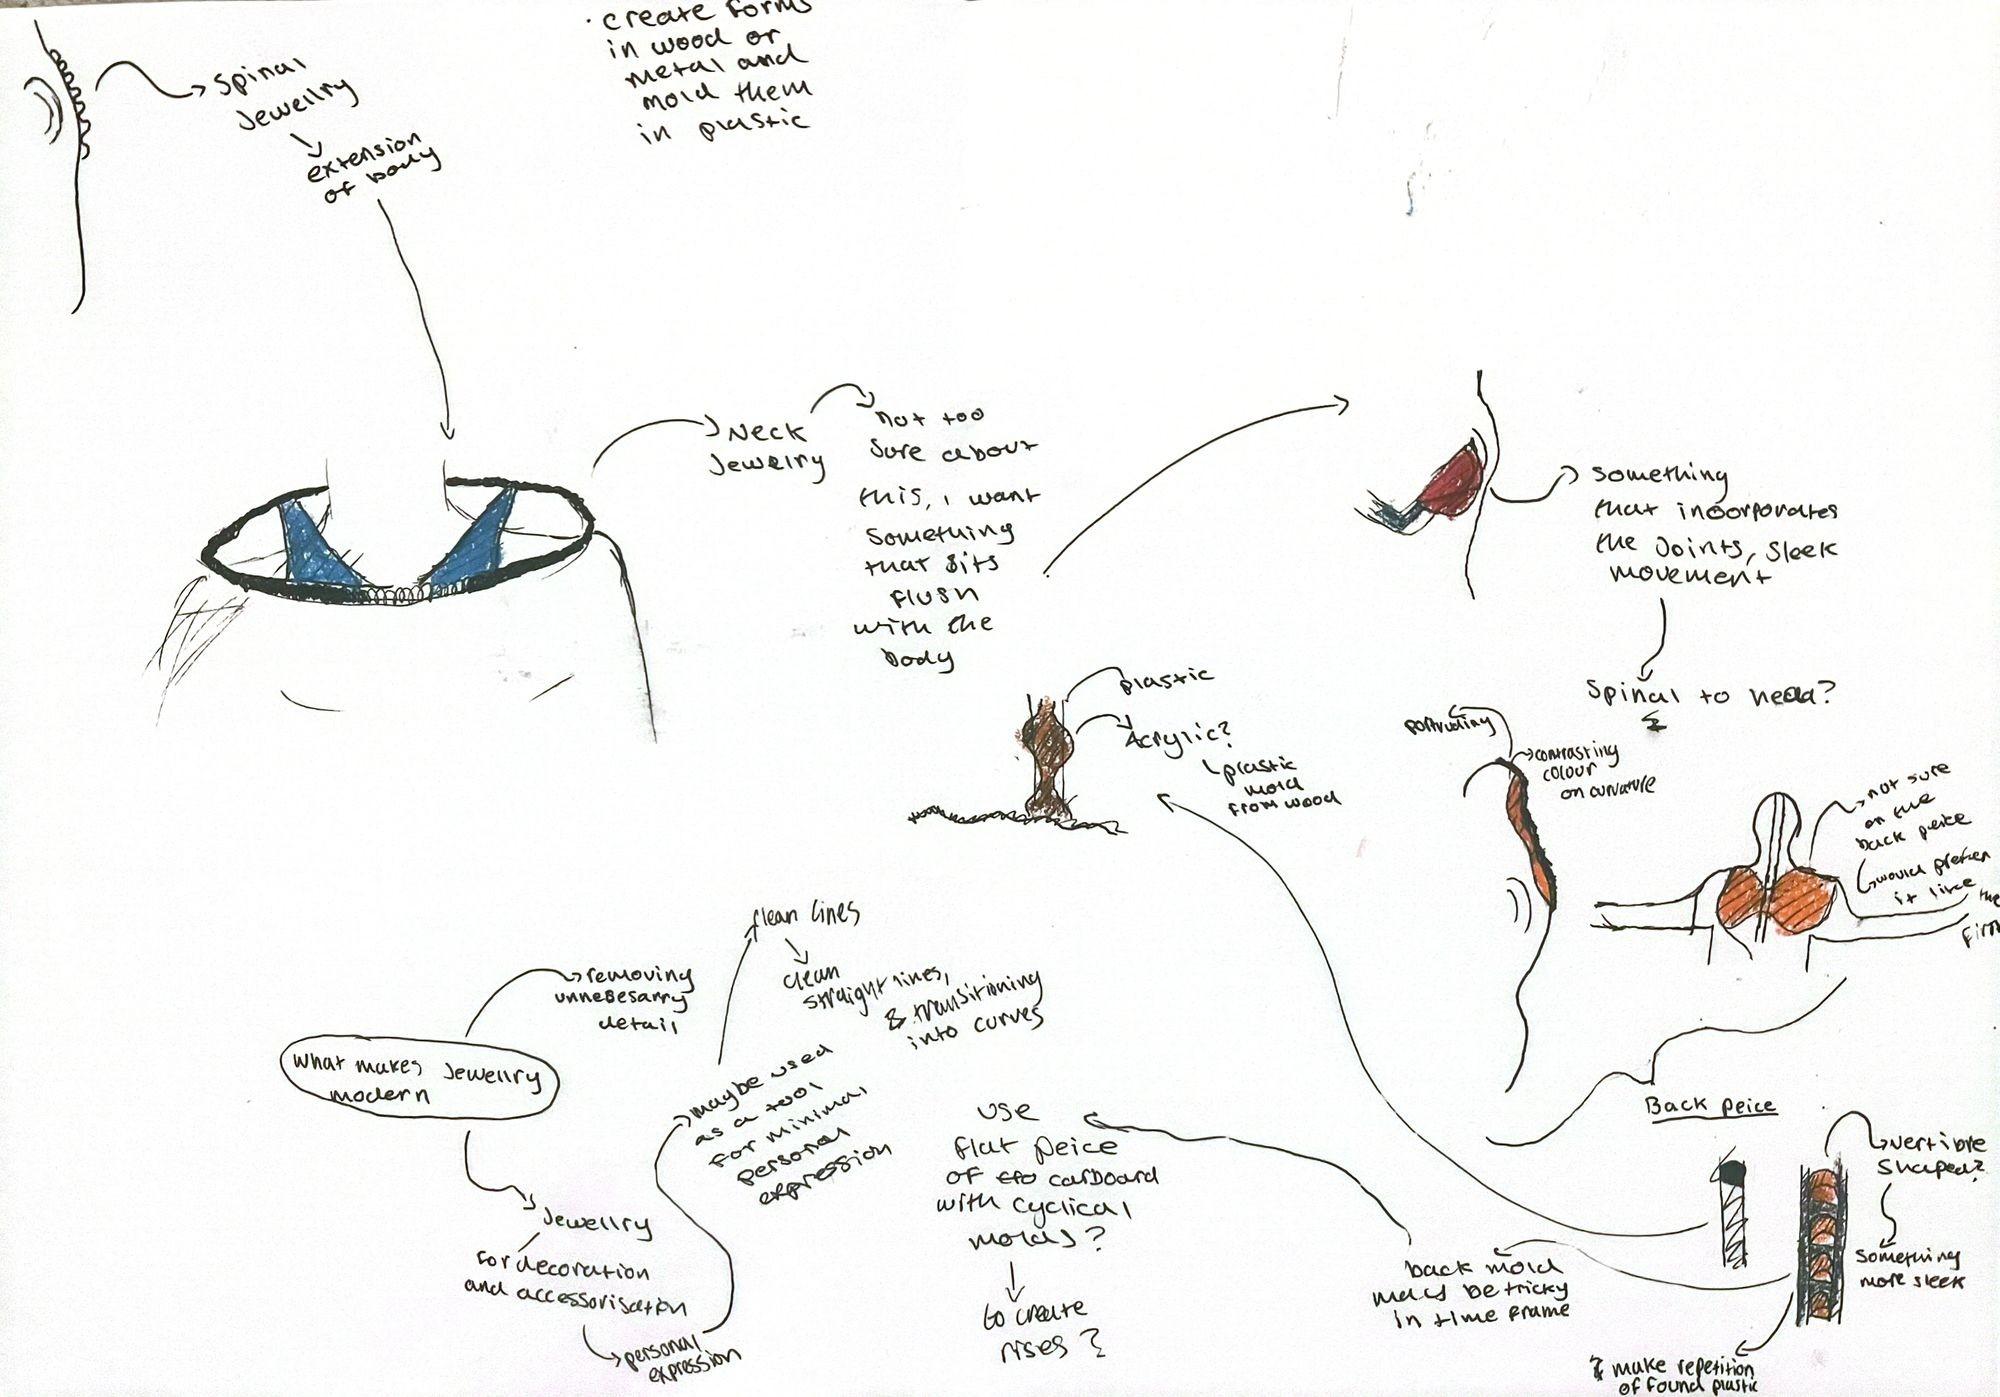
With inspiration from the artists, initial sketches were made
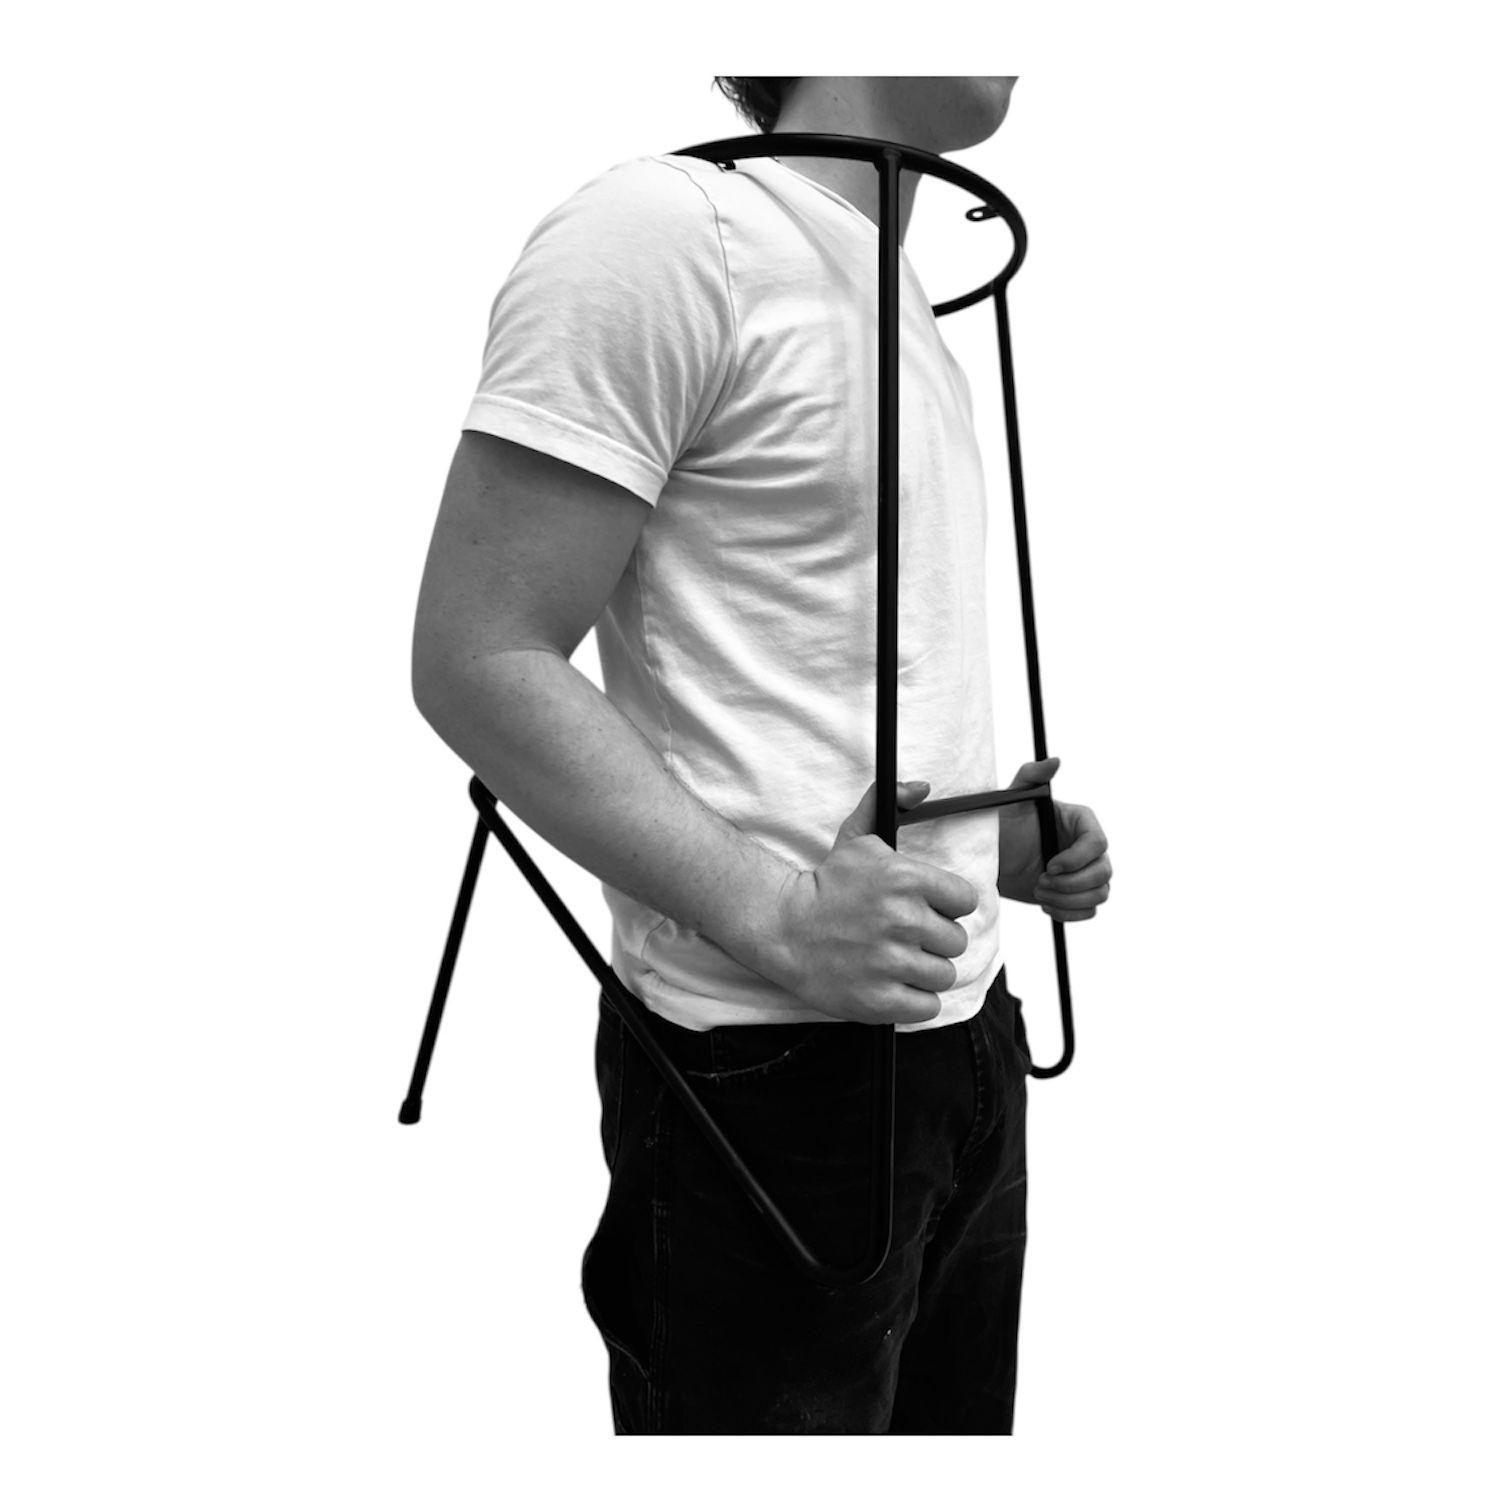
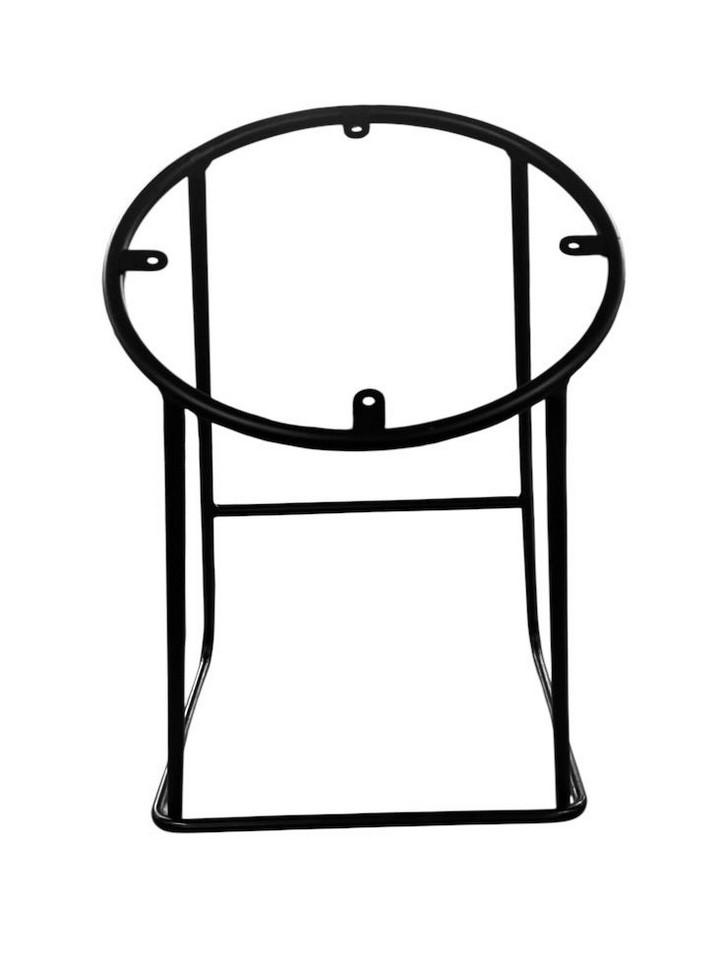
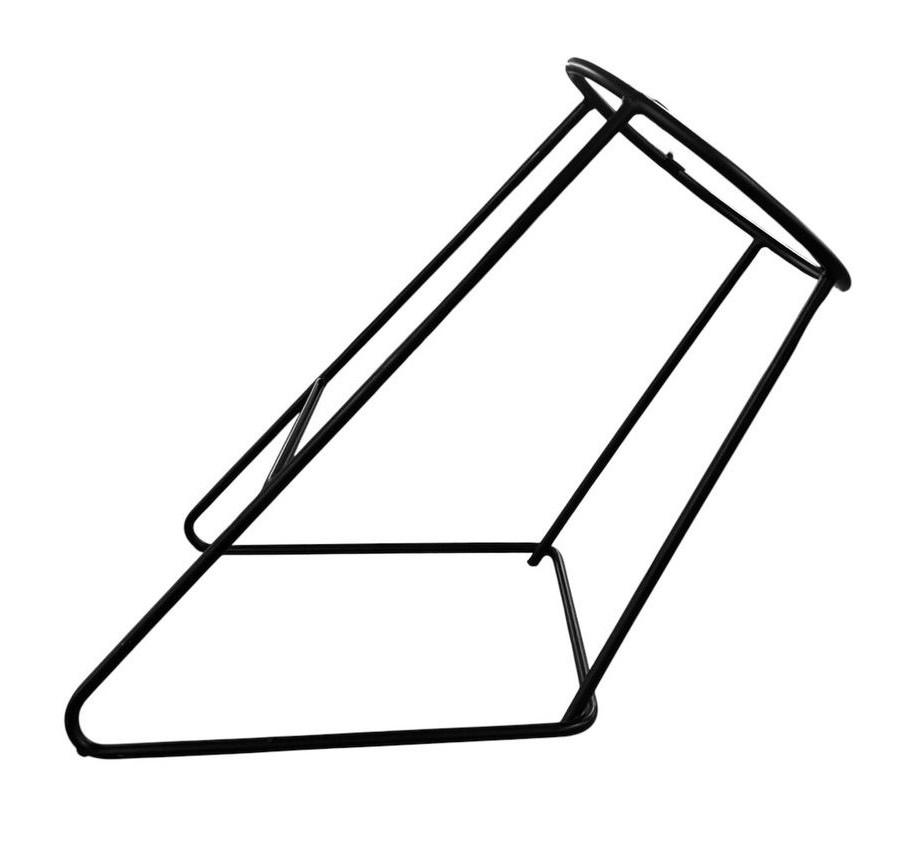
Attaching to chair
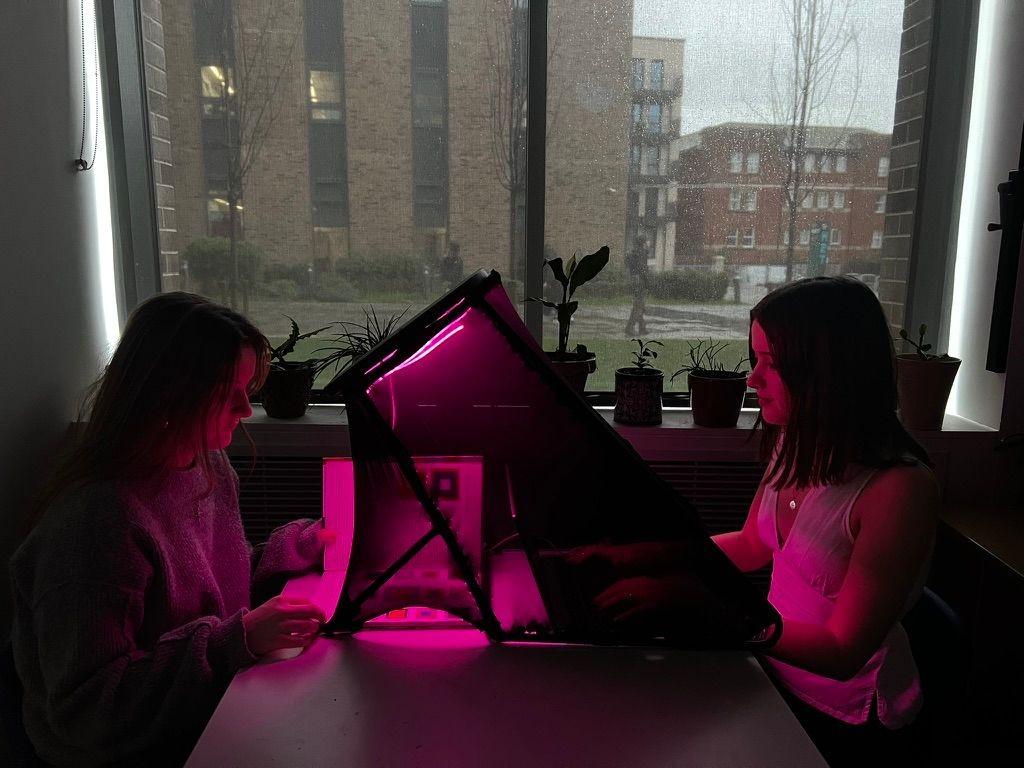
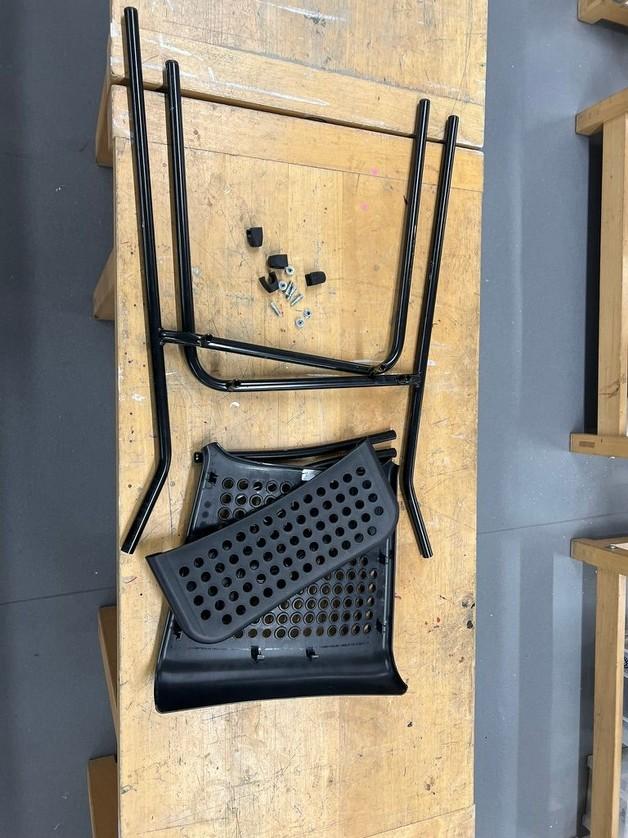
This is the process for executing the ideas and turning it into a privacy screen, the extra legs had to be welded on as the structure kept tipping over to one side.
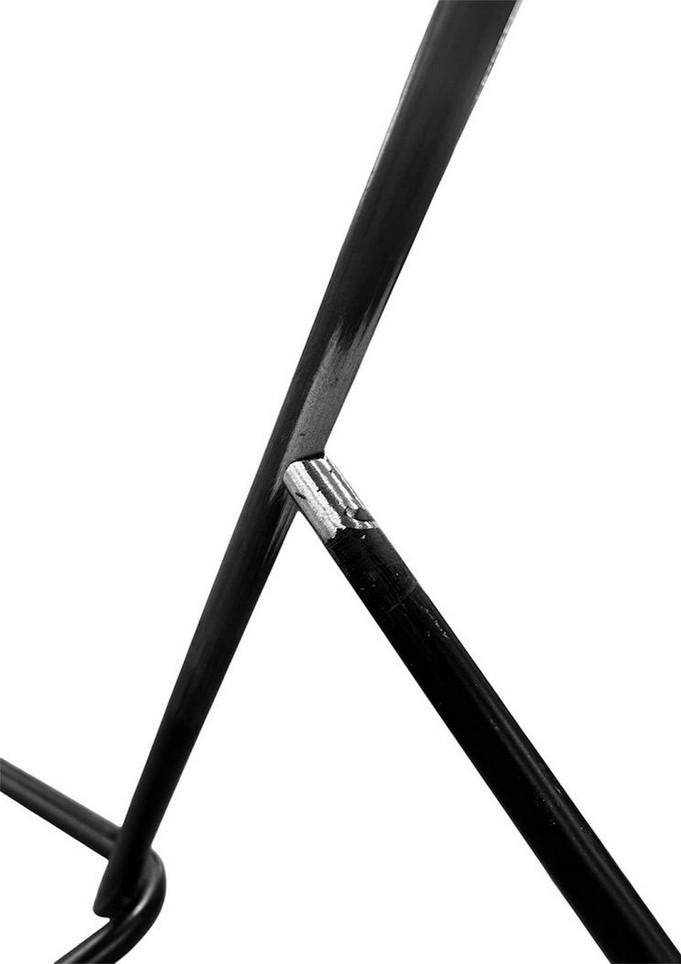
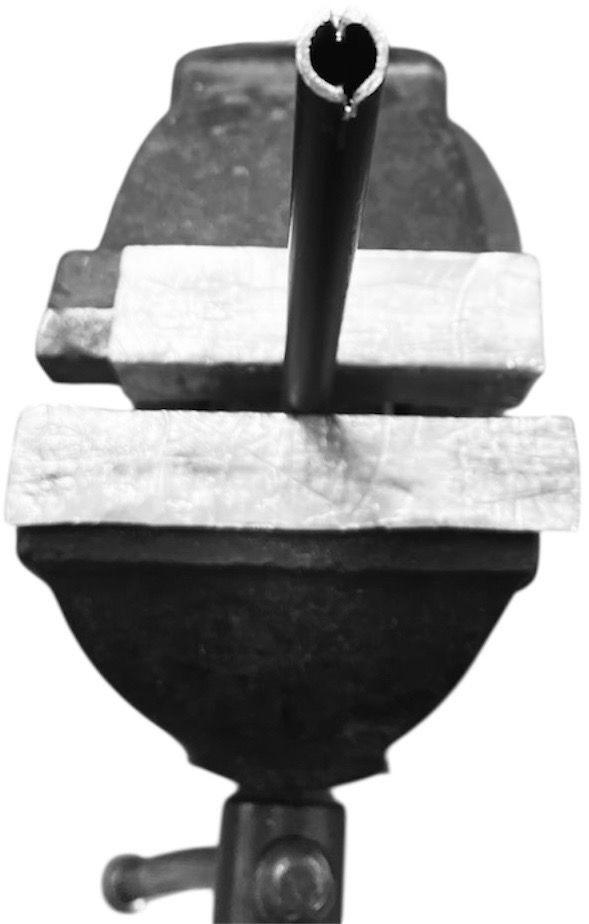
Cutting rod to fit leg
Welding
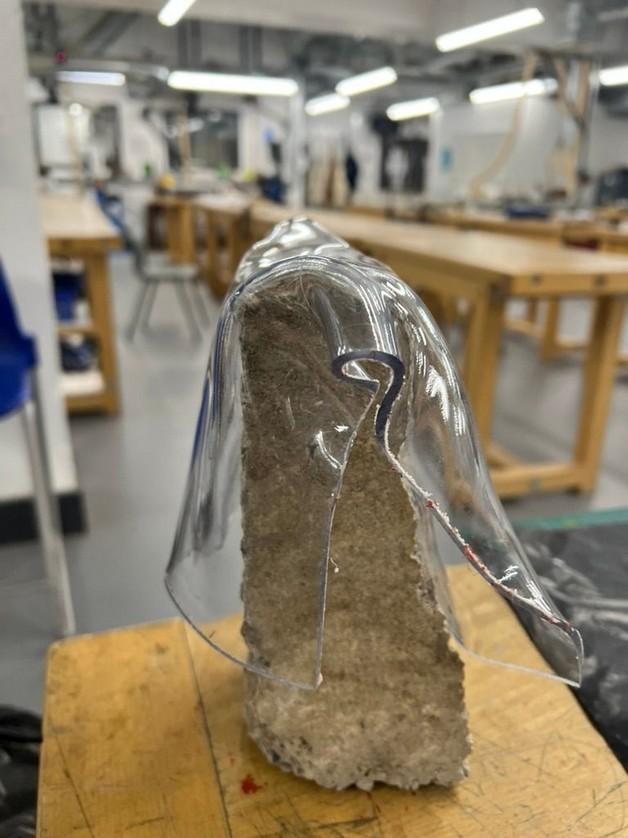
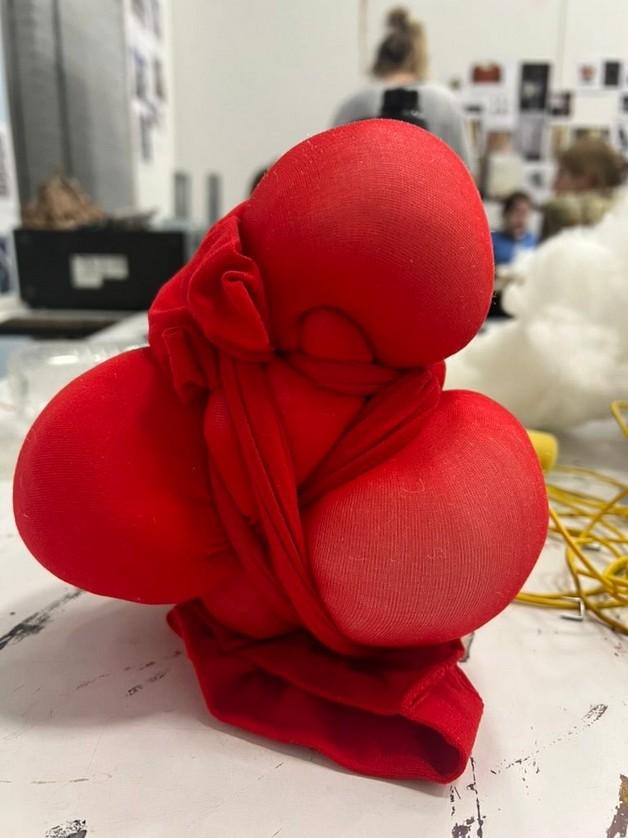
Re-Make / Re-Model: Initial experimentation
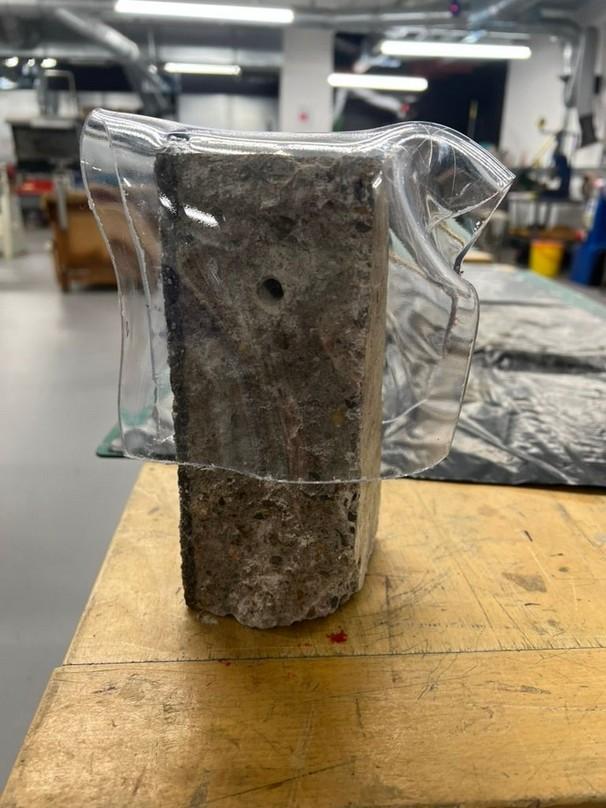
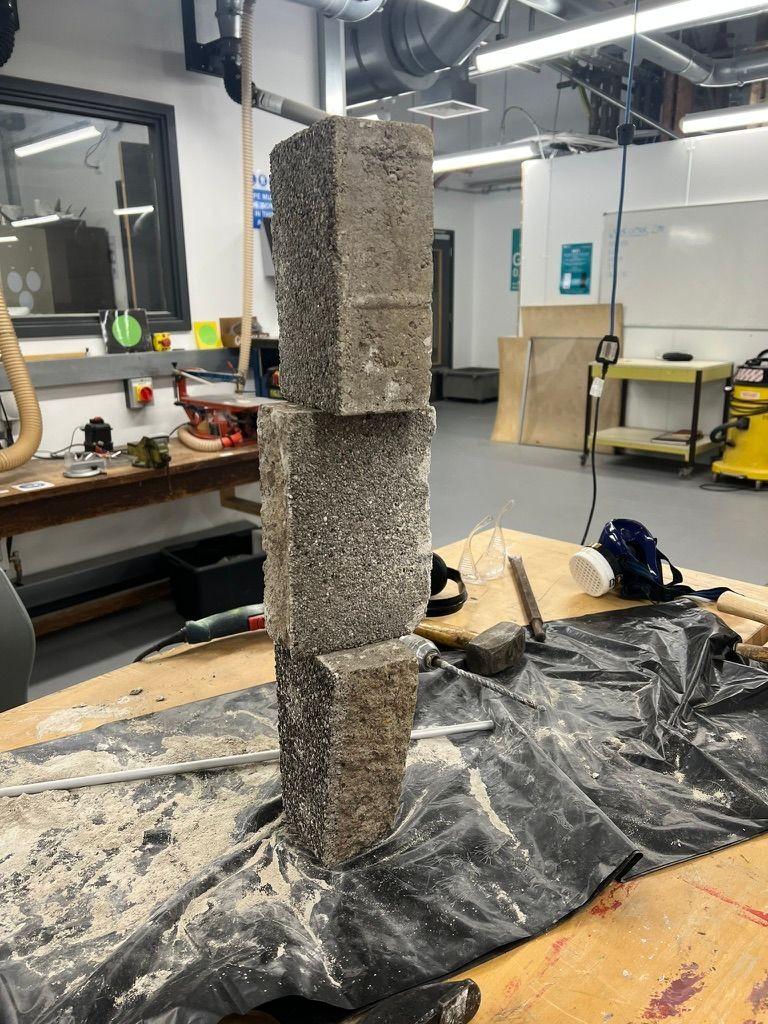
In this project brief we were tasked with re making an object into something completely different, I chose a product approach. Here I decided to experiment with primarily found materials, attempting to manipulate them to the best of my ability and from this experimentation I decided to explore the concrete brick further
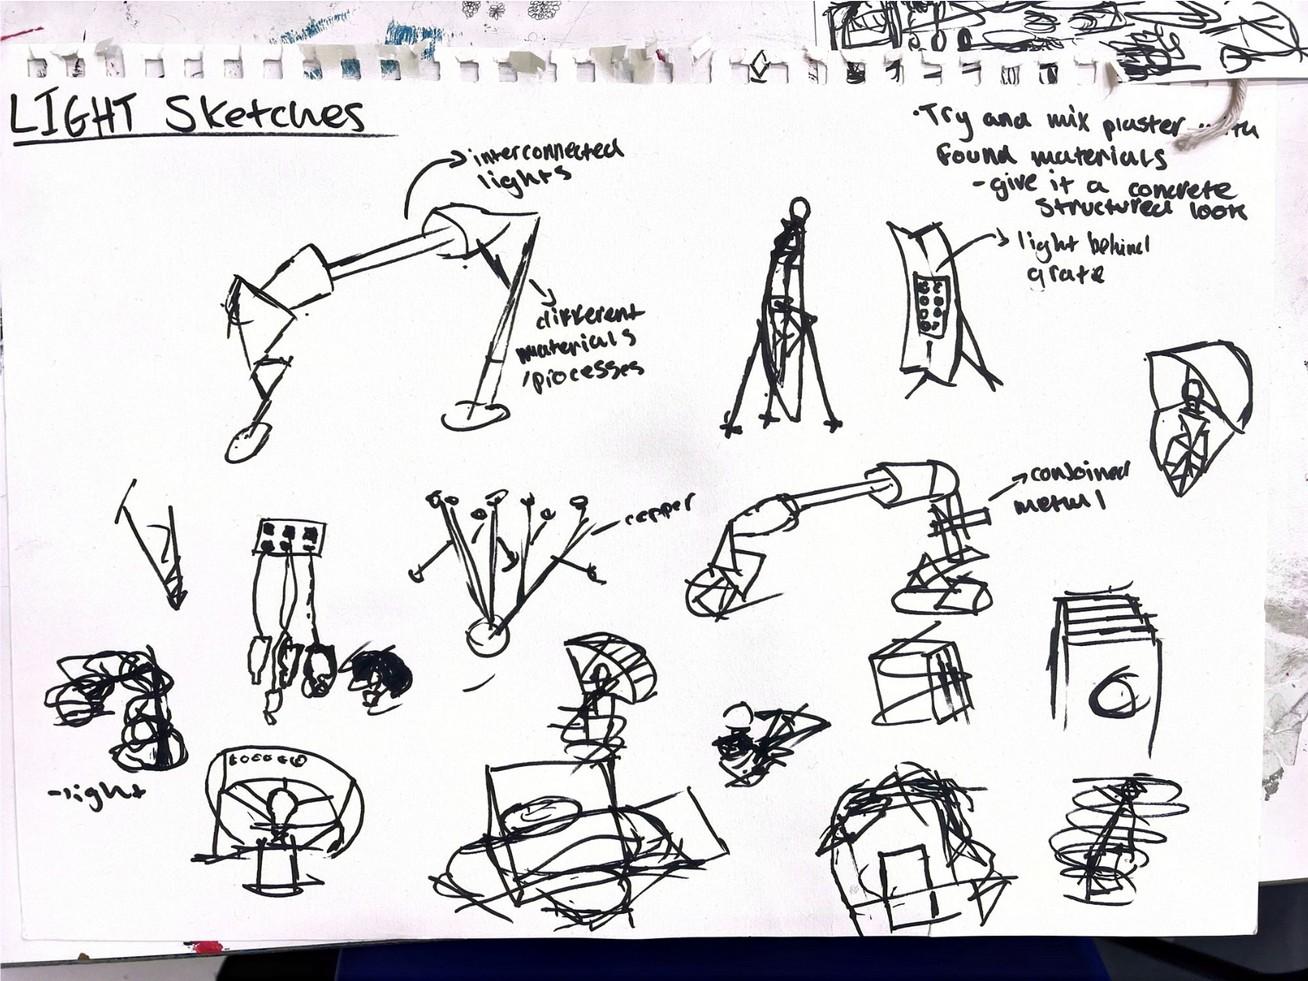
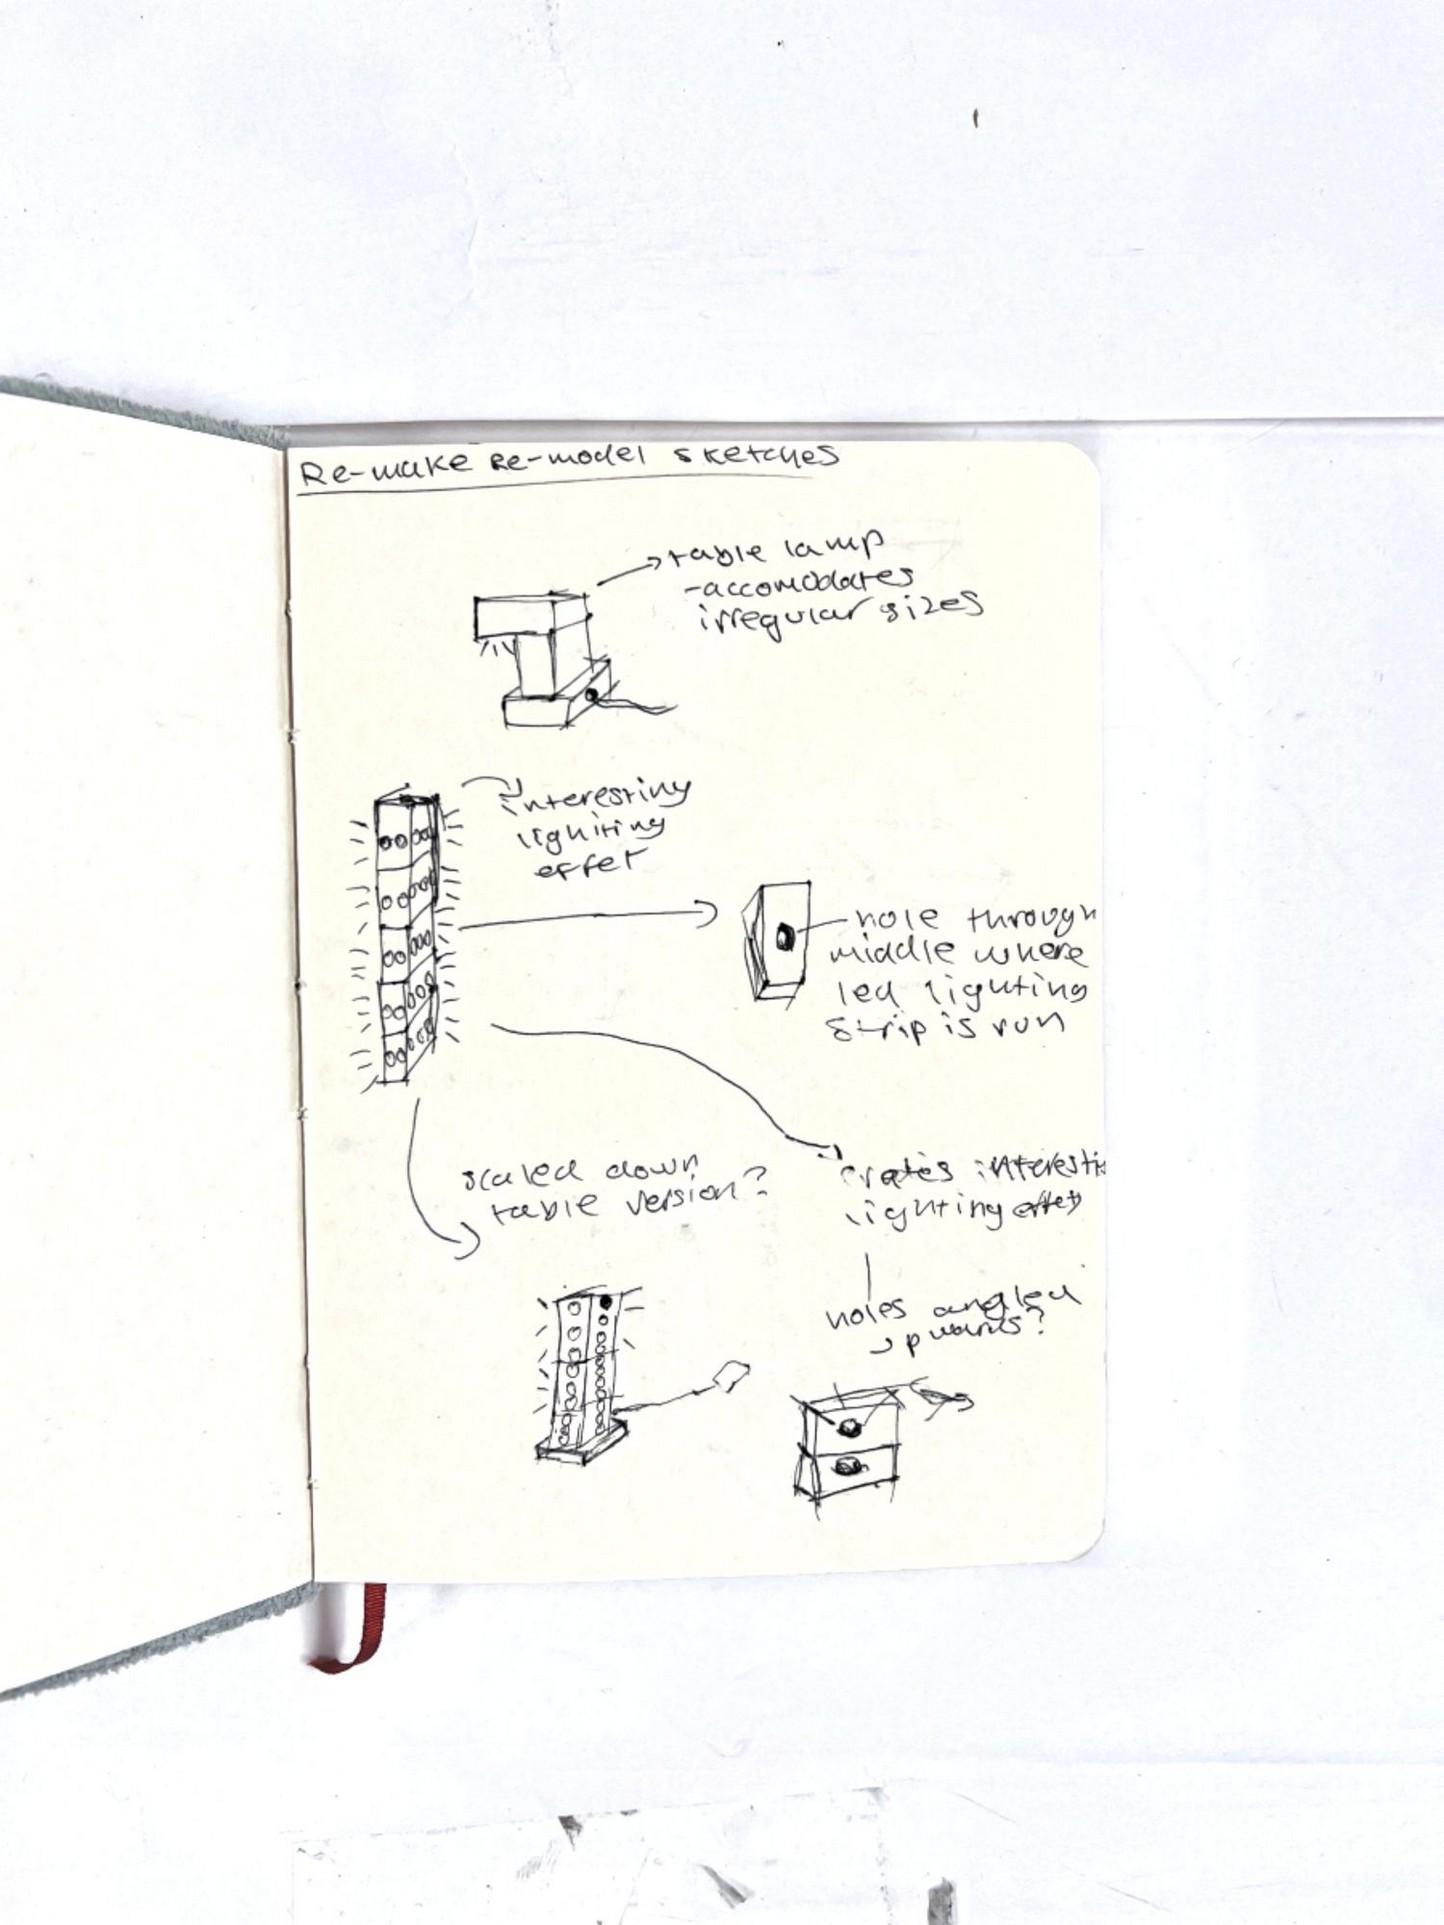
/ Re-Model: Lamp Sketches
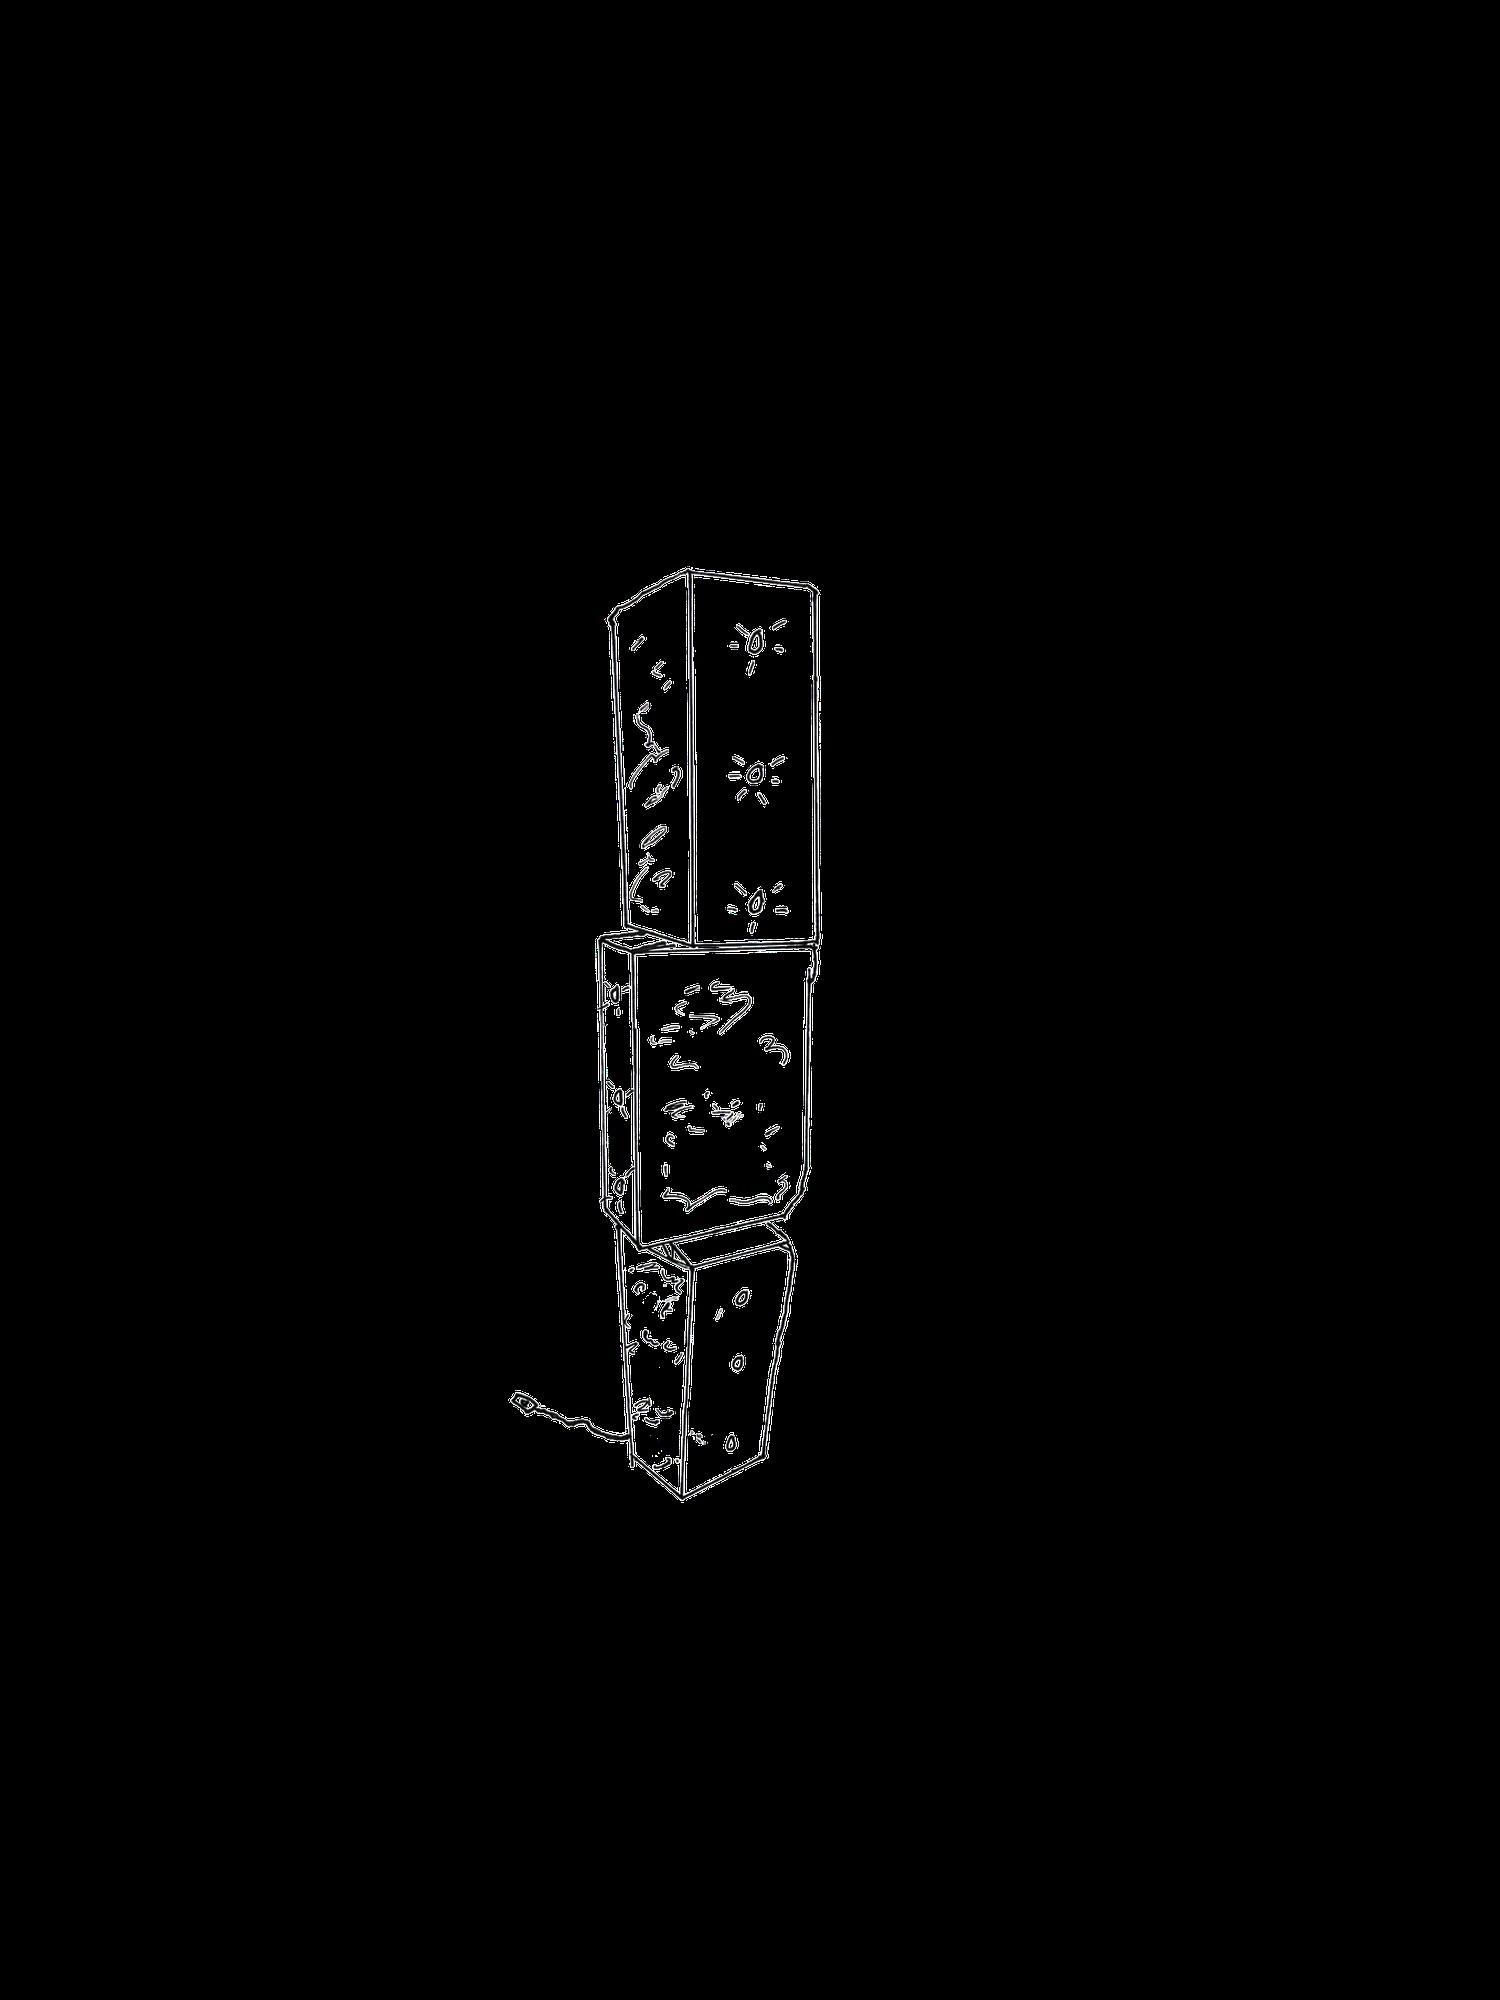
I wanted to explore lighting, these are my sketches and notes on the process, ending up embracing the rigidness of the concrete forms and looking in to making a free-standing concrete lamp
Re-Make / Re-Model: Creation of lamp
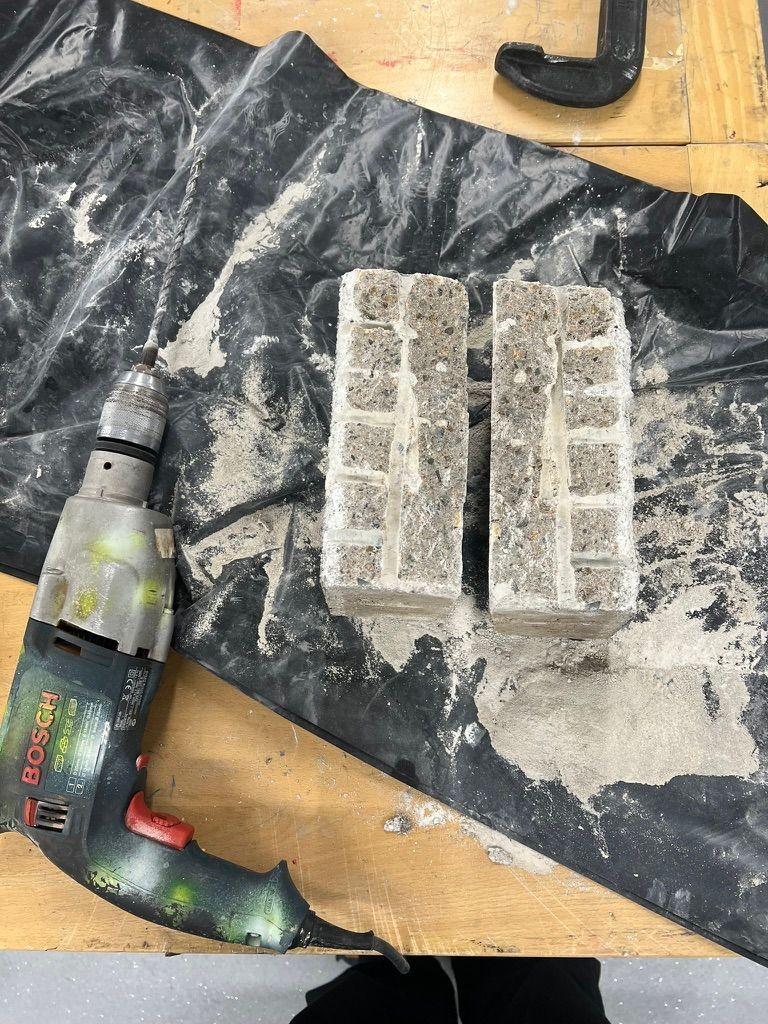
Splitting blocks in half
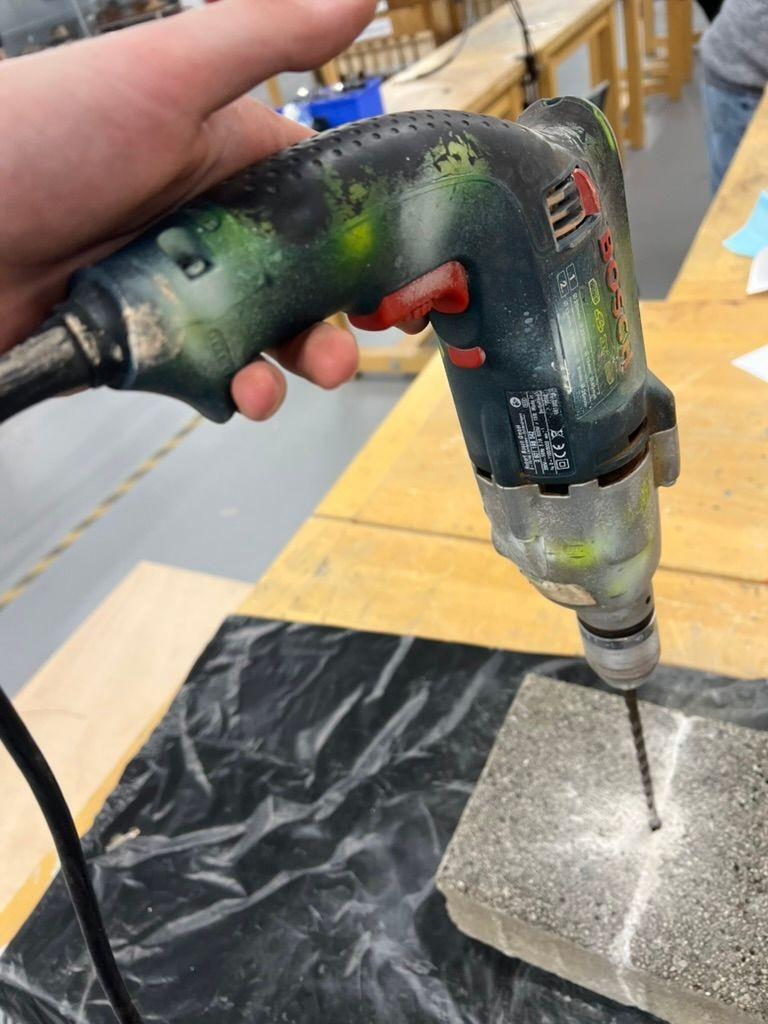
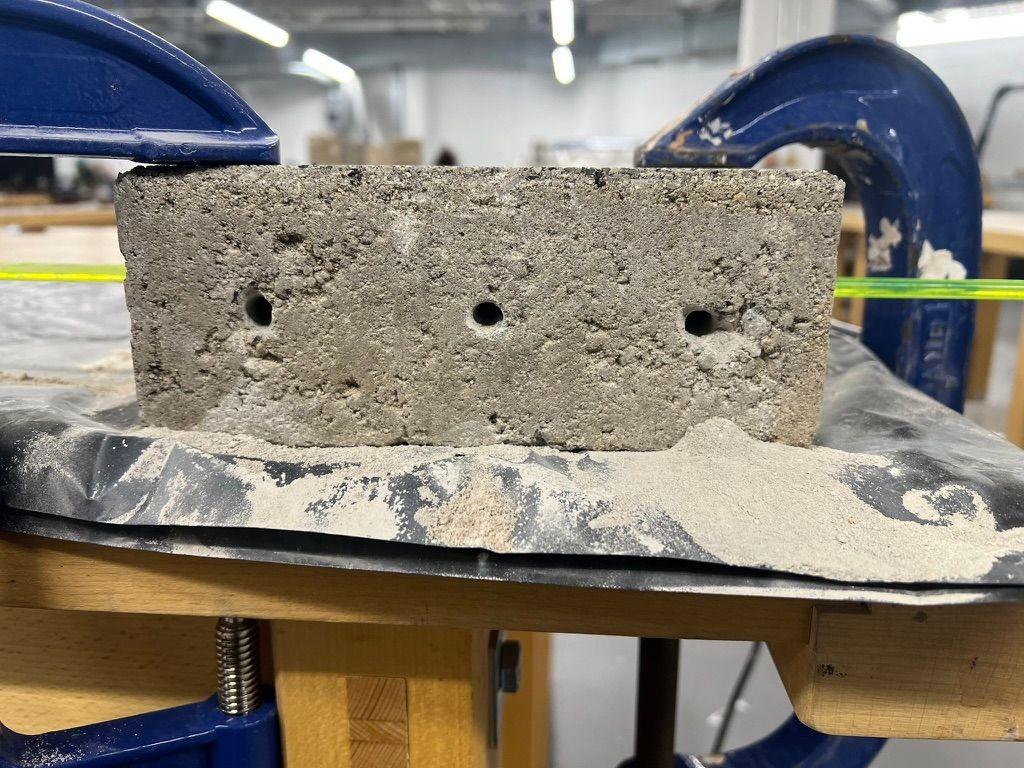
Drilling through lengthways and widthways on the block
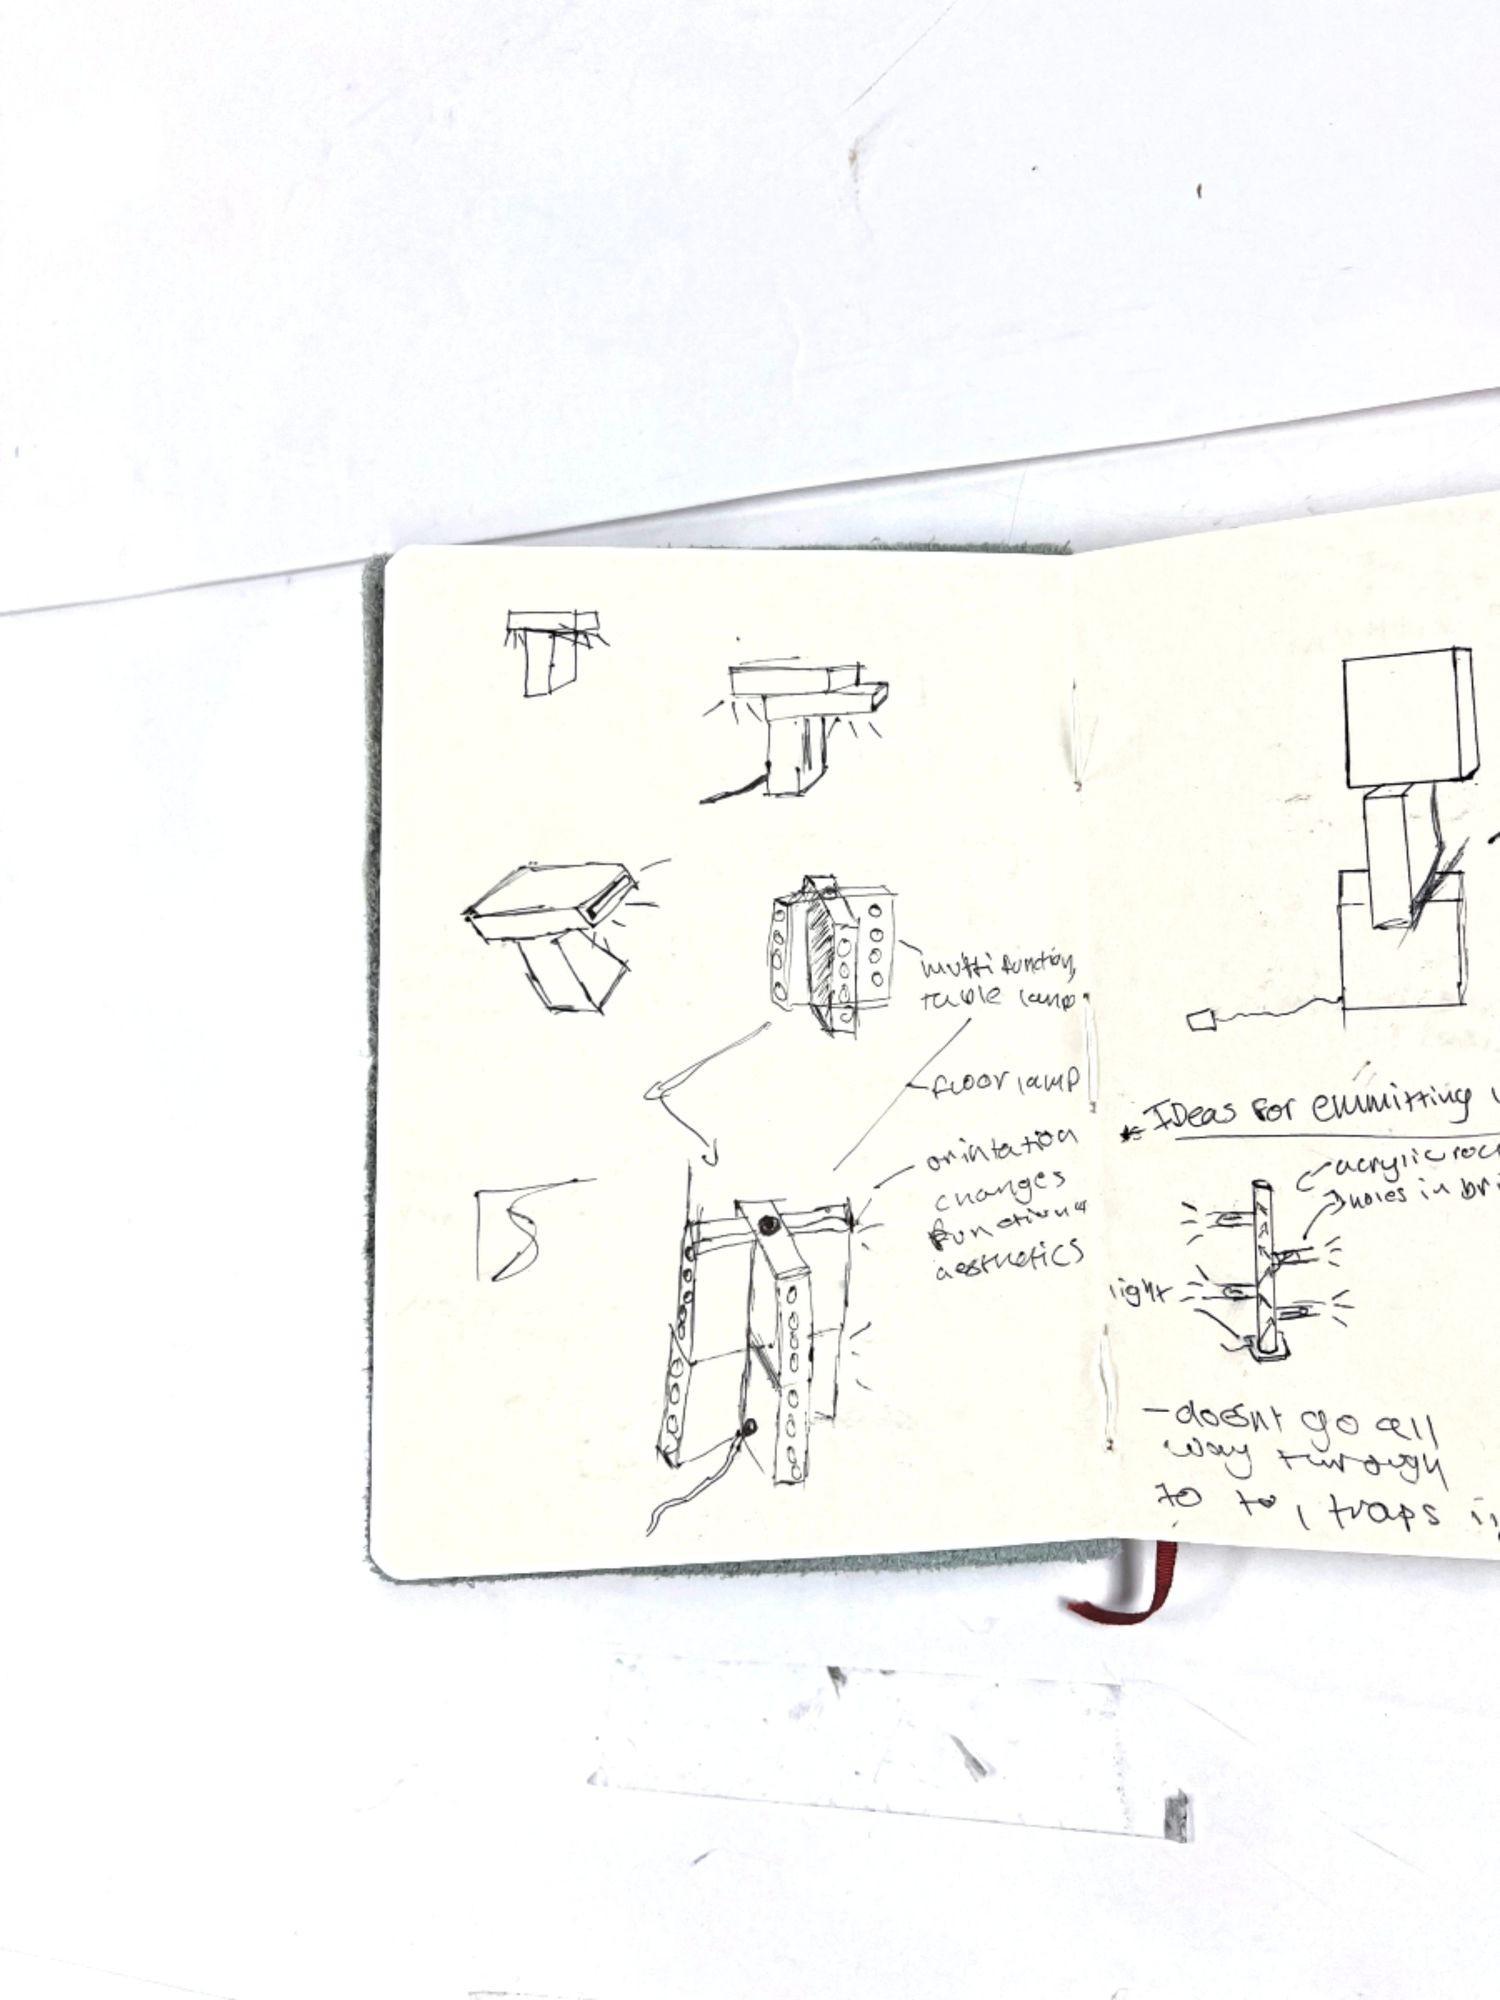
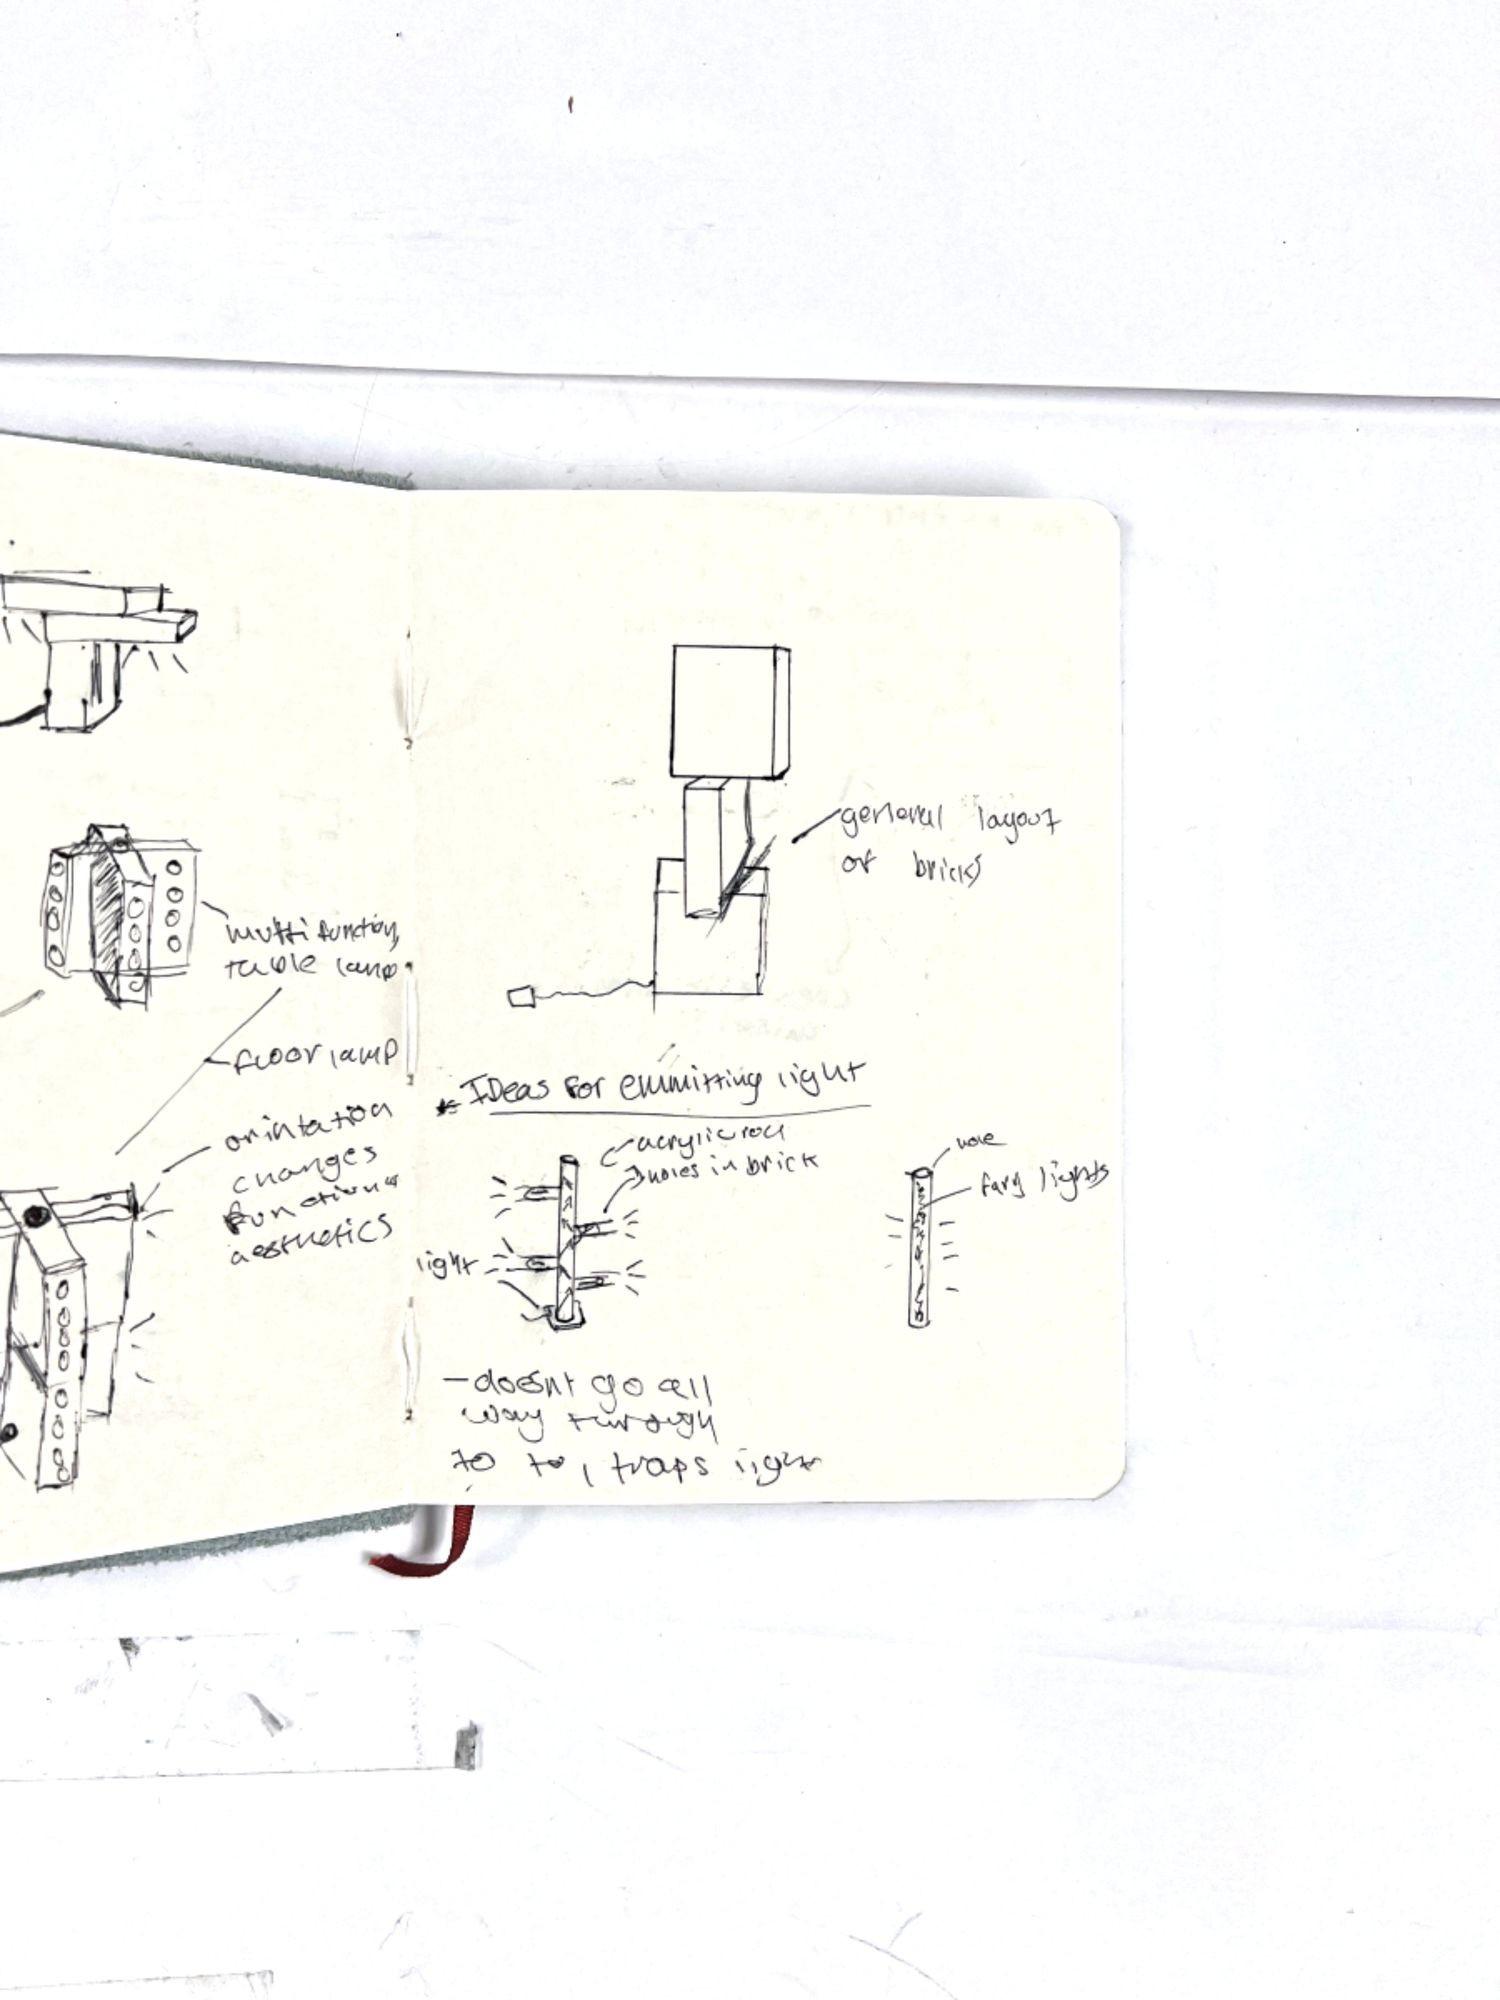
I couldn't finish this project due to time constraints and difficulty working with concrete blocks. These are my sketches which visualize what the project outcome should have looked
Hollowed out middle Acrylic Rod
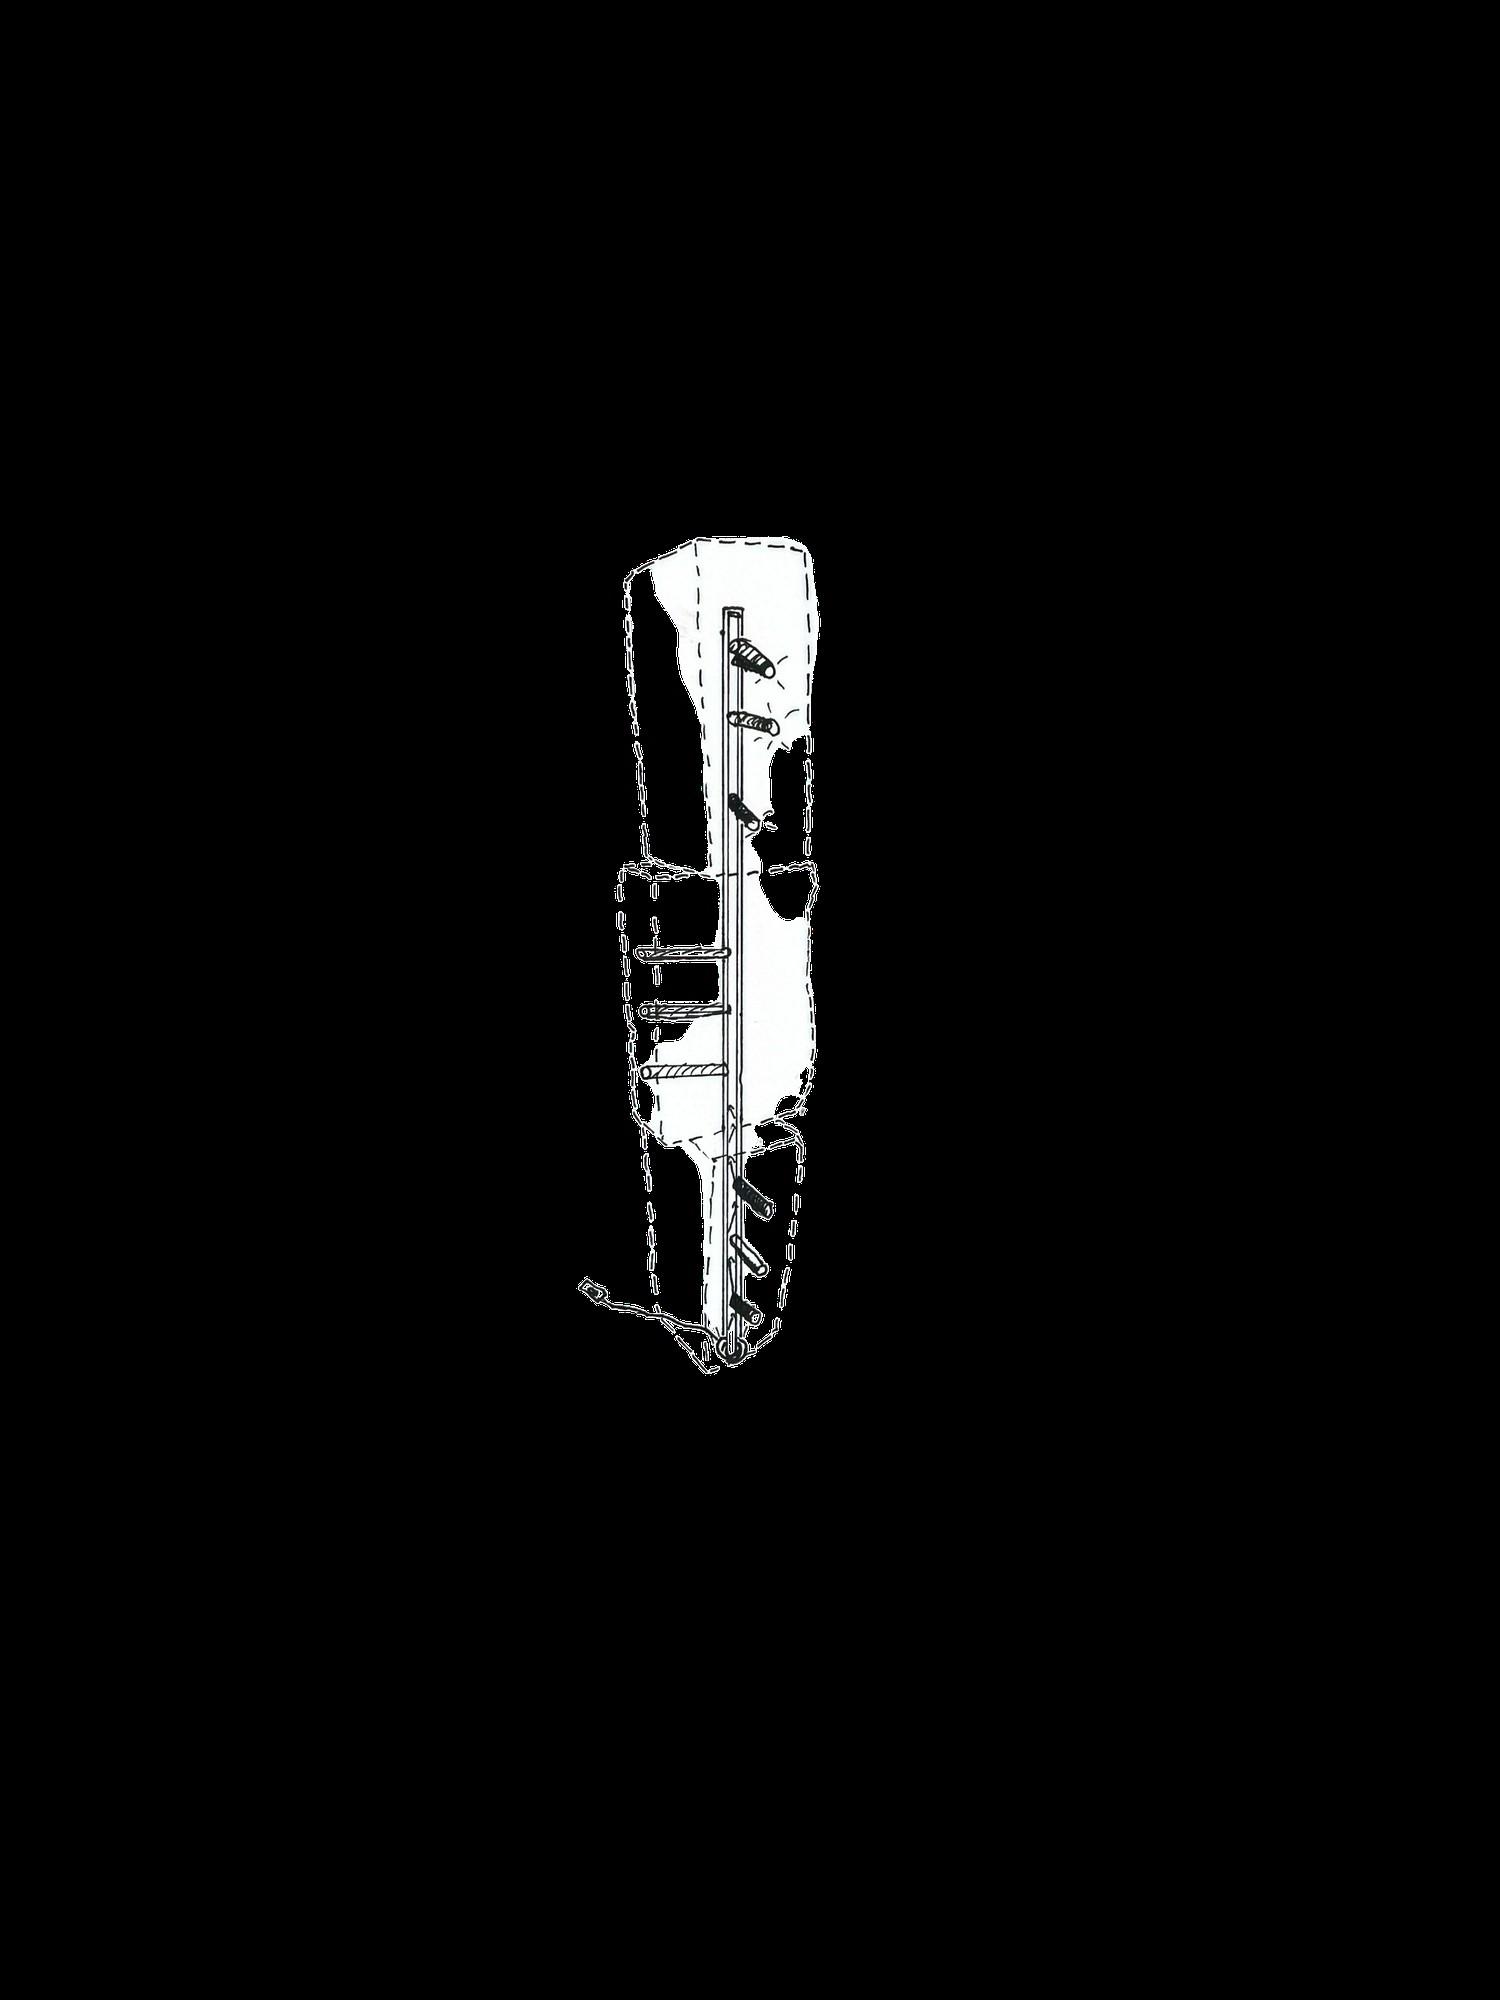
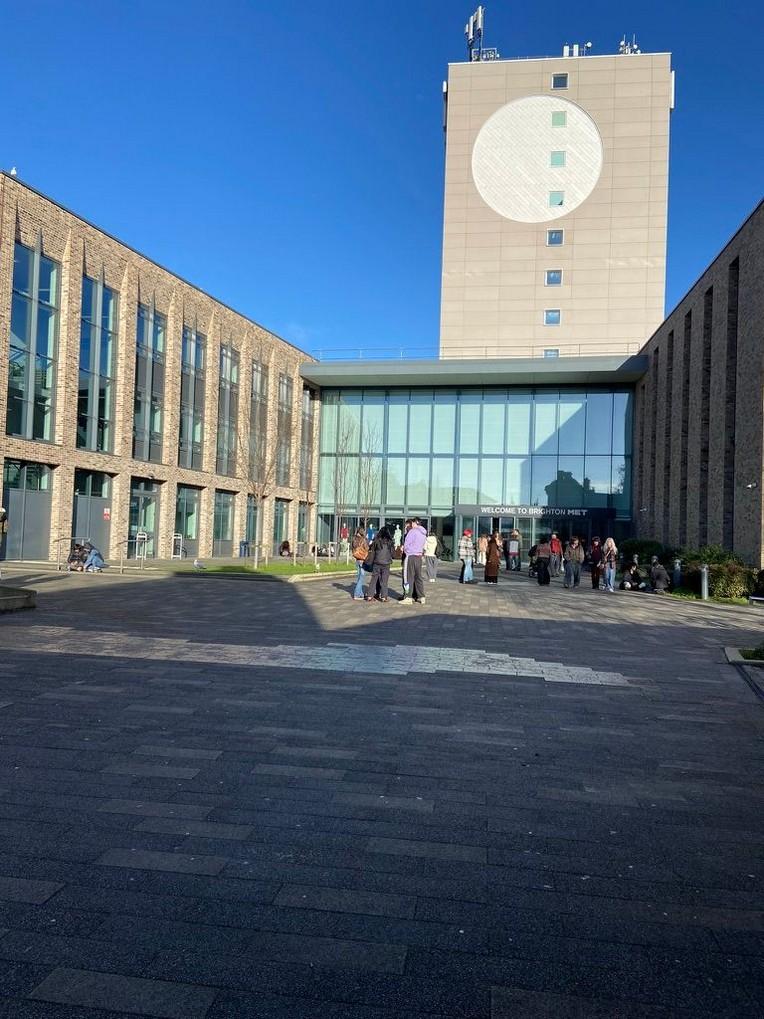
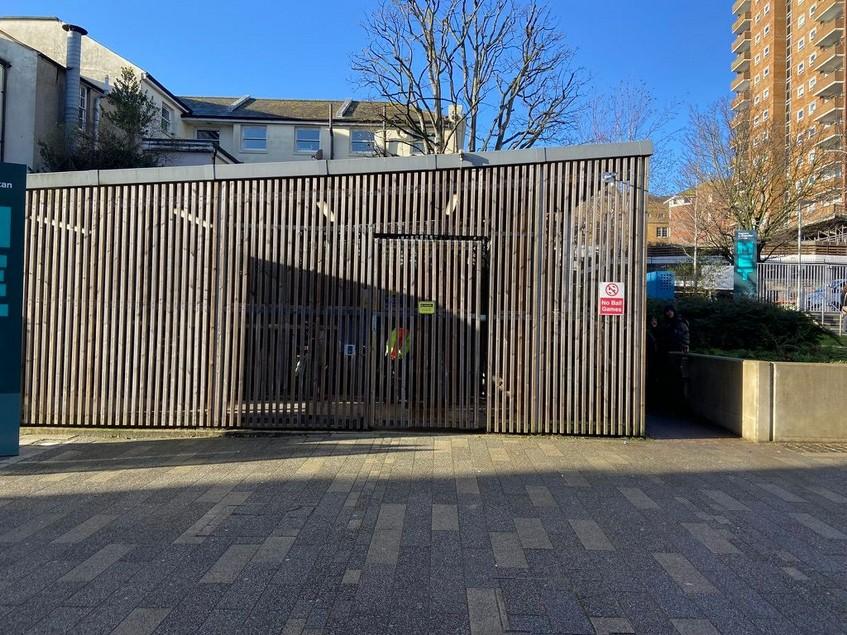
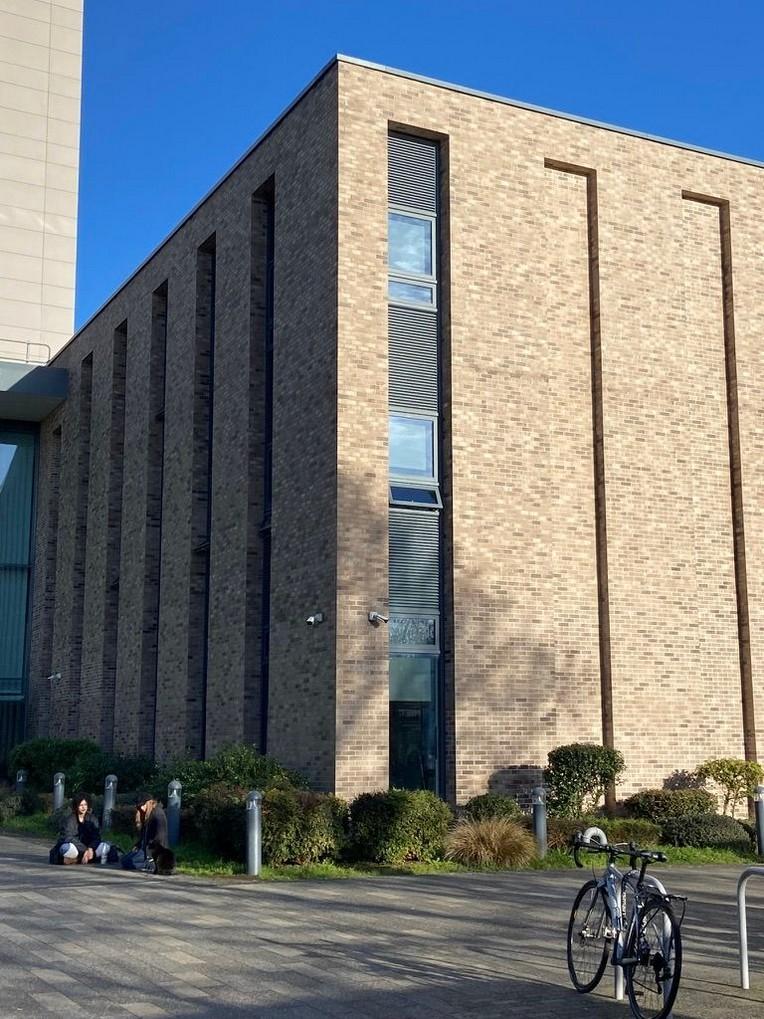
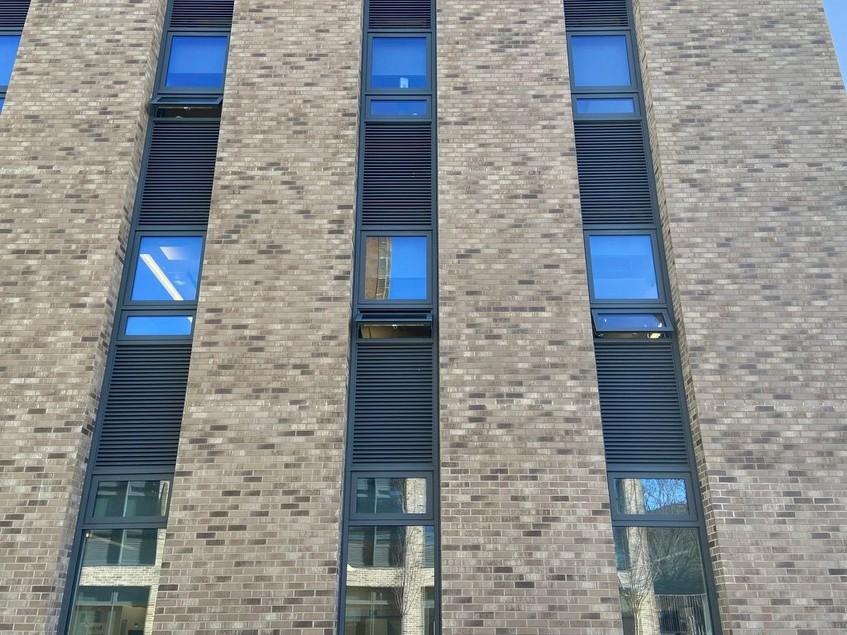
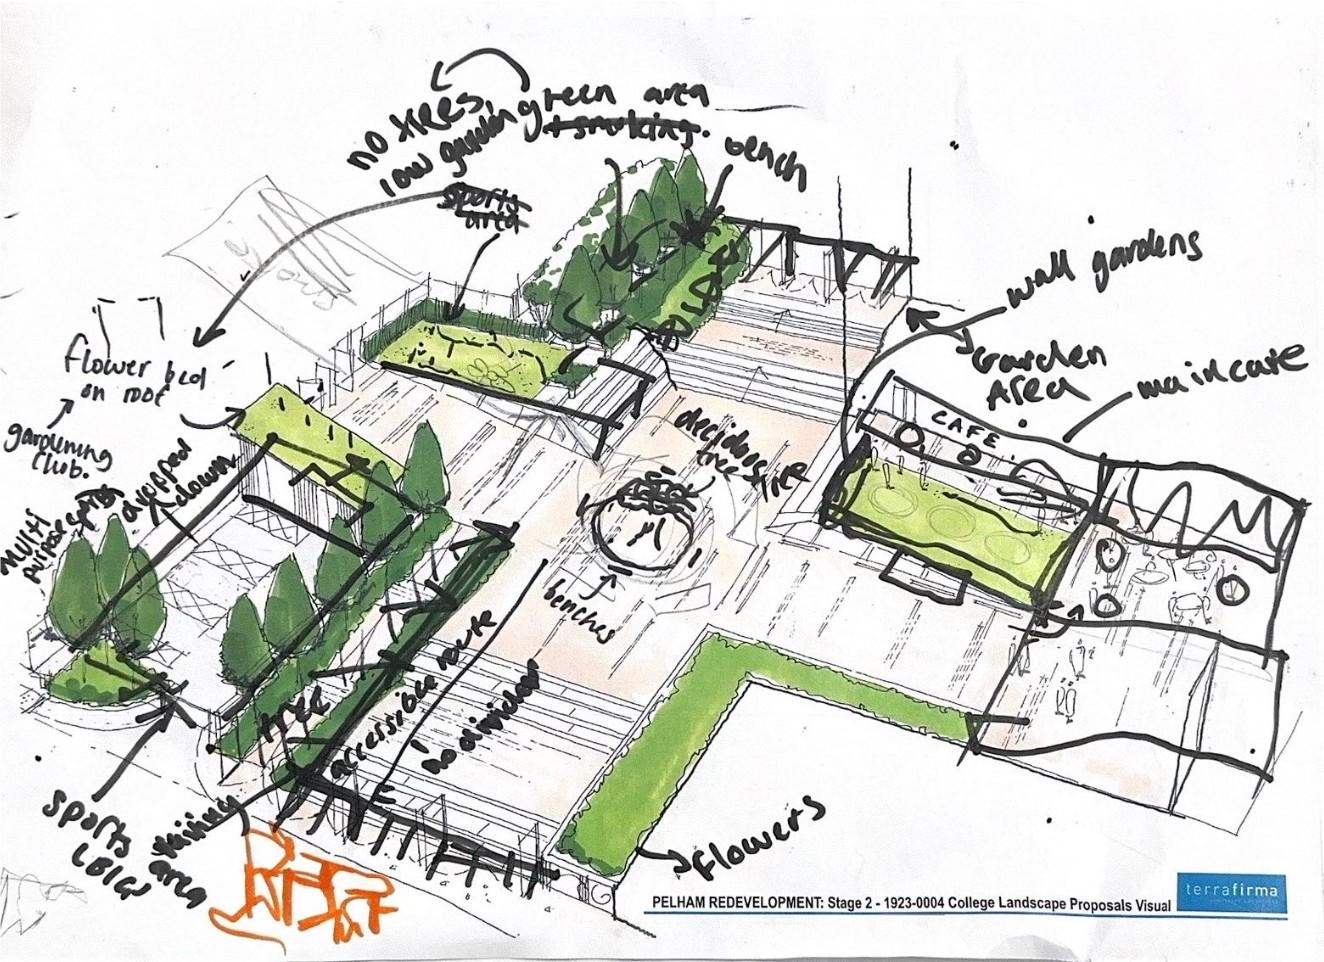
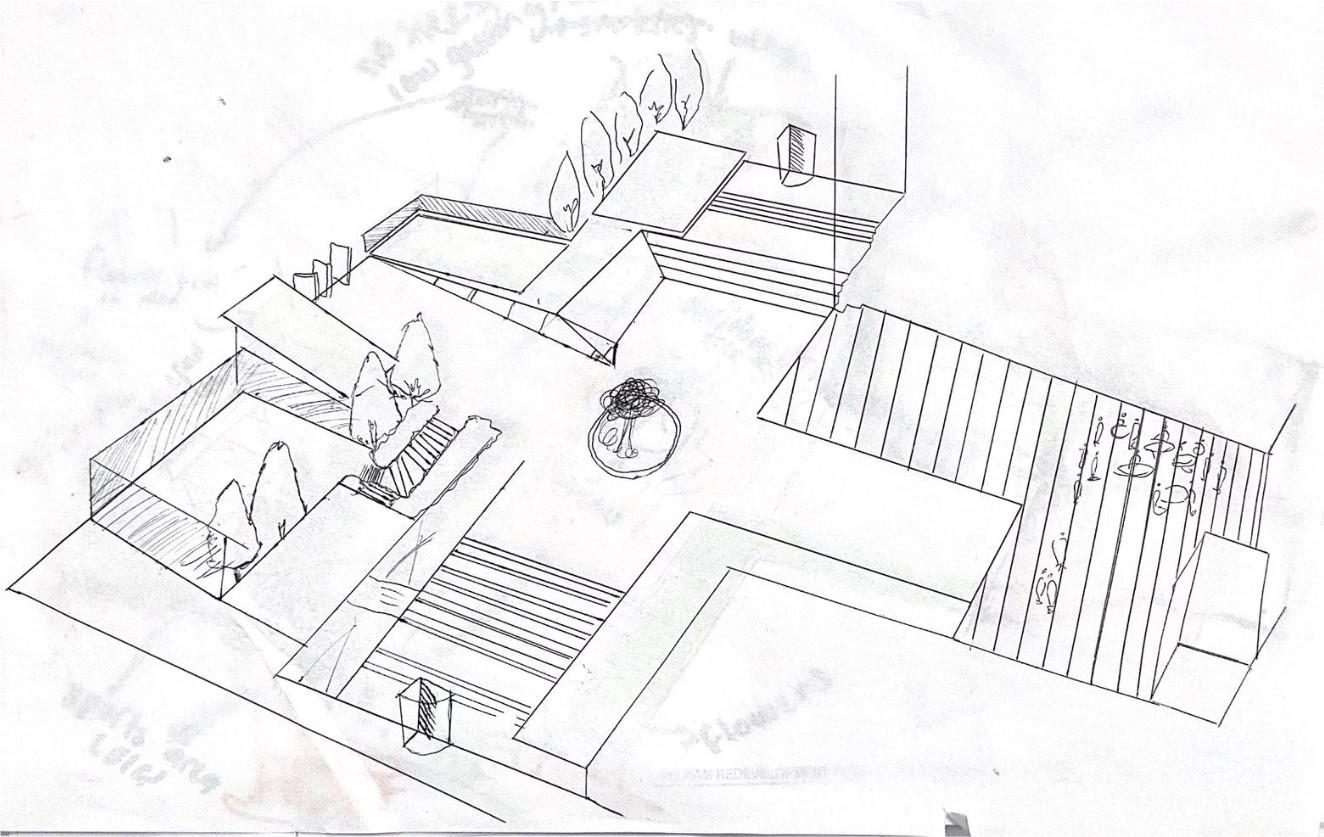
Plaza Re-Design: Mini Project
In this mini project, we had landscape artists come in and task us with re-designing the newly built college plaza as students who have lived and experienced the design firsthand
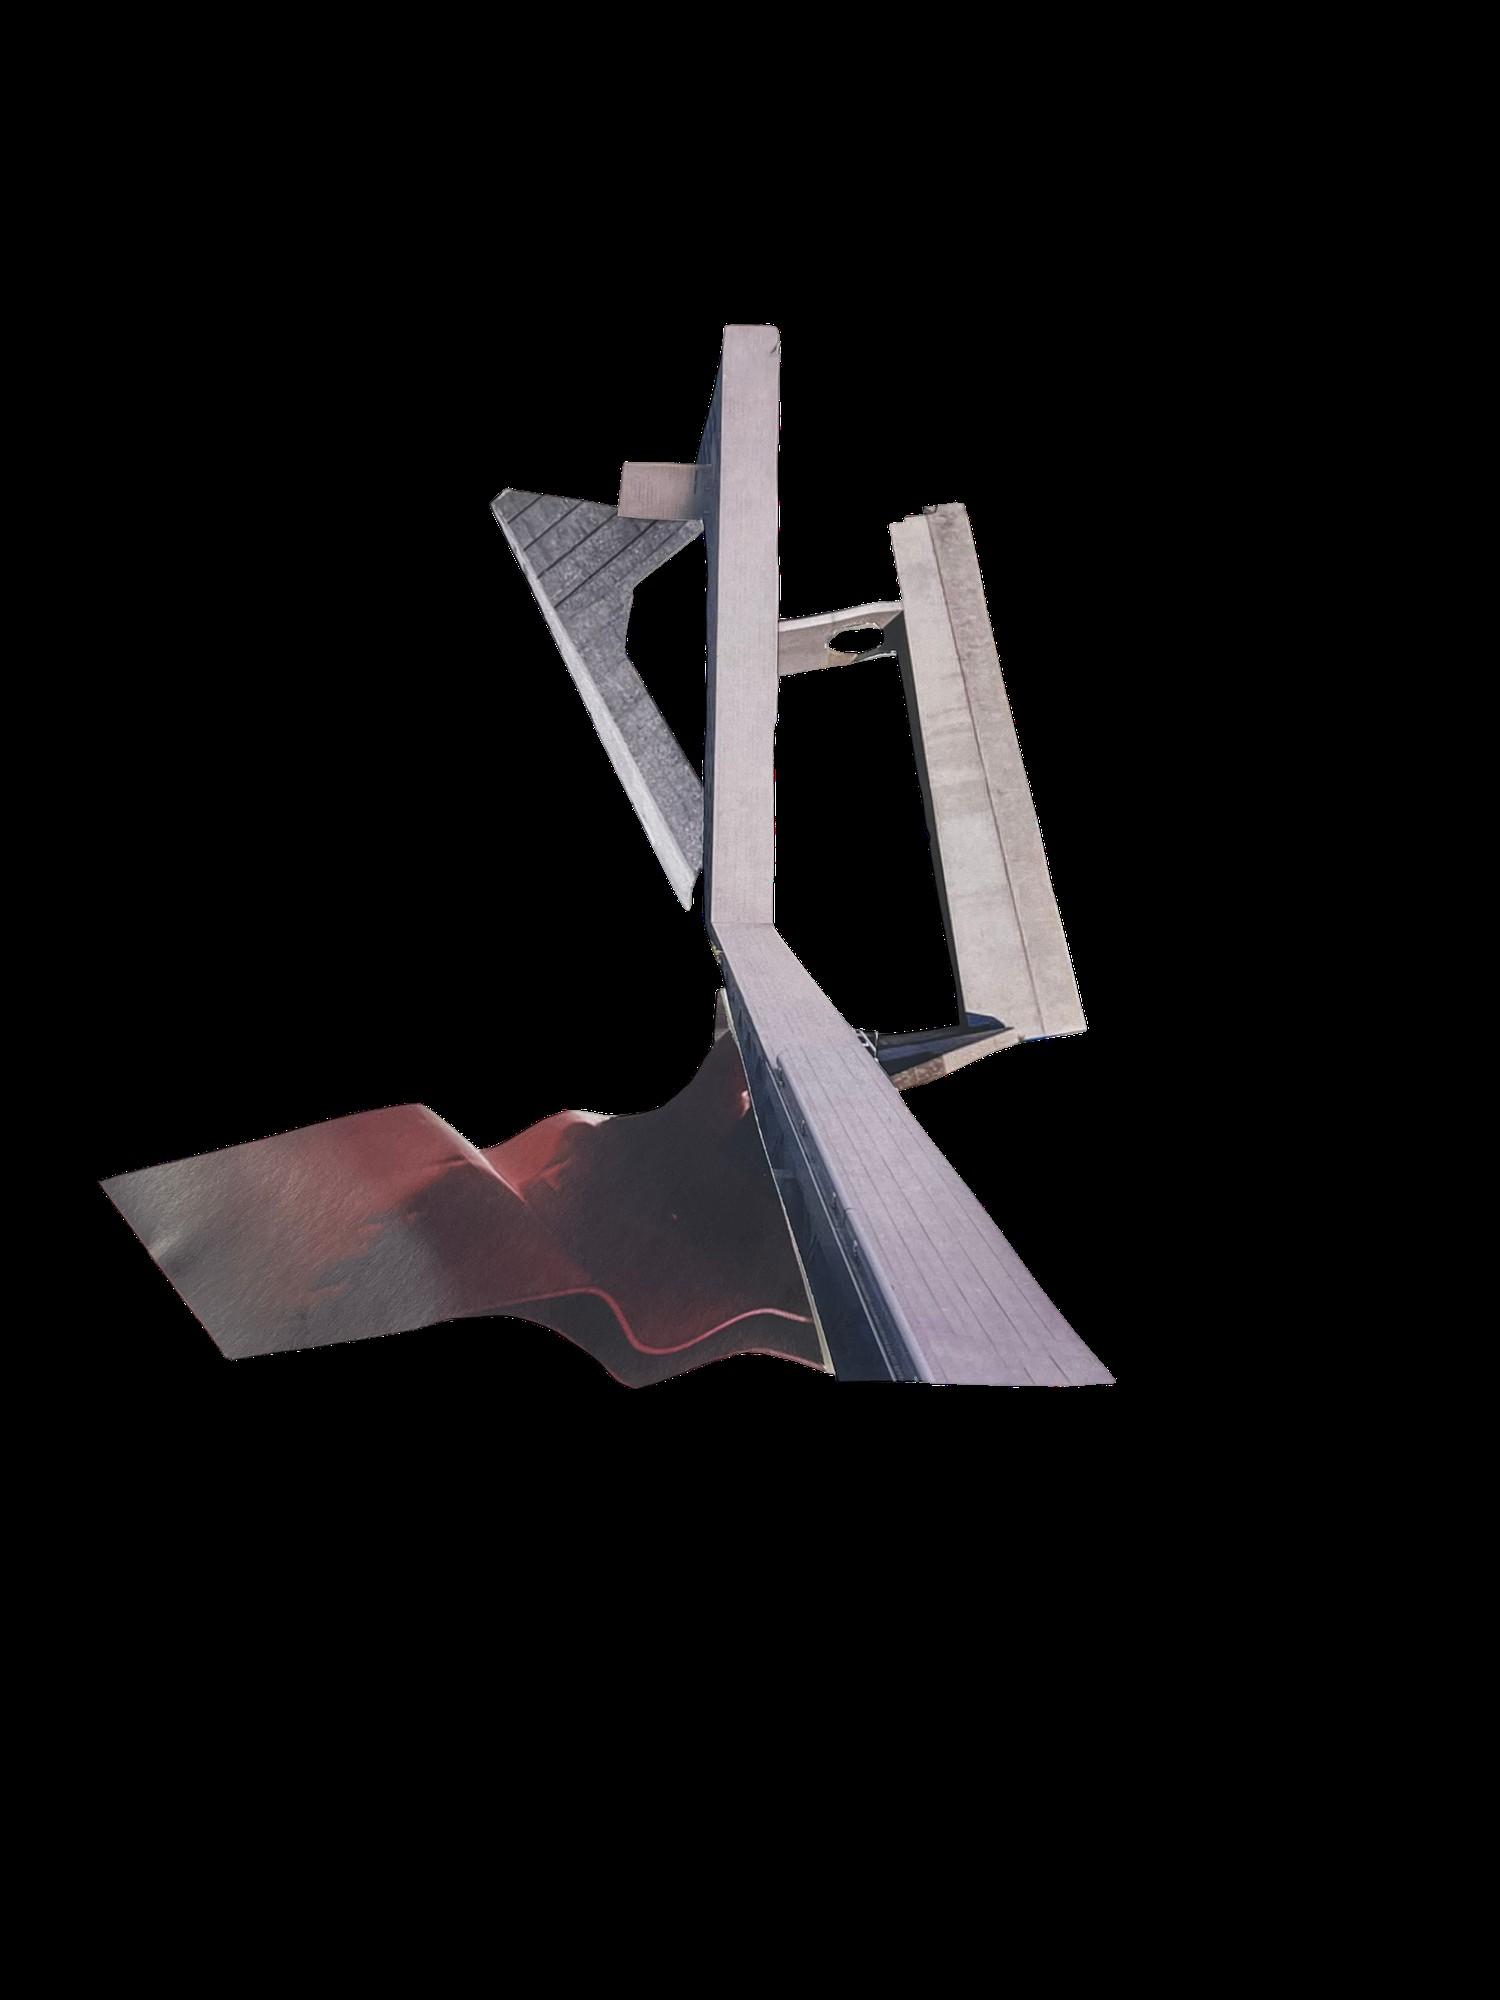
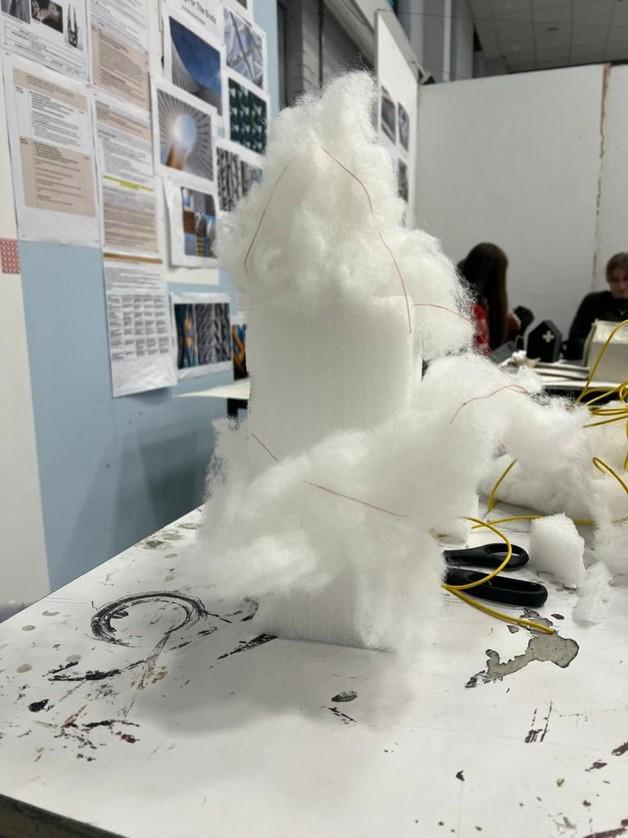
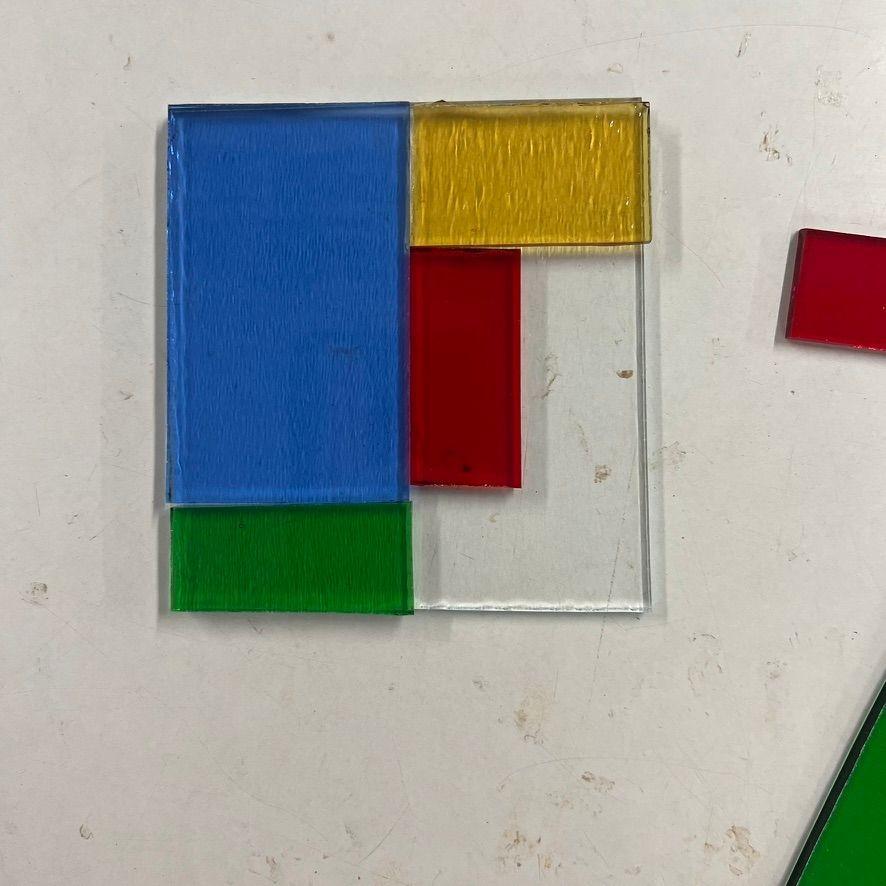
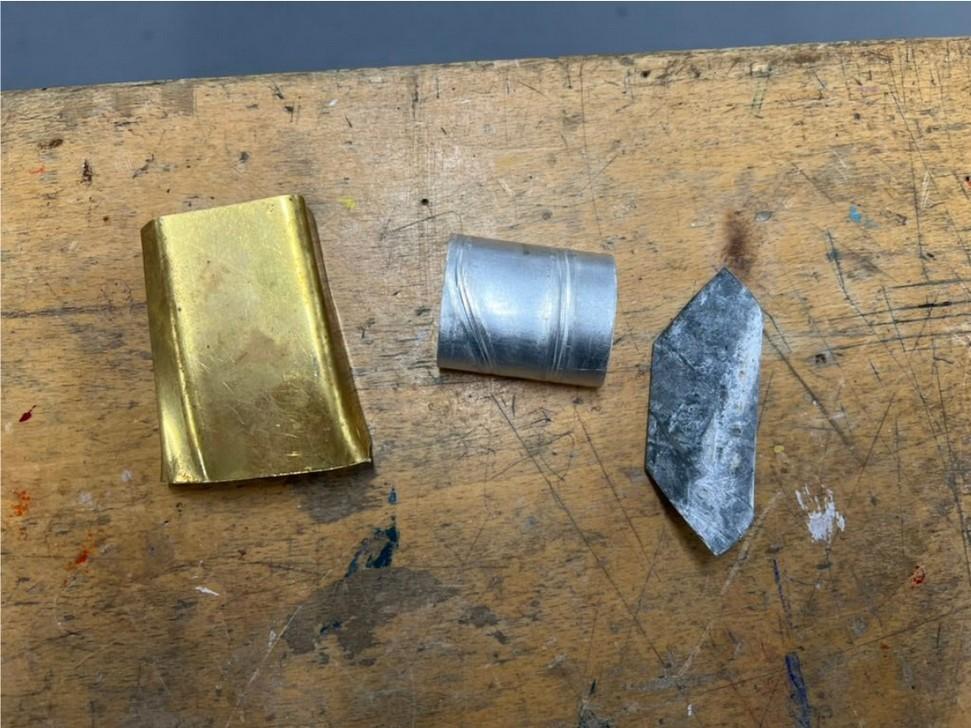
Building for the body: Initial experimentation
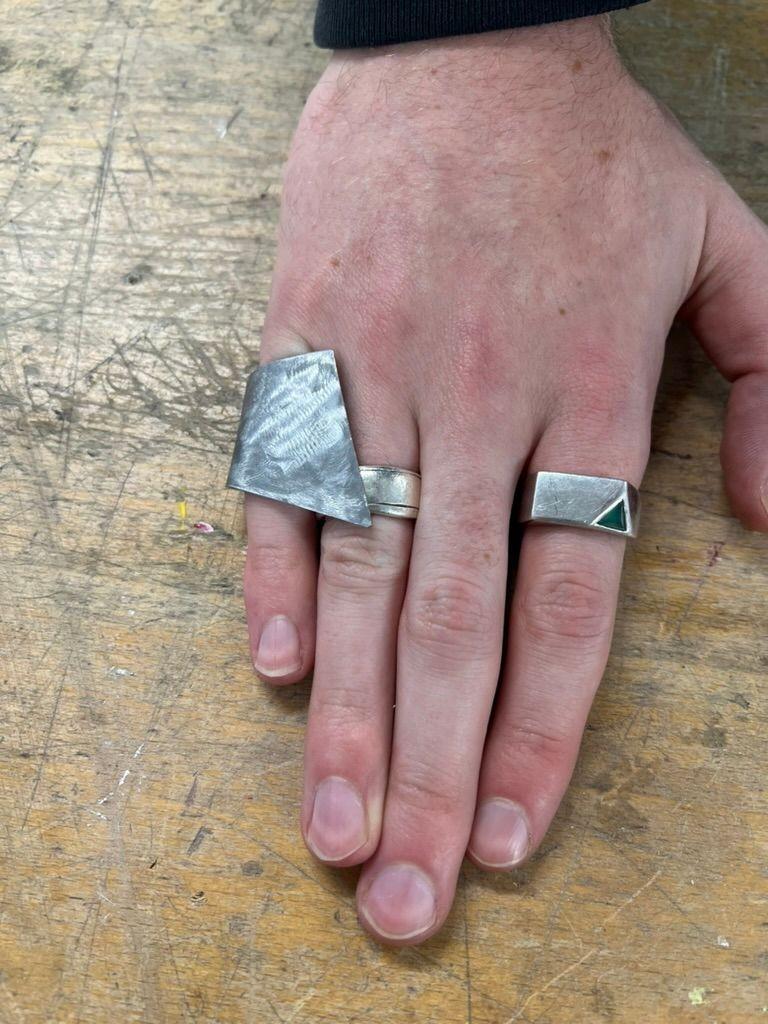
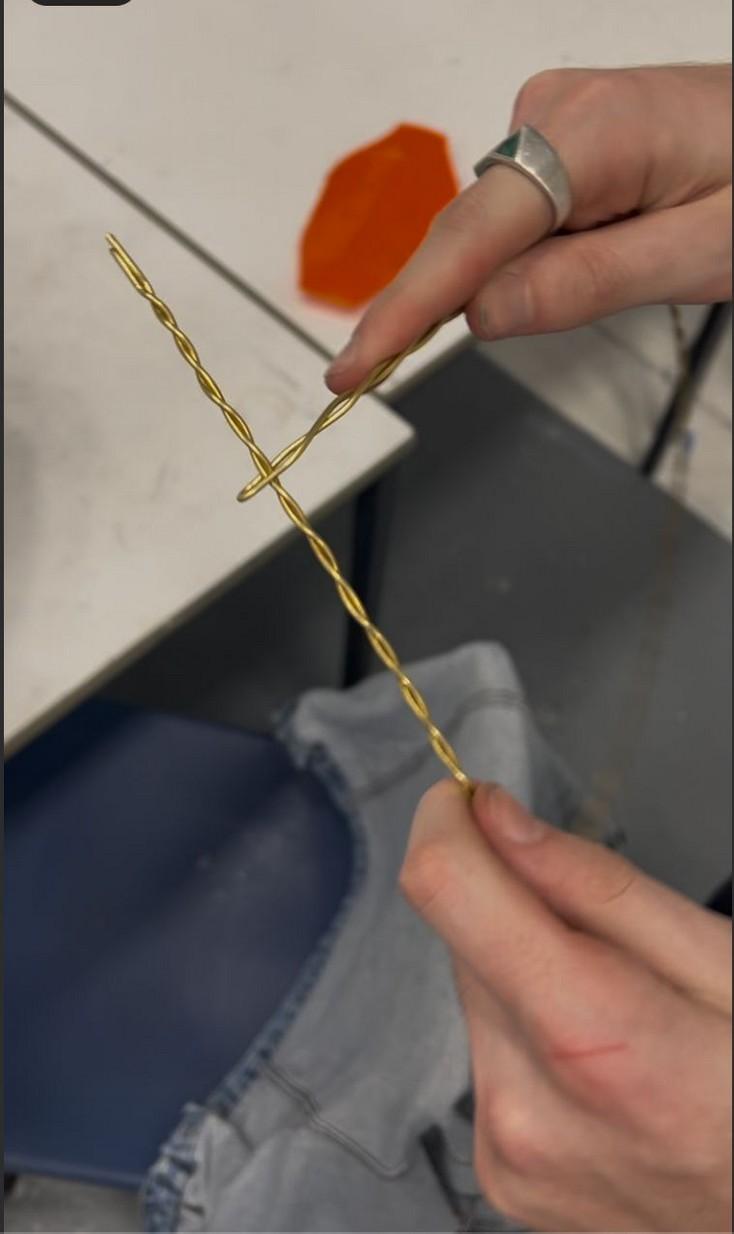
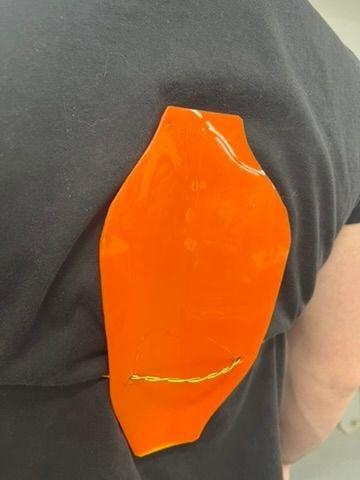
This project brief tasked us to create jewelry inspired by architectural forms. I explored the mediums of glass, inspired by the De Stijl movement, and metal with sharp clean lines to replicate modern architecture through
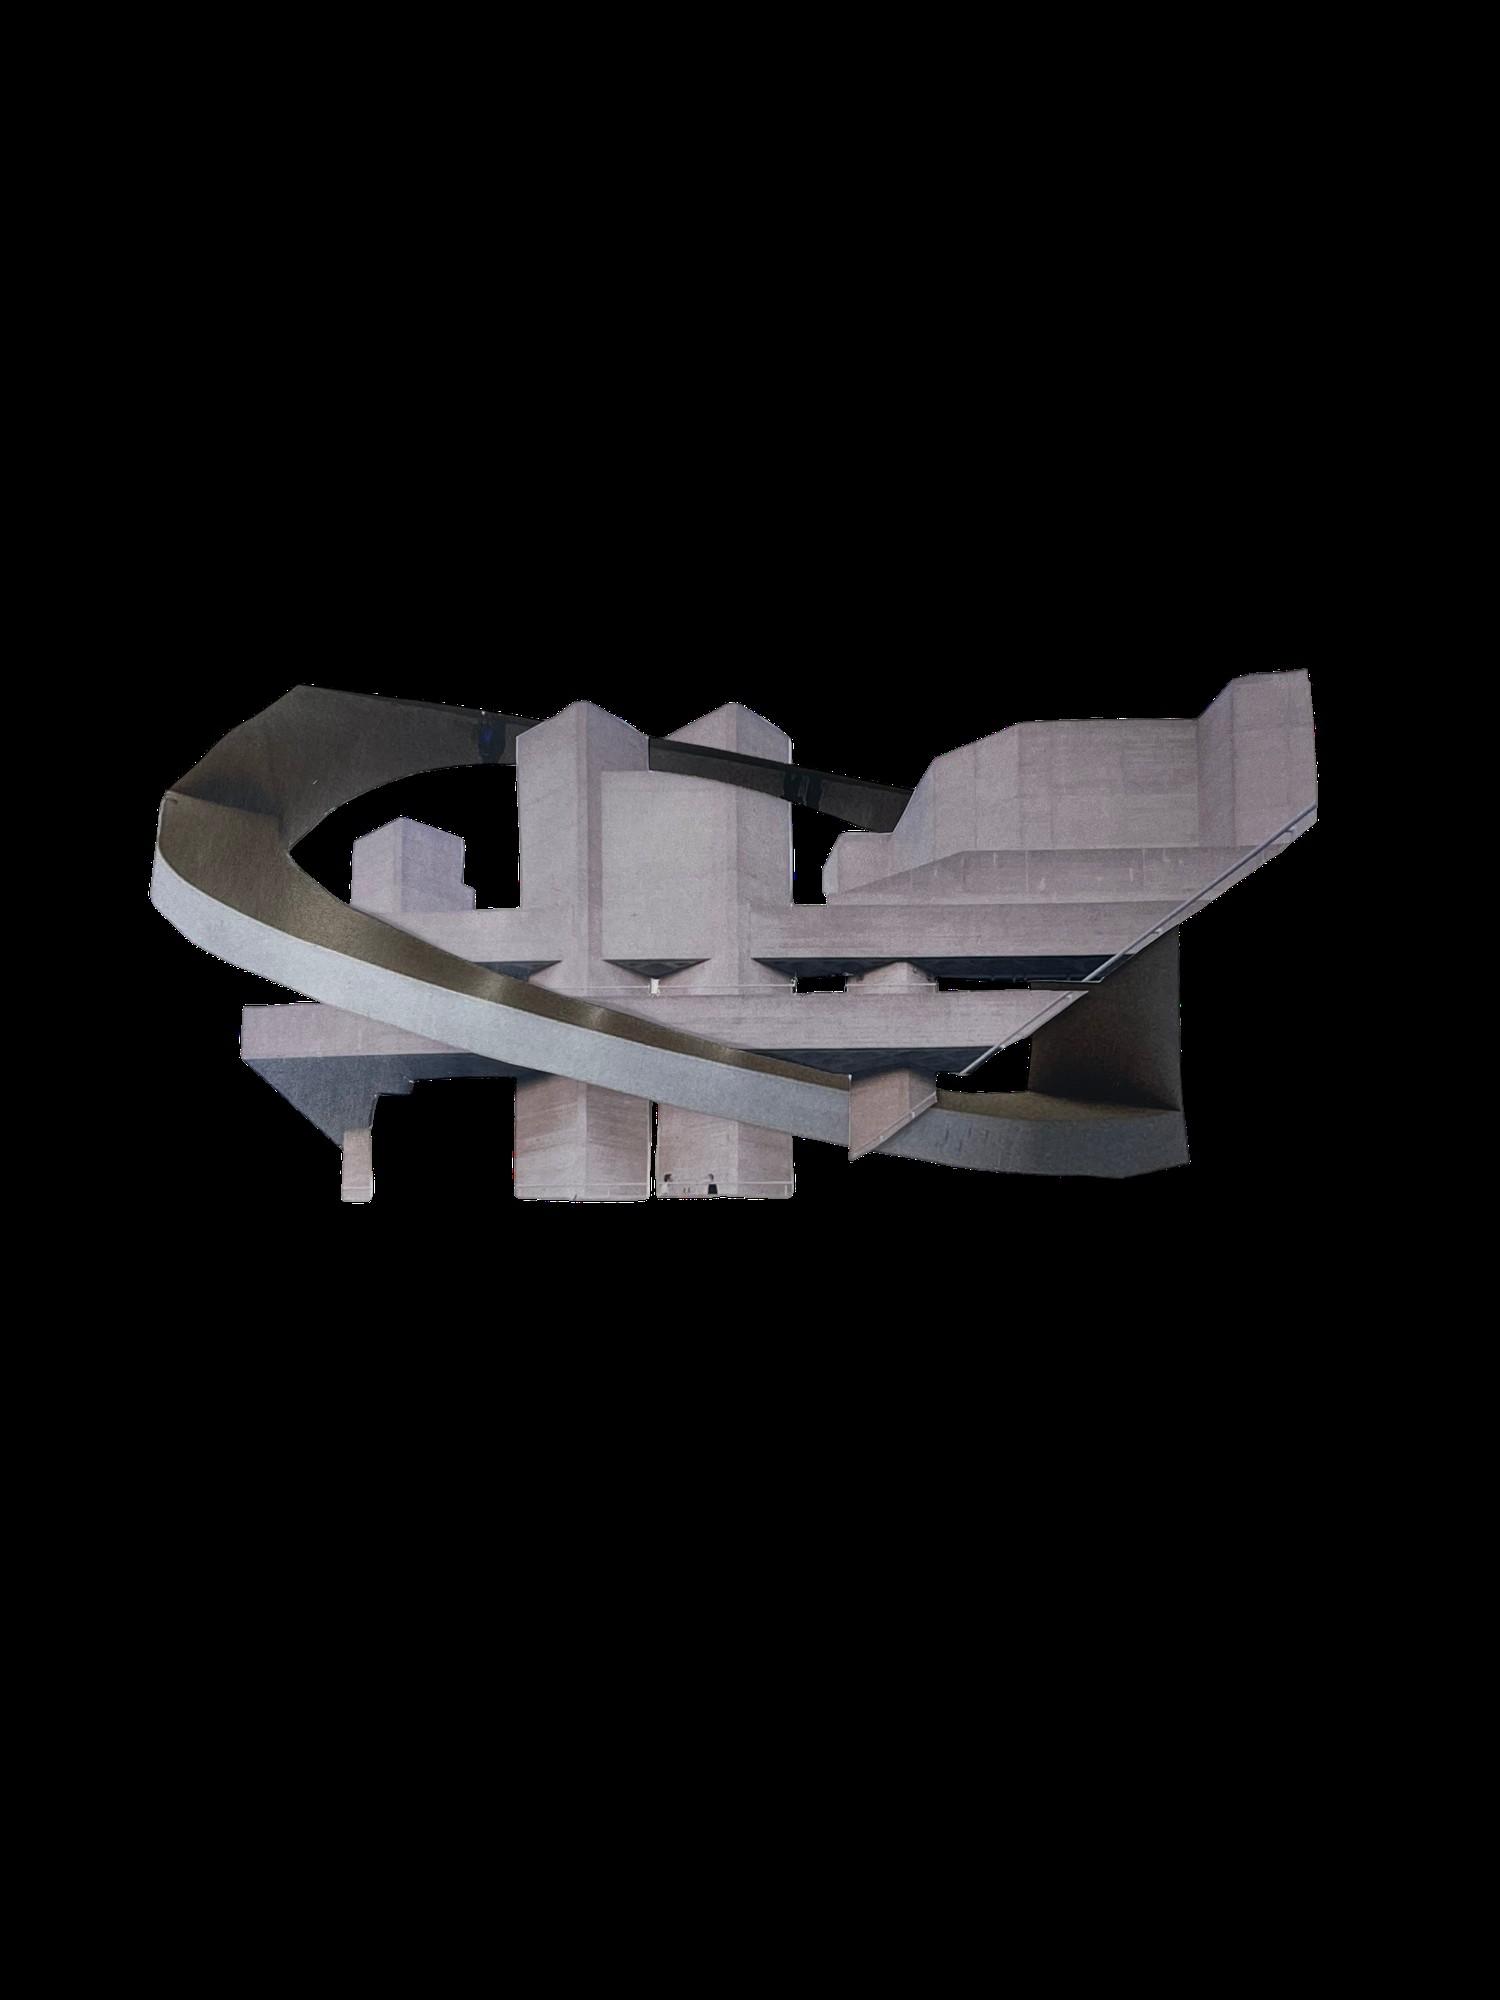
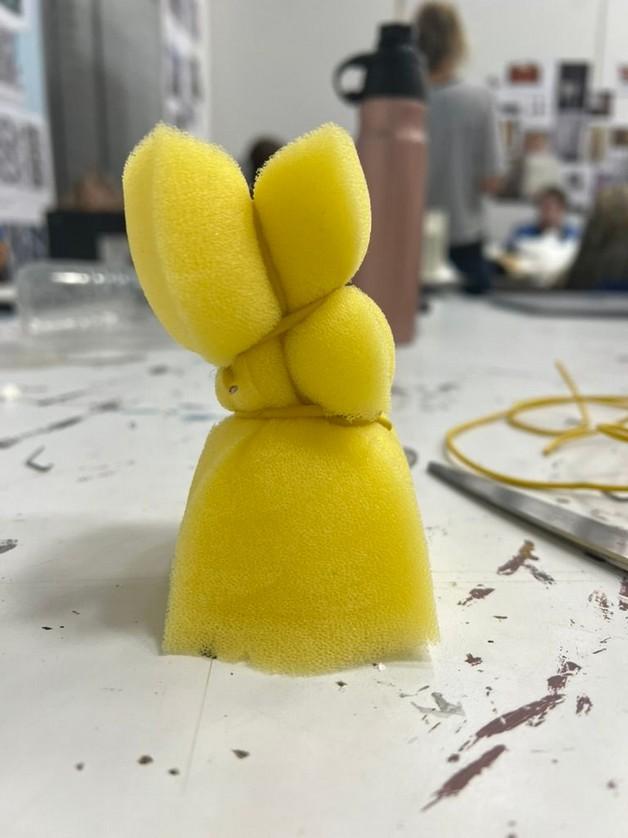
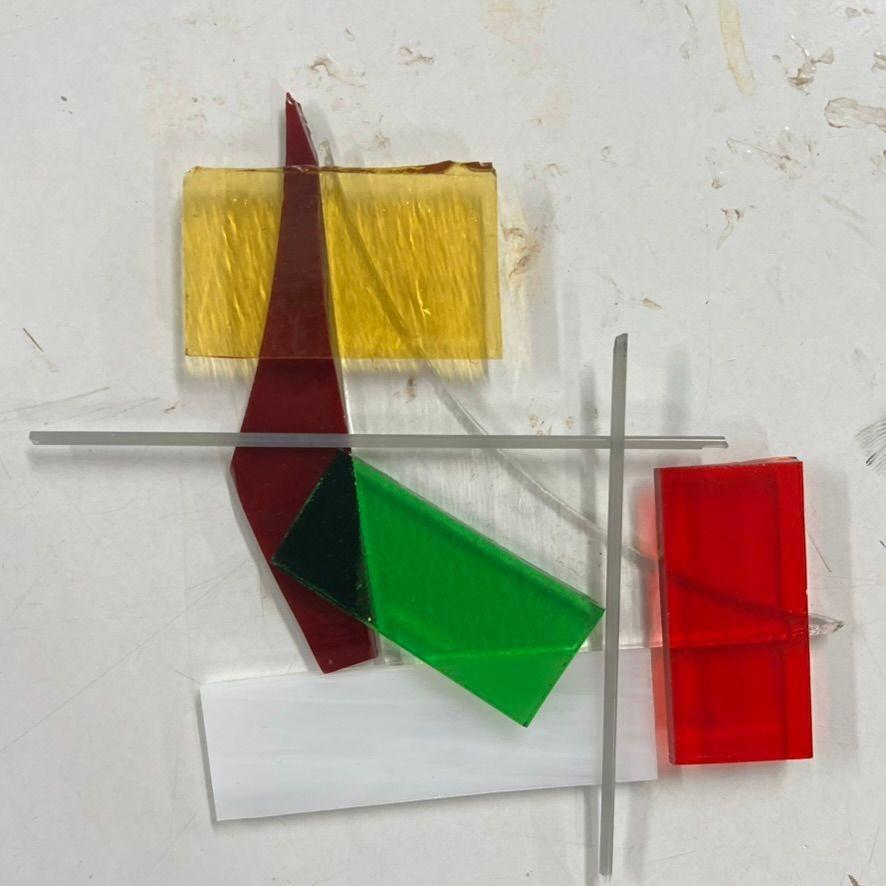
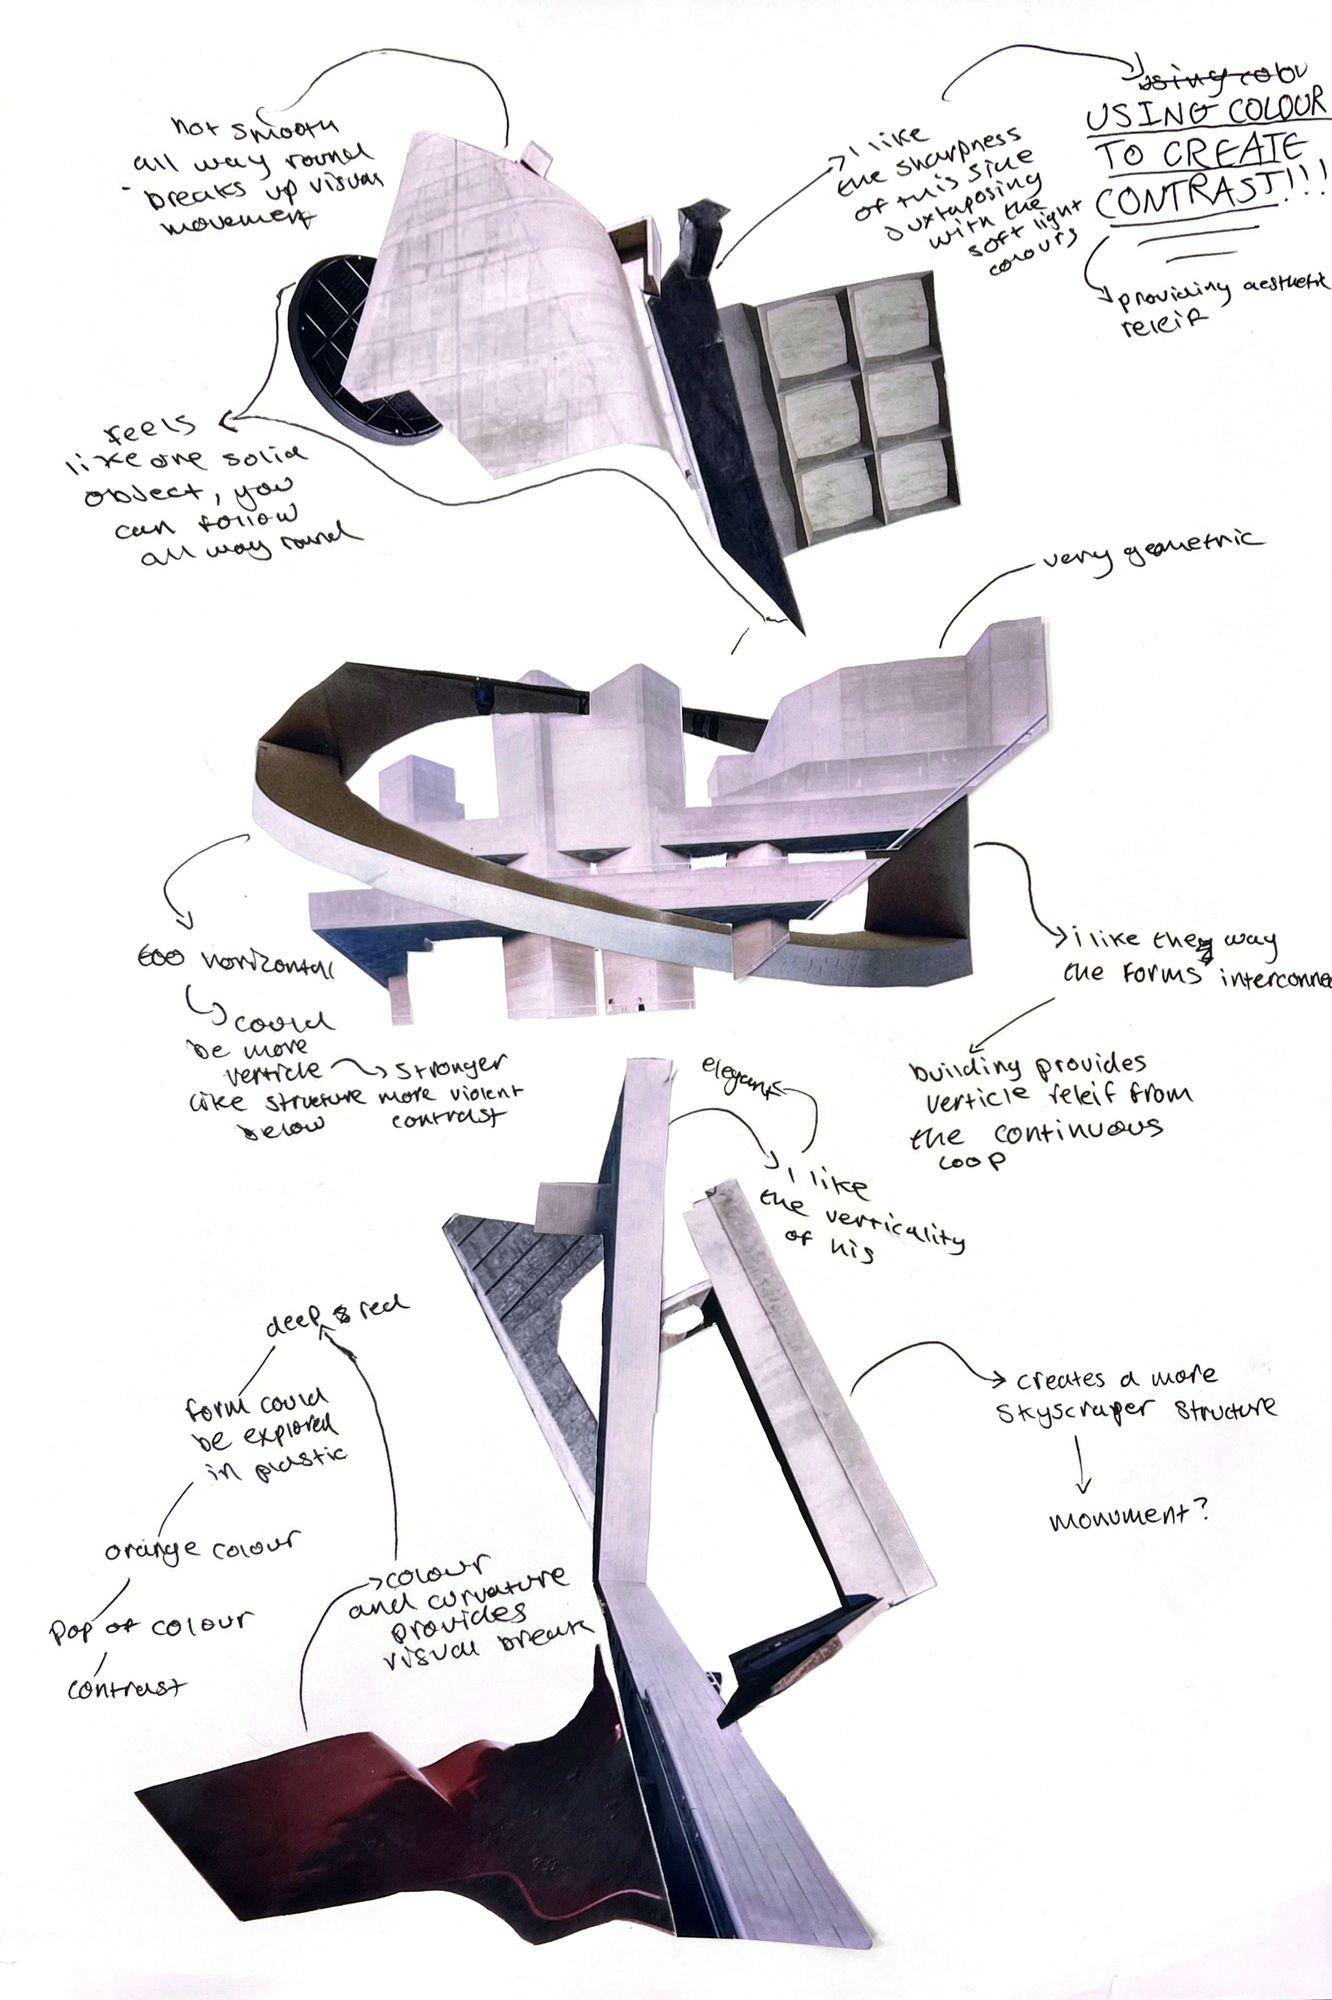
Building for the body: Exploring form + Ideas Development
Here I explored the possibilities of the project and took elements from architecture to explore form. I was primarily looking at the effect of straight forms juxtaposing curvilinear forms, which directed my work from here.
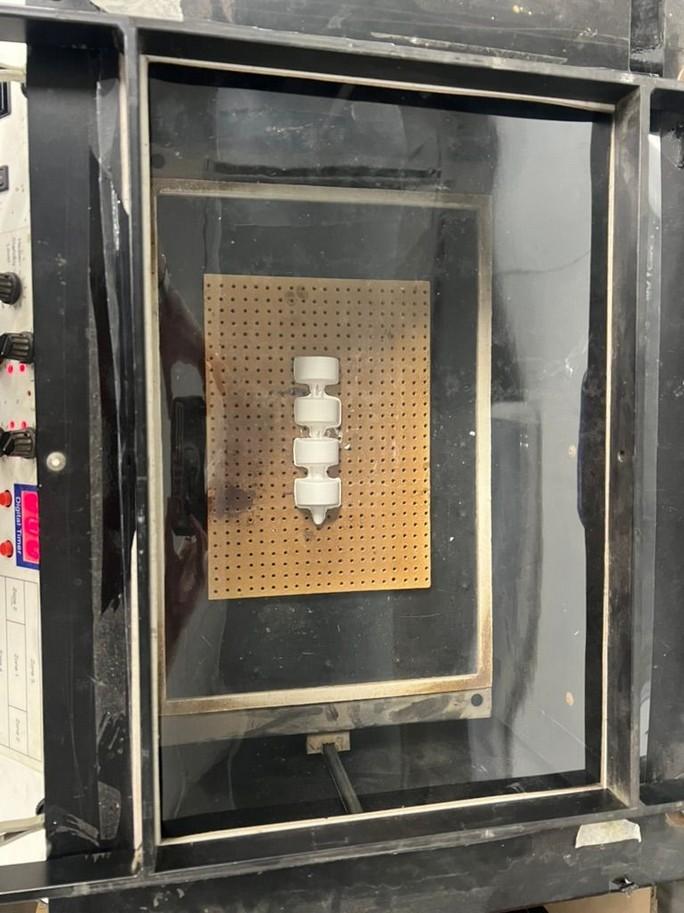
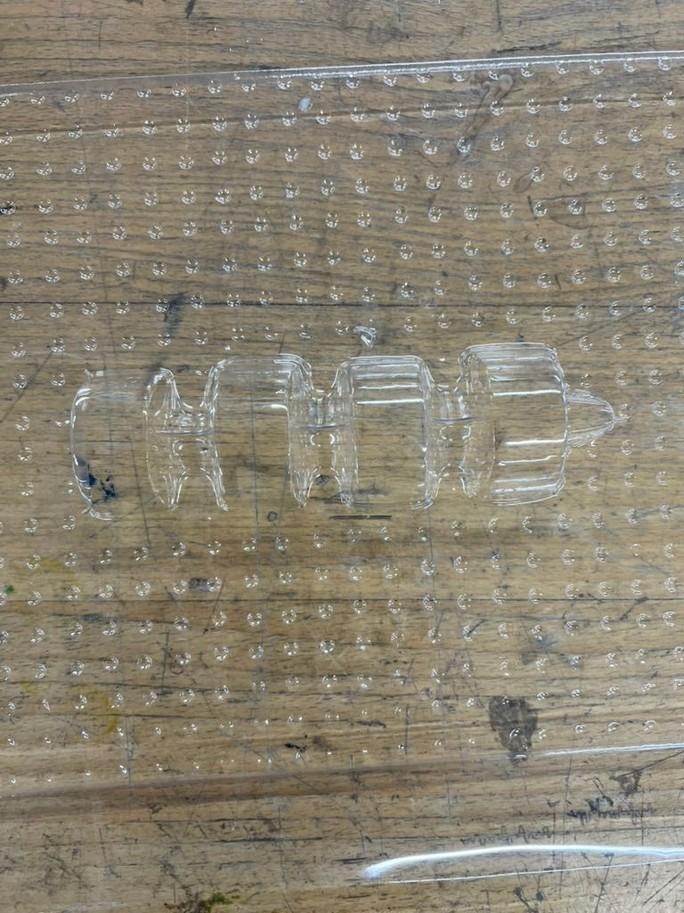
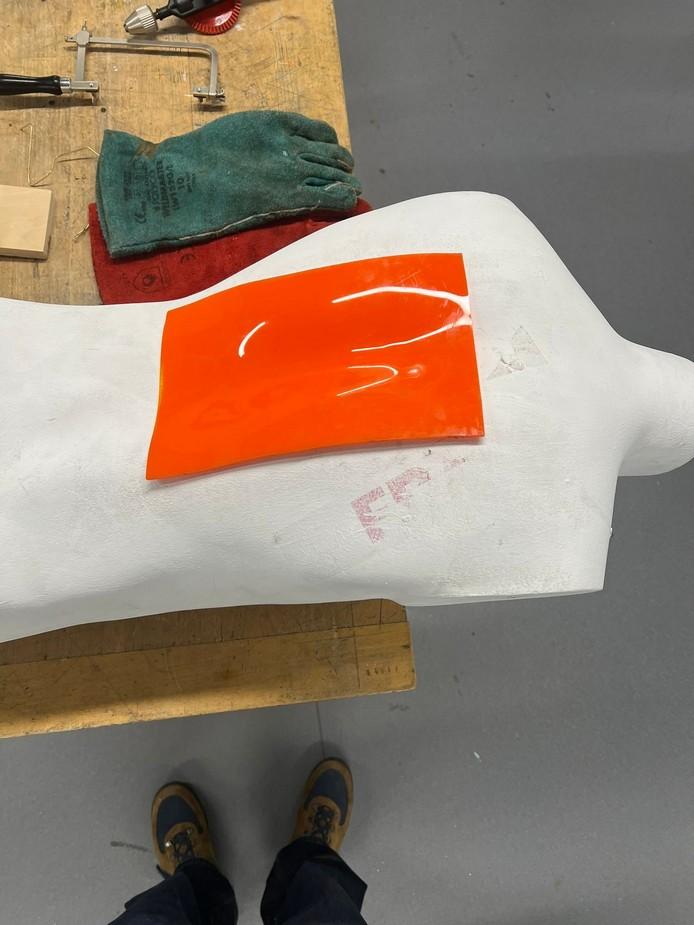
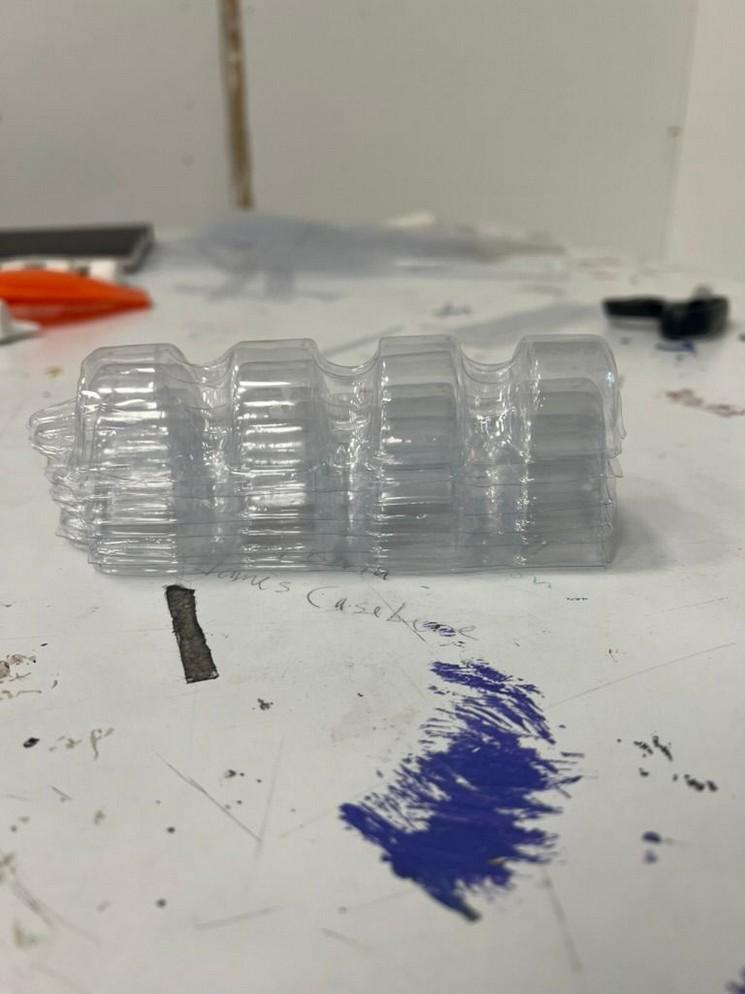
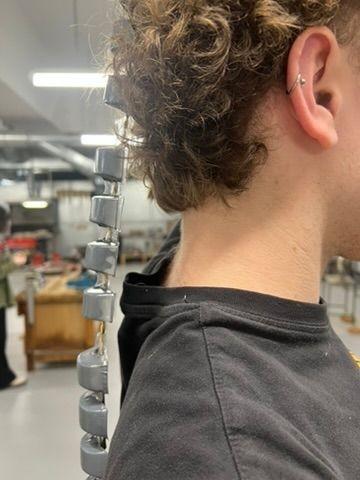
Building for the body: Creation of piece
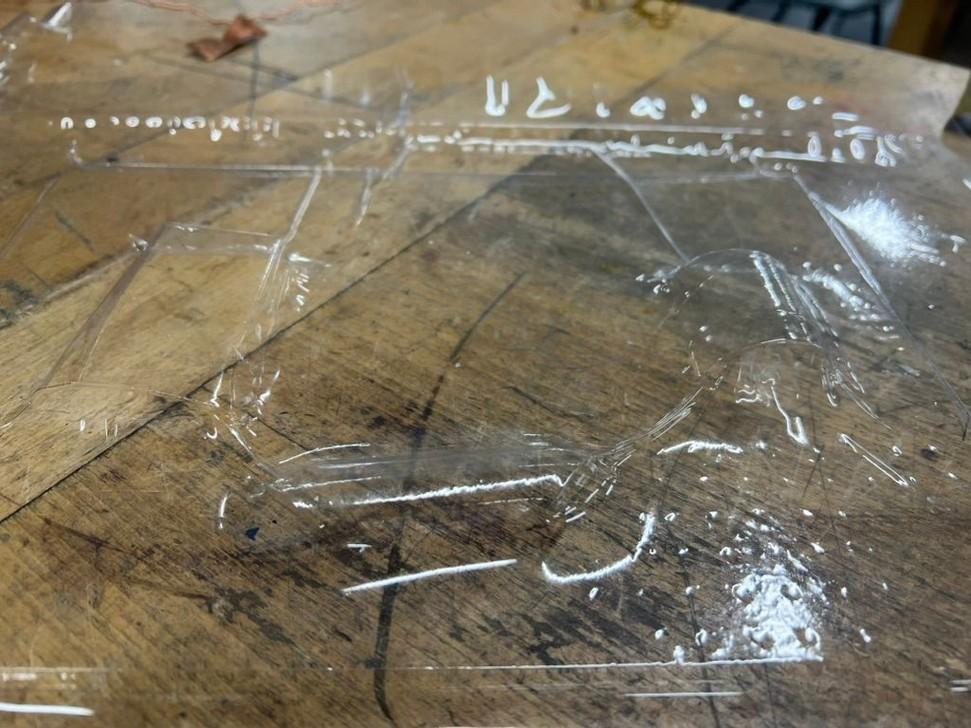
I then found disused packaging and wanted to create a back piece out of it. I felt it reflected my research in its large semi-circles having been juxtaposed by their arrangement. I worked with the vacuum former and plaster molding to mass produce individual pieces
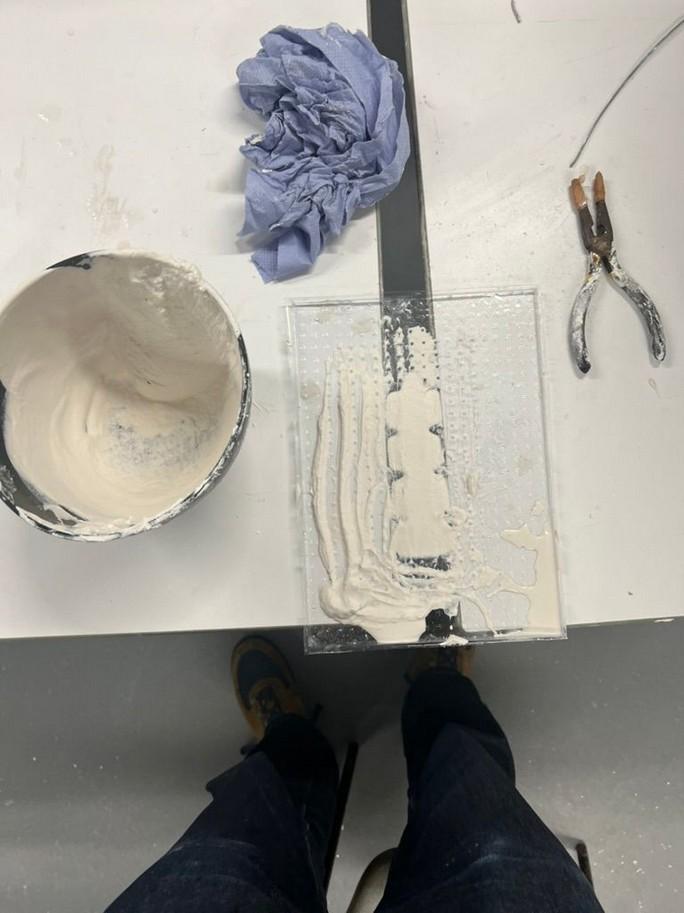
Plaster mold
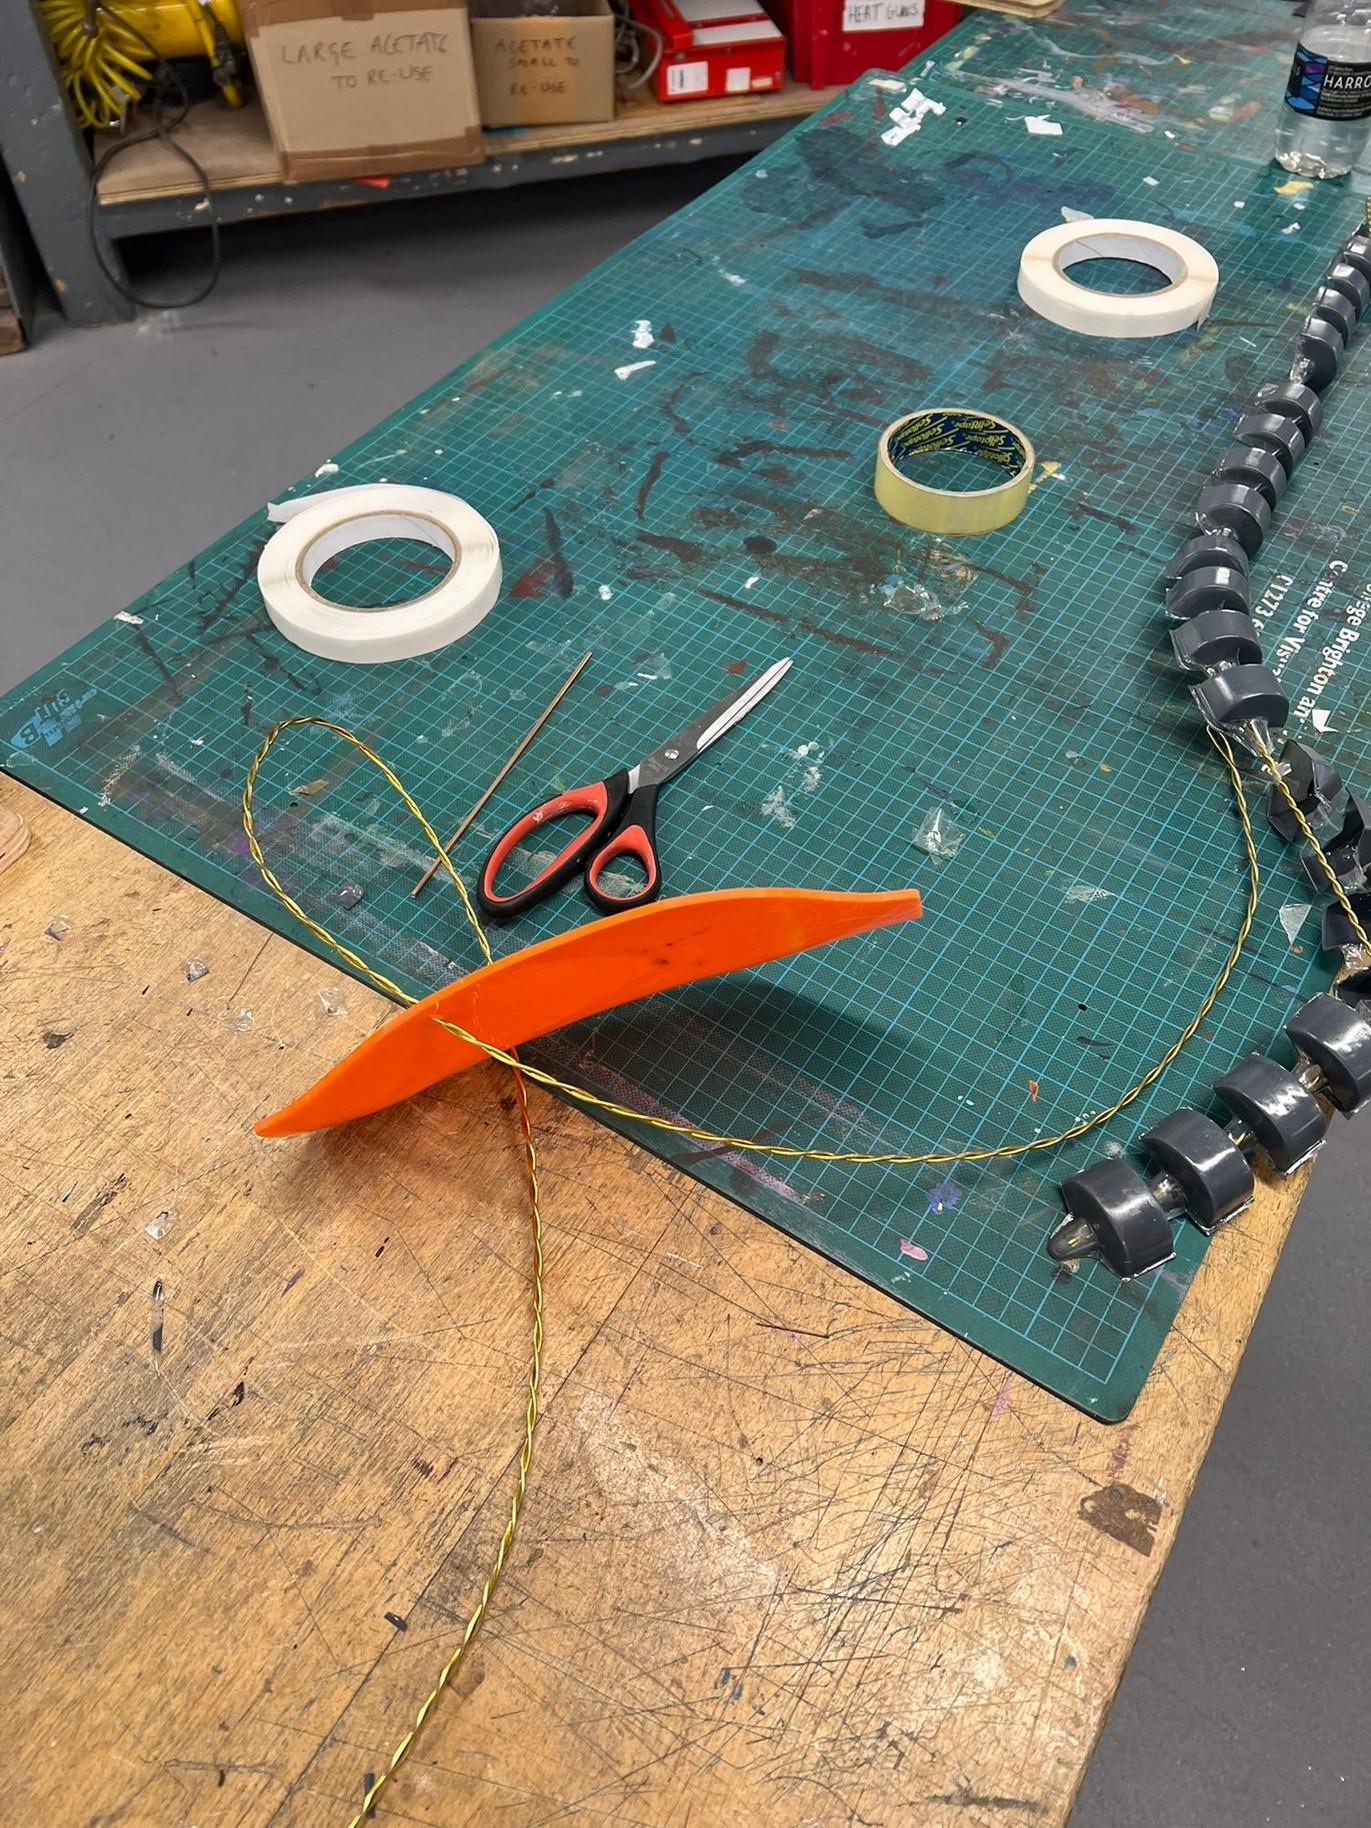
Building for the body: Creation
continued
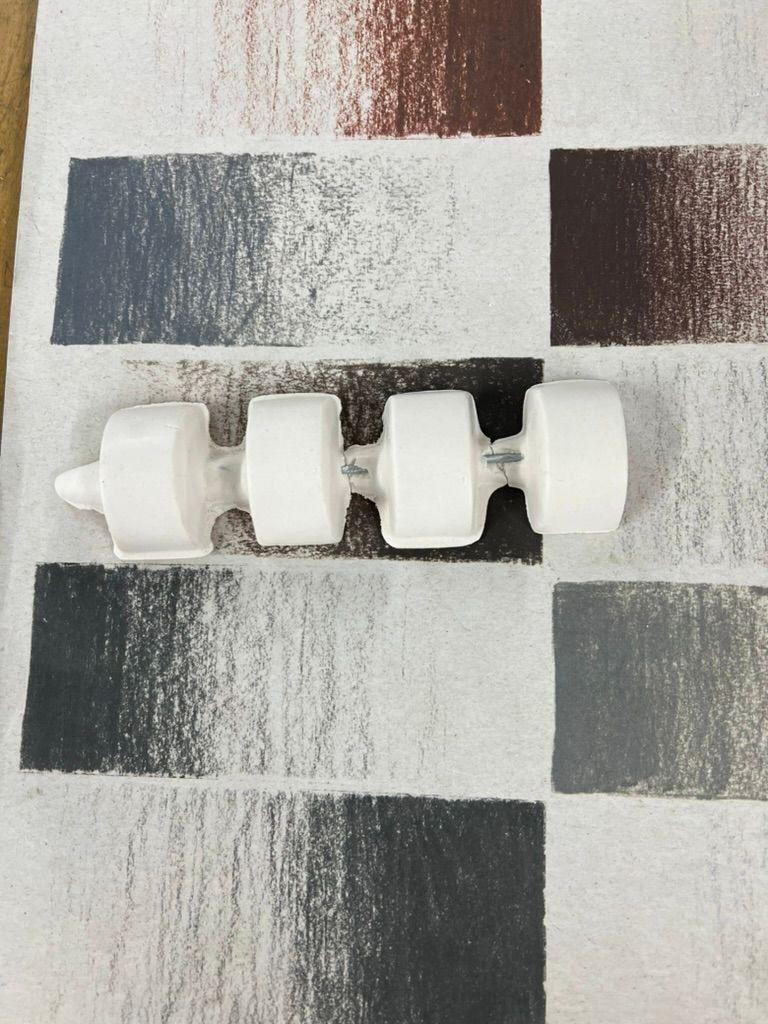
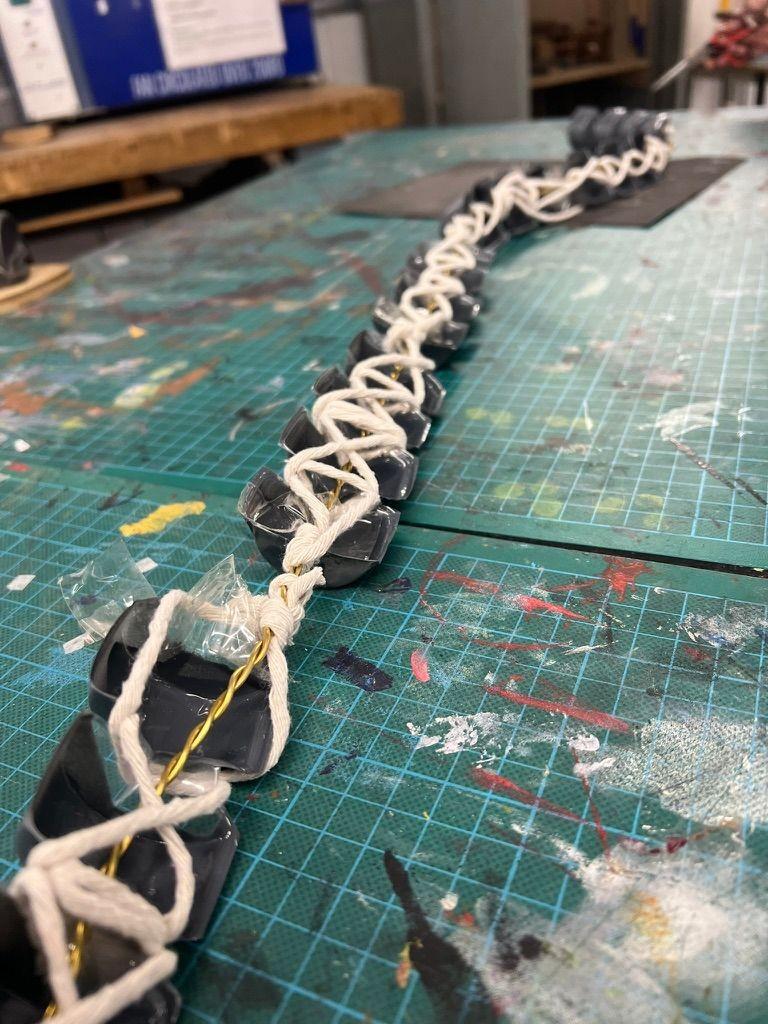
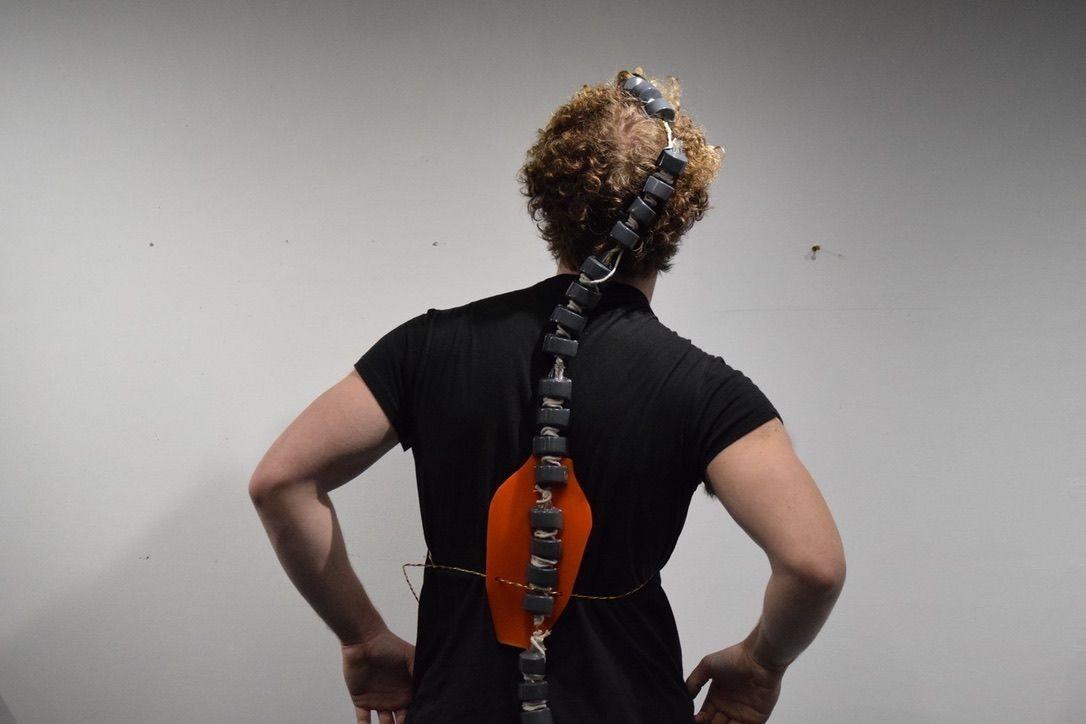
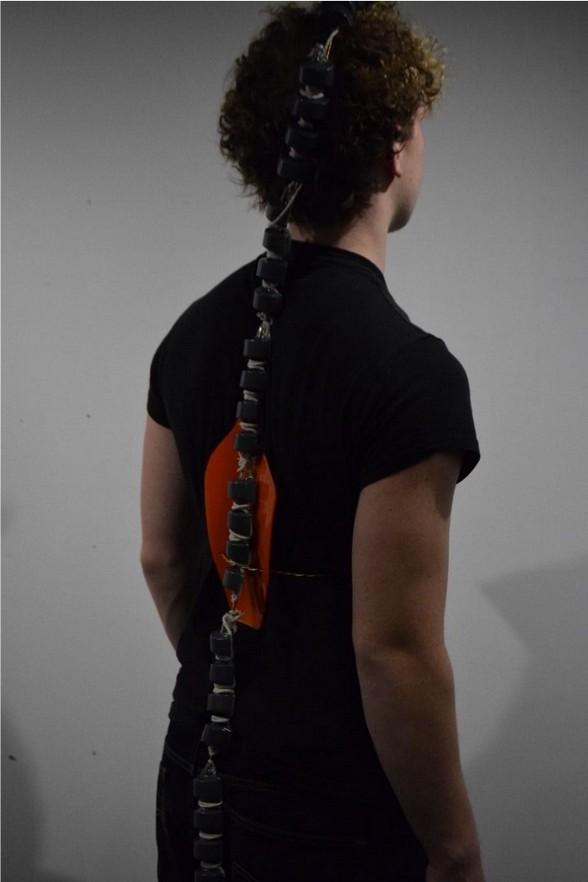
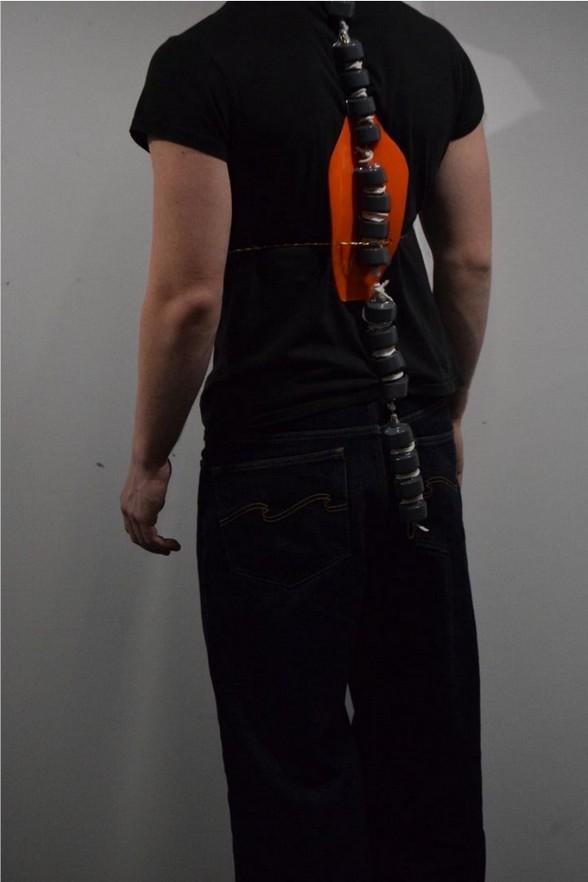
I then decided to create a back piece in order to support my piece structurally and spray painted the ”vertebrae” to create a more uniform appearance
I struggled to attach the individual piece together, and due to time restrictions, I decided it would be better if they were tied by string. I also made a strap to fasten the back piece to my model.
Building for the body – Final Outcome
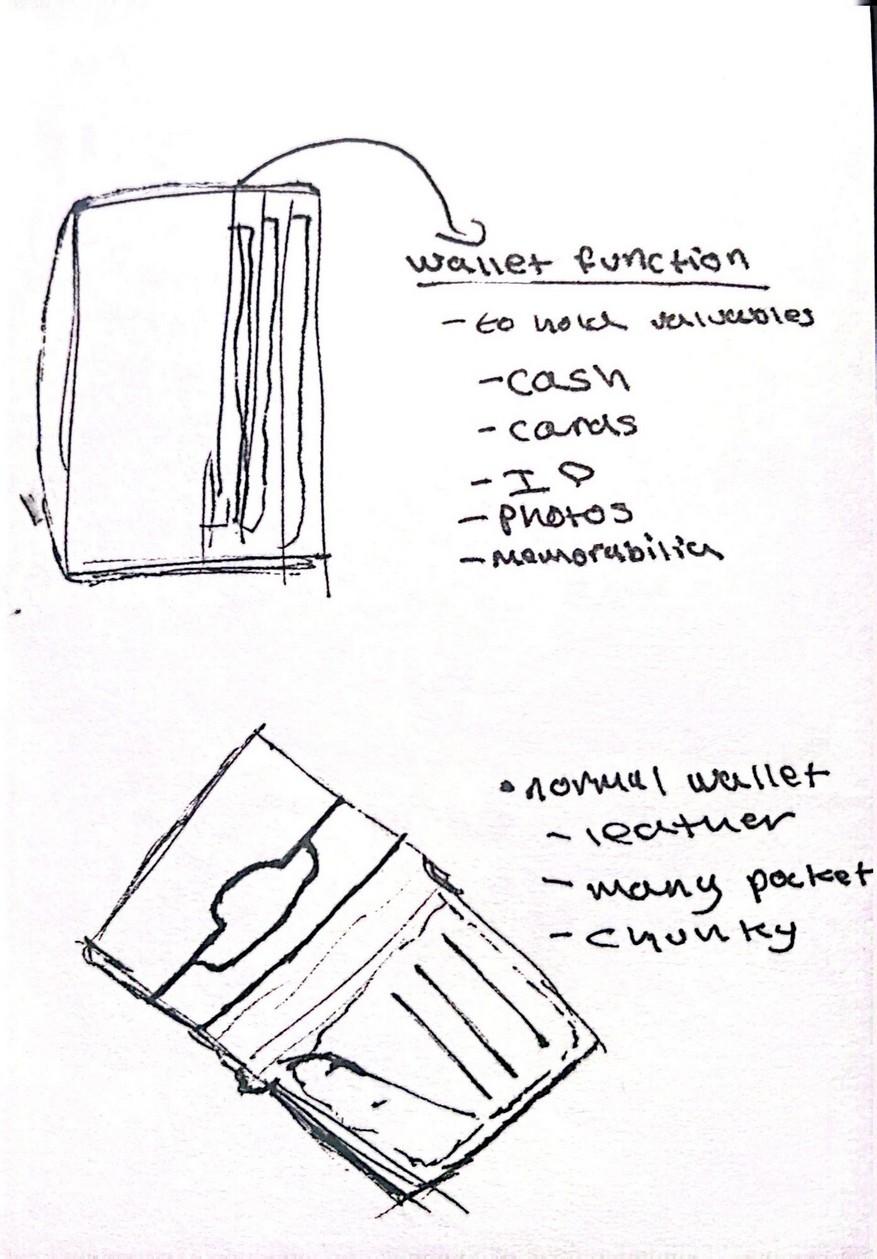
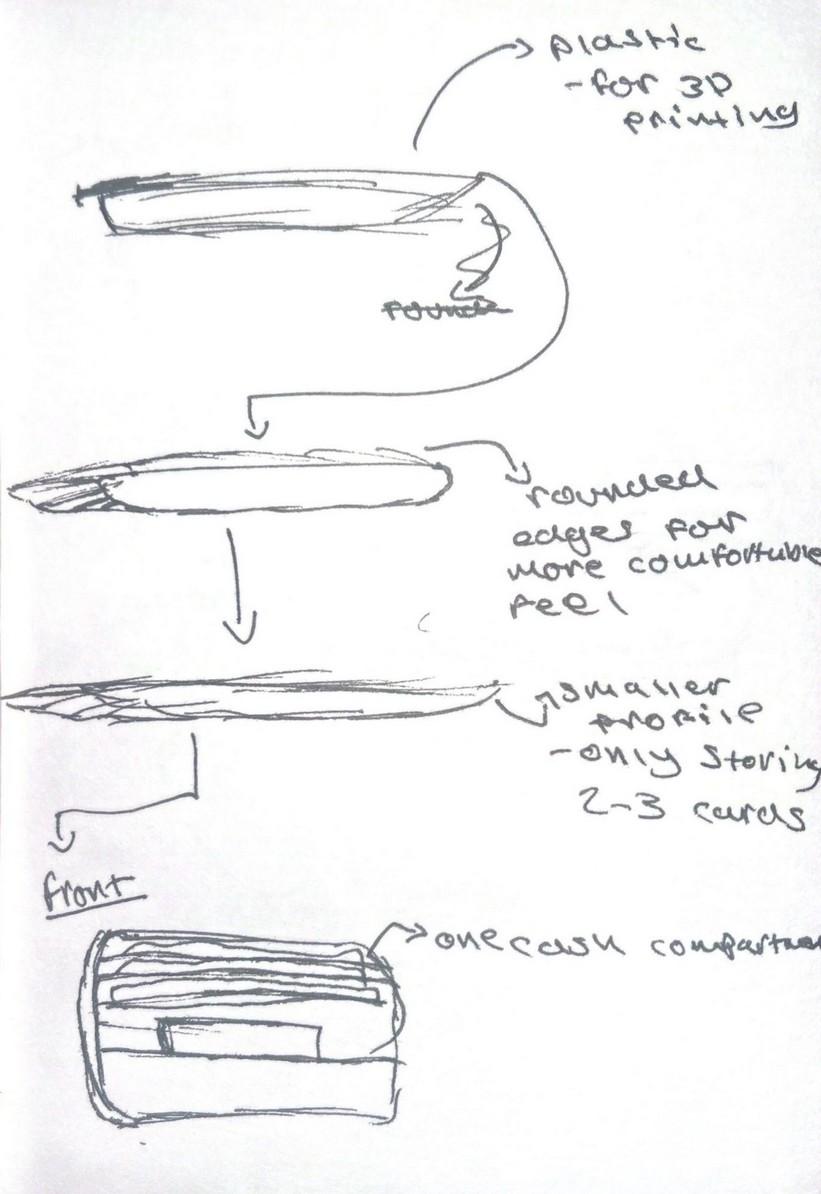
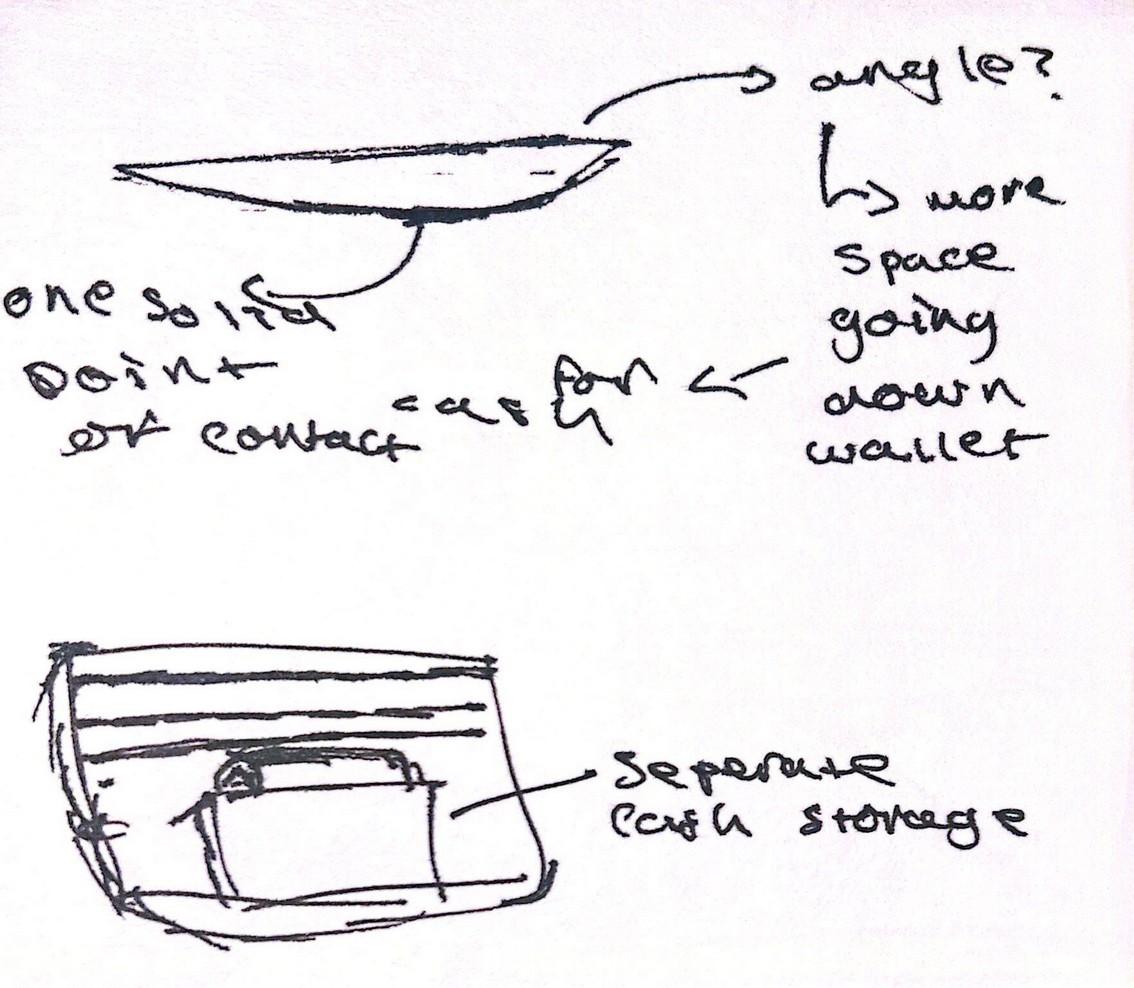
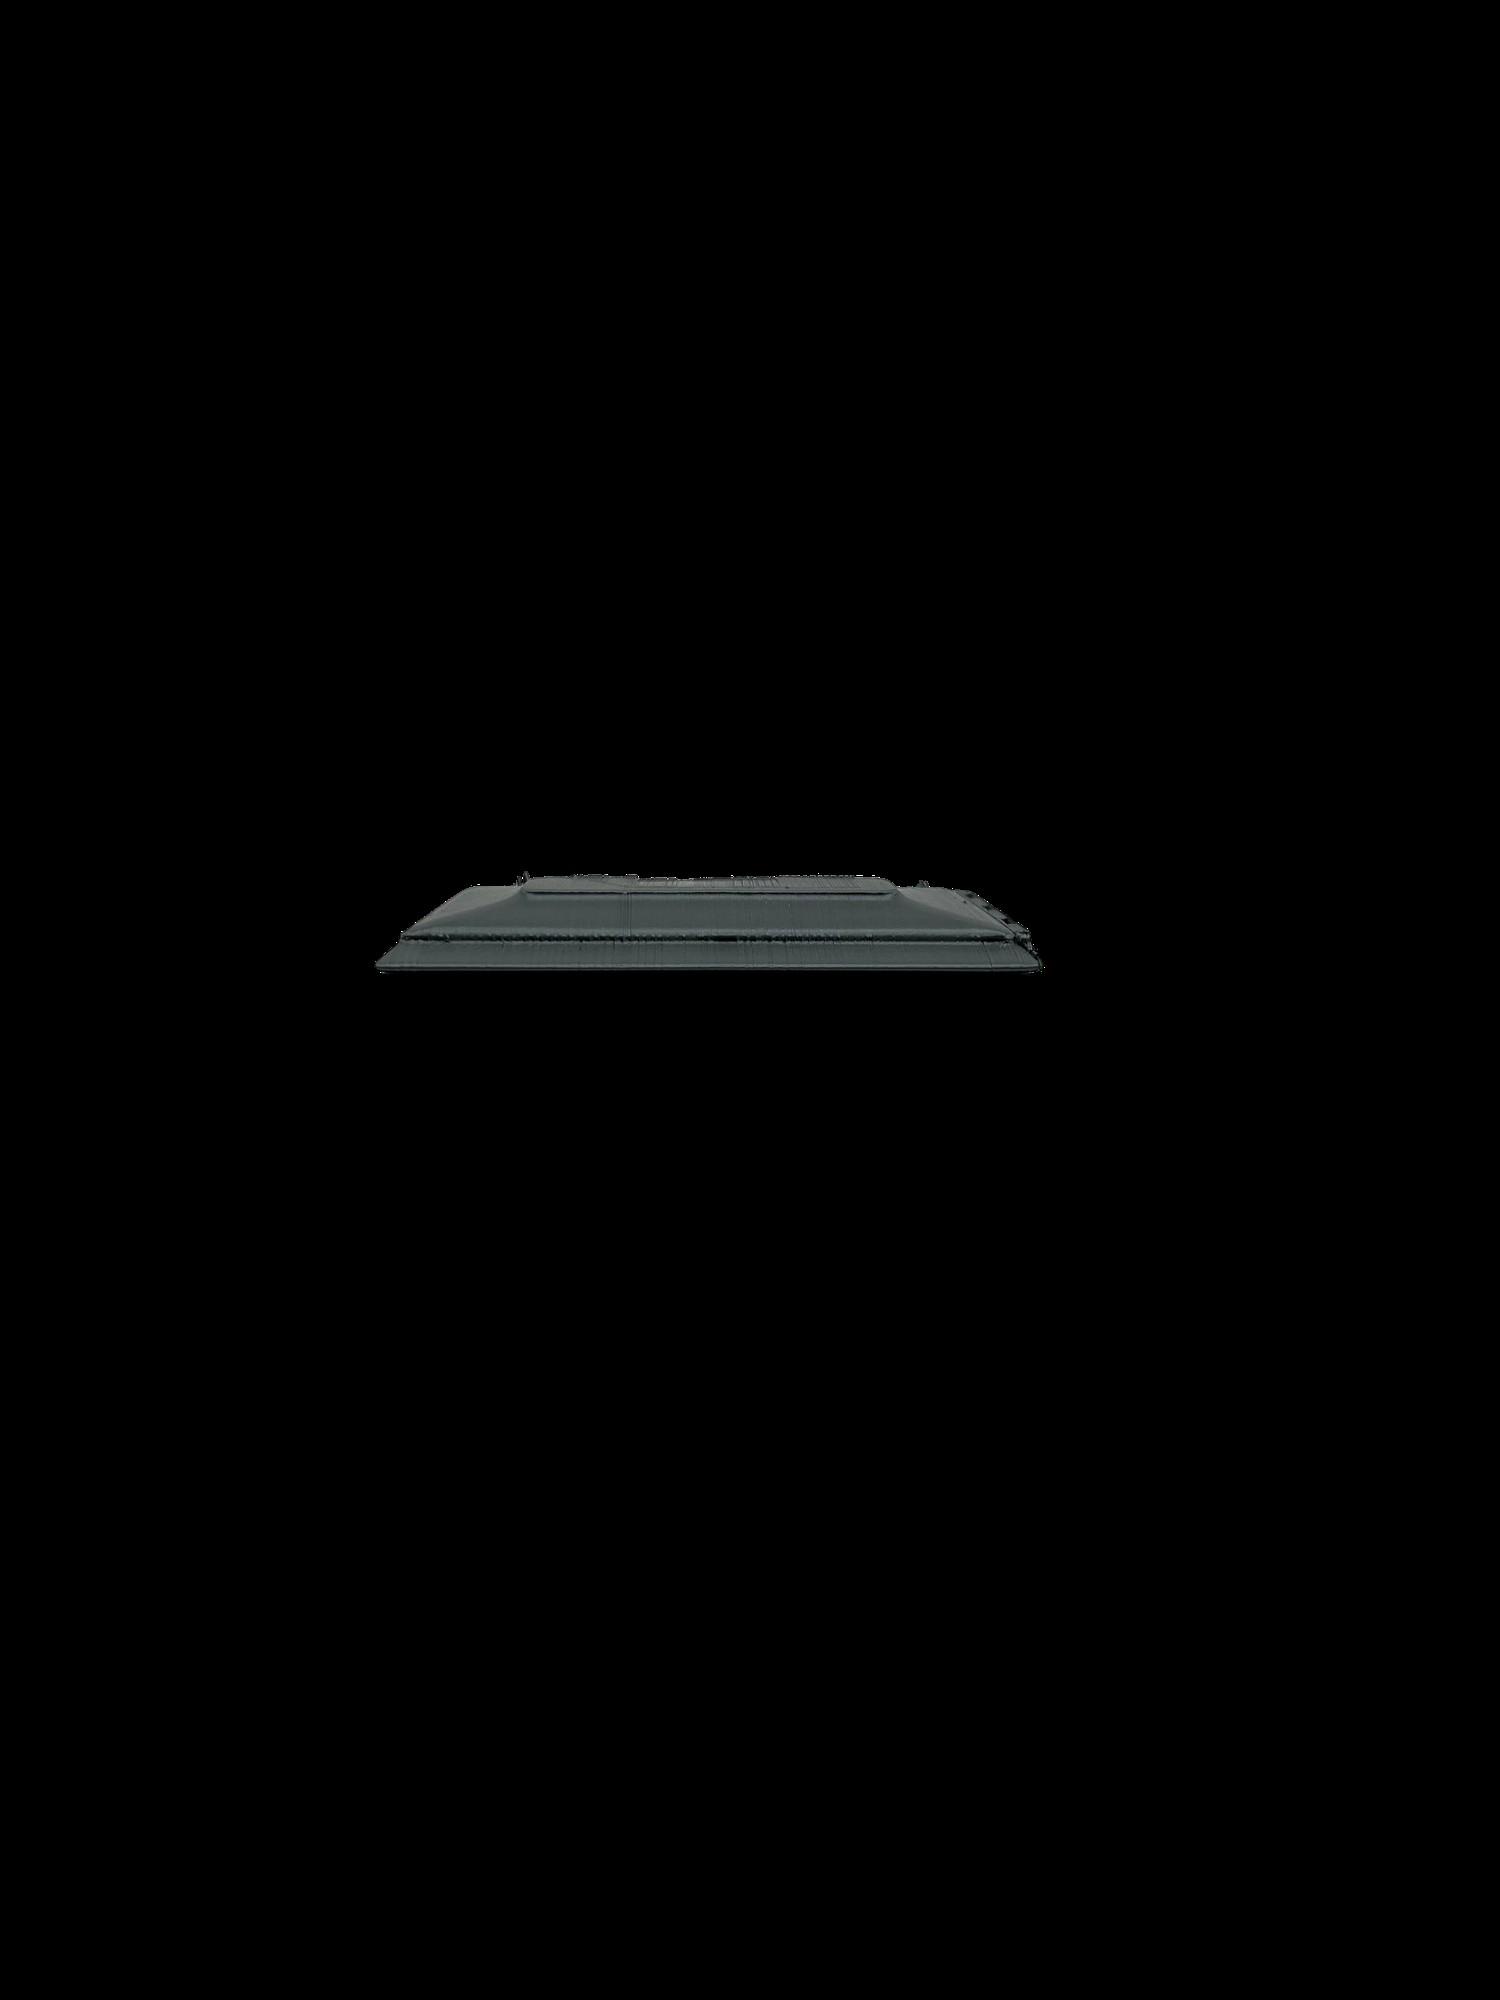
My aim when thinking about this project was to take primarily into account my personal needs, which don’t require many cards in my wallet and already having limited pocket space it had to be thin and minimal
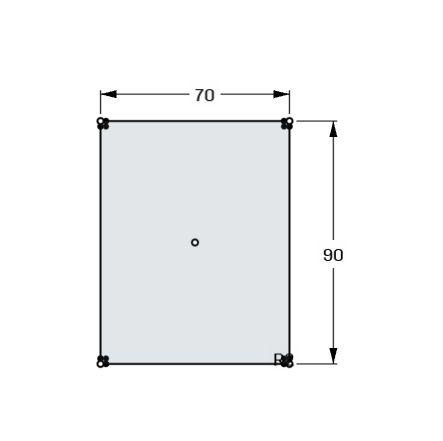
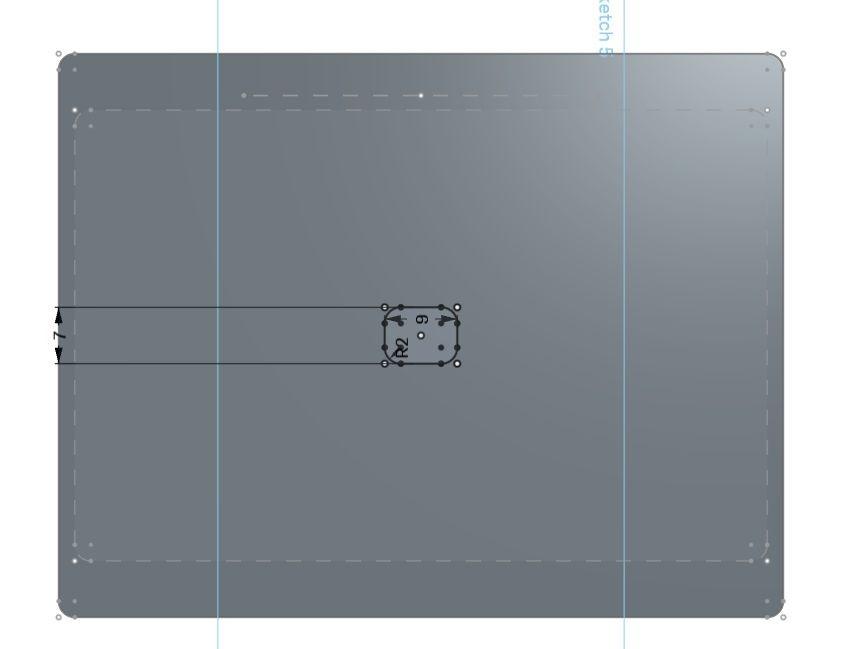
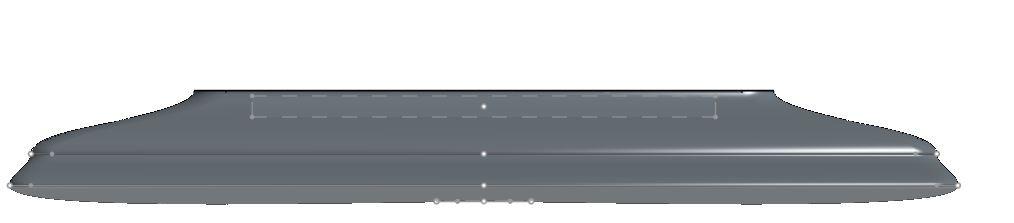
1. I first started by creating a base layer
2. I then created another layer to be raised up to. To create depth while retaining smooth lines
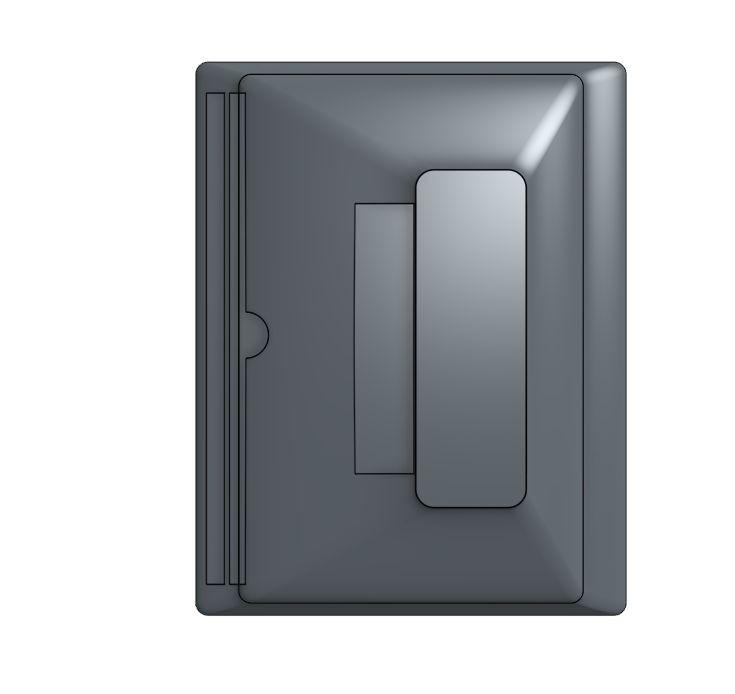
3.Creating area for cash pocket
4. Raising base layer to meet pocket
5. Creating space for pocket
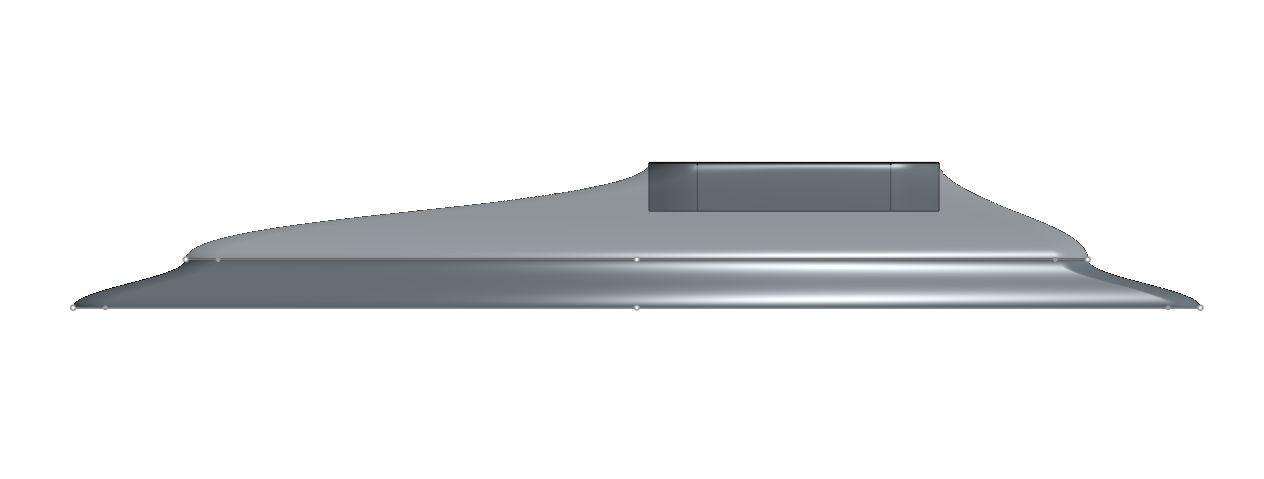
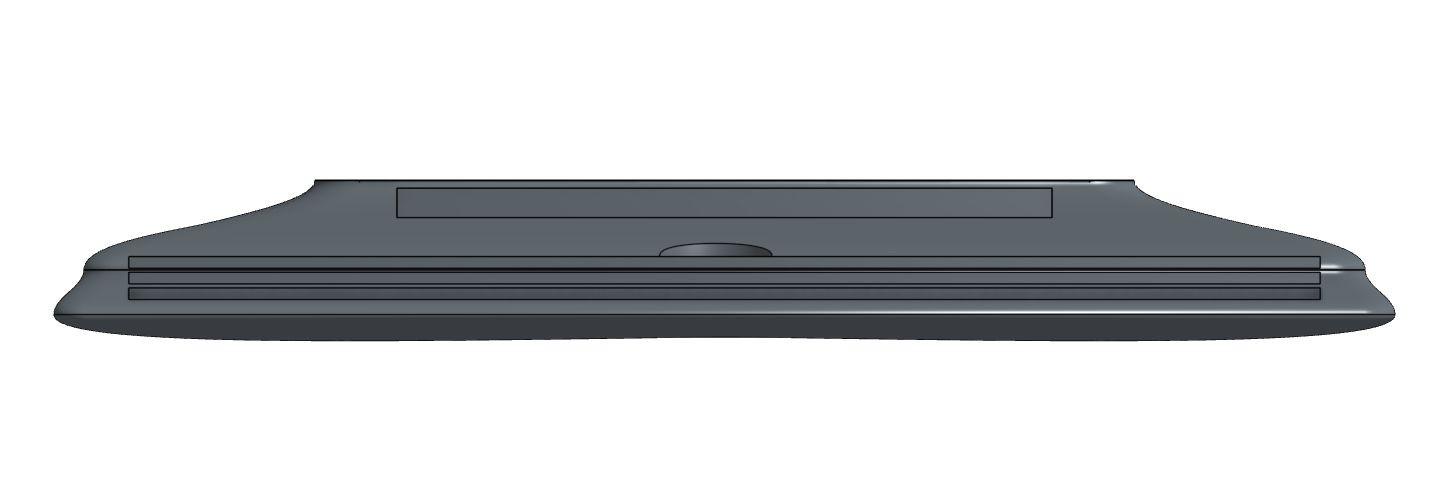
6. Sketching raised part
7. Finished raising
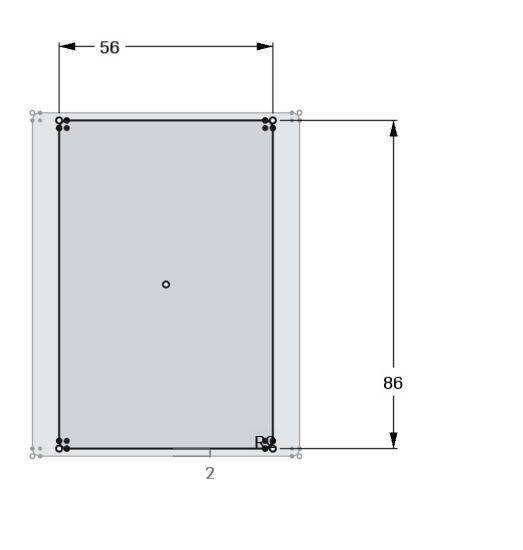
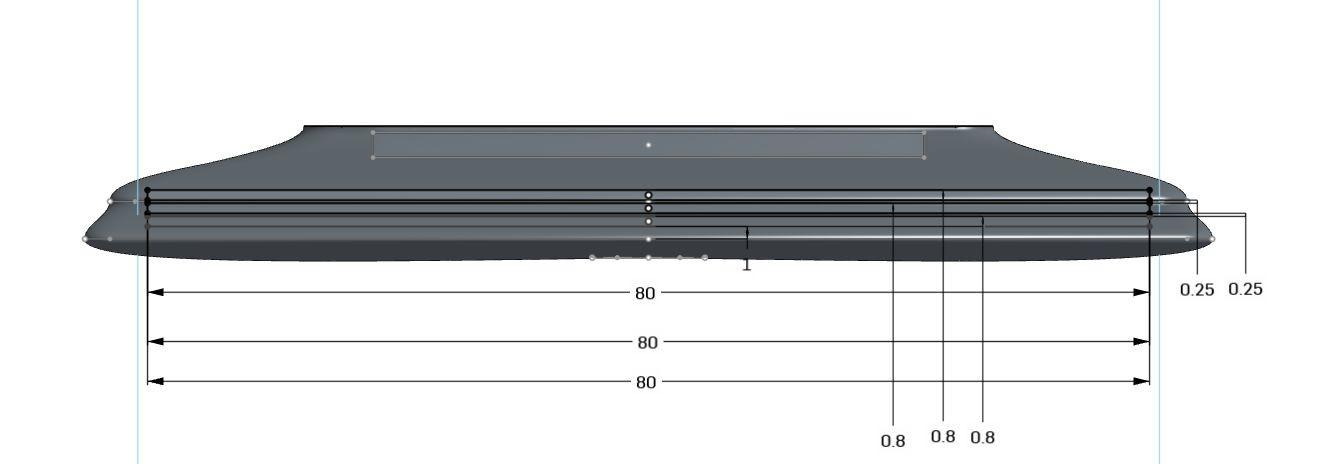
1+2. Constructing card holders
3. Making semi circle cutout to access cards
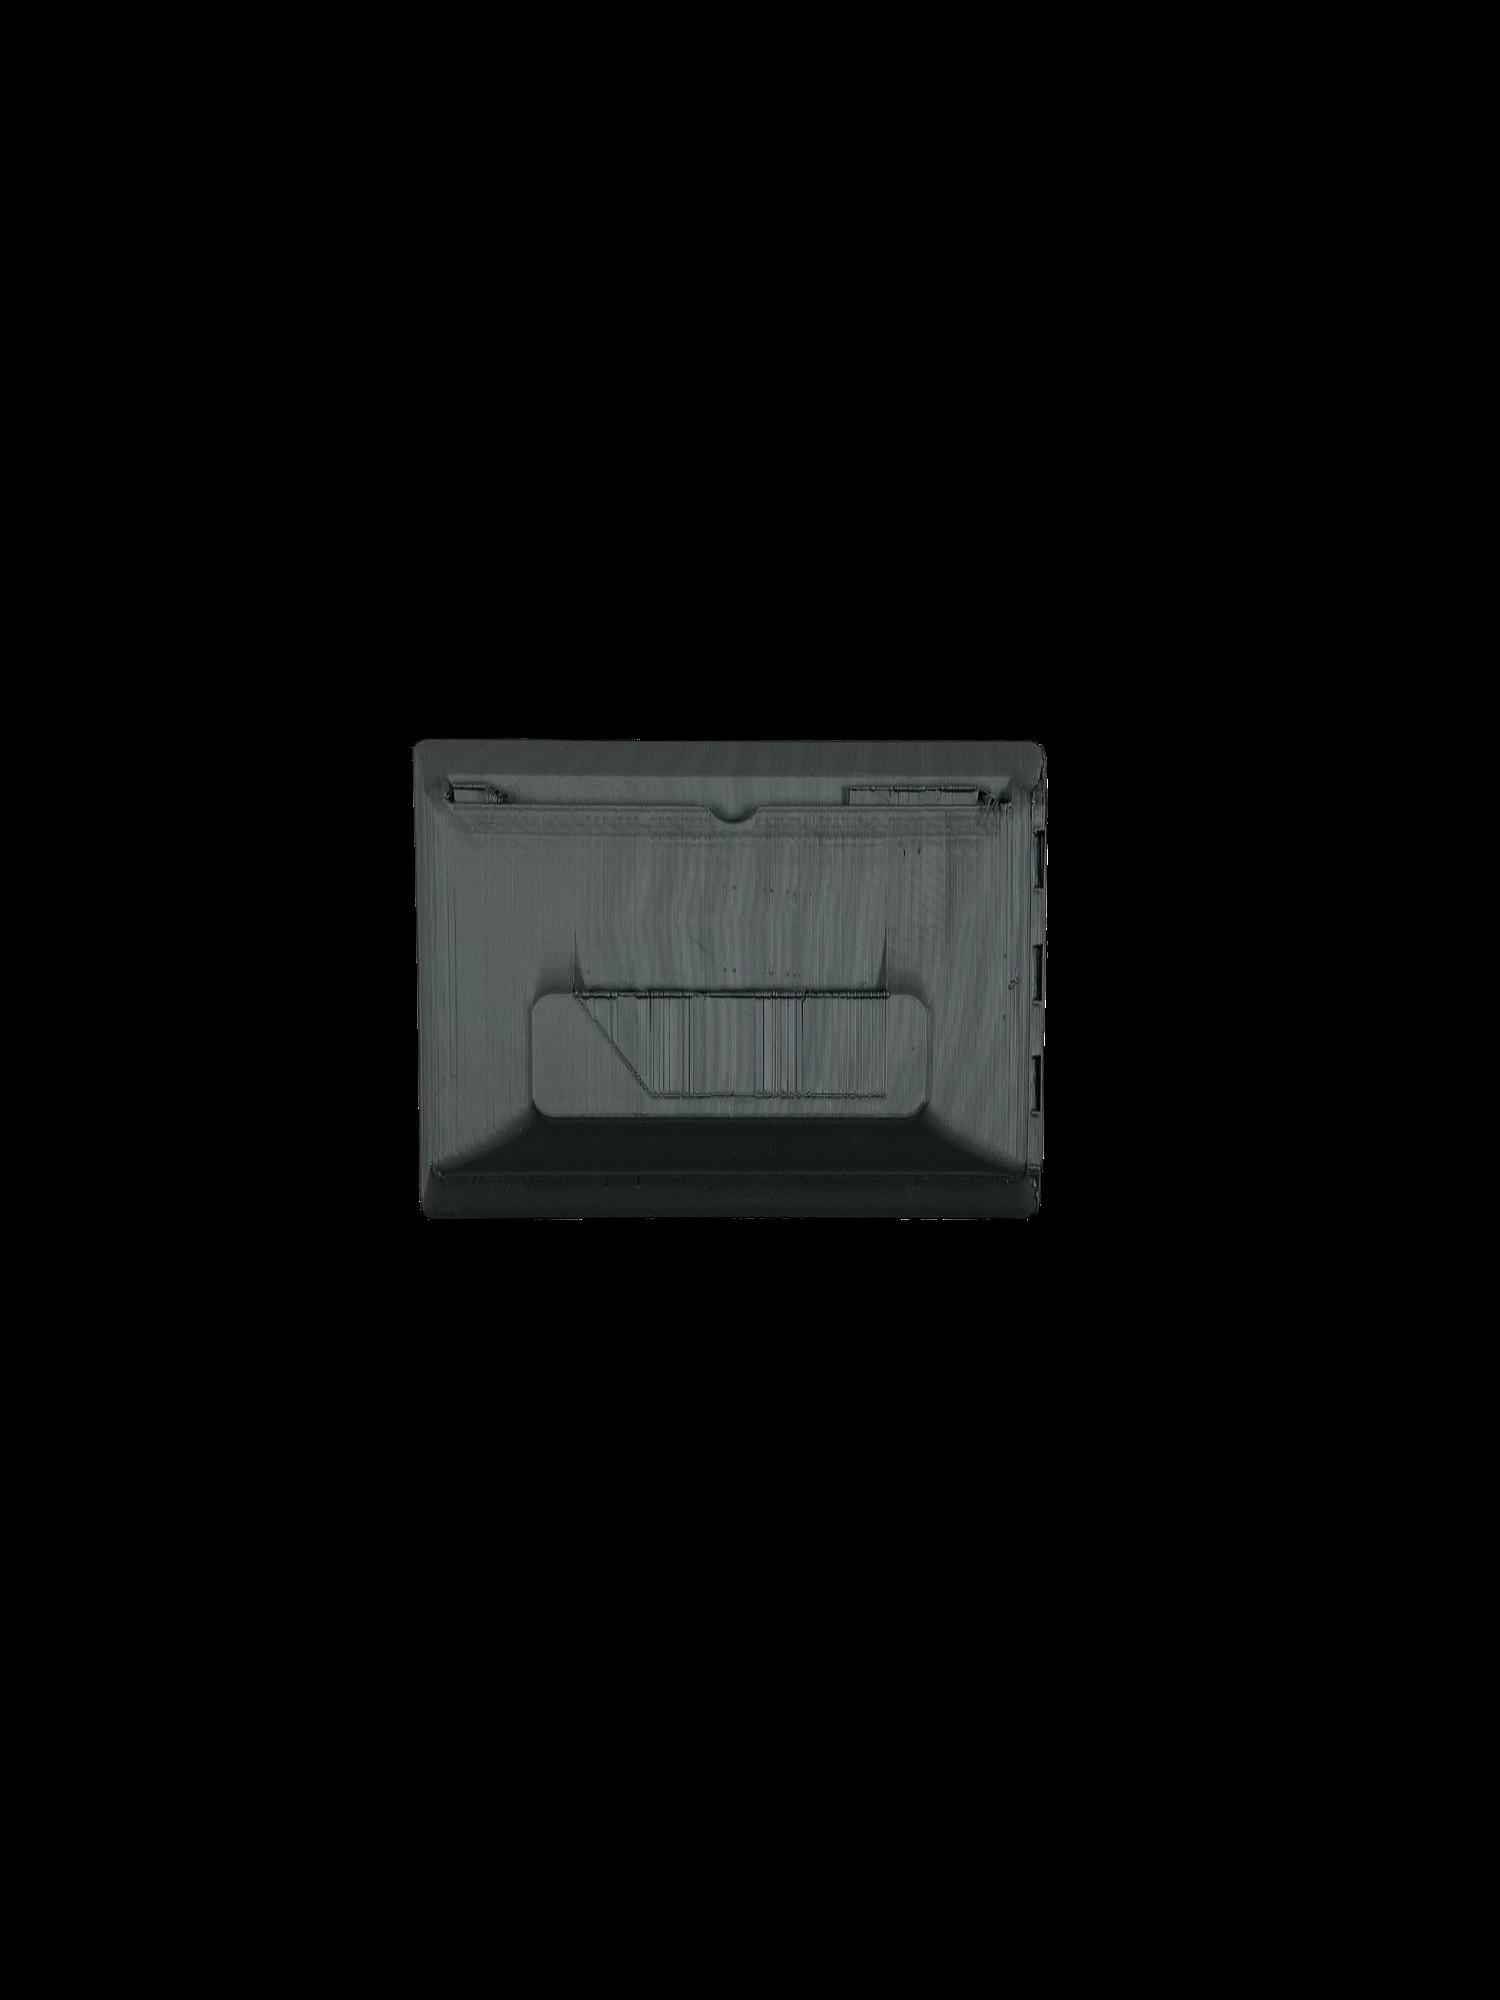
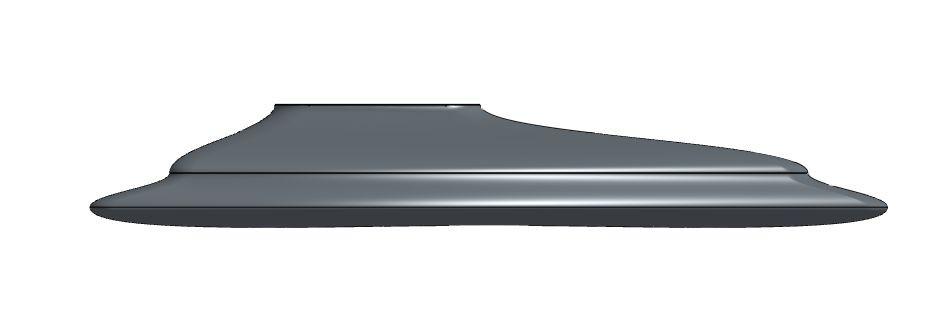
4. This is my 3D printed prototype. This failed due to having wrong measurements in terms of the spacers between the card slots, which collapsed during printing, additionally I think the wallet was shrunk to fit better amongst other prints, making it too small to fit any cards