
Ready to topcoat, Gesso-coated & pre-primed timber mouldings for premium finish
Why EziTrimplus?
With EziTrimplus you can be confident that you have the very best in quality, strength and workability.
• Minimal defects
• Natural product
• Easy to work with
• Light yeat strong and durable
• Pre-primed and ready to top coat
Applications
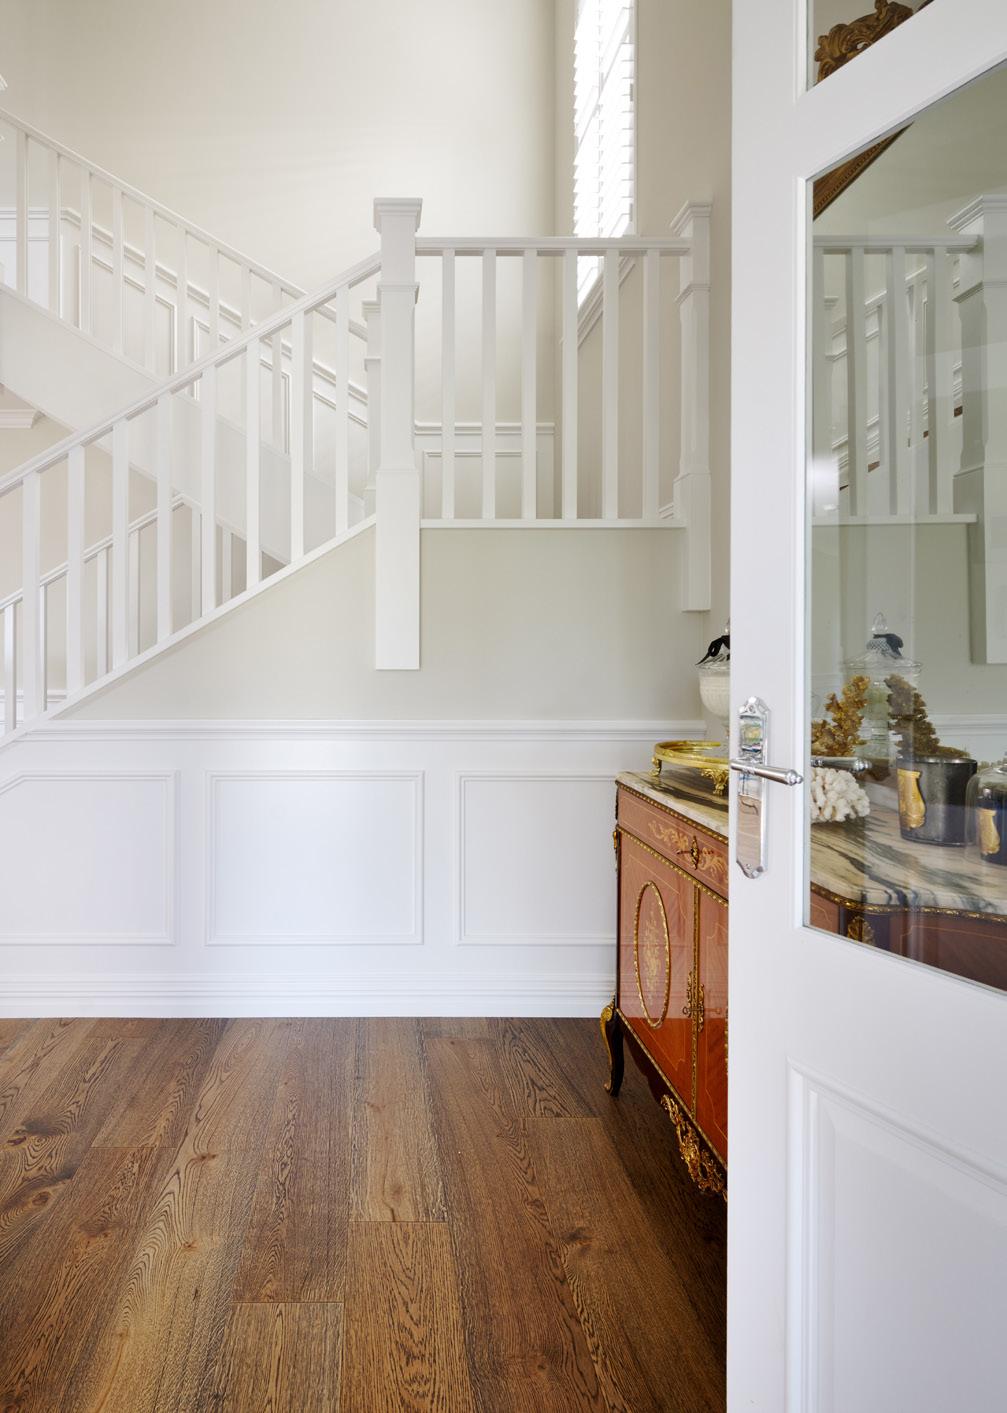
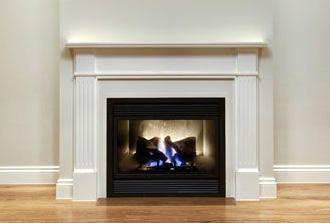
EziTrimplus mouldings are suitable for any interior finishing application that requires a high quality finish. EziTrimplus has a wide variety of uses such as Skirtings, Architraves, Jambs, Reveals, Shelving, and Furniture.
It’s a natural product
EziTrimplus is manufactured from sustainable plantation grown Radiata Pine (Pinus radiata). Which has been milled, kiln dried and docked to remove all knots and visible Imperfections. This is then used to produce a fingerjointed/laminated moulding which has minimal defects.
Storage & Handling
All material must be stored flat and level on bearers spaced at a maximum of 1.5 metres, with a minimum clearance of 60mm above ground level. Packs should be kept dry, well ventilated, and protected from direct sunlight, moisture, and condensation at all times. Storage in newly enclosed or damp buildings, such as those with recently poured concrete or plastering, should be avoided due to elevated moisture levels. Other materials must not be stacked on top of the lining packs.
Cutting
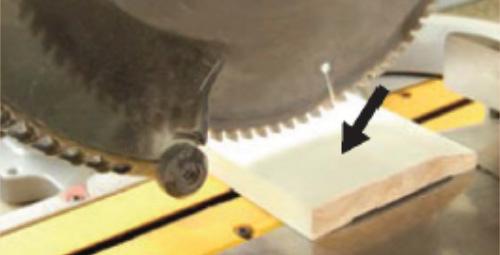
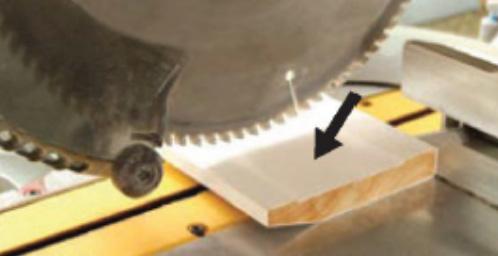
All EziTrimplus should be cut from the moulded face through to the back face to prevent fibre tear that is inherent with all softwood timber.
Chiselling & Routing
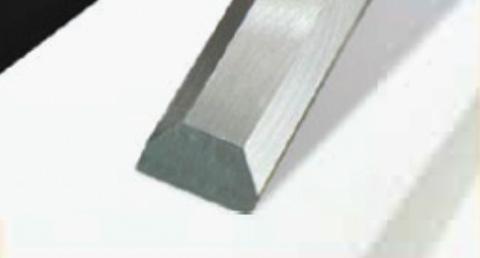
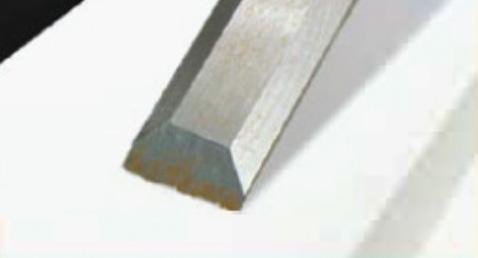
For the ease of chiselling and routing all single rebate Door Jambs have defect free rebates. To ensure the best possible finish we recommend that you only use sharp, well maintained tools.
Nailing – Fixing Requirements
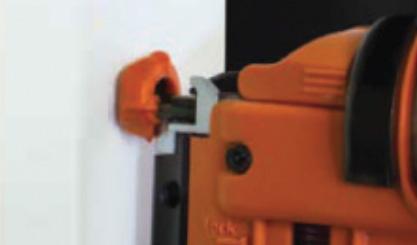
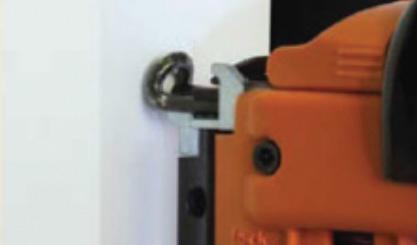
Fixing may be completed by hand or using pneumatic or cordless finish nail guns, including angled or straight bradders. Fixings must not be placed within 20mm of board ends to minimise splitting risk. Care should be taken to avoid overfixing, which may restrict natural timber movement and lead to cracking, distortion, or surface defects.
A no-mar tip should be fitted to nail guns to minimise marking or crushing of the pre-primed surface during installation. Nail gun depth settings should be adjusted for each application to ensure fixings sit flush or only slightly recessed below the surface (typically no more than 1–1.5mm) to minimise filling and finishing work. Fixings must not be overdriven.
Construction adhesive may be used as an optional supplement to mechanical fixing to improve bonding and reduce movement stress. Suitable products include Sika Nailbond Premium or equivalent building adhesives, applied in accordance with manufacturer recommendations. Adhesive use is not mandatory and must not be relied upon as a substitute for mechanical fixing or used in a manner that restrains natural timber movement.
Jointing & Sealing
Where profiles are joined, mitre cuts should be used where appropriate to achieve accurate alignment. All mitre joints must be made over framing or battens and glued using a PVA adhesive to ensure a tight and stable joint.
Finishing
Prior to painting, all surfaces must be clean, dry, and free from dust or contaminants. The factory primer should be checked to ensure it is sound and well bonded. Light sanding may be required to remove minor surface imperfections.
All exposed nail holes should be filled using a suitable acrylic interior filler compatible with pre-primed surfaces. Once cured, the filled areas should be lightly sanded smooth, typically using fine sandpaper minimum 180 grit. Care should be taken to avoid over-sanding, which may damage the primer. Spot prime sanded area where necessary.
Pre-primed profiles should receive two to three coats of interior acrylic or enamel paint in accordance with the paint manufacturer’s recommendations. Light-coloured finishes are preferred, as they reduce heat absorption and minimise movement-related stresses. Paint systems should be applied consistently to achieve uniform coverage and durability.
Resin Bleed
Radiata pine may exhibit resin bleed when exposed to elevated temperatures. This typically appears as amber or honey-coloured staining on the surface. If resin bleed occurs, it may be cleaned with mineral turpentine prior to curing, or scraped or sanded once crystallised. In some cases, the application of a stain-blocking primer may be required before repainting. Resin bleed may recur under sustained high temperatures.
Health & Safety
Appropriate personal protective equipment must be worn during cutting, sanding, and installation, including eye protection, dust masks or respirators, and hearing protection where required. All power tools should be used in accordance with manufacturer safety guidelines, and care must be taken when handling sharp tools and fasteners. Work areas should be adequately ventilated.
Waste Disposal
Timber offcuts should be disposed of in accordance with local council requirements. Treated or painted timber waste must not be burned. Sawdust and waste materials should be managed responsibly to prevent environmental contamination.
ITI (Aust) accepts no responsibility for any errors, omissions, work completed or any consequence of reliance on this document It is to be a guide only. EzlTrimplus is a registered Trademark of m(AUSl), copyright 2012.