
Installation Instructions
Casa Trim
Tools Required

•Measuring tape
•Hammer/Nail gun or screw gun
•Pencil
•Safety glasses
•Adhesive (Intrim Intense Grip Adhesive)
• Stud finder
•Nails, screws
•Caulking cartridge gun or spatula
•Spirit level/Laser level
Ceiling Application
Prepare the ceiling
Make sure the ceiling is clean and free of any flaky paint.
Measuring - Marking out the ceiling
STEP 1
Measure the ceiling to determine the longest dimension ‘L’. Casa Trim will be installed parallel to this dimension.
STEP 2
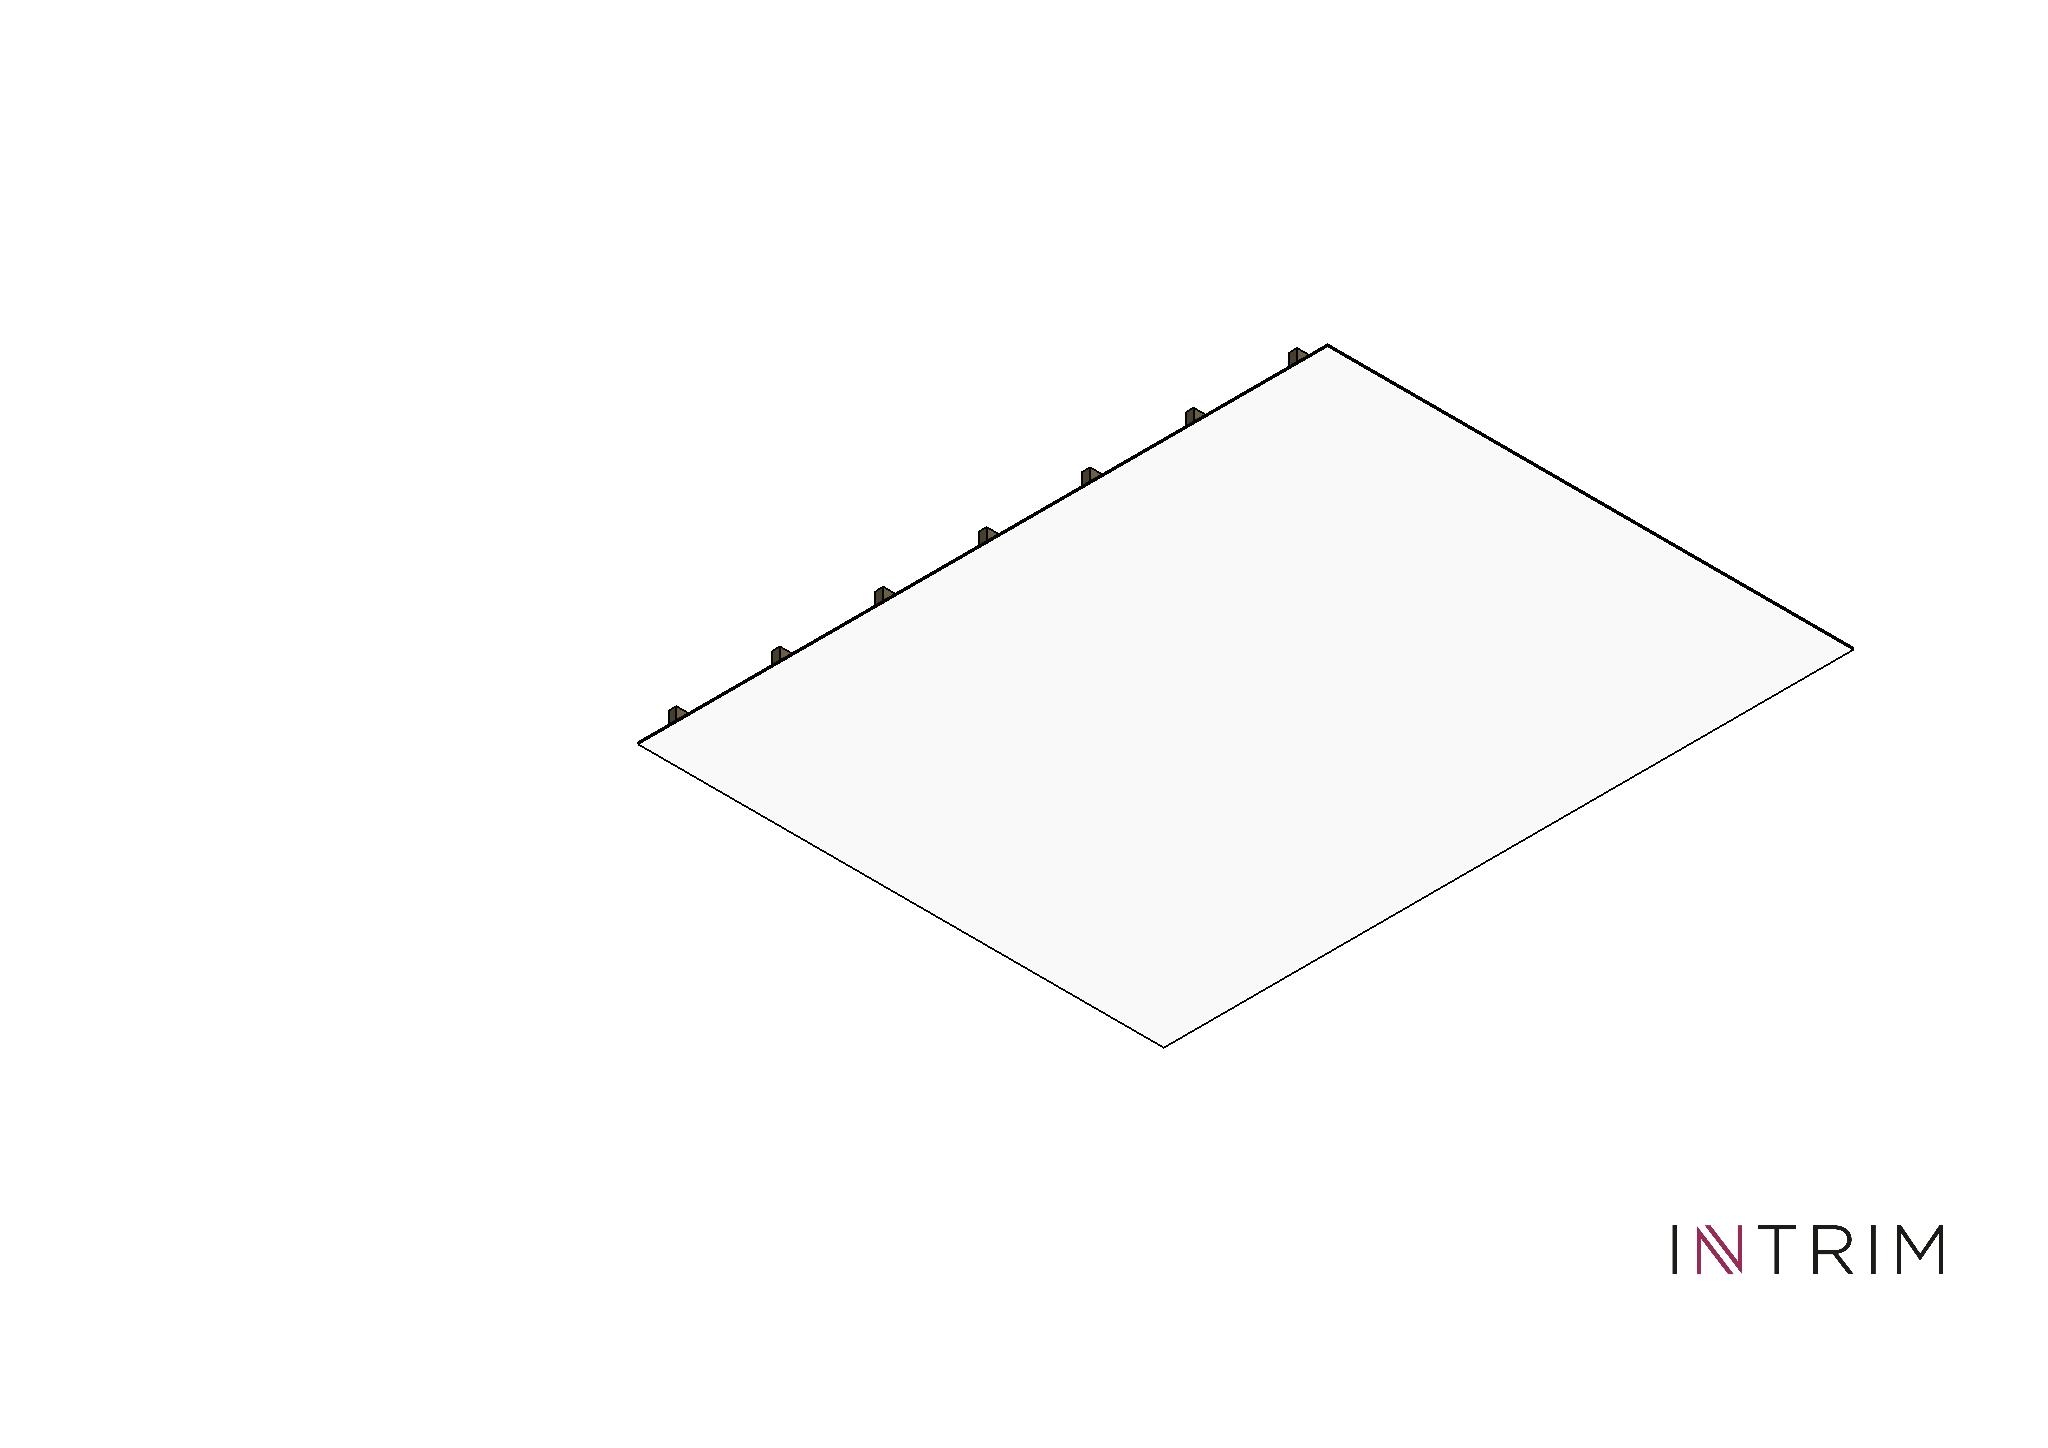
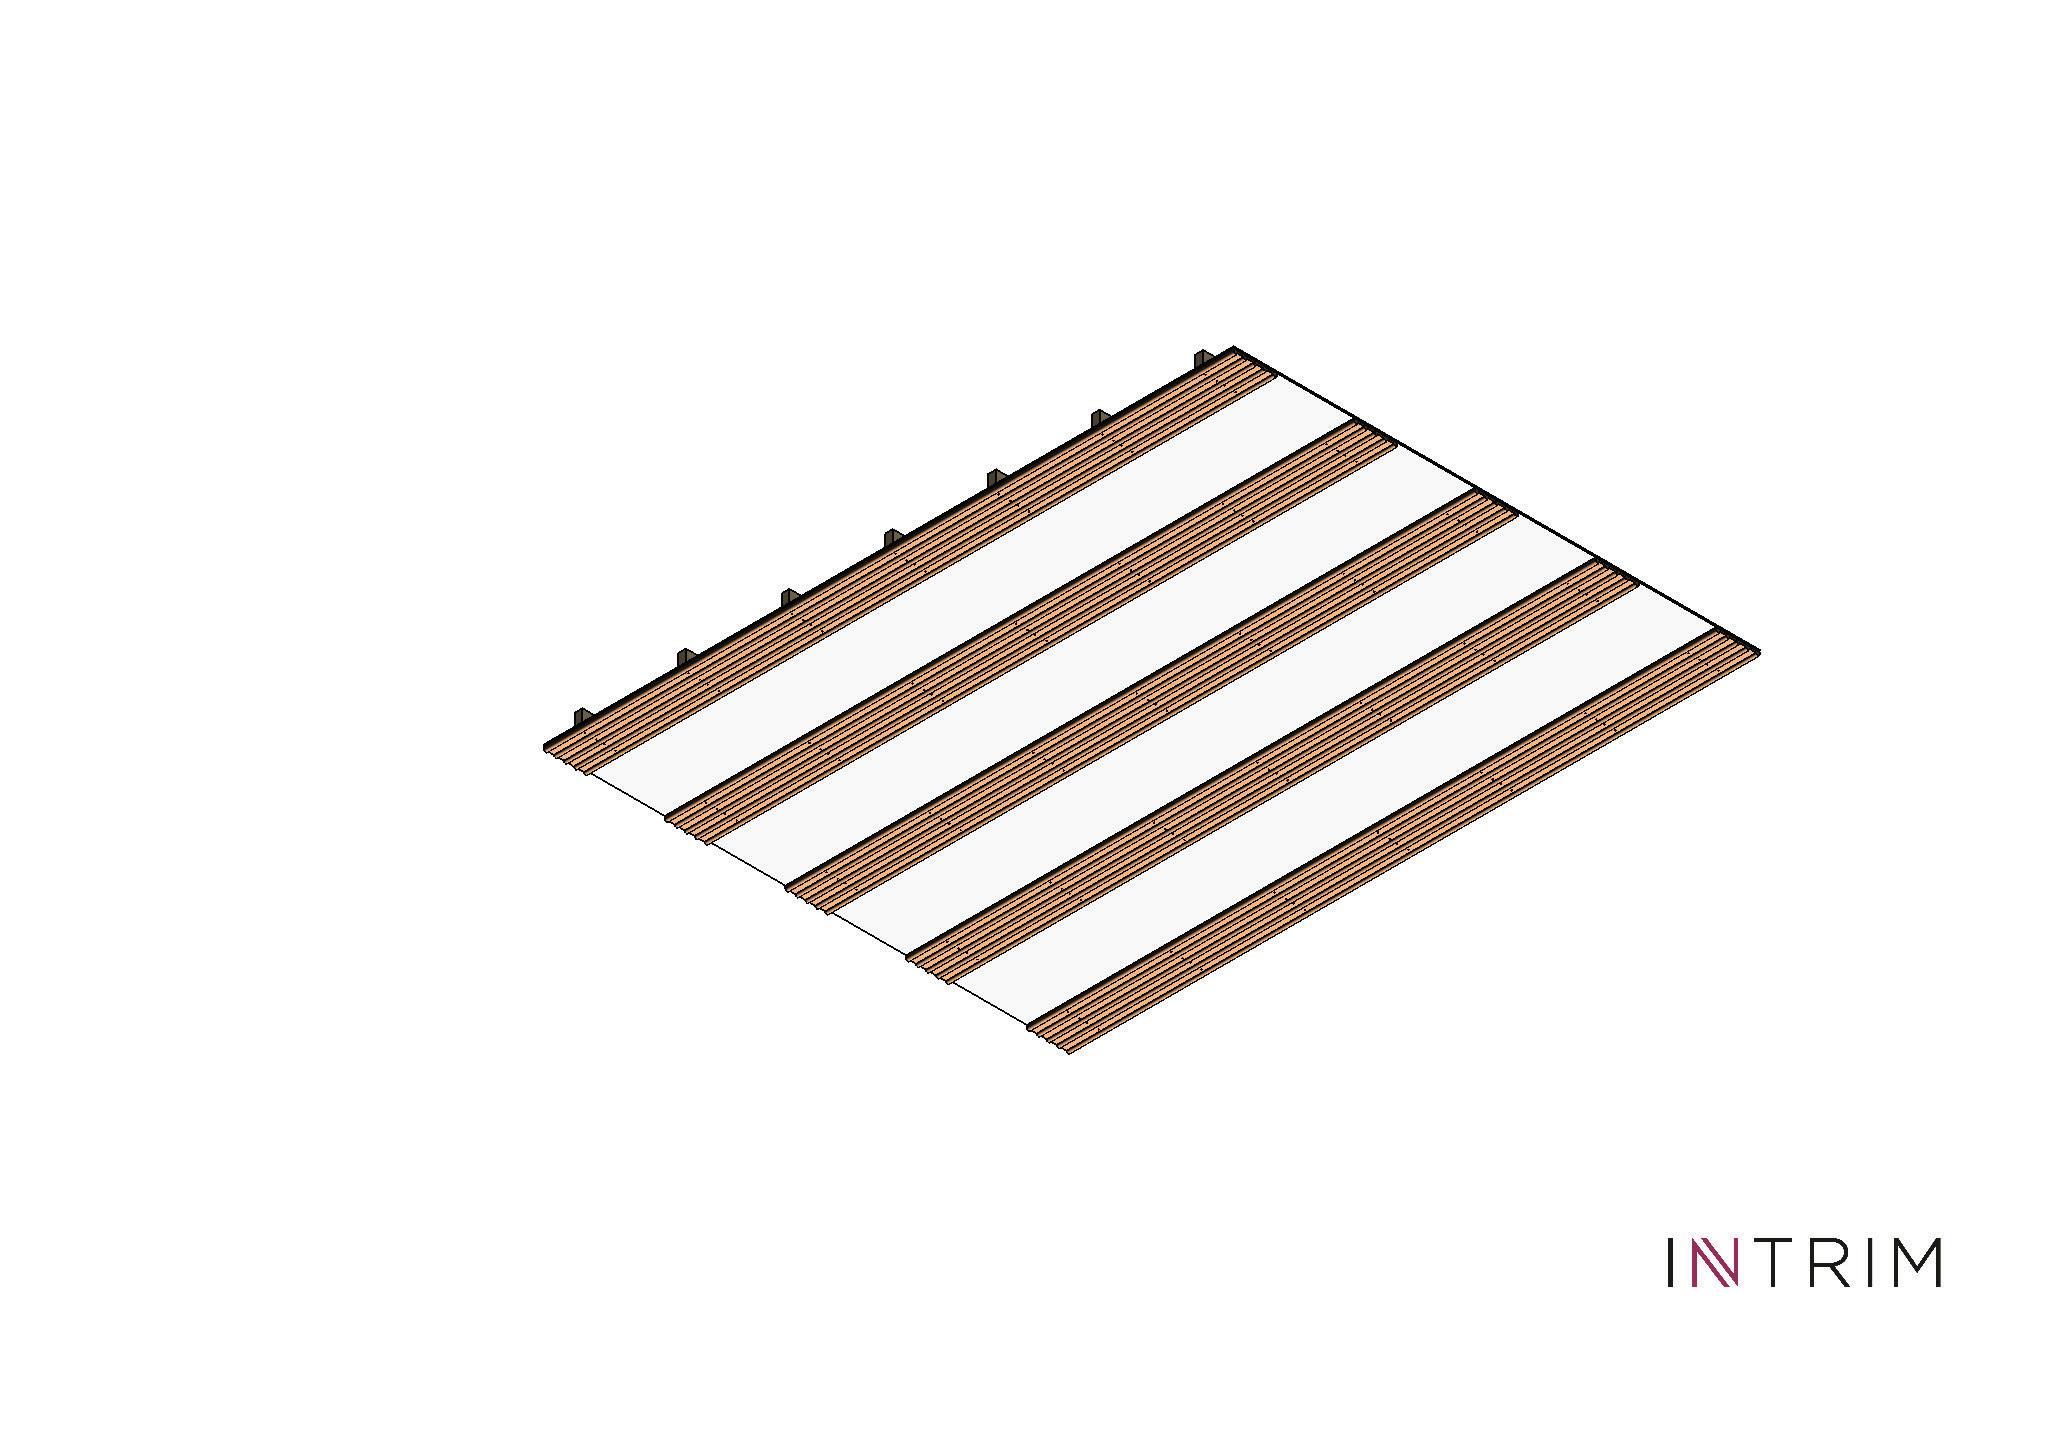
Mark out the other ceiling dimension so that a Casa Trim moulding is against the wall or cornice on both sides, and the distance ‘x’ between the mouldings is the same. This distance should be between 300mm and 600mm.
STEP 3
Mark lines on the ceiling (With a chalk line or a laser level) parallel to the outer edges of each moulding.
STEP 4
Use a stud finder to locate and mark the positions of the ceiling joists.
intrimmouldings.com.au
Architectural mber mouldings & profilesCutting to length and applying adhesive
STEP 1
Cut Casa Trim mouldings to length to fit the longest dimension ‘L’ of the ceiling.
STEP 2
Apply Intrim Intense Grip Adhesive to the rear faces of mouldings.
Positioning on ceiling & nailing to joists
STEP 1
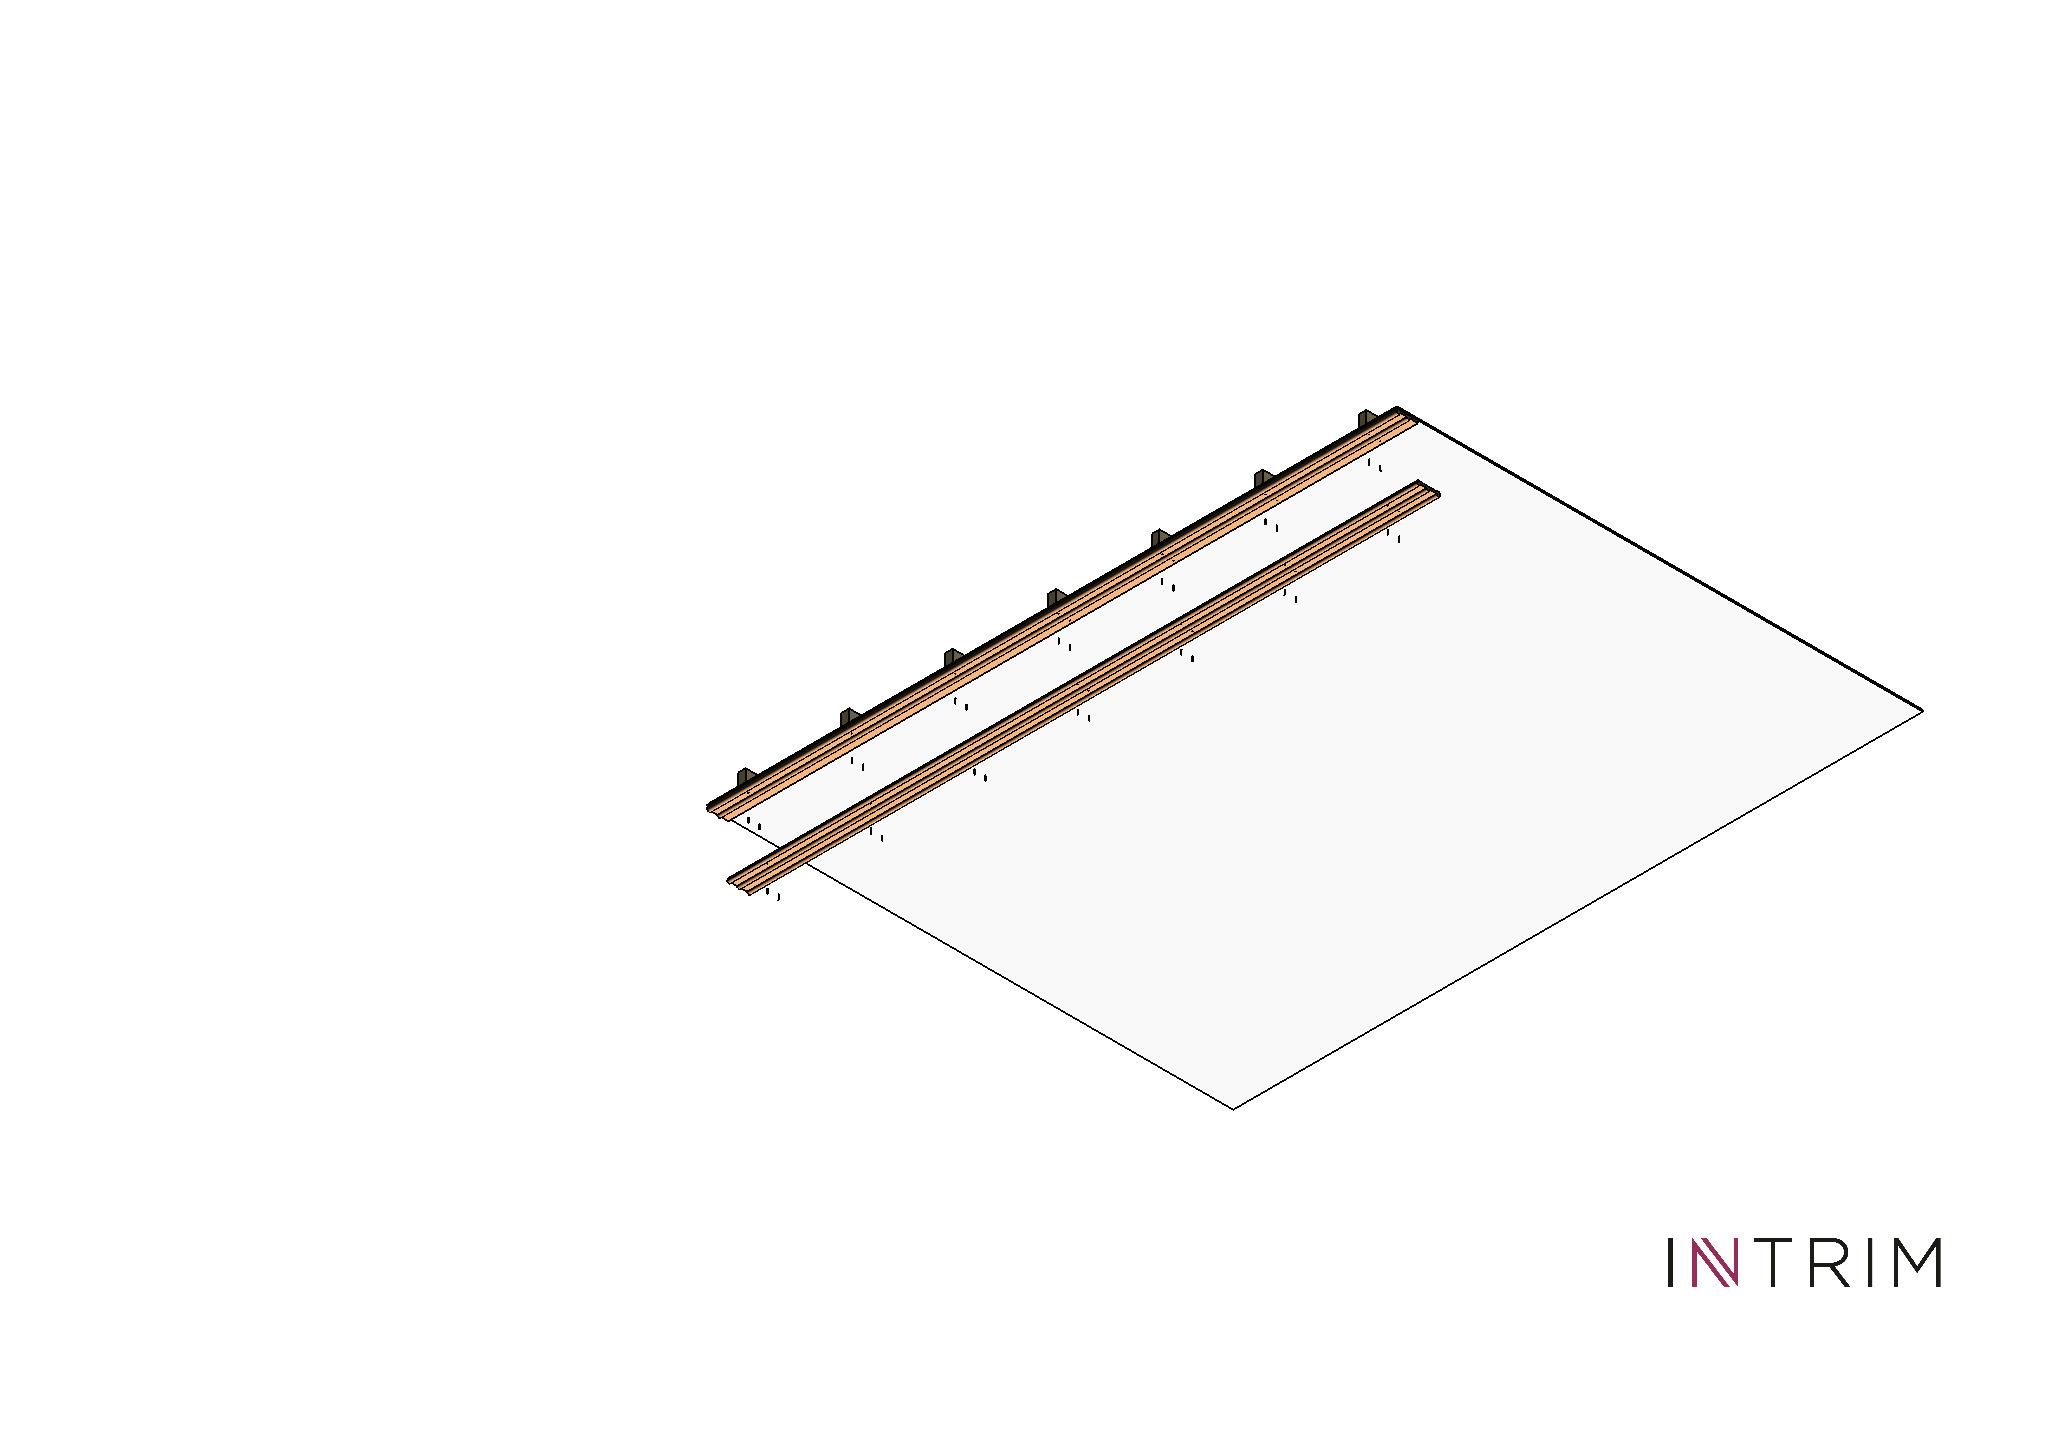
Position narrow moulding (WB42b) on the ceiling, using marked outlines as a guide, and nail moulding to ceiling joists. If no joists are available, nails can be put in at an angle through the moulding and ceiling plasterboard.
STEP 2
Place wider moulding (WB42a) over narrow moulding and nail to joists. (Maximum spacing between nails should be 600 mm)
STEP 3
Repeat the process until all the mouldings are in position on ceiling.
Paint and finish installation
Refer to Intrim instructions for painting mouldings when installation is complete.
Nails (two for each moulding at each ceiling member to give four nails at each intersec on)
600mm (maximum spacing)
Wall application
Make sure the wall is clean and free of any flaky paint.
Measuring - Marking out the wall
STEP 1
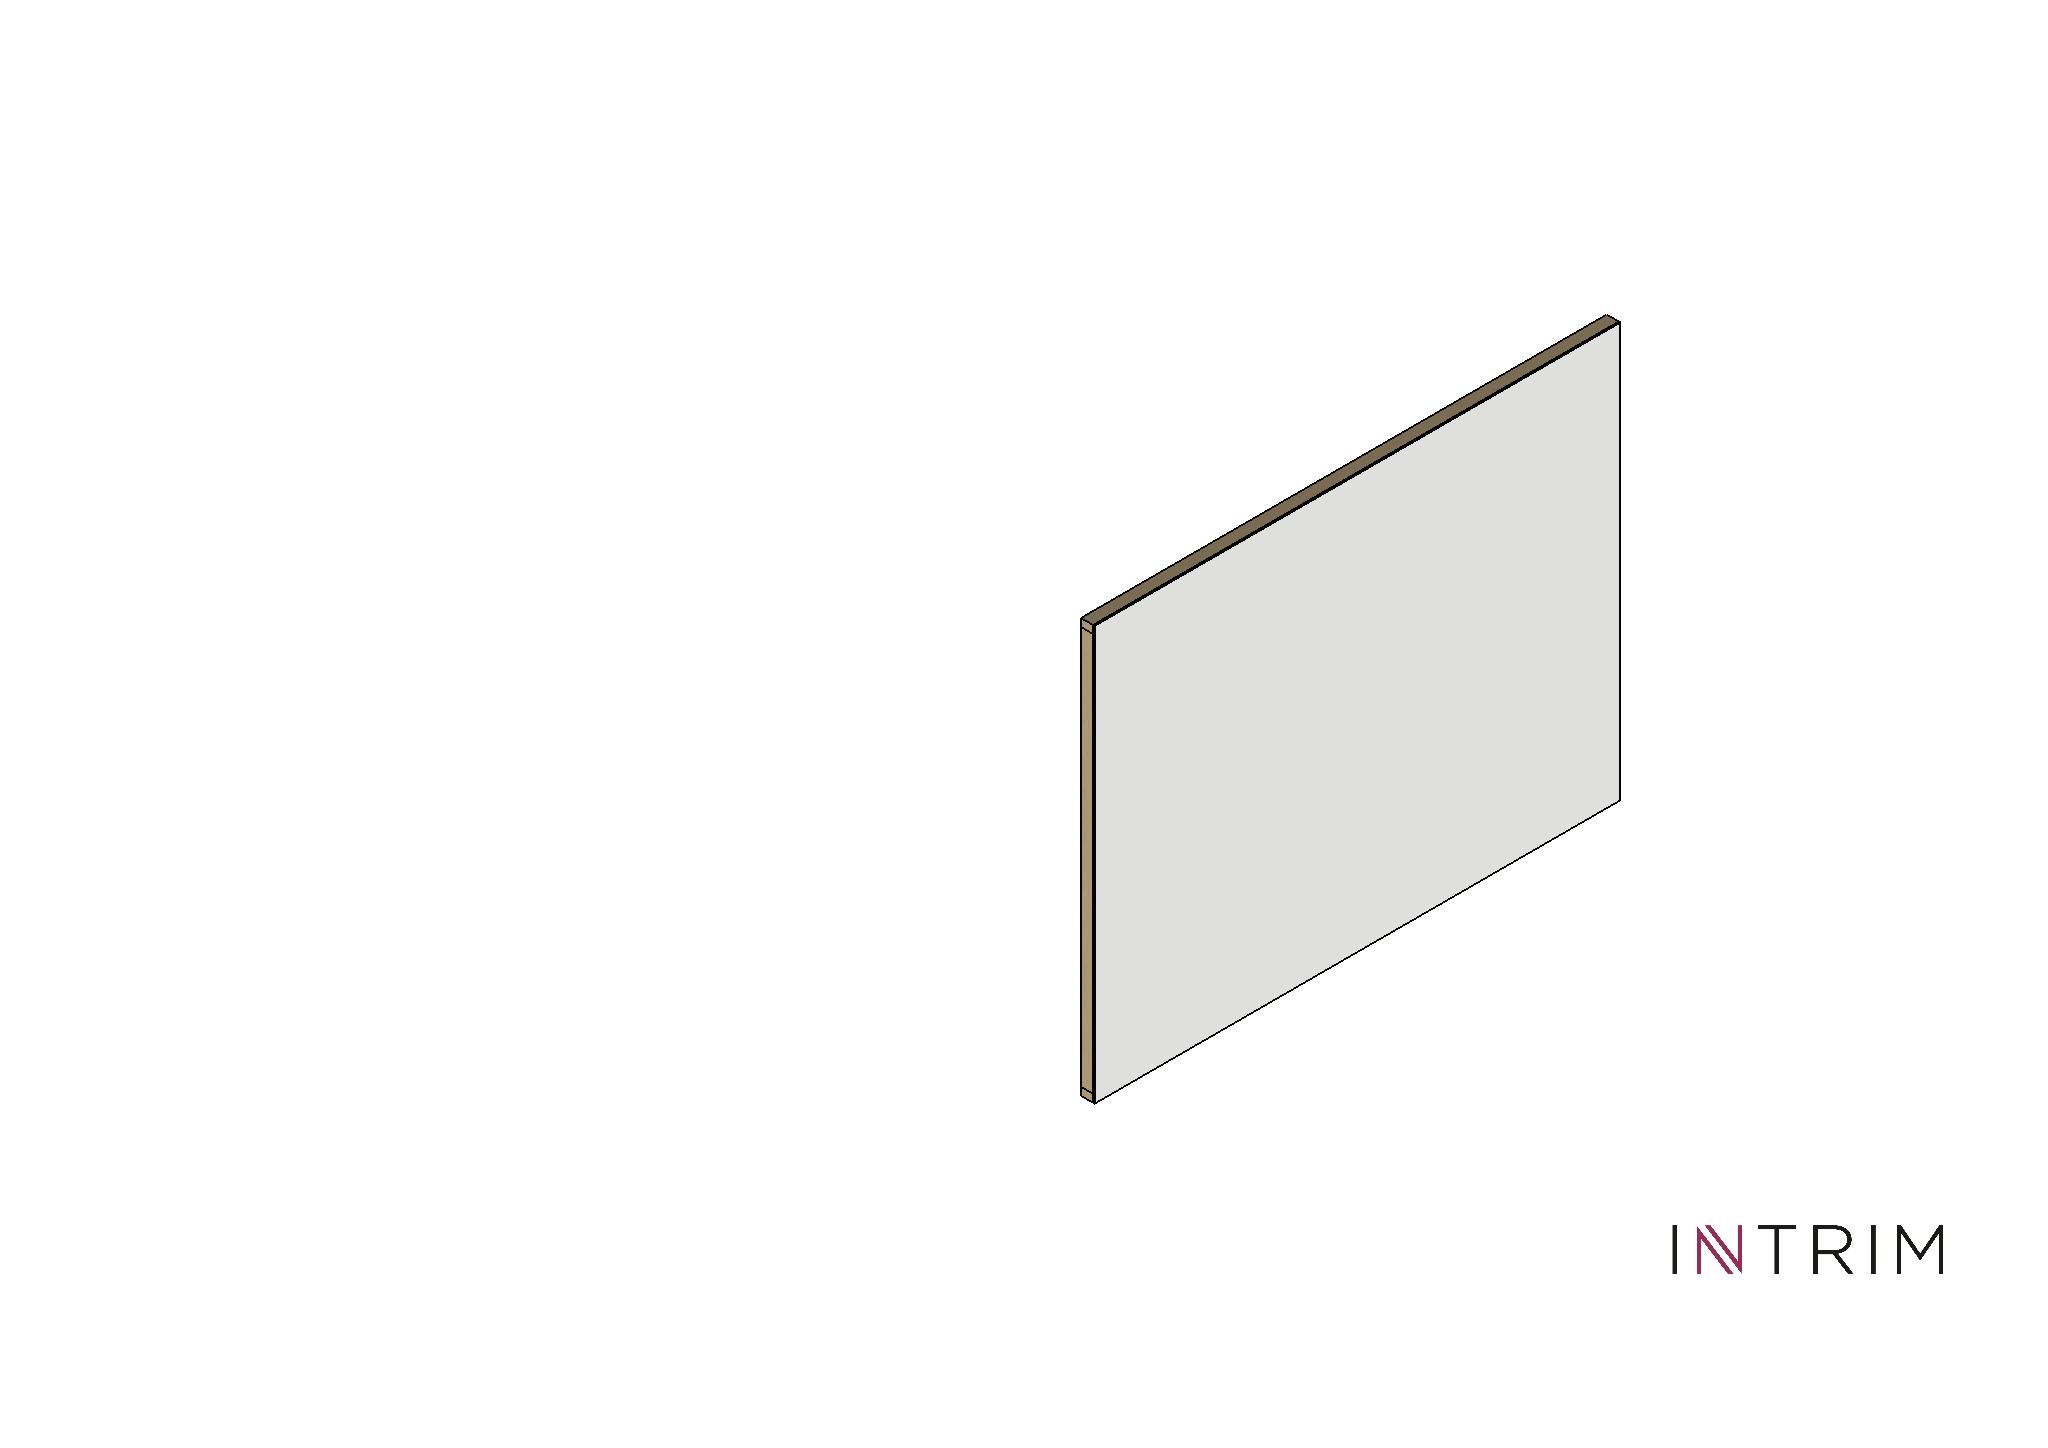
Measure width of the wall from corner to corner. Casa Trim will be installed vertically on the wall.
STEP 2
Mark out the wall so that a Casa Trim moulding is against the wall on both sides, and the distance ‘x’ between the mouldings is the same. This distance should be between 300mm and 600mm.
STEP 3
Mark vertical lines on the wall to show the outer edges of each moulding, using a spirit level or a laser level.
STEP 4
Use a stud finder to find and mark the positions of the wall studs and noggins.
Cutting to length and applying adhesive
STEP 1
Measure the distance between the top edge of the skirting or floor and the bottom edge of the cornice mould or ceiling.
STEP 2
Cut Casa Trim mouldings to length to fit the measured distance.
STEP 3
Apply Intrim Intense Grip Adhesive to the back faces of mouldings.
Positioning on wall & nailing to frame members
STEP 1
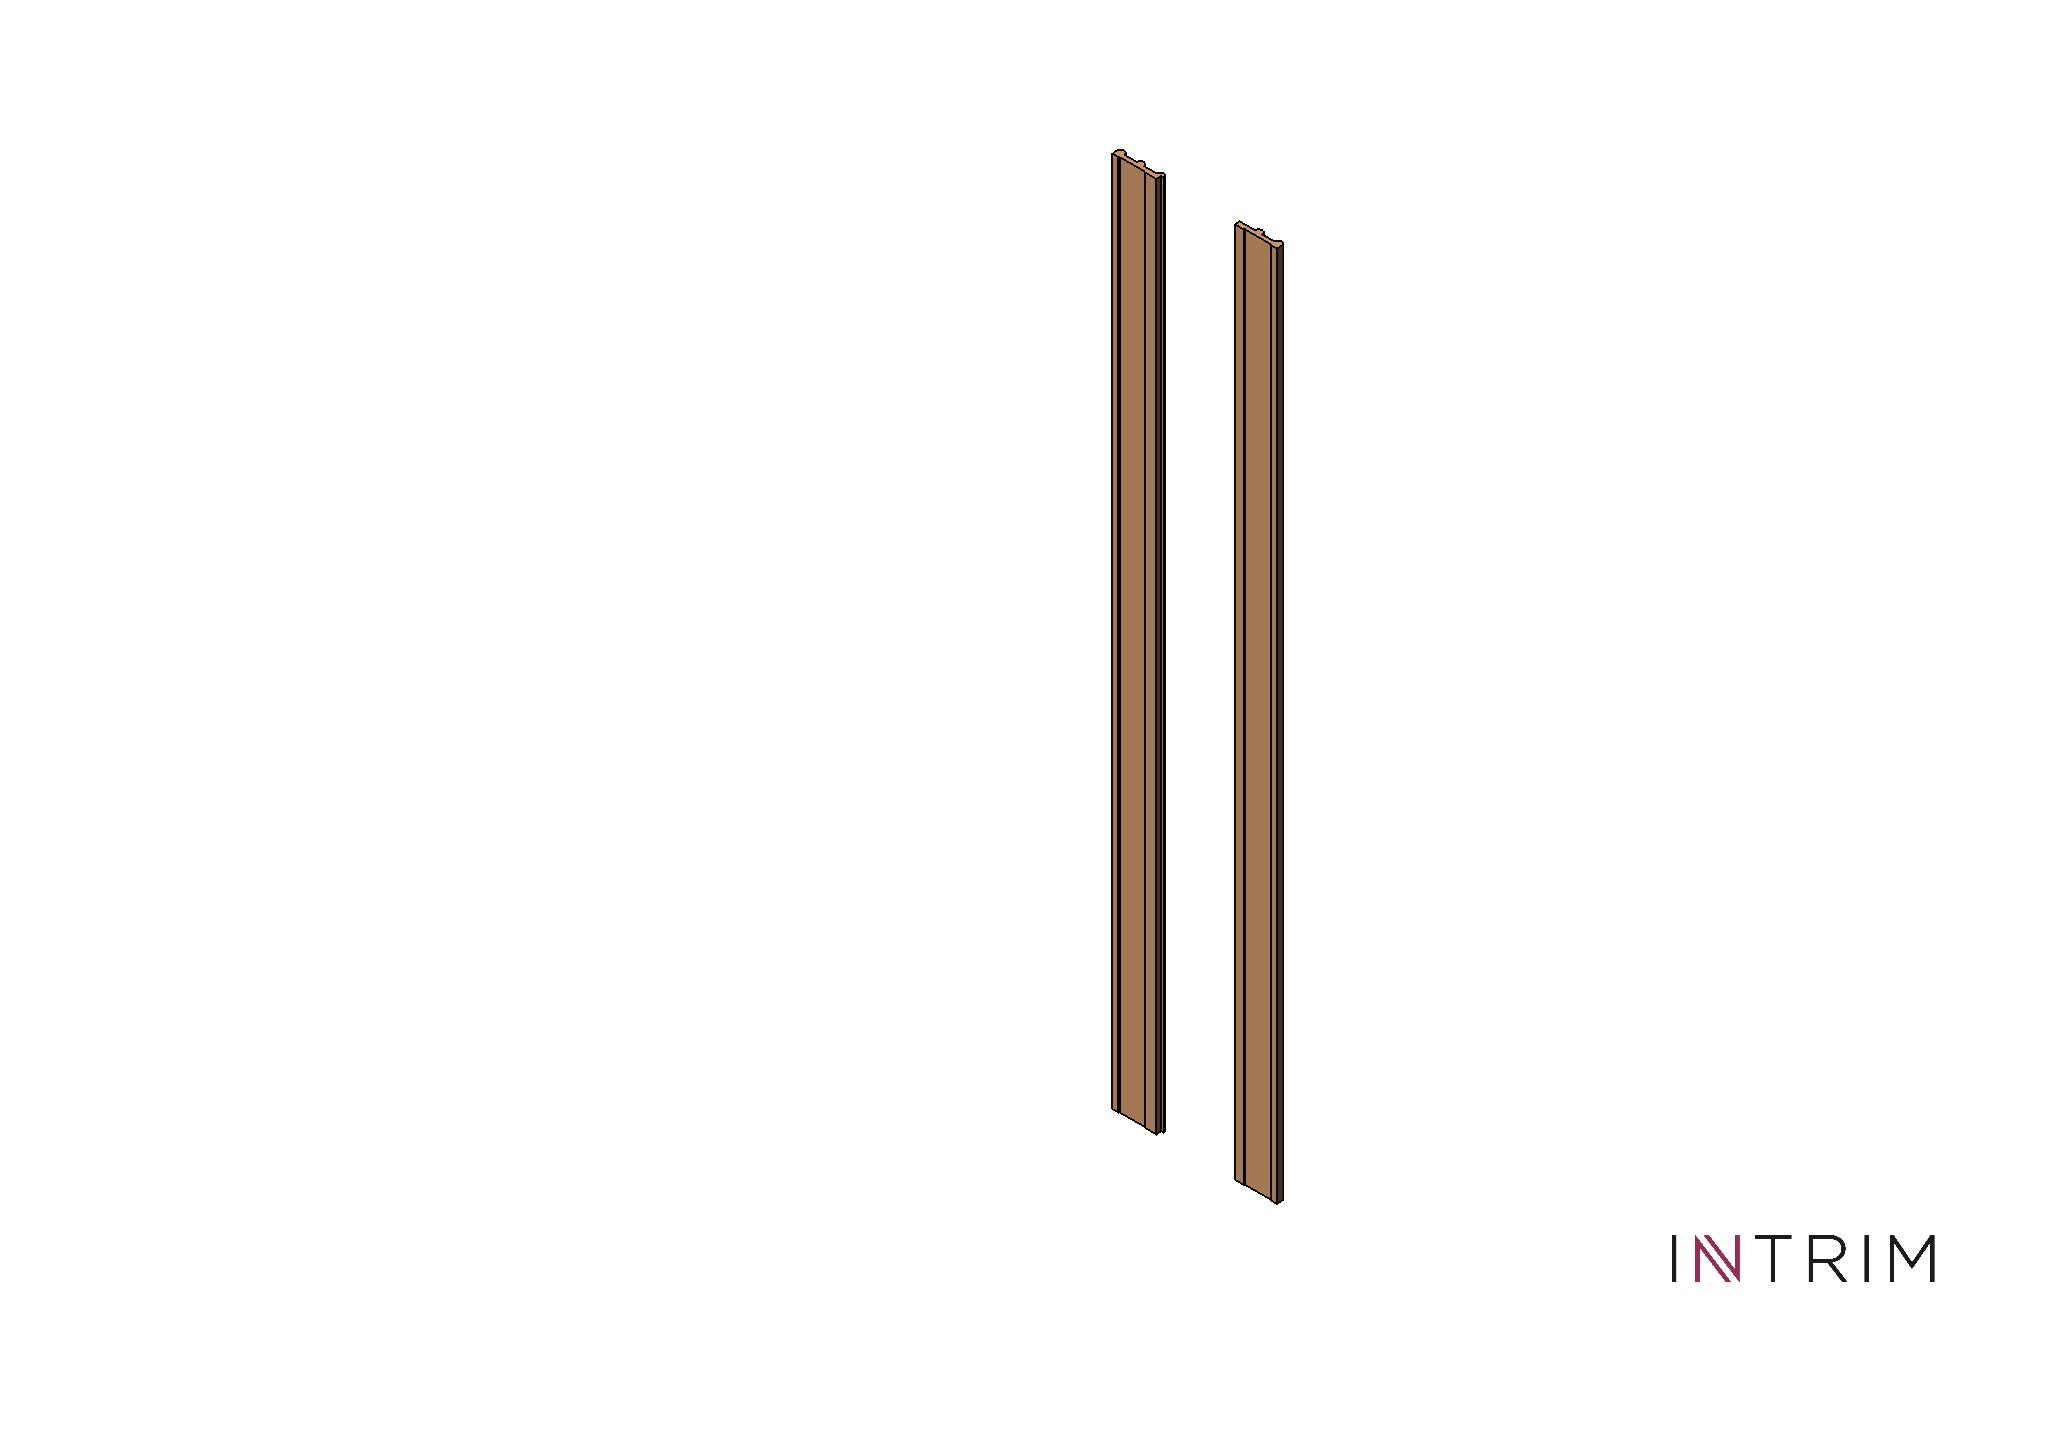
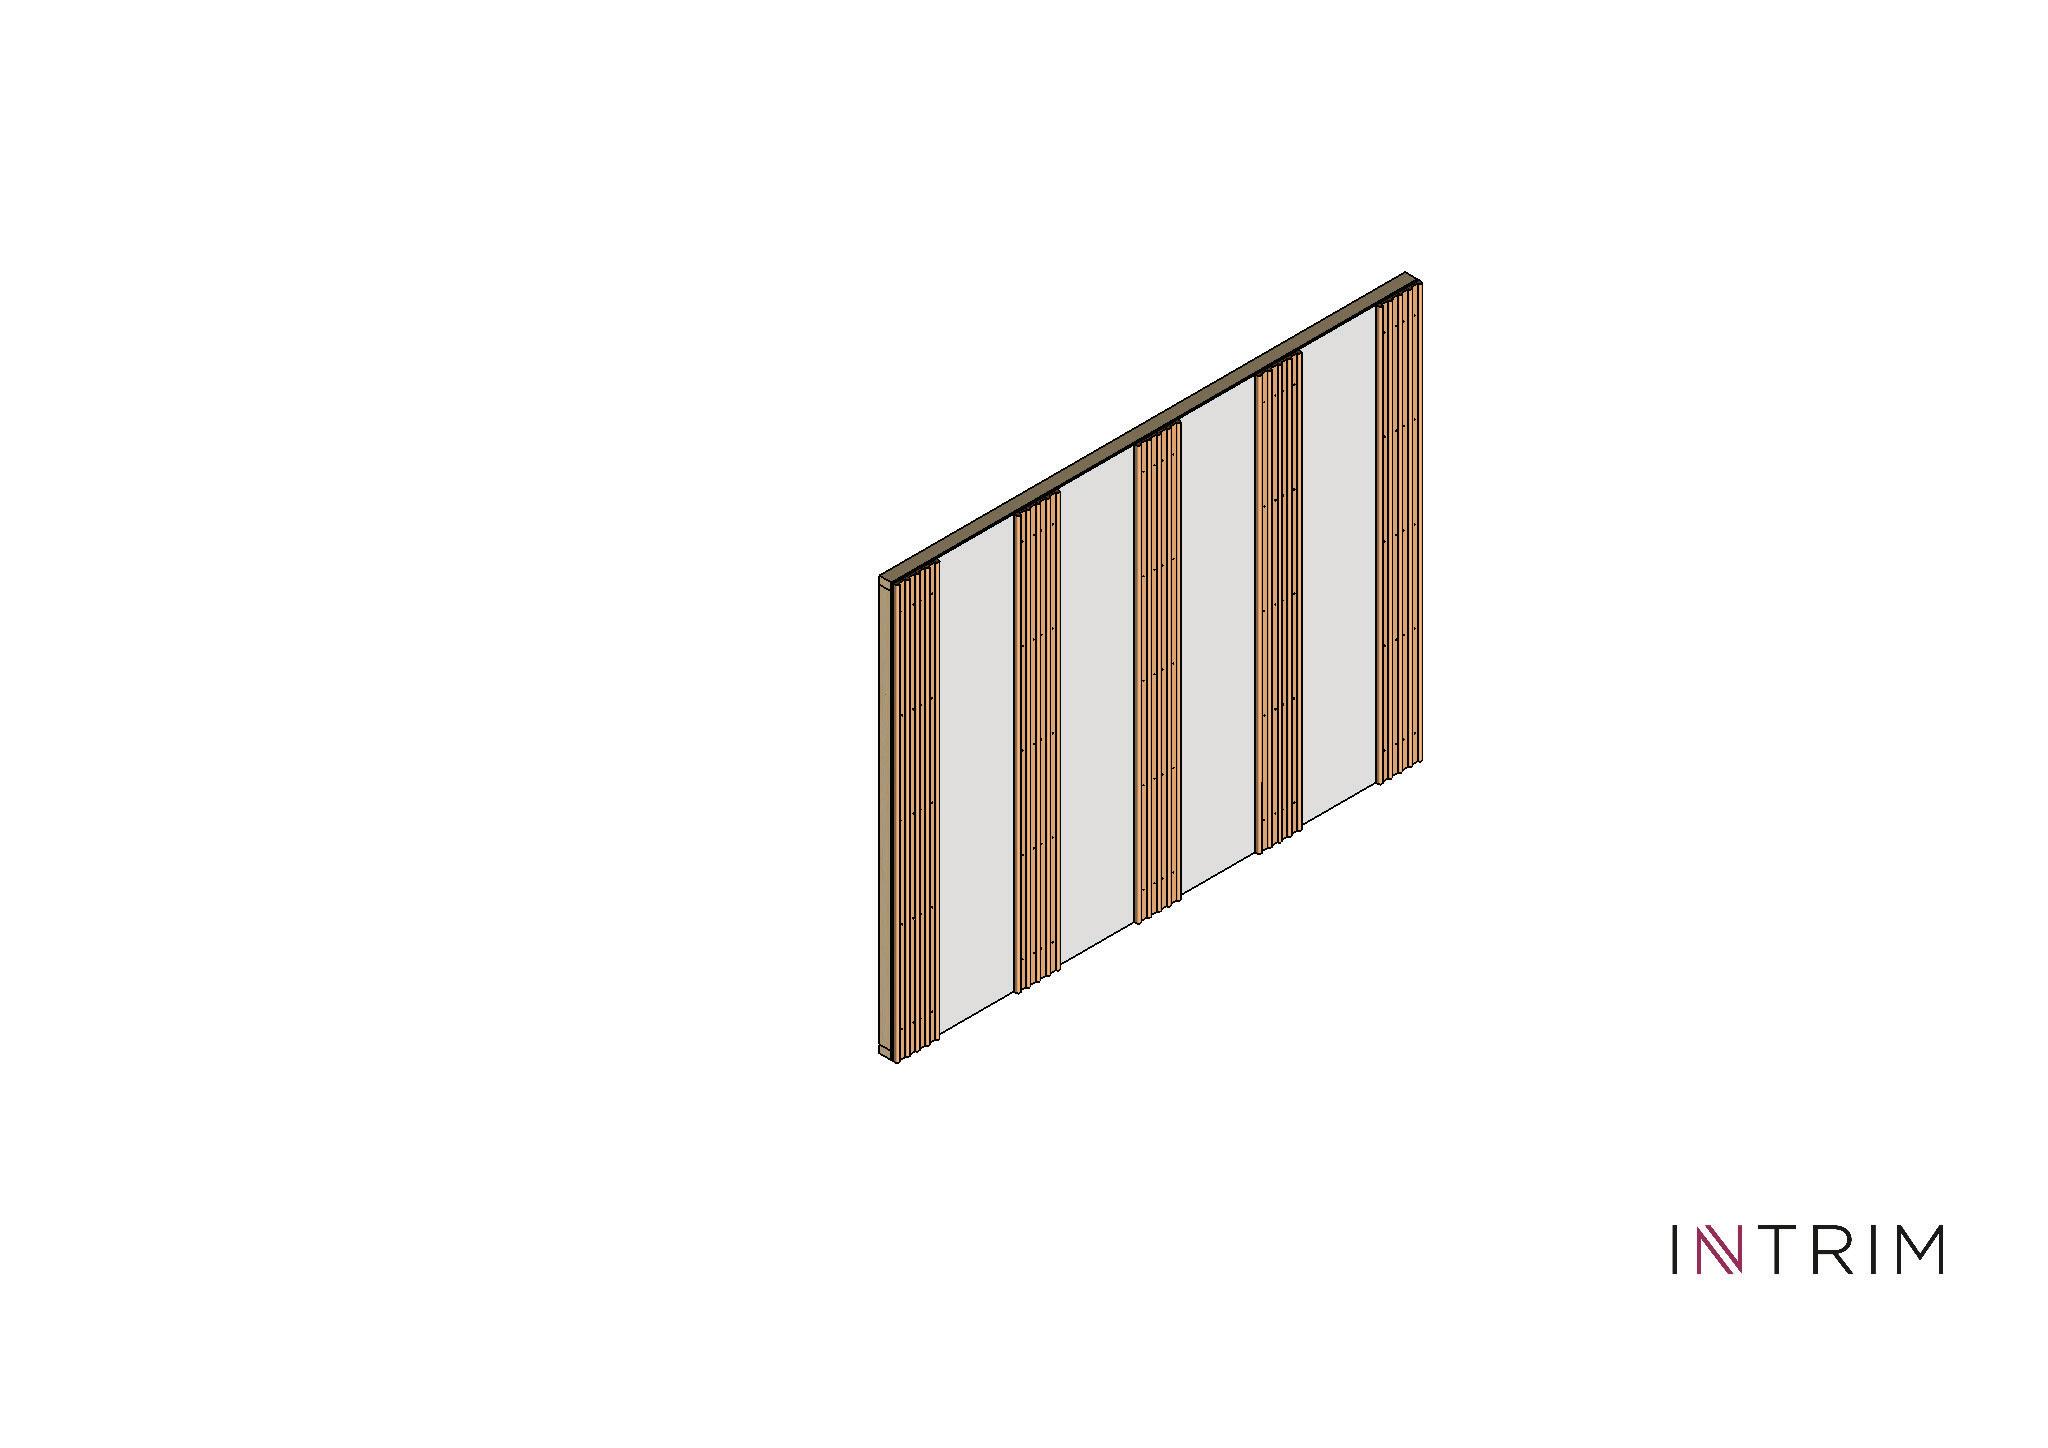
Position narrow moulding (WB42b) on the wall, using marked outlines as a guide, and nail moulding to the wall studs or noggins. If no frame members are available, nails can be put in at an angle through the moulding and the wall plasterboard.
STEP 2
Place wider moulding (WB42a) over narrow moulding and nail to frame members or plasterboard as in step 1. (Maximum spacing between nails should be 600 mm)
STEP 3
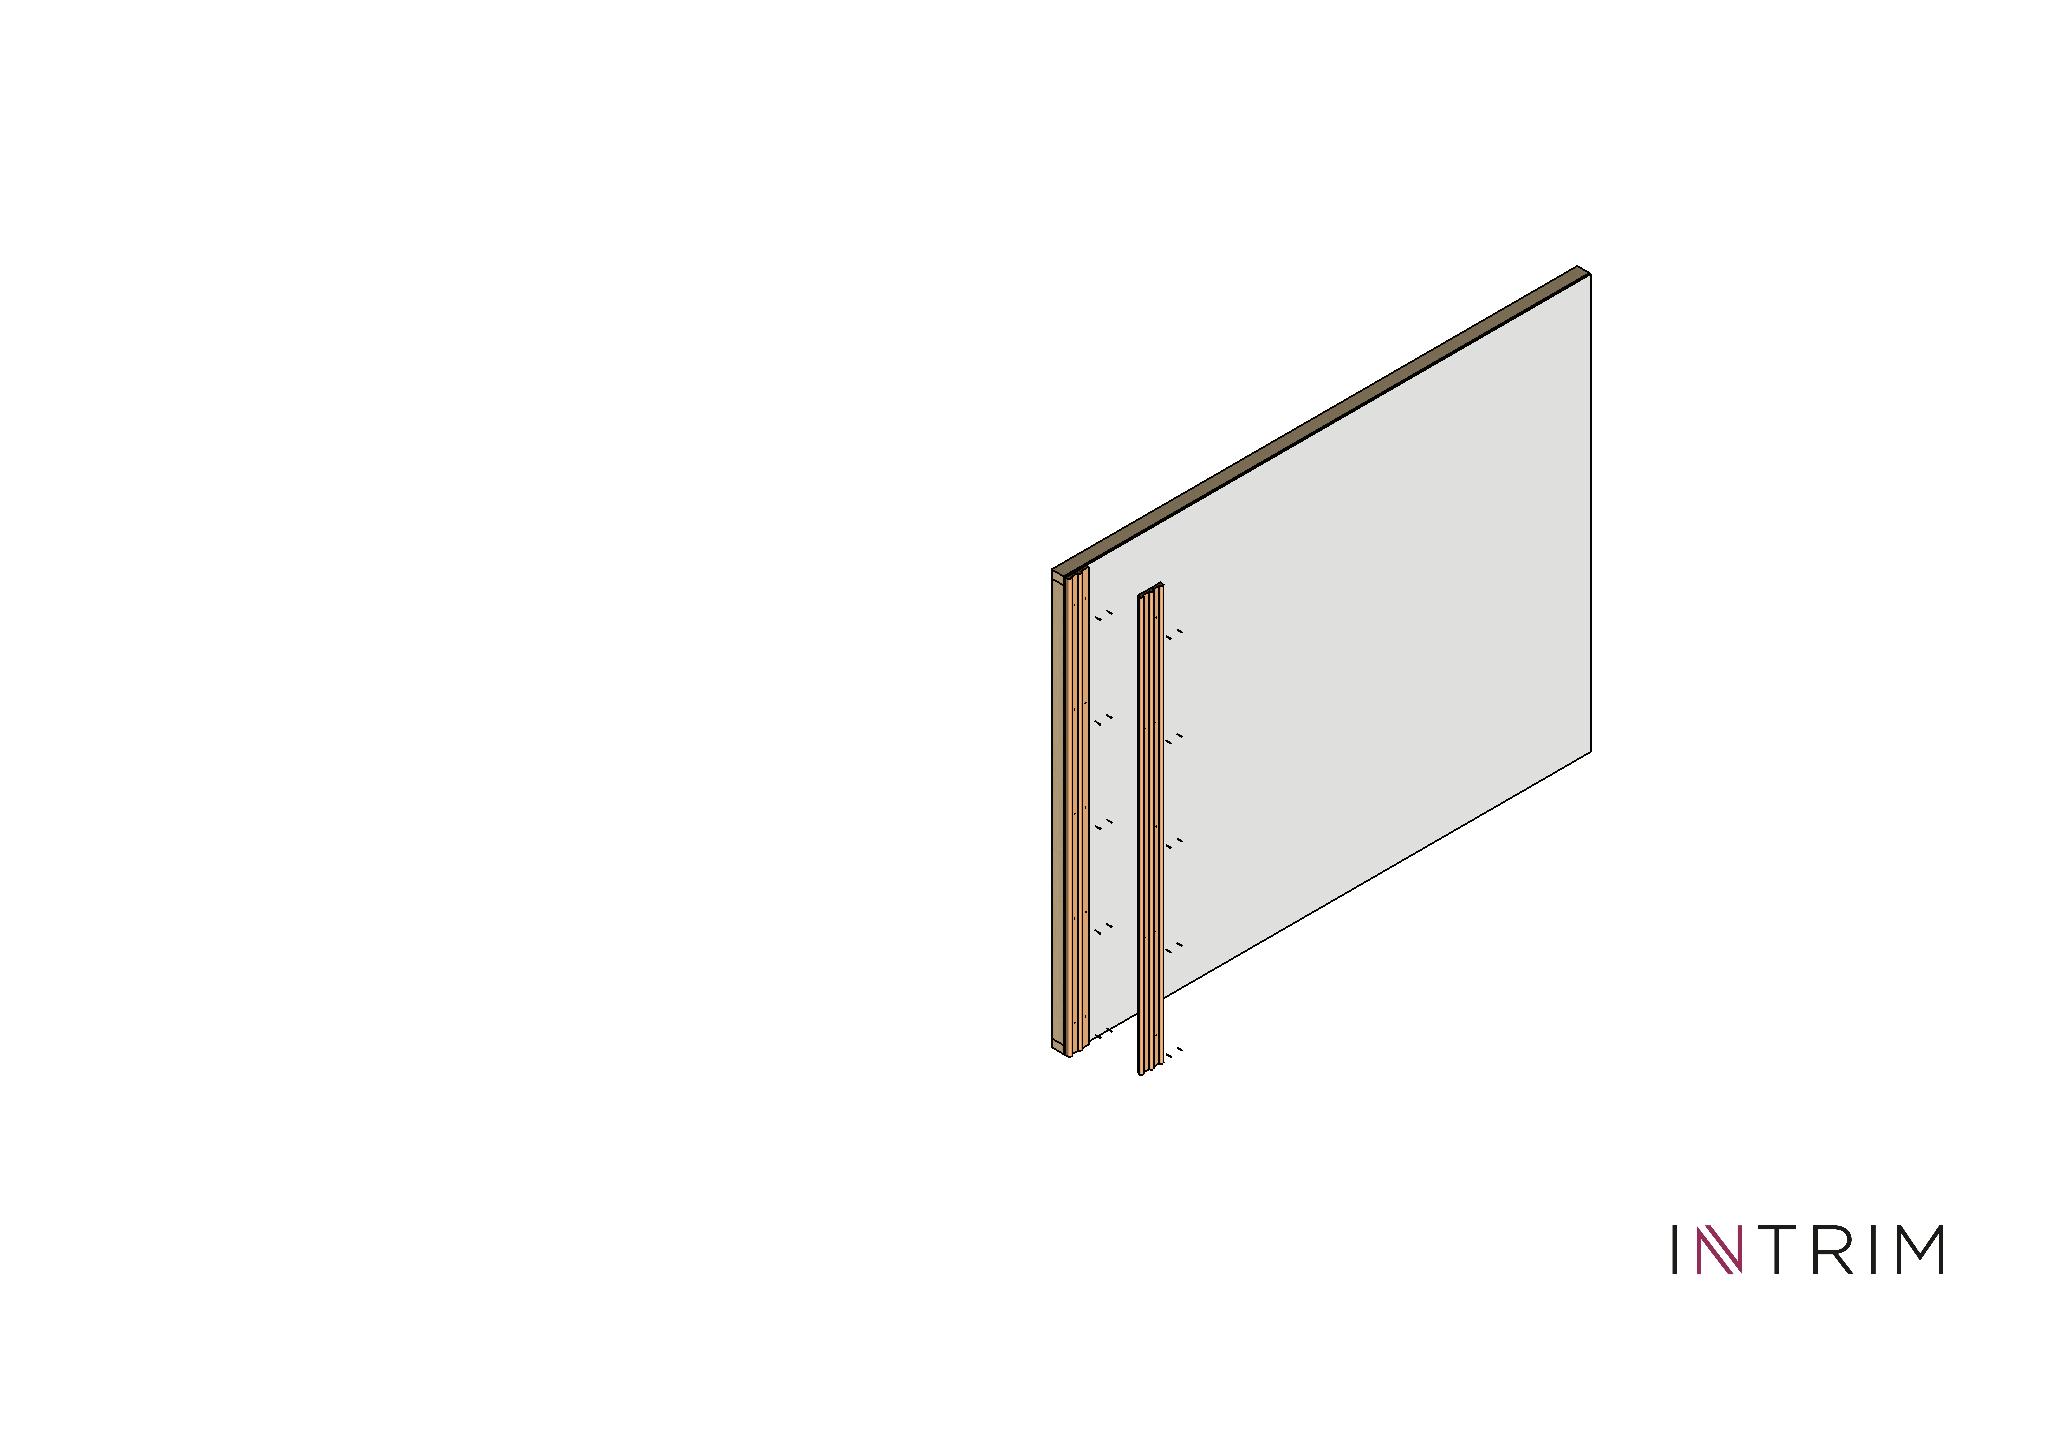
Repeat the process until all mouldings are in position on a wall.
Paint and finish installation
Refer to Intrim instructions for painting mouldings when installation is complete.
Tips:
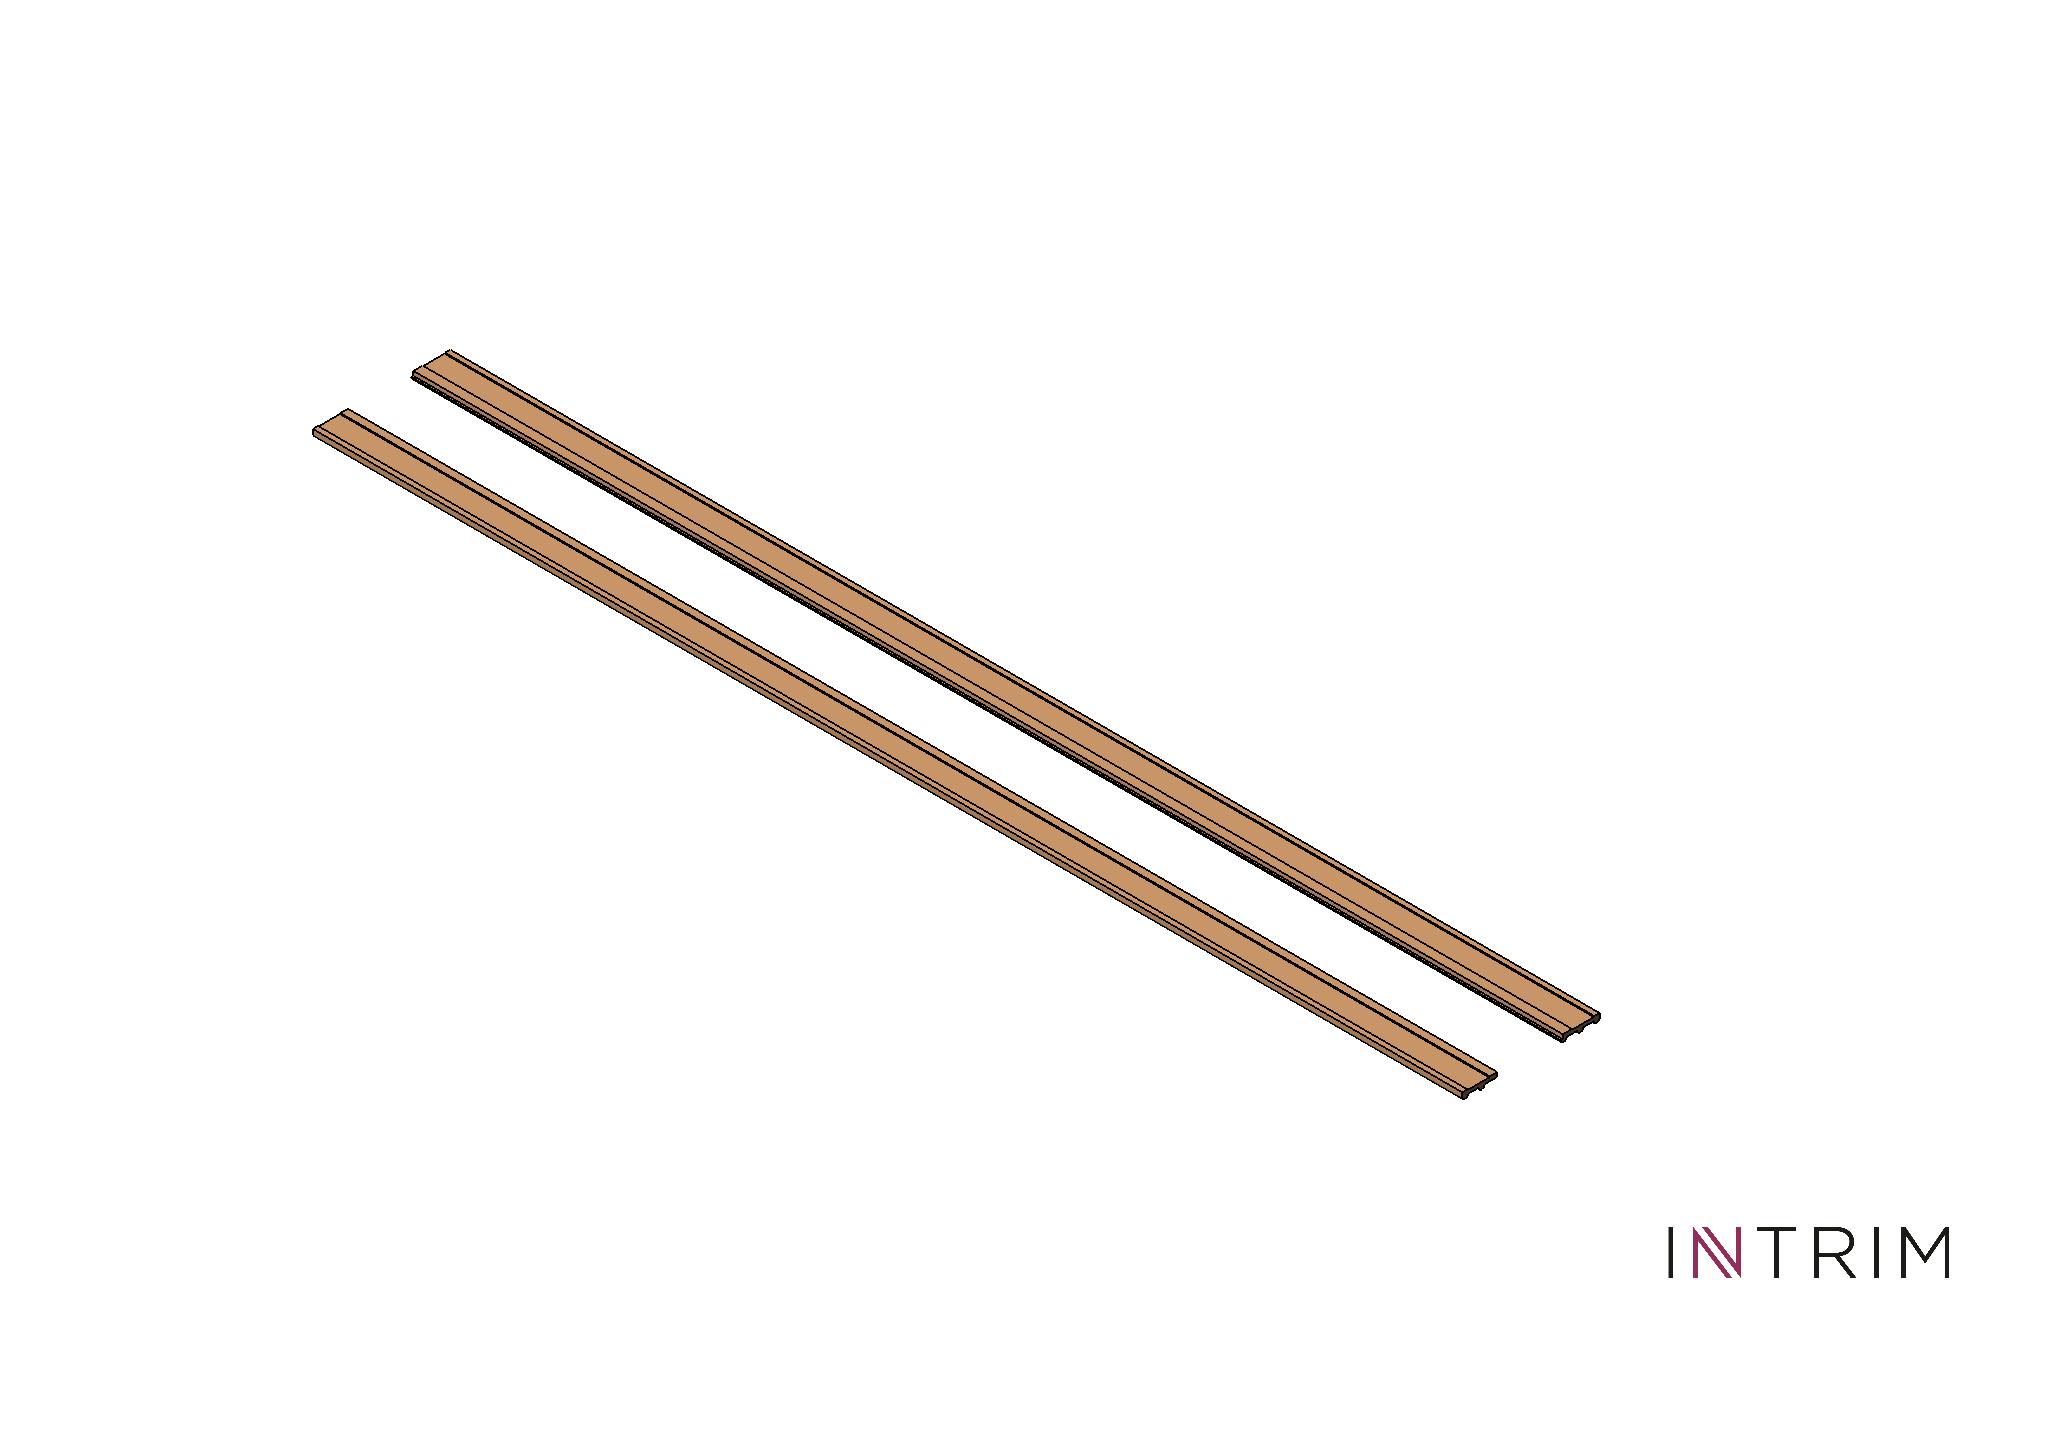
• Install the narrower part of the two-piece moulding (122 mm wide) first and place the wider one over the top.
• Intrim Intense grip adhesive has a very fast grip time (if you apply pressure for 30-60 seconds). So you may minimise the amount of nails required. You may like to test this when installing the first piece of moulding.
1800 622 081
600mm (maximum spacing)
Frame members
Wall plasterboard Nail posi ons
WB42b
WB42a
Nails (two for each moulding to give four nails at each intersec on)
Phone Intrim
+ 61 2 4677 8000
E sales@intrimgroup.com.au
Casa Trim Video Installation Guide
intrimmouldings.com.au