wrapped with love
COURSE
WORKBOOK

Welcome to my first gift wrapping course, Wrapped with Love.
I’m so happy you have decided to join and that you have chosen to learn more about the art of gift wrapping. Since I was a school girl, I was the designated family member for wrapping all of our school books and birthday and Christmas gifts for family and friends (well, not my own of course!). So, it is such a joy to be bringing together all of my top tips and hacks into this course for you.
Creating beautifully wrapped gifts is such a wonderful way to express your creativity as well as to impress your loved ones with your new found skills and by the end of this course you will have the skills to wrap like a pro, tie beautiful bows and tackle awkward shapes.

I’ve designed this handy workbook to help guide you through the course step by step; and additional information and ideas that you can refer to in your own time. So, sit back and relax and enjoy the demonstration and practicing the techniques along the way. There is also space for you to take lots of notes and perhaps even scribble some ideas down for your own creations!
I hope you enjoy the course, and I’m sure your gift recipients will too!
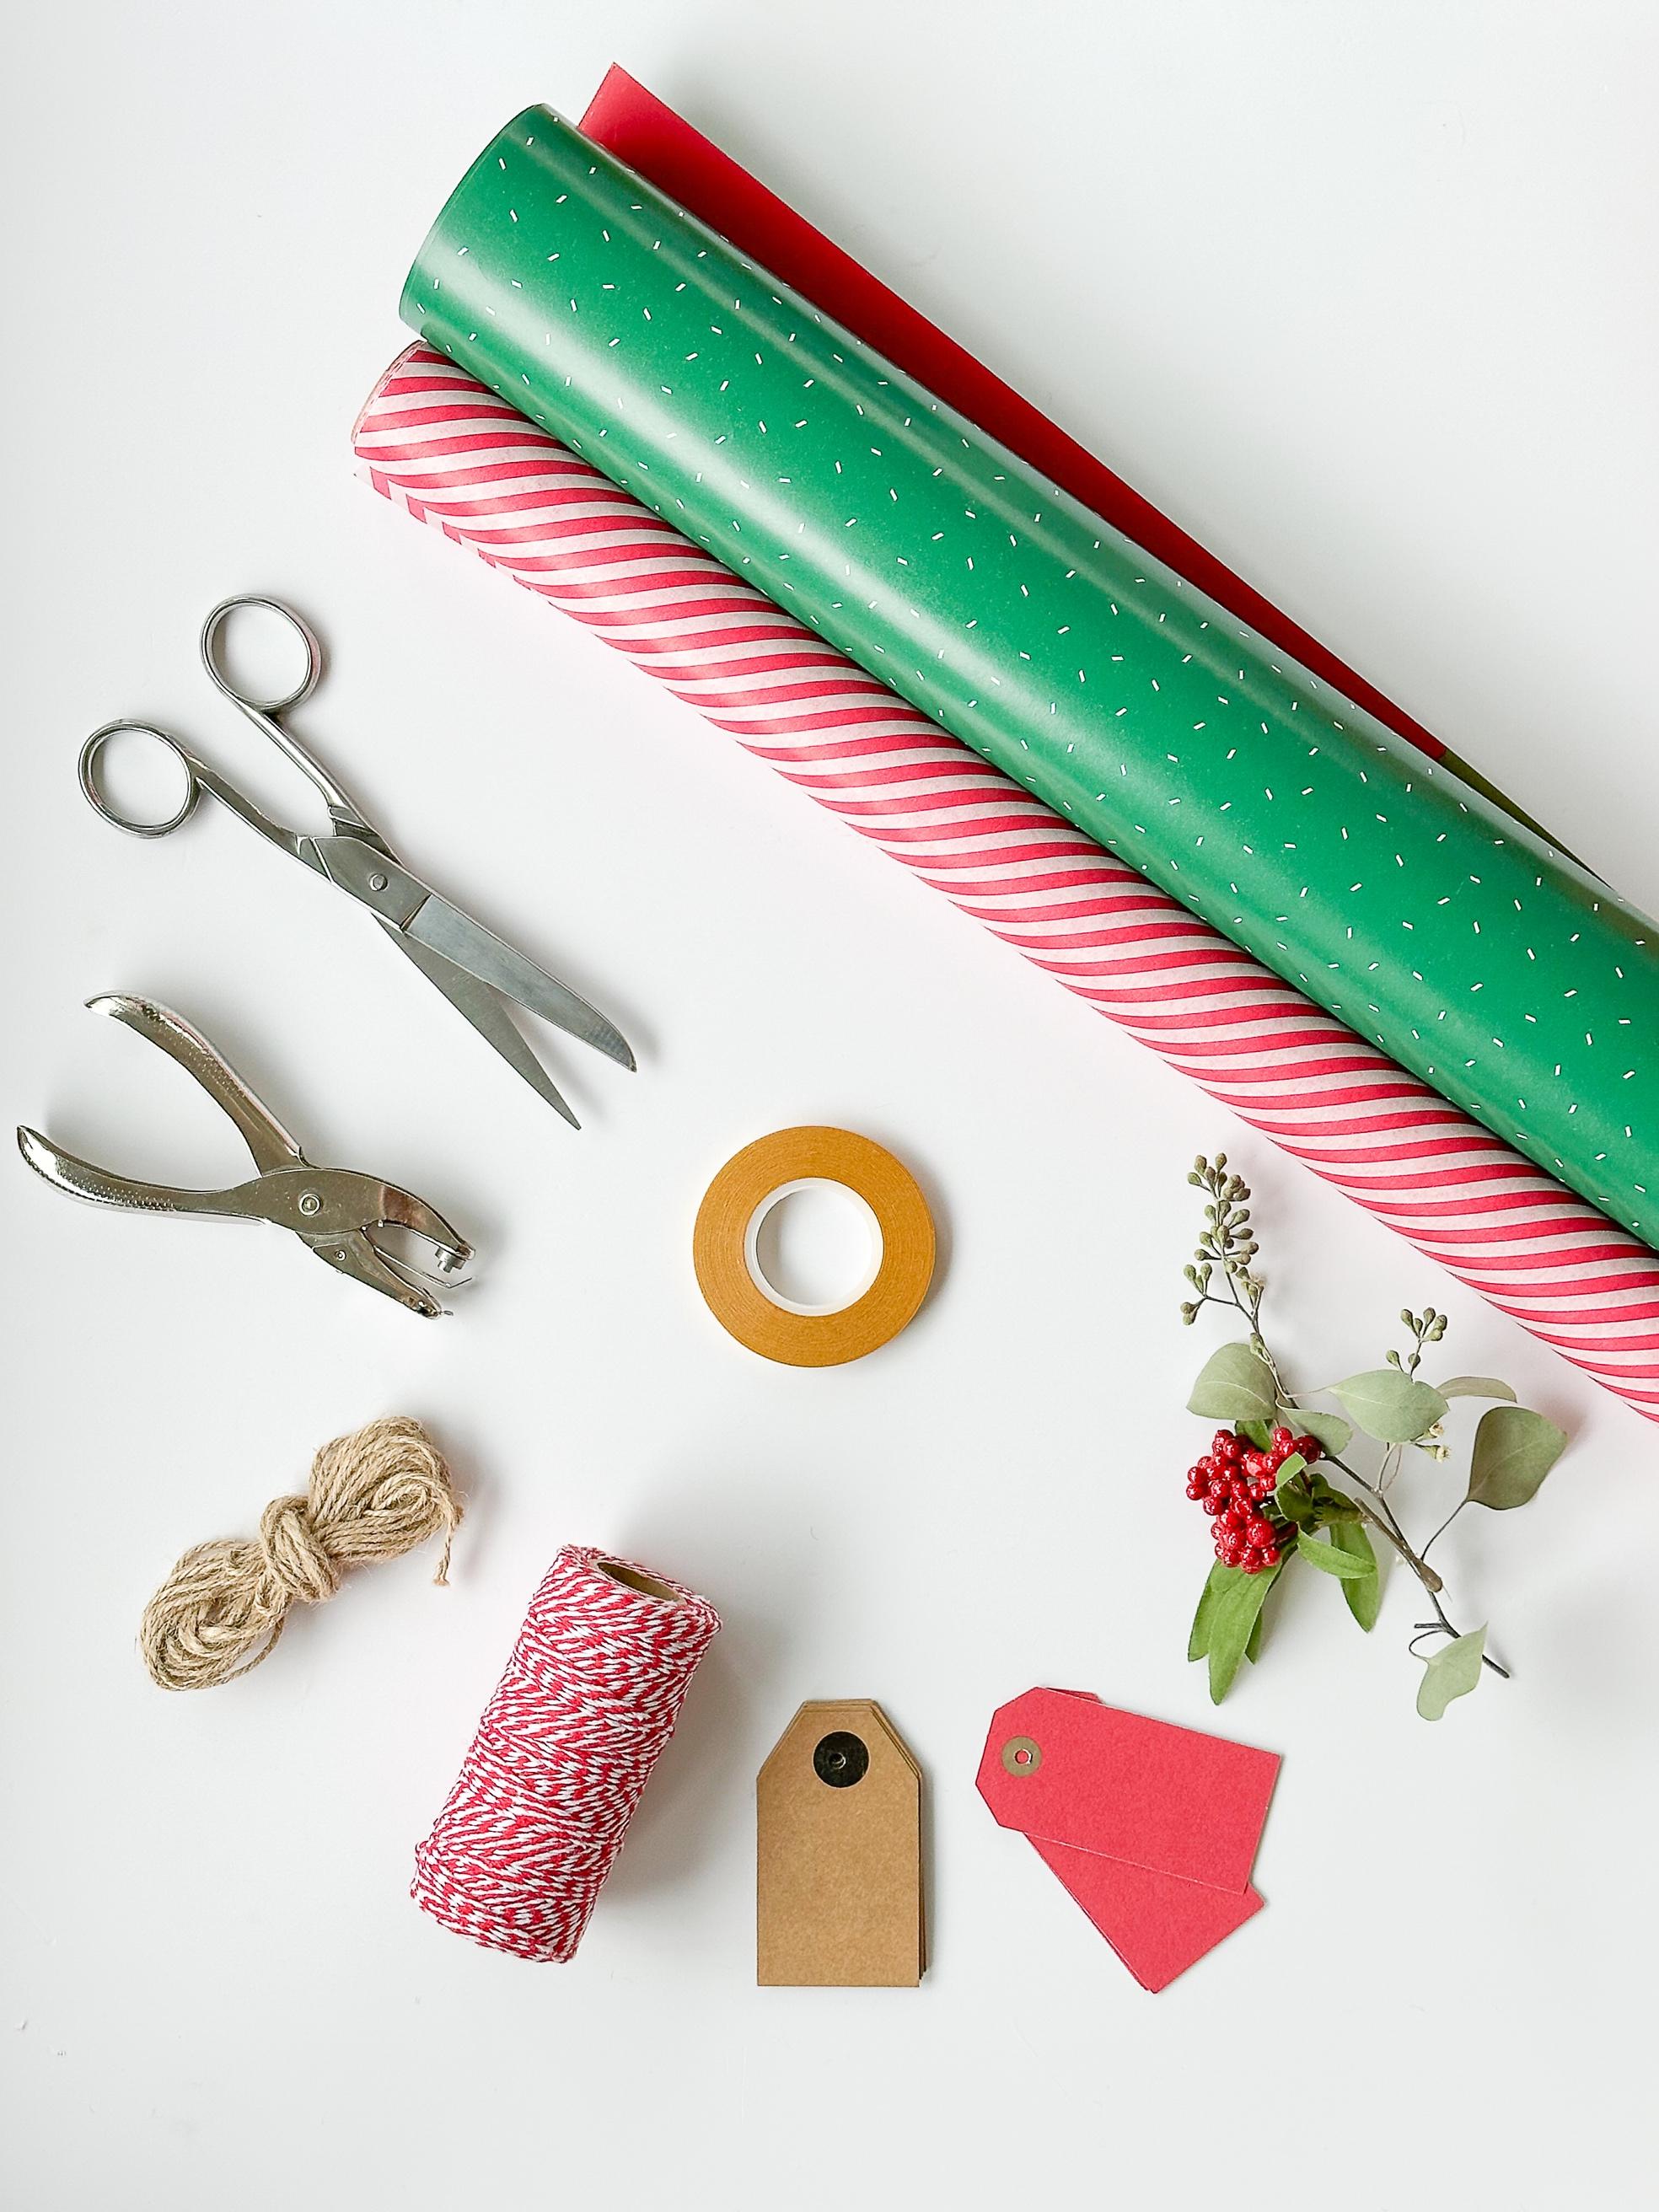
THE PERFECT TOOL KIT
MEASURE THE PAPER Bonus* Joining Paper
WRAPPING A BOX Bonus * Wrapping a Box without Tape Bonus * Lining a Box with Tissue Paper Bonus * Pillow Folding for Garments
MAKING A GIFT ENVELOPE
MAKING A GIFT BAG
WRAPPING TALL ITEMS
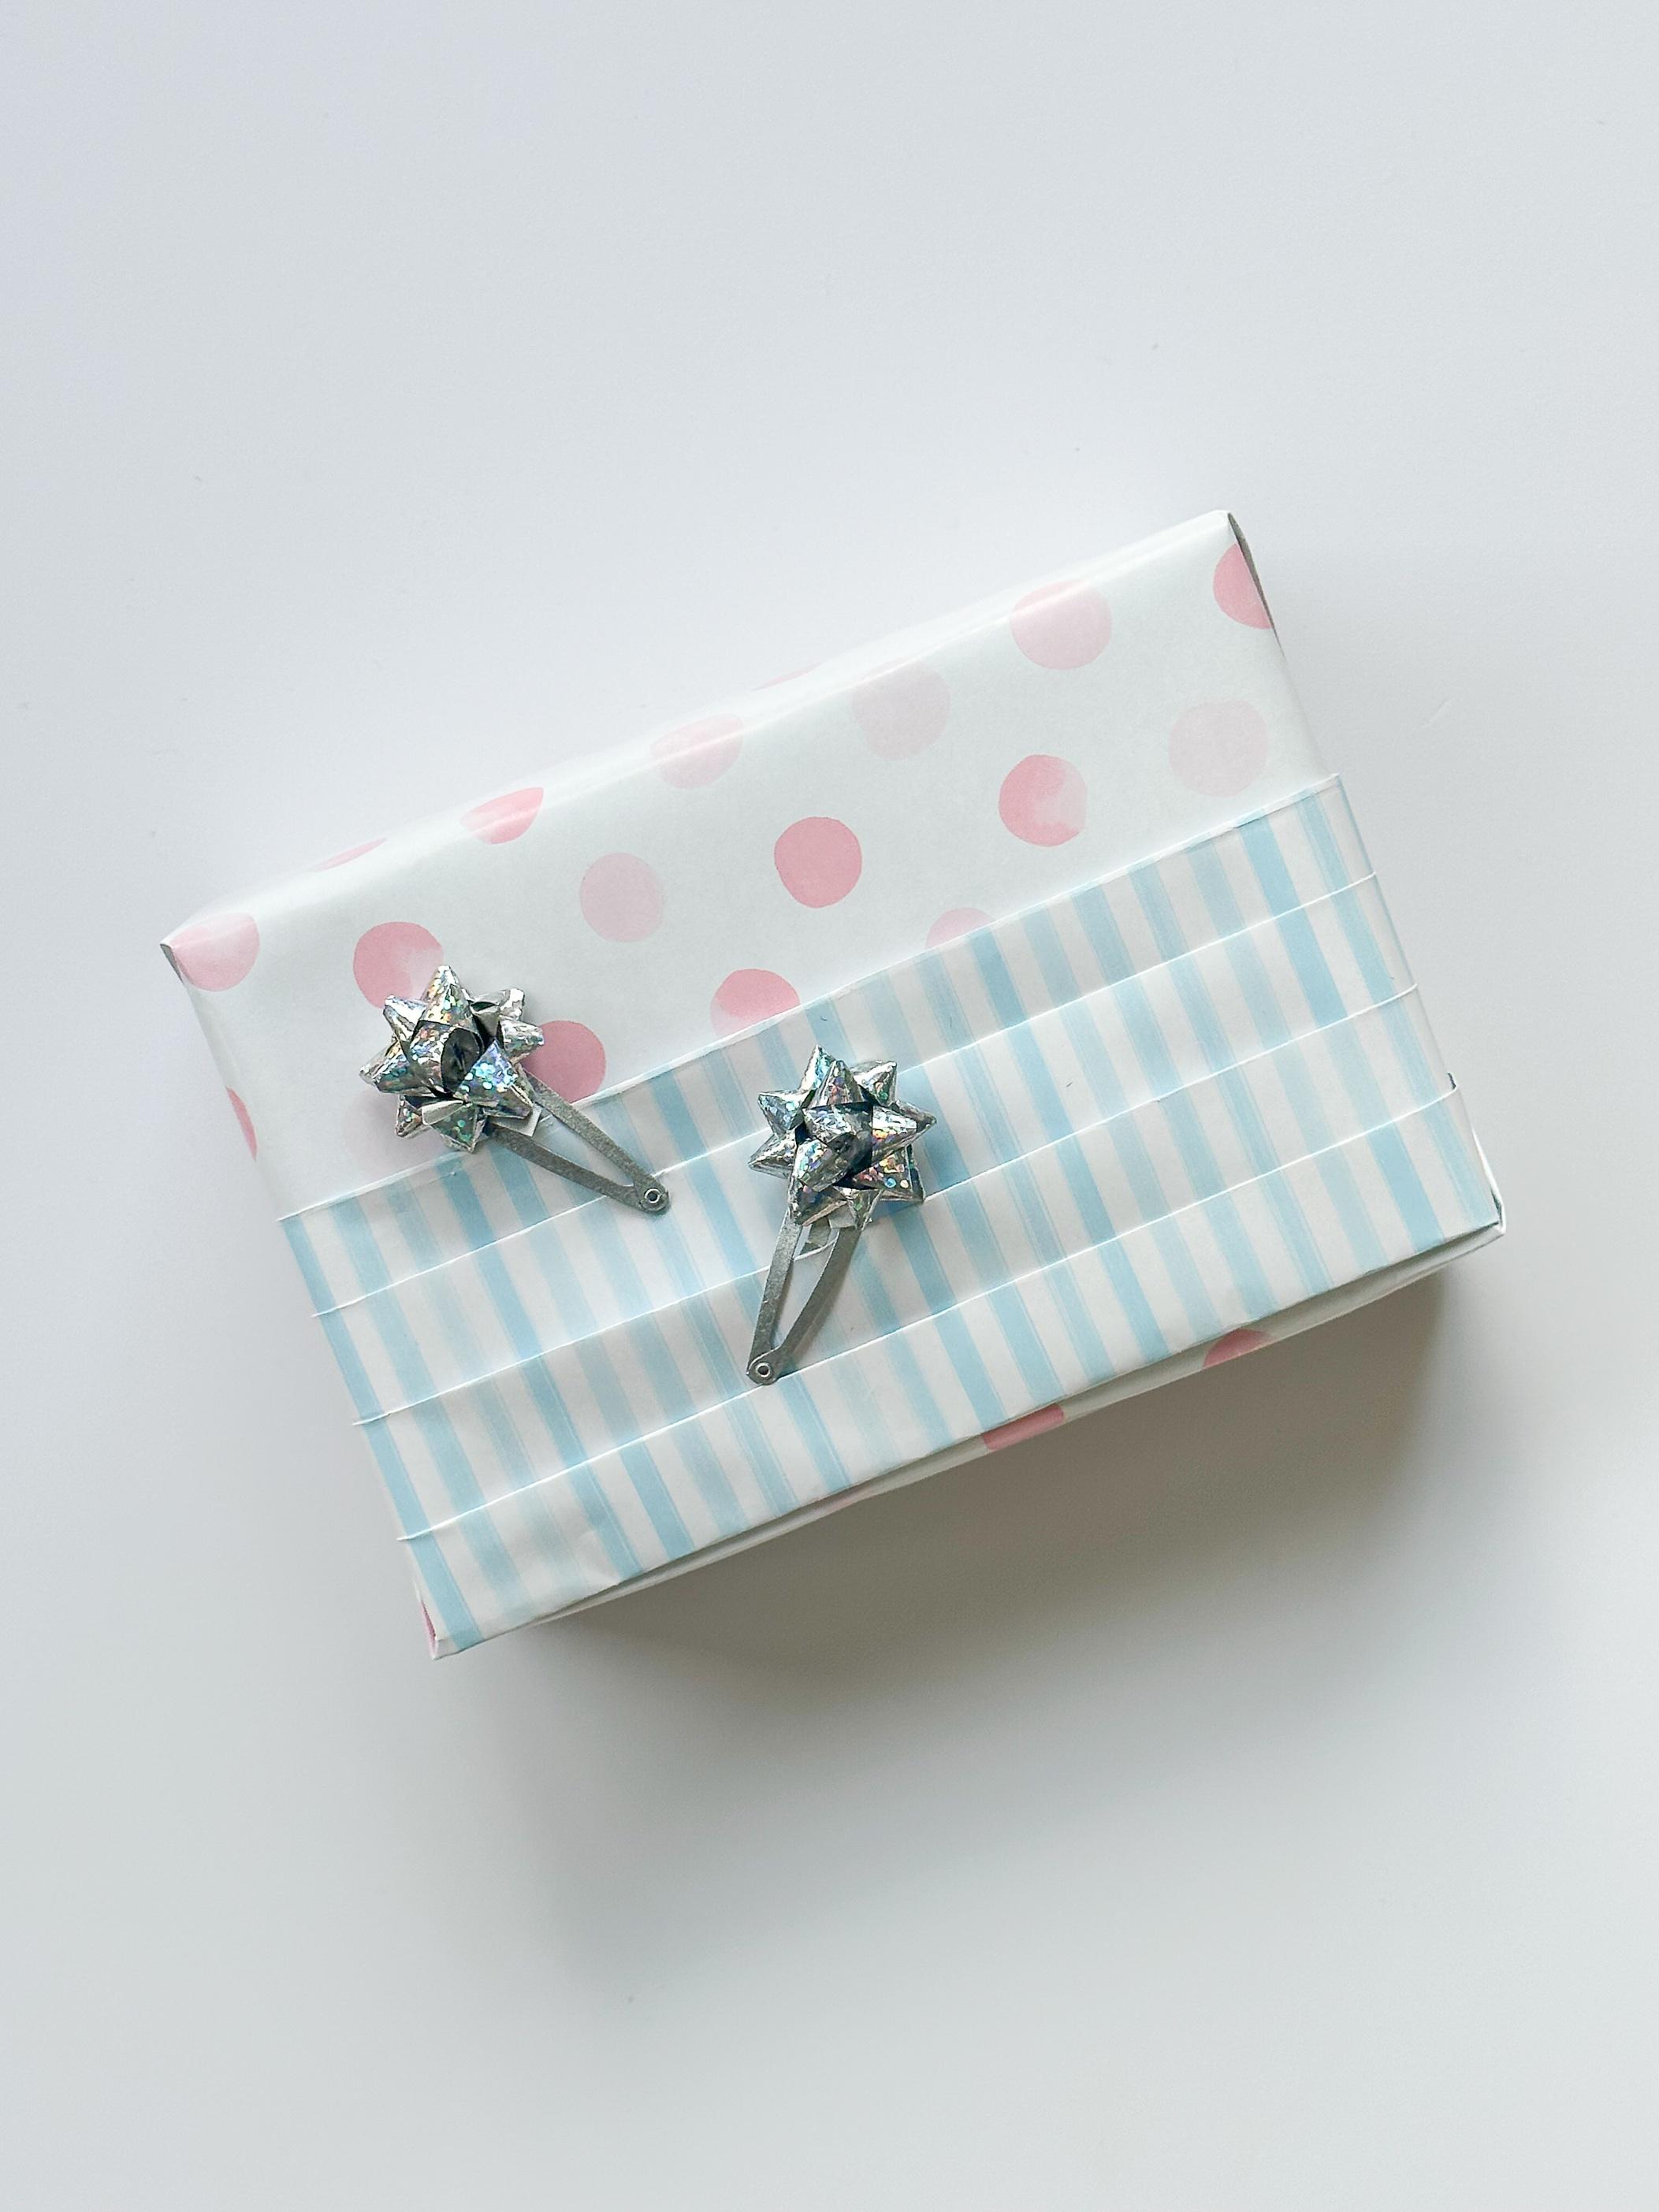
WRAPPING WITH PLEATS Pleating single sided paper Pleating double side paper
WRAPPING A CIRCULAR TIN Bonus * Triangular Shapes
WRAP A HAMPER
TYING THE PERFECT BOW
Tying a Basic Bow Tying a Looped Bow Crossover Corner Bow
ECO FRIENDLY IDEAS
FUROSHIKI FABRIC WRAPPING
In this workshop, you will be introduced to the colourful and creative world of gift wrapping; the basic theory and all the tips and tricks to take your gift wrapping to the next level.
• The professional approach gift wrap with no visible cellotape or seams
• Design and make your own gift envelopes
• Creatively make up and finish off your own decorative gift bag
• Wrapping with tissue and cellophane
• Wrapping an odd/awkward shaped gift
• Effectively apply decorative bands to enhance the look of the gift
• Ribbon masterclass
• Making gifts look beautiful with embellishments
• And more…
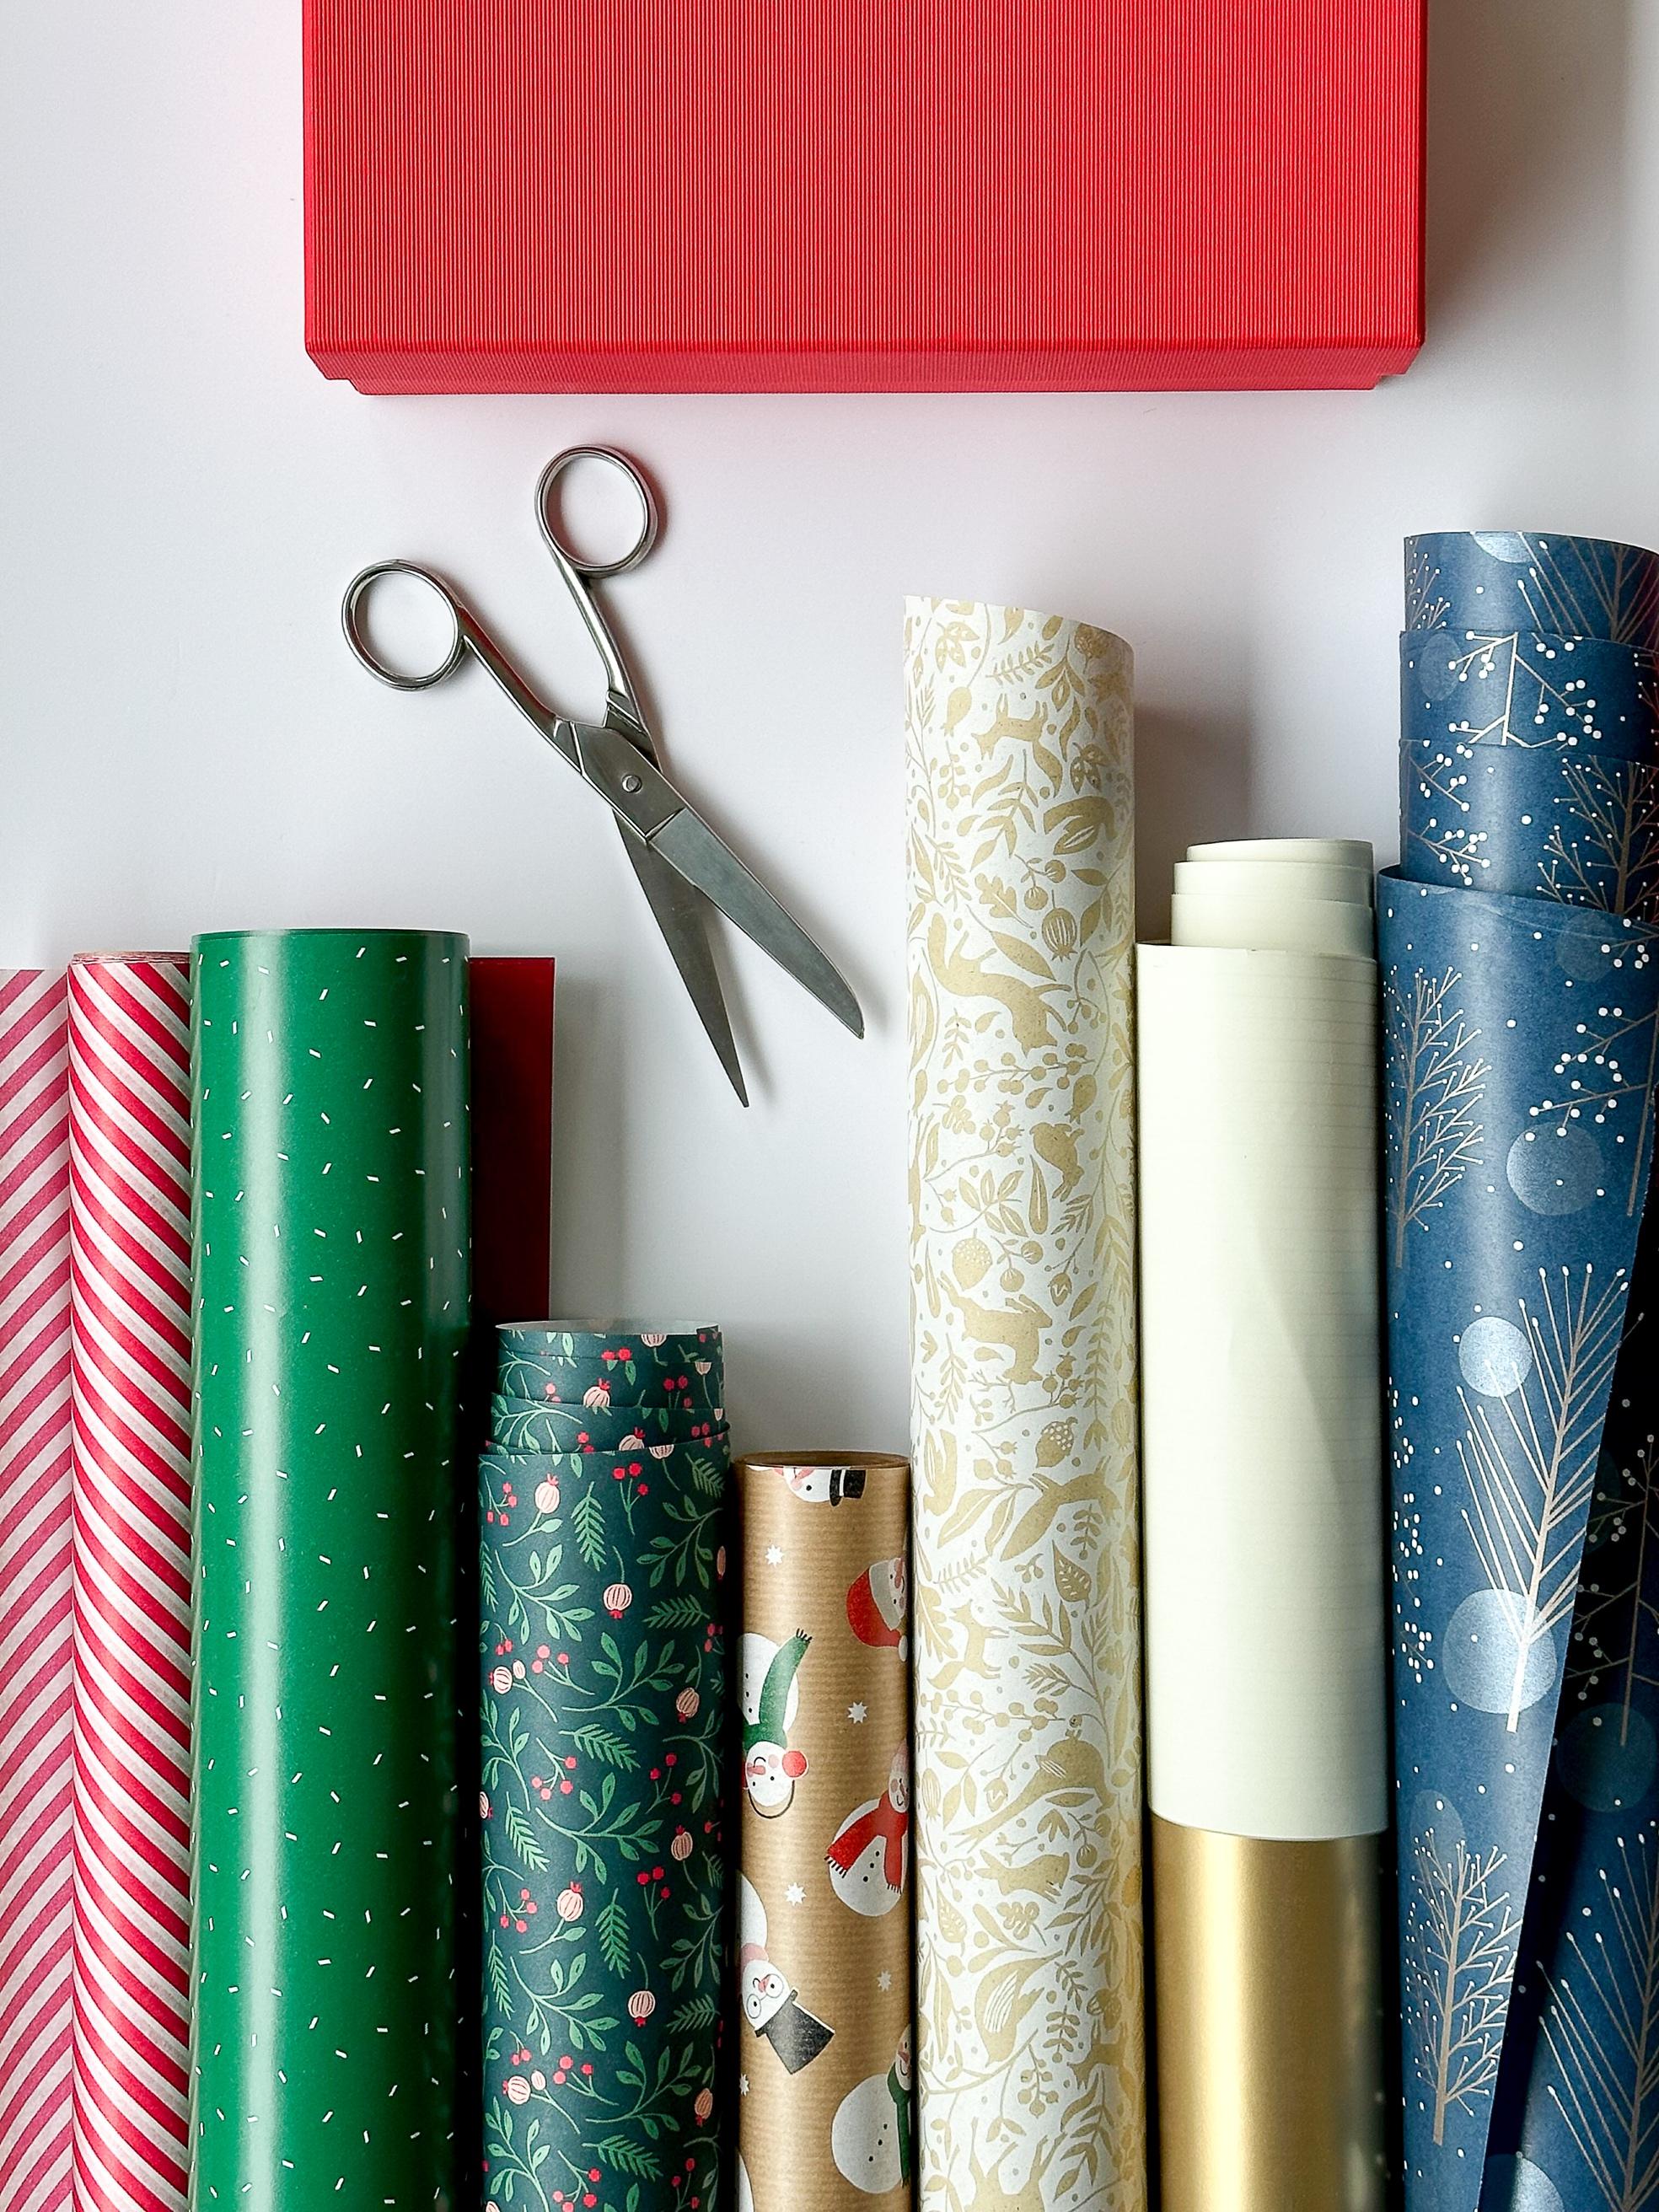
There are various materials you can use in your gift wrapping toolkit as you don't have to stick to the constraints of just paper and ribbon. Needless to say, today we are spoilt for choice when it comes to pretty papers, luxurious fabrics and eye catching ribbons. As well as, you can choose from a whole array of embellishments to tie on to your gifts, many of which you may already have in your bottom drawer or garden.
Your toolkit should comprise of several key items and these include:
Sharp Scissors (ideally one for paper and one designated for ribbon)
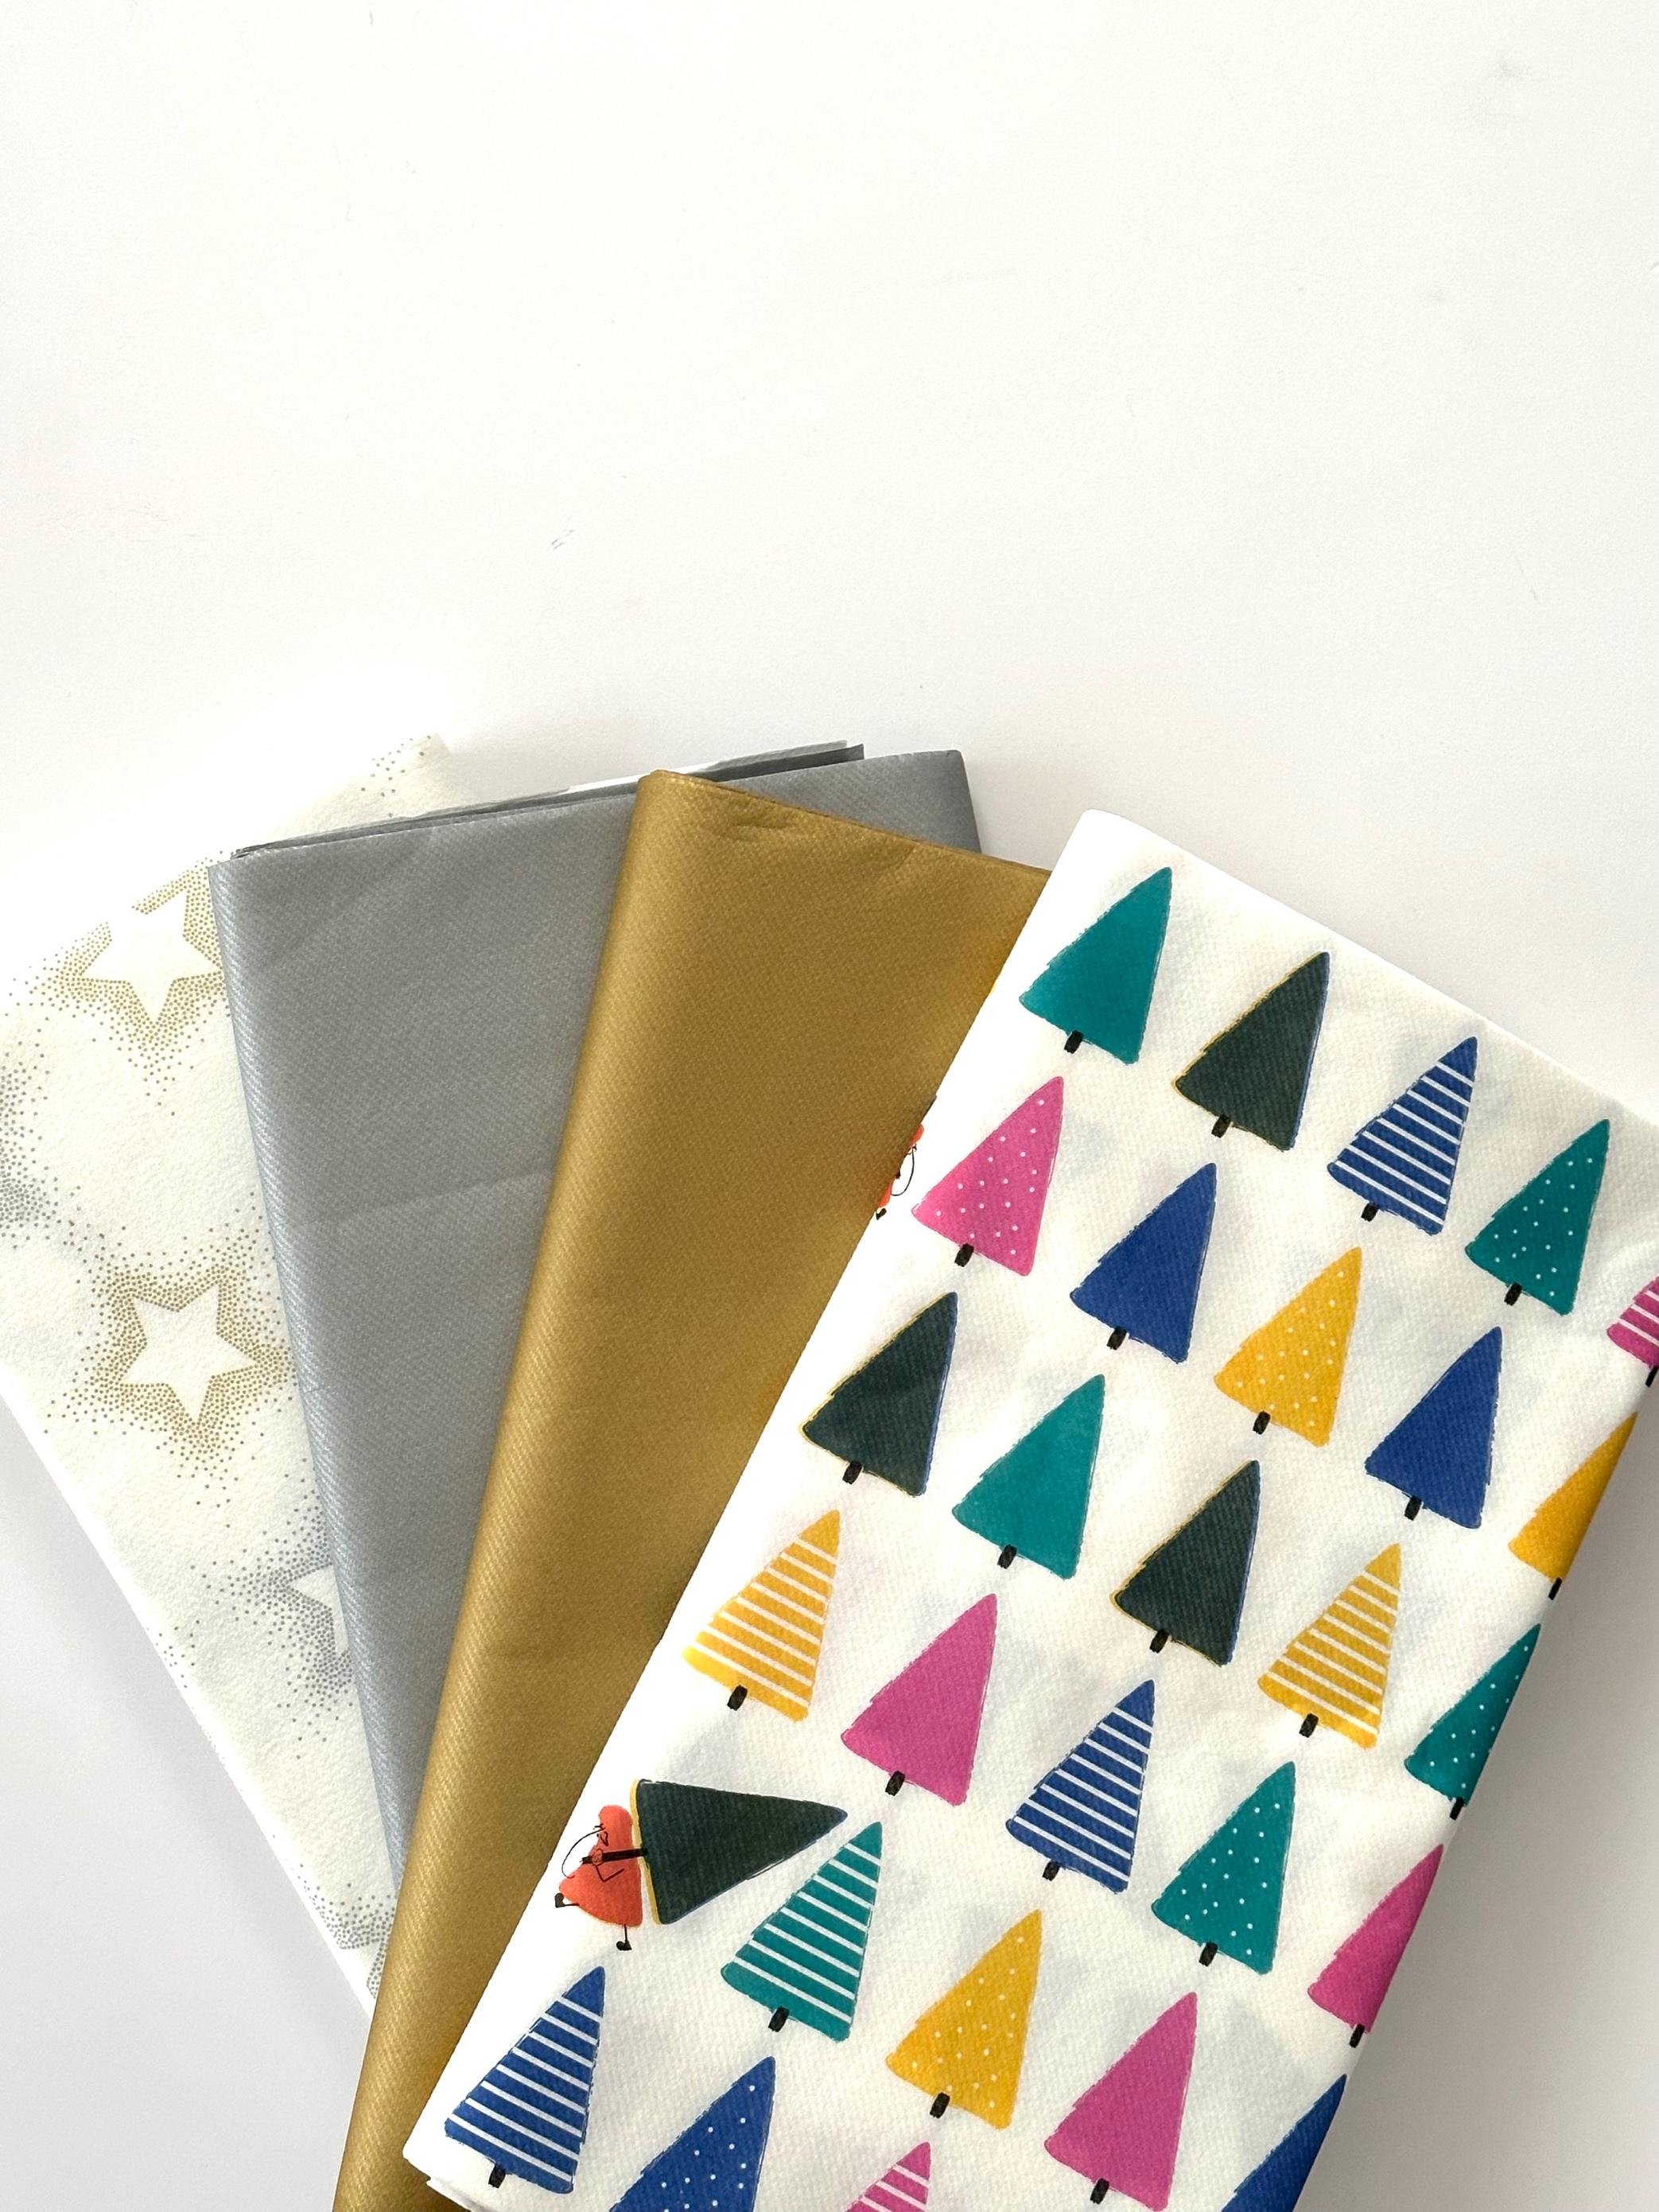
Gift Wrap Papers (plain, stripes, dots and one or two decorative/seasonal specialty papers)
- Flexible Wrapping such as Tissue paper/Cellophane
Double Sided Tape and Sticky Tape
Ribbons or String/Twine
Gift Tags (plain are the most versatile)
Decorations/Embellishments (small and large)
Devote a shelf or drawer to your gift-wrapping supplies that way you easily have everything at hand on a moment’s notice. Space permitting extend your shelf or cupboard to include “generic but gorgeous gifts”: candles, journals, bath and beauty products and pretty mugs. For kids: think art supplies, games, puzzles, and small stuffed animals.
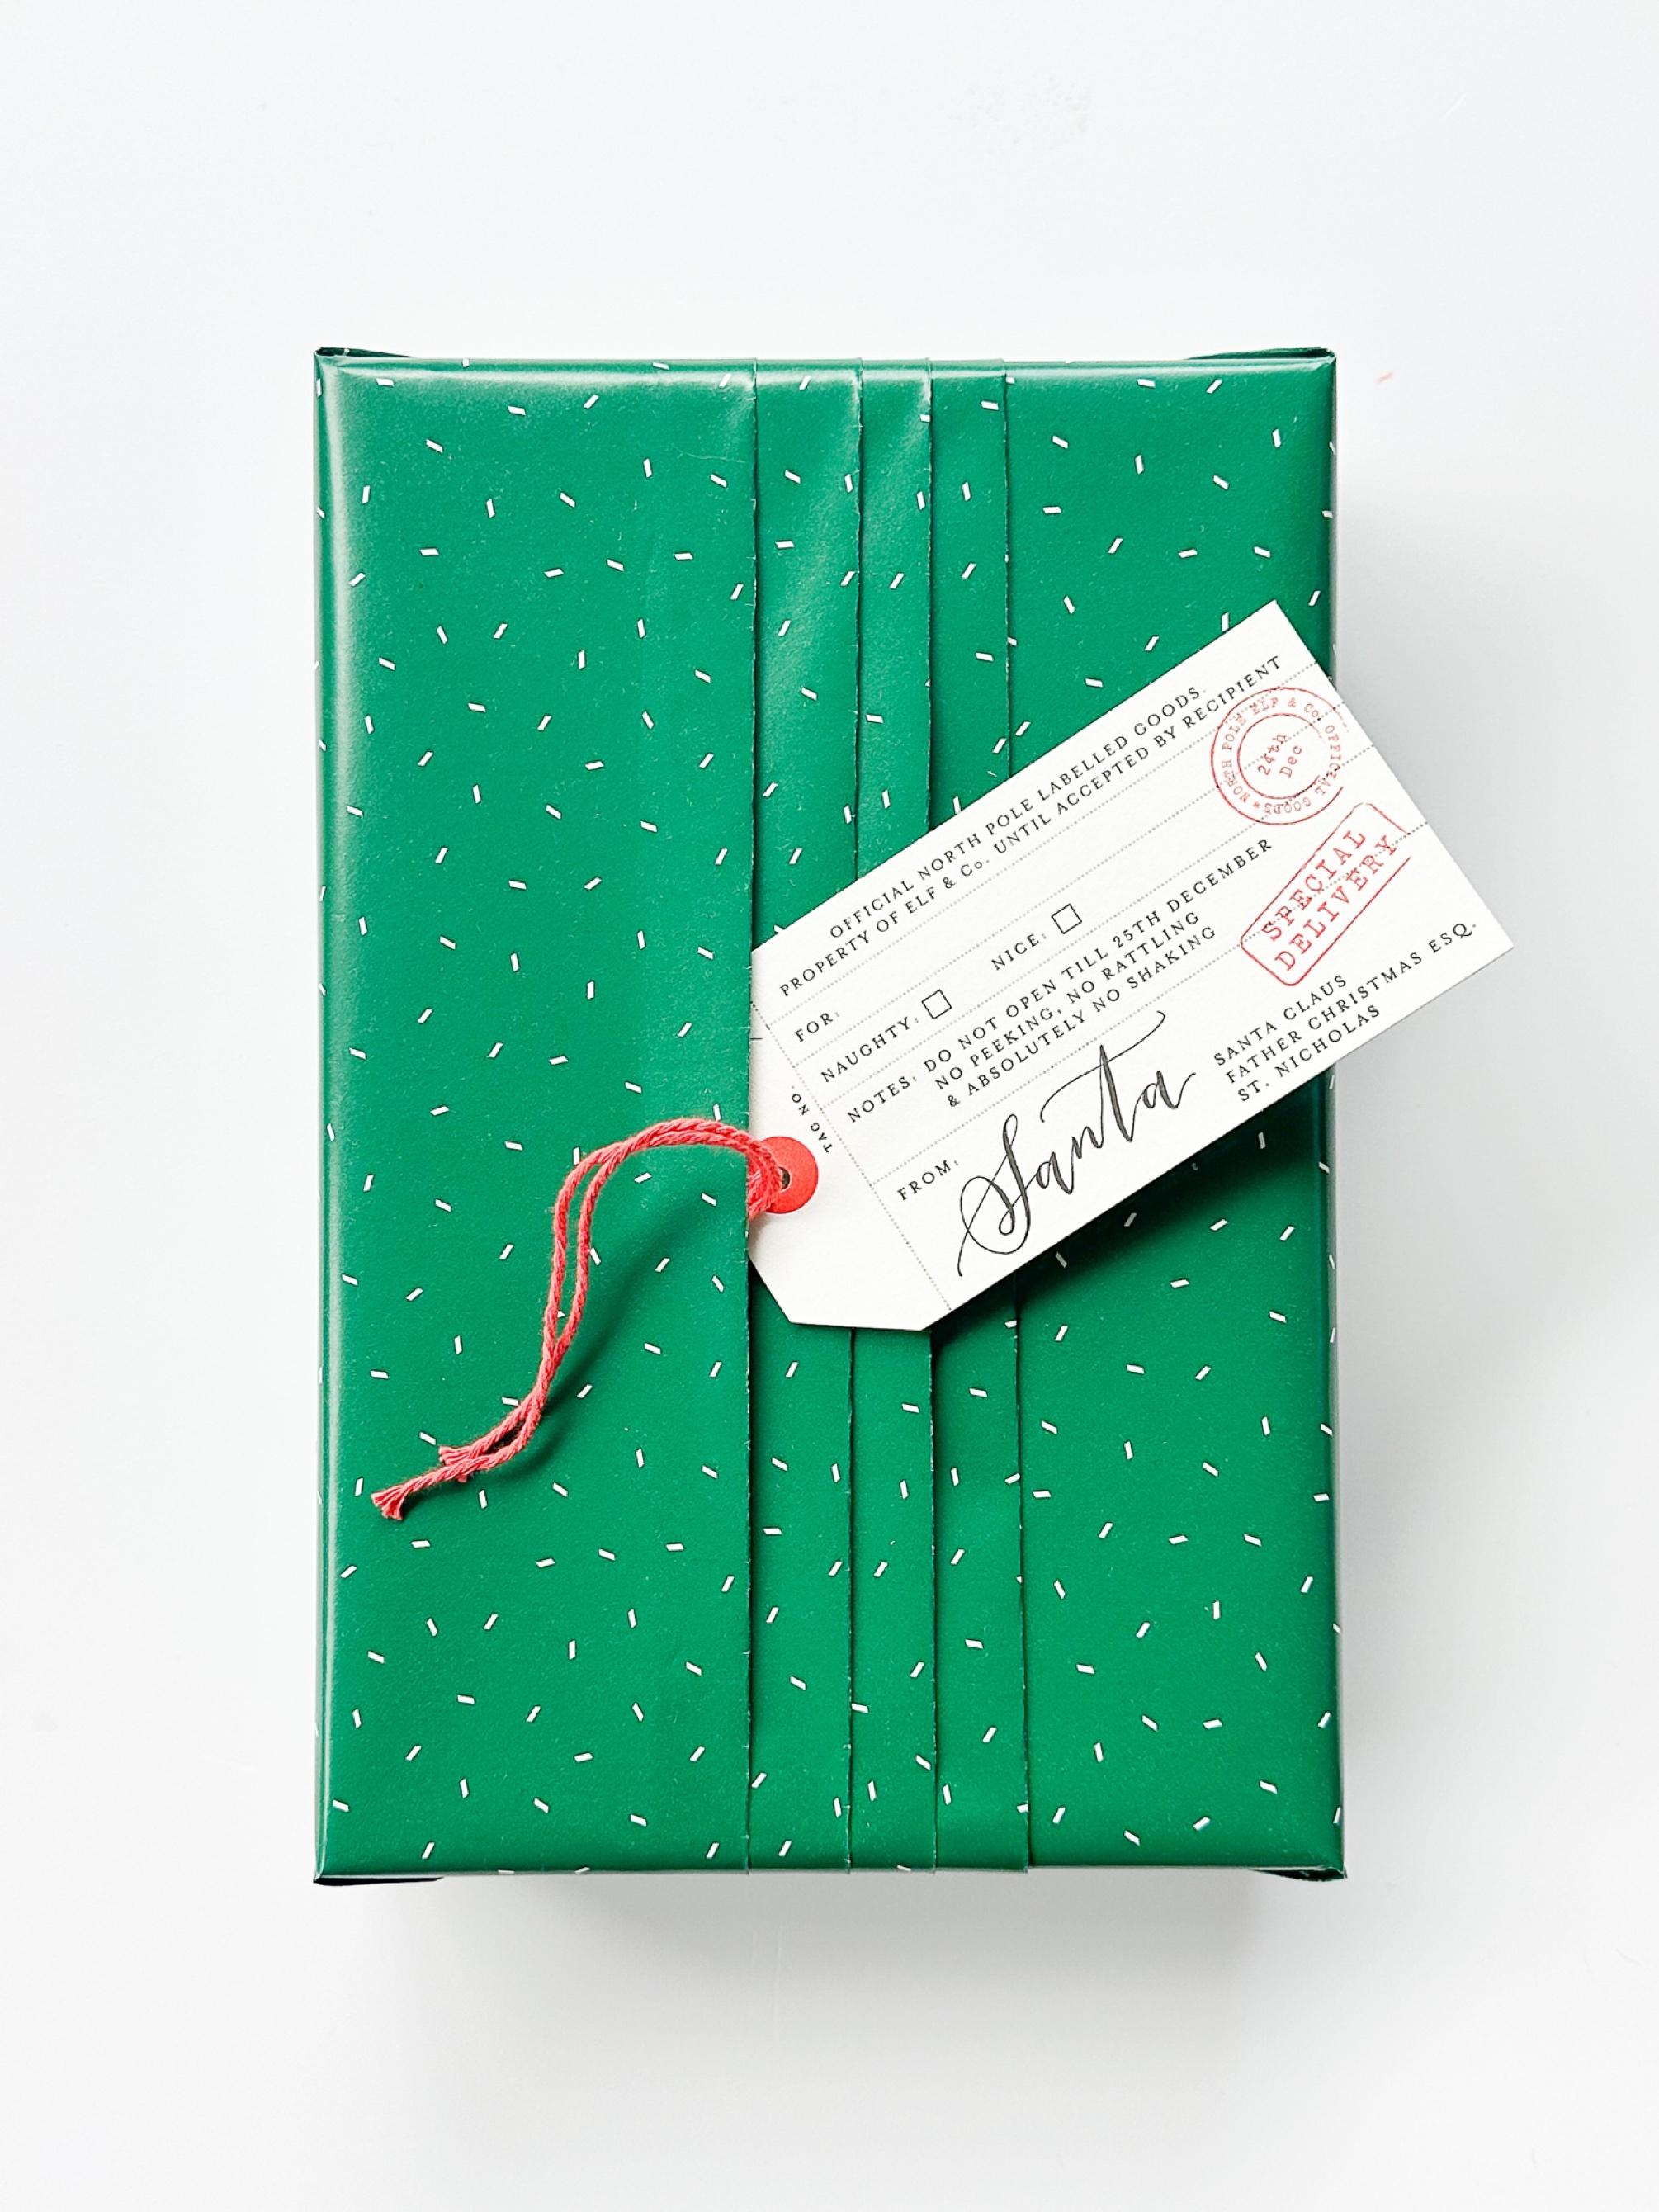
Let’s face it, in our lifetime we are going to wrap hundreds of gifts and so it is good to know how to wrap a gift perfectly and how to calculate the correct amount of wrapping. By using less paper, you will find wrapping so much easier and after some practice you will be able to measure by sight. It is key that you do not have too much paper overlapping and the sides of the box are measured correctly to avoid any bulky folding.
Gift/Gift Box Gift Wrap Sharp Scissors (No tape measure required)
1. Roll out the wrapping paper so that it is covering a large portion of your flat surface; keeping the wrapping paper on its roll Place it decorative side down onto the work surface
2. Place your box on the edge of the wrapping paper. Set your gift down on the cut end of the wrapping paper so the largest side is face down.
3. Roll the box 3 times in a straight line to measure how much paper you’ll need.
4. Add approximately 5cm (use the four fingers of your hand) to the paper's length and cut it using scissors in a straight, even line.
5. Pull up the paper on the box's ends to see if it covers ¾ of each side. Otherwise, use scissors to trim the paper until it’s the right length.
Use your scissors and tape roll as temporary paperweights. These can be placed onto the corners of the gift wrap or near the tube to hold the paper in place and prevent it from rolling back up.
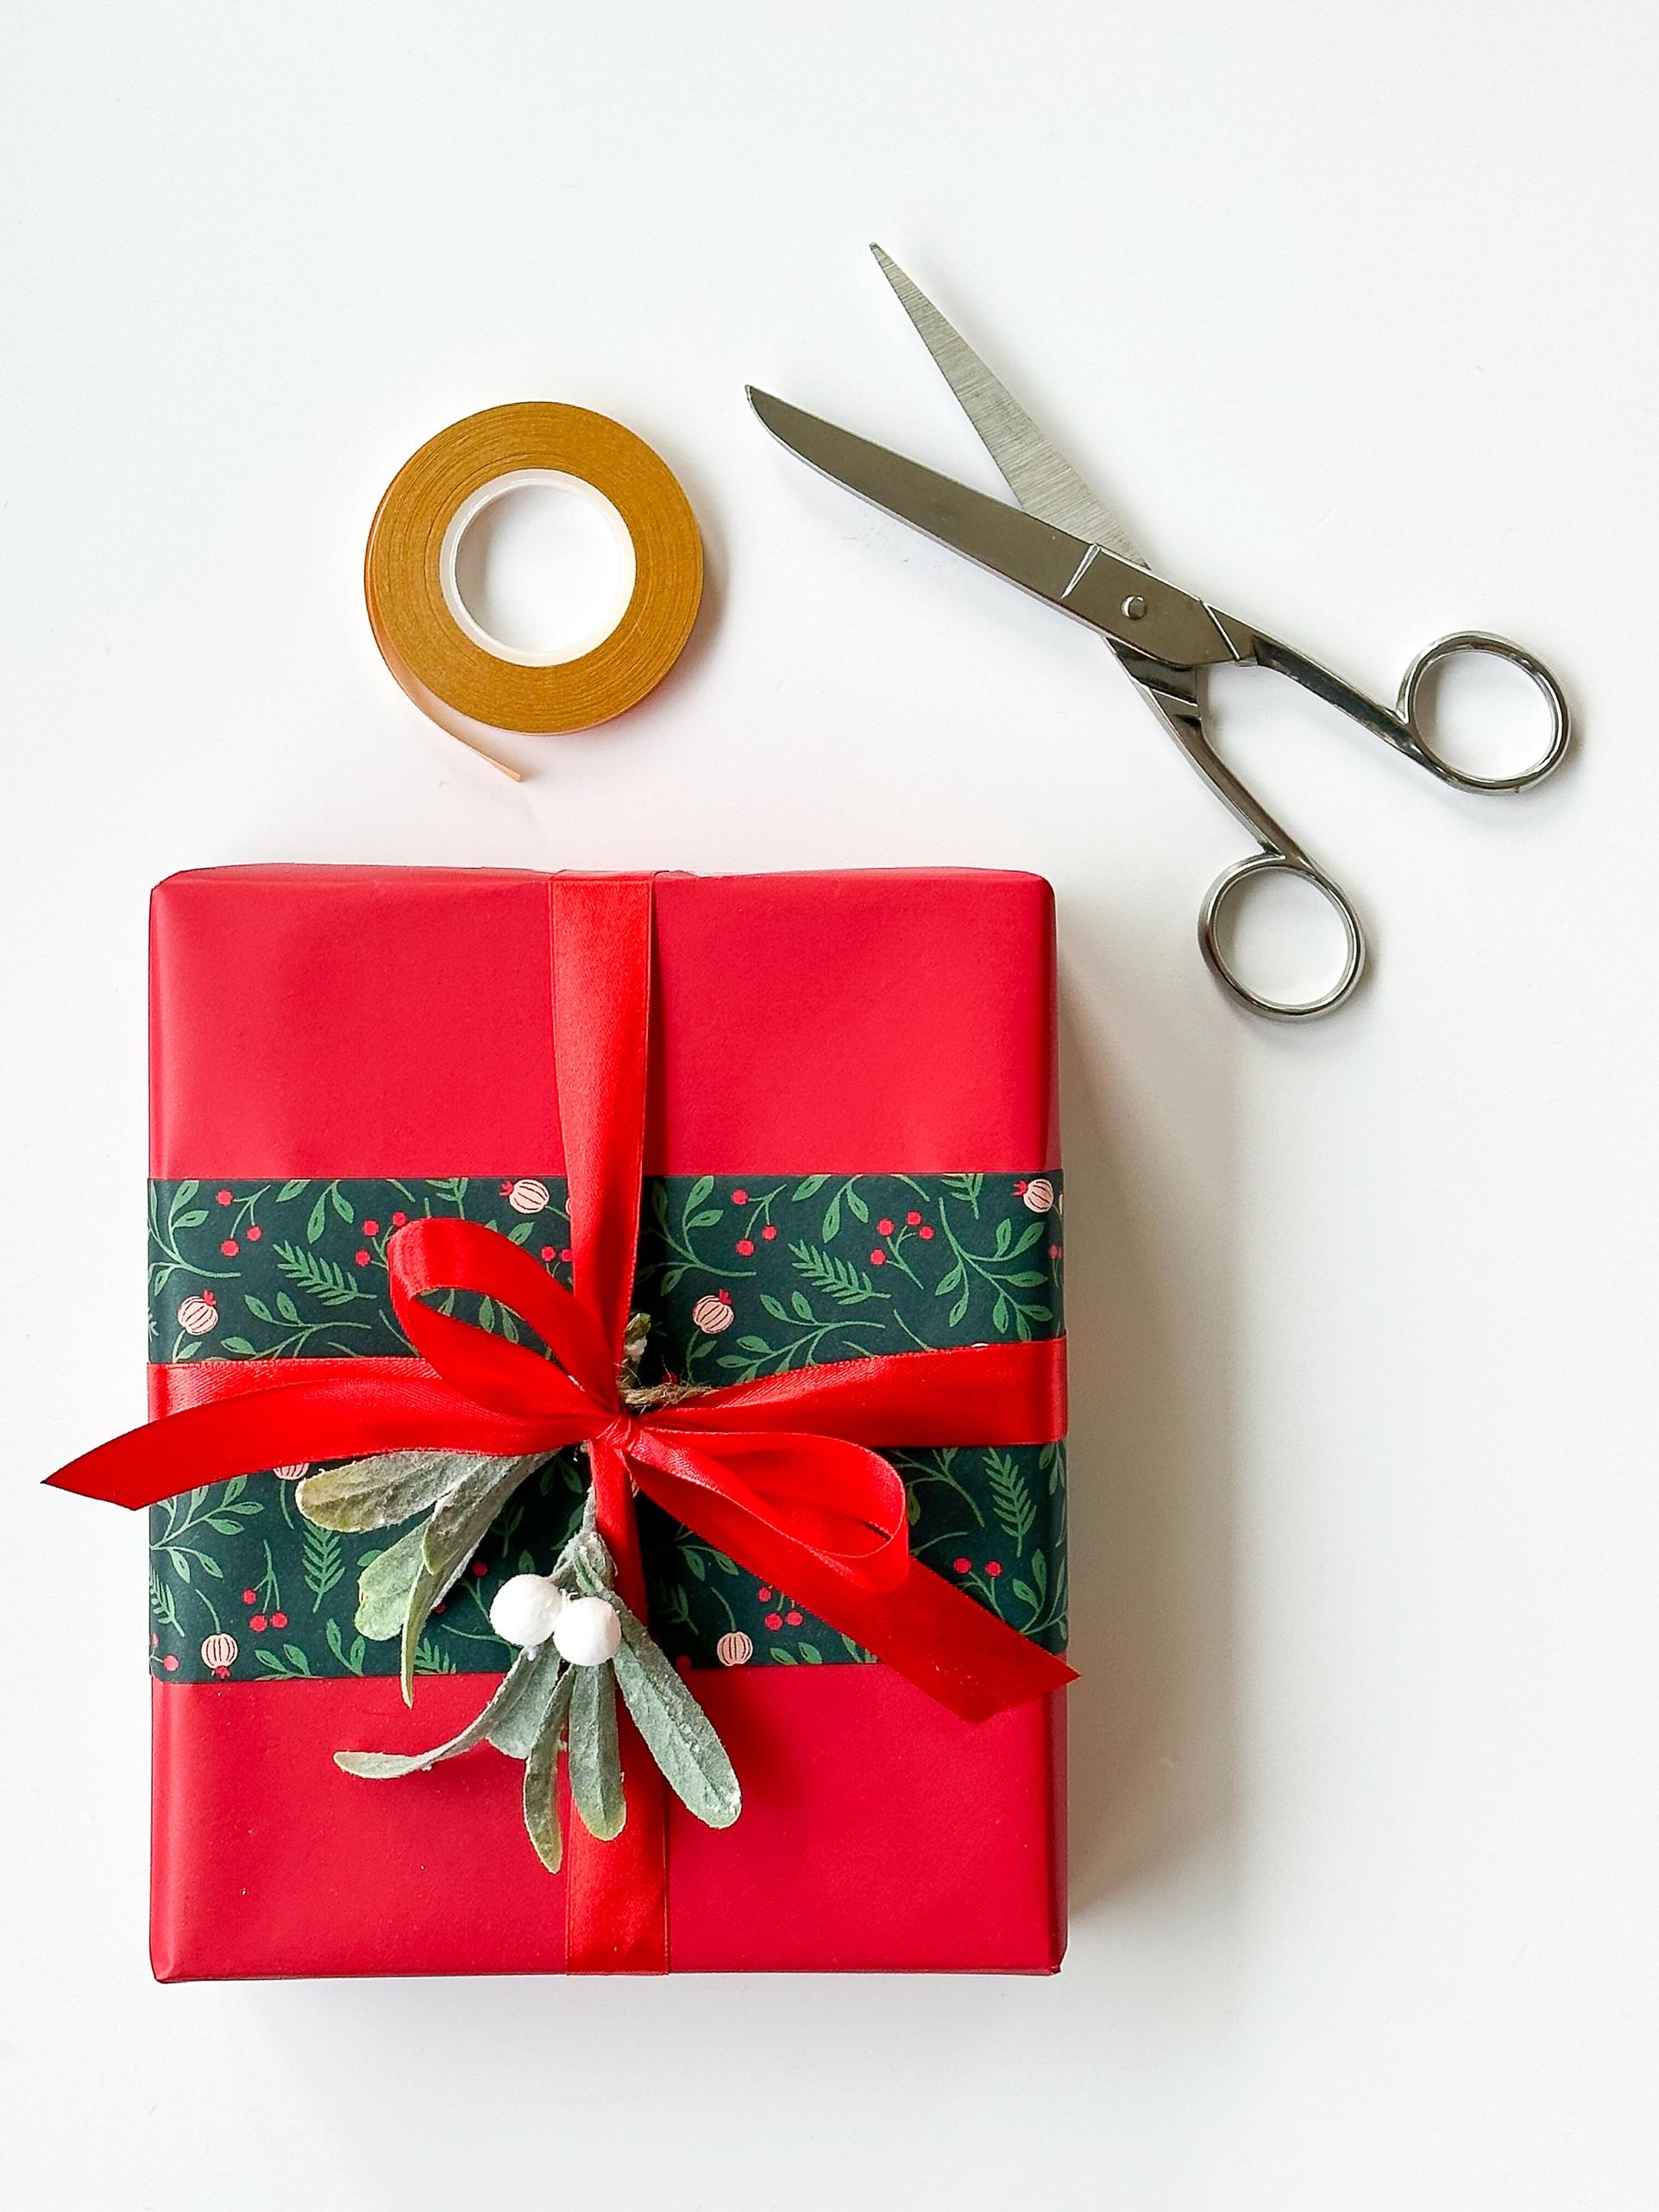
Do you ever have that nightmare situation where you have not got enough paper to wrap the gift? You have probably even tried to push two sheets together and add sticky tape all the way along, only to find the join looks unsightly and in a worse case scenario is not straight or has gaps. By creating a “belly band” in contrasting paper, folding the edges and attaching with double sided tape; the end result looks really professional and eye catching, and the recipient need never know your secret that you ran out of paper!
In an age where we are becoming increasingly concerned about the environment, measuring paper (and ribbon) is key to avoiding waste; and will also save you money.
For many people wrapping a box is an easy option. The key to getting this right is to measure your paper first, get the positioning right, ensure the paper is tight around the box, crease as you go along to make it more manageable and use double sided tape. If you have too much excess paper you will struggle to wrap the box and the sides will become bulky.
Double-sided Tape
1. Measure the paper as per the previous instructions.
2. Place the gift box upside down onto the reverse side of the paper. Position the long side of the box parallel to the cut end of the wrapping paper, making sure the paper extends past either side of the gift box in this orientation
3. Tuck the end of one side of the paper over 2 3cm. Crease.
4. Pick up the other side of the wrapping paper, along the long end of the box. Draw it up and over so that it covers about half of the upward facing side of the box. Use your thumb and index finger to create a crease along the corners of the box
5. You may use double sided tape right along the inside edge of the paper or place matte gift wrap tape on the top edge, overlapping the paper and box. Either way, use about 5 cm length of tape. For a long box, use 2 or 3 pieces to hold the paper in place.
6. Fold the remaining length of paper over the box so that the perimeter of the box is completely covered. Turn over the raw cut edge of the paper by 3 cm. The cut edge will be folded under so you’re left with a smooth, straight crease. Tape this flap down onto the box, overlapping it with the part of the paper already on the box.
7. By following this process, the folded edge should be aligned at or near the corner of your box. Even though this will be the bottom of your gift box, it will still have a neat and attractive finish.
8. On a box, you’ll be left with wide flaps of paper on the top and bottom, and short flaps extending from the left and right sides of the box. Point the left and right flaps horizontally towards the center of the box so that they hug the corners. Crease these corners with your thumb and index finger.
9. Now you’ll have triangular flaps on the top and bottom, with the paper folded at a 45 degree angle.
10. Press the top flap down around the side of the box. Create a sharp crease with your fingers along the top edge of the box as you angle the top triangular flap down. It should completely cover the side of the box and overlap the left and right pieces you just folded inward. If the top flap overlaps the bottom flap of paper significantly, you may trim off the excess paper from the top flap at this point.
11. Turn under the raw cut edge of the bottom flap, ensuring that you’ll still have enough paper to cover up any parts of the box inside that might be peeking through. Create a stiff crease with your fingers.
12. Wrap the bottom flap up so it hugs the side of the box and tape it. Depending on how narrow the bottom flap is, you can place one piece of tape at the center of the tip. If it’s wide, consider placing pieces of tape at the corners as well as in the center. Once again, crease the edges of the fully wrapped box to emphasise the corners

This is a great technique for smaller size boxes; the secret is to use a good quality or thick paper (100gsm or more) or a thick brown paper. As you need to hold the wrap around the box by hand, this technique is recommended only on small items.
Gift in a Box
Sharp Scissors
Gift Wrap (thick paper)
String/Ribbon
1. Measure paper as before.
2. Wrap box as you would before, creasing the edges as you go along so that the paper moulds around the box.
3. Then remove the gift and make all the creases more defined by folding the paper along the lines.
4. Then wrap the box again and crease the other two ends, and the sides.
5. Fold the ends in neatly.
6. Crease the whole of the box, except for the sides. And to hold the sides down, measure and tie the ribbon onto the package.
When measuring your tissue paper, it can be hard to judge how much you need, so place the box above the tissue paper and this will act as a visual aid as you go along; folding in the left edge, and then the right edge.
If your box is deep, line the bottom with scrunched up tissue paper, to lift your gift to the top surface. For something very heavy, a good idea is to use cellophane wrap instead as it is stronger than tissue paper.
Gently fold the pre folded tissue paper in half, then you know exactly where the half way mark is. Place the pre folded tissue layers inside the box. Add the gift into the box. If it is still popping out of the top of the box, you can push it down gently. Then bring the two layers over, one over the other and fold in the top piece neatly.
For gifts that you are going to post; add the detail on the inside and not the outside of the box. Decorate with a pre made bow, sticker or decoration and place it onto the join with double sided tape. Push it down so that it does not get squashed. Place the gift lid on top.
If wrapping clothes, use white tissue paper just in case the colour bleeds.
This is a great technique for folding an item of clothing that will then be wrapped up inside a gift bag or box; or simply wrap your gifts just in the tissue paper.
Tissue Paper
DIRECTIONS
1. Fold the garment so that the best focal point is at the top with all other party tucked underneath.
2. Put two sheets of tissue paper together.
3. Place the folded garment in the centre of the paper.
4. Fold back one edge of the paper 2cm. Fold again only this time 5cm.
5. Fold the other end in towards the centre of the garment.
6. Fold the other end to the centre.
7. Now whilst holding the package with one hand, use your other hand to tuck in the top end of the tissue paper underneath the garment.
8. Repeat on the other side.
9. Then on one of the ends, by slightly lifting the garment tuck in bottom edge of the paper. Repeat on the other side.
This technique does not need any sticky tape or stickers, that way the tissue paper can easily be recycled.
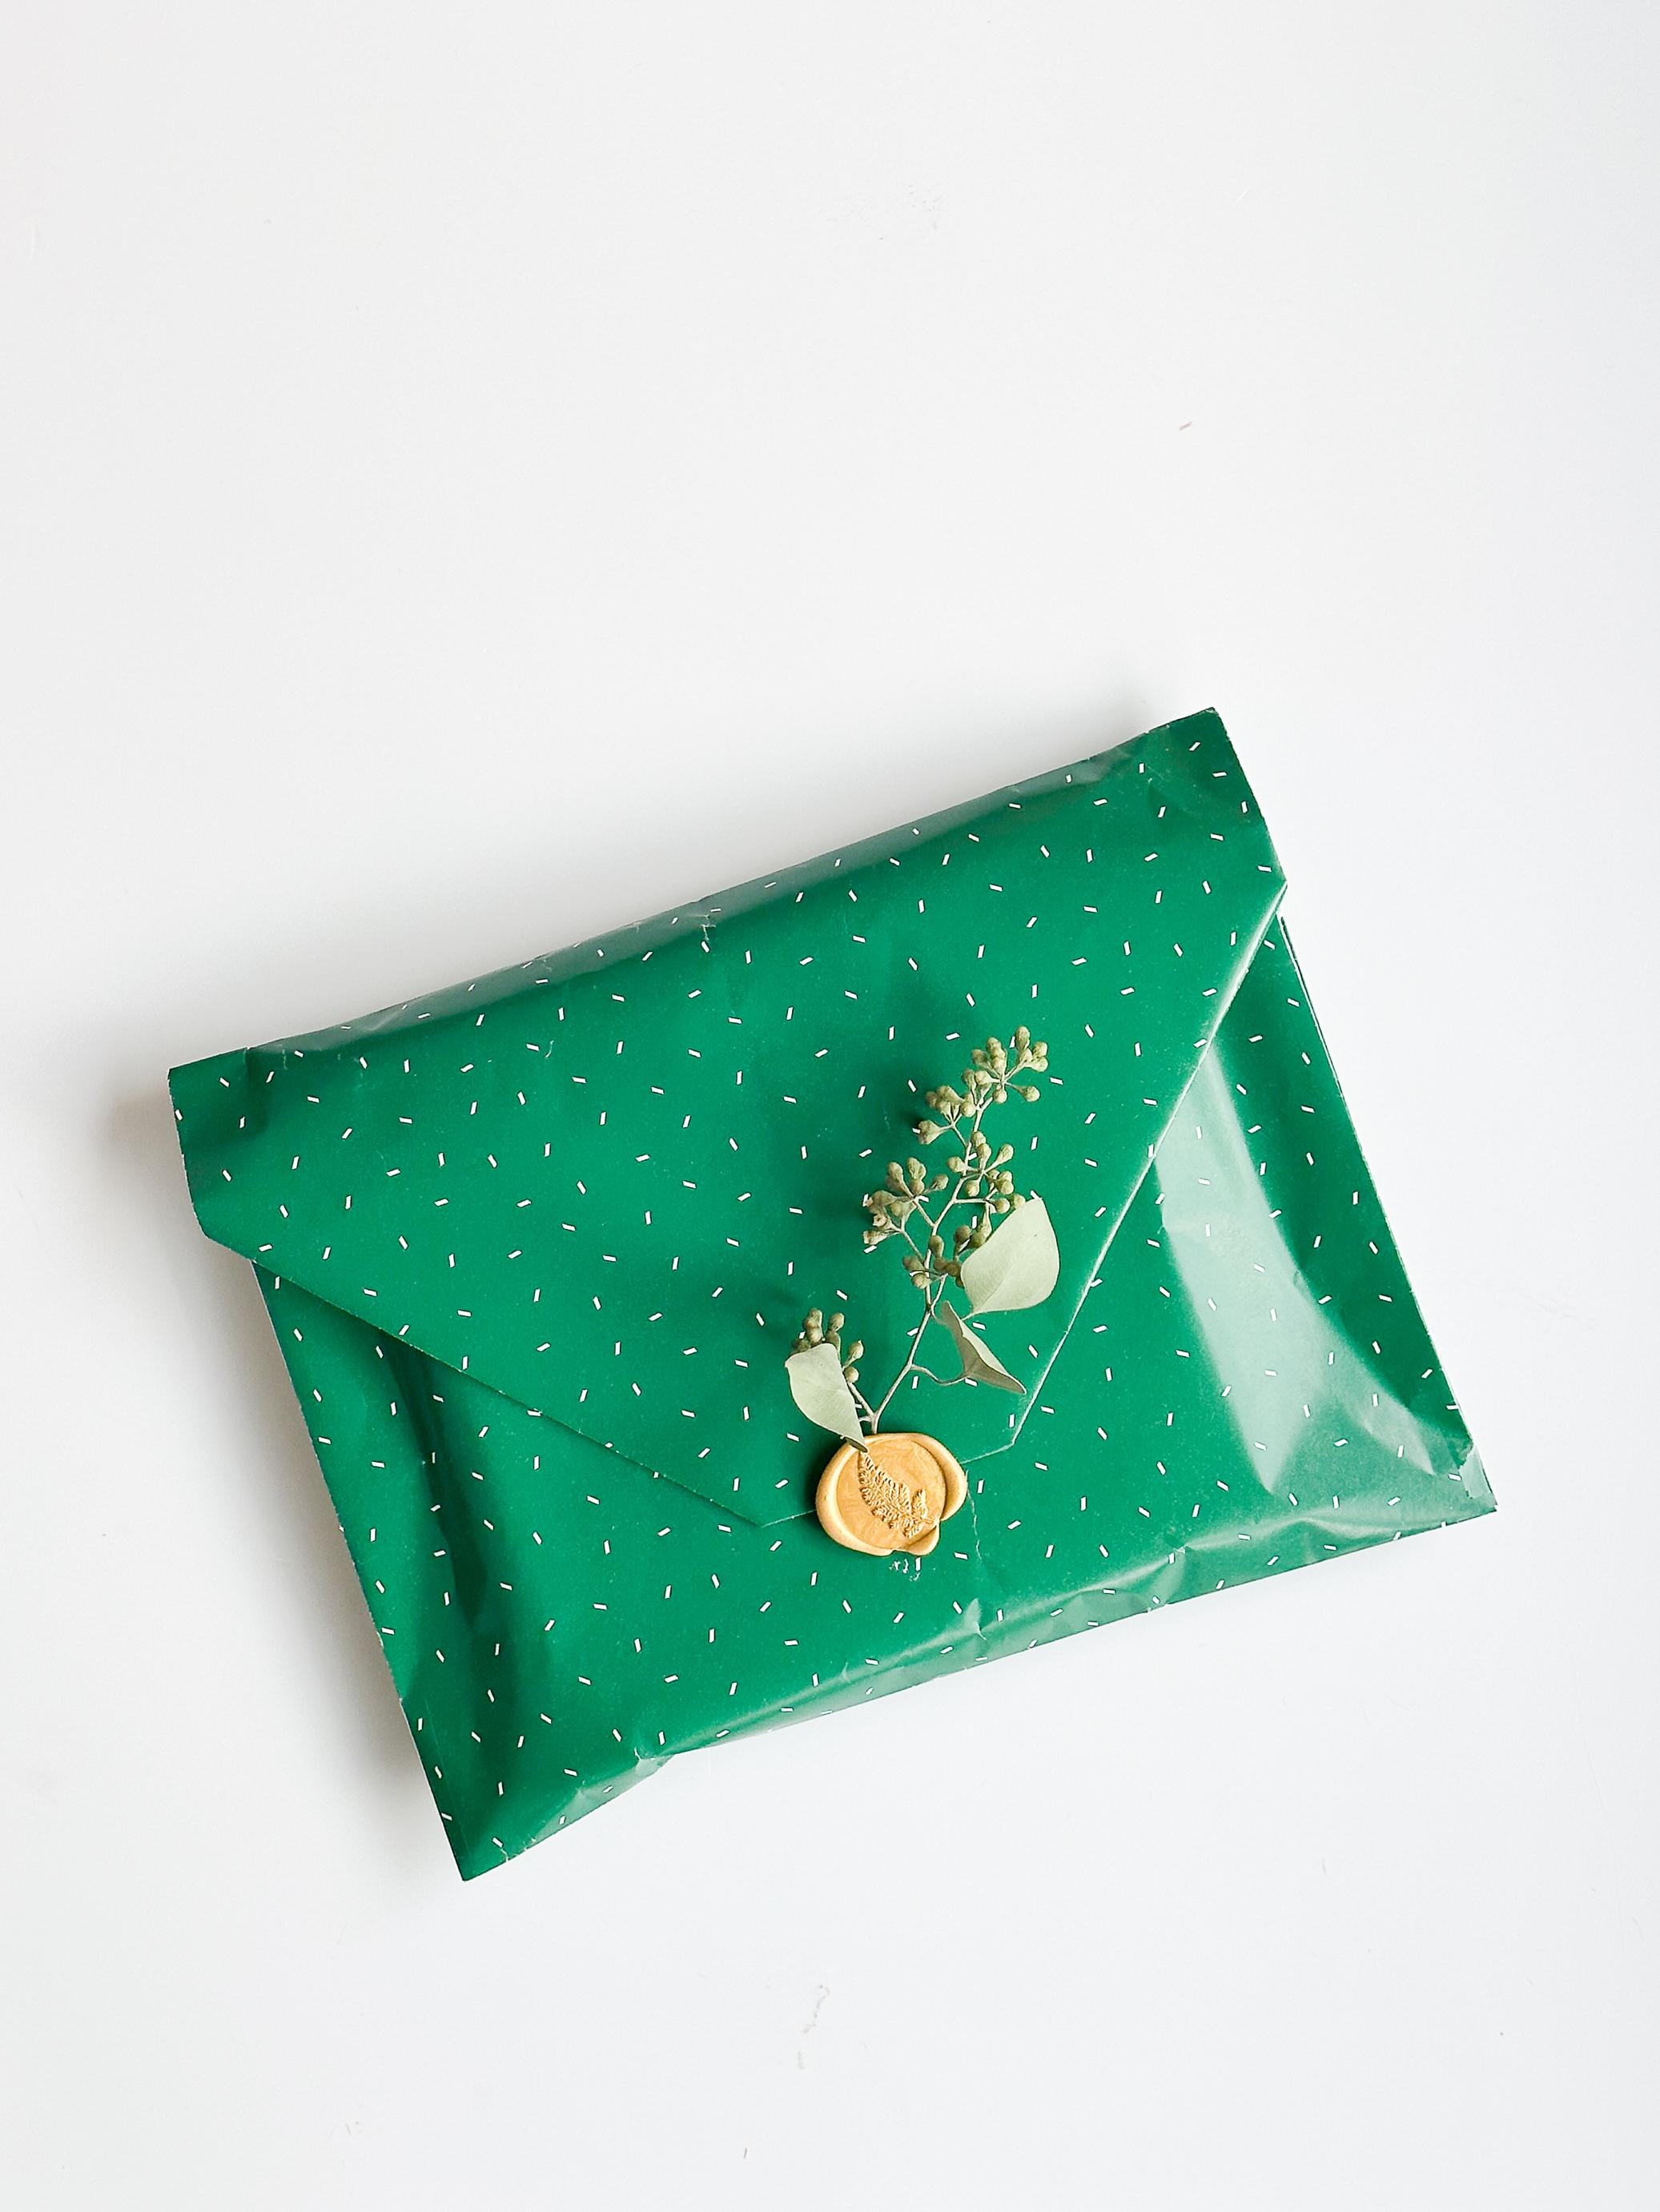
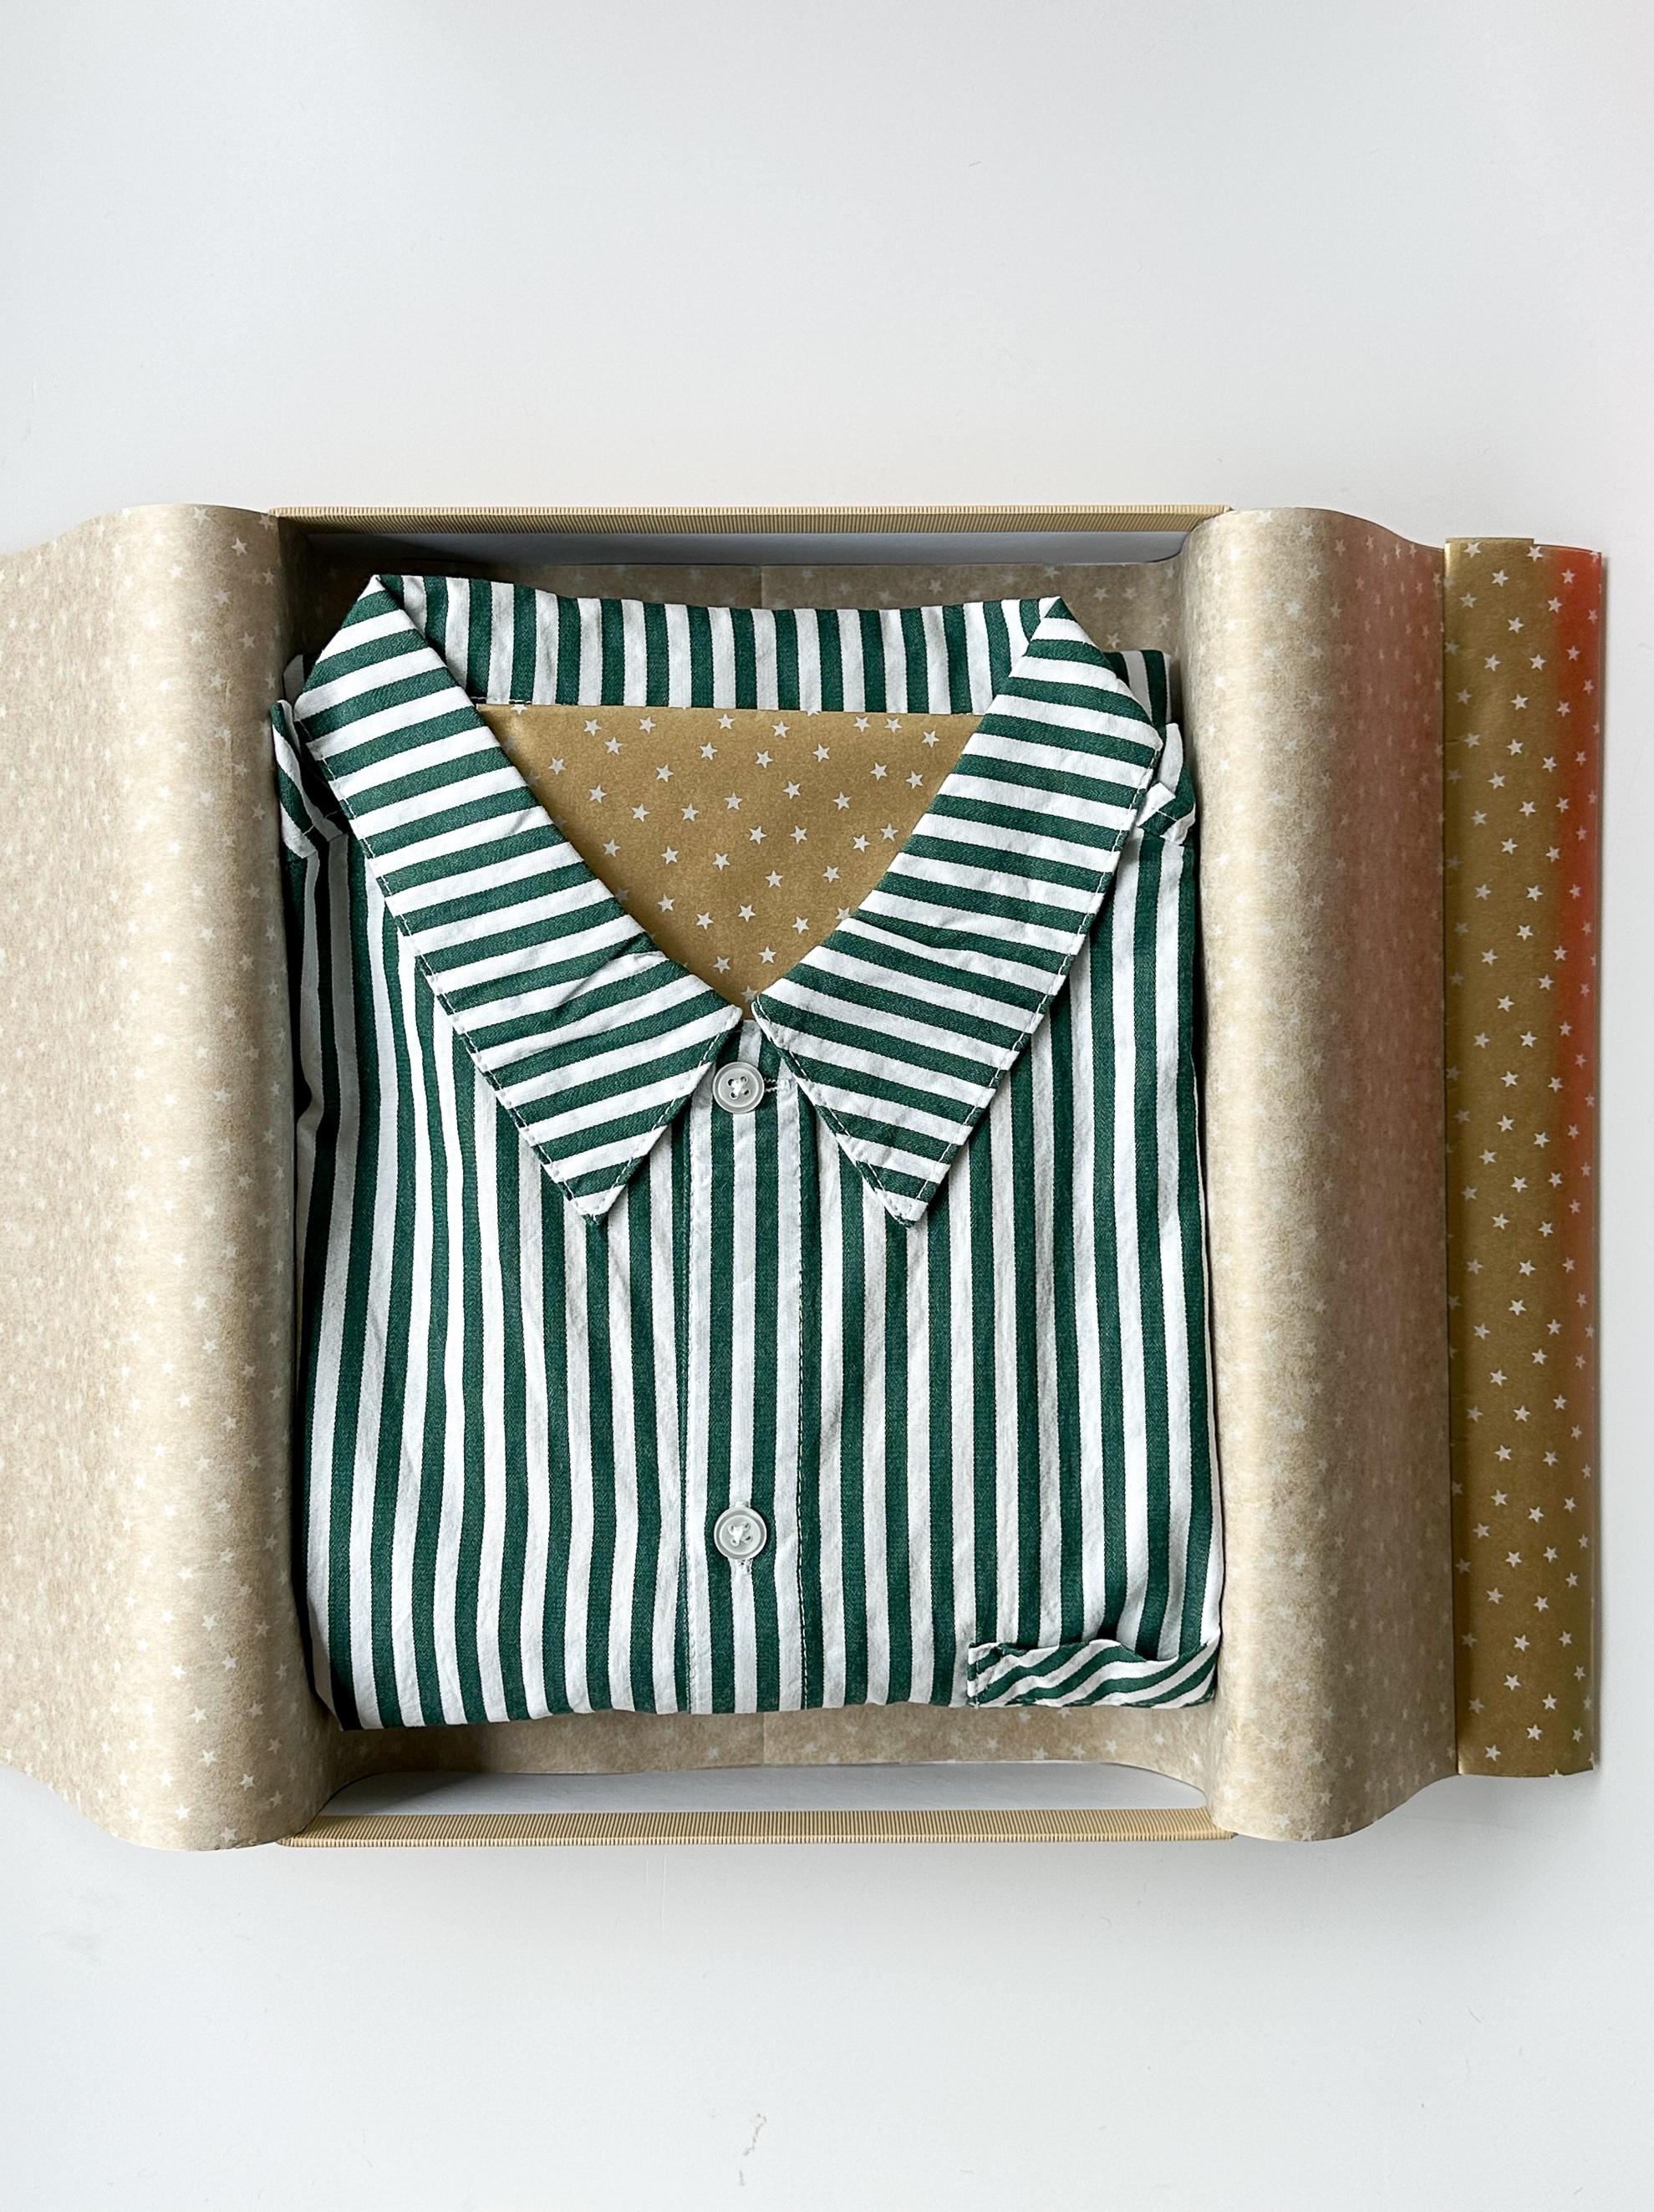
A gift envelope is perfect for flat and floppy gifts such as clothes, gift vouchers, jewellery and photo frames. The envelope resembles a clutch bag which can easily be decorated; and if done correctly can be used multiple times over.
Thick Gift Wrap (Wallpaper works well too)
Sharp Scissors
Double Sided Tape
Ribbon
Decoration or Tag
1. Cut your paper into a square or oblong (portrait), depending on the size of your object, and place pattern side down on a flat surface.
2. Fold in the two vertical sides by approximately 1cm making sure they are straight, so the width of the paper is the same
3. Placing the gift in the middle of the wrapping paper to determine where to fold
4. Fold in the top two corners to make a central point; to create a house shape. This will become the envelope flap.
5. Next, fold in the bottom edge, up and over the gift; to form the envelope pocket.
6. Fold the paper out flat again and add double sided tape to the inner folds of the two vertical sides.
7. Fold the bottom edge in again to form the pocket shape, and stick in place.
8. Place the gift inside the pocket, then seal the central point of the top two corners with double sided tape to form the flap.
9. Finally, add strips of double sided tape to the flap and stick down.
10. Add ribbon and any decorations/tags
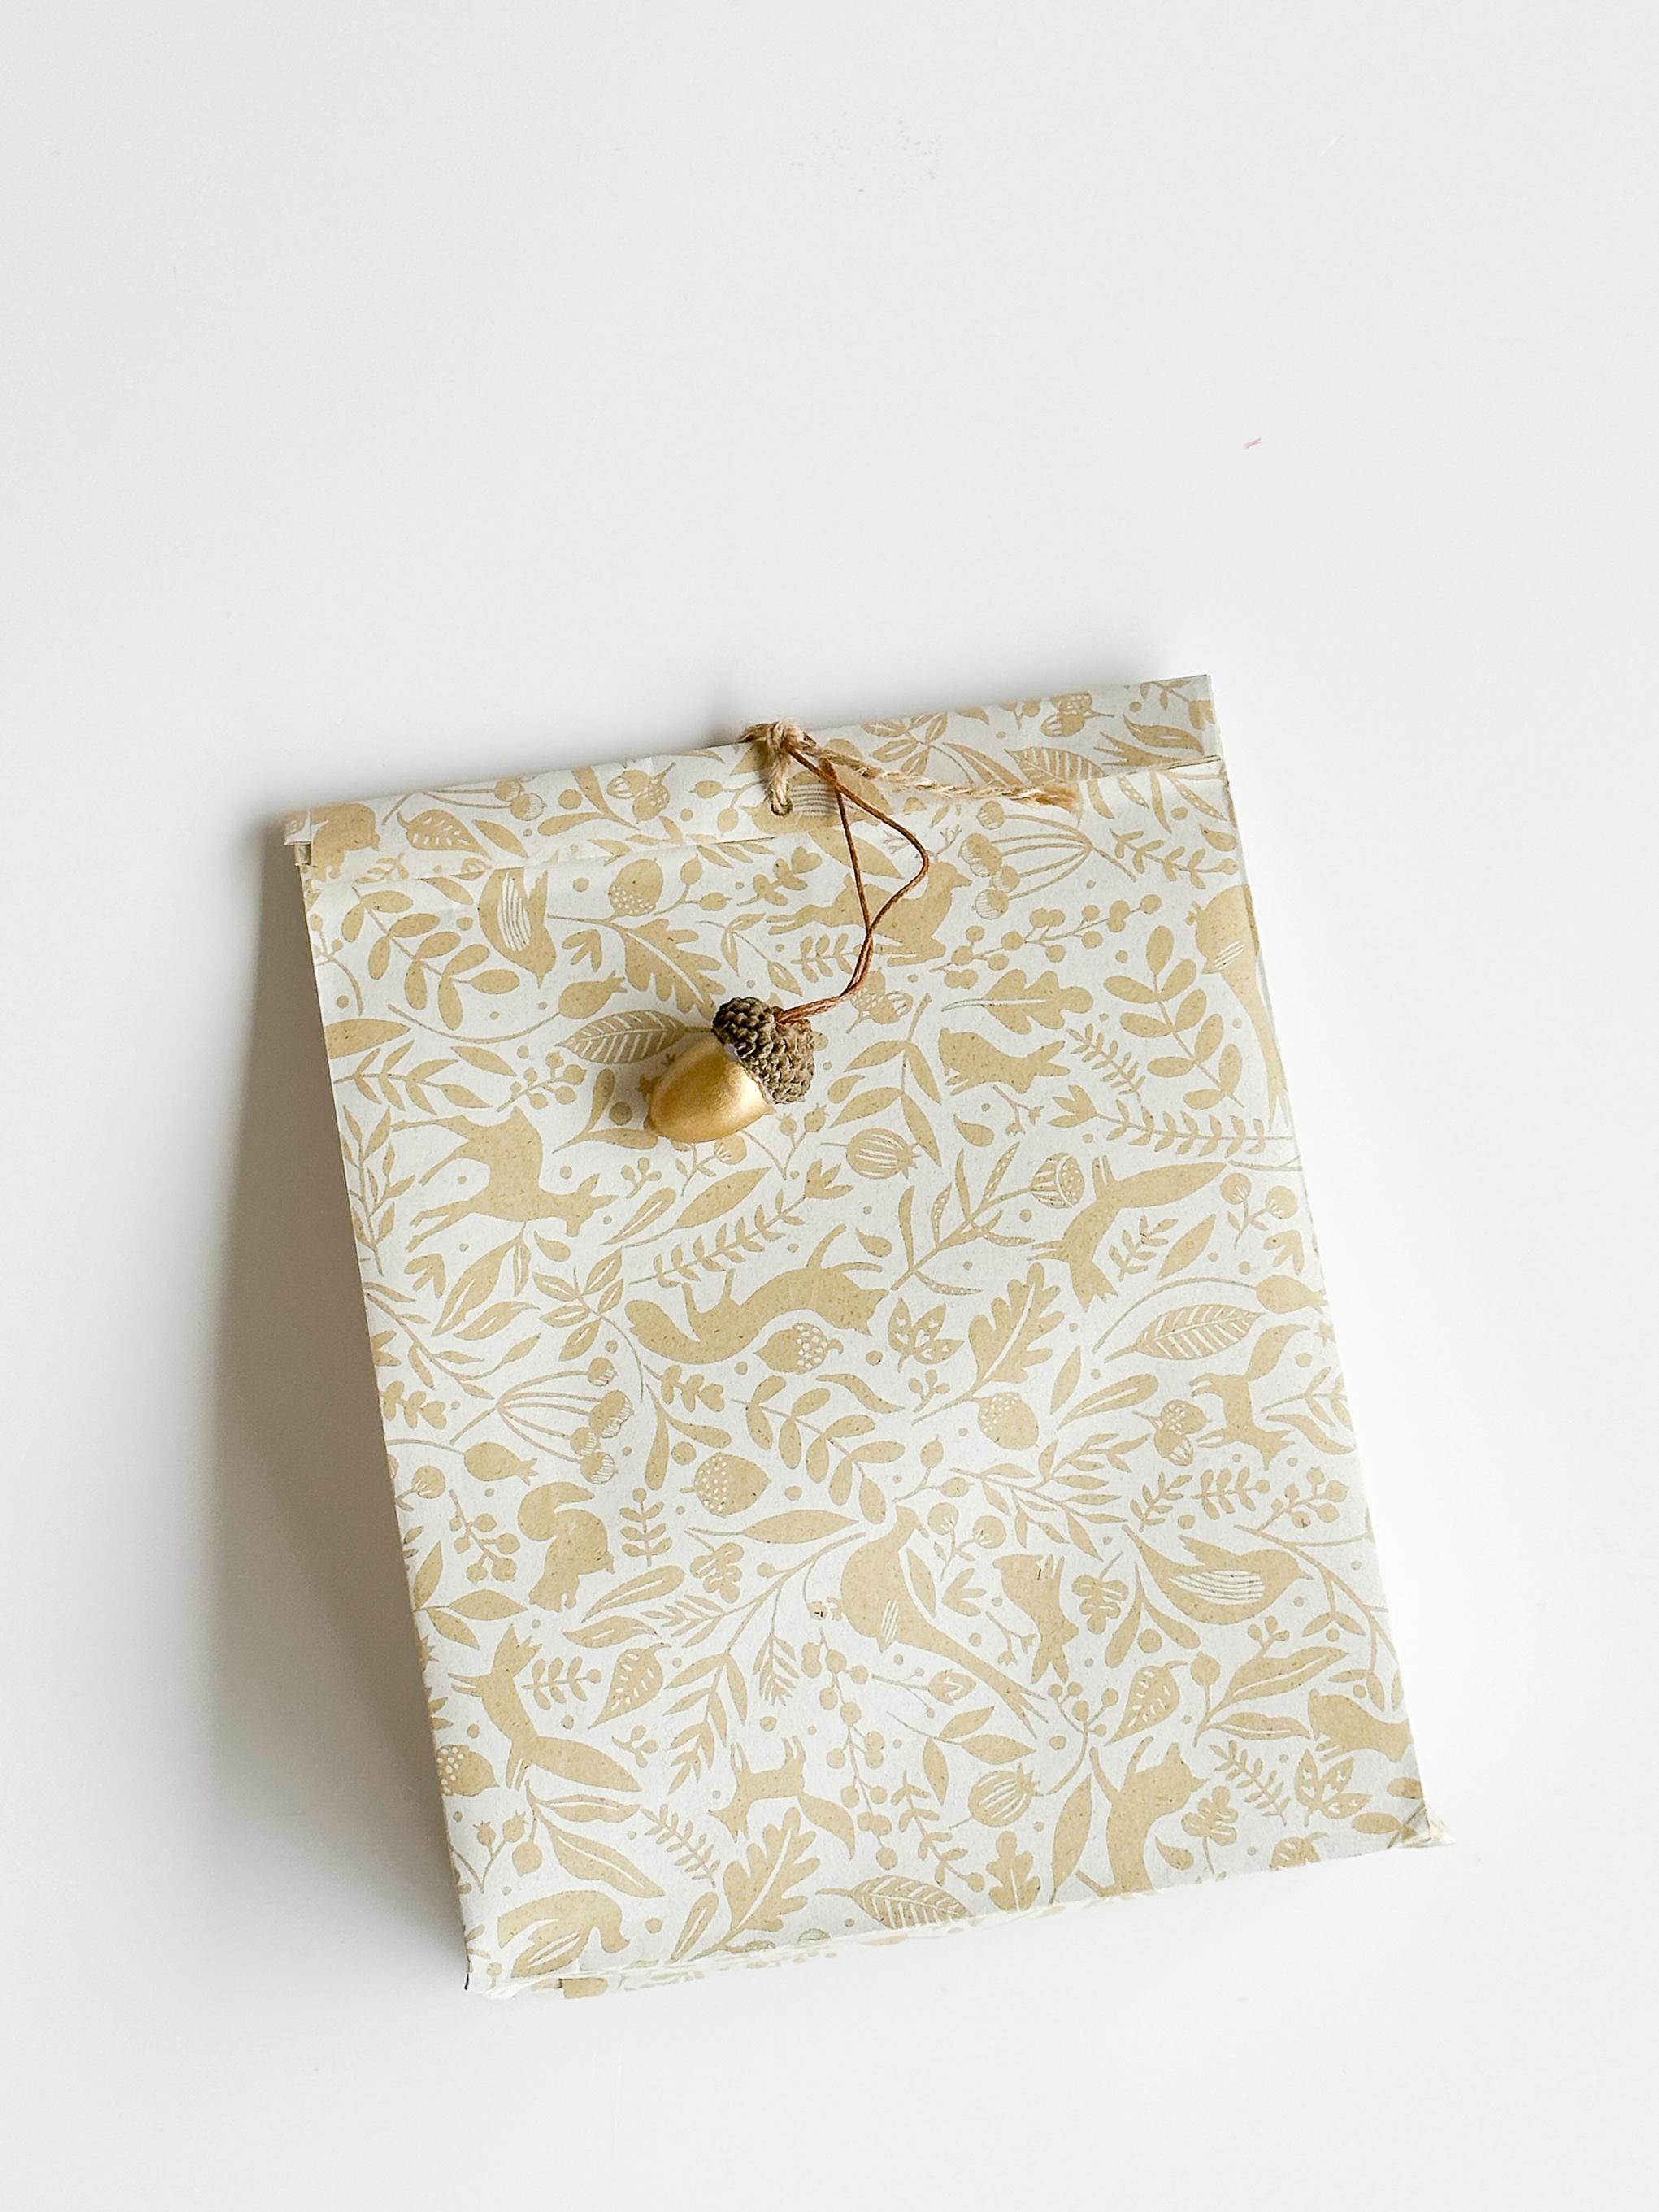
Learn how to make your own gift bag, so you will never need to buy one ever again.
Empty Cereal/Cardboard Box (This is used for measuring, check that your gift fits inside)
Good Quality Thick Paper (Wallpaper works well too)
Double sided Tape
Sharp Scissors
Ribbon
Single Hole Punch
Decorations (optional)
1. Measure your paper around the box as if you were to gift wrap the box.
2. Fold and crease the ends of your paper around the vertical ends of the box.
3. Before you tape close the ends, make a ribbon “pulley” around the cardboard box. This will make sure that the box can be removed from the gift bag easily at the end.
4. Now pinch together and crease the sides of each bag so that you make an inner fold on either vertical end of the bag.
5. Fold the one end and tape closed with double sided tape.
6. Fold the one of the open ends of the paper over the bottom half of the box, be sure that the top flap covers the whole side of the gift. This will form the bottom of the bag.
7. Tape the bottom flap to the top flap. Keep the sharp edge as this will ensure your bag is not too bulky at the bottom and can stand easily.
8. Using the ribbon “pulley” remove your box from the bag.
9. Punch together the open end of the bag.
10. Thread through ribbon and tie a bow with an embellishment.
With ready bought gift bags you can see the gift inside the bag unless you add tissue. Make the gift a surprise by simply punching a hole into the bag between the two handles and tie the side together with a ribbon bow.
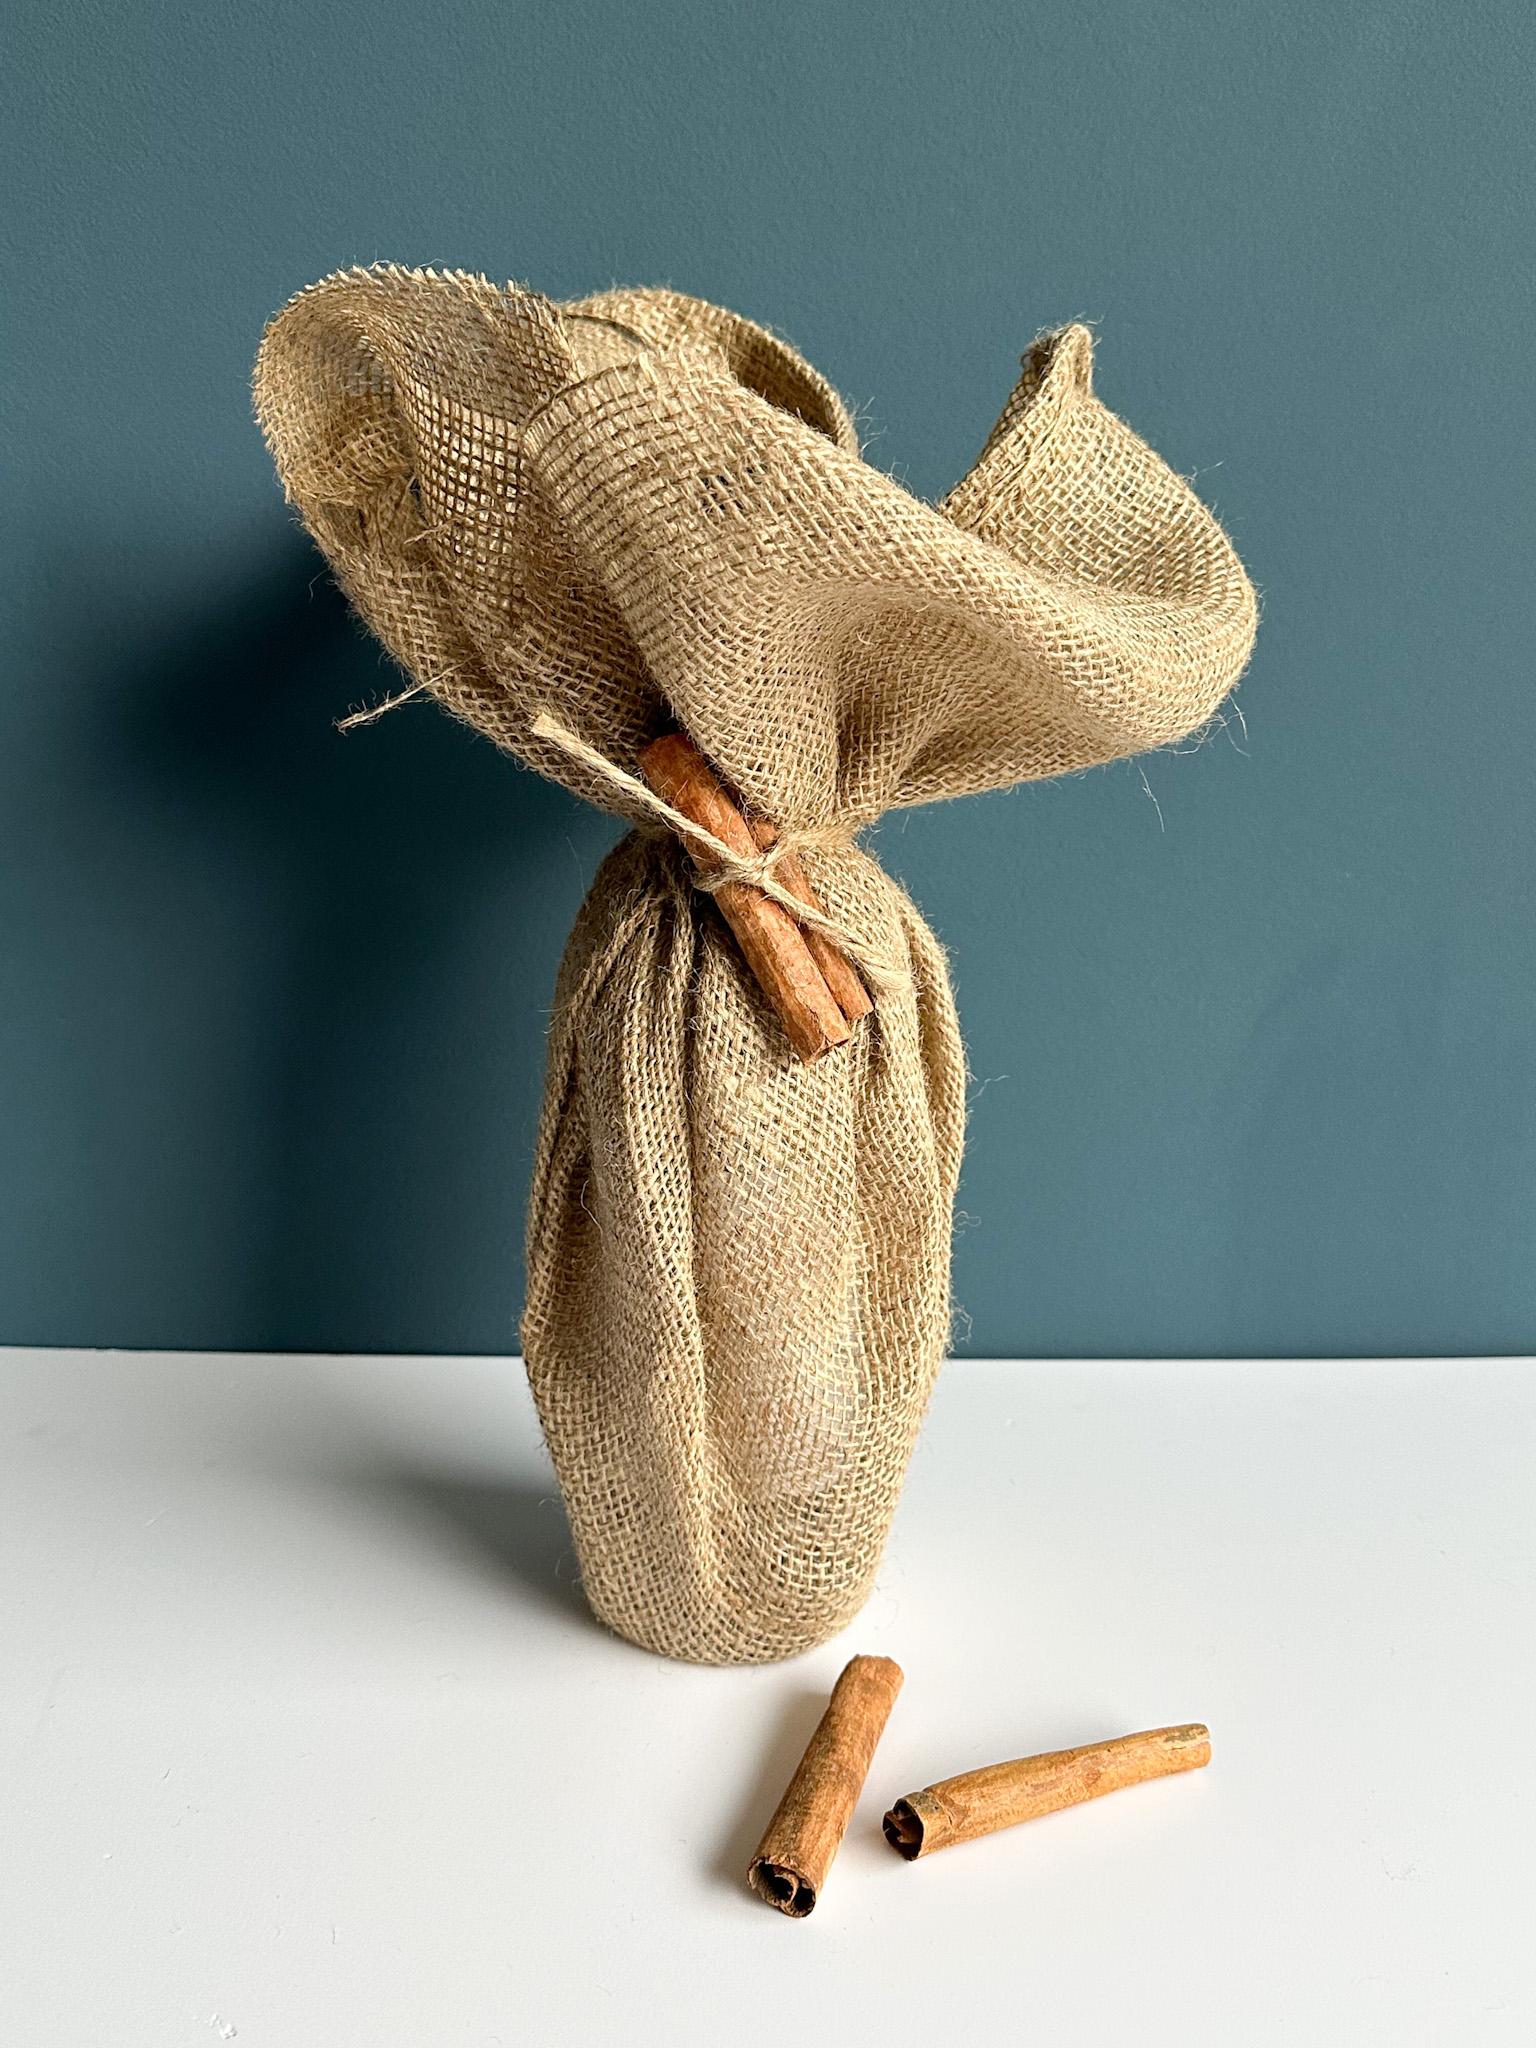
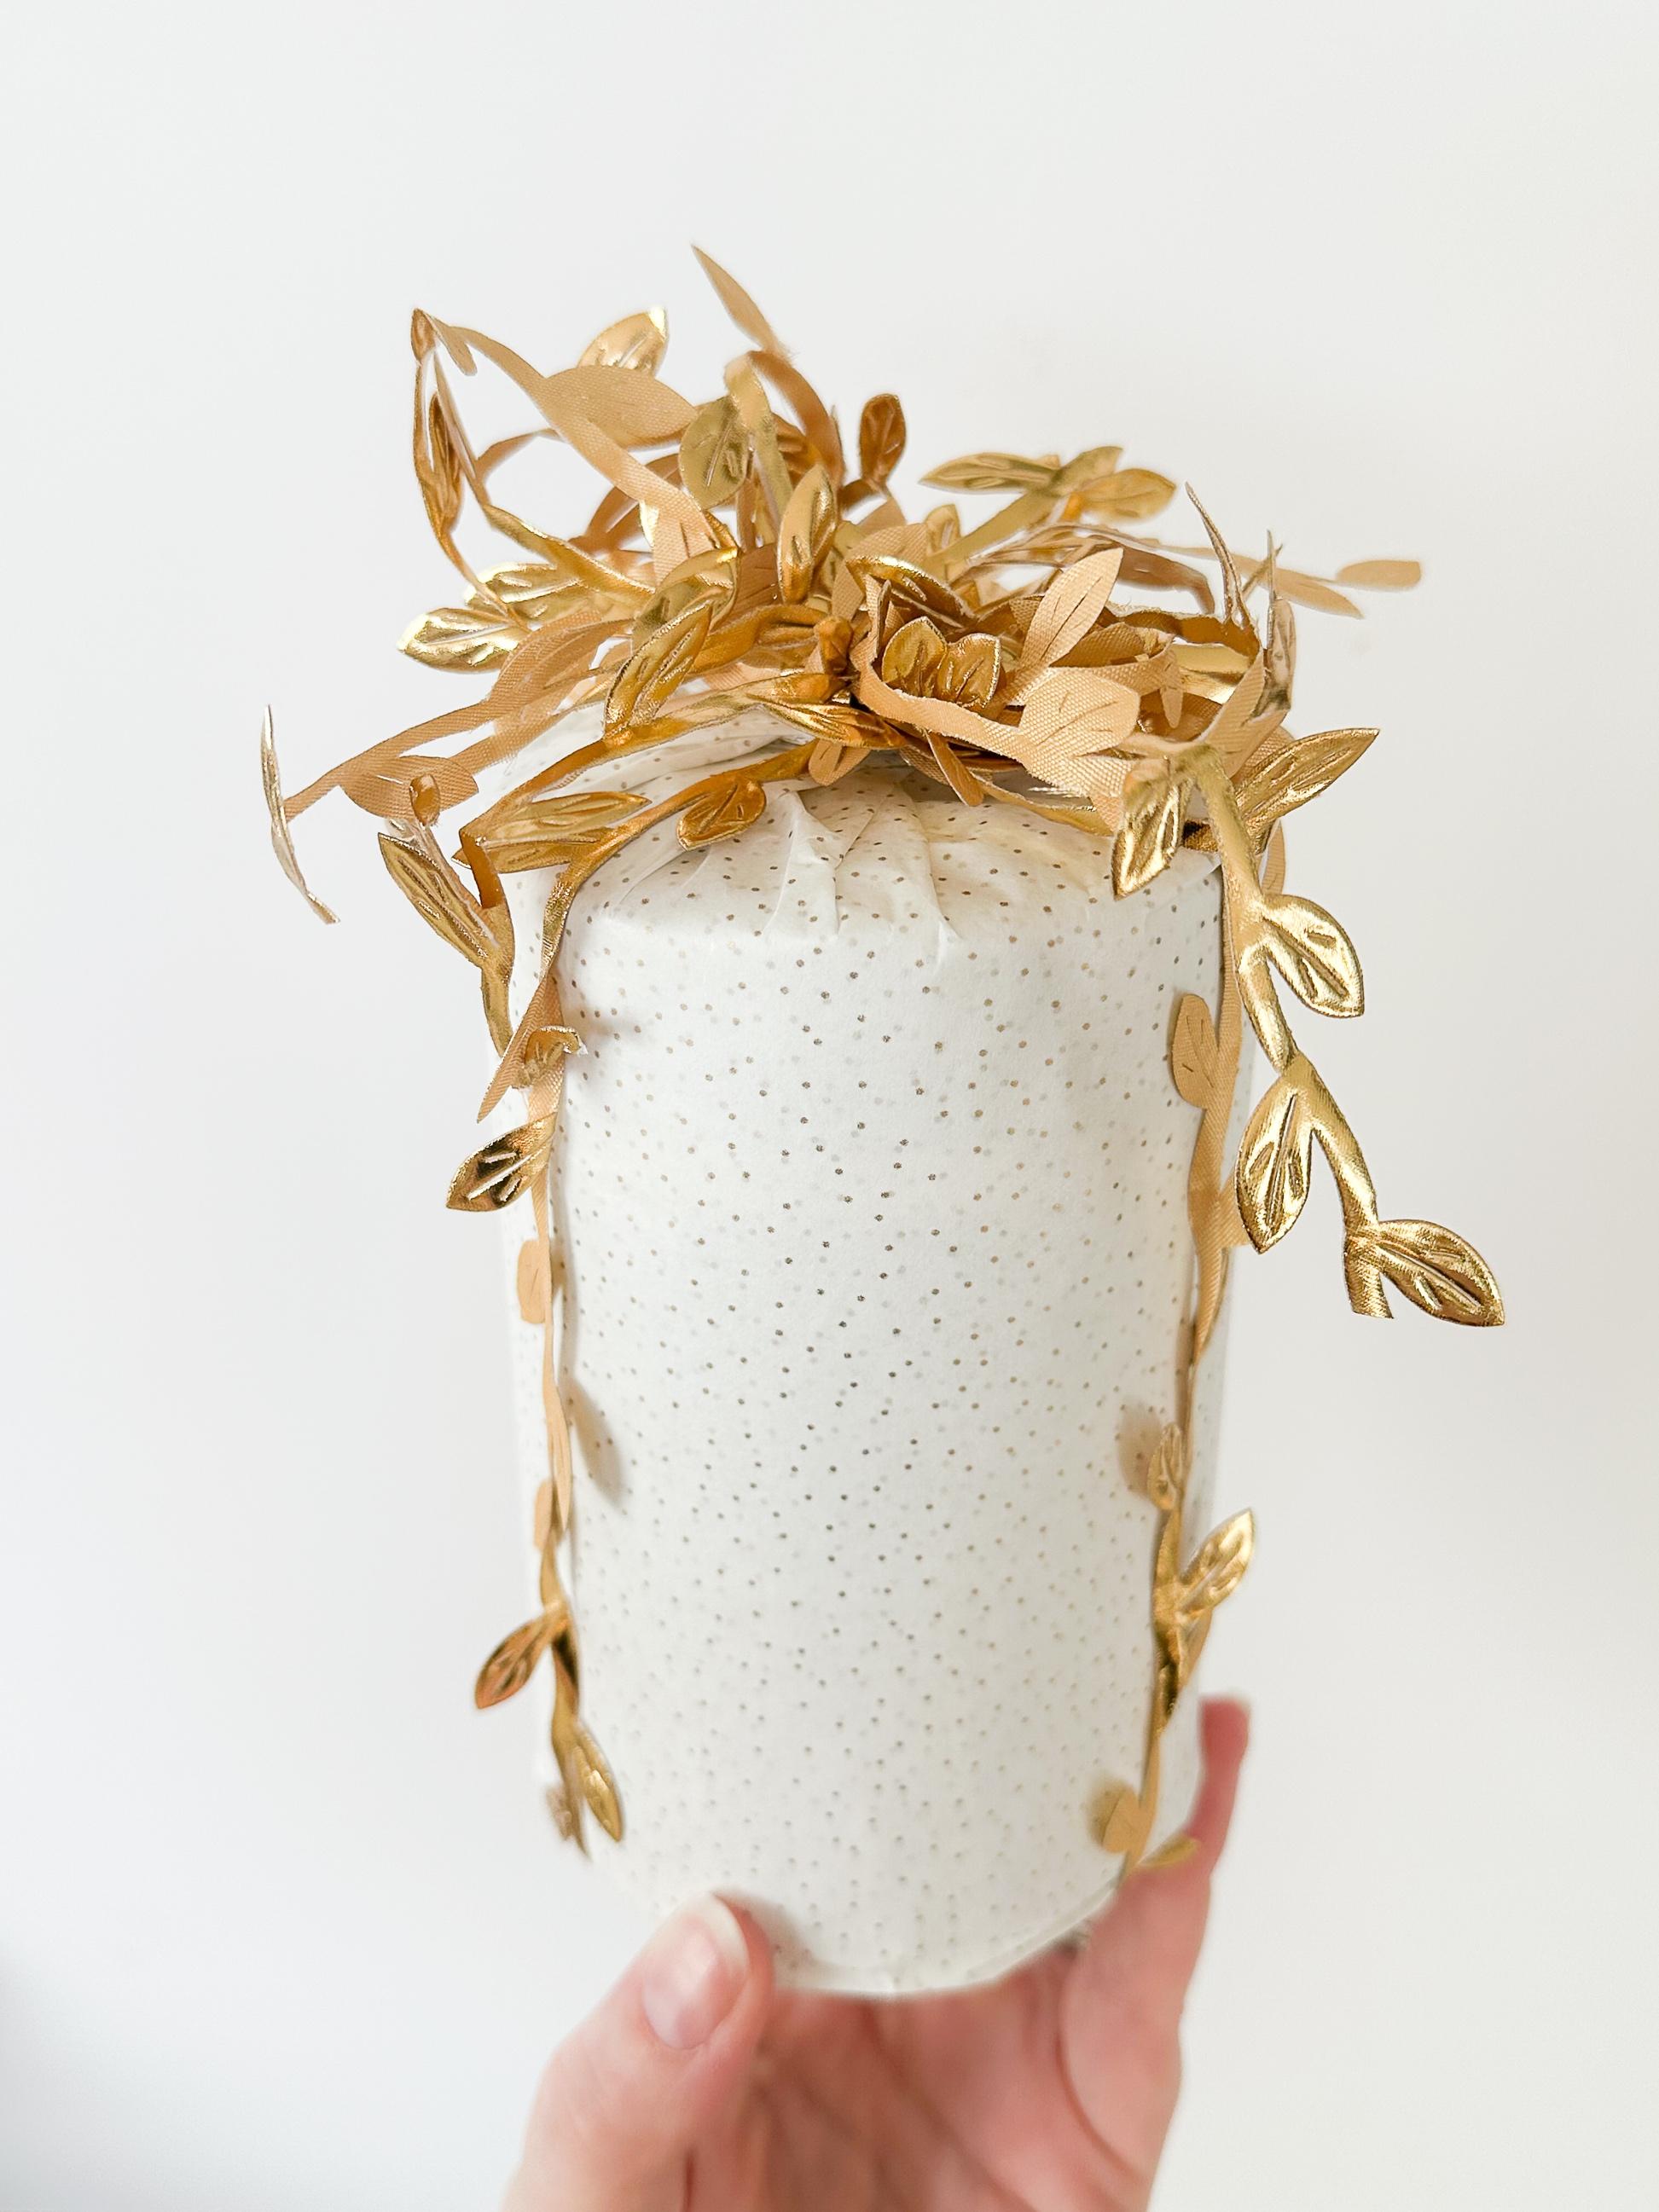
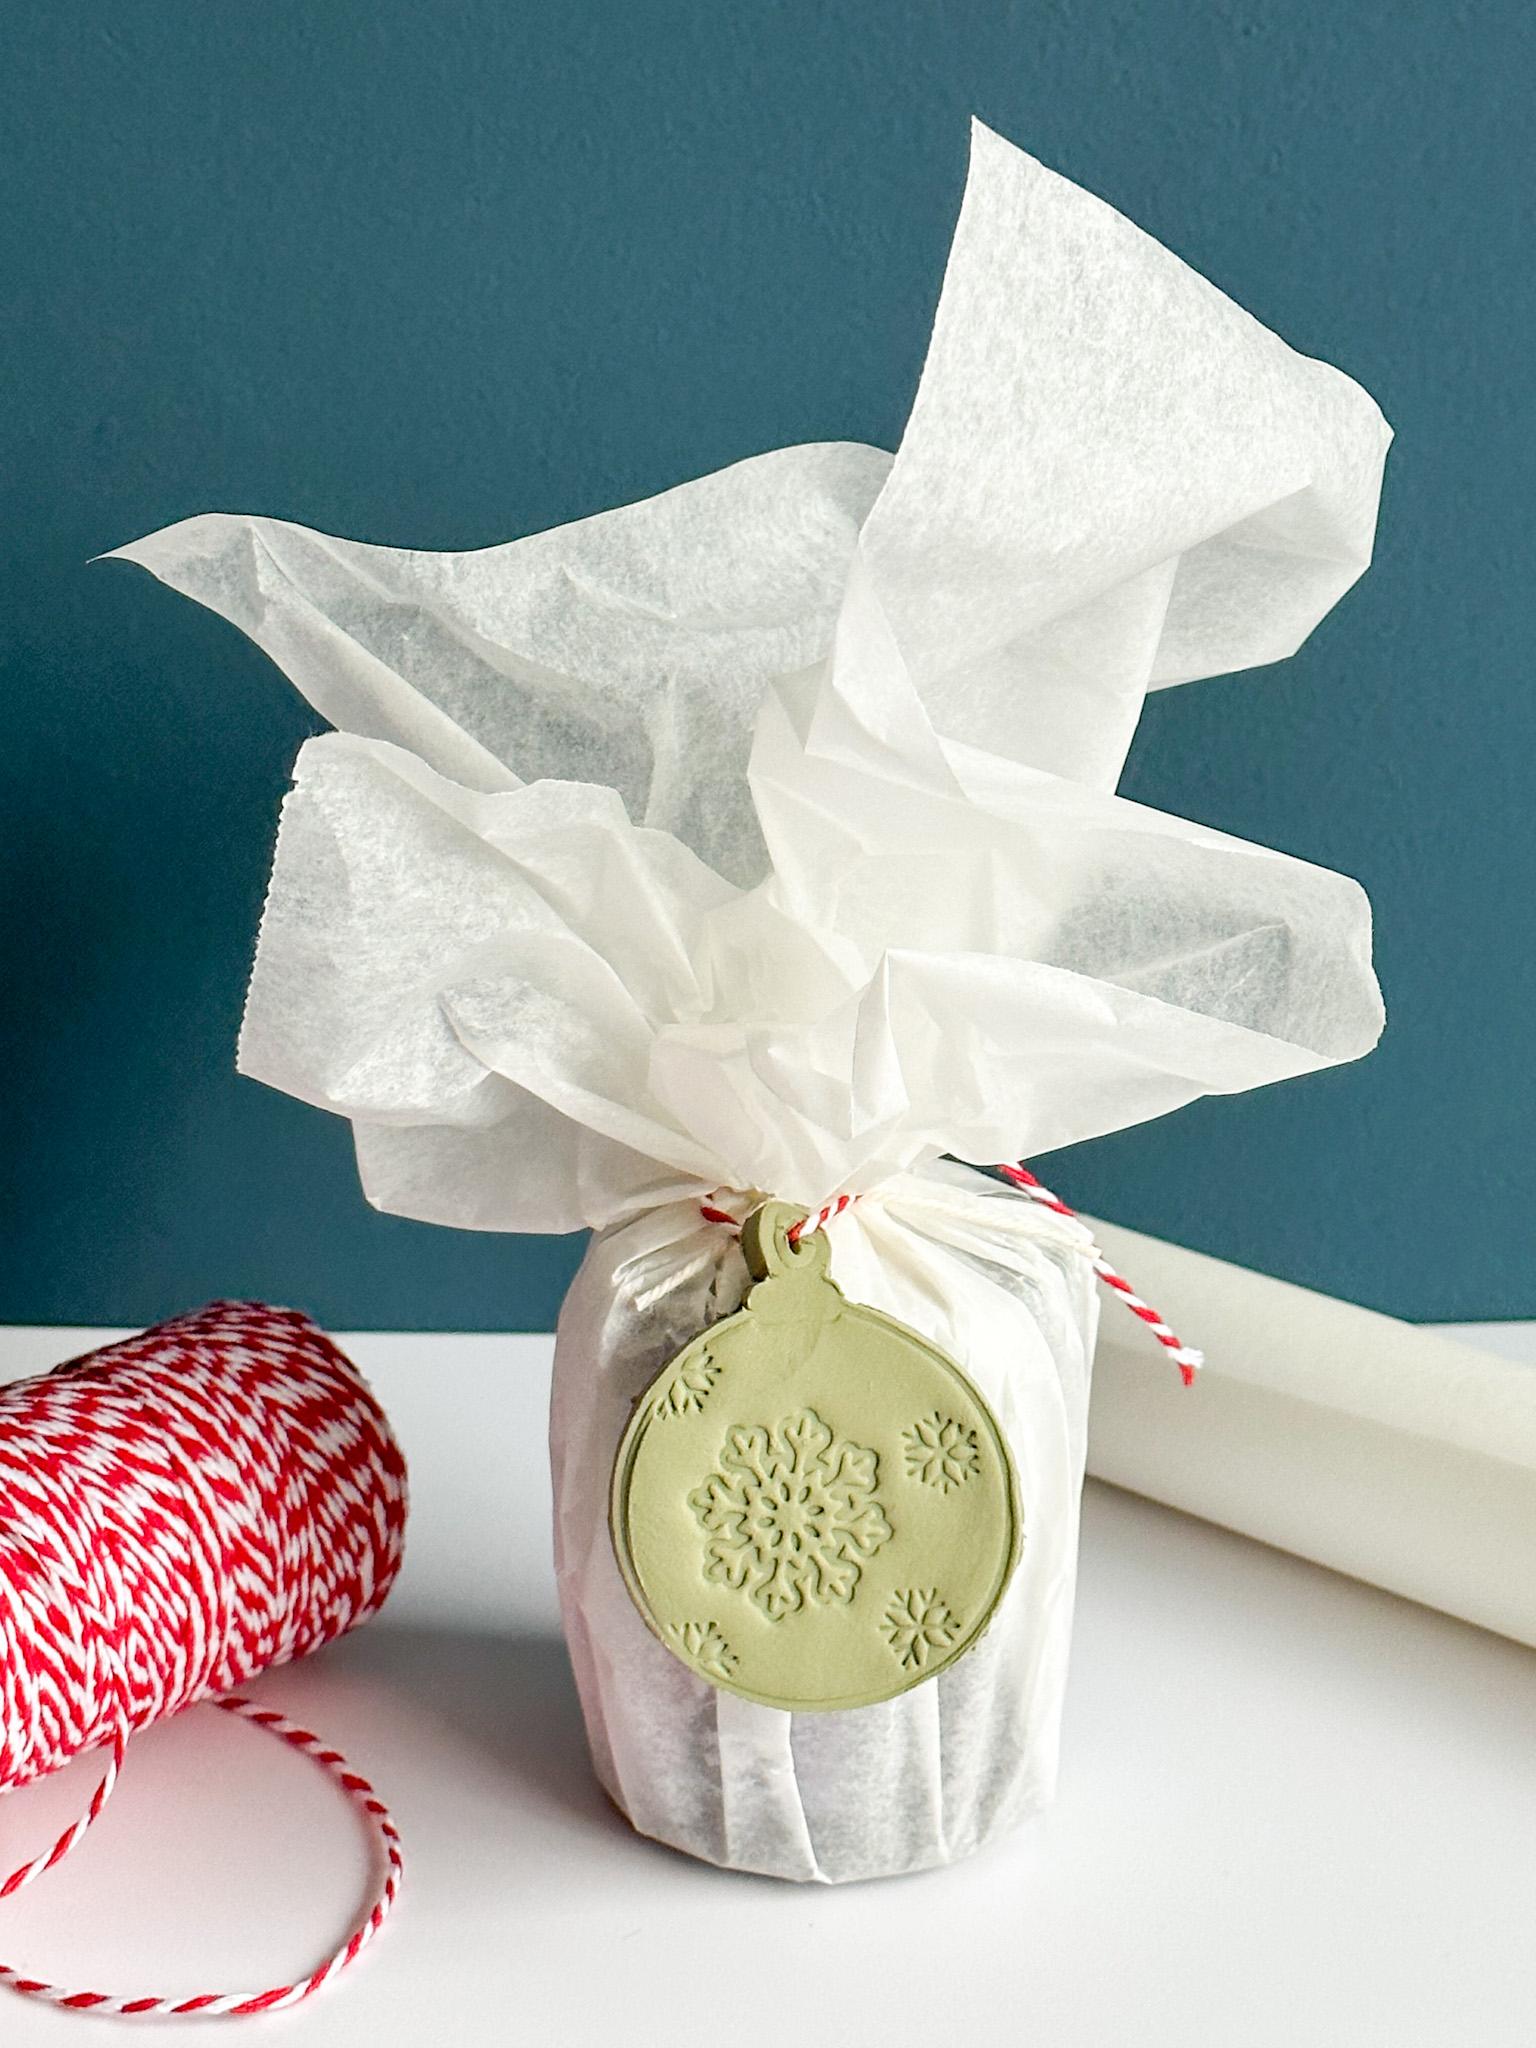
We’ve covered flat items and now we will go to the other end of the spectrum by wrapping tall objects. In this section we will be covering a bottle, but this technique equally suits wrapping a plant or any tall shape.
Awkward Gift: a bottle, vase, jug, anything with height is suited to this technique
2 Sheets of Tissue Paper (flexible wrapping like crepe paper, cellophane or fabric work well too)
Sharp Scissors
Ribbon
Decoration (optional)
1. Firstly, stand up whilst wrapping your bottle. You will find it a lot easier to get the tension this way.
2. Lay the two sheets of tissue paper one top of one another, the patterned sheet face down; in a landscape direction on the table.
3. Place the bottle onto the centre and fold one edge of the short side up to the top of the bottle neck.
4. Pull a pleat in the paper (a vertical fold) and gather the paper up wrapping it around the neck of the bottle and hold in place with your other hand. Continue to gather up the paper bit by bit, pleating as you go. The key to getting this right is not watching too closely at what you are doing and keeping the tension as you go along.
5. Continue all the way around the bottle until all the tissue paper is used.
6. Holding the wrapping together at the neck, tie a piece of ribbon around to secure it in place.
7. Then, add your choice of decoration to finish.
Use the same technique if you are wrapping a football, but place a roll of tape with a hole in the centre or a shallow bowl underneath the wrapping. This will act as a cradle to stop the item from moving around.
If you are wrapping a fresh plant that has recently been watered, you may want to opt for a water resistant wrap such as cellophane, otherwise your tissue or gift wrap paper may end up damp!
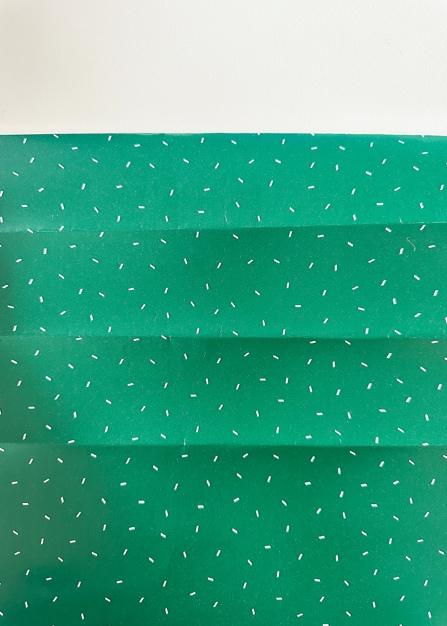
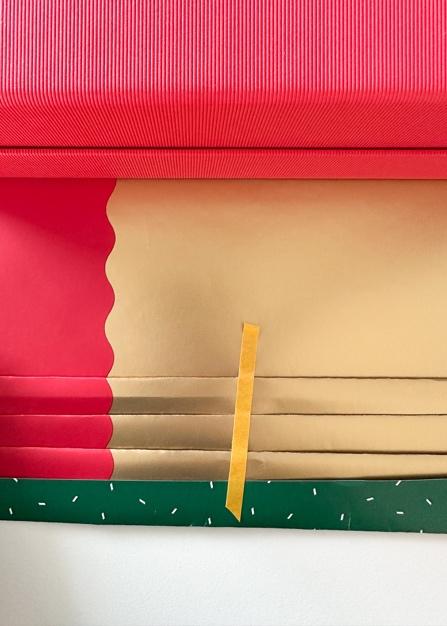
Japanese pleating instantly adds luxury to any gift. Similarly, it works well where it is not easy to join the seams underneath the gift as it is too fragile or a loose gift set.
Gift Box
Gift Wrap (You will need a longer piece of wrap than a standard box measurement so you can add the pleats in an odd number)
Double- Sided Tape
1. Fold the edge of the paper in by 1cm.
2. Next fold the paper over by approximately 3cm. Repeat again and again so that you have done three turns.
3. Unfold the 3 large folds, but keep the small 1cm fold as is.
4. Turn the paper over. Take the last large fold and pull it up towards the middle of the next fold.
5. Repeat with the second fold.
6. Repeat with the first fold.
7. You should now have six even pleats in the paper.
8. Wrap the gift as usual. But if you are worried about the pleating stretching, simply tape the pleats with single sided sticky tape on the reverse side (easily identifiable by the small 1cm fold you did in step 1.)
Pleating with reversible paper looks dramatic and unique. Alternatively you can use a single sided paper with a plain white reverse.
The only difference to wrapping with plain paper is you will have a longer length of the double sided paper.
1. Pleat in exactly the same way before.
2. Face the pleated paper the wrong way up this you will identify by seeing the small 1cm flap that your first folded in before pleating.
3. Now fold over the entire pleated section, so that you will now see both the pleated and the reverse side at the same time.
4. This is now your completed sheet piece of paper ready to wrap the gift as usual.
Pleating is great for disguising seams; as the join will be at the top of the gift but hidden underneath the pleats.
Pleating is great for wrapping with just paper alone. No ribbon or embellishments needed. And be sure to run your figure underneath each pleat at the end that way accentuating them even more.
Wrapping a beautiful circular tin of biscuits can be wrapped in the same technique as a bottle, however pleating it with paper looks really dramatic and fancy.
Round Circular Tin (biscuit/cake tin or practice on a canned tin of vegetables/soup)
Good Quality Paper (nothing too thin as it will tear when tension is applied. Brown paper is perfect)
Sticky Tape
Sharp Scissors
1. Measure paper as before. Note: the sides should measure just over half way.
2. Always start with the underneath part of the overlap
3. Ensure you have some tension as you pull the paper
4. Pleats should all go through the centre
5. Try and keep your pleats small so they all blend in together
As a novice, opt for a patterned paper which disguises any visible errors.
Triangular shapes (like Toblerone, of course!) or other weird and wonderful shapes (a tennis racket?) can be wrapped this way. The secret is flexible wrapping.
Think tissue paper, cellophane, crepe paper, fabric and my favourite for large items: paper tablecloths. The advantage being that the paper moulds around the corners far easier than traditional gift wrap. And instead of making sharp creases for folding in the excess paper, roll the excess paper into the sides of the shape and gather at the one or two ends and tie with ribbon. One can also add additional pieces to make a fan at the top end especially if the one end is narrower than the other. Therefore giving some balance and better proportions to the wrapped gift.
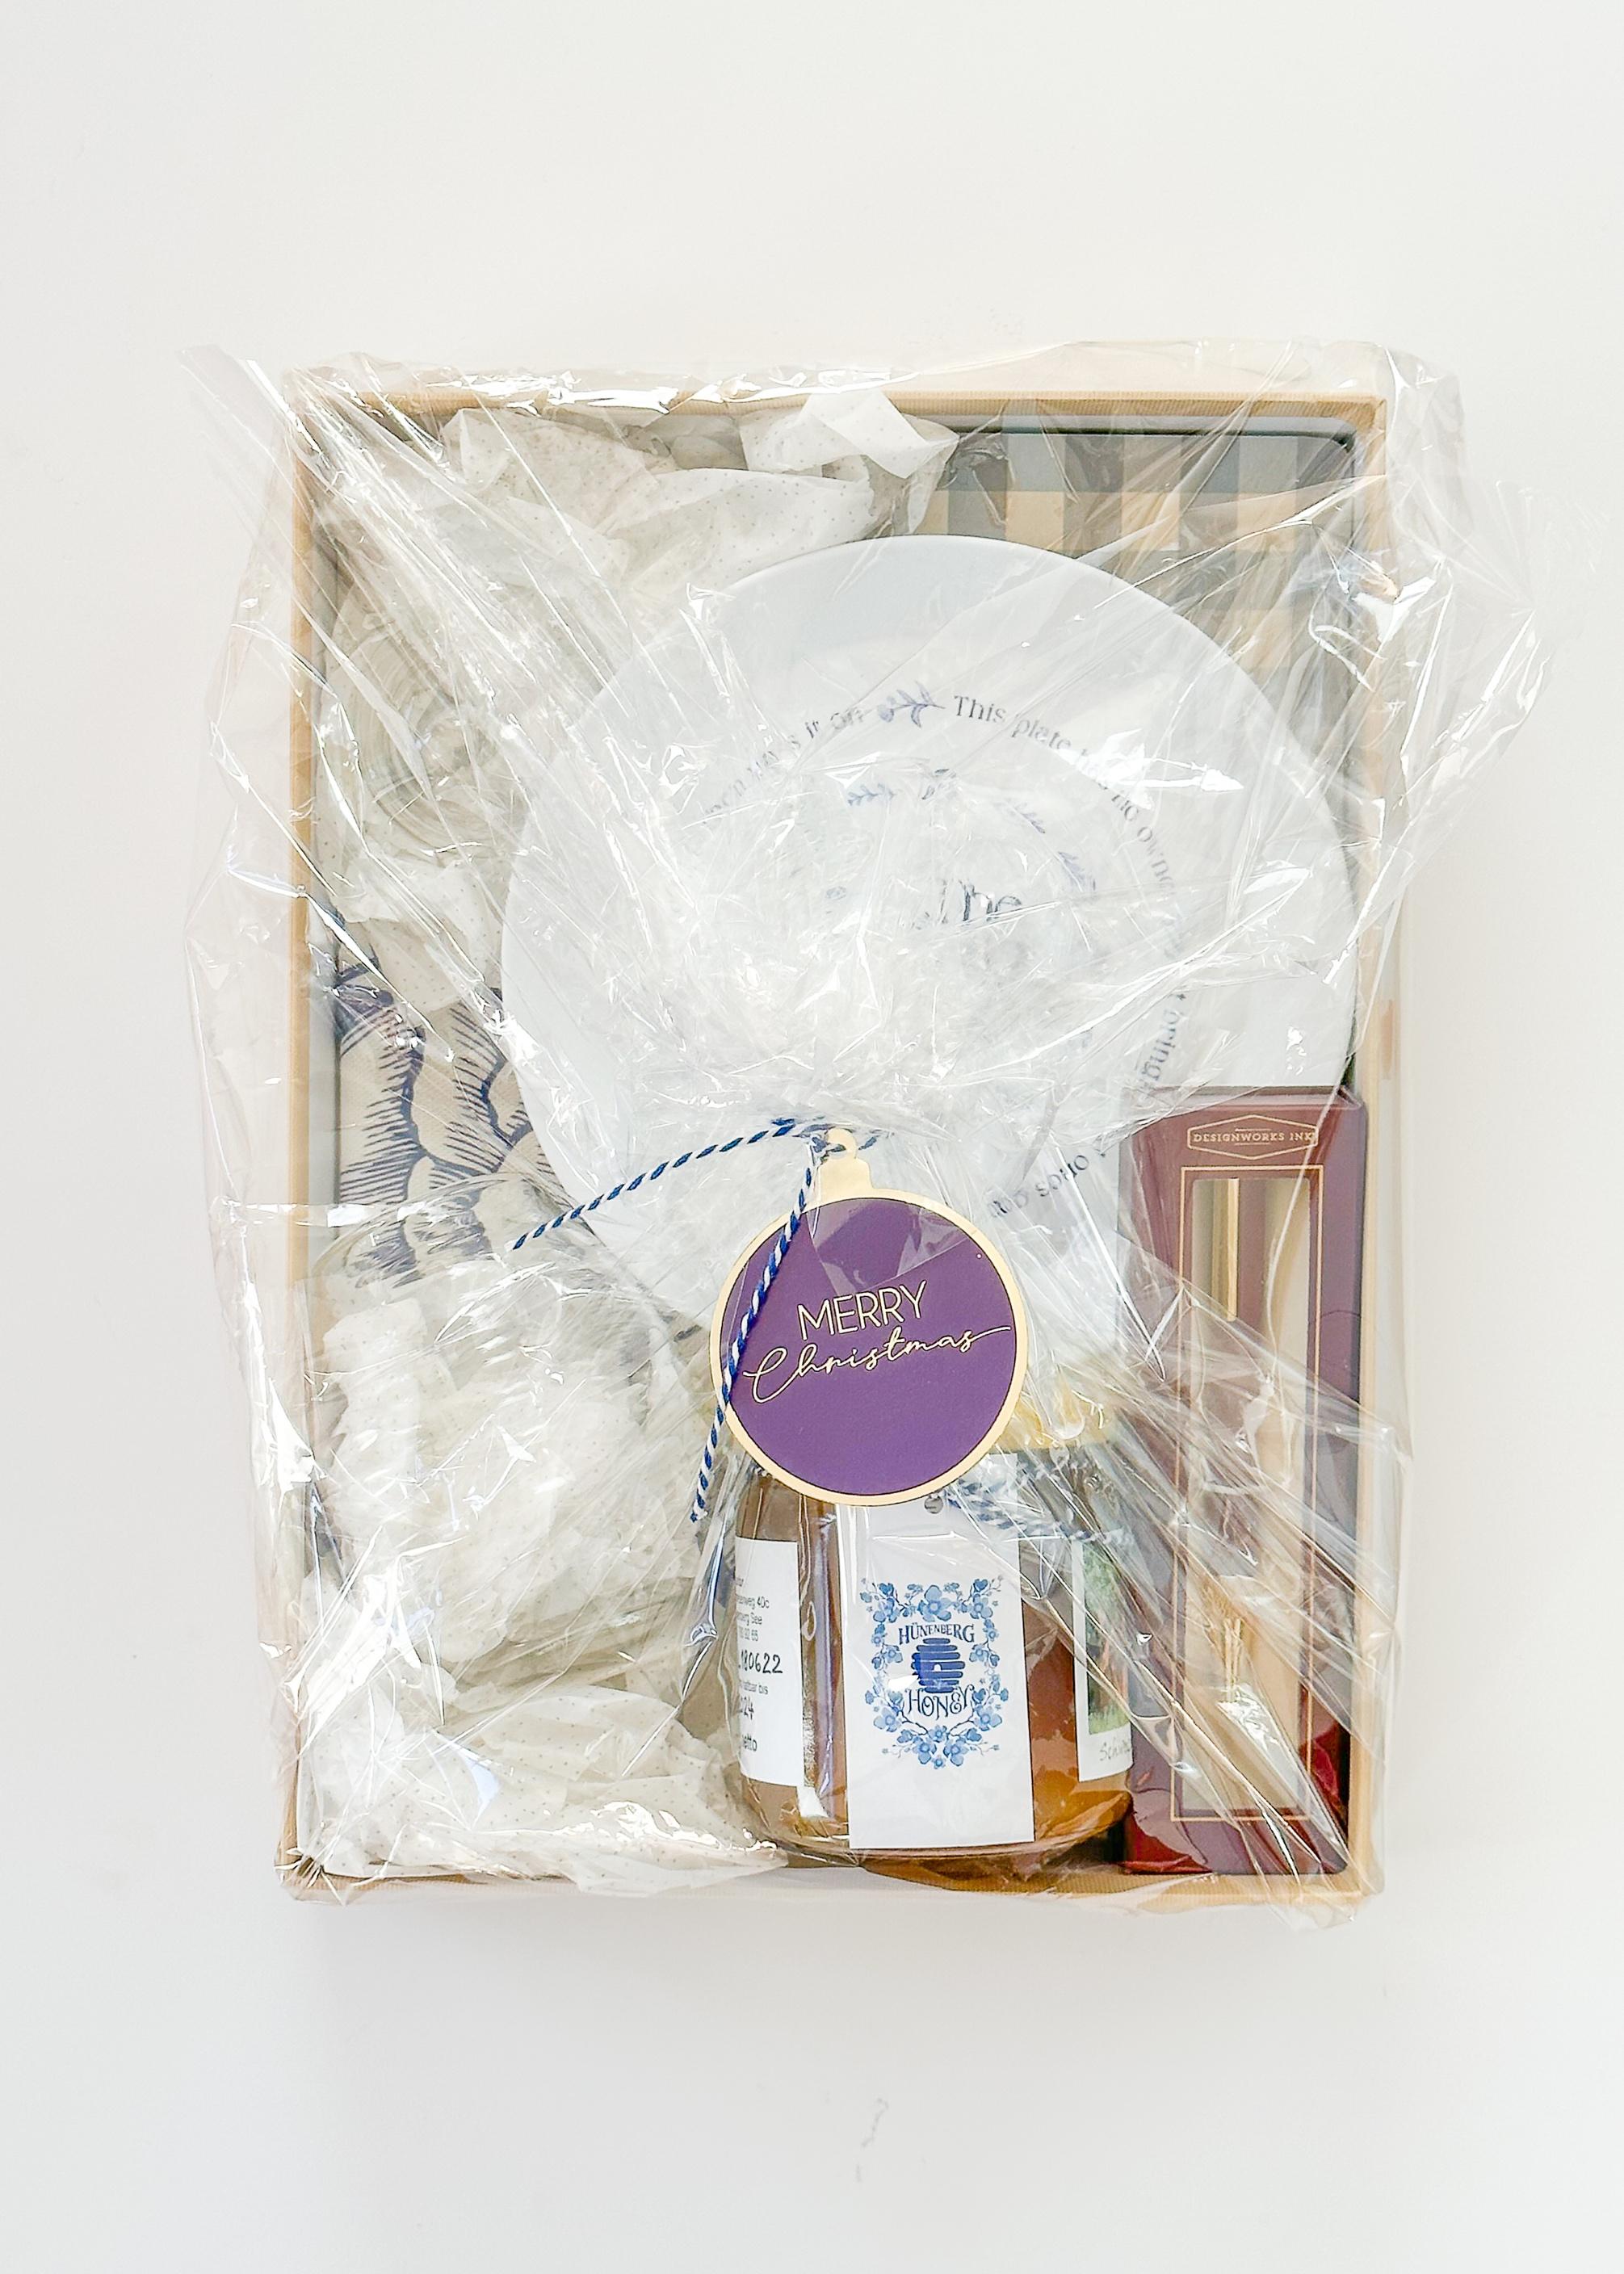
Displaying and wrapping items in a hamper is an art form in itself and here are some visual tricks and presentation ideas.
Clear Cellophane/Film (perfect for displaying items especially for raffles/prizes)
Tissue Paper (combine with cellophane for protection)
Fabric/Netting Paper Tablecloths
Baskets
Wooden Crates
Storage Boxes with a lid (wicker/wood/cardboard)
Wicker Bases
Wooden Wine Boxes
Terracotta Plant Pots (circular/oblong)
Plant Pot Bases
Buy or find a base or container first, and then fill it with products; that way you aren’t stuck with one that is too small/too big.
Paper Shred (pull shred from a bag and away from the wrapping)
Artificial Foliage/Berry Sprays/Sprigs (spray paint for a seasonal look)
Pine Cones
Dried Flowers
Fresh Flowers/Herbs (Rosemary, Ivy, Lavender)
Wreath
Ribbon (pre cut for a ribbon bow with tails)
Use scrunched up wrapping paper or tissue paper as the base and then cover with paper shred, thereby reducing the amount of shredded paper required.
1. Laying items down has the advantage that you will need less products.
2. When standing items up, place the tallest items in the centre and at the back, and have the items descend in size like a mountain/waterfall.
3. Ensure all labels are facing forwards. For hidden items, add a bit of height with some “scrunched up” tissue paper.
4. Fill gaps with paper shred.
5. Add decorative touches, sparingly and in odd numbers.
1. When measuring the wrap ensure that it extends one third up over the tallest product and that the sides also need to extend up to the centre as well.
2. Bring the back and front up over the gift together and so that they meet in the middle.
3. Place ends together and gather up one side towards the centre of the gift.
4. Repeat on the other side.
5. Pleat ends inwards to the centre of the gift. If there is enough on the side this will form part of the centre. If too short though, these will need to be taped.
6. To tidy up any edges, pull up with tension to create neater pleats.
7. Once all gathered to the centre, fasten with a ribbon bow.
For an extra set of hands, to hold the paper; use a giant hair clip.
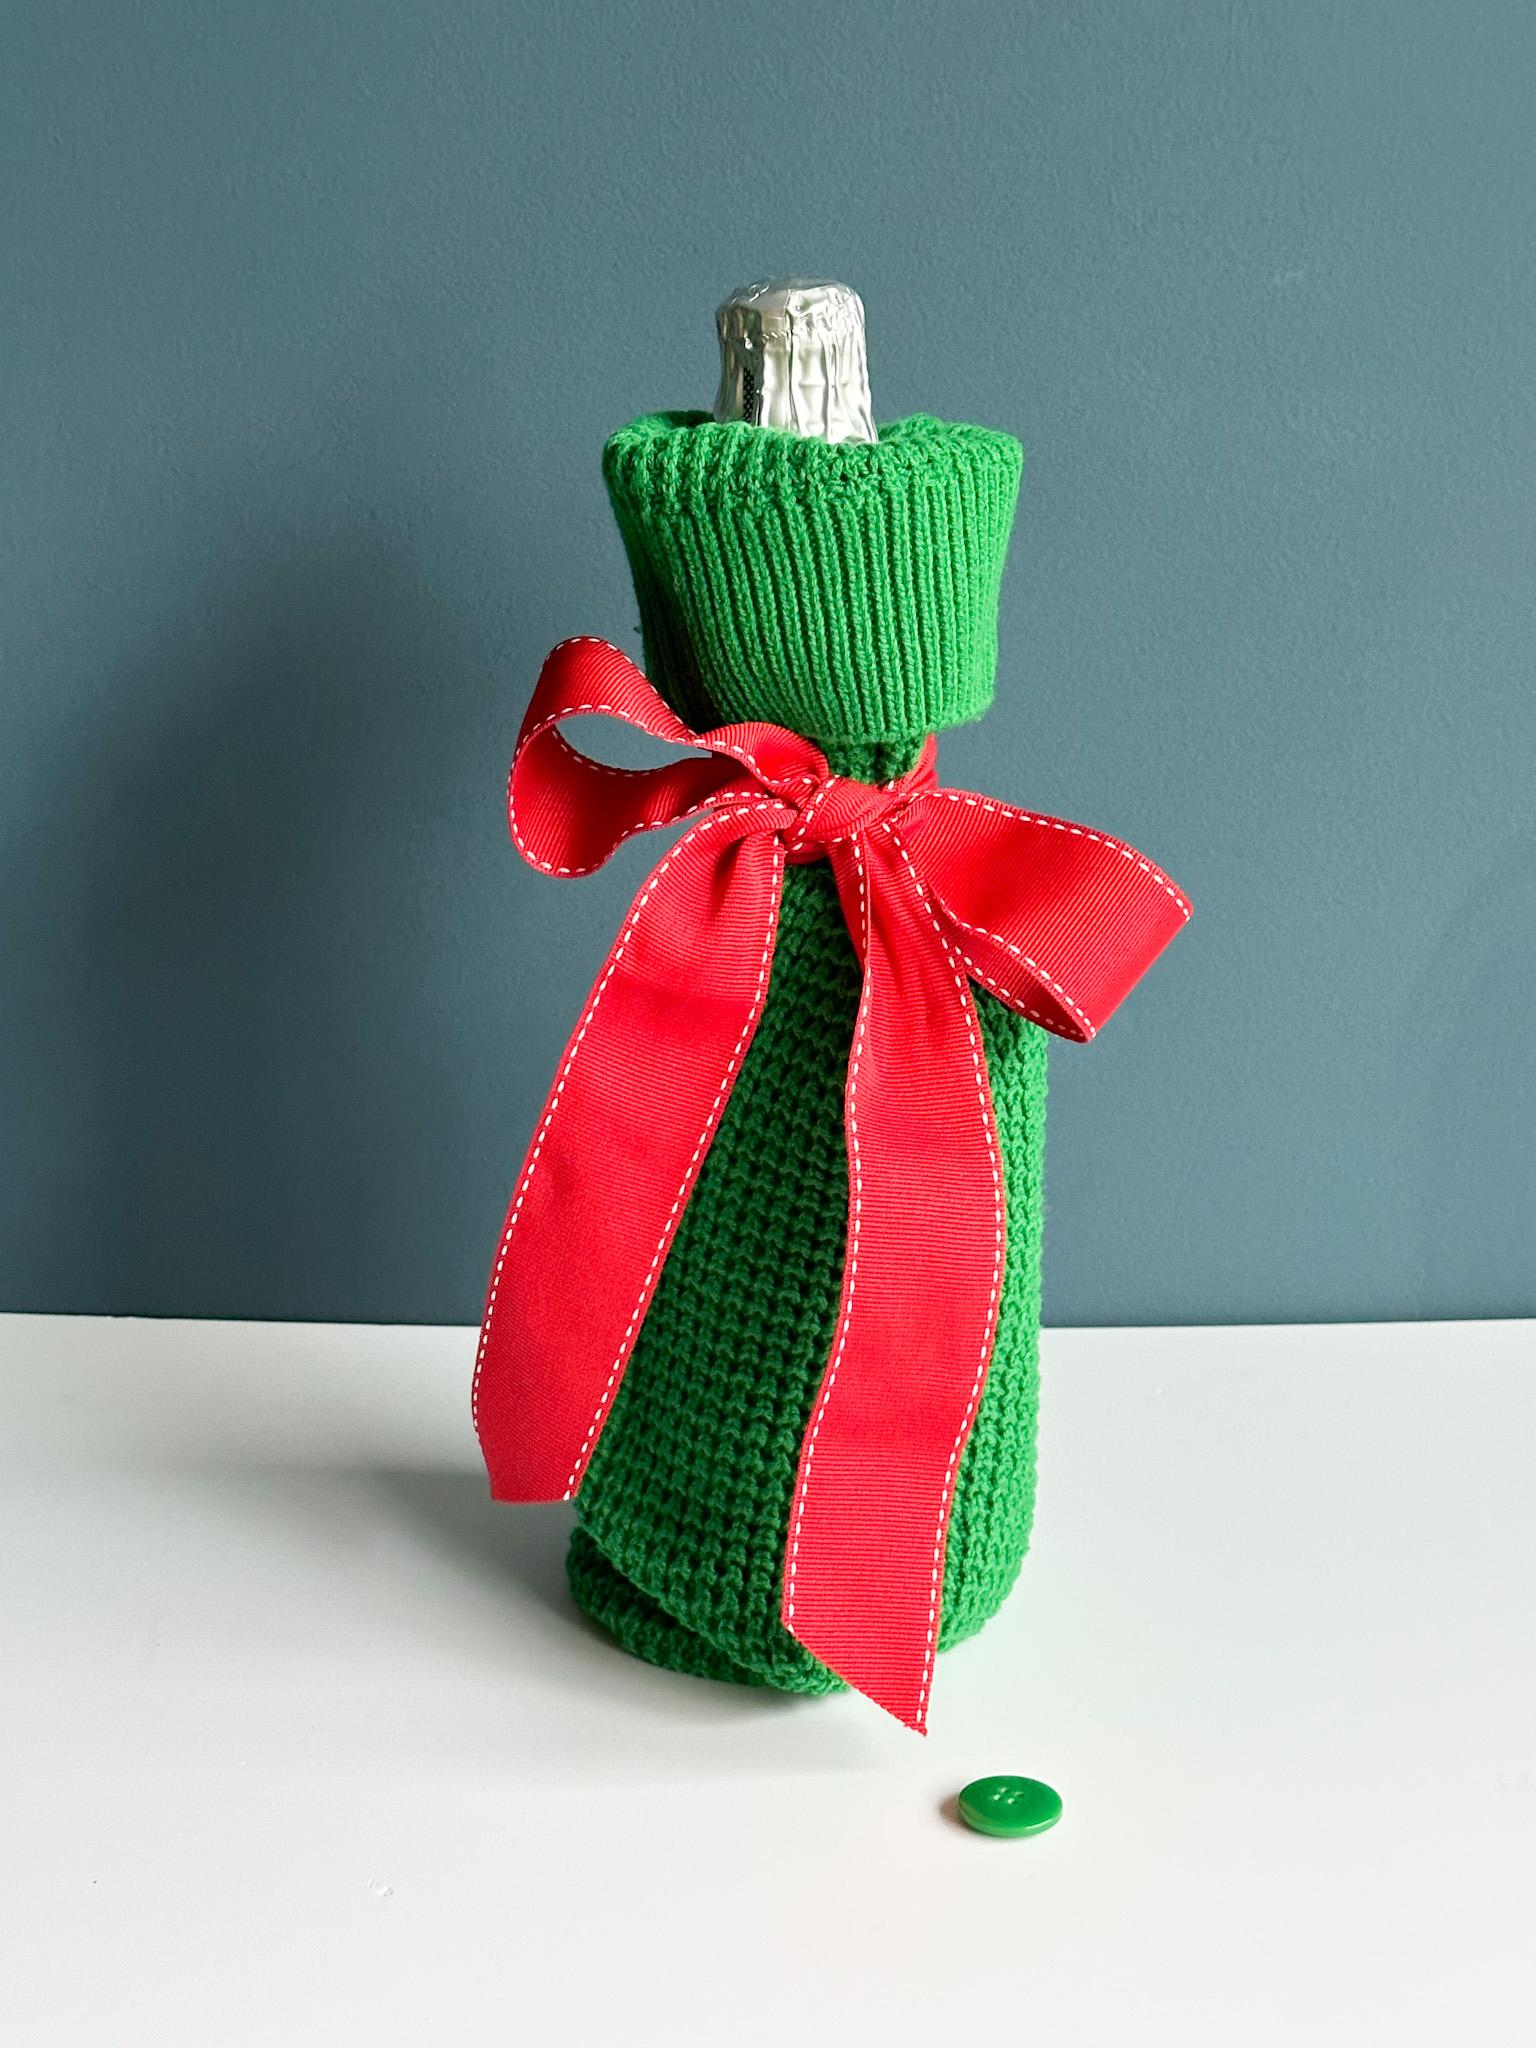
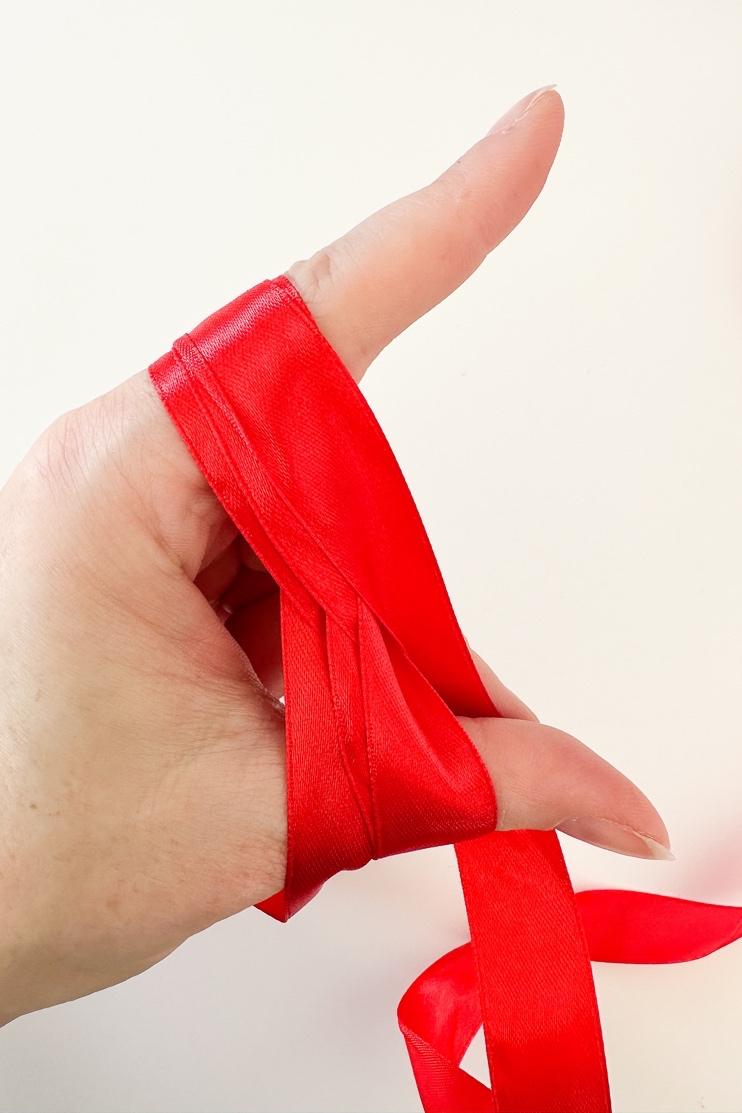
Tying a bow is an elegant, symmetrical, visually pleasing way to finish wrapping a gift. Here we have a mini masterclass in how to tie a simple bow perfectly every time, and then a few other ways to try your hand at too.
1. To avoid cutting the ribbon too long or too short, place the ribbon underneath the gift and then bring the ribbon up to the top of the box.
2. The aim is then to make the “letter X” with two loops and two tails, whilst the ribbon is still on the roll.
3. Cut the ribbon at an angle as it stops the ribbon from fraying.
Measure twice, cut once. If you are in a hurry or have lots of gifts to wrap a quick measuring trick is to place the gift in a landscape position and pull the ribbon loosely across the gift from the one end of the flat surface to the other end three times. For tall gifts make sure to measure not just across the gift but also the sides.
1. Loop the ribbon under the package, bring the ends together over the package and half knot the two ends together so the ends are equal in length. Do not make a double knot as this spoils the whole gifting experience, as the recipient then has to struggle with a knot or has to find and use scissors to cut the ribbon.
2. Now that you have a right side and a left side to work with, make a loop with the left side of the ribbon. Pinch the loop between your thumb and forefinger to hold it in place. If you're tying a ribbon, make sure that it isn't twisted; the loop should be smooth.
3. Make a second loop.
4. This time bring the right side of the ribbon around and under the left loop. Pull it through until you have a second loop of the exact same size.
5. Tighten the bow. Pull on the loops to tighten the knot at their centre
6. Make sure the two loops are the same size and that the ends are even in length.
7. Trim the ribbon neatly at an angle; or for a swallowtail finish fold the ribbon end in half and cut at angle from the centre to the ends.
1. Start with a long piece of ribbon on the roll. Leave a piece of ribbon about 20 cm long for the tail.
2. Take the left end of the bow and make a loop holding it in place around your thumb and forefinger.
3. Loop the right end over the loop to create a second loop. The ribbon should now look like an "X" with a tail at either end. Hold the loops tight with one hand so they don't come undone.
4. Continue looping the ribbon. Loop the remaining length of ribbon accordion style, so that you have a pile of loops with two ends of equal length sticking out from either side.
5. Cinch the centre Ideally, use a piece of florist wire or a thin string to tie the loops together at the centre, dividing them in two. Or using the ends tie a double knot. Note: you may have to tie a knot one way and then loop the pieces underneath and tie a knot the other way. That way ensuring that no loops are not cinched together
6. You now have a pile of loops on the right side of the cinch and a pile of loops on the left side.
7. Fluff the loops. Separate the loops and fluff them up so that the cinched centre is no longer visible.
8. Use a scissors to clip the ends.
Invest in some sharp scissors “just for ribbon”; even if they are cheap ones; as cutting the ribbon neatly at an angle is key.

This is an alternative bow to the central crossover where the bow sits in the corner (generally the top left corner). Sometimes you may have a box with a logo in the centre and want to frame the branding rather than cover it with your ribbon.
You follow the same procedure as before. The only difference is once the bow has been tied. Move the bow towards the top left hand corner. Stopping with the bow is filling up the top left quadrant of the gift. Do not have any of the tails or loops of the bow over the ends of the box. You also may wish to make the bow slightly smaller.
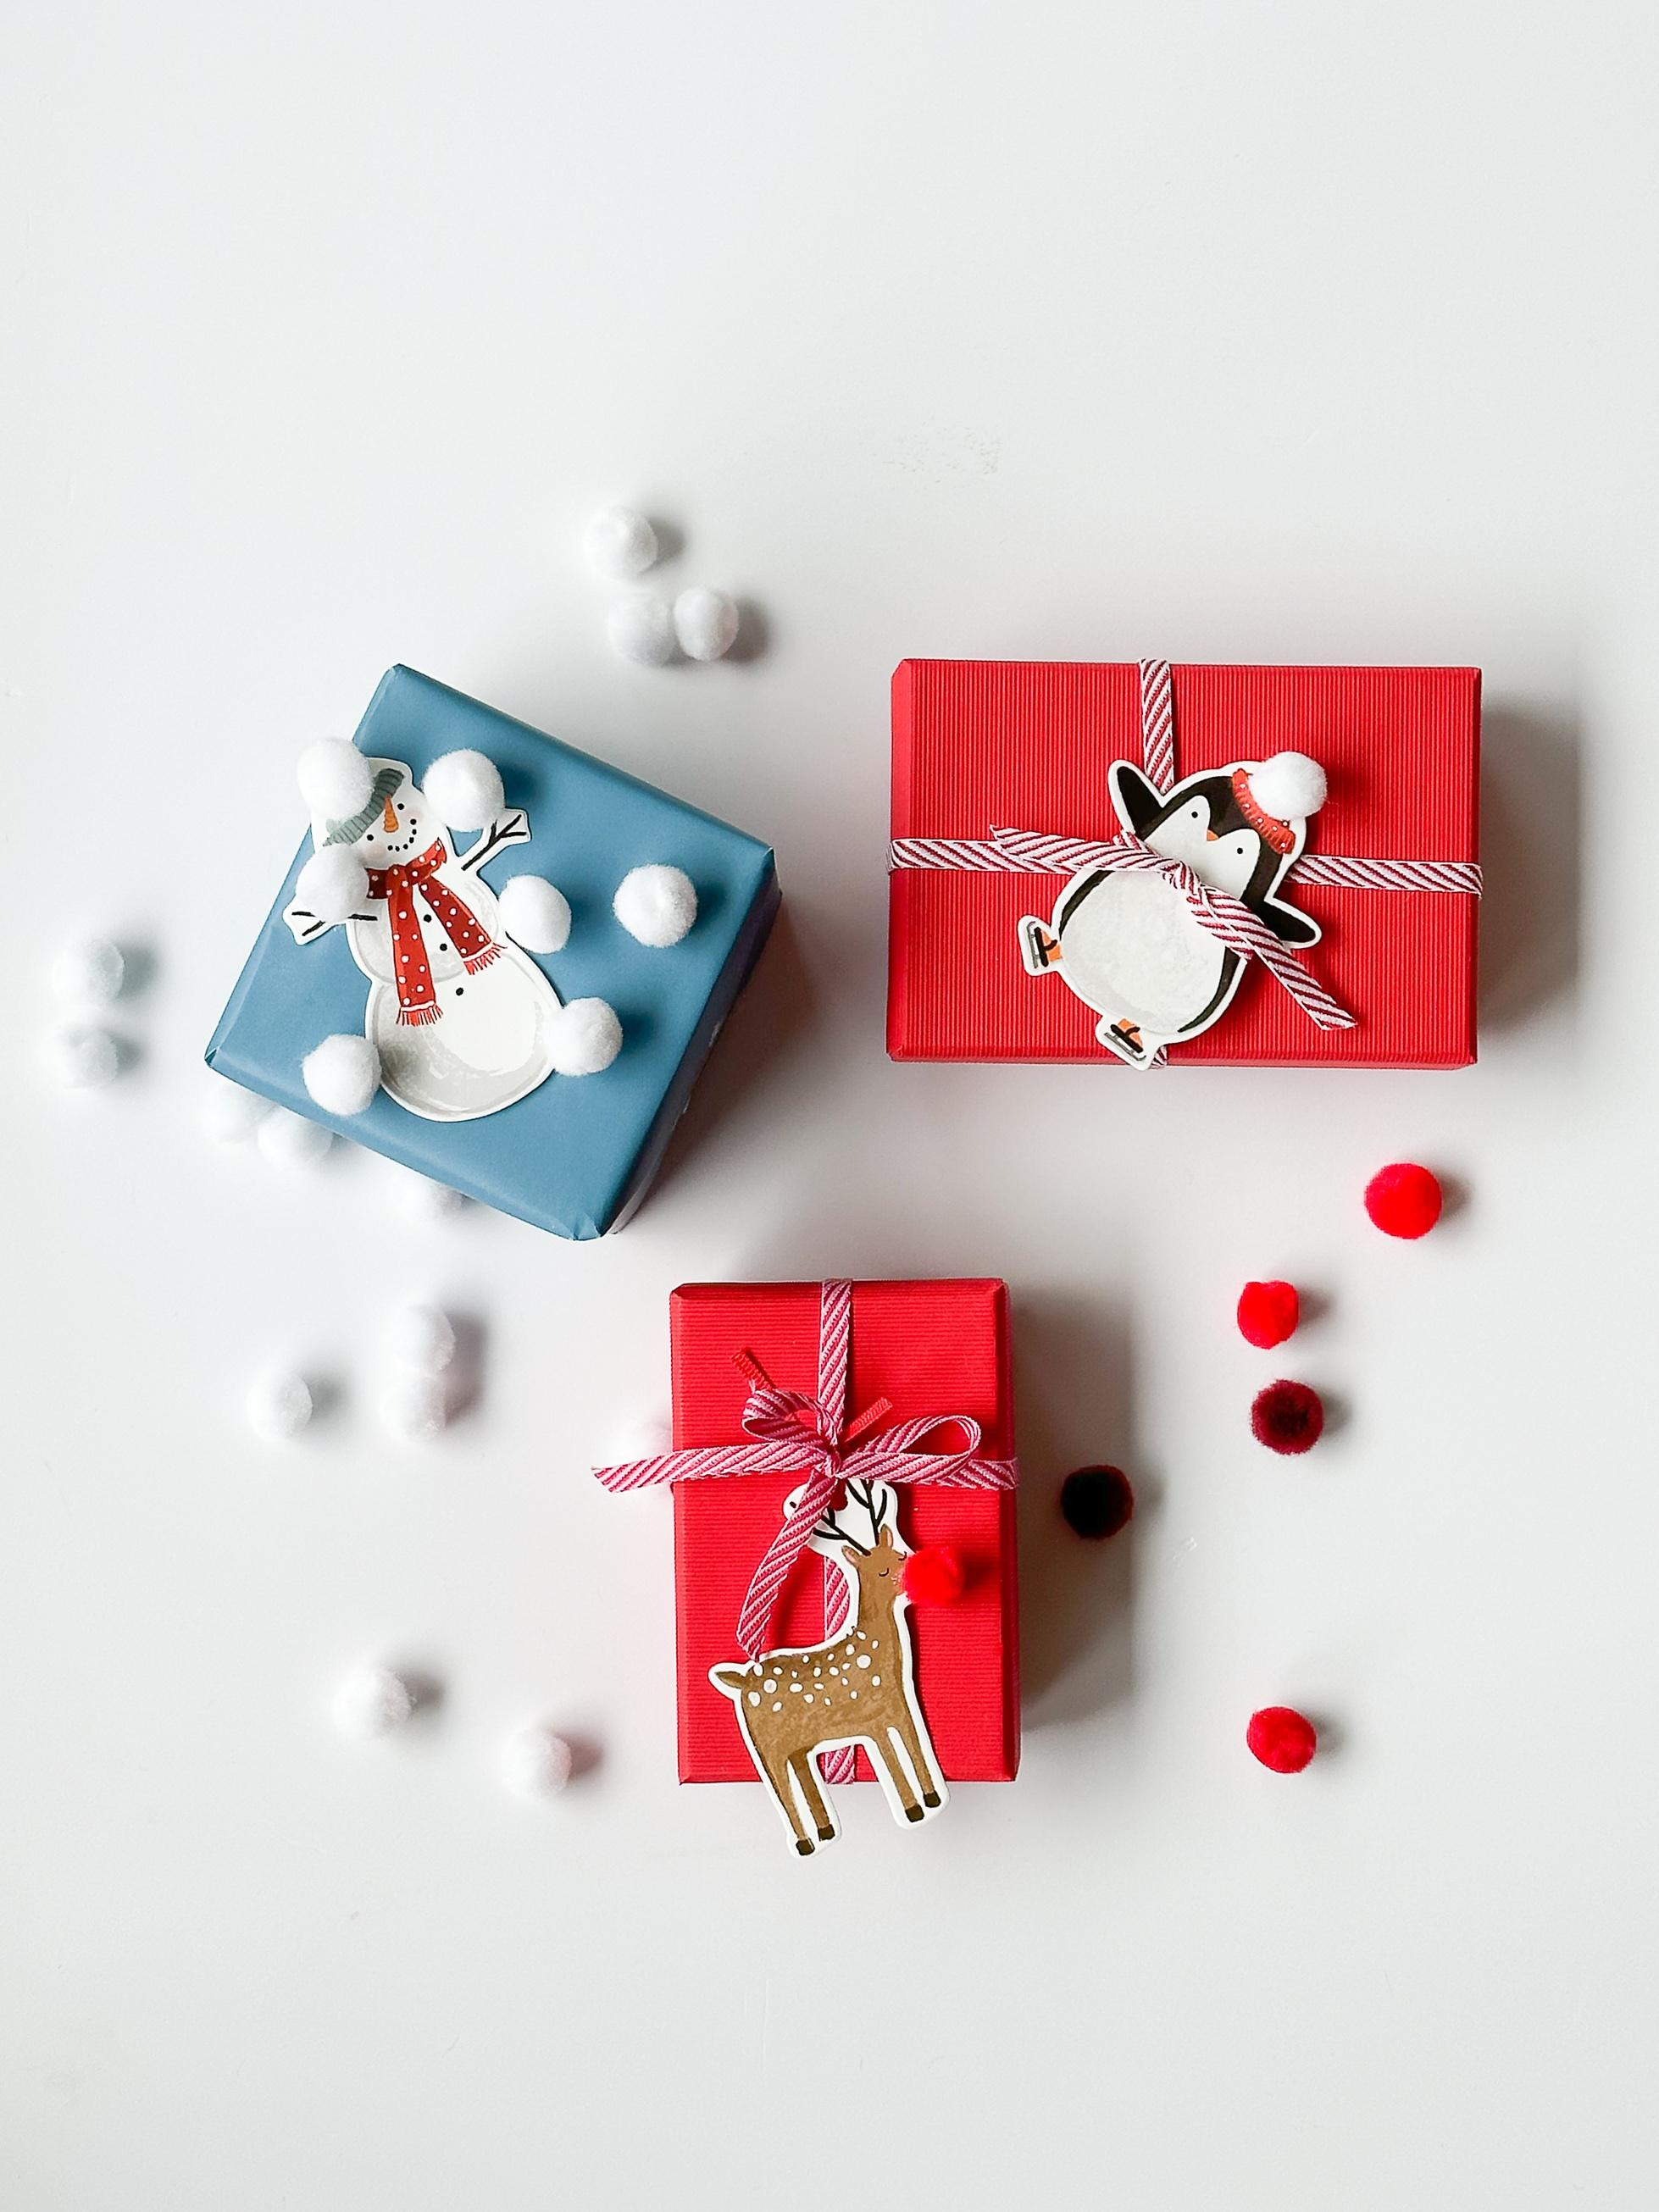
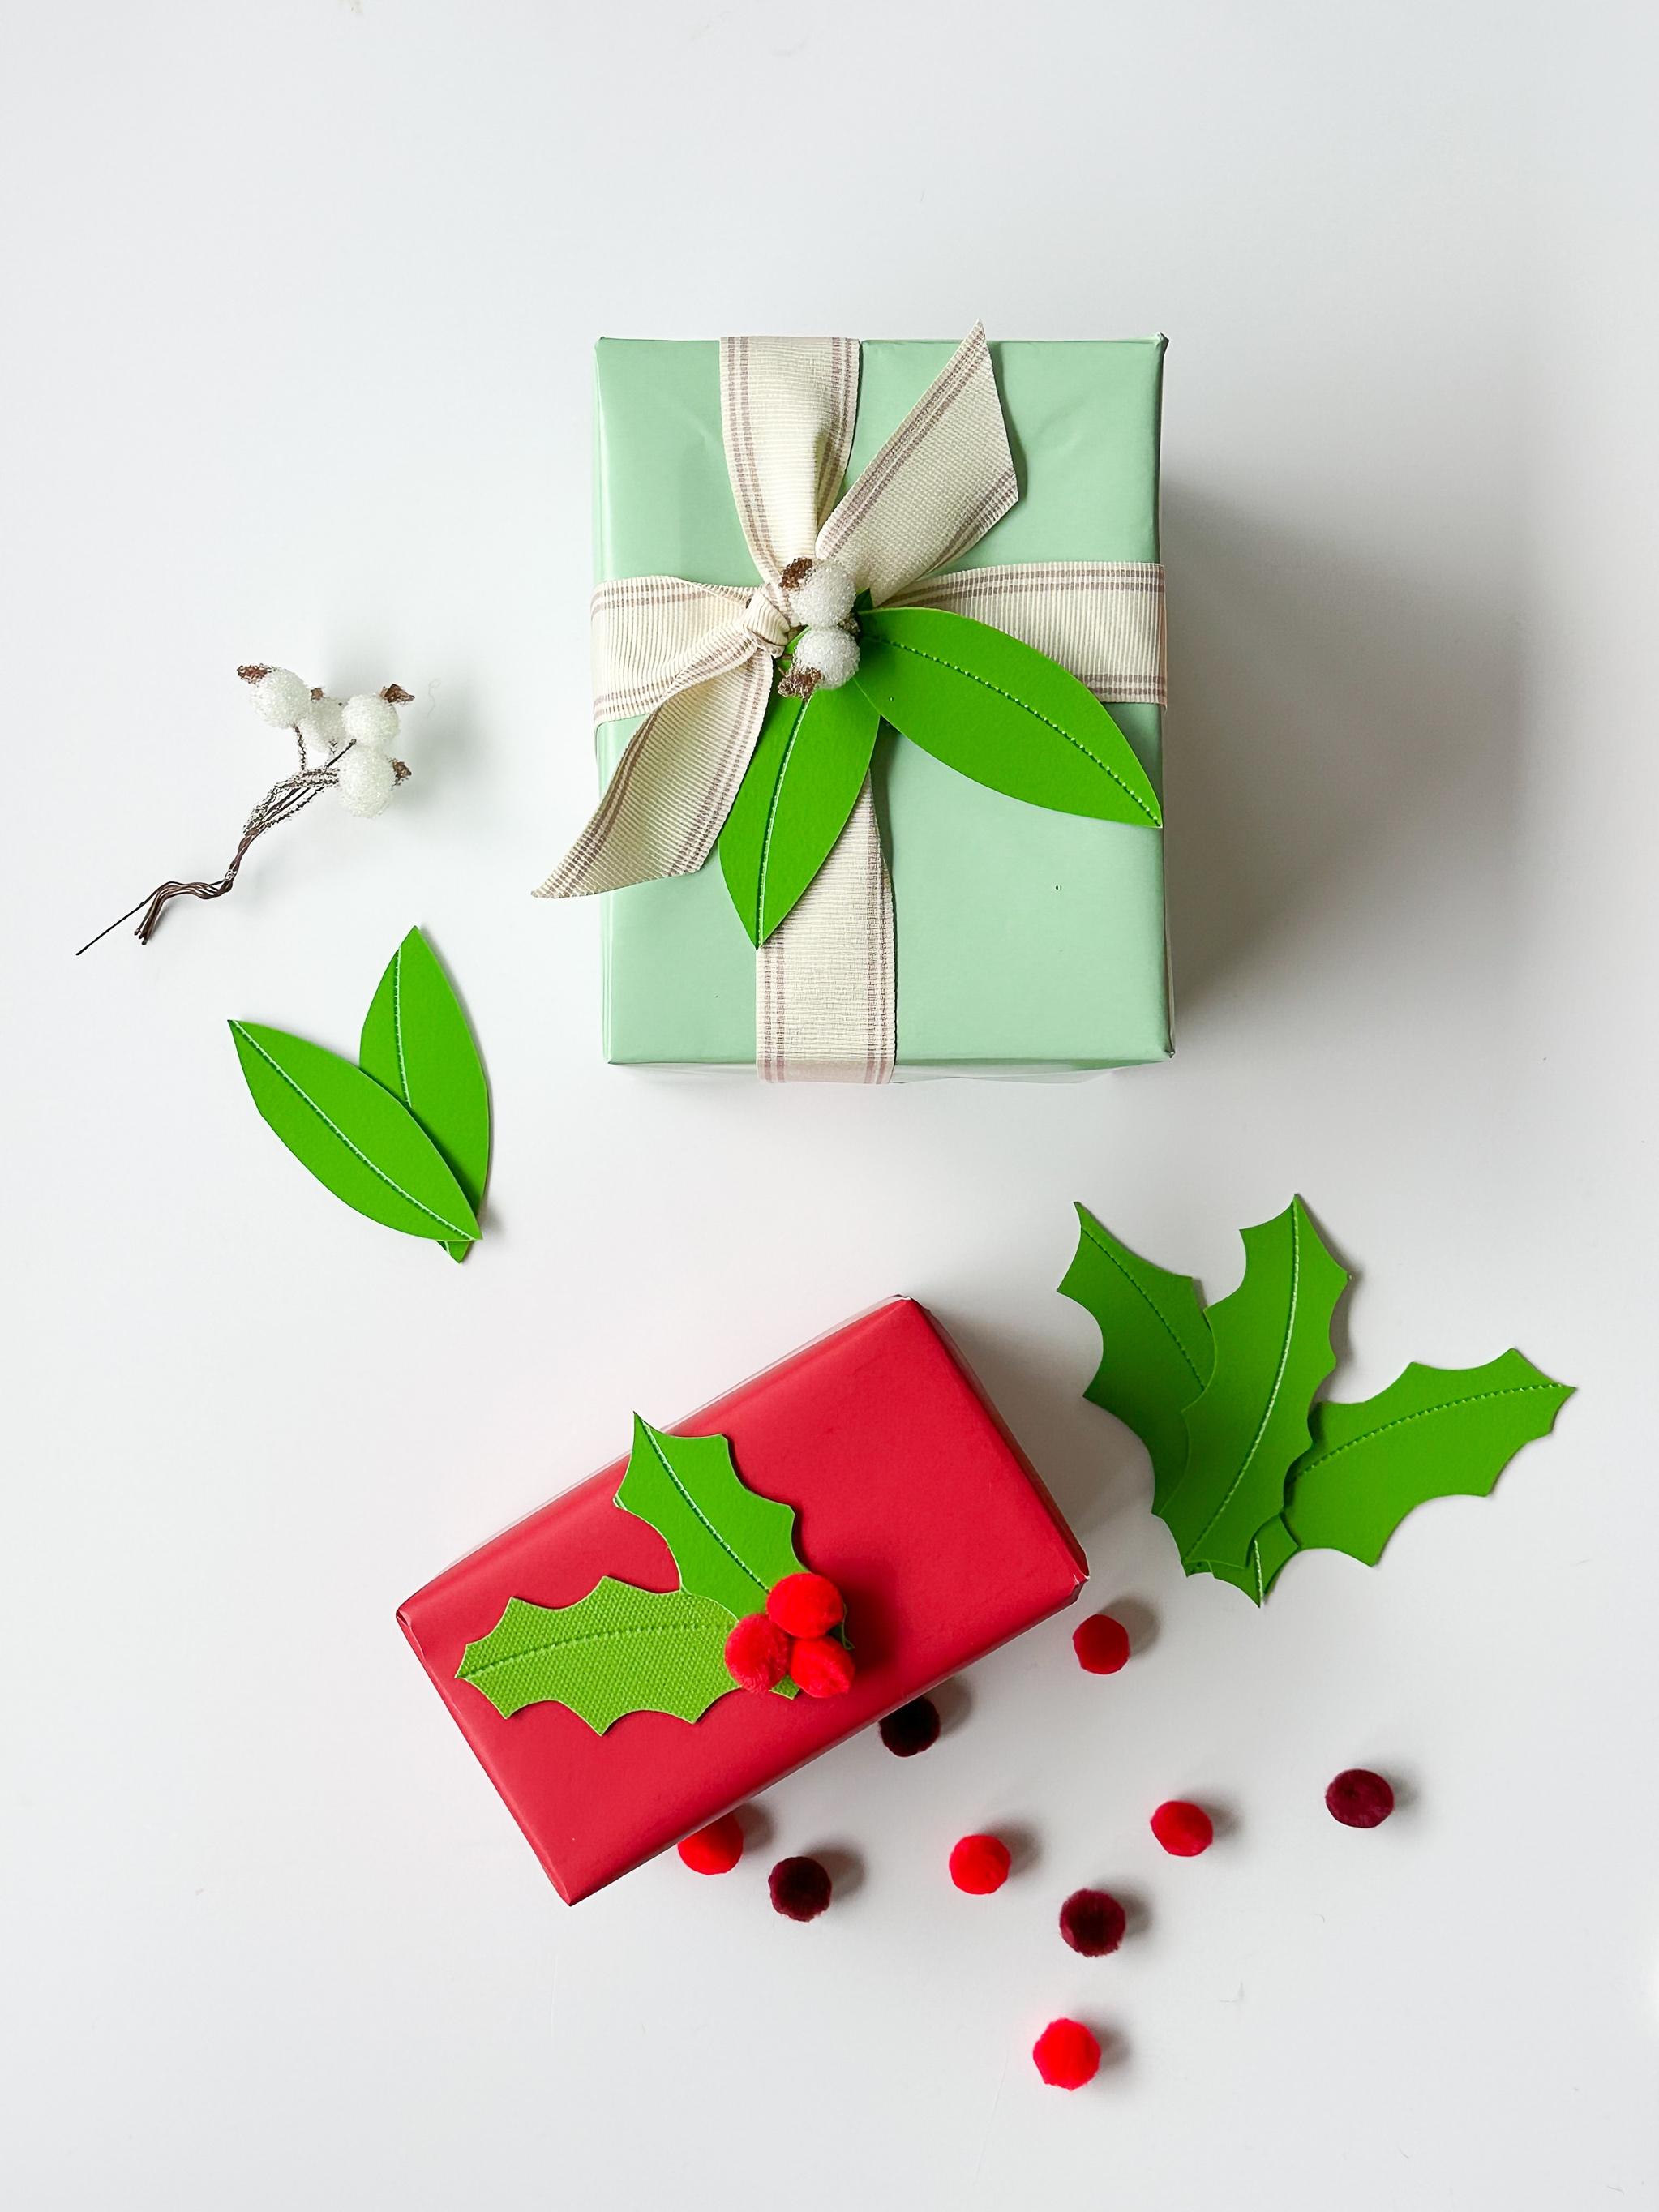
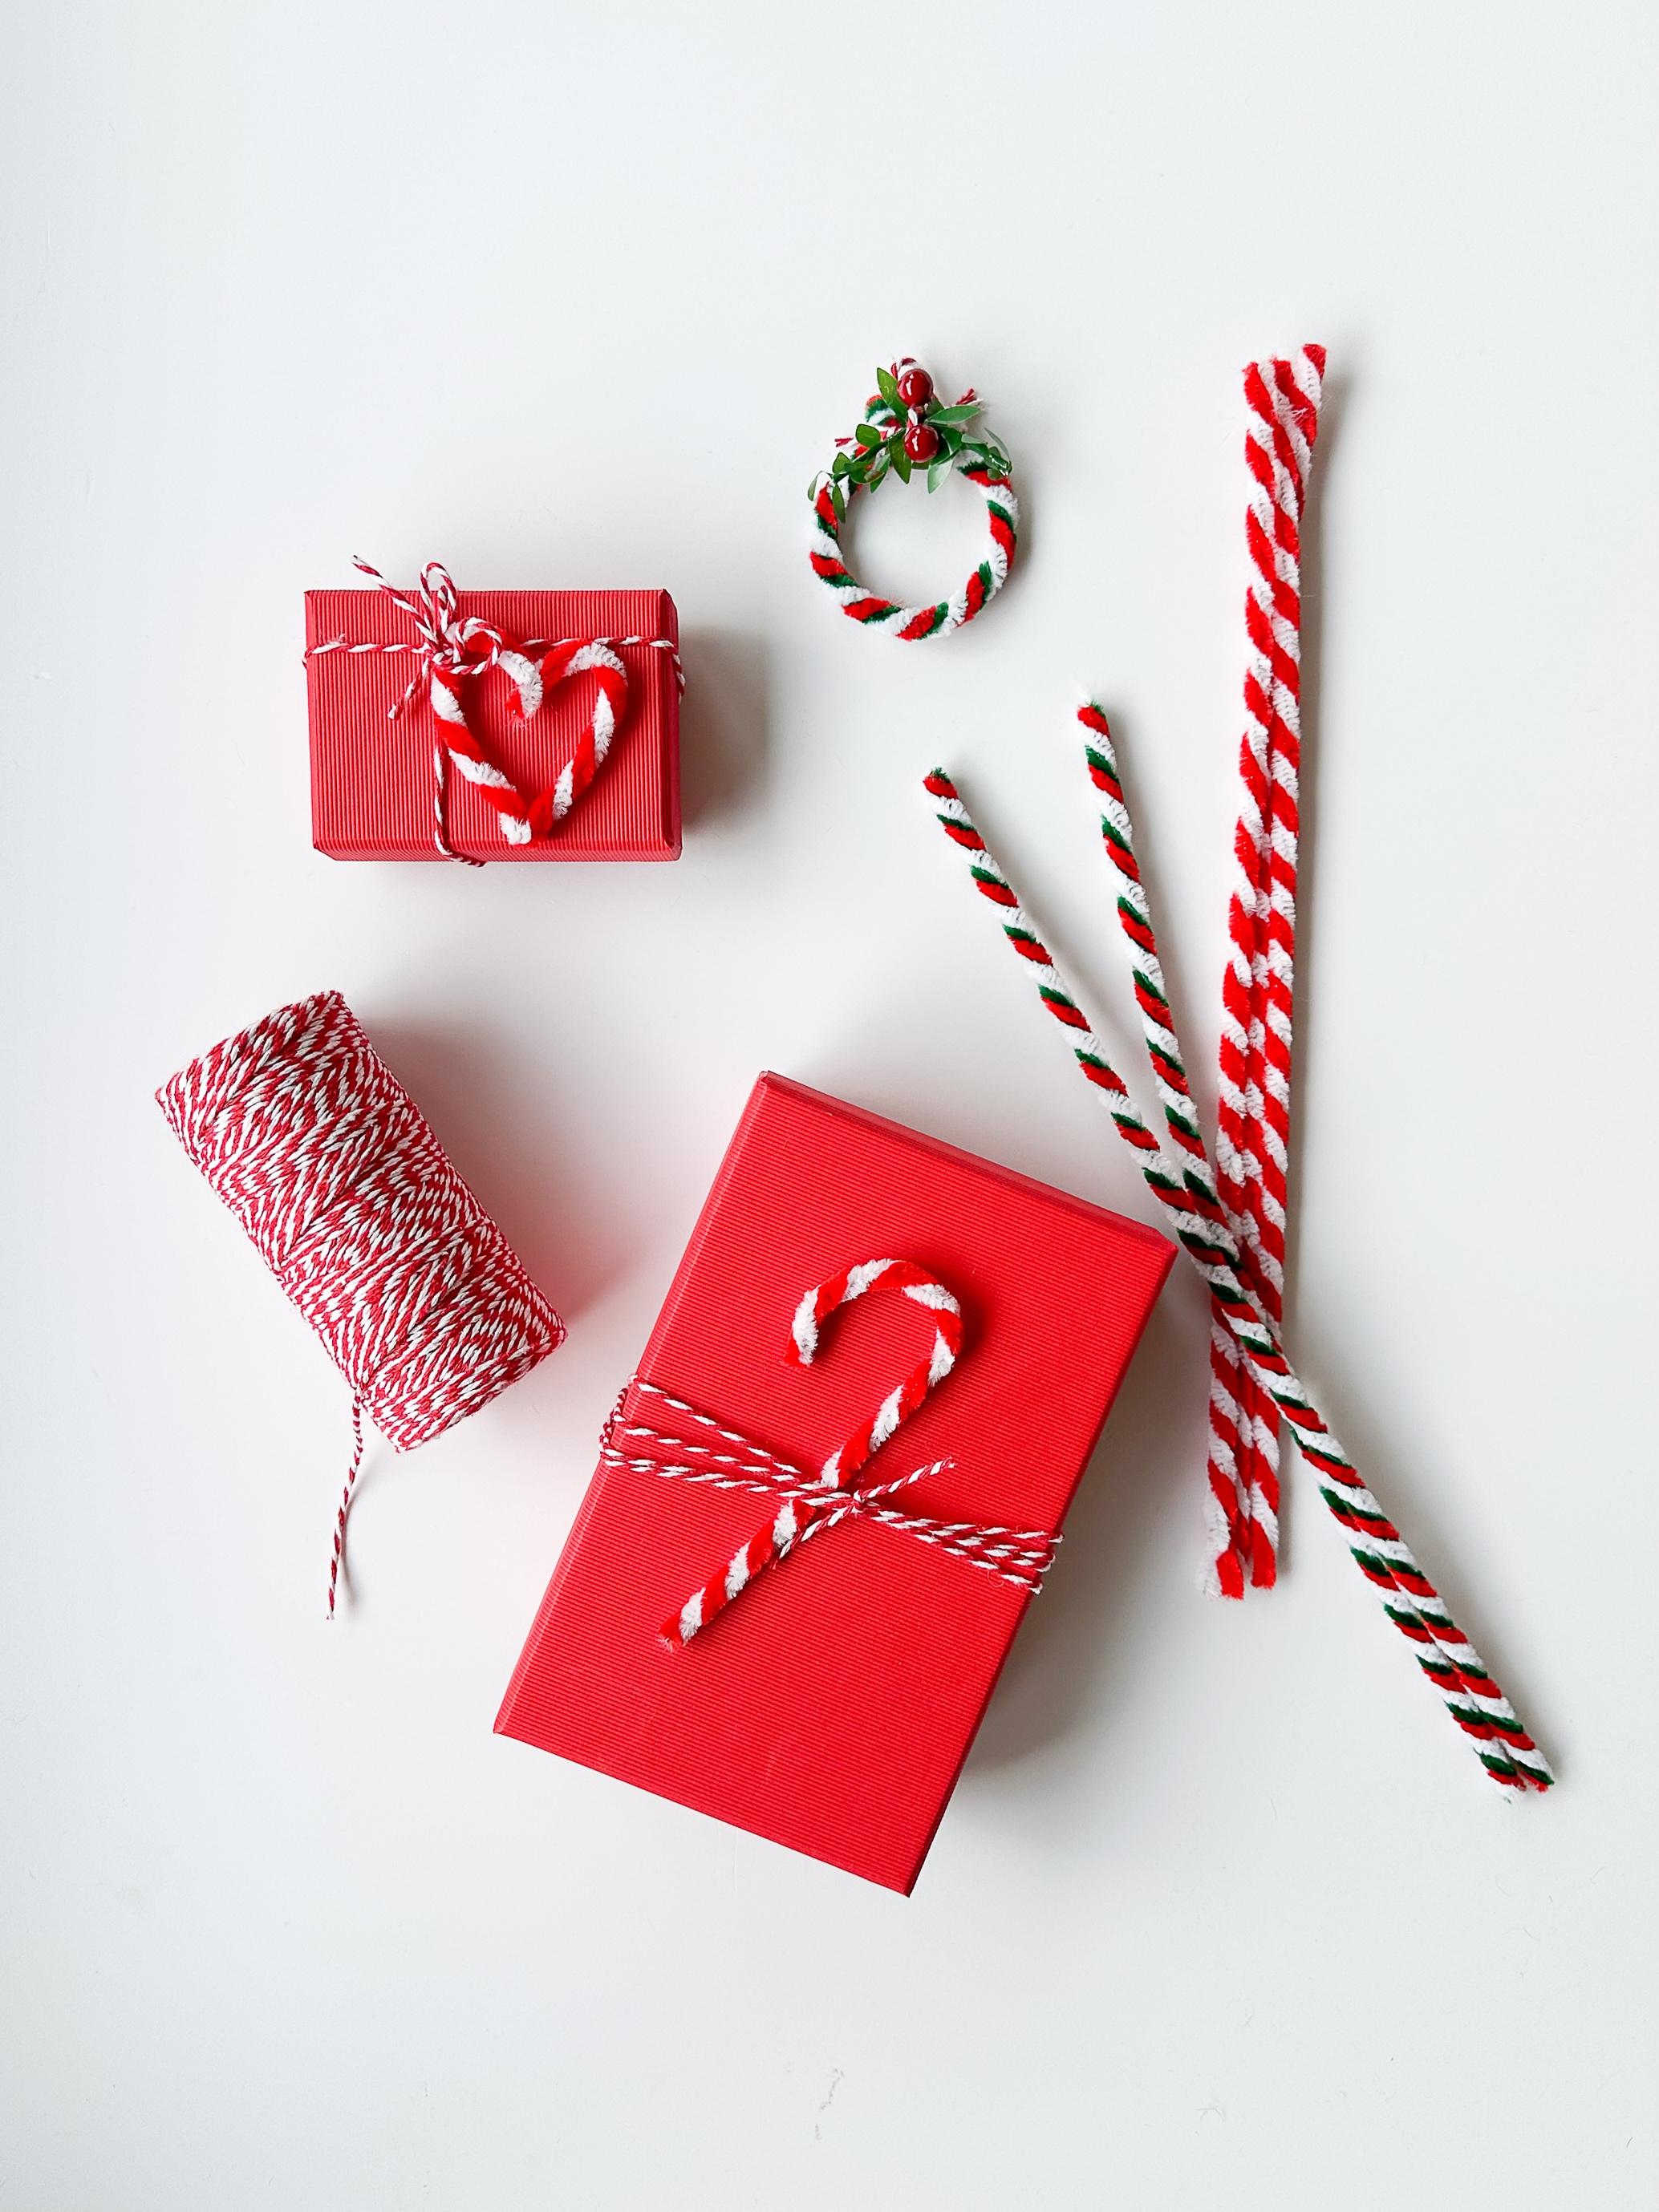
This is one of the favourite parts of the course as your creativity can be unleashed. First impressions count and it is amazing how a small decoration can instantly make a gift look more luxurious and special. You can choose from a whole array of embellishments to tie on to your gifts, many of which you may already have in your bottom drawer or garden.
Fresh foliage is a great eco friendly idea and readily available. Head out on a country walk or forage in your garden with a pair of secateurs and take some snippets. Twigs, natural pine cones and other dried elements look great too and you could even make your own dried orange slices. For easy attaching to gifts add florist’s wire to the ends of the items (either wrapping these around the stems/edges or using a glue gun to attach).
No time to add fresh flowers? Keep a selection of faux flowers, leaves and fake fruits on hand; especially like berries, mini mushrooms and pine spruce to add to Christmas gifts.
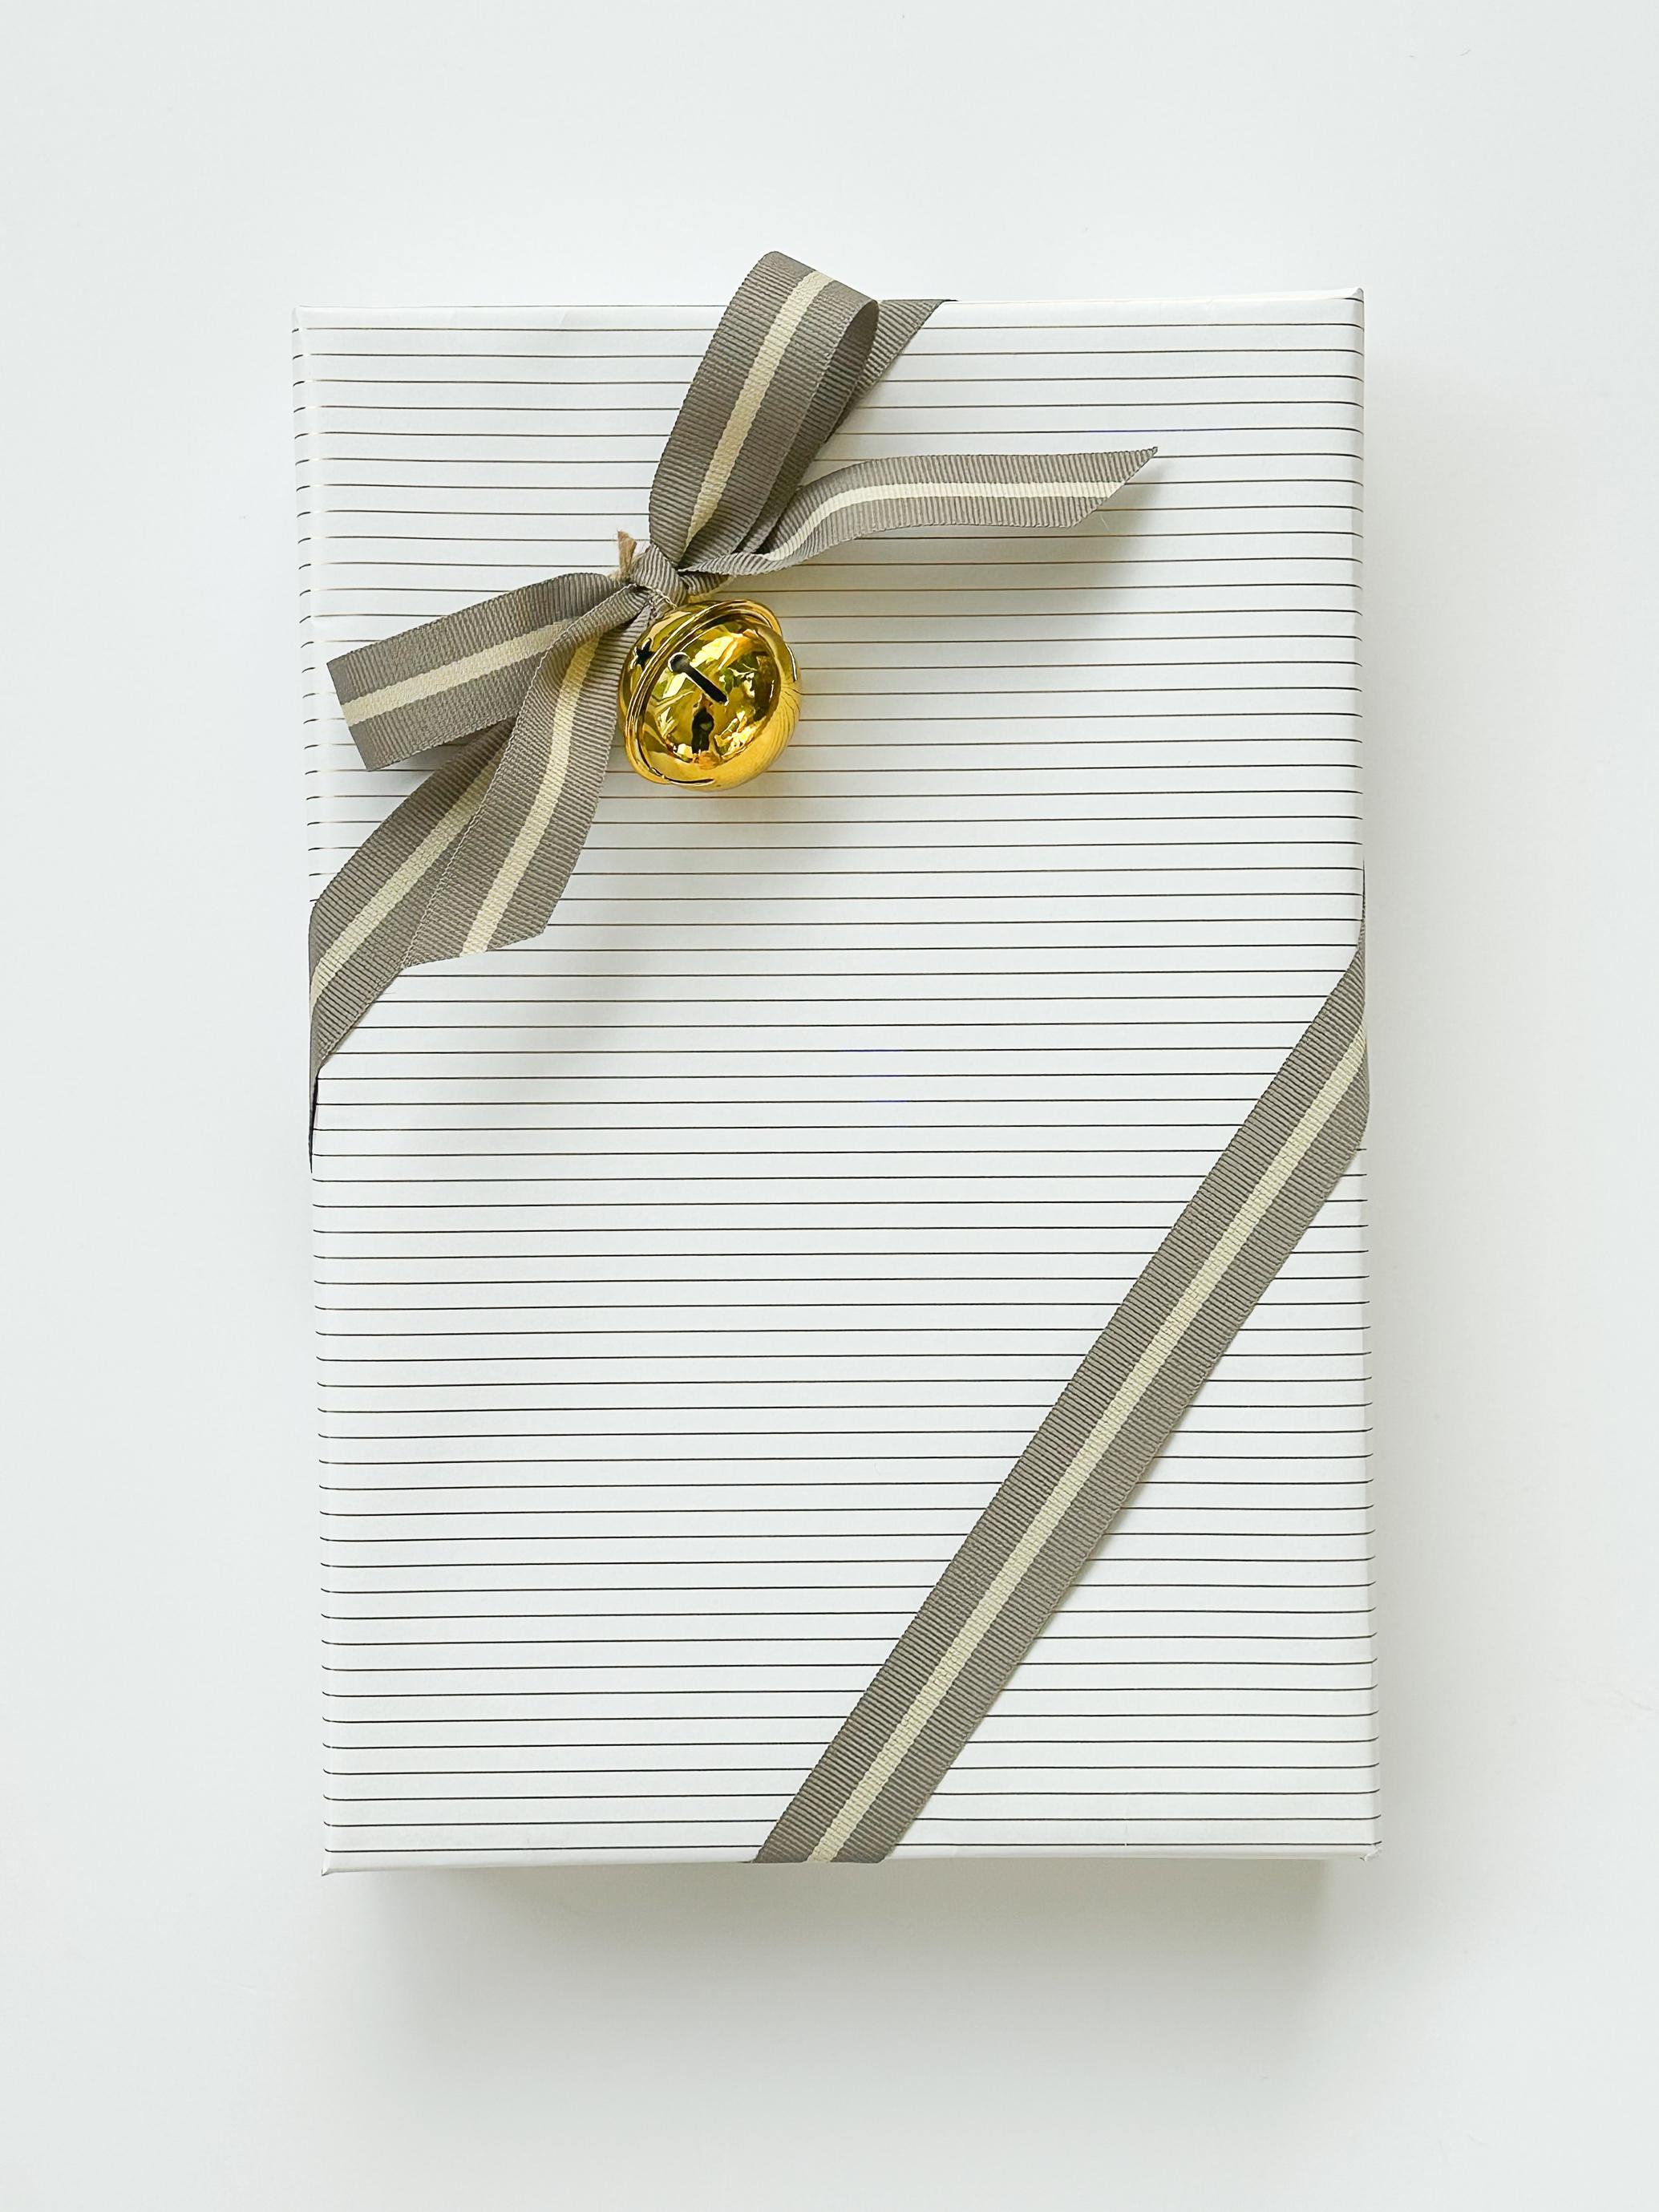
Visit craft stores for specially made decorations for gifts: think diamante buckles, feathers, pom poms, stickers, bells, wooden pegs, decorative initials, beads… the options are endless.
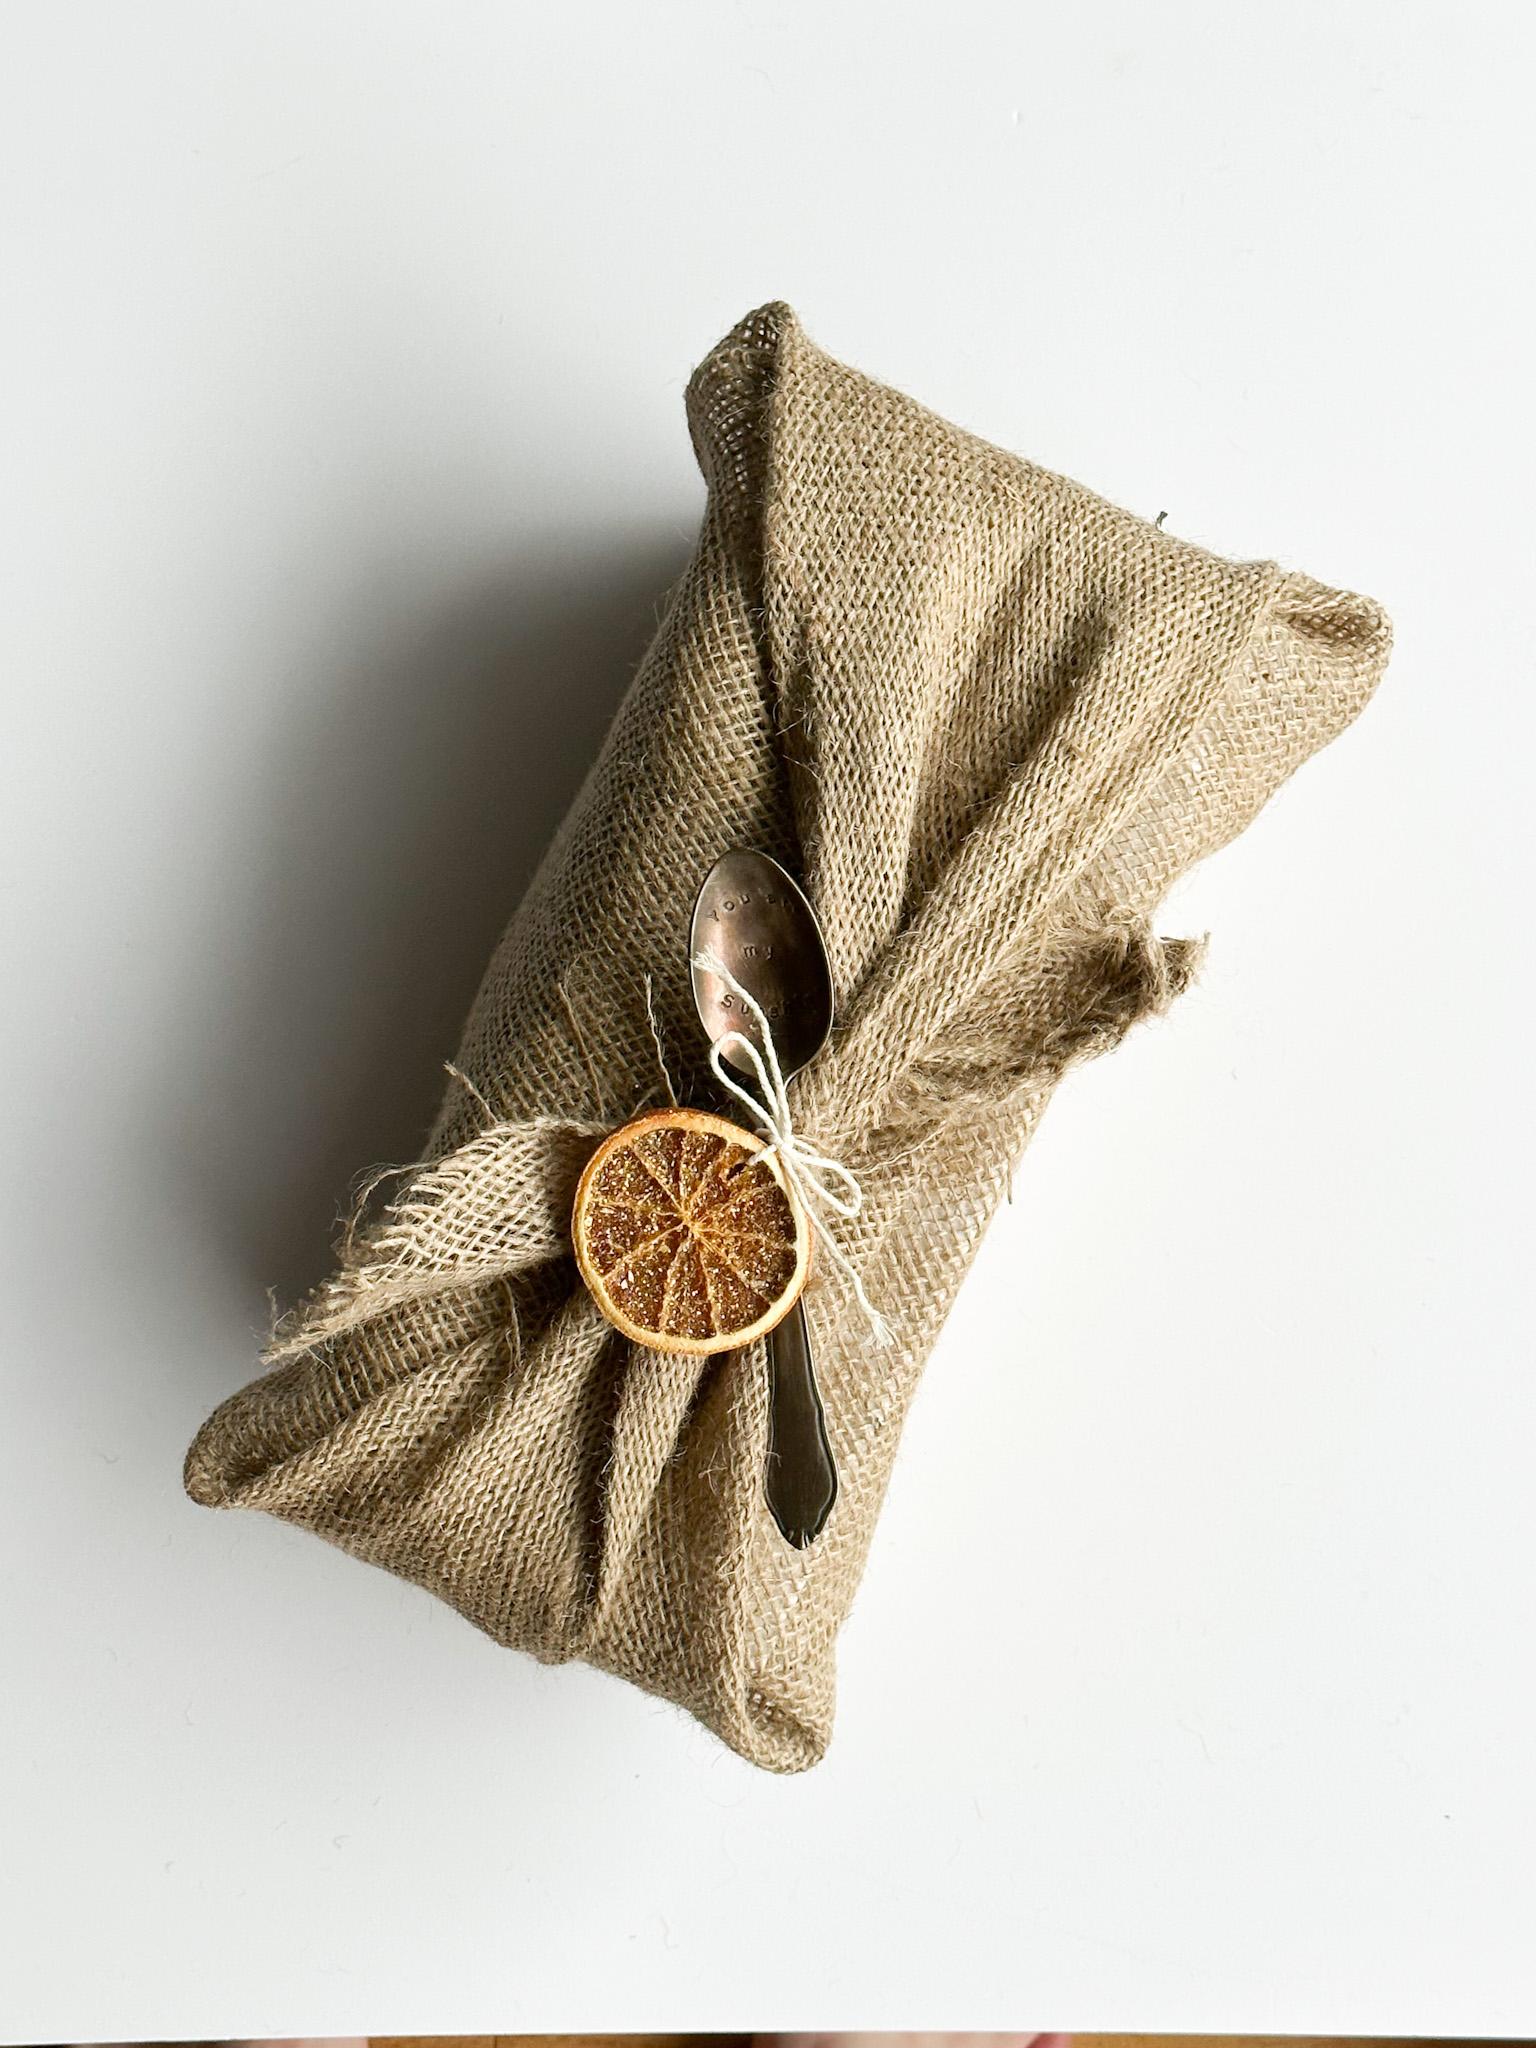
One of my favourite touches is to decorate a gift with something that in itself is a gift: keyrings, pens/pencils, bag clips, lip balm.
Many stores, especially chocolate companies will tie in small eye catching details to enhance their products; keep these, a great way to recycle! Similarly small unwanted trinkets, old baubles and decorations from festive crackers can be tied in.
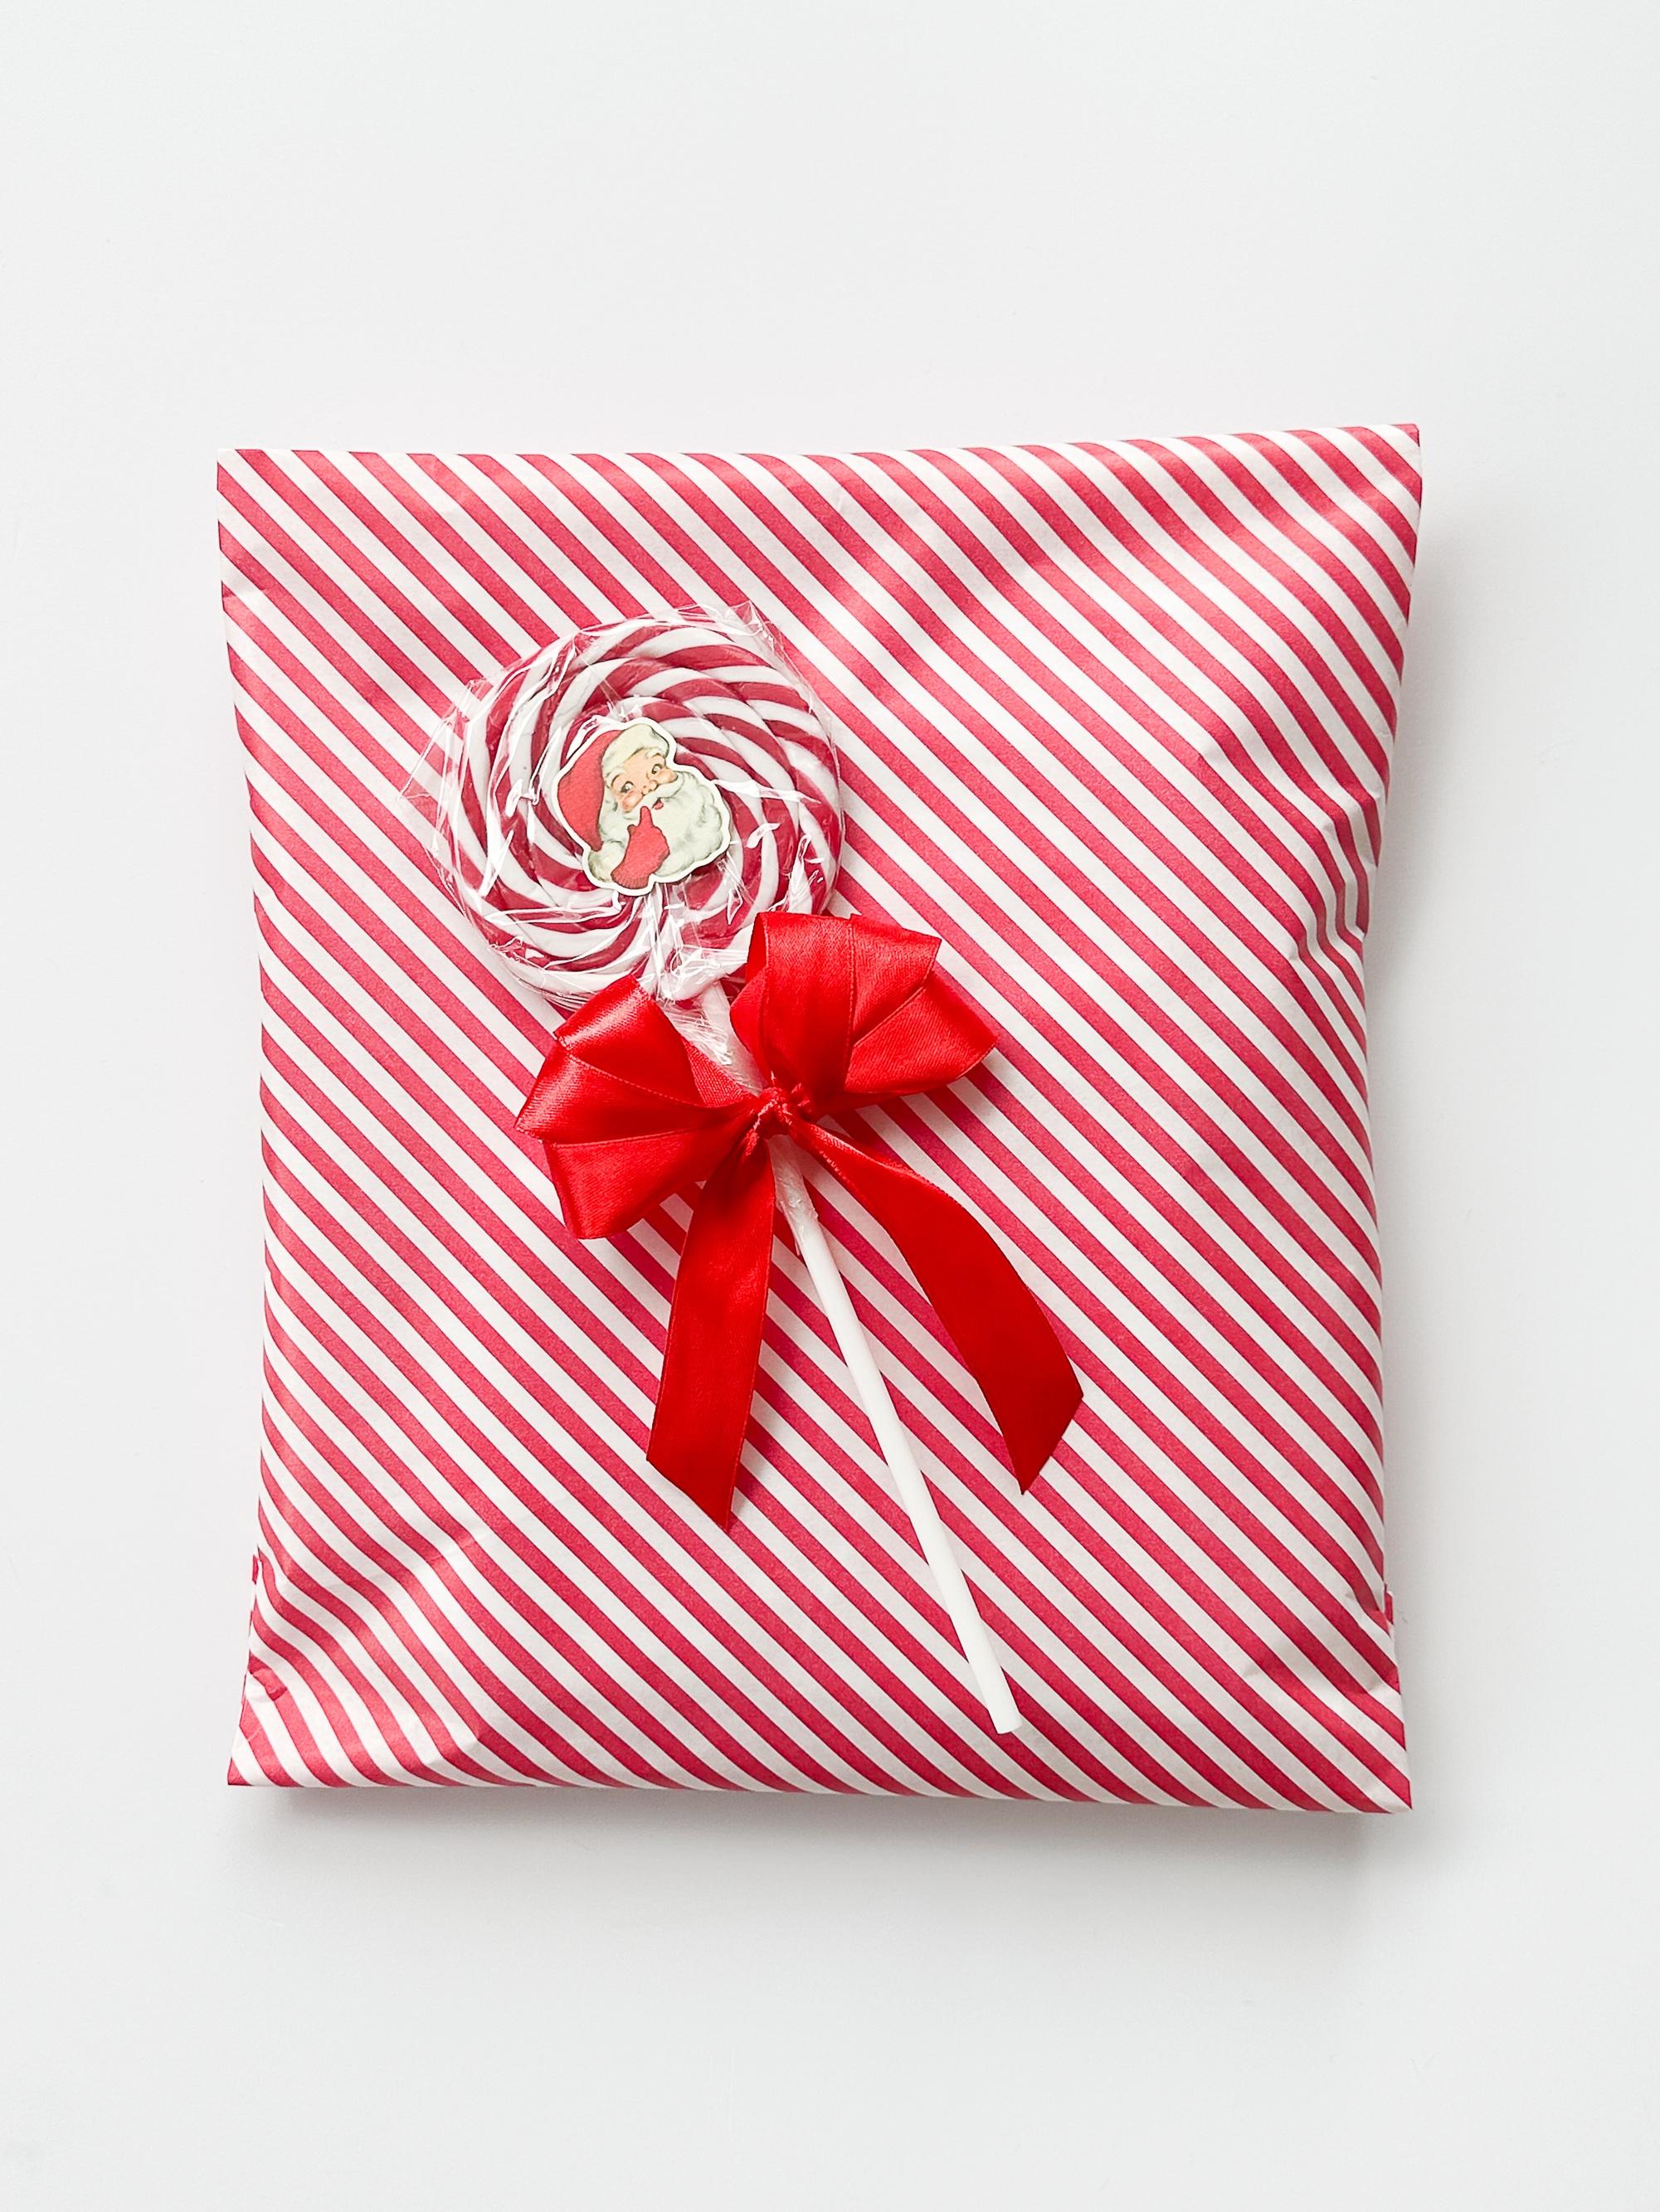
This is my best friend’s trick and is always a huge hit with children (even sometimes more than the gift!). Add a chocolate bar or lollipop underneath the ribbon bow, or with double sided tape stick wrapped sweets all over.
You can also personalise your gift to the recipient: tie in some foliage and flowers for someone who's a keen gardener, or add fun balloons or candy for a large kids present.
The great thing about embellishments is that they disguise any errors in your wrapping, so if the wrapped present is not looking its best, the embellishment will take the eye away from it.
Eco friendly, sustainable and planet friendly gift wrapping are now a big focus more than ever. But eco friendly does not have to be dull and boring, far from it. Our list will not only give you ideas to make your gifts look eye-catching but you are doing your bit for the environment too!
It is worth bearing in mind that papers with foil, plastic and glitter cannot be recycled and will end up in the landfill. So as far as possible choose gift wrap printed with vegetable inks with the knowledge that it can be recycled. And the odd bit of glitzy paper is okay too ideally make a “belly band”.
Gift wrap (specifically labelled as “eco friendly” gift wrap)
Brown Paper (personalise with a sharpie pen inscription: names, lyrics)
White Paper
Coloured Paper
Tissue Paper/Paper Tablecloths (easy to reuse, iron out any creases)
Bakers Parchment Paper Paper Placemats
Beeswax Paper
Old Music Sheet Paper
Old Maps
Old “Foreign” Newspapers
Old Calendars
Old Comic Books/Books/Children’s Books
Old Vintage Magazines
Fabric Furoshiki kits
Hessian Sacks especially at Christmas time (or invest in personalised linen Christmas themed sacks)
Linen Napkins/Placemats
Tea Towels
Old Clothing: Shirt Sleeves, Jumpers, Scarves
Baskets
Cardboard Boxes (wrap in kraft paper)
Shopper Bags
Glass Jars
Biscuit Tins
Toilet Rolls
Strips of Paper (perfect to finish off around gift boxes, as they need only go around one way)
“Too short” pieces of ribbon (secure with tape/wax seal)
Ribbon re use cotton/linen (iron out creases)
Bakers Twine
Raffia
String
Dried Leaves (add gold/silver paint) (for short stems use floral wire)
Sharpie / Metallic Pen (replace paper tags by writing on ivy/bay leaves directly)
Pine Cones (add white paint)
Birch cones (use a glue gun to attach to the gift/a stick)
Feathers (spray gold or glue on glitter)
Twigs (spray or bundle with craft wire)
Wheatsheaf
Dried Seed Pods
Dried Flowers
Rose Petals (use to line boxes)
Cinnamon Sticks
Dried Orange Slices
Wooden Decorations: snowflakes, animals
Wooden Tags (add generic phrases written on/rubber stamped)
Christmas Tree Paper Decorations
Christmas Tree Baubles/Ornaments
Decorative Brooches
Old Scrabble Letters
Initial Decorations (afterwards can be used as a decoration/keyring)
“Gift on the Gift”
Bag Clips
Pencil/Pen Stickers
TAGS
Old Cards (use pinking shears or tear the edges)
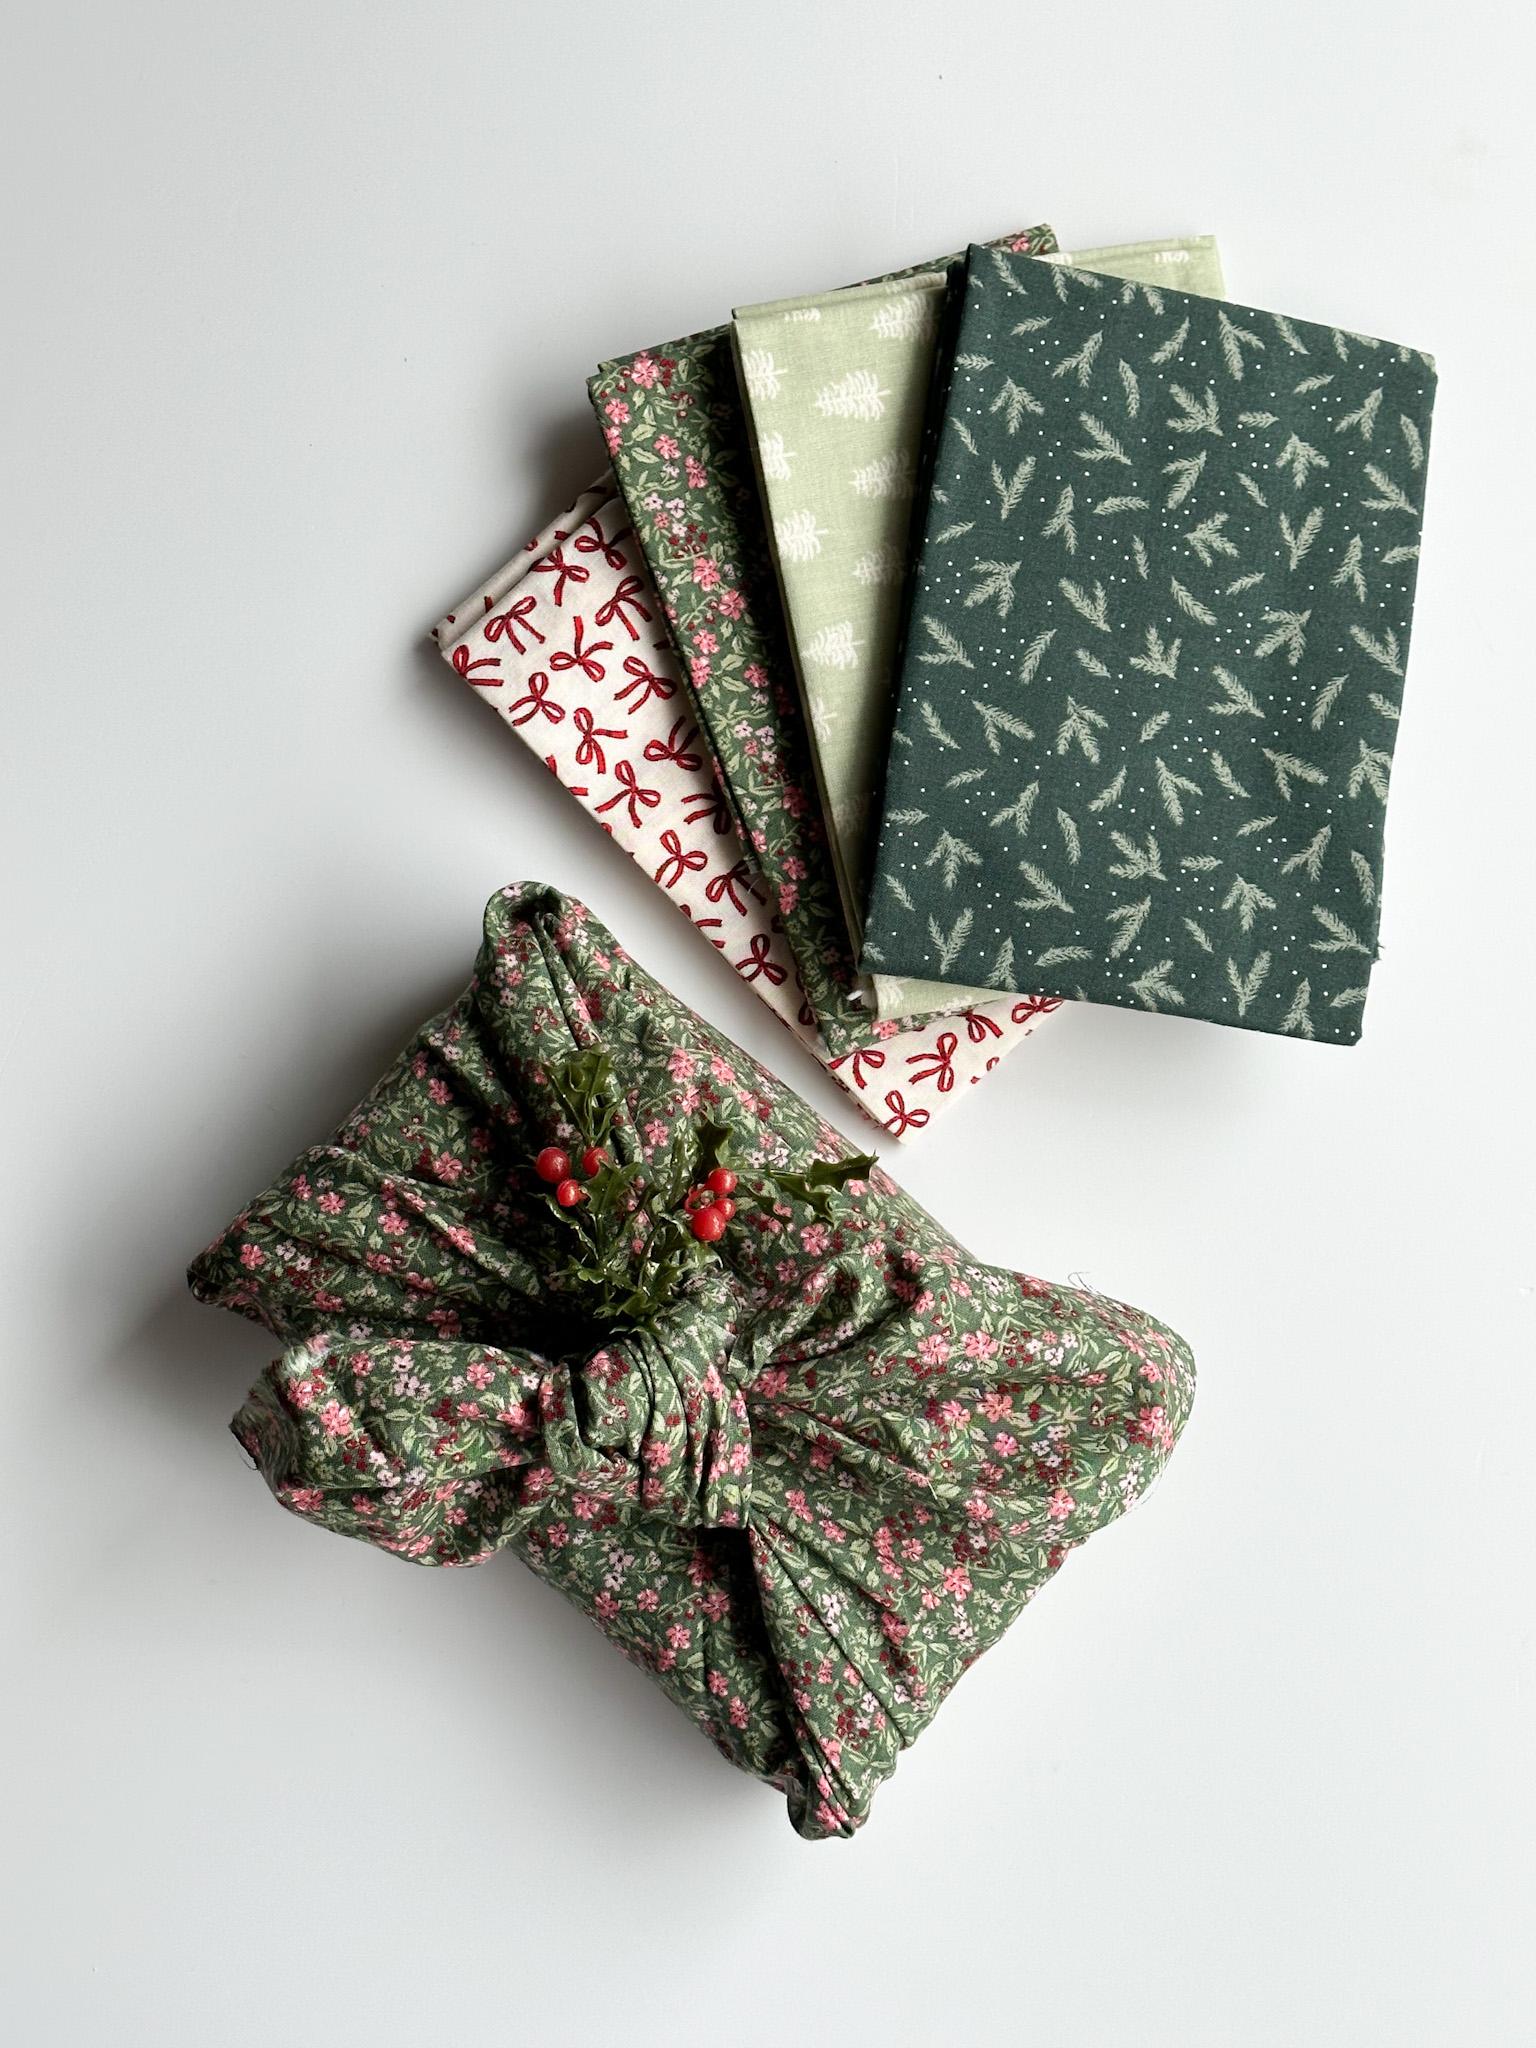
Furoshiki are the traditional Japanese wrapping cloths traditionally used to wrap and/or to transport goods. Consideration is placed on the aesthetics of furoshiki, which may feature hemmed edges, thicker and more expensive materials, and hand-painted designs. While they come in a variety of sizes, they are typically square. Traditional materials include silk or cotton, but modern furoshiki are available in synthetic materials like rayon, nylon and polyester.
Square cloth. Choose a cloth with a diagonal length about three times the length of the gift. It needn’t be exact; this proportion just gives you enough cloth to cover the whole gift without too much extra on the sides.
Gift/Gift Box/Book
1. Lay your cloth out on a flat surface and place the gift in the middle, diagonally, with the square’s pointed edge facing you.
2. Take the corner in front and lay it over the gift, and tuck the corner of extra cloth underneath.
3. Likewise with the opposite lower side.
4. Narrow the sides that will be tied up, bring the edges of each side towards the centre, to make them more like little handles.
5. Bring these side handles together and tie them in a square knot at the top. Lastly, take the left and right side handles, bring them together at the top of the gift, and tied them into a double knot, also known as a square knot: Left end over to the left, right end over and under the left. The loose ends should end up pointing in the direction they came from.
MANY OF THE PRODUCTS USED IN THIS COURSE CAN BE PURCHASED AT www.ingoodcompany.gifts Chamerstrasse 28 6331 Hünenberg Zug, Switzerland
THIS COURSE WORKBOOK AND FREE PRINTABLES CAN BE FOUND AT https://issuu.com/ingoodcompany.co.za
THIS COURSE WAS BROUGHT TO YOU BY Julie Gallagher www.ingoodcompany.co.za