Refno.:
Kitno.: Optionno.:
VOE15021070 81422
Profile:
A40EFSVolvo,A40EVolvo
Aircleaner,installing NOTICE

WithinthisInstallationInstructionsomearticleshavealternativepartnumbersstated!Olderarticlesthatinclude hexavalentchromium(Cr6)havebeenreplacedwithnewarticlesthatdonot.
Totalproceduretime(hr):3.50
Foreword
ReadandunderstandthesafetyinstructionsintheOperator'sManualandServiceInformationforthemachine. Theequipmentmustbeassembledbyanauthorizedpersonatanauthorizedworkshop.
TheInstallationInstructionisbasedontheuseofspecialtools,E-toolsandstandardtoolsgenerallyavailable.
Regardingboltedjointswhicharenotlistedhere,see"Volvostandardtighteningtorques".
VolvoConstructionEquipmentAB,willacceptnoresponsibilityifothertoolsorworkmethodsthanthosedescribedinthis publicationareused.
Volvoworkswithcontinuousimprovementofthemachine'senvironmentalperformance.
Kitlist
946472/9908618Flangescrew13
97109818Flangelocknut14
96014316Washer15
9651852Flangescrew16
96014310Washer17
946472/9908618Flangescrew18
9480876Washer19
150092731Bracket20
9454441Flangescrew21
111937411Plug23
111921521Bracket24
9477602Flangescrew25
150472911Hose26
150638761Pipe29
111921411Venthose30 111911492Hoseclamp31 111911514Hoseclamp33 150176141Hose34
150619691Hose35 111911483Hoseclamp37 113025671Tube38
48617021Retainingstrap39
205656731Vacuumswitch40 48212921Cabletie41
18litresEngineoil42 11055612/6011388216Washer43 9806141Clamp44
1.Parkthemachineinservicepositiononafirmandlevelsurface.
2.Lowerthefrontgrilleandraisethehood.
3.Letthemachinecooldown.
4.Removethetwoupperfootstepsandthefootplateontheright-handside.
5.Fitthebracketontothecompartmentlid.Usethetwoexistingholesinthemiddleoftherubbermat.Makesurethe compartmentisempty.
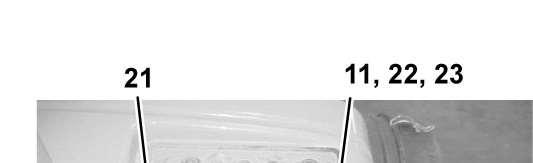
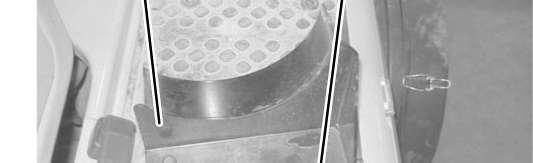
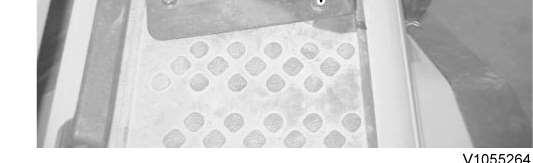
Figure1 V1055264
Partno.Qty.DescriptionPosition 111921521Bracket24 9480872Washer19 948645/9909502Flangelocknut10 9477602Flangescrew25
6.Fitthebracketforthefirstoilbathcleaner.
Figure2 V1055265
Partno.Qty.DescriptionPosition 150176491Bracket3 9601434Washer17 9480872Washer19 111927531Plate7 9710984Flangelocknut14 9651852Flangescrew16 946472/9908612Flangescrew18
7.Fittheattachmentandbracesonthefirstoilbathcleaner.
Partno.Qty.DescriptionPosition 111106141Oilbathcleaner1 110515151Attachment5 110521242Brace6 9651828Flangescrew9
948645/9909508Flangelocknut10 11117464/6011432116Washer11 111902178Spacersleeve12
8.Raisetheoilbathaircleanerandfititinthebracket.
Figure3 V1055267
Partno.Qty.DescriptionPosition
946472/9908614Flangescrew13 9710984Flangelocknut14 9601438Washer15
9.Fithoseontheoilbathaircleanerpipeandlockusinghoseclamp.
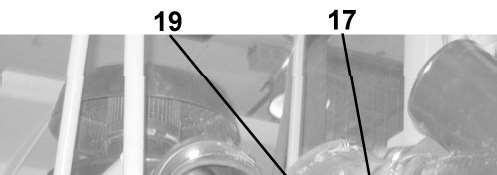
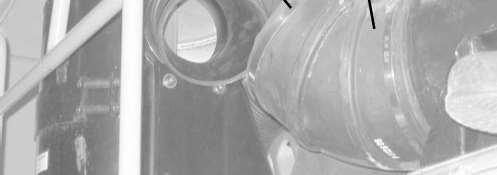

NOTE!
Partno.Qty.DescriptionPosition 111211741Hose26 111911491Hoseclamp31
Smearpetroleumjellyonthepipeends
10.Fittheairtubeonthehoseusinghoseclamp.
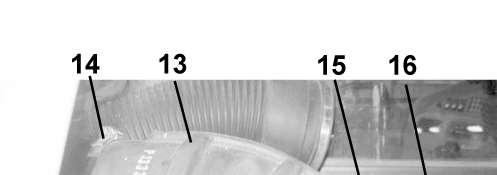
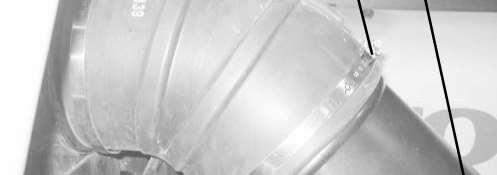
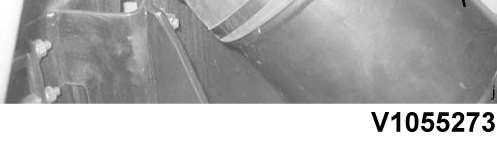
Figure5 V1055273
Partno.Qty.DescriptionPosition 111921451Airtube27 111911501Hoseclamp32
11.Fittheventhoseontheairtubeusinghoseclamp.
Partno.Qty.DescriptionPosition 111921421Venthose28 111911511Hoseclamp33
12.Fitthepipeontheventhoseusinghoseclamps.
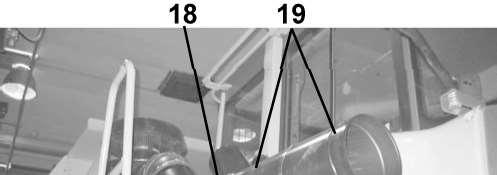
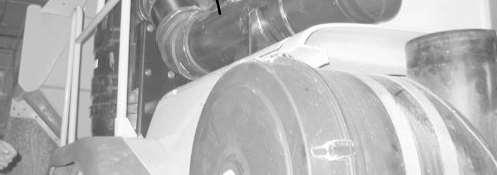

Partno.Qty.DescriptionPosition 150102431Pipe29 111911512Hoseclamp33
13.Removethecoverfromtheexistingaircleaner.Fittheventhoseonthepipeandontheaircleaner.Lockusinghose clamps.
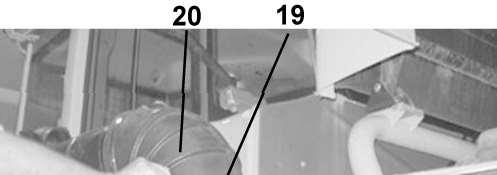
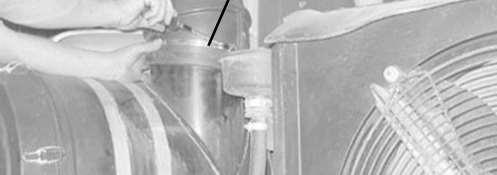
Figure7 V1055276
Partno.Qty.DescriptionPosition 111921411Venthose30 111911512Hoseclamp33
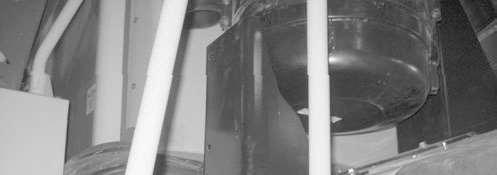
14.Fitthebracketforthesecondoilbathcleaner.
This is the sample of the manual if you need complete manual Click Here to download
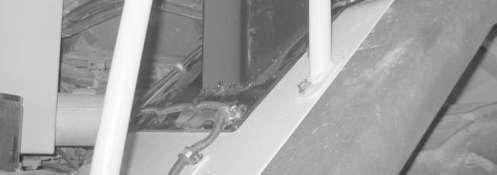
V1055309
Partno.Qty.DescriptionPosition 150089811Bracket4 9601434Washer17 9480872Washer19 150092182Plate8 9710986Flangelocknut14 946472/9908616Flangescrew18
15.Fittheattachmentandbracesonthesecondoilbathcleaner.
Partno.Qty.DescriptionPosition 111106141Oilbathcleaner1 110515151Attachment5 110521242Brace6 9651828Flangescrew9 948645/9909508Flangelocknut10 11117464/6011432116Washer11 111902178Spacersleeve12
16.Raisetheoilbathaircleanerandfititinthebracket.
Partno.Qty.DescriptionPosition 946472/9908614Flangescrew13 9710984Flangelocknut14 9601438Washer15
17.Fittheelbowontheoilbathaircleanerpipe.
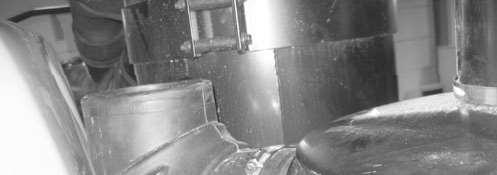
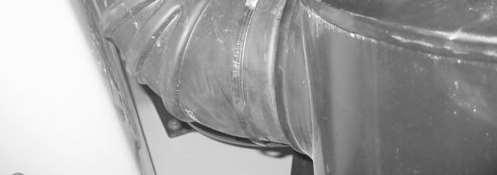
Figure10 V1055313
Partno.Qty.DescriptionPosition 110796361Elbow36 111911491Hoseclamp31
NOTE!
Smearpetroleumjellyonthepipeends
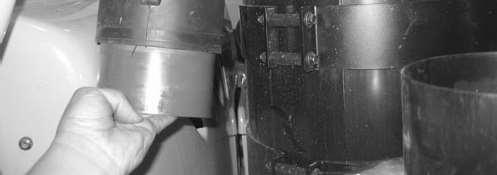
18.Fitthenextelbowwithatubeinsert.
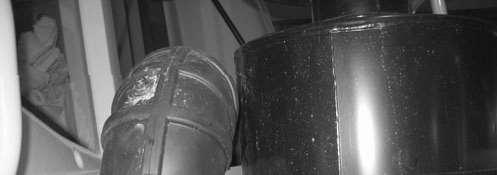
V1055314
Partno.Qty.DescriptionPosition 111410931Elbow35 113025671Tube38 111911482Hoseclamp37
19.Insertthenexttubeandfitthehosebetweentheelbowandthepipe.Fixwithretainingstrap.
Partno.Qty.DescriptionPosition 150176141Hose34 113025671Tube38 111911483Hoseclamp37 48617021Retainingstrap39
20.Fitthevacuumswitch.
Partno.Qty.DescriptionPosition 205656731Vacuumswitch40 48212921Cabletie41
21.Fitthenewbracketandtheexistingrearlight.Puttheplugintheholeleftontheinnerside.
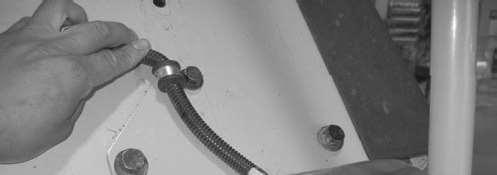
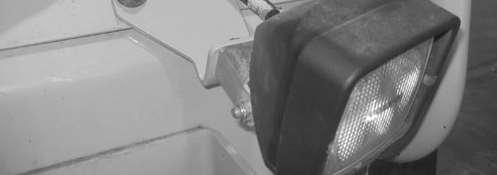
Partno.Qty.DescriptionPosition 150092731Bracket20 946329/9847531Flangescrew21 11055606/9973801Washer22 9710981Flangelocknut14 111937411Plug23
22.Fill9litres(2.4usgal)ofengineoilineachoilbathcleaner.
23.Resetthemachine,lowerthehoodandraisethefrontgrille.
24.Enterequipmentnumber81422onthemachinecard.


Refno.:
PUB-BGB
-905
Kitno.: Optionno.:
VOE15195310 11371211,81083
Profile:
2018-03-02
A25DVolvo,A25EVolvo,A25FVolvoSN13001-99999,A25FVolvoSN320001-,A25GVolvo,A30DVolvo,A30EVolvo,A30F VolvoSN12001-99999,A30FVolvoSN320001-,A30GVolvo,A35DVolvo,A35EFSVolvo,A35EVolvo,A35FFSVolvoSN 10001-99999,A35FFSVolvoSN320001-,A35FVolvoSN10001-99999,A35FVolvoSN320001-,A35GFSVolvo,A35GVolvo, A40DVolvo,A40EFSVolvo,A40EVolvo,A40FFSVolvoSN11001-99999,A40FFSVolvoSN320001-,A40FVolvoSN 11001-99999,A40FVolvoSN320001-,A40GFSVolvo,A40GVolvo,A45GFSVolvo,A45GVolvo,A60HVolvo
Backupalarm,installingnew NOTICE
WithinthisInstallationInstructionsomearticleshavealternativepartnumbersstated!Olderarticlesthatinclude hexavalentchromium(Cr6)havebeenreplacedwithnewarticlesthatdonot.
Totalproceduretime(hr):0.60
Foreword
ReadandunderstandthesafetyinstructionsintheOperator'sManualandServiceInformationforthemachine.
TheInstallationInstructionsometimesreferstoinformationintheOperator'sandServiceManual.
Theequipmentmustbeassembledbyanauthorizedpersonatanauthorizedworkshop.
TheInstallationInstructionisbasedontheuseofspecialtools,E-toolsandstandardtoolsgenerallyavailable.
Regardingboltedjointswhicharenotlistedhere,see"Volvostandardtighteningtorques".
VolvoConstructionEquipmentAB,willacceptnoresponsibilityifothertoolsorworkmethodsthanthosedescribedinthis publicationareused.
Volvoworkswithcontinuousimprovementofthemachine'senvironmentalperformance.
Kitlist
Partno.Qty.DesignationPositioninFig.1
Tools
Forinstallingthisoptionalequipment,wedonotconsiderthatanyspecialinstallationequipmentis required.
1.Thefollowingisincludedtofacilitateinstallation:
Kitlist
Installationinstructions
NOTE!
Beforestartingtowork,parkthemachineonlevelgroundandprepareitforservicebyplacingitinserviceposition accordingtoSafetyrulesforservice.
2.ConnectTechToolServiceTooltothenetwork.Select“Administersoftware,new”,selectAccessorykit(Conversionkit), andenternumber11721152.
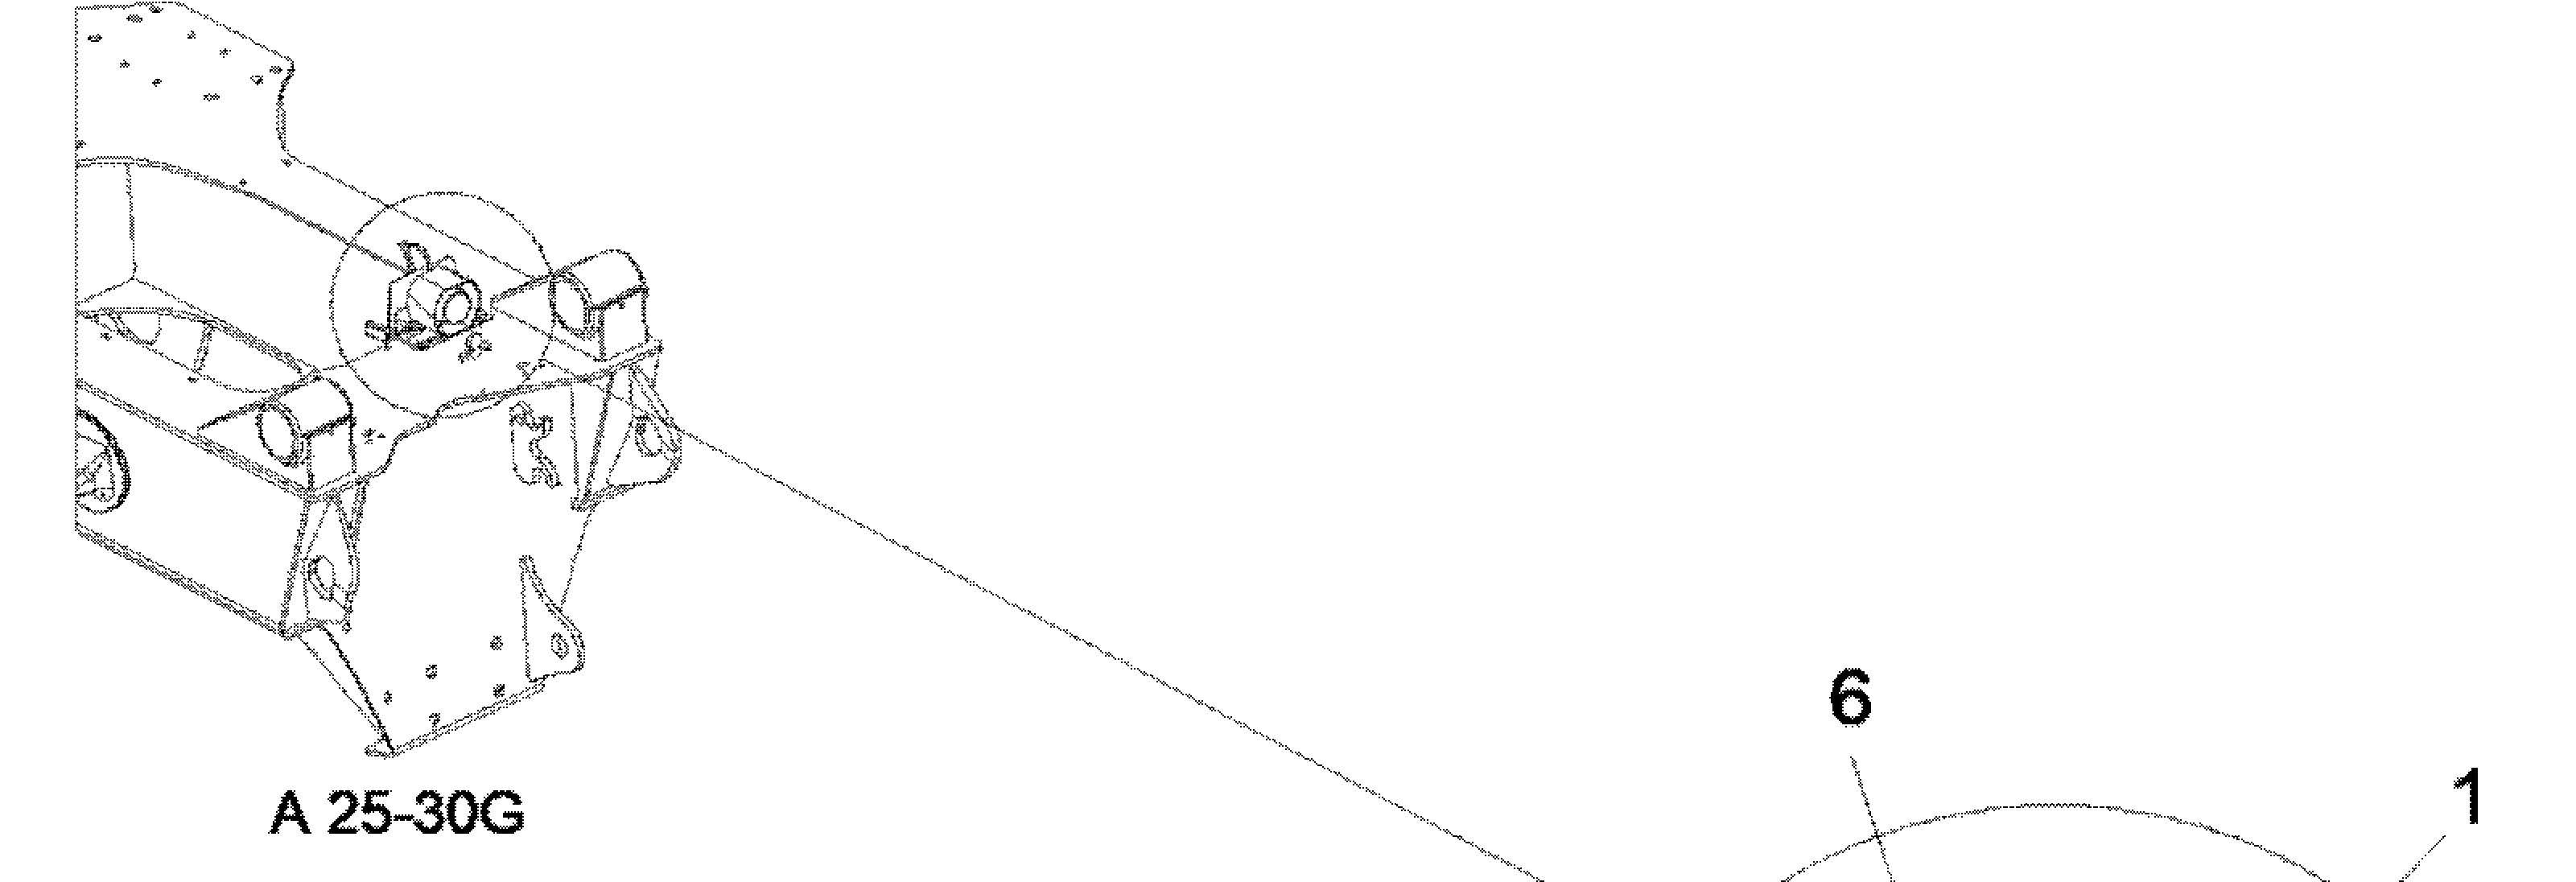
3.ConnectTechToolServiceTooltothemachine.Runoperation17093–3.Programwithstoredsoftware.Reporttothe centalsystem.
4.Resetthemachine.


Ref
Kitno.: Optionno.:
Profile:
A40EFSVolvo,A40EVolvo
Bodyheating,installingnew NOTICE
WithinthisInstallationInstructionsomearticleshavealternativepartnumbersstated!Olderarticlesthatinclude hexavalentchromium(Cr6)havebeenreplacedwithnewarticlesthatdonot.
Totalproceduretime(hr):3.00
Foreword
ReadandunderstandthesafetyinstructionsintheOperator'sManualandServiceInformationforthemachine. Theequipmentmustbeassembledbyanauthorizedpersonatanauthorizedworkshop.
TheInstallationInstructionisbasedontheuseofspecialtools,E-toolsandstandardtoolsgenerallyavailable.
Regardingboltedjointswhicharenotlistedhere,see"Volvostandardtighteningtorques".
VolvoConstructionEquipmentAB,willacceptnoresponsibilityifothertoolsorworkmethodsthanthosedescribedinthis publicationareused.
Volvoworkswithcontinuousimprovementofthemachine'senvironmentalperformance.
111928611Exhaustpipe
139710194Flangebolt
976945/9948494Hexnut
47708801Gasket
139764333Flangebolt
111957963Washer
13960149/601143123Washer
49662593Spring
110523813Gasket
49651241Ring
13971072/9909703Hexnut
494062212Sleeve
49406236Spring
110649116Studbolt
48815902Ring
13971072/9909703Hexnut
60113167/9909502Flangelocknut
60113084/9847382Flangebolt
60113082/9847368Flangebolt
60113167/9909508Flangelocknut 111965151Bracket
601131132Flangebolt
601135882Spacertube
997409/9909702Flangelocknut 110521941Pipeend 15891411Clamp
9651901Flangebolt
13971098/9909511Flangelocknut
598110RequiredPaintprotectiveagent 151721791Protectiveplate
Installation
1.Serviceposition
NOTICE
Beforestartinganywork,parkthemachineonalevelsurfaceandprepareitforservicebyputtingitintoservice positionaccordingtoSafetyrulesforservice.
2.Beforethepartsareinstalled,lubricatethesurfacesmarkedAaccordingtofigurewithlubricant.






NOTE!
Itisimportantthatthelubricantisallowedtodrythoroughly(atleast20min.)beforetheexhaustpipeandexhaust hoseareassembled.
3.Removetheflangeboltsontheprotectiveplateovertheparkingbrake,pos.1.






4.Installtheplatewiththeflangebolts.
5.Installcompressionspringsandwashers.
6.Installtheexhaustpipeonthebracket.Installwashersandflangelocknuts.Donottightentheflangenutsyet.
Partno.DesignationQty.Positionin Fig.3 11196515Bracket11 4966259Compressionspring33 960149Washer34 11196513Exhaustpipe15 11195796Washer36 976433Flangenut37
7.Install3studboltswithnutontheexistingringfortheexhaustpipe.Thestudboltshouldprotrudemax.15mm,see Fig.3.
Partno.DesignationQty.Positionin Fig.4 11064911Studbolt31 971072nut32
8.Installthegasketintheexhausthose
Partno.DesignationQty.Positionin Fig.4 11052381Gasket11 11050994Exhausthose12
9.Assembletheexhausthoseandtheexhaustpipe
10.Installthrustspring,sleeves,andnutsonthestudbolt.Thestudboltshouldprotrude2.5mmfromthenut
Partno.DesignationQty.Positionin Fig6 4940623Compressionspring31 4940622Sleeve63 971072Nut64
11.Taketheexhaustpipeandinstallbothrings
Partno.DesignationQty.Positionin Fig.7 4965132Exhaustpipe11 4881590Ring22
12.Taketheringandexhaustpipe,andinstallagasketintheringandoneintheexhaustpipe.
13.Installthestudboltswithnutsinthering.
Partno.DesignationQty.Positionin Fig.8 4965124Ring11 11052381Gasket22 11064911Studbolt33 971072Nut34 4465132Exhaustpipe15
14.Assemblebothexhaustpipes.
15.Installthethrustspring,2sleevesand2nutsoneachstudbolt.MeasurementsaccordingtoFig8.
Partno.DesignationQty.Positionin Fig.9
11052630Exhaustpipe11
4965132Exhaustpipe12
4940623Compressionspring33
4940622Sleeve64 971072Nut65
16.Installtheassembledexhaustpipesontheexhausthose.
17.Installleafspringswithwashersandflangebolts.
Partno.DesignationQty.Positionin Fig.10
11050994exhausthose11
4940630Leafspring62
4940841Washer33 946440/984733Flangebolt35
18.Takeoutthestayandgreaseitwithinstallationpaste
19.Installthestayinthepipe
946671/9847368Flangebolt8
948645/9909508Flangelocknut9
20.Installbothclampsonthestayandthepipewithflangebolt,flangelocknut,andspacertube.
21.Installclampwithclampaswellasprotectiveplatearoundtheexhausthose.Useflangeboltandflangelocknut.






Partno.DesignationQty.PositioninFig. 13 15172179protectiveplate11
22.Assembletheotherclampwiththeexhausthose'sfixedclamp.Useflangeboltandflangelocknut.
23.Installtheguidearmwithboltsandnuts.
Partno.DesignationQty.IteminFig. 14 11193212Guidearm11 13947760/984738Bolt22 948645/990950Nut22
24.Installthegasketontheexhaustpipe,andinstalltheexhaustpipebetweentheloadbodyandexhaustpipe.
25.Adjusttheposition.
NOTE!
Thelocationofposition1andposition3iscontrolledfromposition2.
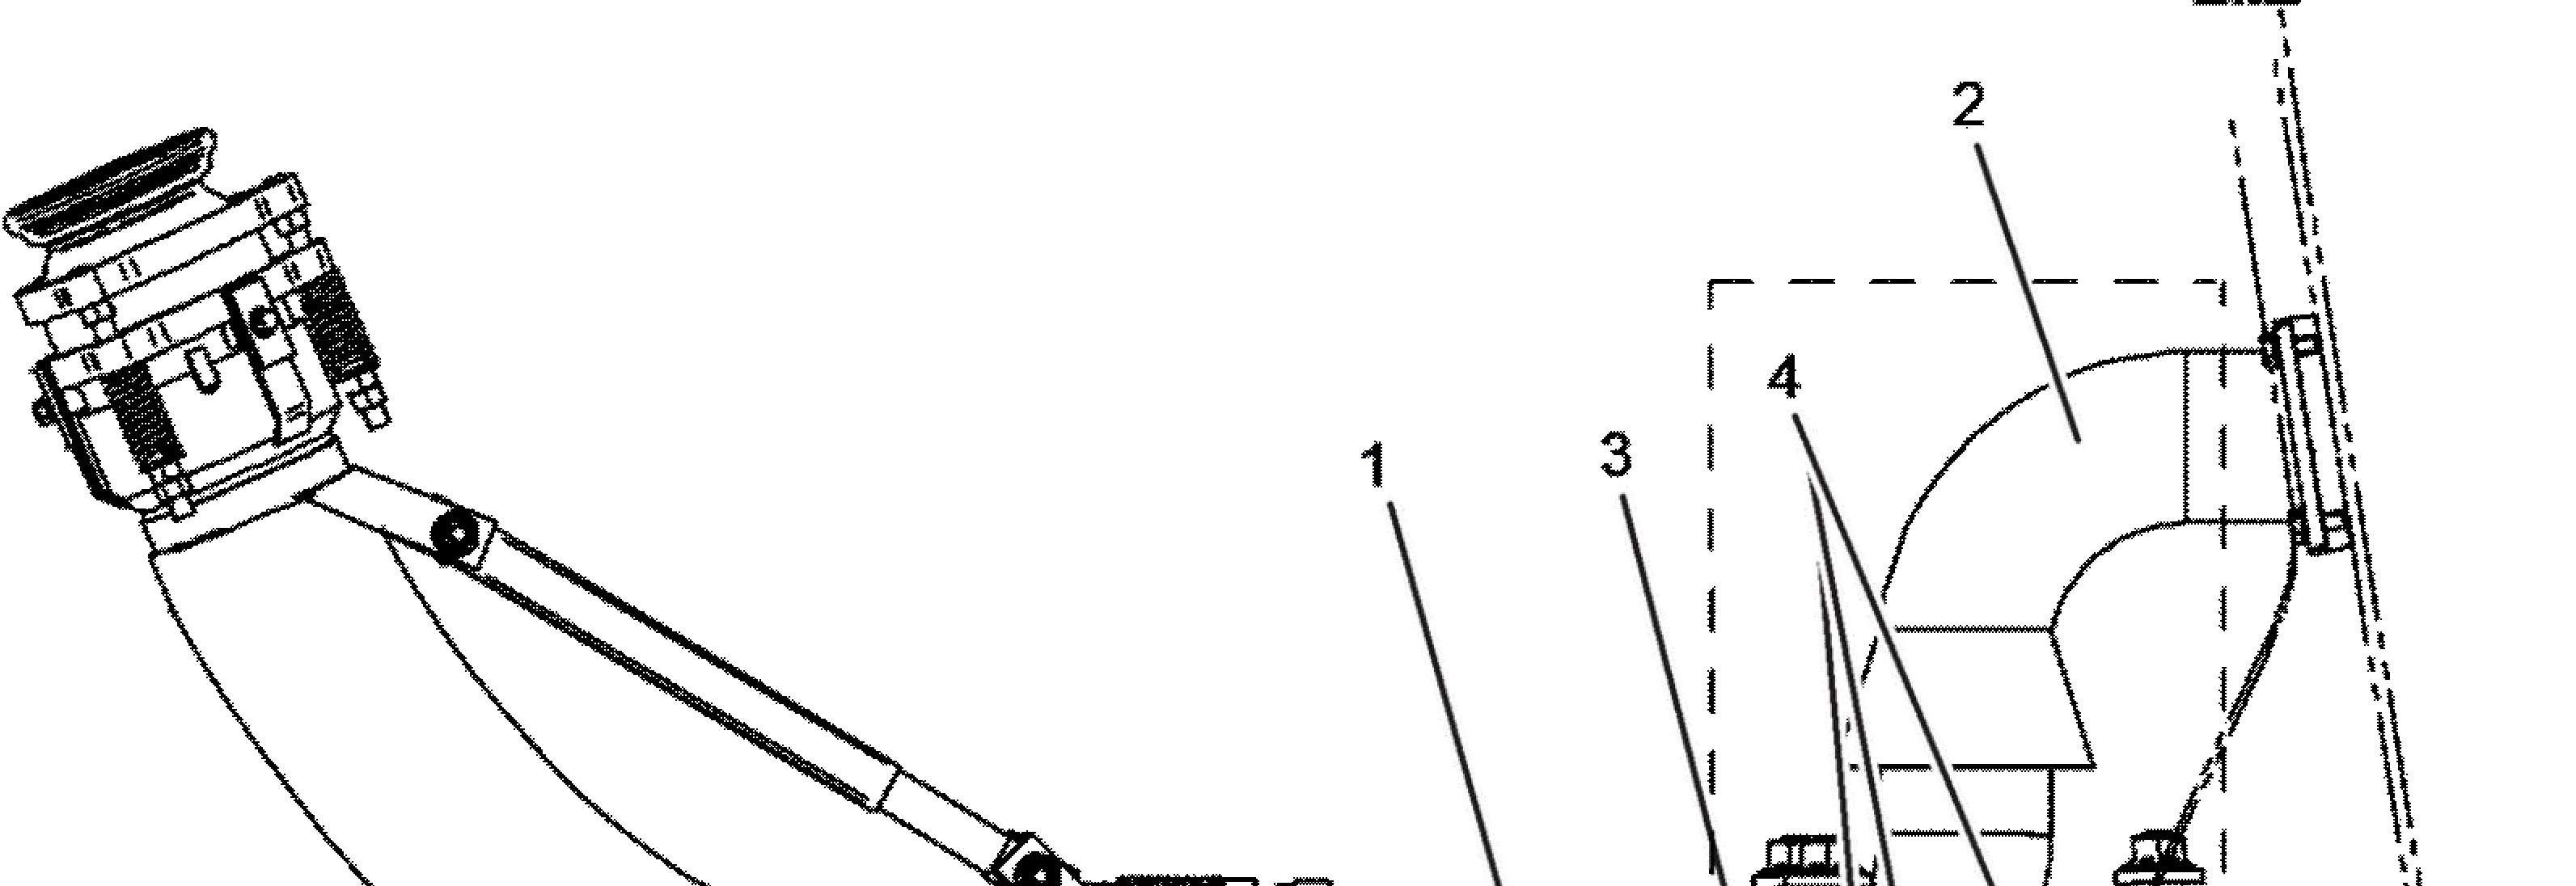
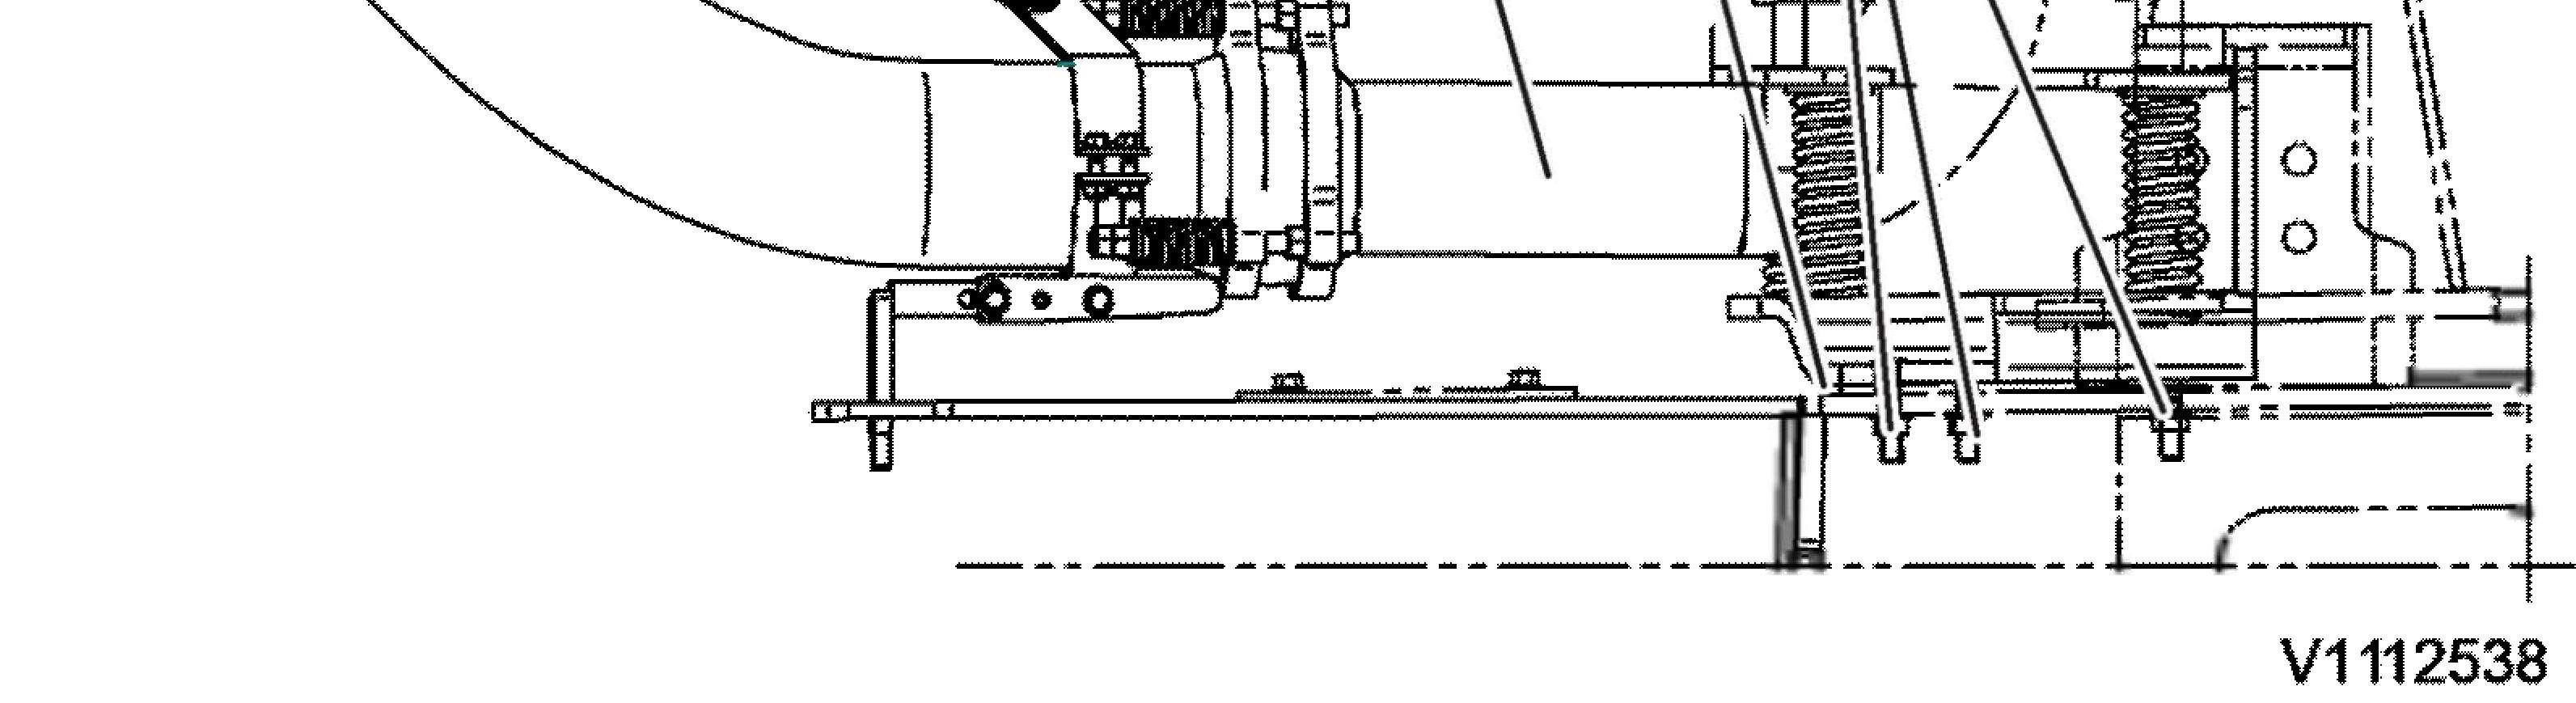
Figure16 V1085091
26.Tightenthethreeboltsforthebracket. Tightenthenutsfortheexhaustpipe/bracket
27.Installthepipeendonthemuffler'sexhaustpipe.Seepos.inFig.14
28.Enterequipmentnumber81332onthemachinecard.


Ref.no. VOE12A1003740
15020368
81017
Regarding A25D,A25E,A30D,A30E,A35D,A35E,A35EFS,A40D,A40E,A40EFS,TD450D
Nödströmbrytare

VARNING!
Läsallaskyltarochanvisningarsomfinnspåmaskinen ochsäkerhetsinstruktionernaiinstruktionsbokeninnan Dubörjararbetetpåmaskinen.
Monteringsanvisningenärbaseradpåanvändningav specialverktyg,E-verktygochiallmännahandeln tillgängligastandardverktygsamtinstruktions-och verkstadshandböcker. Utrustningenskamonterasavbehörigpersonpå auktoriseradverkstad.
VolvoConstructionEquipmentAB,CustomerSupport Divisionfrånsägersigalltansvaromandraverktygeller arbetsmetoderändeianvisningenbeskrivnakommertill användning.
Satslista
Art.nr.AntalBenämningPos.iFig. 111177591Brytare 111177651Skydd 9461734Flänsskruv 9486454Flänslåsmutter 111177601Genomföring 111177611Mutter 9641151O-ring19,2x2,5 9695162Sextandhålskruv 9631032Låsmutter 111177641Ledningsmatta 9526272Klamma 9465443Flänsskruv 9492783Flänslåsmutter 48814388Bandklämma25
Op.no.360xxx
Tools:

VCADSPro
Gäller:A35E,A35EFS,A40E,A40EFS
1Ställmaskinenpåettplantochhårtunderlag.
2Slåifrånhuvudströmställaren.
3Låtmaskinensvalna.
4Borrahålpåskärmen4stØ10mm.2stØ5mmoch1stØ 7mm.Enligtfig1







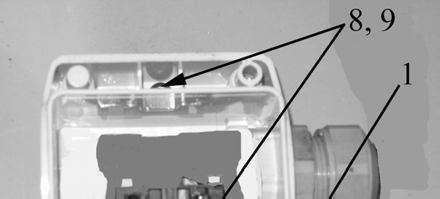
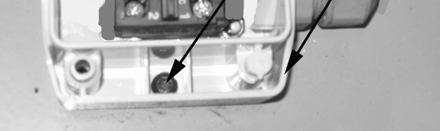
5Sättditbrytarenpåskärmen.
Art.nr.AntalBenämningPos.iFig.2 111177591Brytare 1 111177622Sextandhålskruv8 9631031Låsmutter 9
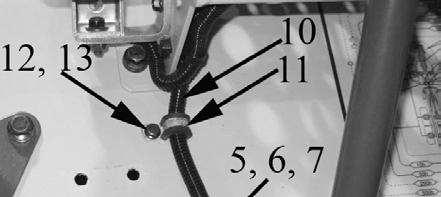
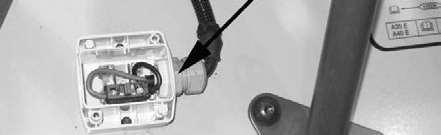
6Kopplaledningsmattantillbrytaren.Klammaenligtfig3. NOTE!Smörjanslutningarnamedvaselin.
Art.nr.AntalBenämningPos.iFig.3 111177641Ledningsmatta10 9526271Klamma 11 9465441Flänsskruv 12 9492781Flänslåsmutter13 111177601Genomföring 5 111177611Mutter 6 9641151O-ring 7
7AnslutledningsmattantillkablageCO6anslutningF11. Klammaenligtfig4. NOTE!LedningsmattainfördpåA35Dserienr.11068och A40Dserienr.10062
Art.nr.AntalBenämningPos.iFig. 48814388Bandklämma25 111177641Ledningsmatta




This is the sample of the manual if you need complete manual Click Here to download