
D9HTRACK-TYPETRACTOR


Product:TRACK-TYPETRACTOR
Model:D9HTRACK-TYPETRACTOR90V
Configuration:D9HTRACTOR90V00001-UP(MACHINE)POWEREDBYD353ENGINE
OperationandMaintenanceManual D9HTRACTOR
MediaNumber-SEBU5229-02PublicationDate-01/02/1978DateUpdated-11/10/2001
SerialNumberLocations
SMCS-7320-017
Tractor
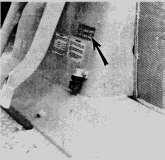
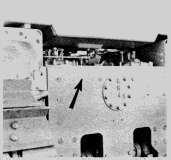
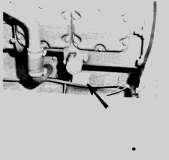
ENGINE
Attachments
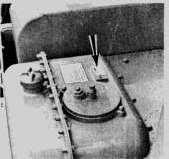
HYDRAULICCONTROL
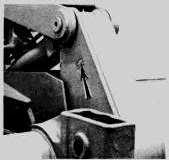
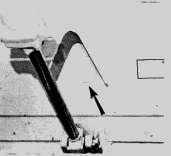
BULLDOZER
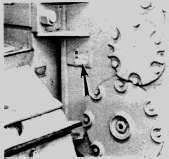
RIPPER
TueOct2209:57:20UTC+05302024
This is the sample of the manual if you need complete manual Click Here to download

Product:TRACK-TYPETRACTOR
Model:D9HTRACK-TYPETRACTOR90V
Configuration:D9HTRACTOR90V00001-UP(MACHINE)POWEREDBYD353ENGINE
OperationandMaintenanceManual D9HTRACTOR
MediaNumber-SEBU5229-02PublicationDate-01/02/1978DateUpdated-11/10/2001
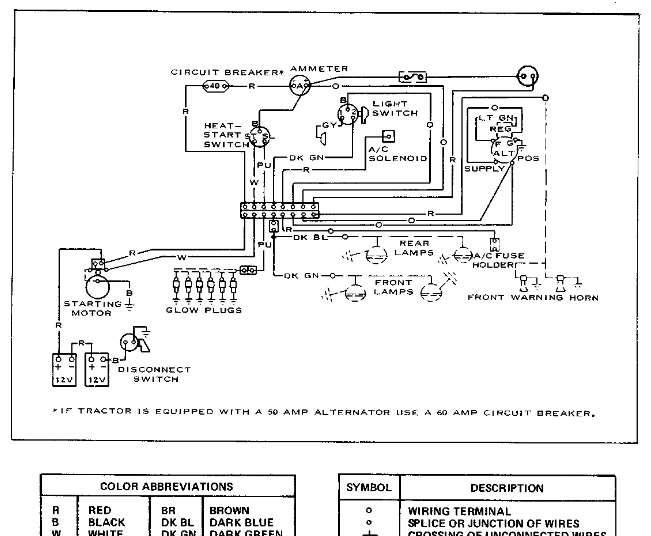
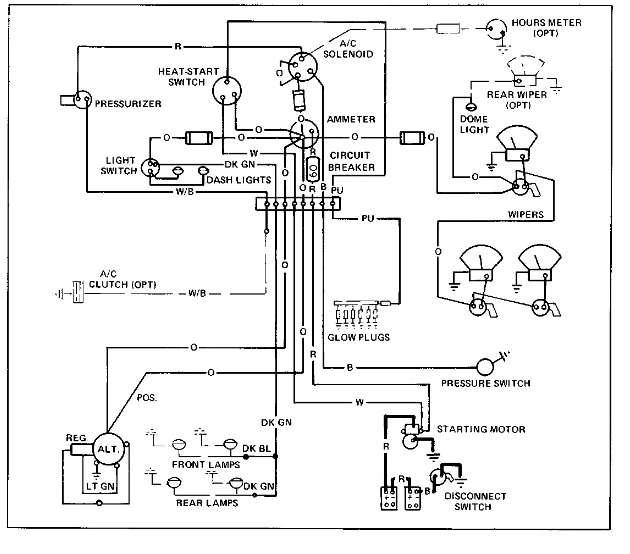
WiringDiagram
SMCS-7320-017

Copyright1993-2024CaterpillarInc. AllRightsReserved. PrivateNetworkForSISLicensees.
TueOct2209:57:04UTC+05302024
Product:TRACK-TYPETRACTOR
Model:D9HTRACK-TYPETRACTOR90V
Configuration:D9HTRACTOR90V00001-UP(MACHINE)POWEREDBYD353ENGINE
OperationandMaintenanceManual D9HTRACTOR
MediaNumber-SEBU5229-02PublicationDate-01/02/1978DateUpdated-11/10/2001
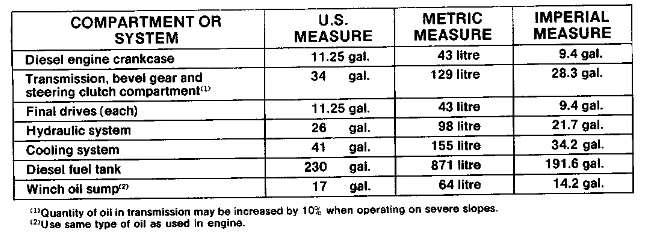
RefillCapacities(Approximate)
SMCS-7320-017
TueOct2209:56:45UTC+05302024
Product:TRACK-TYPETRACTOR
Model:D9HTRACK-TYPETRACTOR90V
Configuration:D9HTRACTOR90V00001-UP(MACHINE)POWEREDBYD353ENGINE
OperationandMaintenanceManual D9HTRACTOR
MediaNumber-SEBU5229-02PublicationDate-01/02/1978DateUpdated-11/10/2001
WhenRequired
SMCS-7320-017
(29)Transmission,BevelGearAndSteeringClutchCompartment
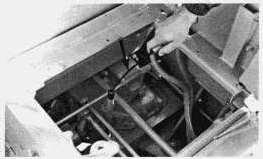
CheckoillevelwithengineatlowidleandtransmissioninNEUTRAL.Maintainoillevelbetween ADDandFULLmarksondipstick.
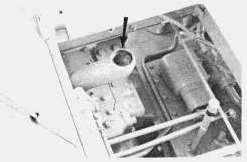
Addoilifrequired.
NOTE:Iftractorisequippedwithamodularcab,thetransmissionleveldipstickandfillertubeare locatedabovebatteriesonoutsideofcab(seepage13).
(30)TorqueDividerSuctionScreen
1.Washsuctionscreenwhenevercommonoilcompartmentisdrainedforrepairsonbrakes, transmissionortorquedivider.
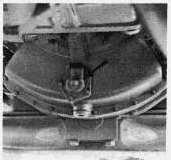
2.Removecover,housing,springandscreen.
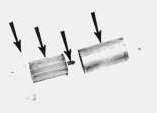
3.Separatecover,housingspringandscreen.Washscreenincleansolvent.
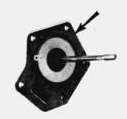
4.Inspectcovergasket.Installnewcovergasketifnecessary.
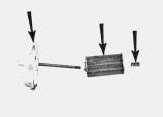
5.Installscreen,springandhousingtocover.Besurepininhousingisalignedwithholeincover.
6.Installsuctionscreenassembly. (31)Winch
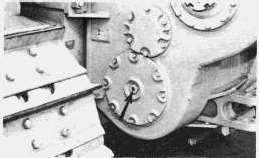
1.Checkoillevelwithenginerunningatlowidle.Oilmustbevisibleinsightgauge.Addoilif necessary.
Checkcable.Ifcableiswornorfrayedinstallanewcable.
InstallingCable
Cableisattachedtothedrumonthewinchwithastandardcableferrule.Theferruleisfittedintoa socketonthedrumandsecuredwithabolt-downclamp.
Ferrulesaremadeinvariousdiametersandlengths.Whenorderingcablefromyourlocalsupplier, usethefollowingguidetospecifythecorrectferrule.

NOTICE
11/4in.(32mm)diametercableistobeusedforextendedcablelife only.Itisnottobeusedforincreasingwinchcapacity.
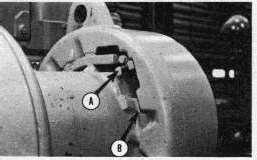
Putthecableinastraightlinebehindthetractor.Installclamp(A).
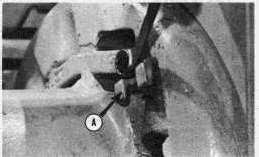
Removeclamp(A).Installcableendintogroove(B).
(32)FinalDrives
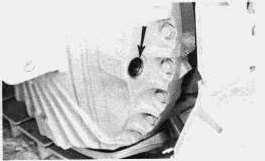
1.Removefillplug.
2.Checkoillevel.Oilshouldbeuptothefillerplugopening.Addoilasrequired.
(33)Track-Adjustment
NOTE:Tracksshouldbeadjustedunderthesameconditionsinwhichthemachinewillbeused.If packingconditionsprevailonthejob,thetracksshouldbeadjustedwithpackingpresent.
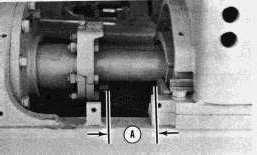
Runthetractorintheforwarddirectionatleasttwicethelengthofthetractor,thenallowtractorto coasttoastop.Donotbraketractortostopit.
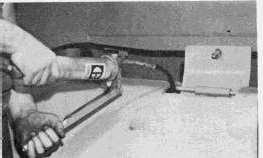
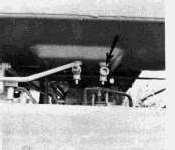
1.RaiseinspectionplateandaddMPGthroughfillvalveuntilidlermovesforwardandtrackis tight.
NOTICE
Donotattempttotightentrackwhenstoponadjustingrodiswithin 0.25inch(6mm)diamension"A"ofstoponrollerframe.Contactyour Caterpillardealerfortrackservice.
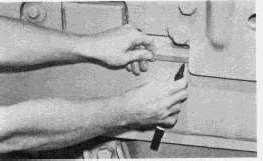
2.Makeamarkontherollerframe1/2inch(1cm)behindtheidlerbearingsupport.
3.Makesurethereisspaceforthefrontidlertoretract.
Raiseinspectionplate.
Nevervisuallyinspectreliefvalvetoseeifgreaseisescaping.Always observethetracktoseeifithasloosened.
Openreliefvalve1turnonly.
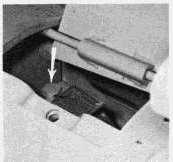
4.Openreliefvalveandallowtheidlertomoveback.Movingthemachinebackandforth,willhelp movetheidlerback.
5.Closereliefvalve.
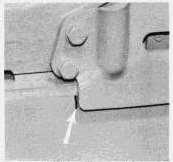
6.AddMPGthroughthefillvalveuntilmarkonrollerframeisalignedwiththerearedgeofidler bearingsupport.
NOTE:Ifcorrectadjustmentcannotbeobtained,seeyourCaterpillardealerfortrackservice.
(34)Prescreen
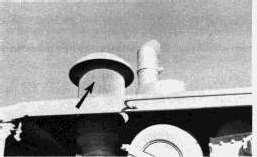
1.Checkprescreenfordamageandreplaceifnecessary.
2.Washprescreenincleansolvent,ifrequired,toremovedustanddebrisonscreen.
(35)EngineAirIntakeSystem
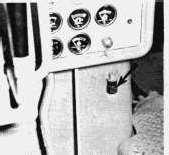
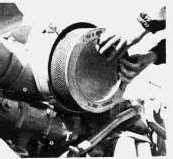
1.Removecoverandprimaryelement.
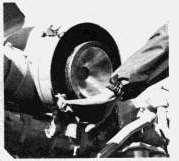
2.Cleaninsideofbodyandcover.
3.Cleanandinspectelement.(SeePage30).
NOTICE
Alwaysinspectprimaryelementbeforeandaftercleaningwithalight bulbinsideelement.Discardifanytears,ripsordamageisevident.
4.Installcleanelementandcover.
5.Resetindicator.
IfindicatorshowsREDshortlyafterinstallationofaprimaryelementwhichhasbeencleaned approximately6times,changetoanothercleanelement.
NOTE:Theprimaryelementshouldbereplacedafterbeingcleanedamaximumof6times.Replace theelementonceayeareventhoughithasnotbeencleaned6times.
IfindicatorstillshowsREDshortlyaftertheinstallationofthecleanprimaryelement,change thesecondaryelement.
Replacethesecondaryelementatthetimetheprimaryelementiscleanedforthefourthtime.
NOTICE
Alwaysreplacethesecondaryelement.Donotattempttoreuseby cleaning.
SecondaryElement
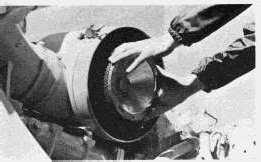
1.Removecoverandprimaryelement.
2.Removesecondaryelement.
3.Coverairinletopening.Cleaninsideofaircleanerbody.
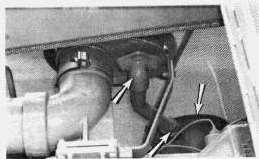
4.Inspectprecleaner,dustejectorandexhaustventuri.Cleanallpartswhennecessary.
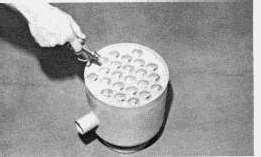
5.Cleanpartswithcompressedair,astifffiberbrushorwashinwaterandnon-sudsingdetergent. Dryallpartsbeforeinstallation.*
6.Uncoverairinletopening.
7.Installnewsecondaryelementandretainer.Tightennutsto20±5lb.ft.(2.8±0.7mkg).
8.Installprimaryelementandcover.
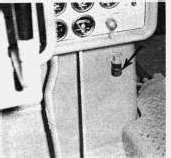
9.Resetfilterindicator.
Whenusingpressureair,wearsafetyfaceshieldandprotective clothing.Use30PSI(2kg/cm2)maximumpressureairforcleaning pressure.
CleaningAirCleanerElements
PressureAir-30PSI(2kg/cm2)Maximum
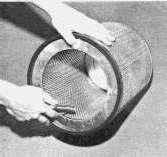
1.Directairinsideelementalonglengthofpleats.
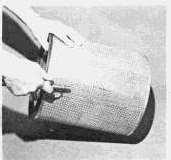
2.Directairoutsidealonglengthofpleats.Directairinsidealonglengthofpleats.Checkelement.
Water-40PSI(3kg/cm2)Maximum
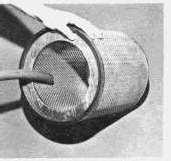
1.Directwaterinsideelementalonglengthofpleats.
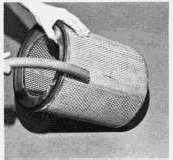
2.Directwateroutsidealonglengthofpleats.Rinse,airdrythoroughlyandcheck.
Detergent
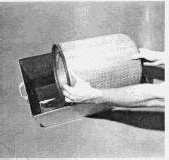
1.Washinwarmwaterandnon-sudsinghouseholddetergent.
2.Rinsewithcleanwater,40PSImaximum(3kg/cm2),seeabove.
3.Airdrythoroughlyandcheck.
CheckingElement
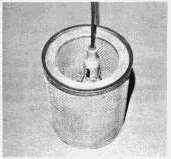
1.Insertlightinsidecleananddryelementandcheck.Discardelementiftearsorripsarefound.
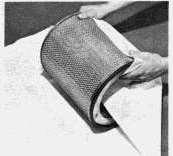
2.Wrapandstoregoodelementsinacleandryplace.
Whenusingpressureair,wearsafetyfaceshieldandprotective clothing.Use30PSI(2kg/cm2)maximumpressureairforcleaning pressure.
NOTICE
Donotcleanelementsbybumpingortapping. Donotuseelementswithdamagedpleats,gasketsorseals.
NOTE:Havespareelementsonhandtousewhilecleaningusedelements.
(36)FuelSystem
PrimaryFuelFilter-CleanElementWhenFuelPressureGaugeRegistersOUTWithEngine Running.
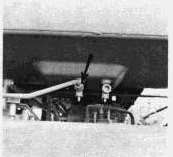
1.Stopengineandclosefuelsupplyvalve.
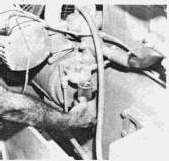
2.Removecaseandelement.Washcaseandelementincleansolvent.
3.Installelementandcase.
4.Openfuelsupplyvalve.
5.Startengineandcheckforleaks.
NOTE:ChangefinalfuelfiltersiffuelpressuregaugestillregistersOUTwithenginerunning.
FinalFuelFilters
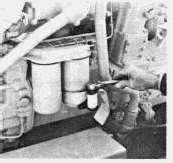
1.Stopengine,closefuelsupplyvalveandremovefilters.
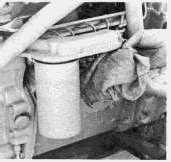
2.Cleanfilterbase.Makesureallofoldgasketisremoved.Coatgasketofnewelementwithclean dieselfuel.
3.Installnewfilters.Tightenfiltersuntilgasketsurfacescontactbase,thentightenanadditional1/2 to3/4turn.
4.Openfuelsupplyvalveandprimefuelsystem(seebelow).
5.Startengineandcheckforleaks.
PrimingFuelSystem
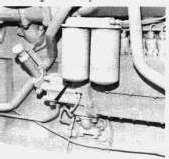
1.Openbleedvalve.
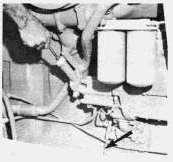
2.Unlockprimingpumpplungerandoperatepumpuntilflowoffuelfromdrainlinecontainsnoair bubbles.
3.Closebleedvalve.
4.Startengineandcheckforleaks.
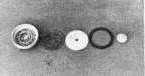
1.Removecapandfillerscreen.
2.Disassemblecapandwashcapandscreenincleansolvent.
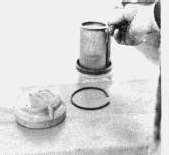
3.Oilelementslightly.Assemblecapandinstallscreenandcap.
(38)CoolingSystem-Cleaning
NOTE:Ifmachineistobestoredorshippedtoanareawithbelowfreezingtemperaturesandfor informationconcerningdrainingandfillingthecoolingsystem,refertoItem(27)onPage20.
1.DraincoolantasoutlinedinItem(27).
2.Closeradiatordrainvalveandinstallblockdrainplug.Fillsystemwithcleaningsolution.1
3.Startengineandrunfor1/2hour.Stopengineanddraincleaningsolution(seeItem(27)).
4.Flushsystemwithcleanwateruntildrainingwaterisclean.Donotrunenginewhileflushing.
5.Closeradiatordrainvalveandinstallblockdrainplug.Fillsystemwithneutralizingsolution.2
6.Startandrunenginefor10minutes.Stopengineanddrainsystem(seeItem(27)).
7.Flushsystemwithcleanwateruntildrainingwaterisclear.Donotrunenginewhileflushing.
8.Closeradiatordrainvalveandinstallblockdrainplug.Addcoolantslowly,5U.S.gallonsper minute(19litresperminute)orless,toproperlevel.
12lb.SodiumBisulphate(NaHSO4)per10gallonswater(25gramsperlitre).
21/2lb.SodiumCarbonateCrystalsNa2CO3,*10H2O)per10gallonswater(6gramsperlitre).
NOTE:Mostcommercialsystemcleanersmaybeused.
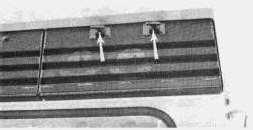
1.Opencoverandremovefilterelements.
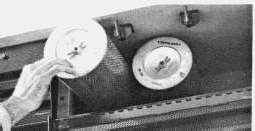
2.Cleanelementsbyusingpressureairorbytappingelementonasmoothobject.
3.Installelement.
Whenusingpressureair,wearsafetyfaceshieldandprotective clothing.Use30PSI(2kg/cm2)maximumpressureairforcleaning pressure.
RecirculatingFilter
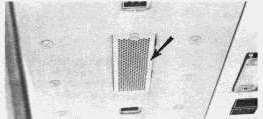
1.Removecoverandremovefilterelement.
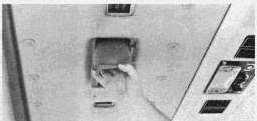
2.Cleanelementwithpressureairorwashelementinwarmwaterandanon-sudsinghousehold detergent,rinseincleanwaterandairdrythoroughly.
3.Installelements.
Whenusingpressureair,wearsafetyfaceshieldandprotective clothing.Use30PSI(2kg/cm2)maximumpressureairforcleaning pressure.
(40)Bulldozer-DiagonalArmandTiltBraceBallandSocketAdjustment
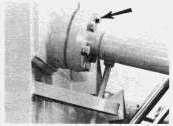
1.Removecapbolts.Shortenbraceandremoveshims.
2.Cleanballandsocket.Cleanshims.
3.Lengthenbrace.Installandtightenboltsevenly.
4.Measureclearancebetweencapandsocketwithshims.
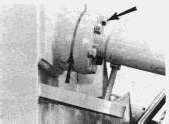
5.Removeboltsandshortenbrace.Installshimsequaltomeasuredclearanceplus1shim.
6.Lengthenbraceandinstallbolts.
(41)HydraulicCylinders-Shimadjustedrodpacking
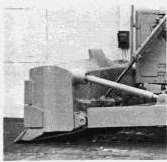
1.Lowerbladeandstopengine.
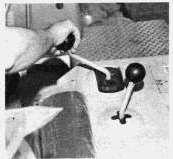
2.Movehydrauliccontrolstorelievepressure.
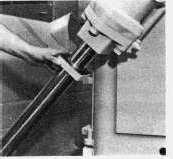
3.Removeboltsandslideflangeawayfromcylinderhead.
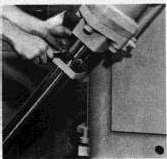
4.Cutandremove1shim.
NOTICE
Usecarewhenremovingshimssothatcylinderrodisnotdamaged.
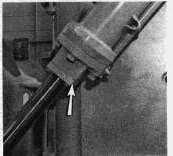
5.Slideflangebackandinstallbolts.Startengineandcheckforleaks. 6.Ifstillleaking,removeanothershim.Leaveatleast2shims.Ifpackingstillleaks,seeyour Caterpillardealer.
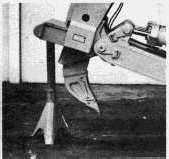
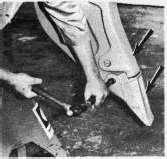
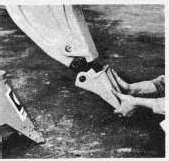
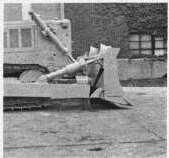
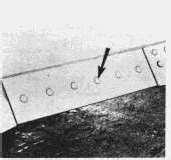
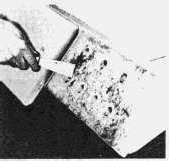
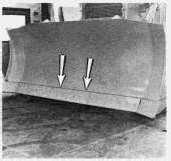
1.Raiseandblockbladebeforechangingcuttingedgeorendbits.
2.Removebolts.
3.Removecuttingedgeorbit.Cleancontactsurfaces.
4.Useoppositecuttingedgeifnotworn.Usenewsectionifbothedgesareworn.
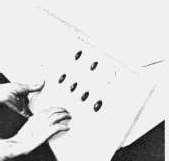
5.Usenewendbits.
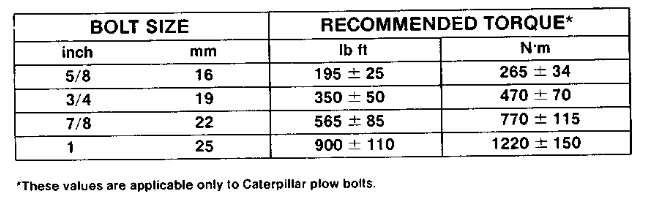
6.Installboltsandtightentospecifiedtorque.(SeePLOWBOLTTORQUECHART).
7.Afterafewhoursofoperationretightenboltstopropertorque.
Copyright1993-2024CaterpillarInc. AllRightsReserved. PrivateNetworkForSISLicensees.
TueOct2209:56:21UTC+05302024
Product:TRACK-TYPETRACTOR
Model:D9HTRACK-TYPETRACTOR90V
Configuration:D9HTRACTOR90V00001-UP(MACHINE)POWEREDBYD353ENGINE
OperationandMaintenanceManual D9HTRACTOR MediaNumber-SEBU5229-02PublicationDate-01/02/1978DateUpdated-11/10/2001
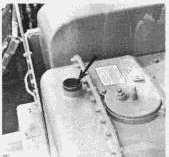
1.Positiontractoronlevelground.Lowerallequipment.Stopengineandremovefillercap.
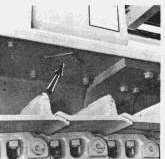
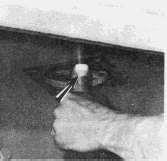
2.Removeplateunderfenderandremovedrainplug.(Inserta1inch(25.4mm)pipenipple, approximately6inches(152mm)long,intodraintorelievecheckvalve.Allowoiltodrain.
This is the sample of the manual if you need complete manual Click Here to download