D10N TRACK-TYPE TRACTOR
S/N 2YD00001-UP
Tip; Use Bookmarks panel to navigate

Product: TRACK-TYPE TRACTOR
Model: D10N TRACK-TYPE TRACTOR 2YD
Configuration: D10N TRACK-TYPE TRACTOR 2YD00001-UP (MACHINE) POWERED BY 3412 ENGINE
Operation and Maintenance Manual
D10N TRACK-TYPE TRACTOR
Media Number -SEBU6018-03 Publication Date -01/05/1991 Date Updated -12/12/2012
After Starting the Engine
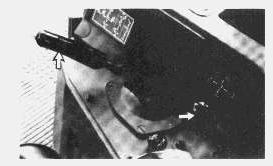
1. Allow the engine to warm up at LOW IDLE for five minutes. Engage and disengage all implement controls to help speed warm-up of hydraulic components.
2. Move the EMS test switch up. The fault alarm should sound. The fault lights should come on. The master fault light should flash.
3. Release the EMS test switch. All fault lights and the fault alarm, should go off. If the lights do not go off, stop the engine. Have any necessary repairs made before starting again.
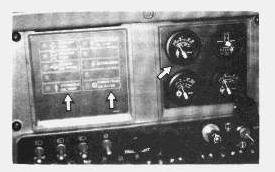
4. Look at the fault lights and gauges (if equipped) frequently during operation.
5. Look at the hydraulic oil tank and power train oil levels. Maintain the oil levels to the FULL marks.
Product: TRACK-TYPE TRACTOR
Model: D10N TRACK-TYPE TRACTOR 2YD
Configuration: D10N TRACK-TYPE TRACTOR 2YD00001-UP (MACHINE) POWERED BY 3412 ENGINE
Operation and Maintenance Manual
D10N TRACK-TYPE TRACTOR
Media Number -SEBU6018-03
Before Starting the Engine
Walk-Around Inspection
Date -01/05/1991
Updated -12/12/2012
Hot oil and components can cause personal injury. Do not allow hot oil or components to contact skin.
At operating temperature, the engine coolant is hot and under pressure.
Steam can cause personal injury.
Check the coolant level only after the engine has been stopped and the fill cap is cool enough to touch with your bare hand.
Remove the fill cap slowly to relieve pressure.
Cooling system conditioner contains alkalai. Avoid contact with the skin and eyes to prevent personal injury.
For your own safety and maximum service life of the machine, make a thorough walk-around inspection before mounting the machine to start the engine.
Look around and under the machine for such items as loose bolts, trash build-up, oil or coolant leaks, broken or worn parts. Inspect the condition of the implements and the hydraulic components.
This is the sample of the manual click on the download link for complete manual
DOWNLOAD LINK
For some reason if link does not work download this pdf and then click
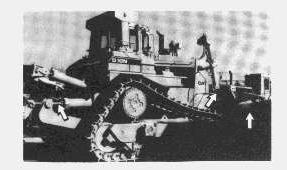
1. Inspect the implements for damage or excessive wear. Repair if damaged.
2. Inspect implement cylinders and linkage for damage or excessive wear. Repair if damaged.
3. Inspect and replace lights, broken bulbs and lenses.
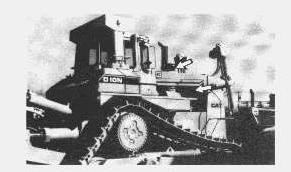
4. Remove trash build-up in and around the engine and under the floorplate. Also remove any dirt build-up on top of the crankcase guard.
5. Inspect and repair any cooling system leaks. Check the hoses, radiator fins, radiator cap and the drain area.
6. Inspect the engine precleaner screens for dirt build-up. Remove any dirt or debris.
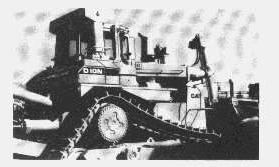
7. Inspect and repair any engine compartment leaks. Check around all seals and covers.
8. Inspect steps and handholds for condition and cleanliness. Repair or clean if necessary. Inspect the Rollover Protective Structure (ROPS) for damage. See your Caterpillar dealer for repairs if necessary.
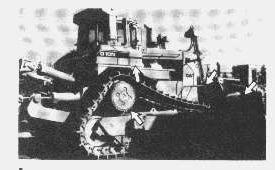
9. Inspect and repair any hydraulic system leaks. Inspect hoses, seals and around flanges.
10. Inspect and repair any final drive leaks.
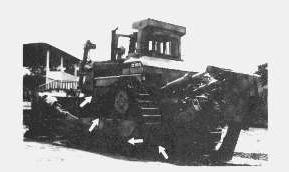
11. Be sure covers and guards are firmly in place. Inspect for damage or for loose and missing bolts.
12. Inspect and repair any transmission leaks. Check around the seals and covers. Also, check the hoses around the transmission.
13. Inspect and repair damaged and excessively worn tracks. Tighten any loose bolts and replace any that are missing.
Look for leaks between the major and minor bogies, bogie shafts and the roller frames.
If leakage exists consult your Caterpillar dealer for inspection, lubrication and, if necessary, repair instructions.
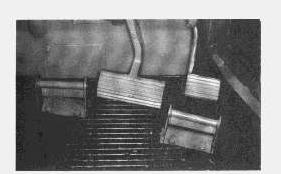
14. Inspect operator's compartment for cleanliness and remove all trash and dirt build-up.
15. Inspect and repair the instrument panel when broken gauges and lights are found.
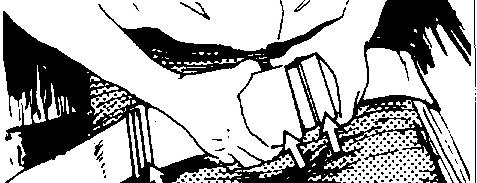
16. Inspect the seat belt and mounting for excessive wear and damage. Replace if damaged.
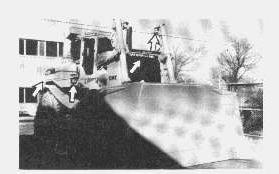
17. Make sure the horn, back-up alarm, lights, guards, shield, etc., are in proper working order.
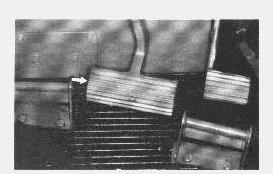
18. Brake pedal can be adjusted closer or farther from opertor's seat for comfort. See your Caterpillar dealer for adjustment procedure.
Pre-Start Checks
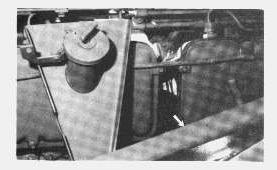
1. Maintain the engine oil level between the ADD and the FULL mark on the dipstick.
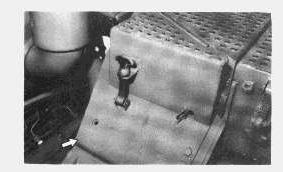
2. Open the left side access cover.
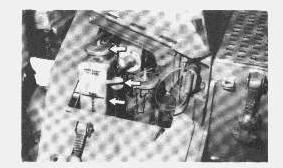
3. Maintain the power train system oil level between the ADD and the FULL marks on the dipstick.
Maintain the pivot shaft oil level between the ADD and FULL marks in the reservoir. Do not add oil above FULL mark to avoid oil overflow as oil warms. Check for leaks if frequently low. Close the cover.
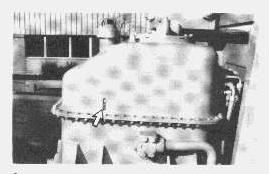
4. Maintain the hydraulic implement oil level between the ADD and the FULL mark in the sight gauge.
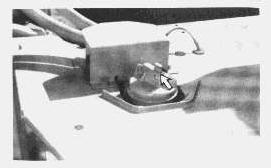
5. Remove the coolant fill cap.
6. Maintain the engine coolant above the low level plate.
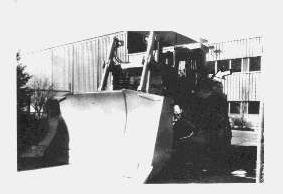
7. Remove the fuel fill cap.
8. Maintain the fuel level to the FULL mark on the dipstick.
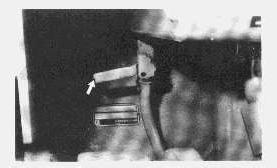
9. Open the fuel drain valves. Drain moisture and sediment, as required, from the fuel tank.
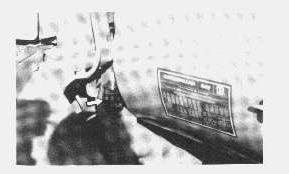
10. Service the air filter elements when the yellow piston enters the red area in the indicators.
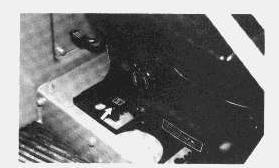
11. Adjust the seat to allow full brake pedal travel with the operator's back against seat back.
12. Adjust the mirror to allow proper viewing from the seat to see close behind the machine.
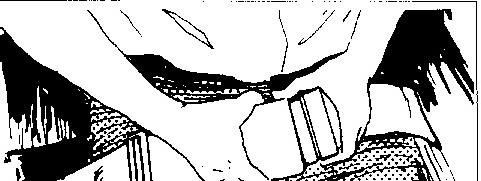
13. Adjust the seat belt to fit snug.
Copyright 1993 - 2024 Caterpillar Inc.
All Rights Reserved.
Private Network For SIS Licensees. Sat Jul 6 11:59:07 UTC+0530 2024
Product: TRACK-TYPE TRACTOR
Model: D10N TRACK-TYPE TRACTOR 2YD
Configuration: D10N TRACK-TYPE TRACTOR 2YD00001-UP (MACHINE) POWERED BY 3412 ENGINE
Operation and Maintenance Manual
D10N TRACK-TYPE TRACTOR
Media Number -SEBU6018-03 Publication Date -01/05/1991 Date Updated -12/12/2012
Every 10 Service Hours or Daily
Engine Crankcase Oil
Measure the Oil Level
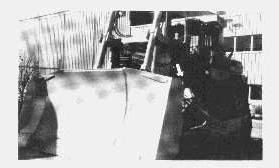
Hot oil and components can cause personal injury. Do not allow hot oil or components to contact skin. The crankcase oil level dipstick is located on the left side of the engine.
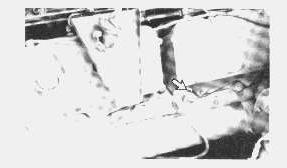
Maintain the oil between the marks on dipstick. Add oil if necessary.
Power Train Oil System
Measure the Oil Level
Hot oil and components can cause personal injury. Do not allow hot oil or components to contact skin.
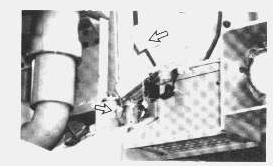
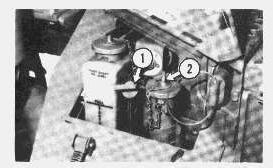
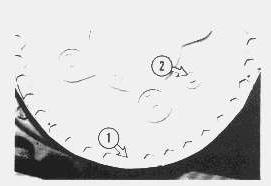
Maintain the oil between the marks on dipstick (1) at LOW IDLE. Add oil if necessary through oil fill tube (2). Remove oil fill cap for access.
Engine Cooling System
Look at the Coolant Level
At operating temperature, the engine coolant is hot and under pressure.
Steam can cause personal injury.
Check the coolant level only after the engine has been stopped and the fill cap is cool enough to touch with your bare hand.
Remove the fill cap slowly to relieve pressure.
Cooling system conditioner contains alkali. Avoid contact with the skin and eyes to prevent personal injury.
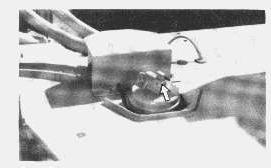
1. Remove the coolant fill cap slowly to relieve any pressure.
2. Inspect the condition of the cap gasket. Replace the cap gasket if necessary.
3. Maintain the coolant above the low level plate.
4. Install the radiator cap.
Clean Outside Of Folded Core Radiator
Pressure air can cause personal injury.
When using pressure air for cleaning, wear a protective face shield, protective clothing and protective shoes.
The maximum air pressure must be below 205 kPa (30 psi) for cleaning purposes.
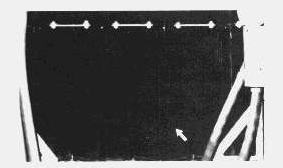
Compressed air, high pressure water or steam can be used to remove dust, leaves and general debris from a folded core radiator. Clean as required by condition of radiator.
The use of compressed air is preferred.
Refer to "Know Your Cooling System," Form SEBD0518, for the complete procedure and instructions.
Hydraulic System Oil
Look At The Oil Level
At operating temperature, the hydraulic tank is hot and under pressure. Hot oil can cause burns.
Remove the fill cap only when the engine is stopped, and the cap is cool enough to touch with your bare hand. Remove the fill cap slowly to relieve pressure.
Never remove the cap from the implement hydraulic tank if oil is hot. Air can enter system and cause pump damage.
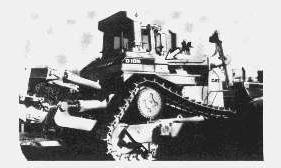
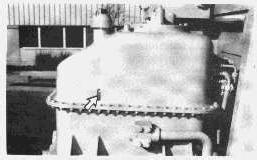
Add oil to maintain the oil level to the FULL mark in the sight gauge.
Tracks
Inspect For Proper Adjustment
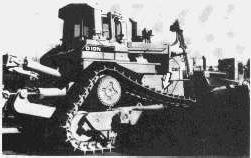
Visually inspect the tracks. Check for wear and excessive dirt buildup on track components.
If track appears to be too tight or too loose, see "Tracks" under "Every 250 Service Hours or Monthly."
Pivot Shaft
Hot oil and components can cause personal injury. Do not allow hot oil or components to contact skin.
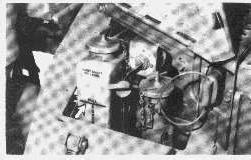
Maintain the oil within the limits of the sight gauge. Overfilling can cause hot oil to overflow the reservoir.
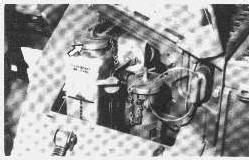
Remove the oil fill cap to add oil to the oil reservoir.
Fuel Tank
Drain the Moisture And Sediment
Fuel leaked or spilled onto hot surfaces or electrical components can cause a fire.
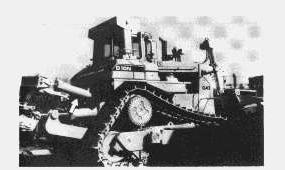
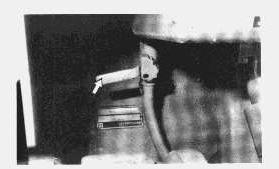
1. Open the drain valve and allow the moisture and sediment to drain into a suitable container.
2. Close the drain valve.
Walk-Around Inspection
Inspect Machine
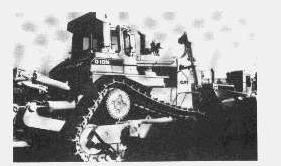
See "Walk-Around Inspection" in the "Before Starting the Engine" section.
Cleaning Windows
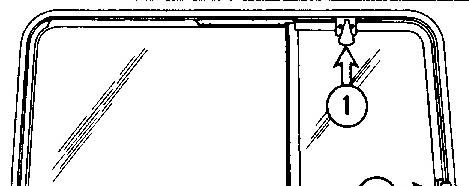
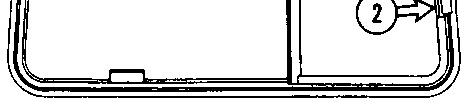
Use commercially available window cleaning solutions to clean the windows.
The rear window can be cleaned from the inside of the cab. To do this the section of the window that slides must be removed. Use the procedure that follows to remove that section of the rear window.
1. Move the handle stop to the UP position by lifting at handle (1) and rotating counterclockwise until it is vertical.
2. Move the section of the window that slides, to the opening in the upper window channel (2).
3. Tilt the top of the window toward the inside of the cab and remove it.
Electronic Monitoring System and Gauges
Test And Inspect For Broken Indicators
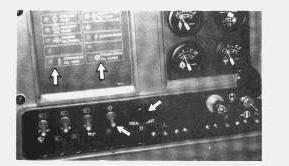
1. Allow the engine to warm up at LOW IDLE for five minutes. To help speed the warmup of hydraulic components, engage and disengage all hydraulic implement controls.
2. Push the EMS Fault Light test switch. The fault alarm should sound. The fault light and the EMS panel should FLASH, until the EMS test switch is released. If the lights or alarm did not come on, have necessary repairs made.
Fire Suppression System (If Equipped)
Check
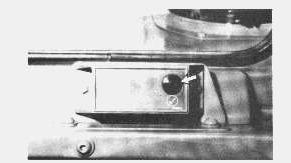
See "Fire Suppression System (If Equipped)" in front of this guide, for testing the engine shutdown system.
Seat Belt
Inspect For Wear Or Damage
Always check condition of seat belt and mounting hardware before operating machine. Replace any damaged or worn parts.
Replace the seat belt after three years of usage, regardless of appearance.
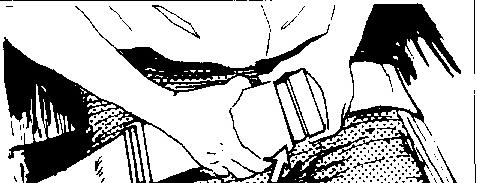
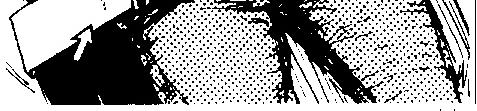
Seat belt and mounting hardware must be inspected for wear or damage. Replace the belt or mounting hardware if worn or damaged.
Winch (If Equipped)
Look at the Oil Level
Hot oil and components can cause personal injury. Do not allow hot oil or components to contact skin.
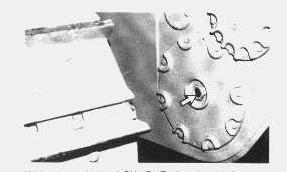
With the engine at LOW IDLE, the oil must be visible in the sight gauge.
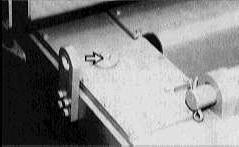
If necessary to add oil, remove the oil fill plug.
Check and repair any oil leaks around covers or hoses.
Copyright 1993 - 2024 Caterpillar Inc. All Rights Reserved. Private Network For SIS Licensees. Sat Jul 6 12:03:44 UTC+0530 2024

Product: TRACK-TYPE TRACTOR
Model: D10N TRACK-TYPE TRACTOR 2YD
Configuration: D10N TRACK-TYPE TRACTOR 2YD00001-UP (MACHINE) POWERED BY 3412 ENGINE
Operation and Maintenance Manual
D10N TRACK-TYPE TRACTOR Media Number -SEBU6018-03
Every 1000 Service Hours or 6 Months
Rollover Protective Structure (ROPS)
Retighten the Bolts
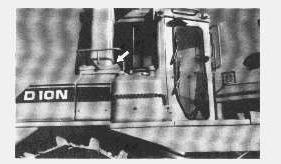
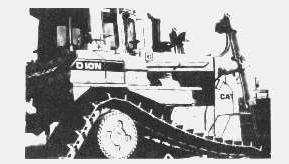
2.
3.
4.
5.
6.
7.