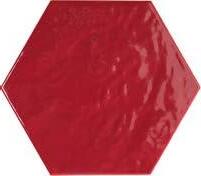
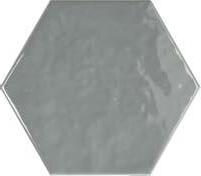
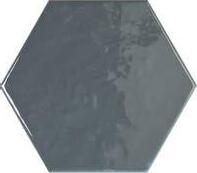
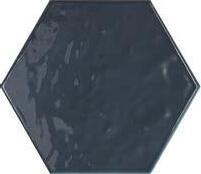
ALEA CUSTOM
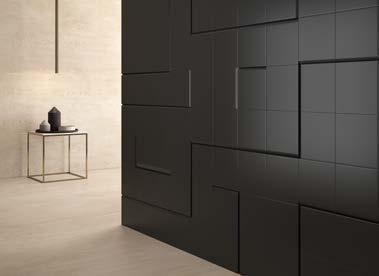
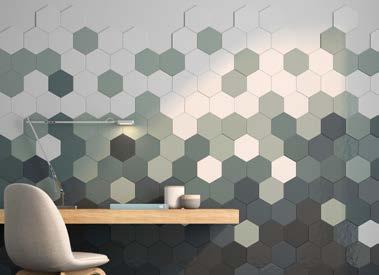
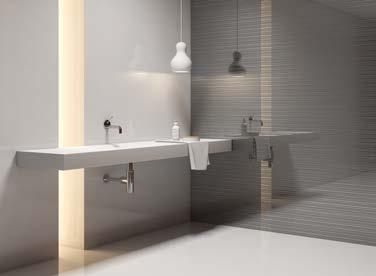
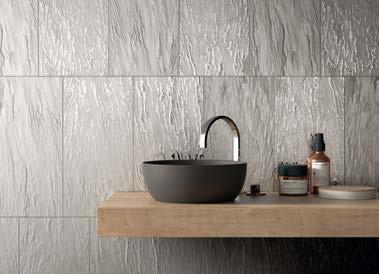
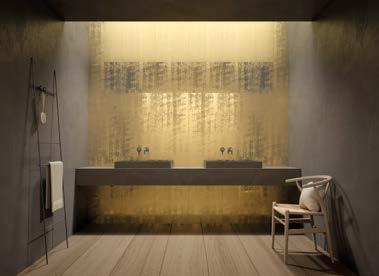
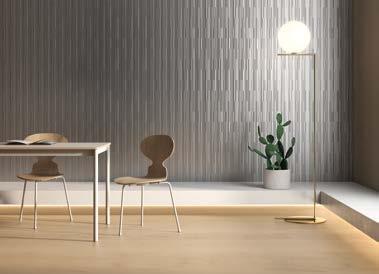
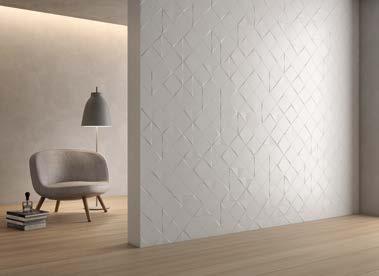
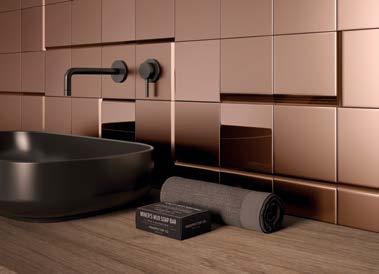
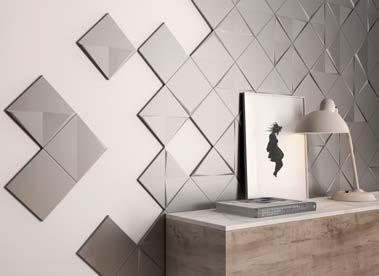
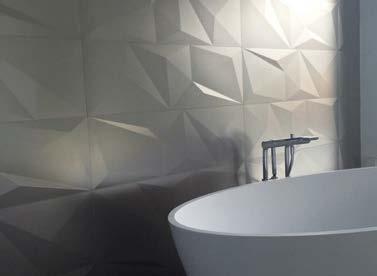
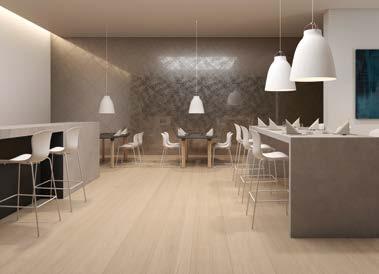
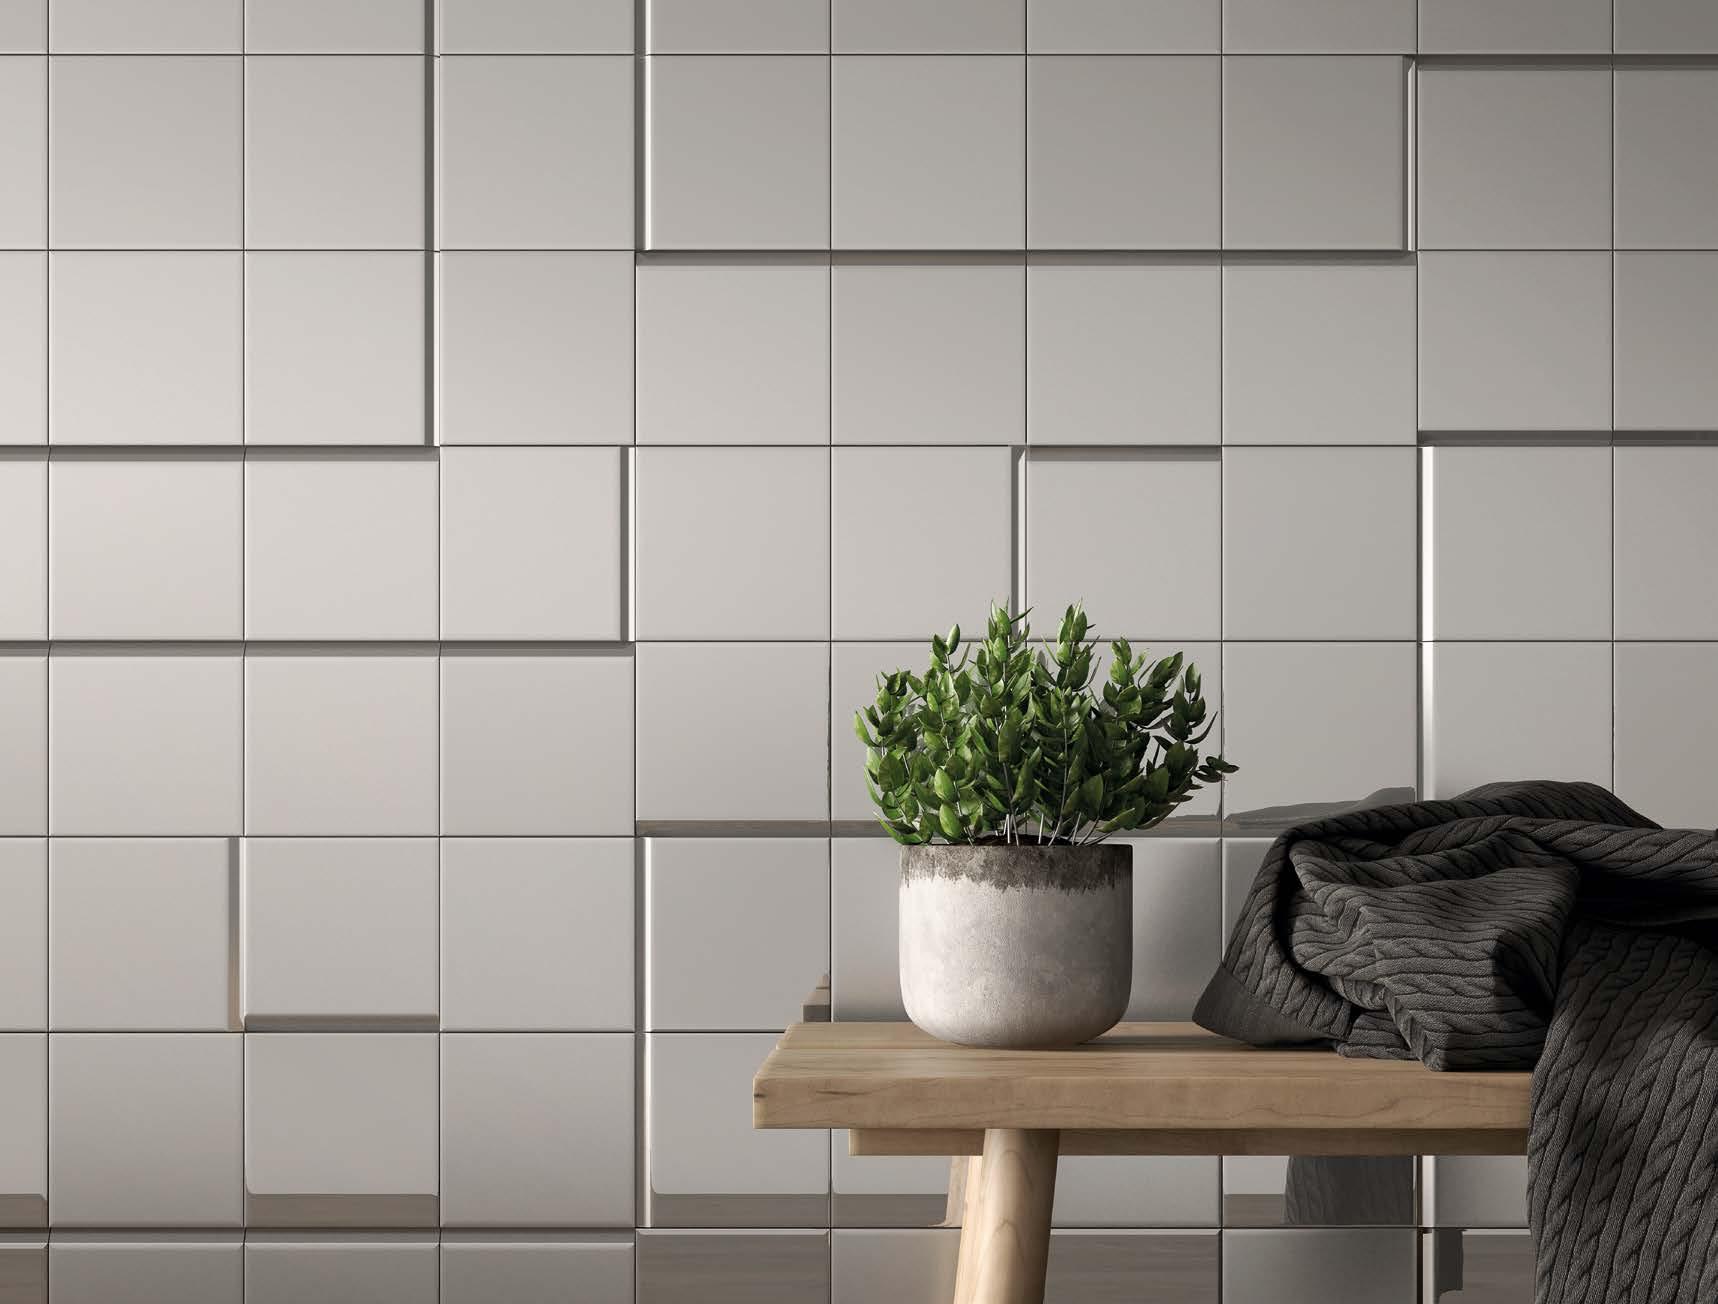
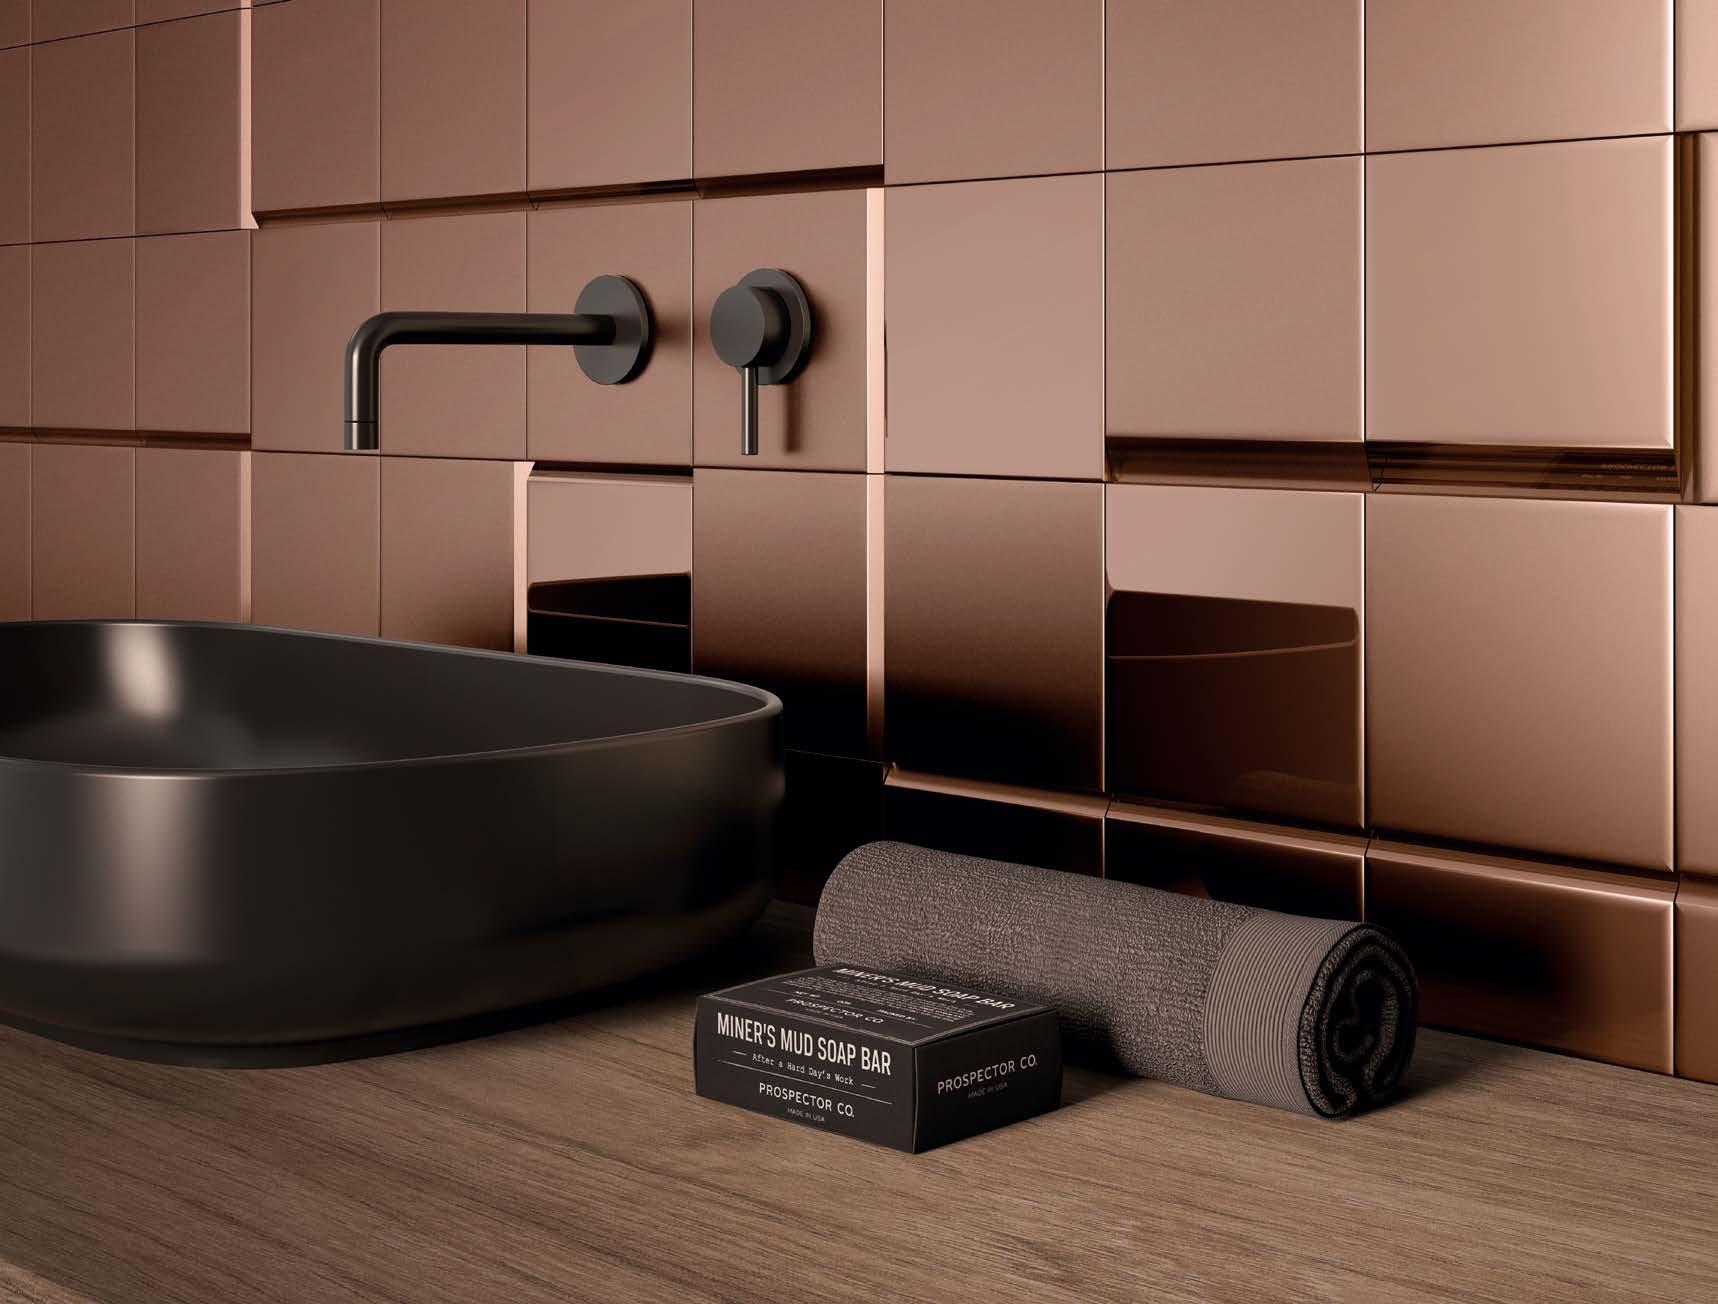
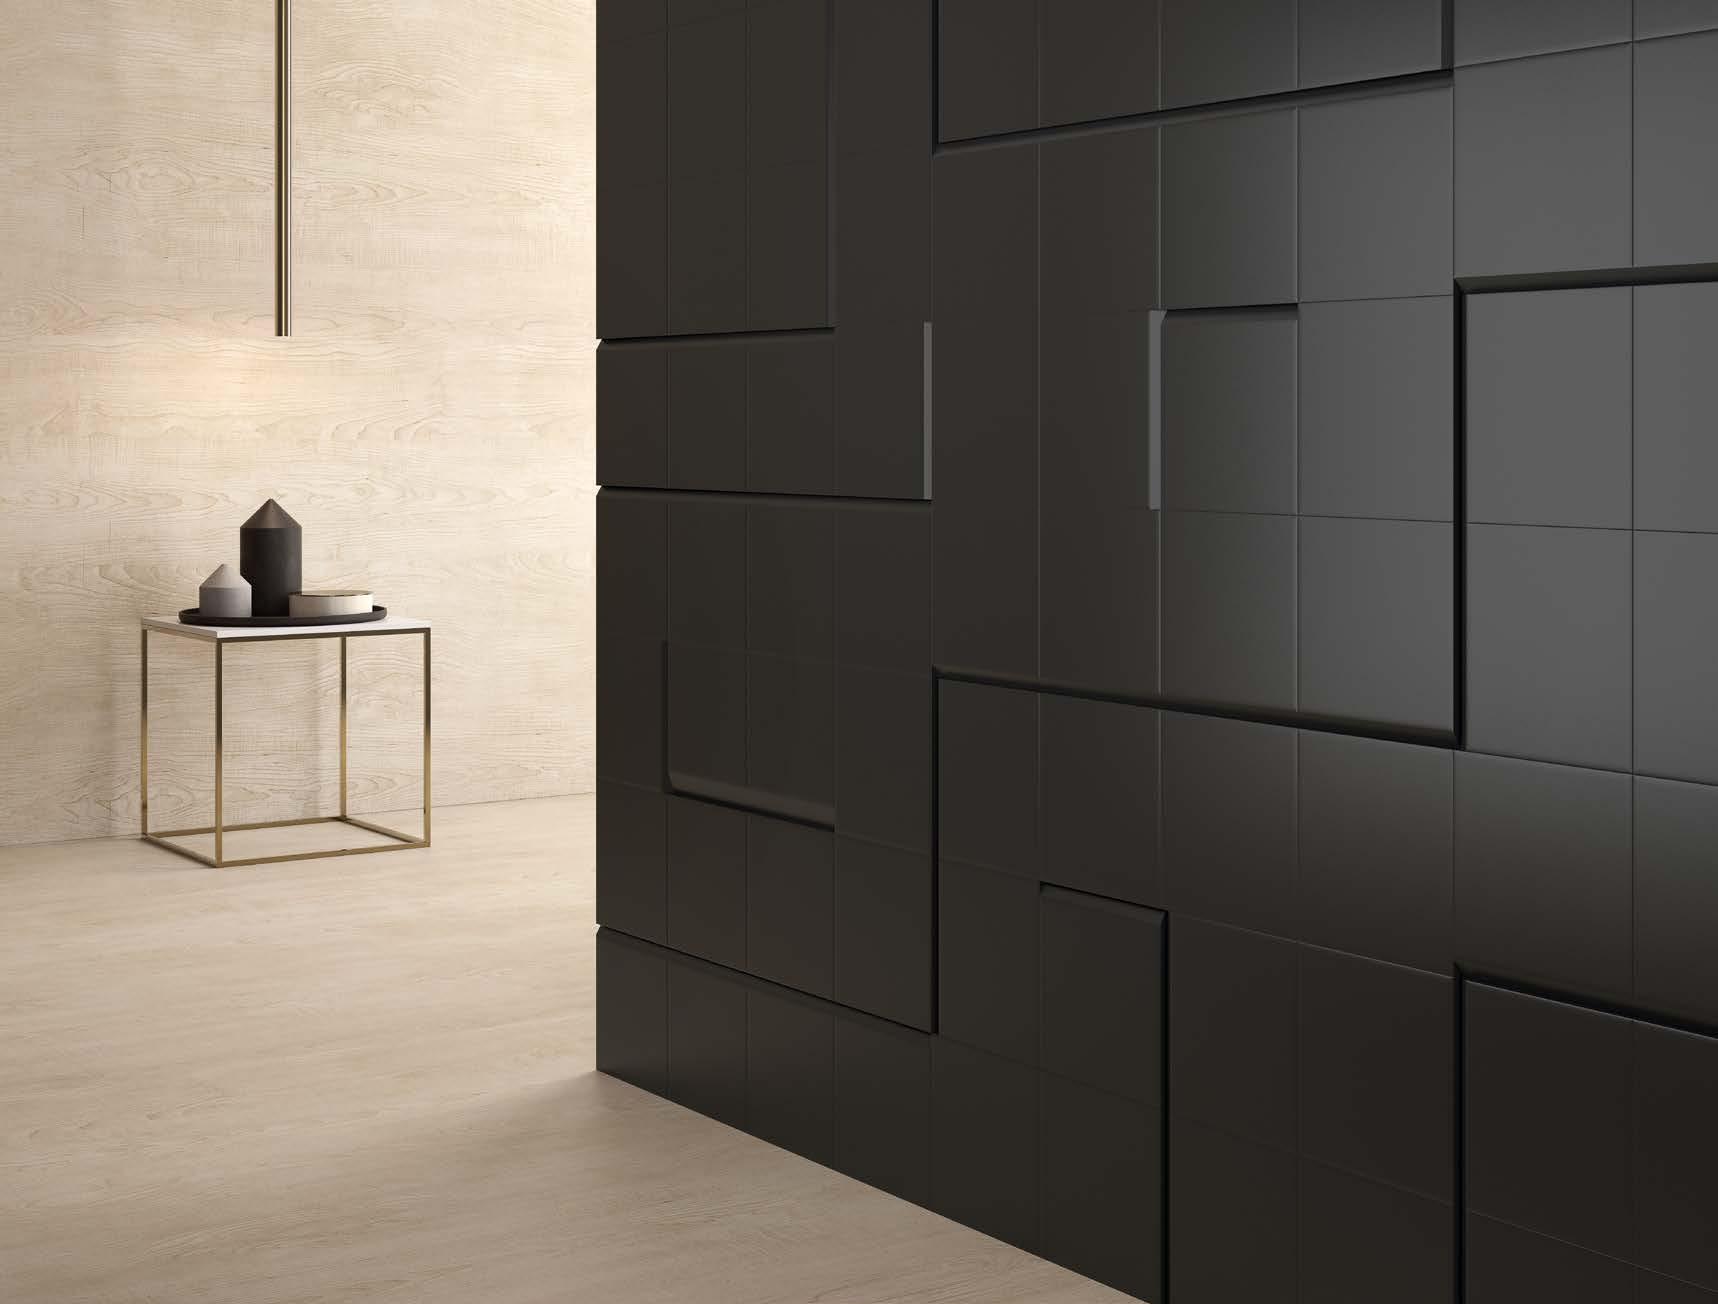
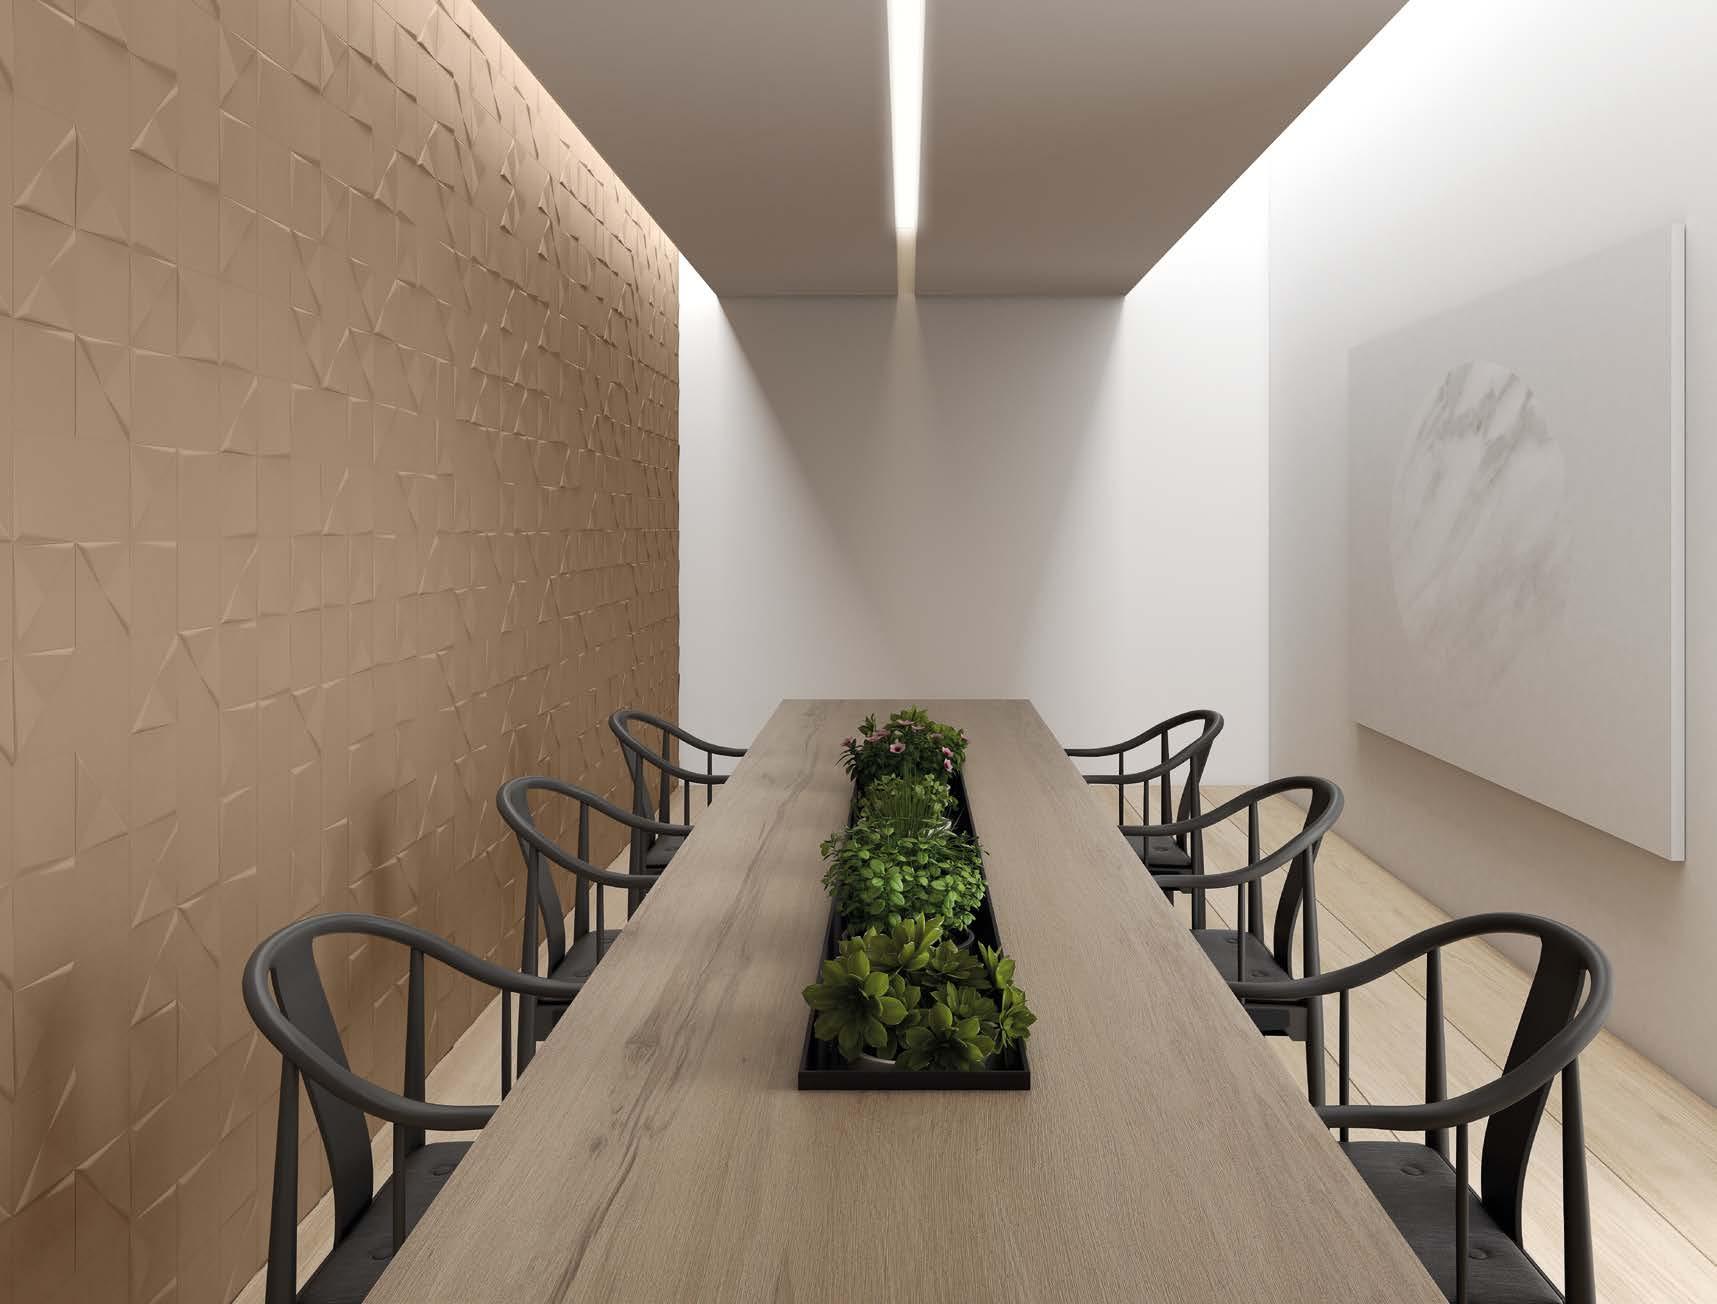
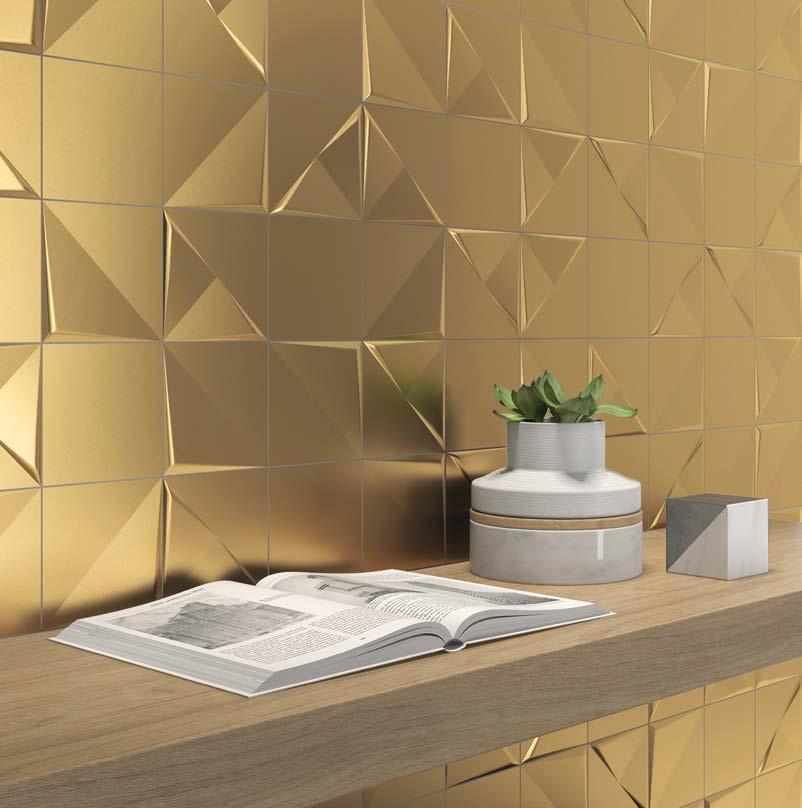
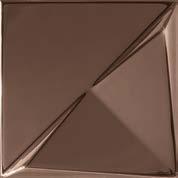
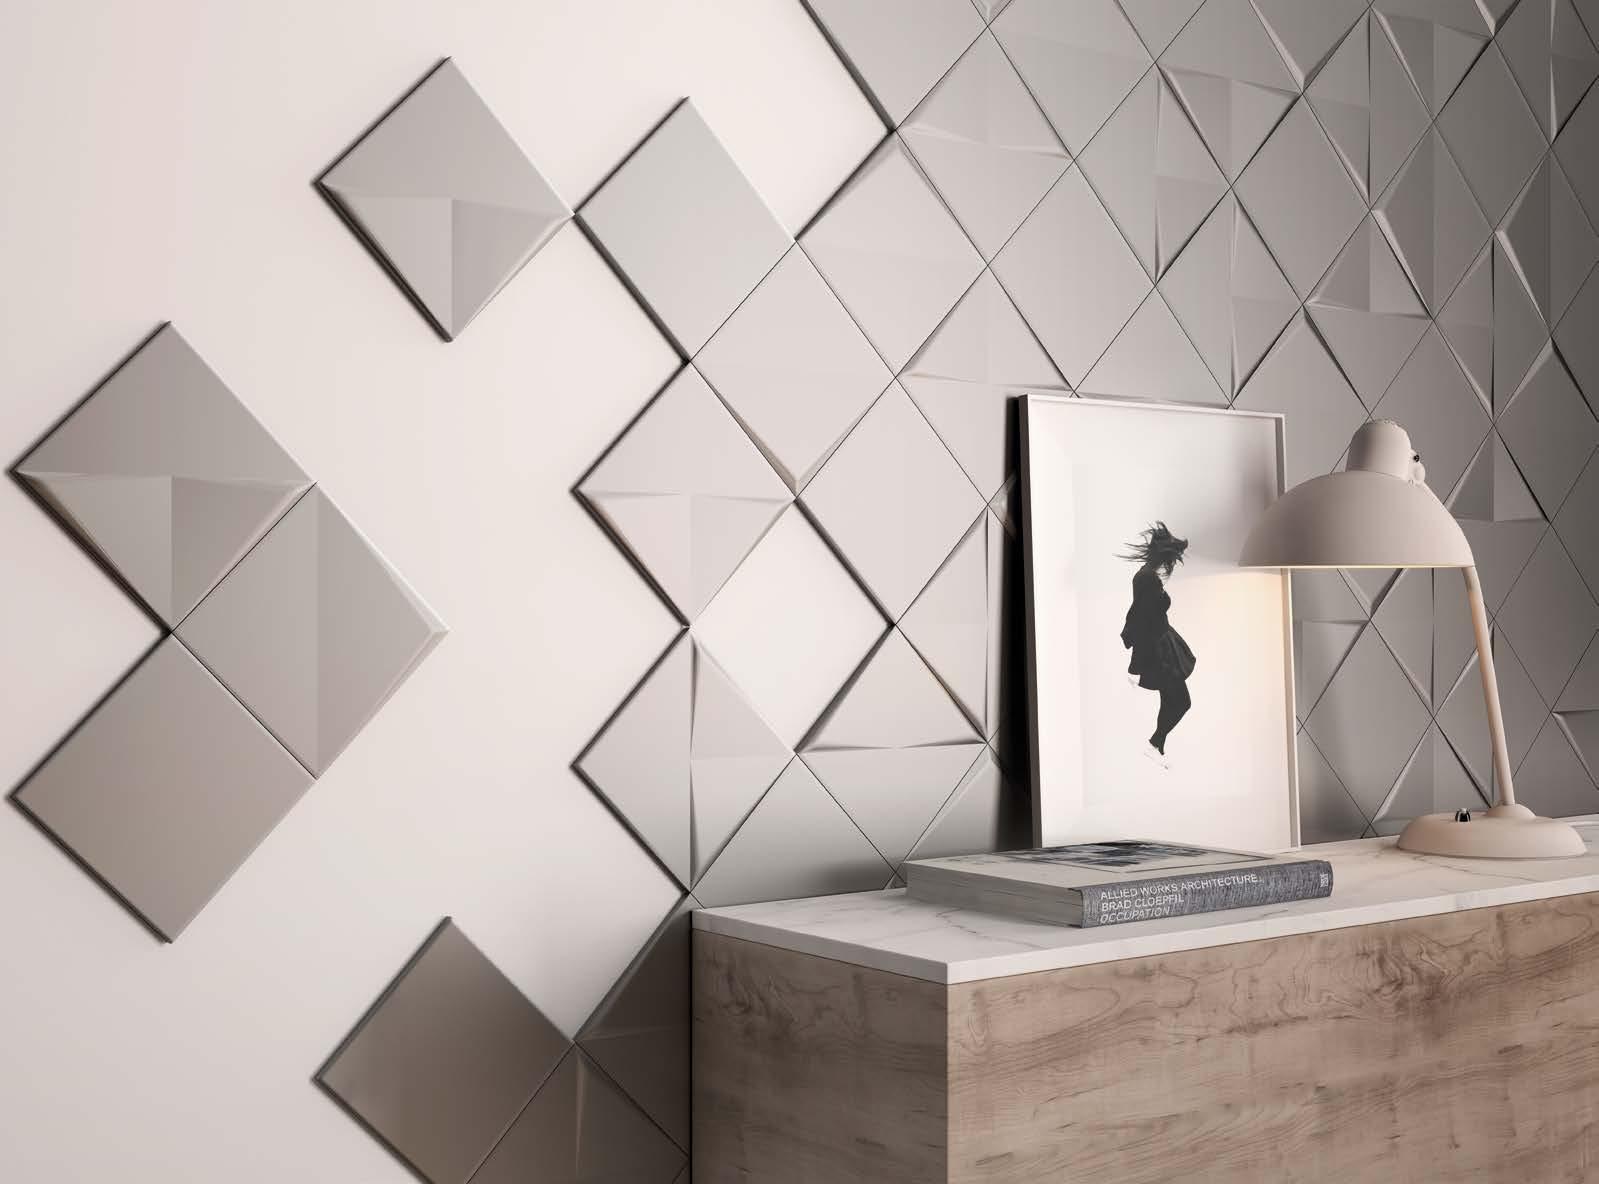
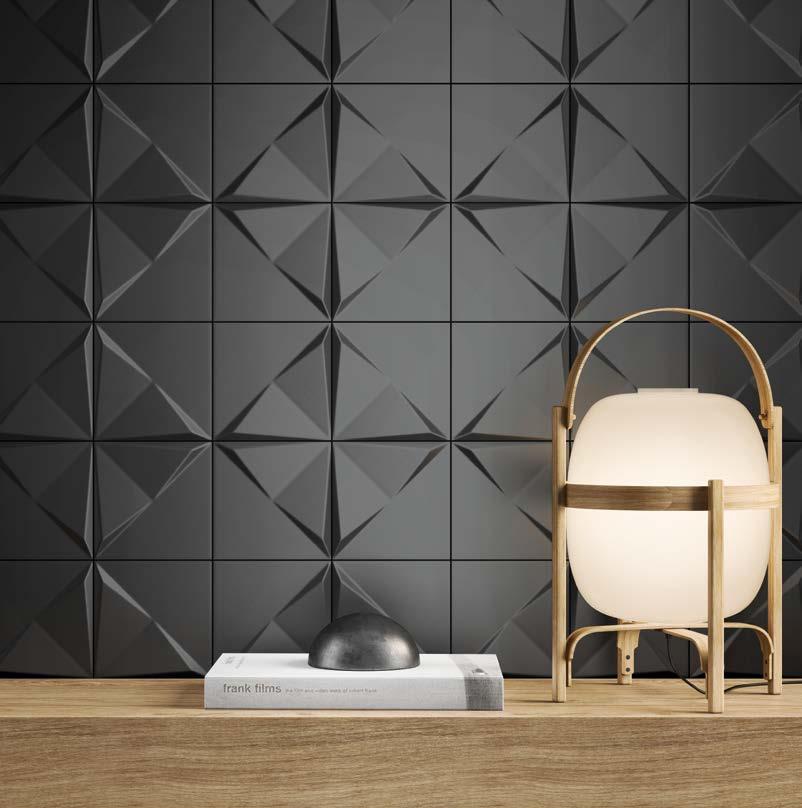
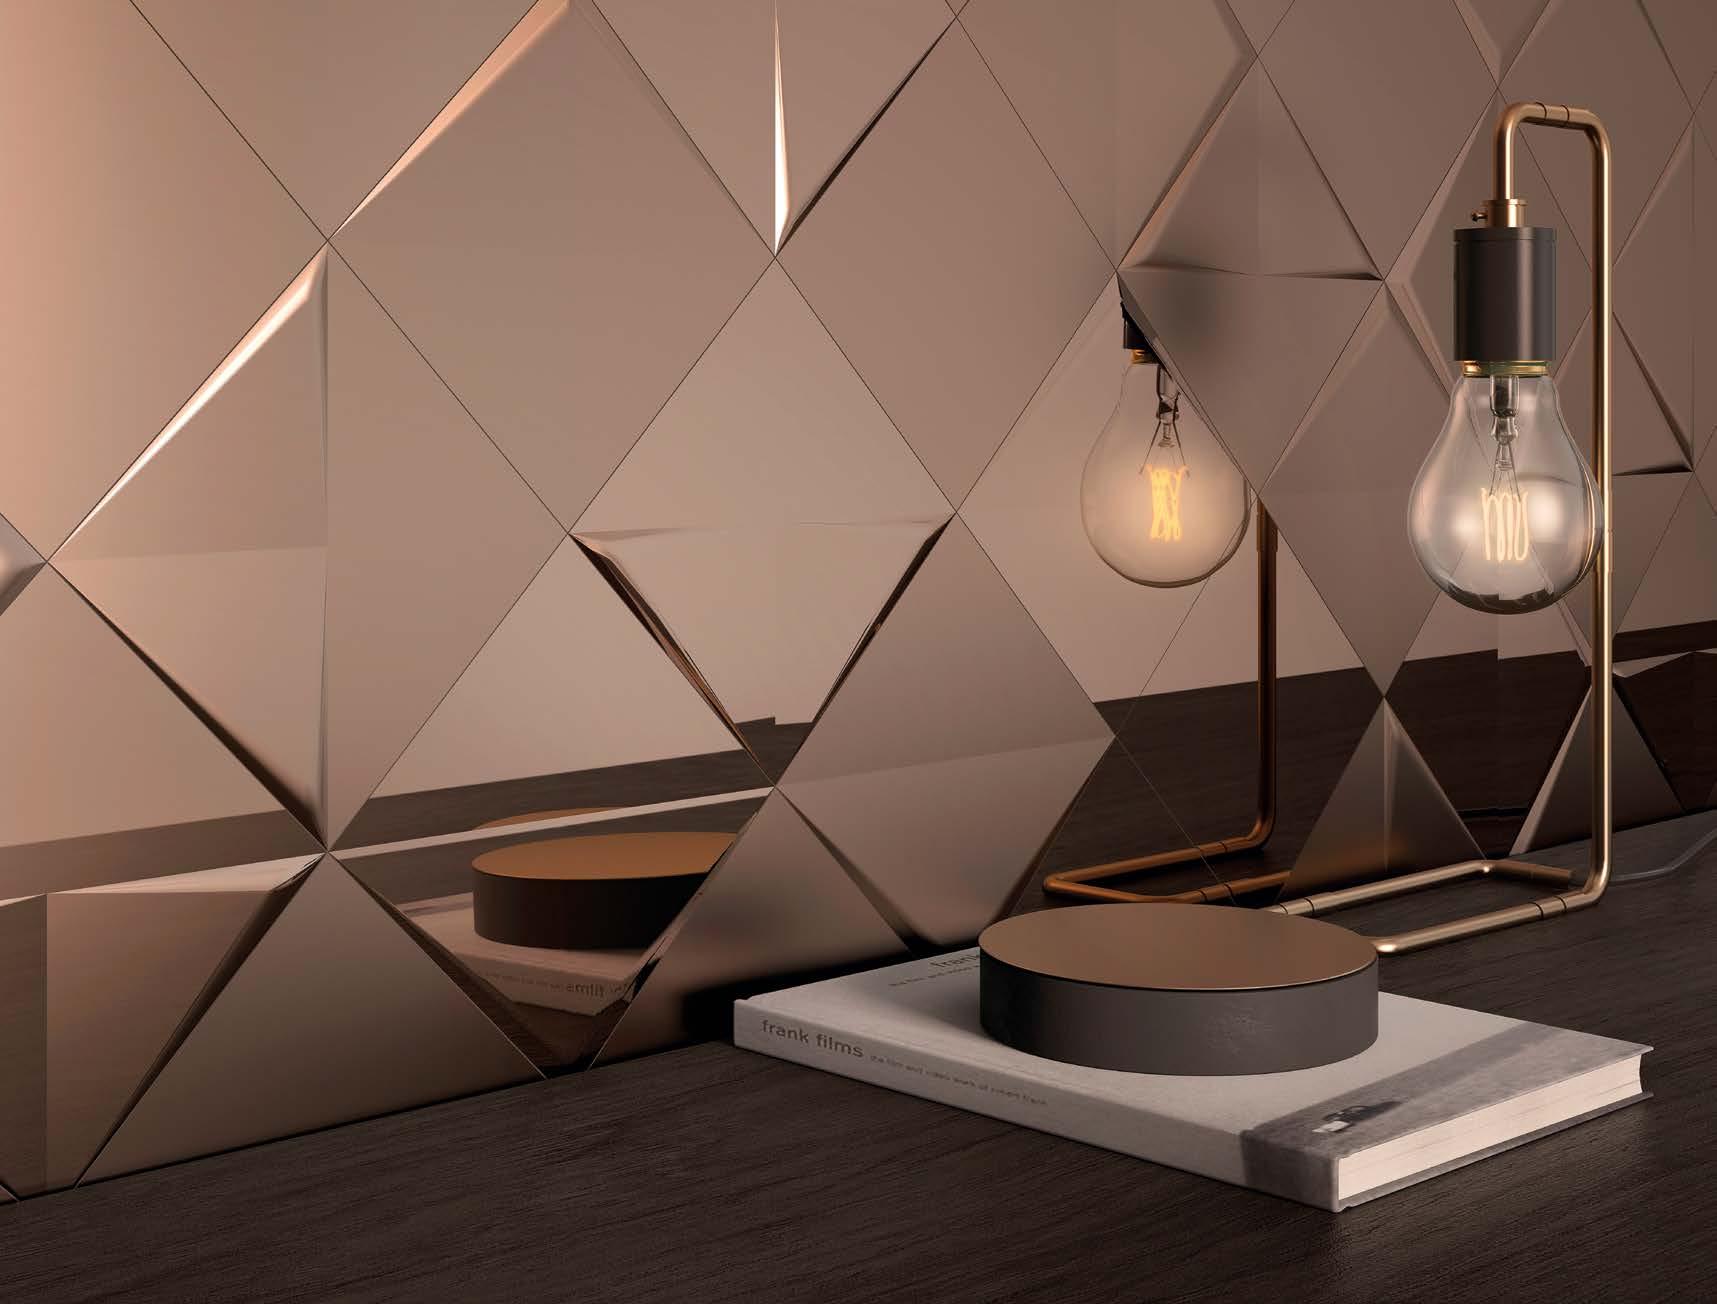
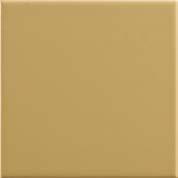
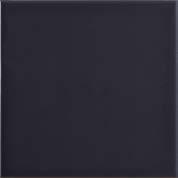
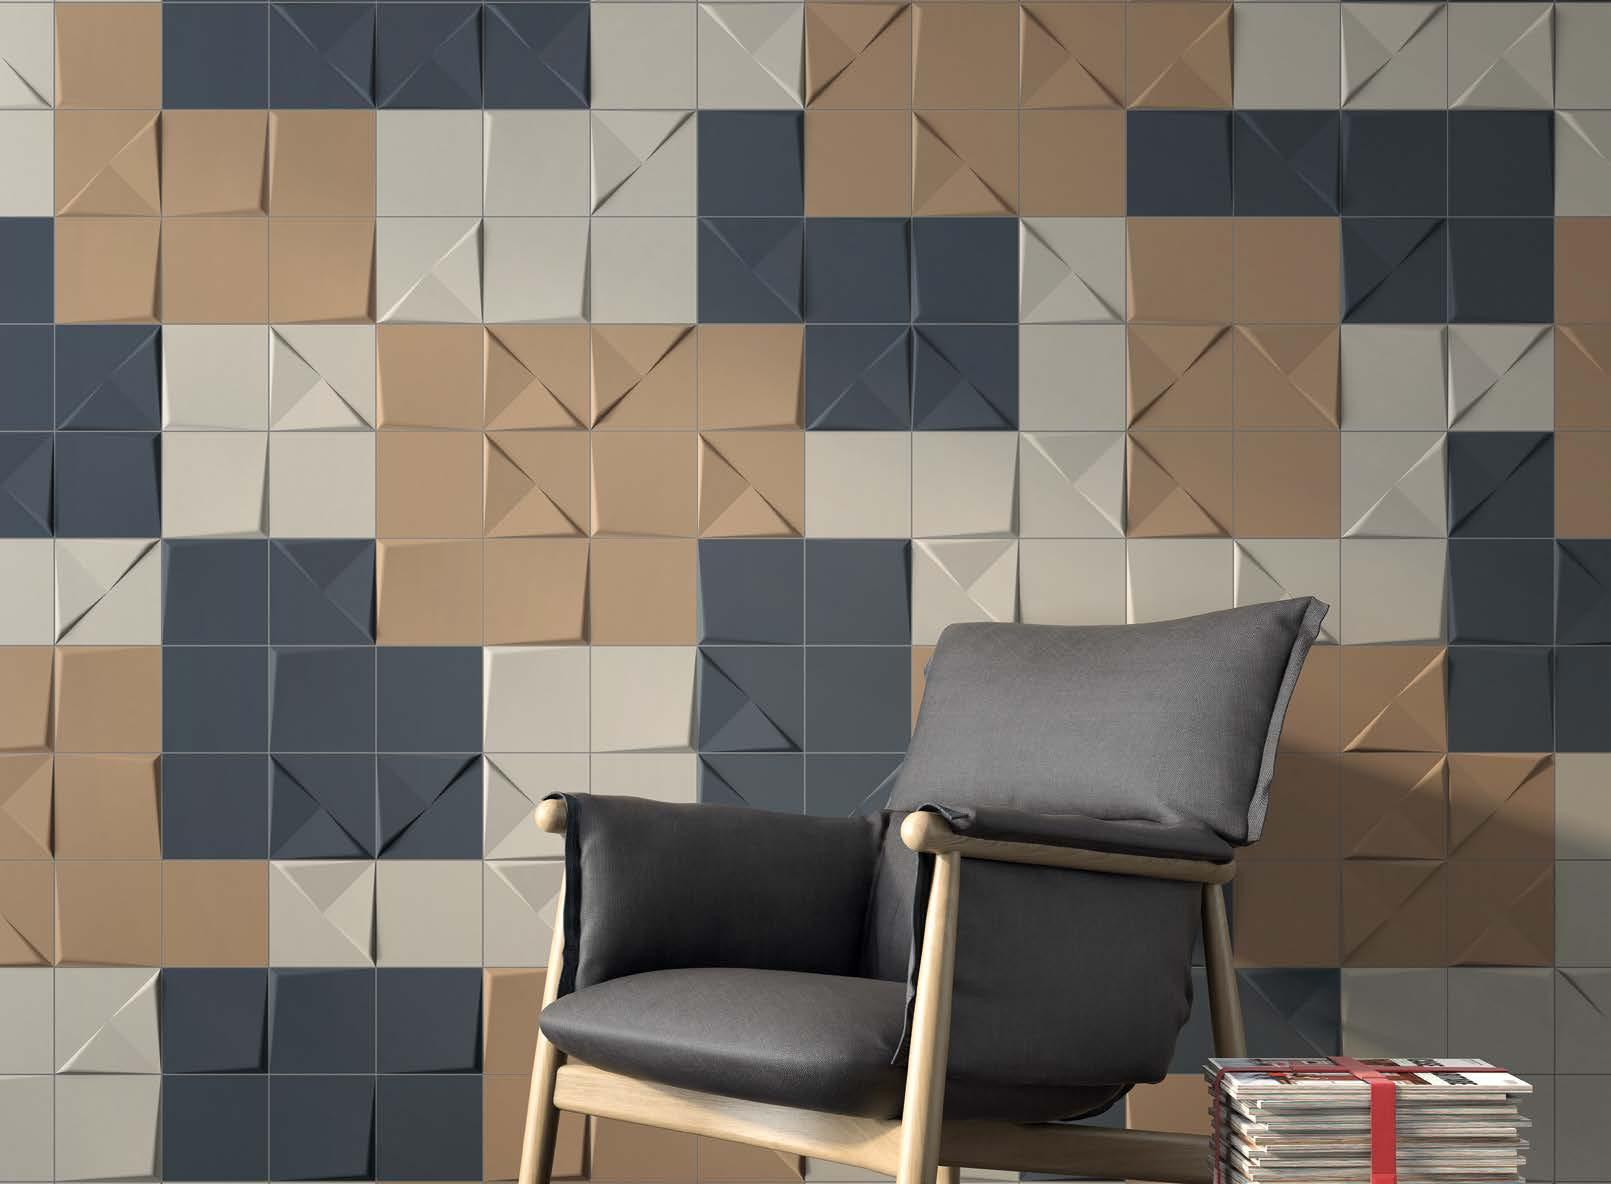
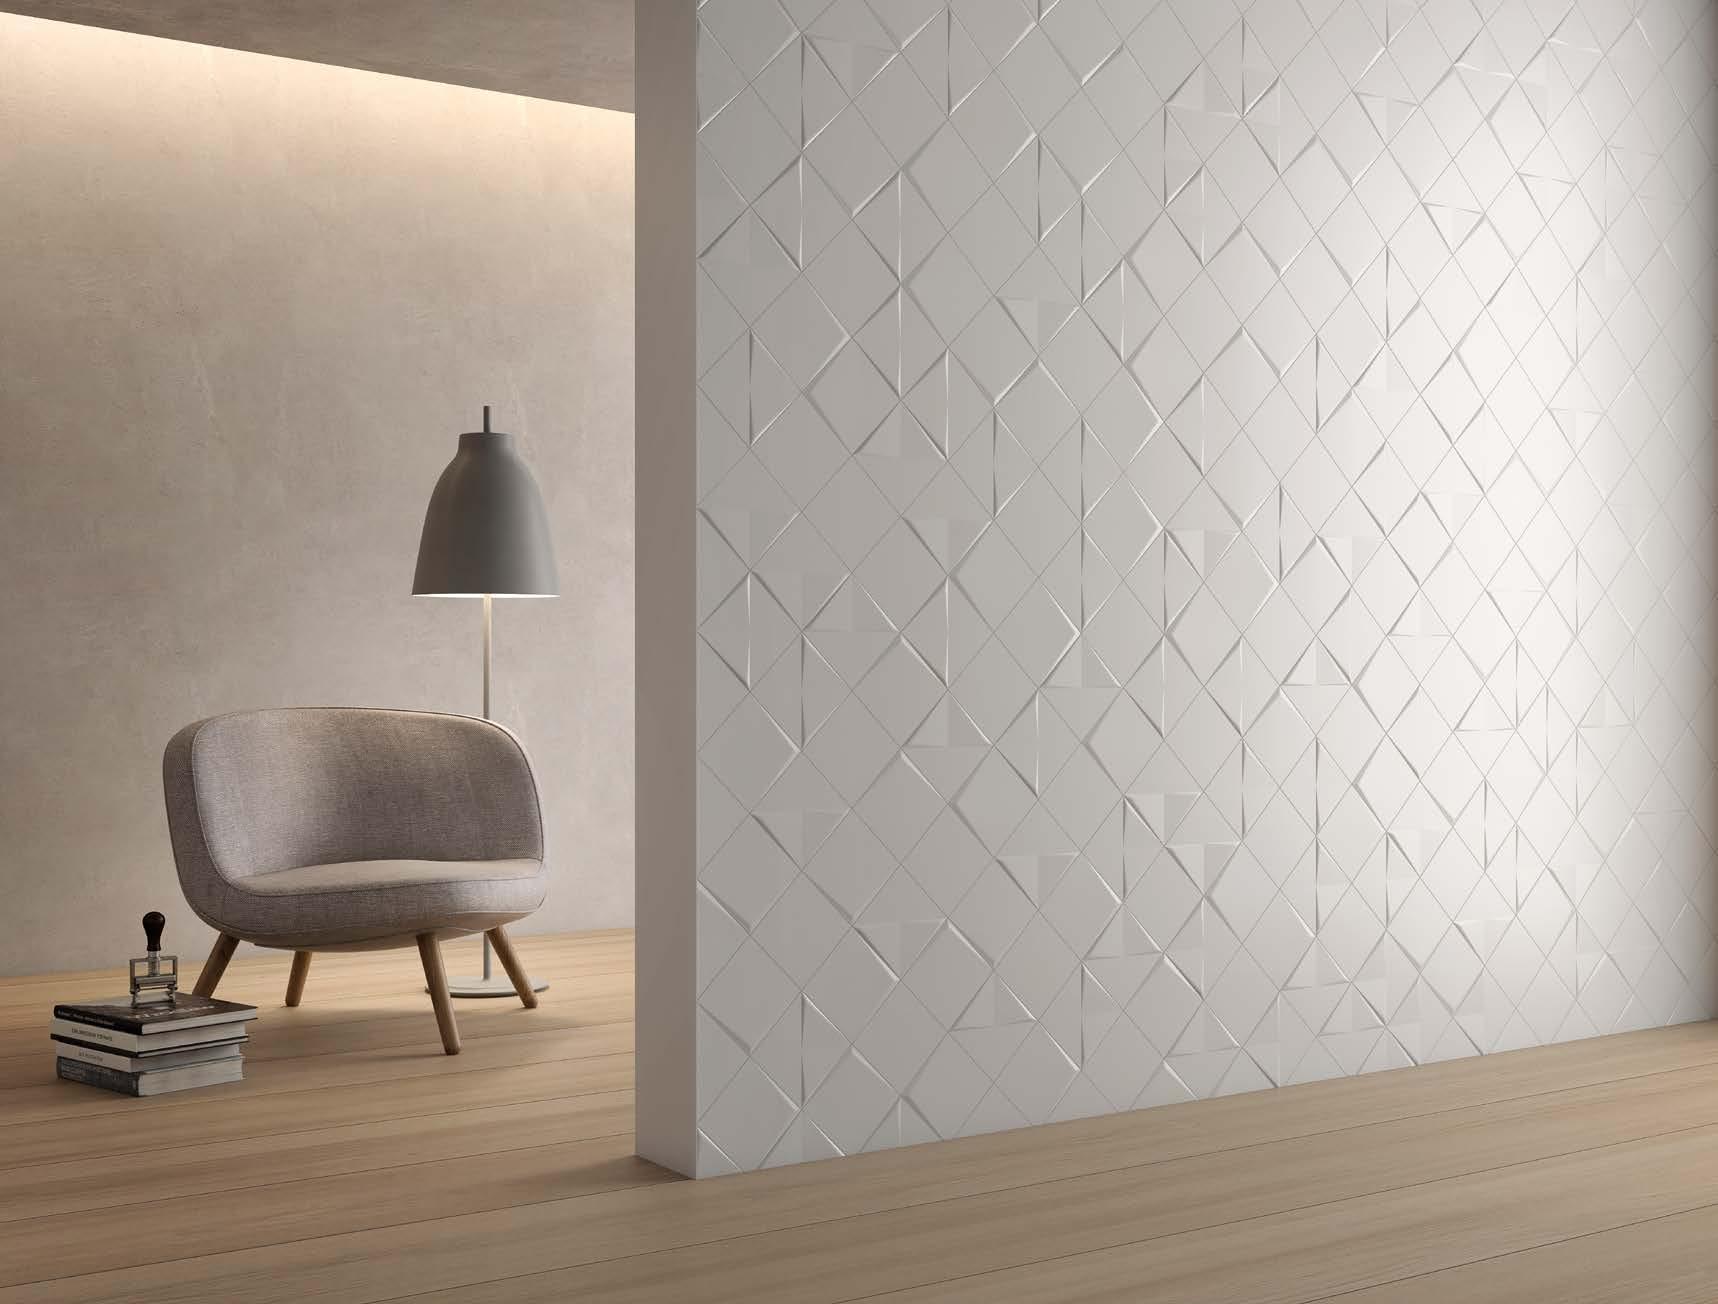
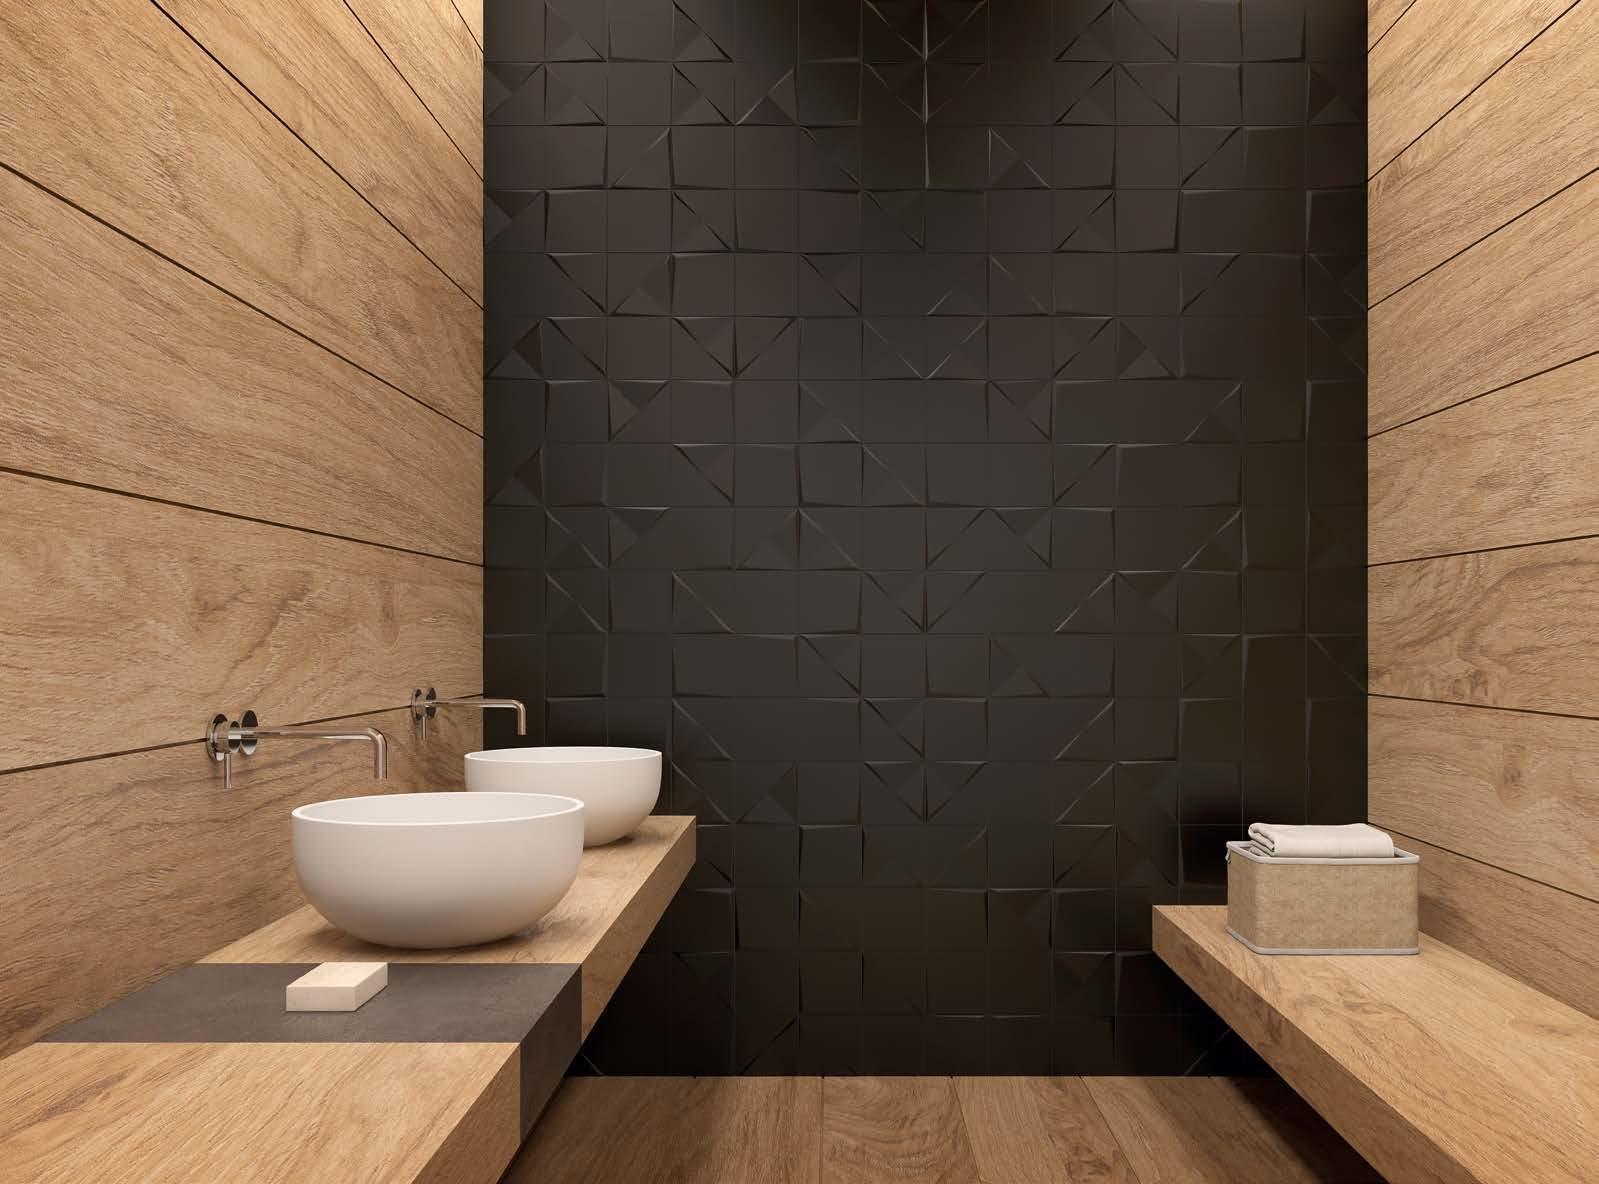
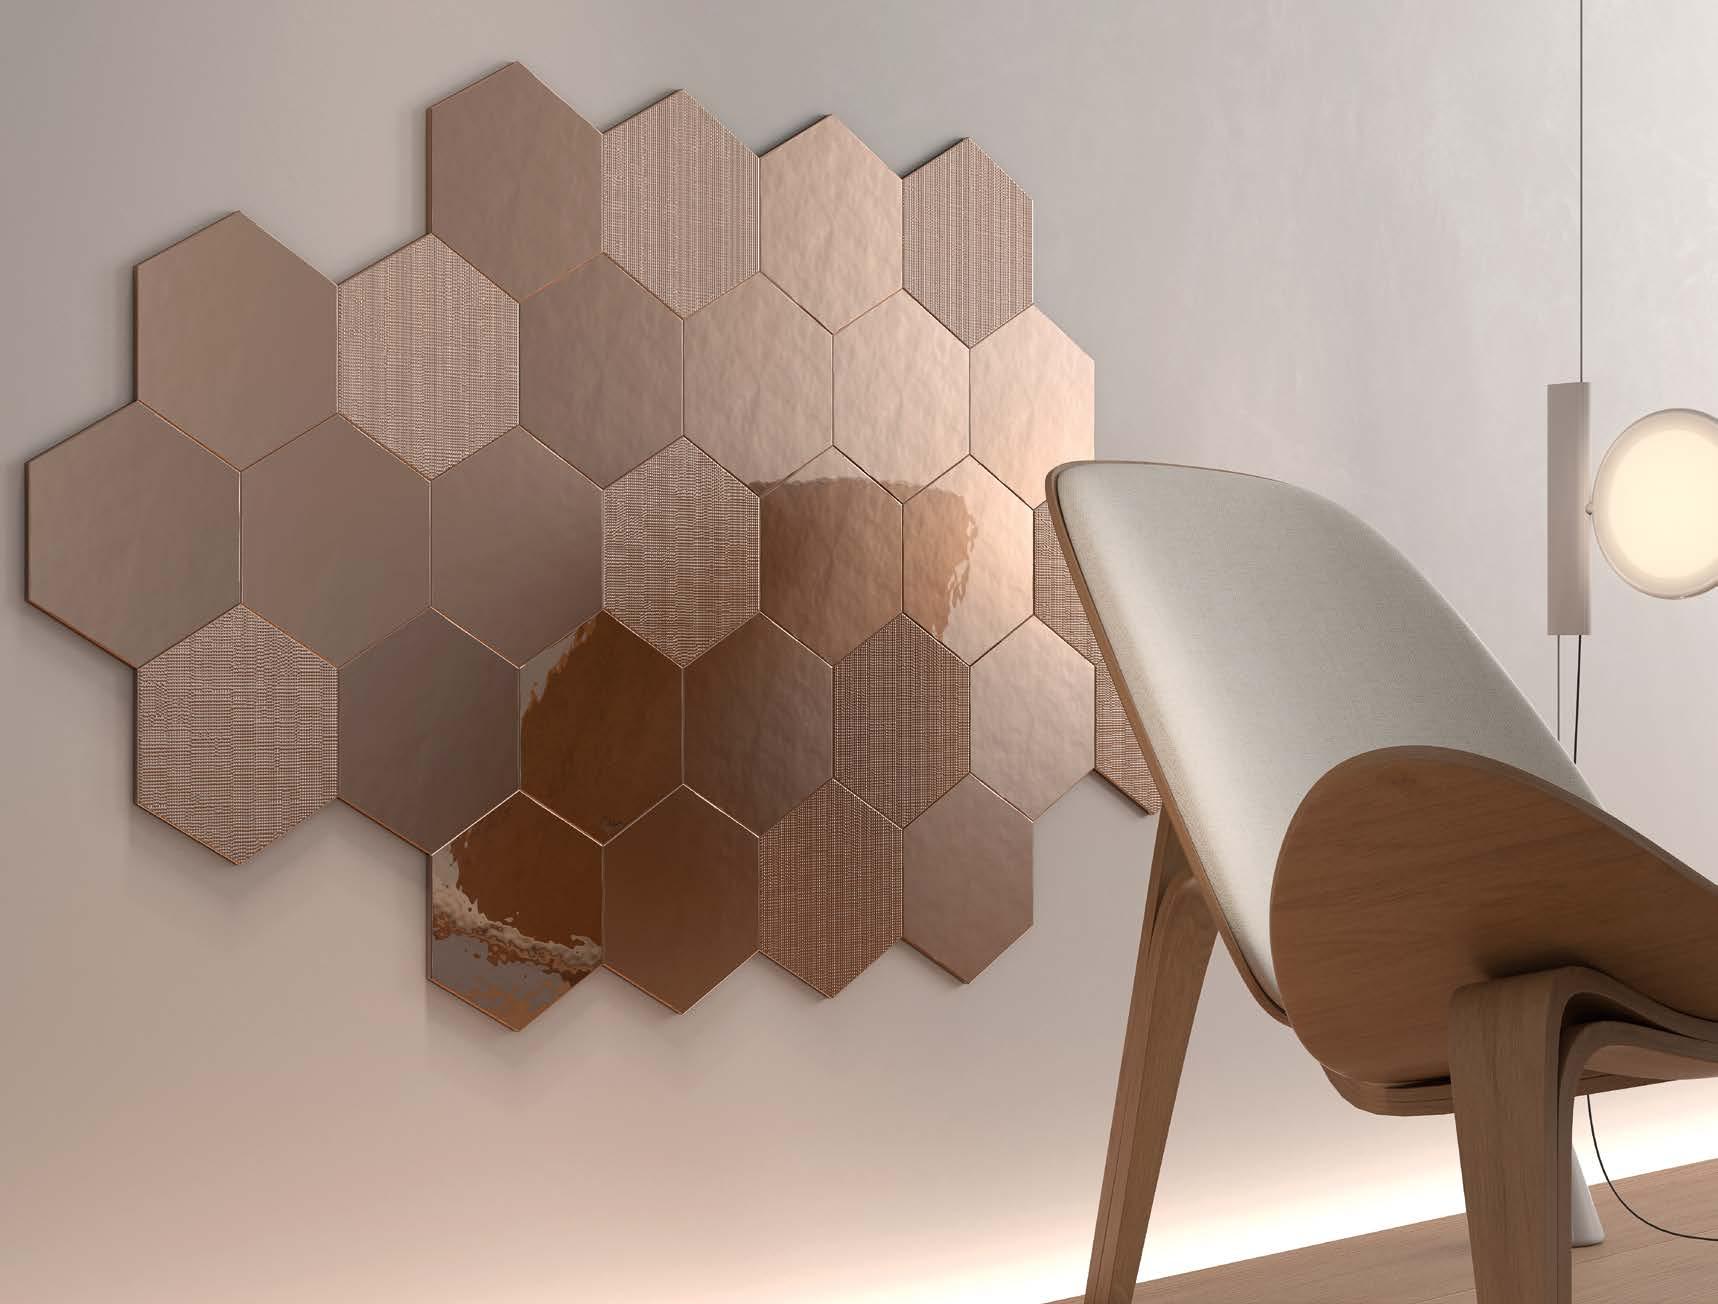
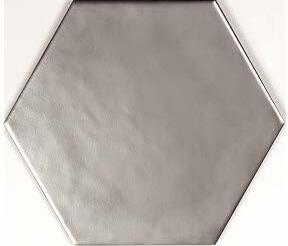
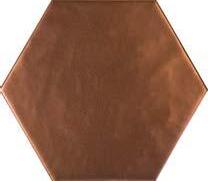
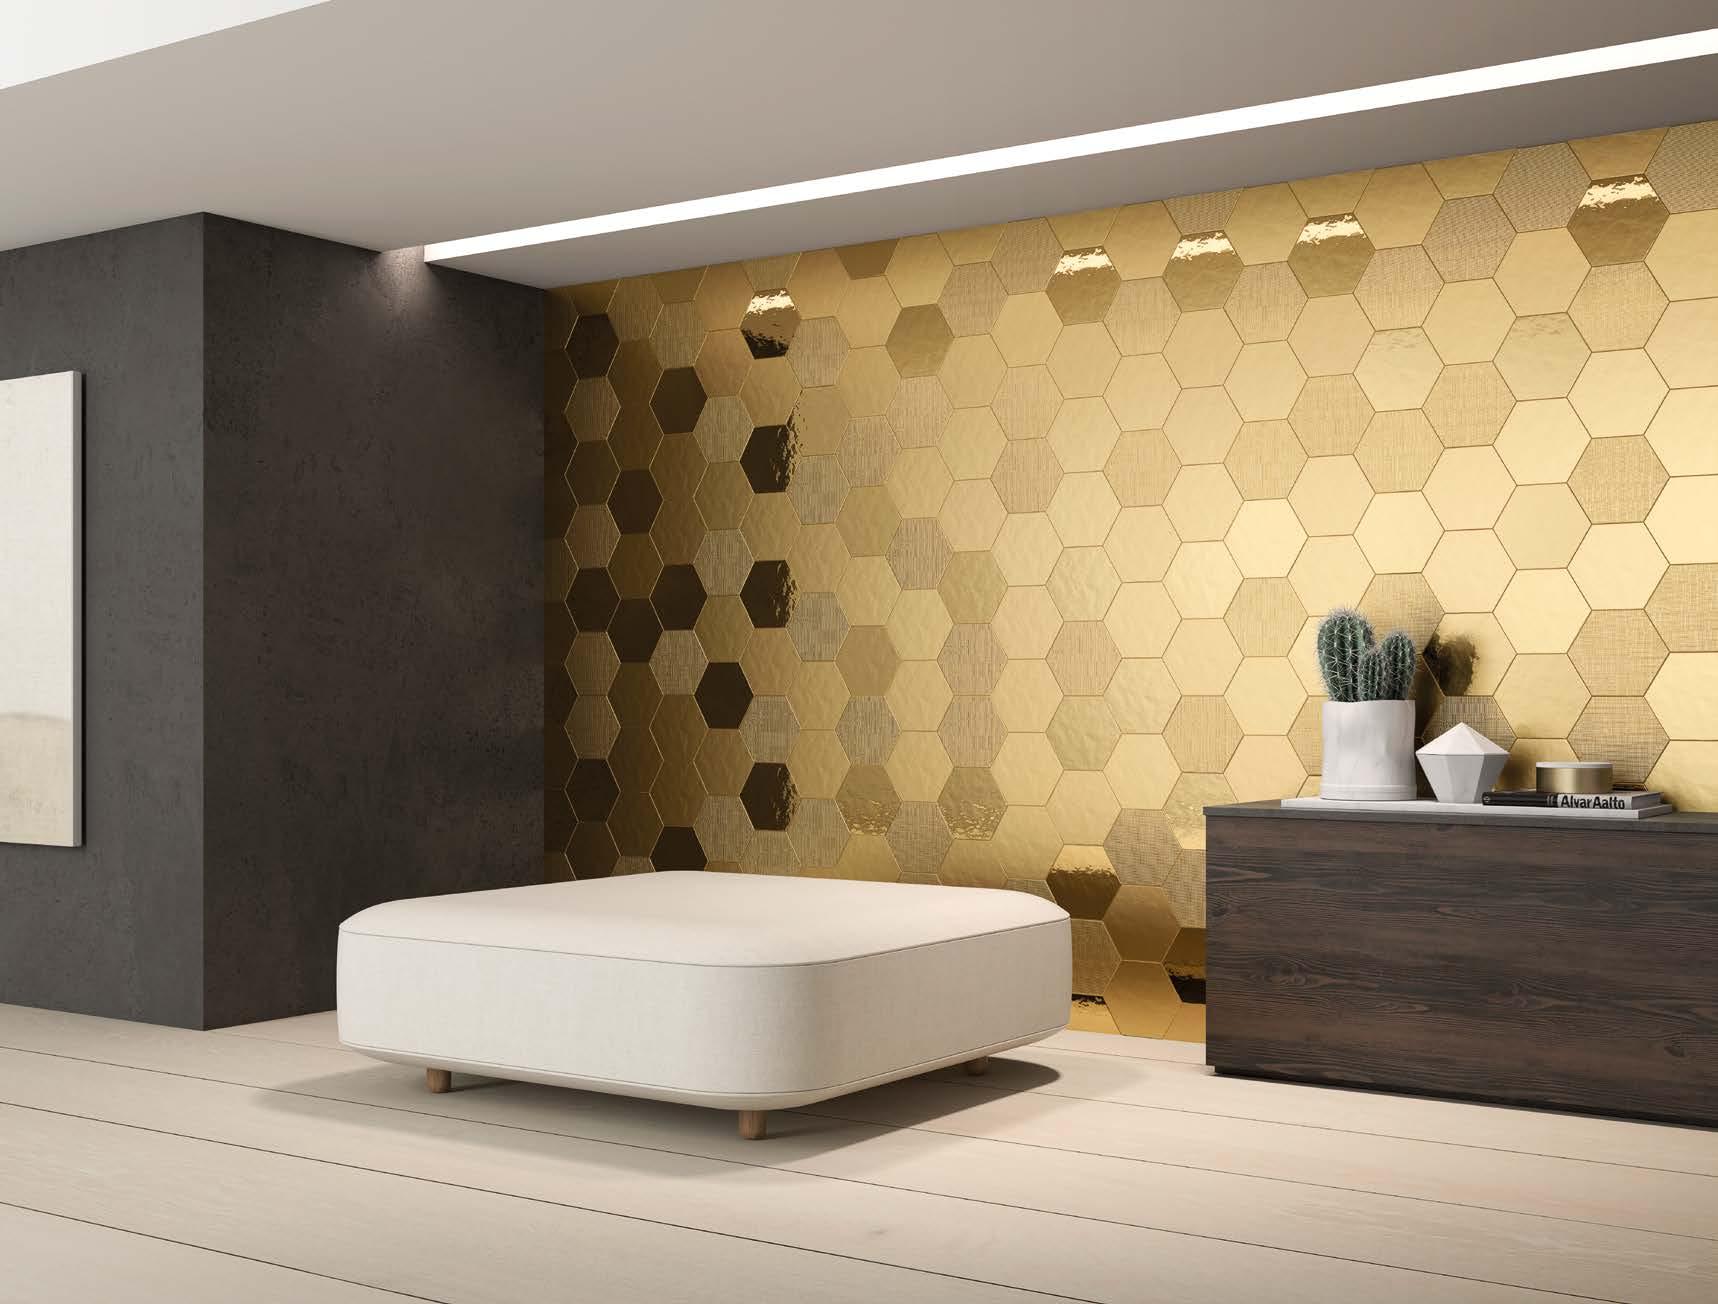
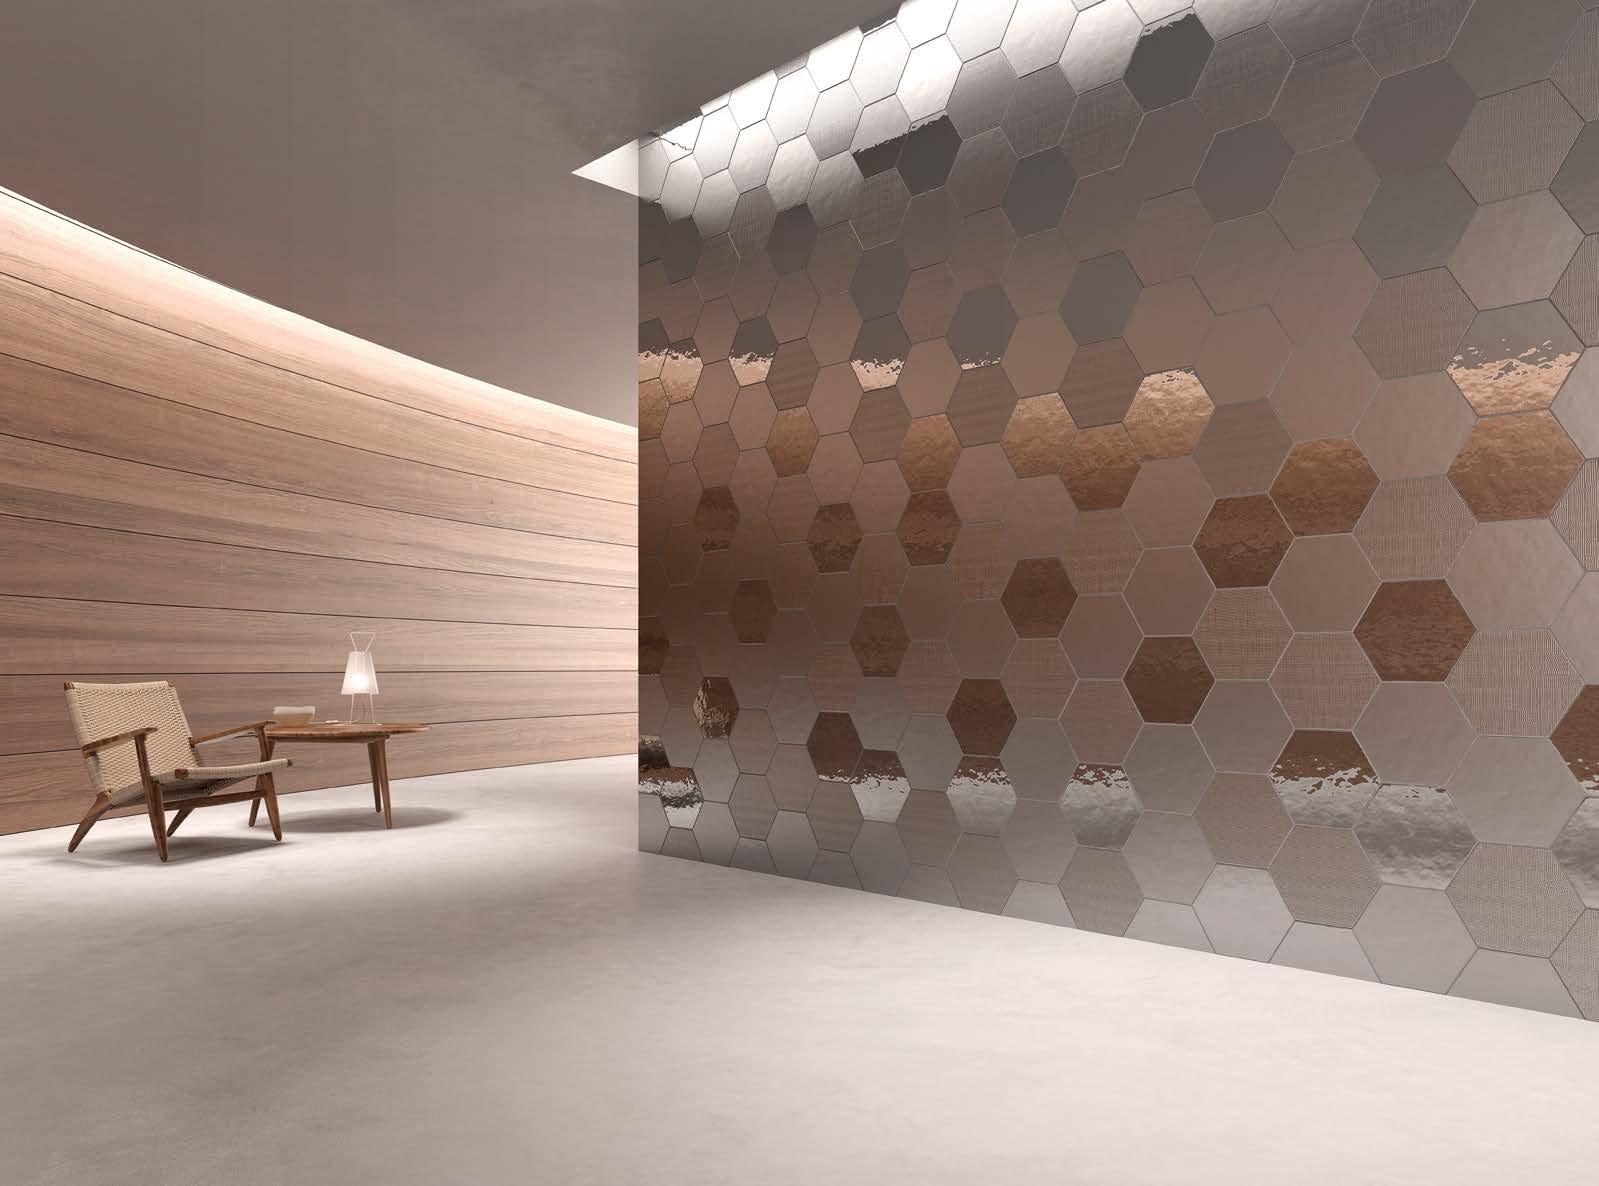
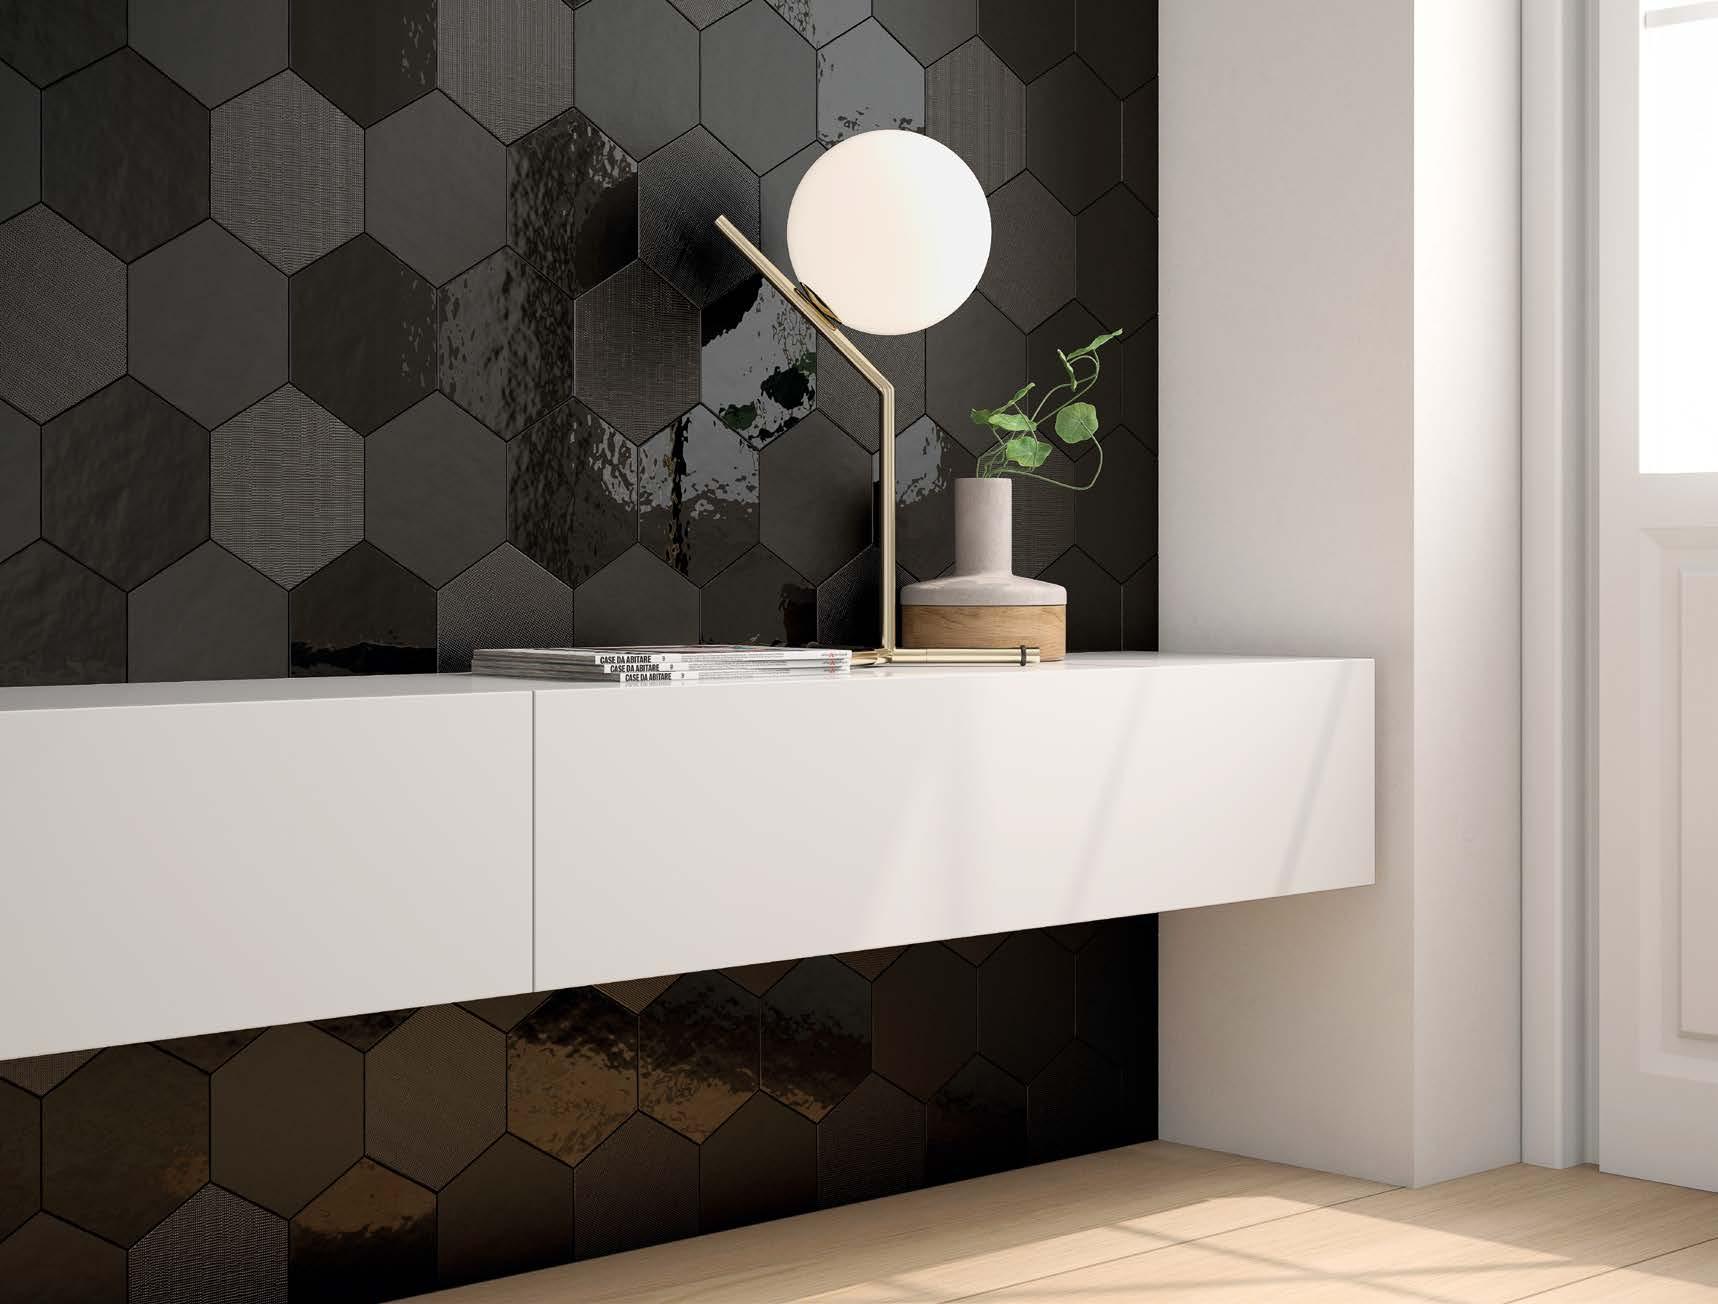
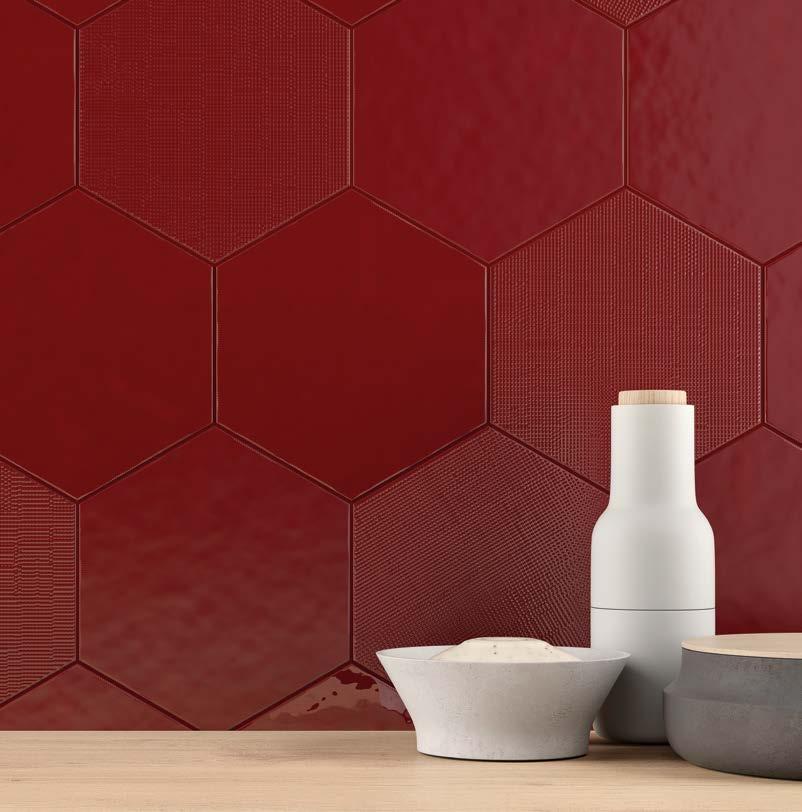
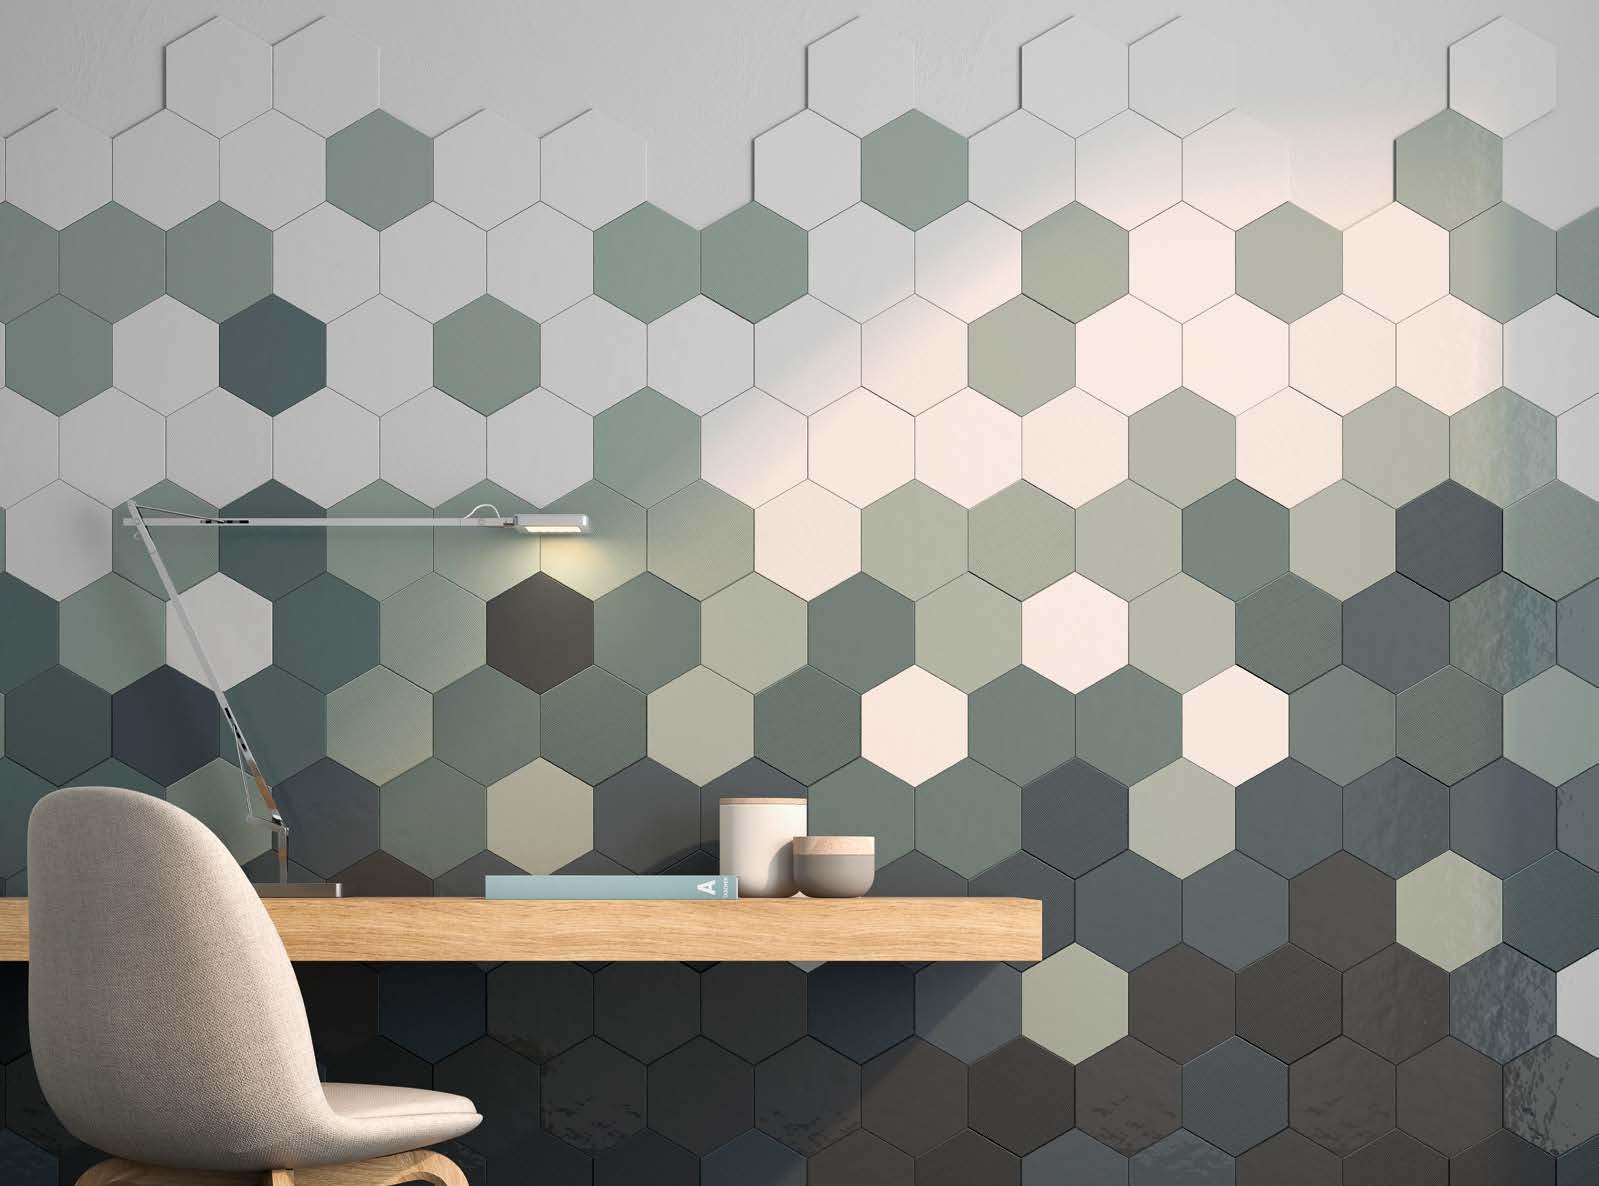
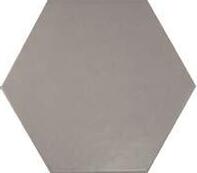
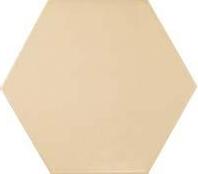
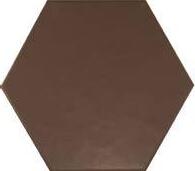
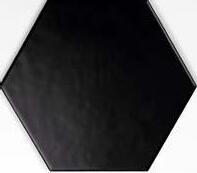
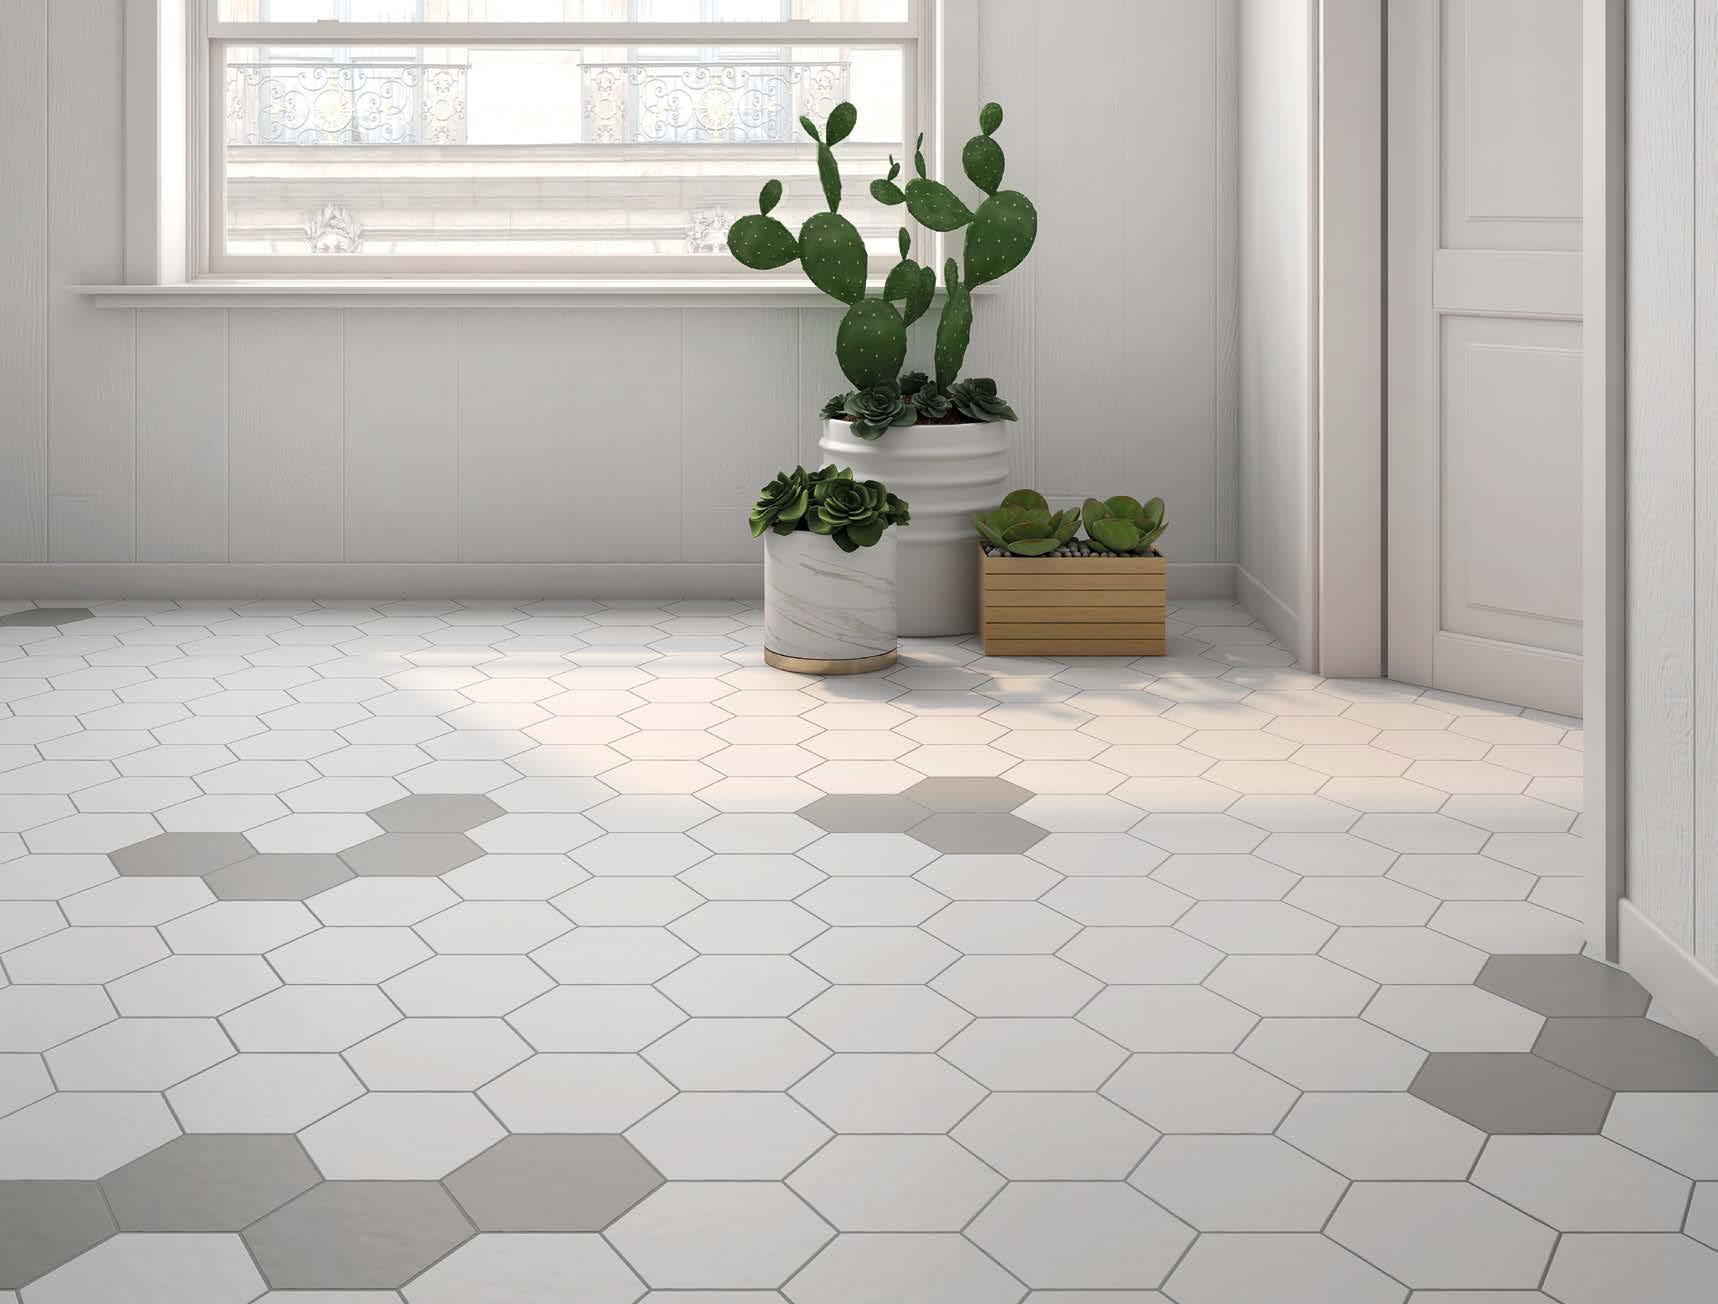
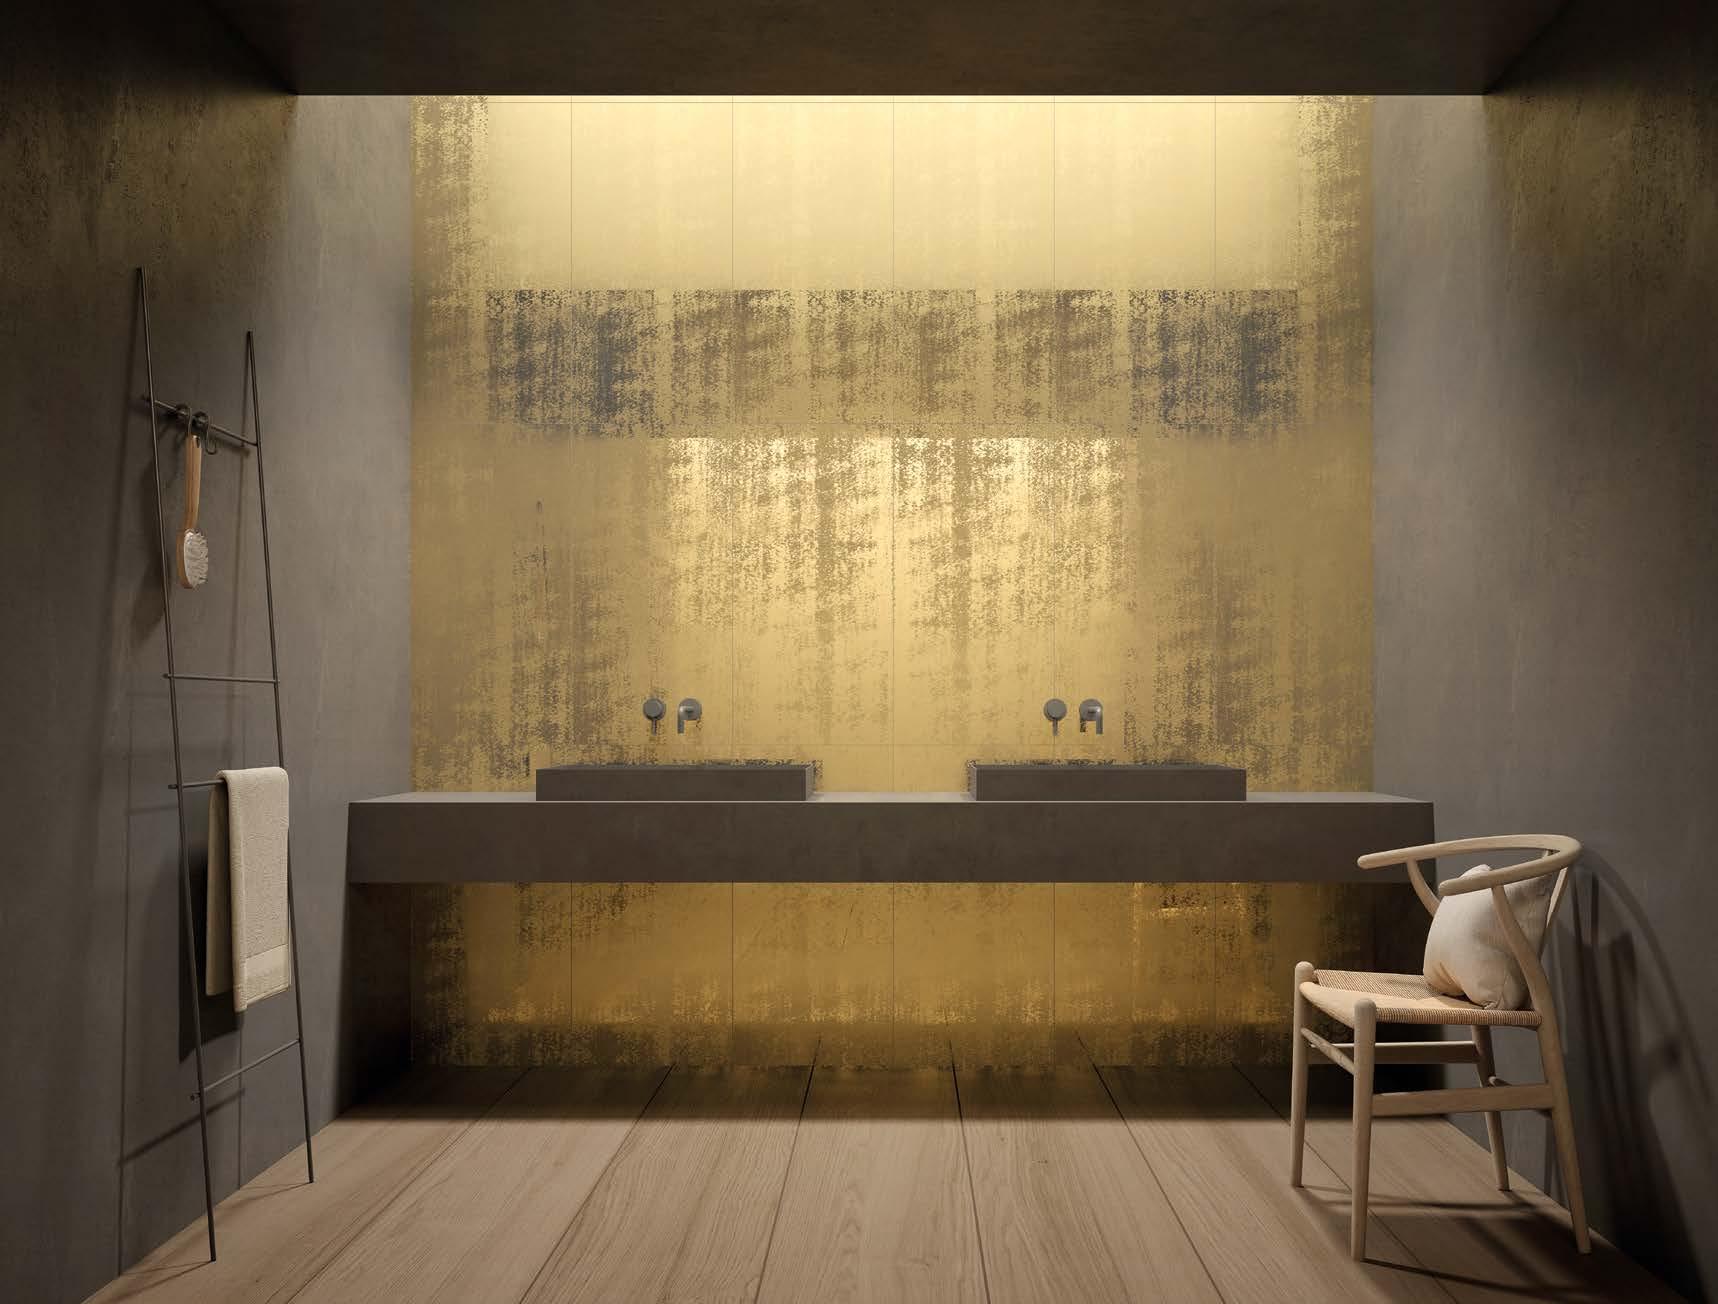
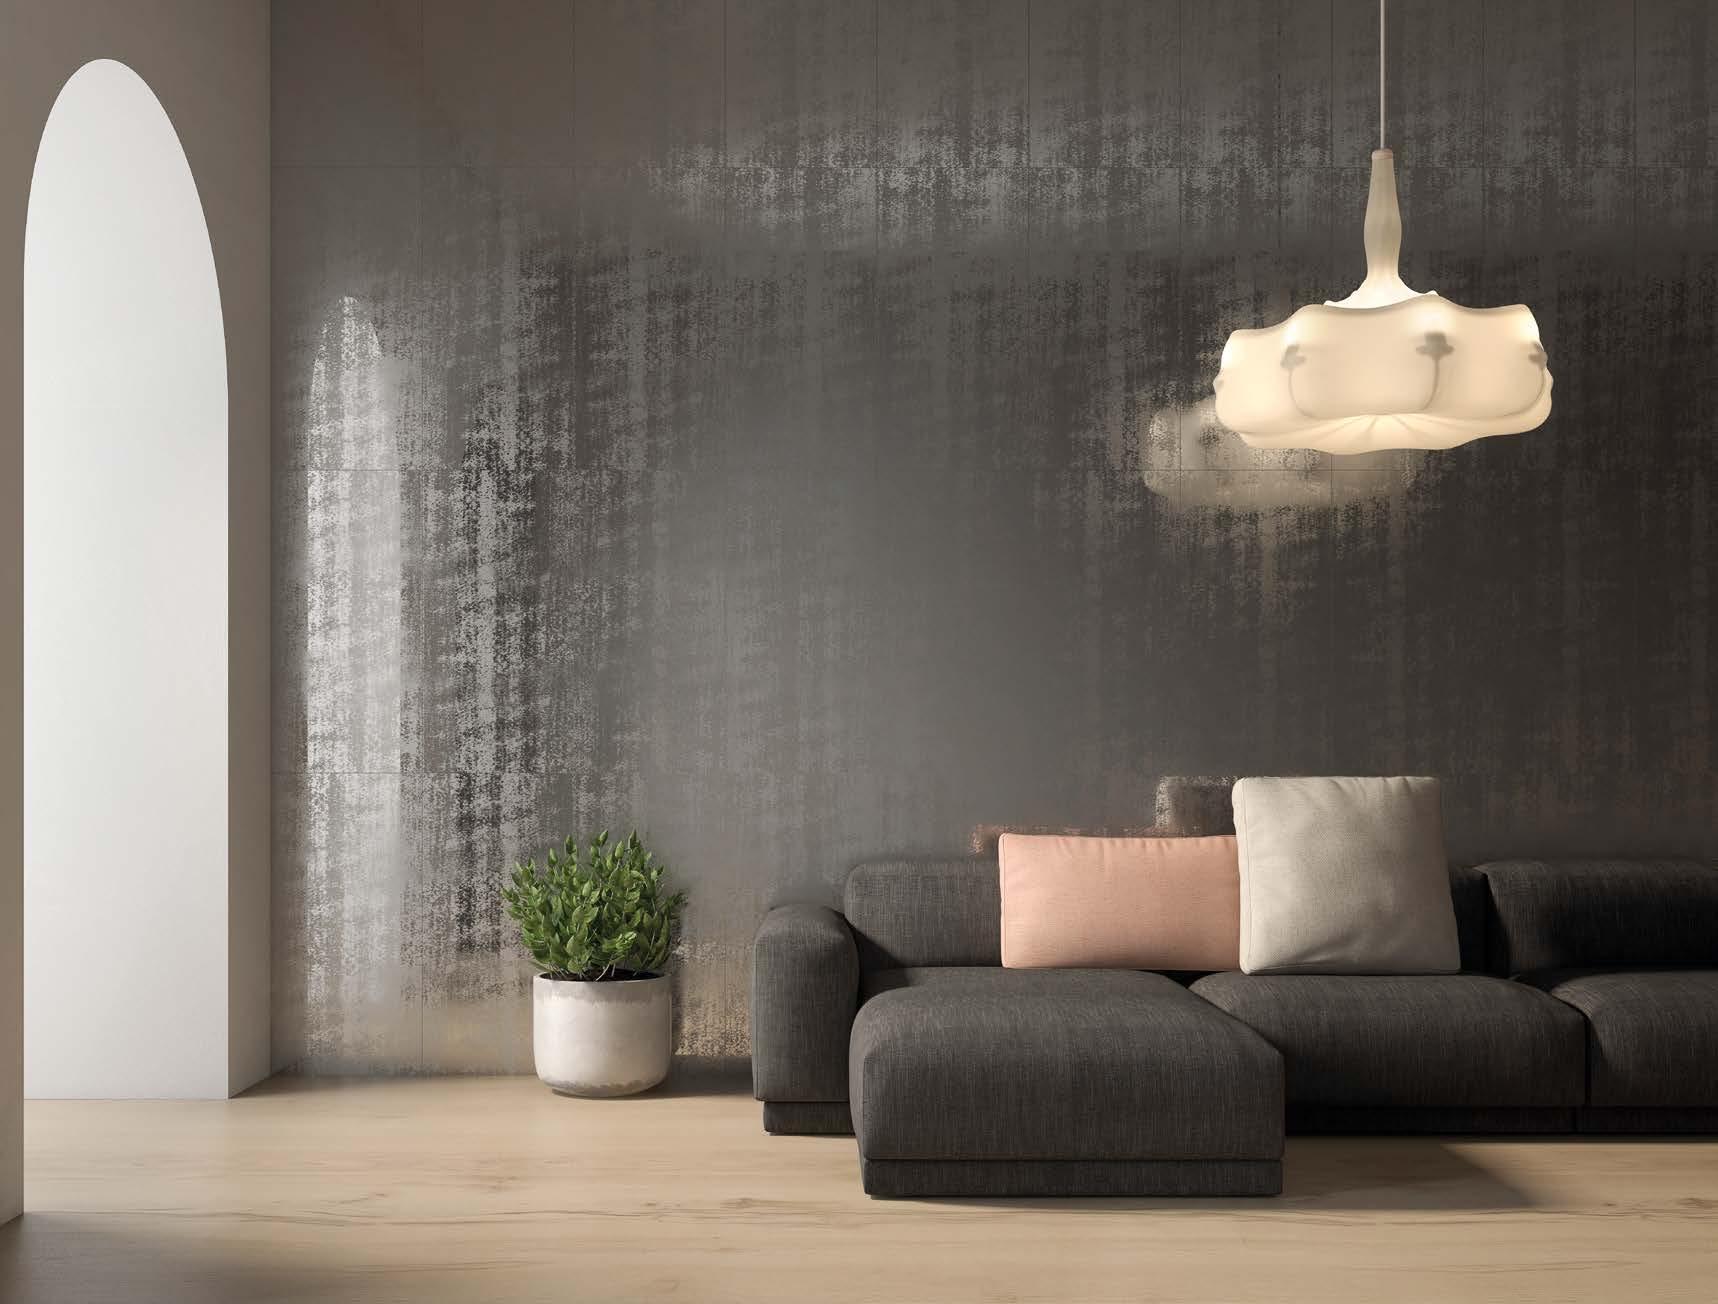
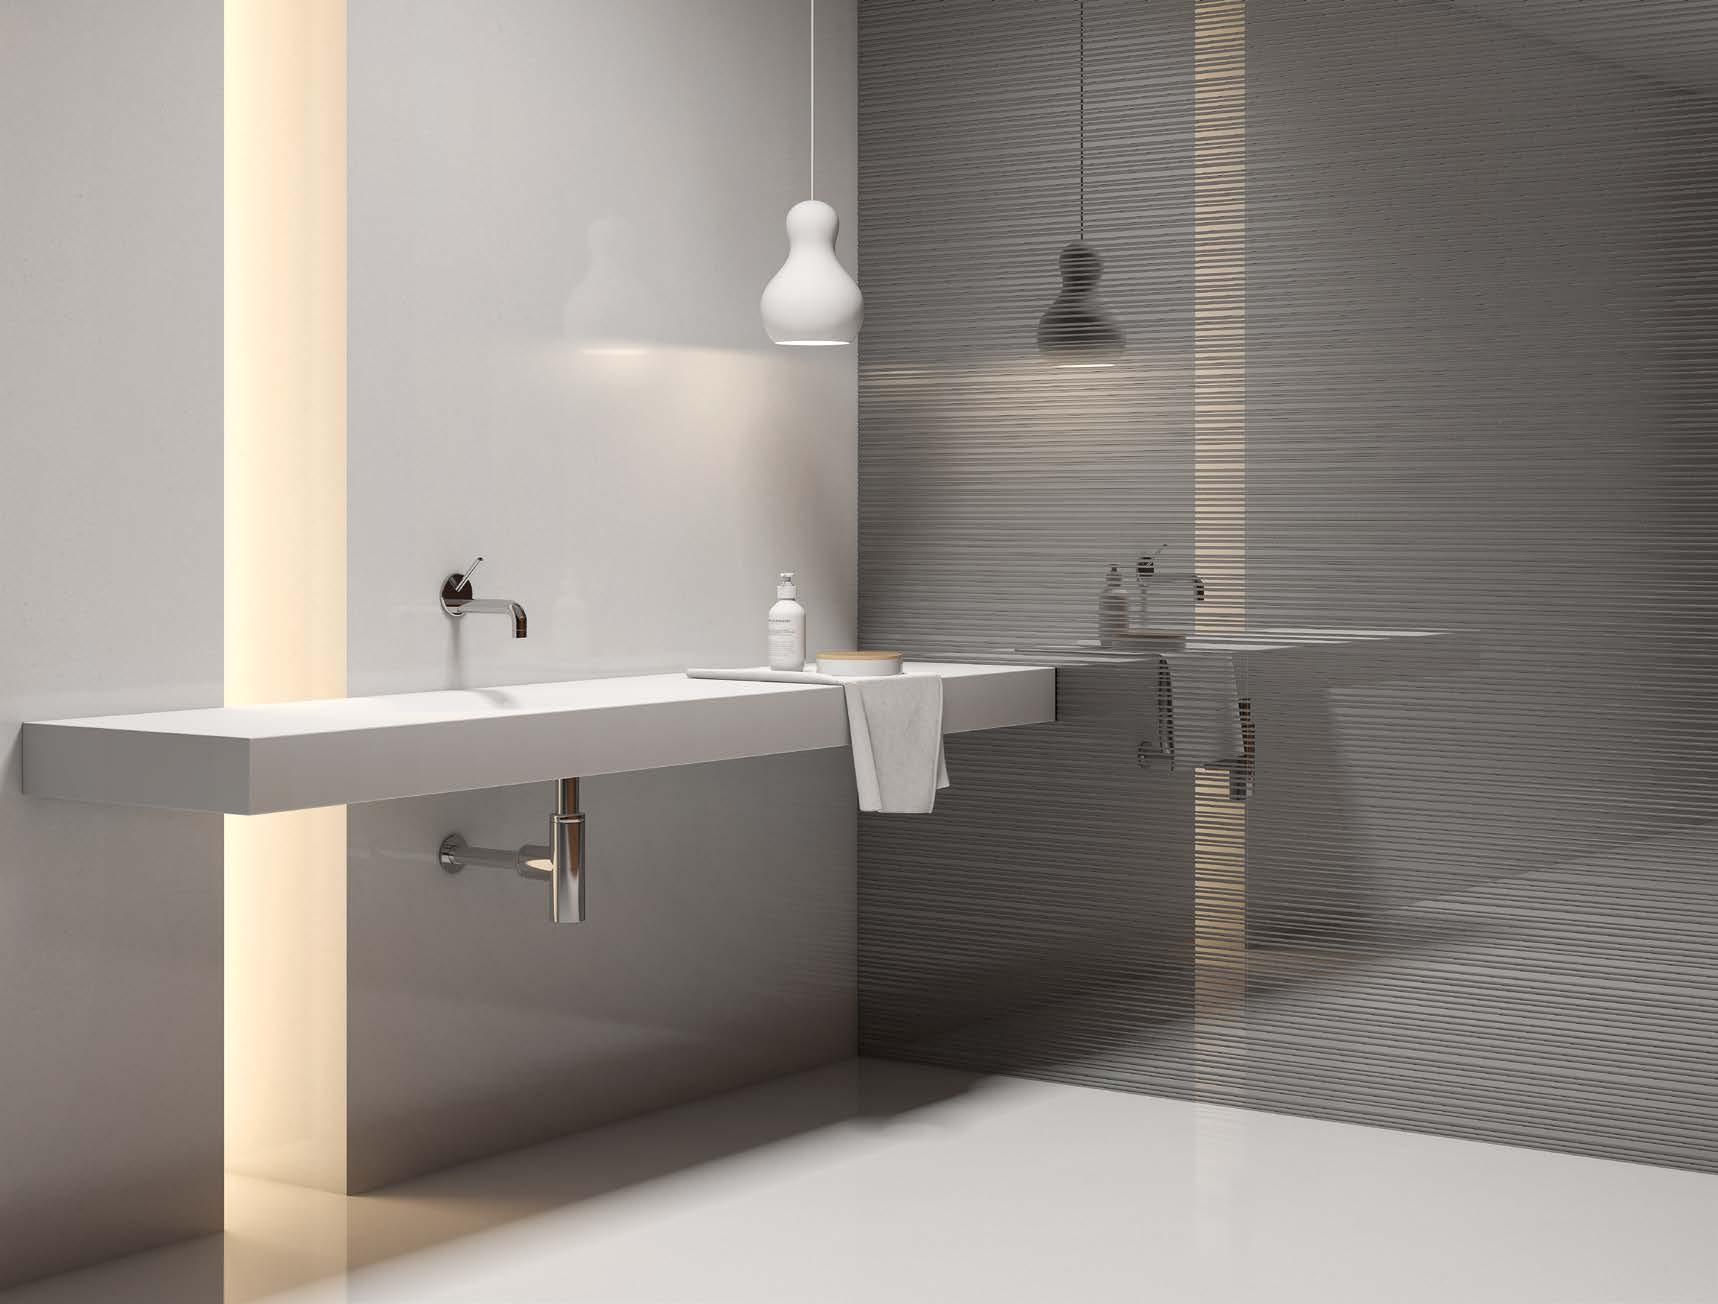
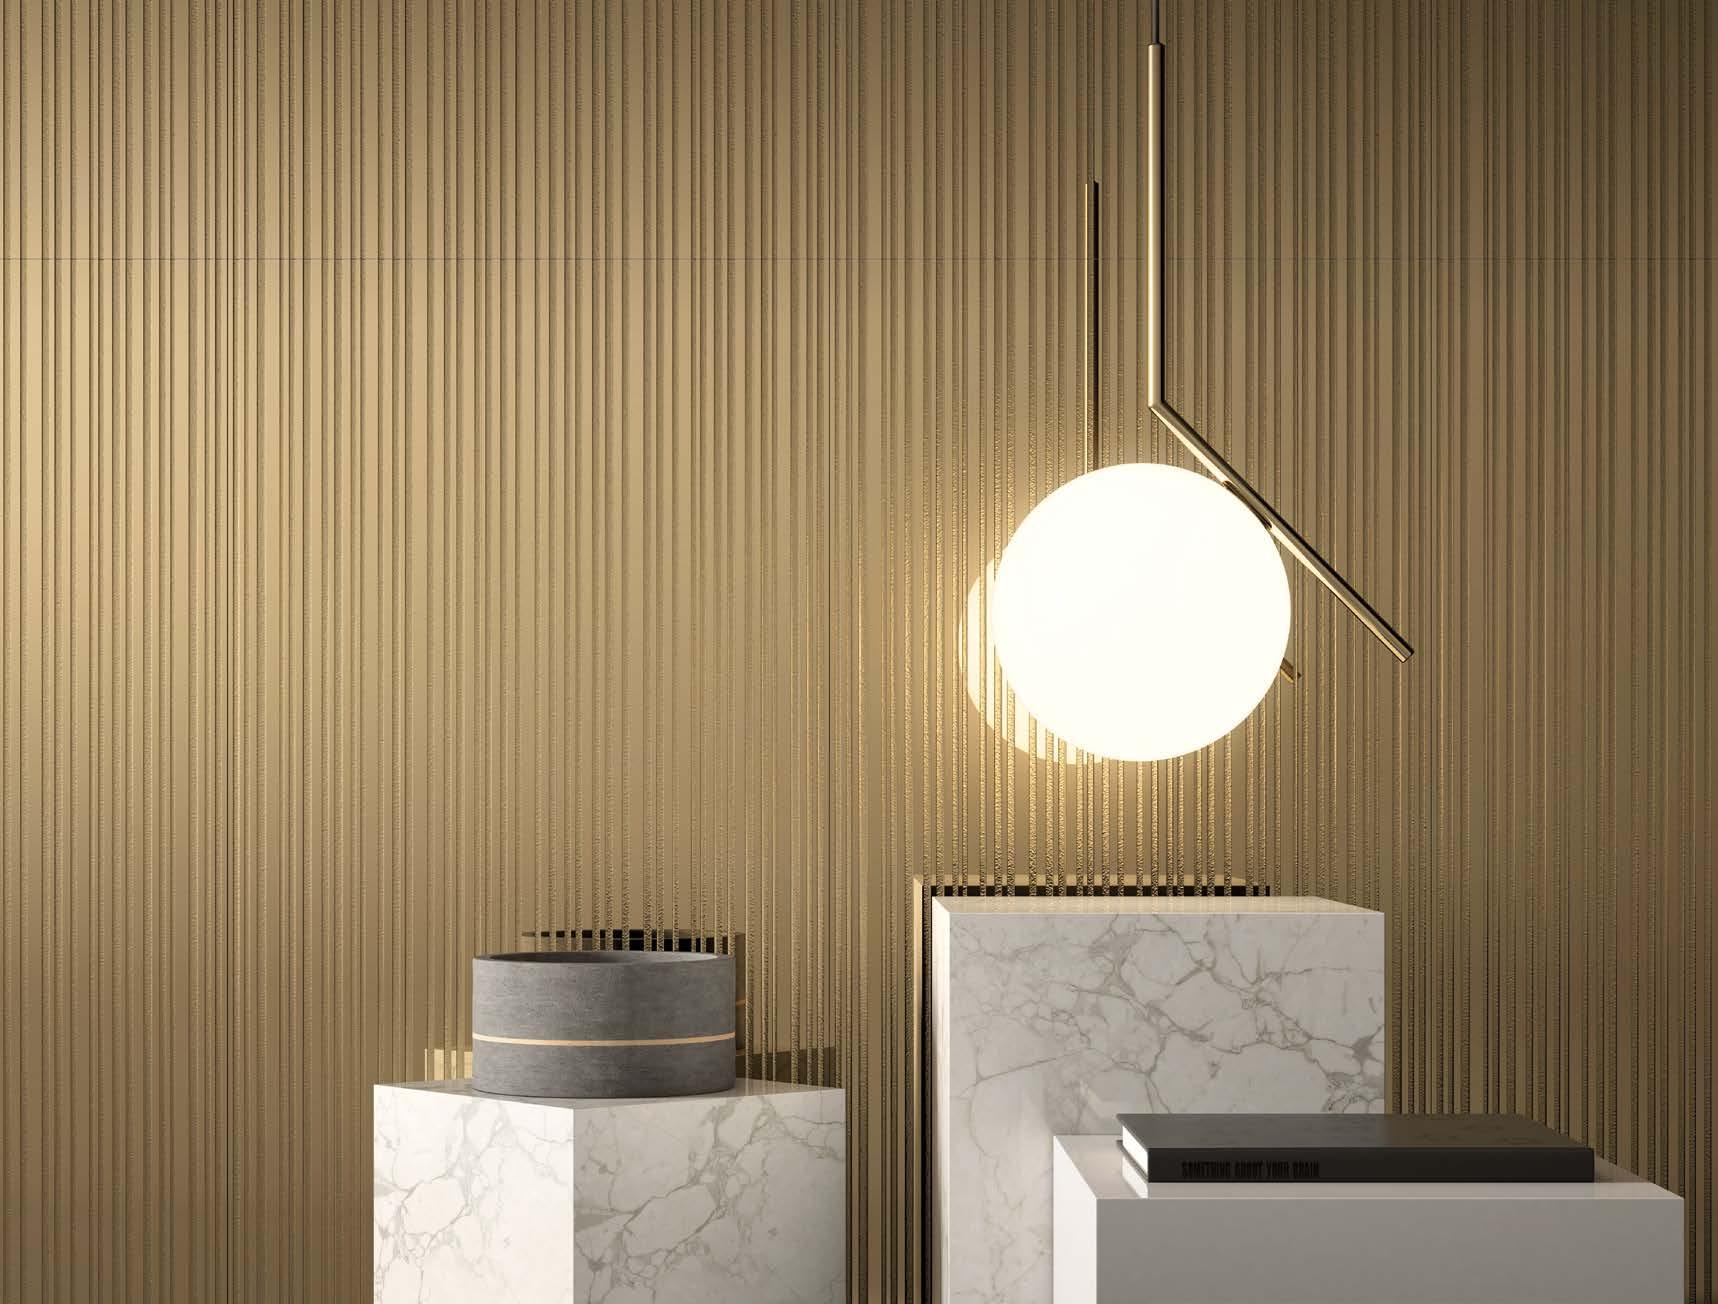
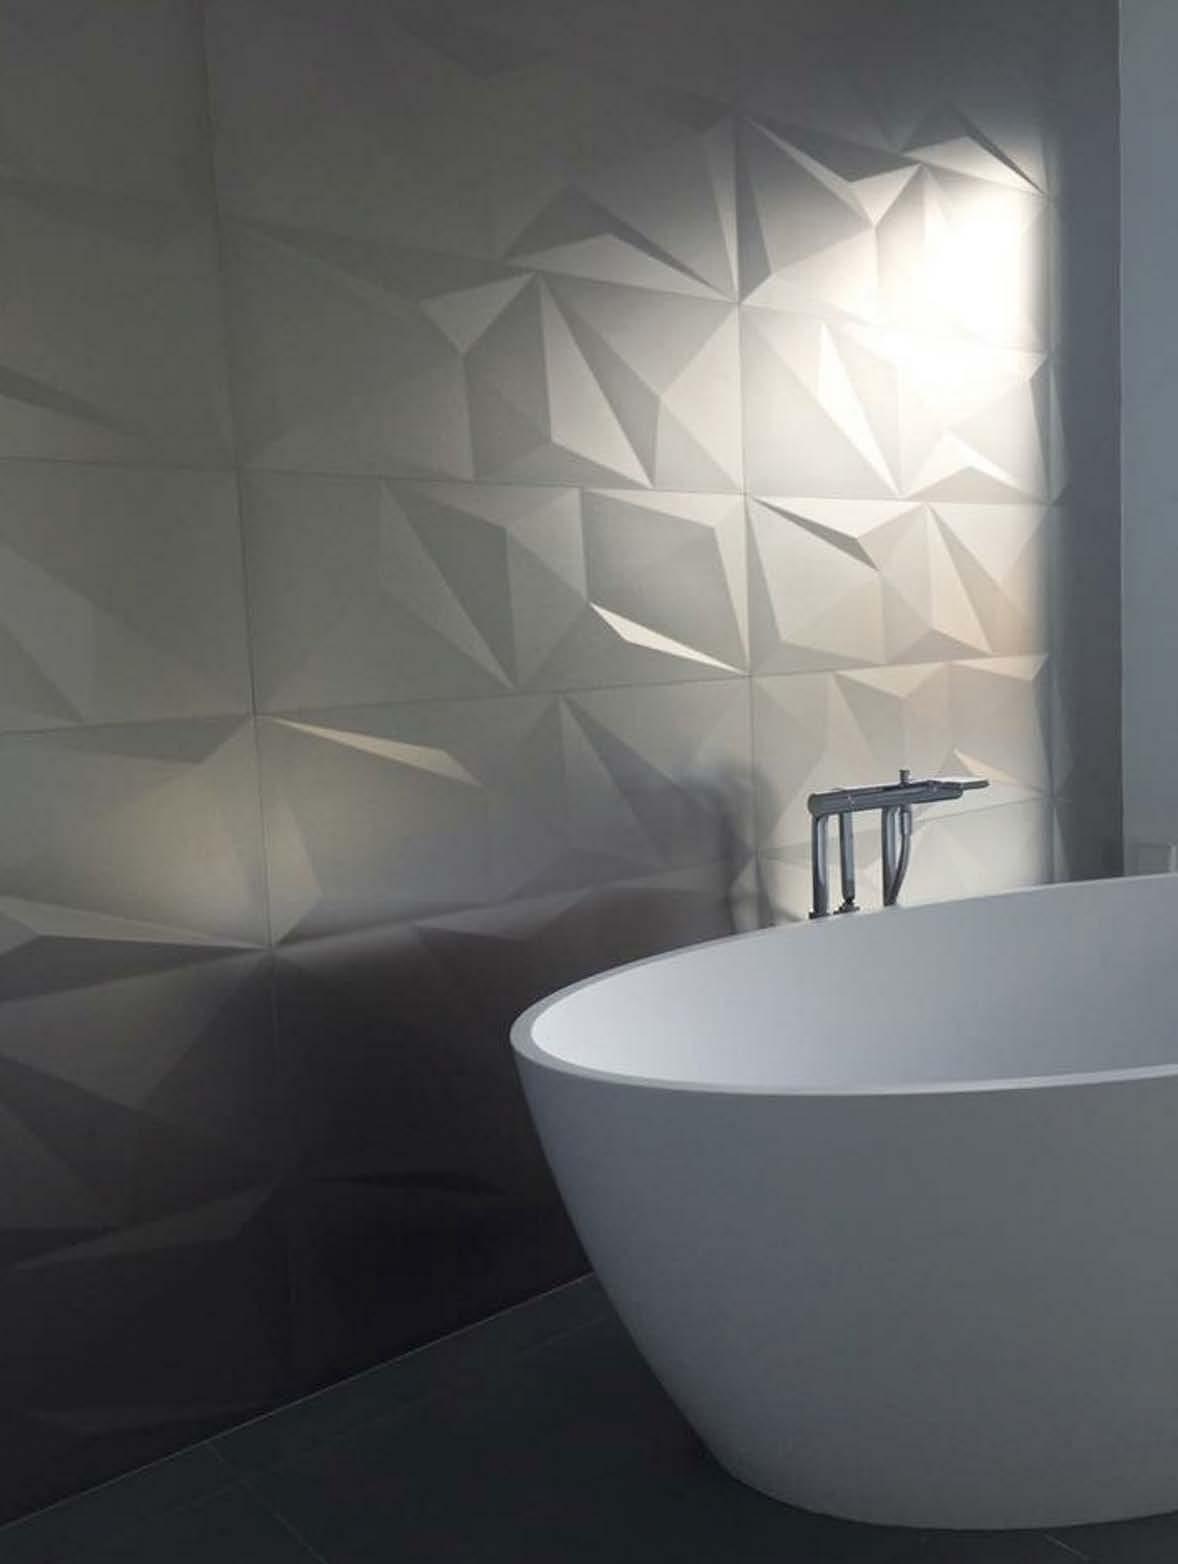
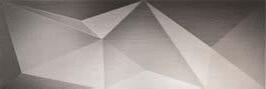
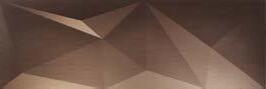
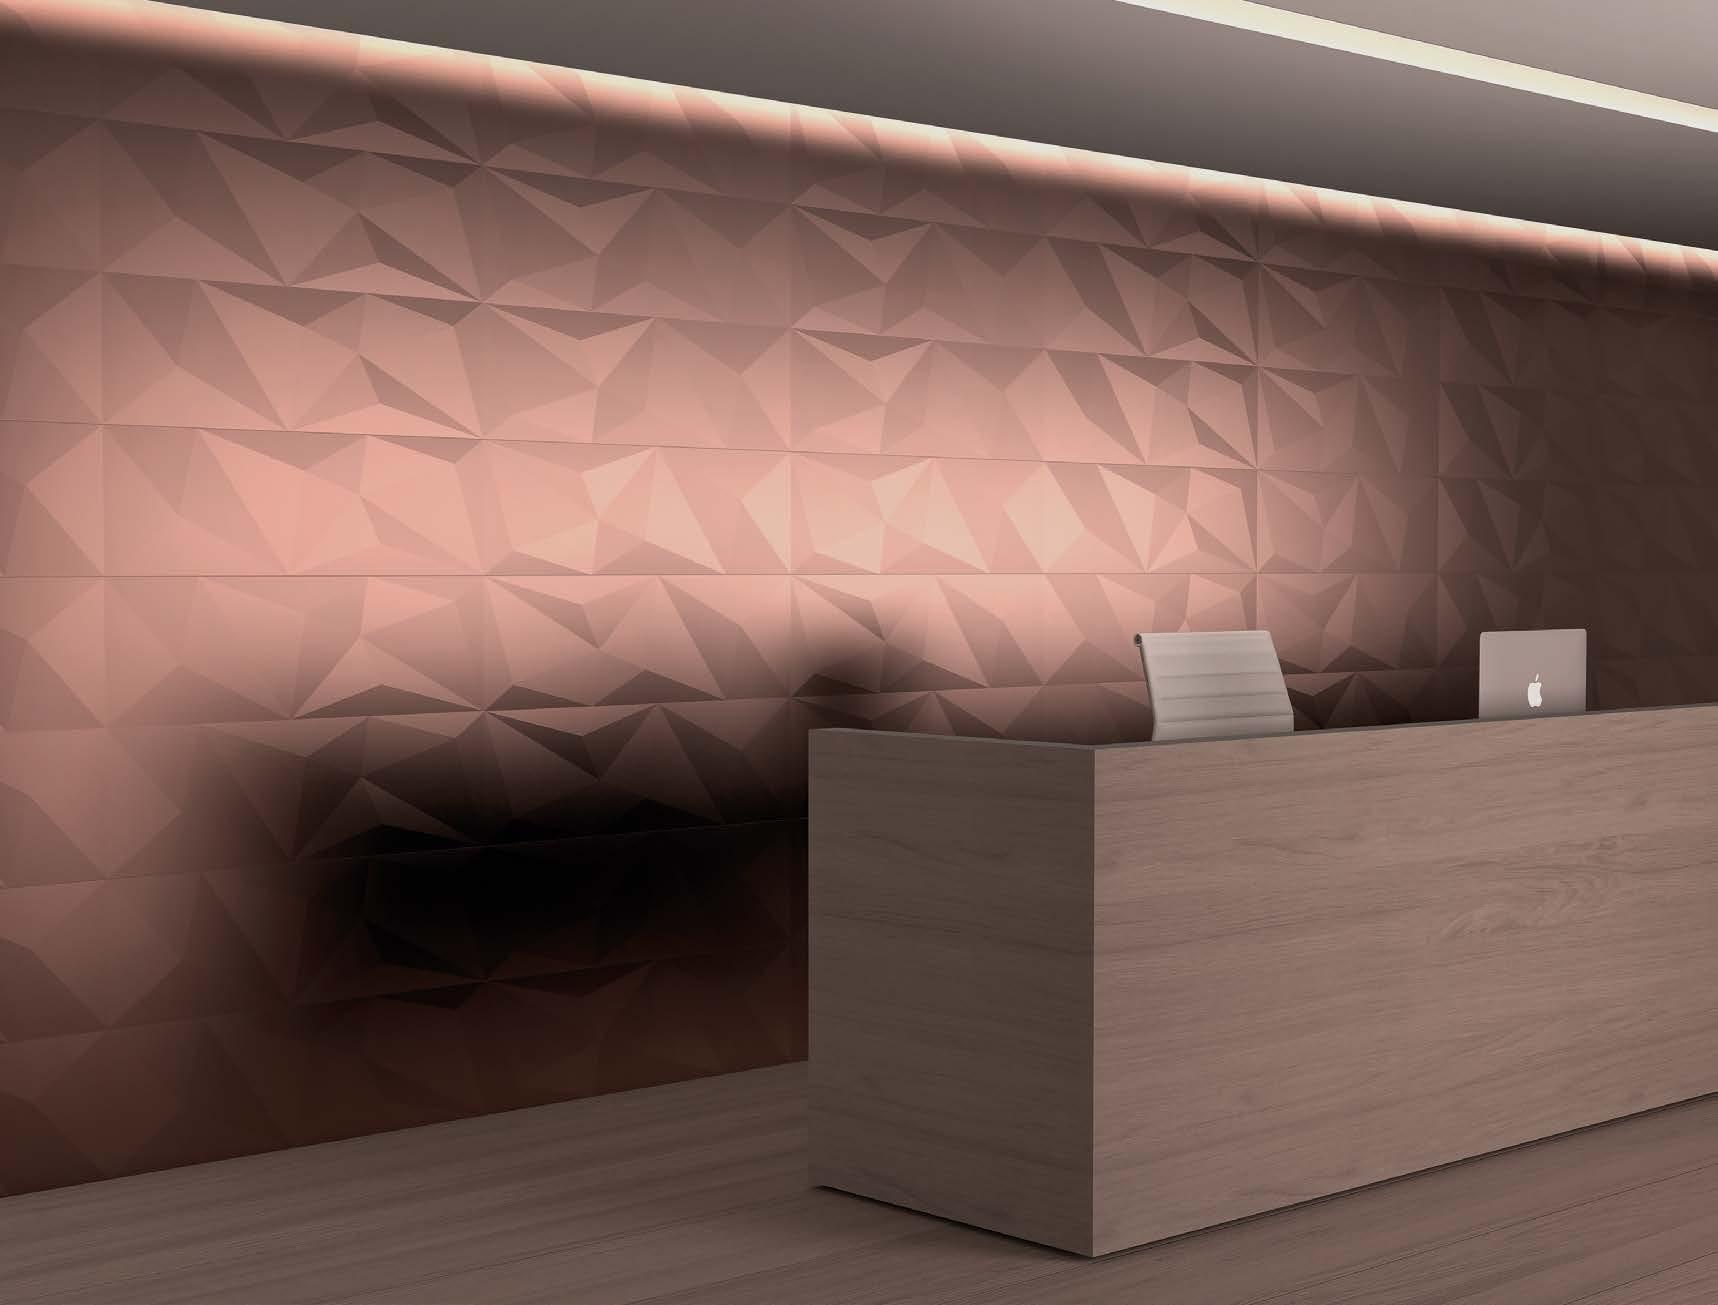
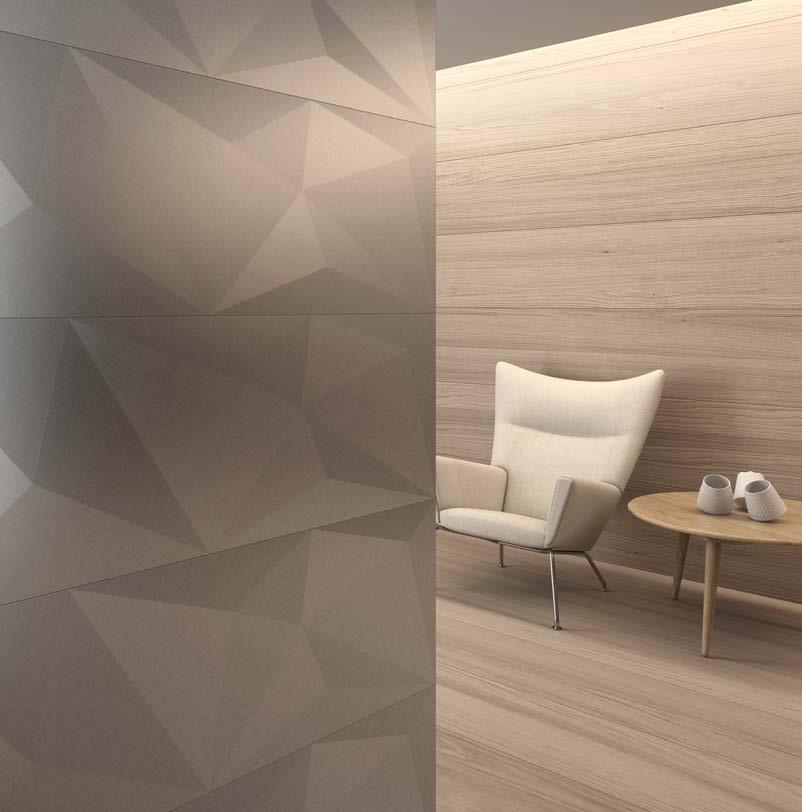
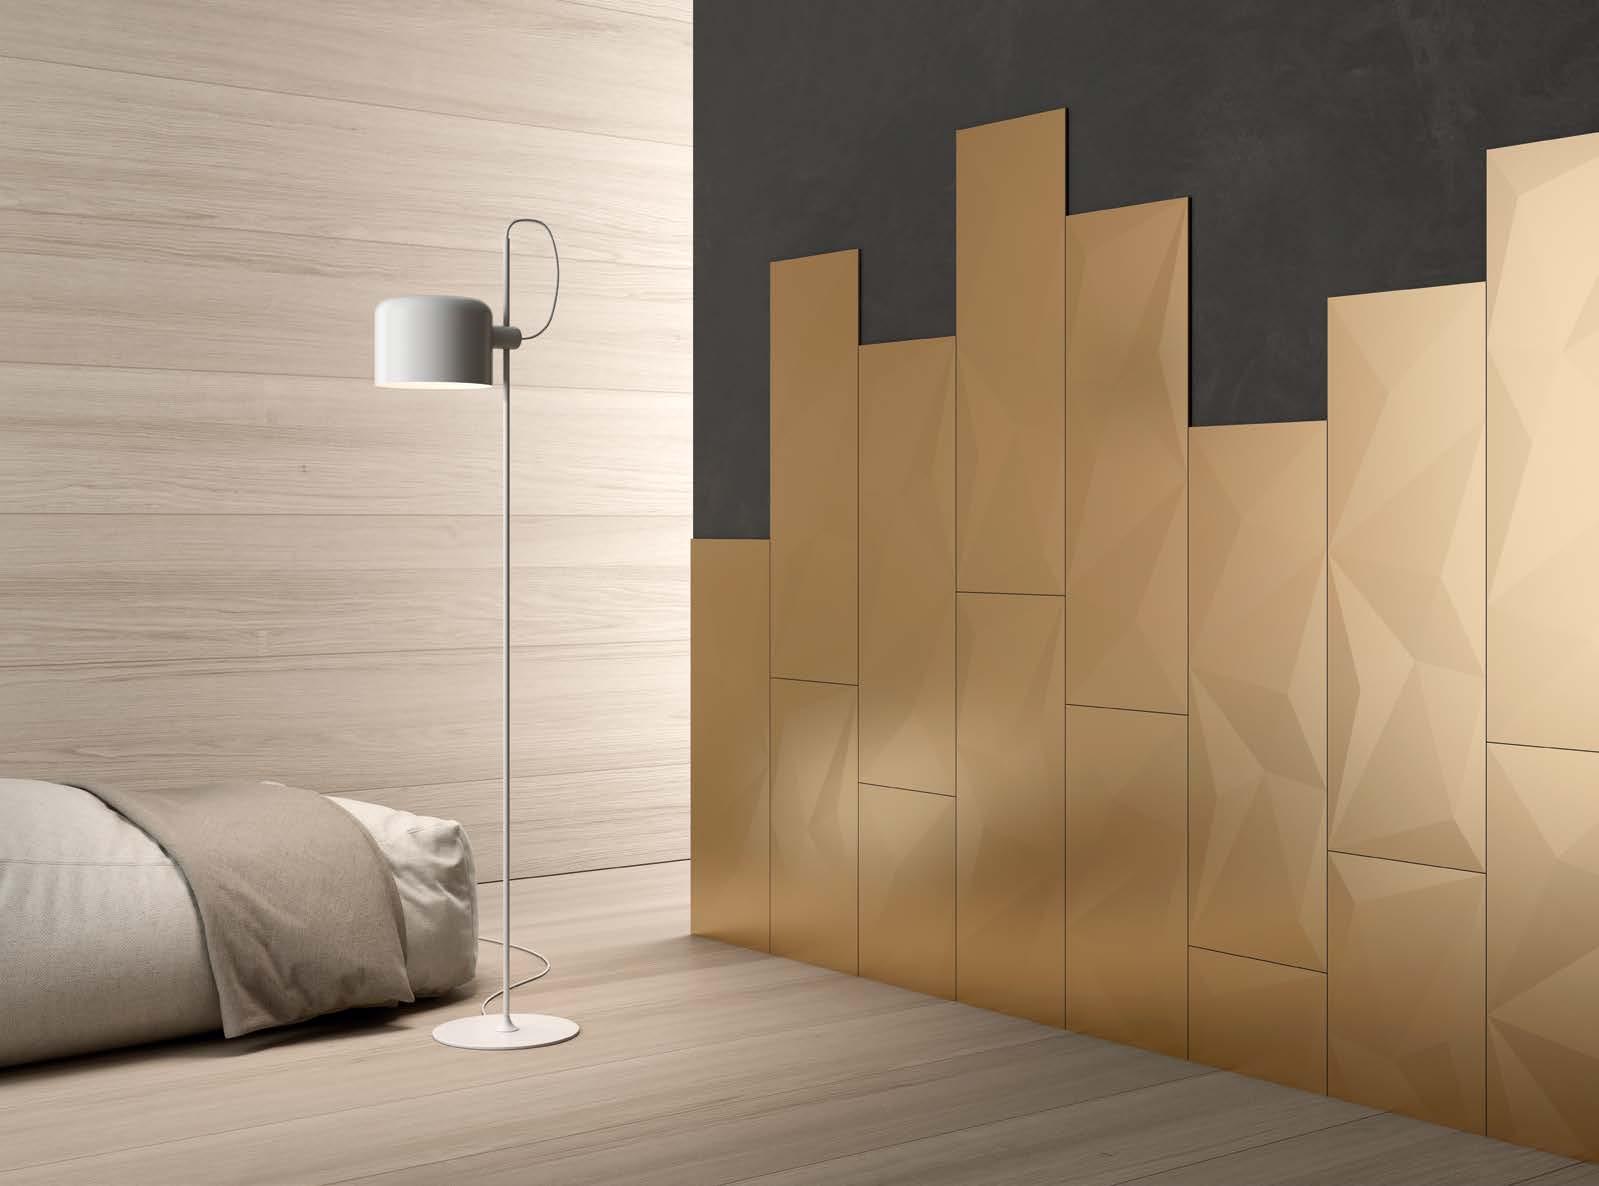
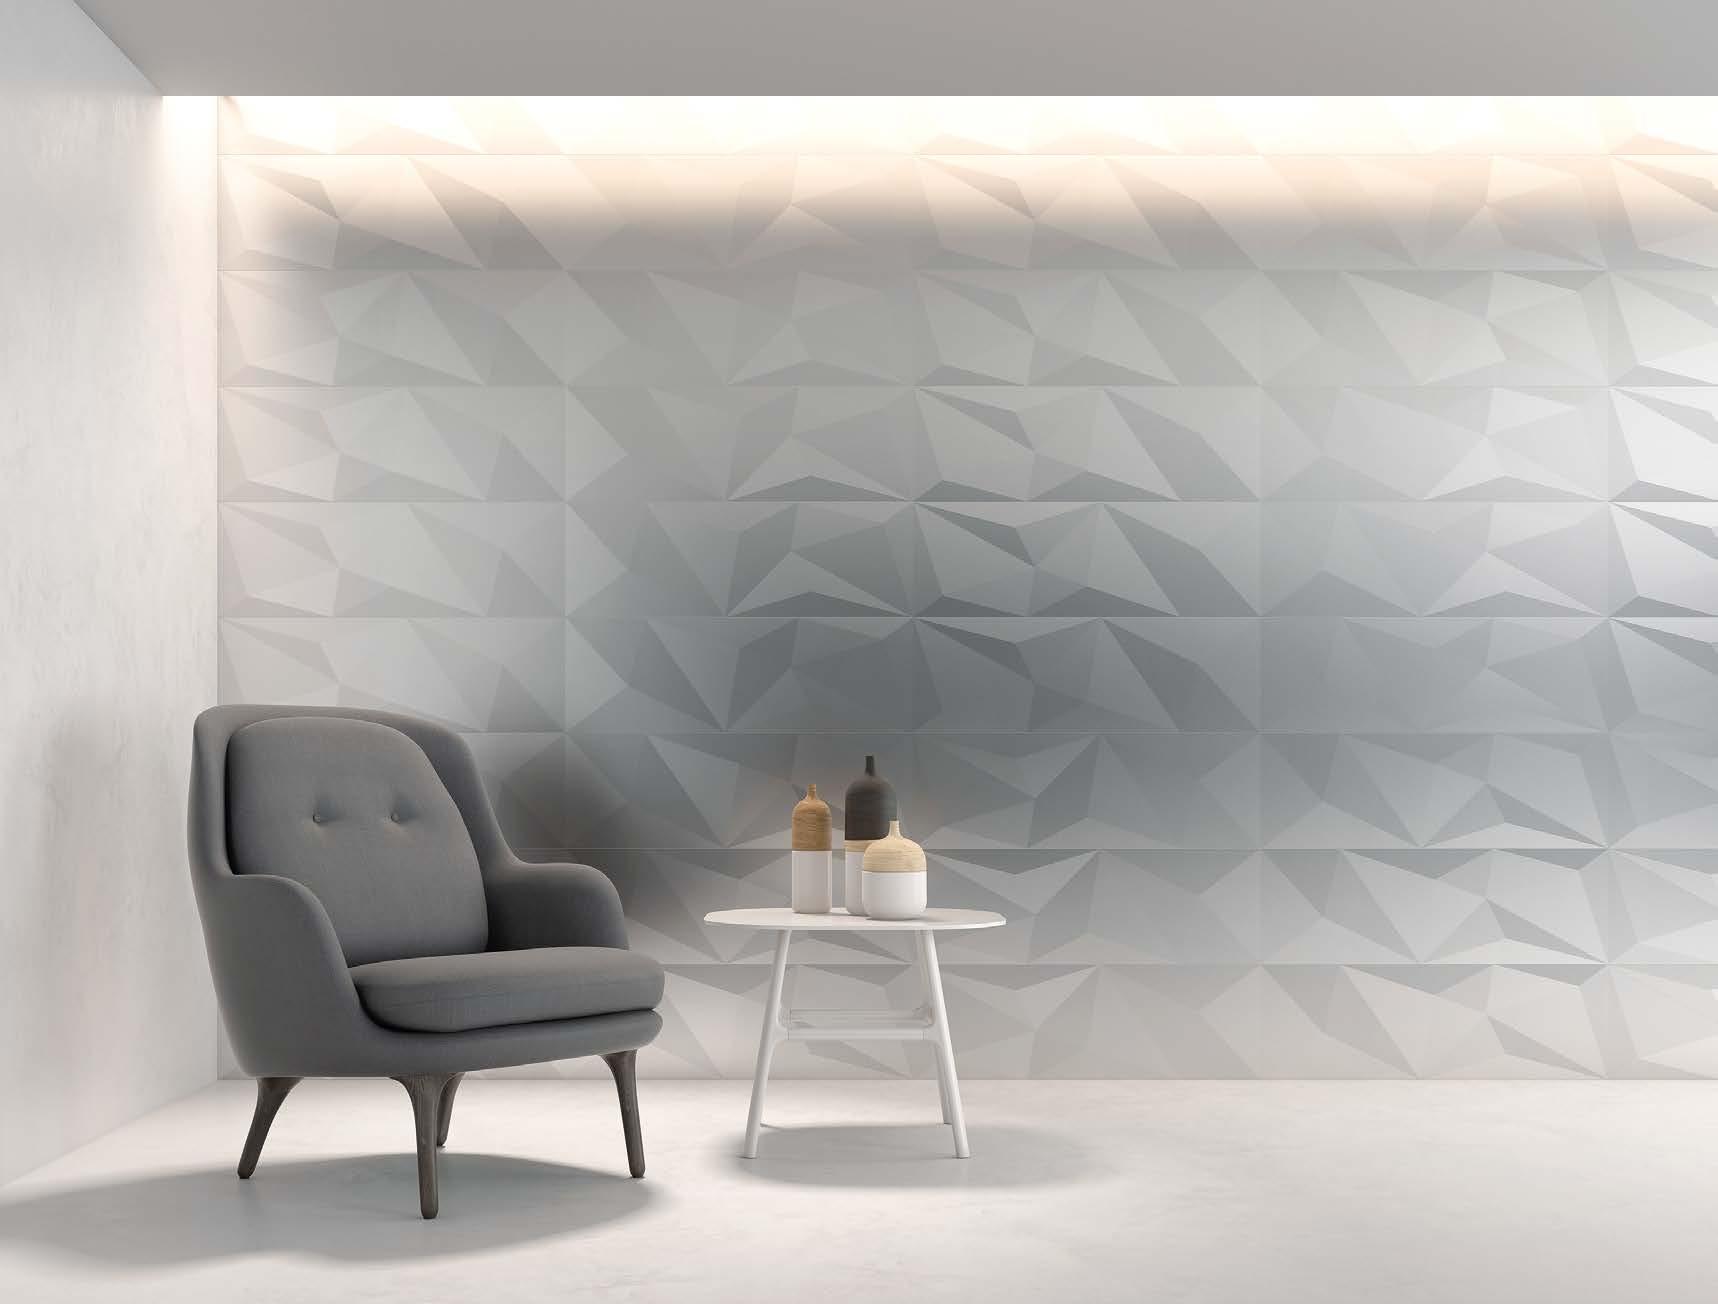
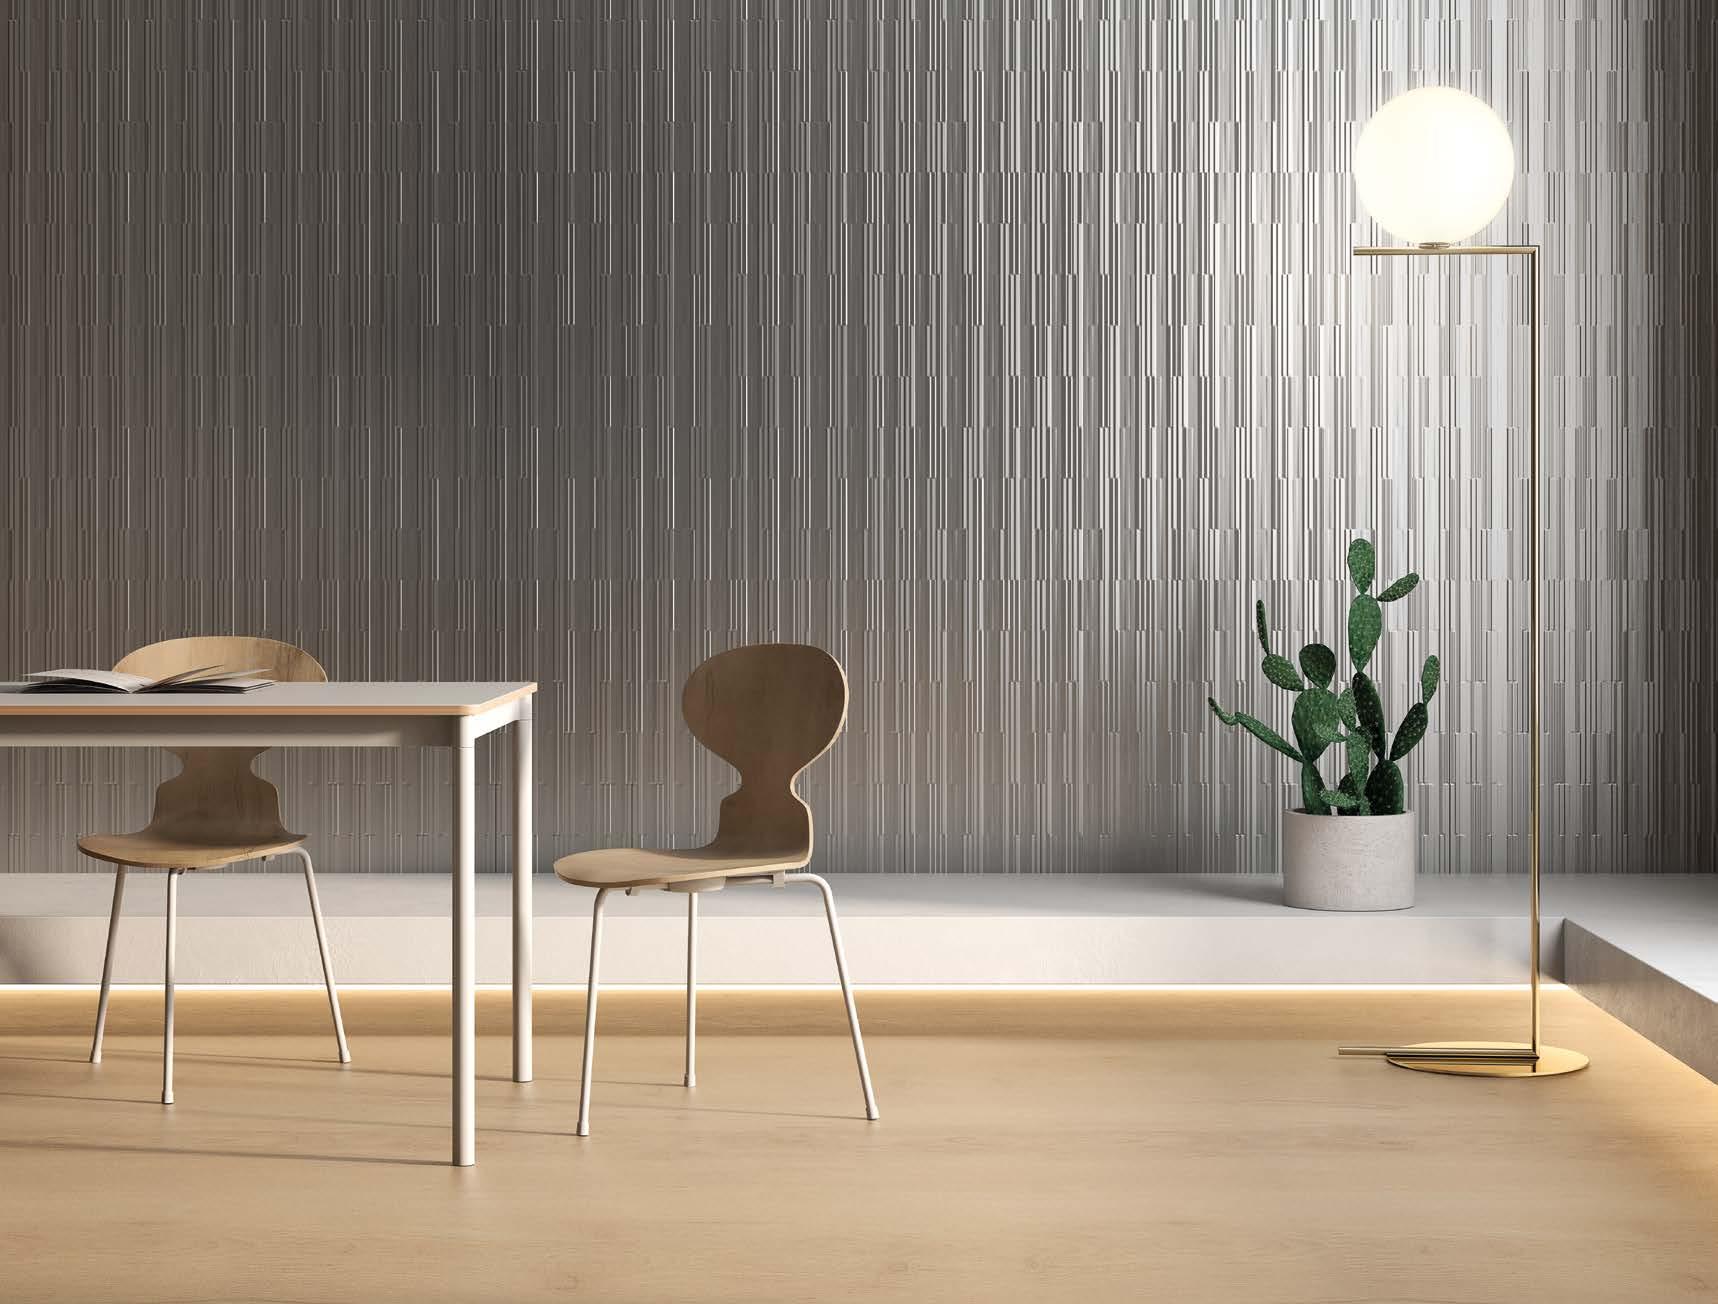
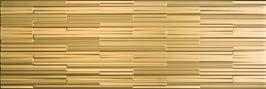
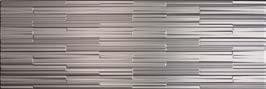
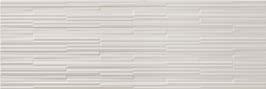
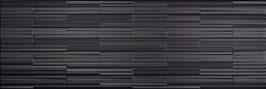
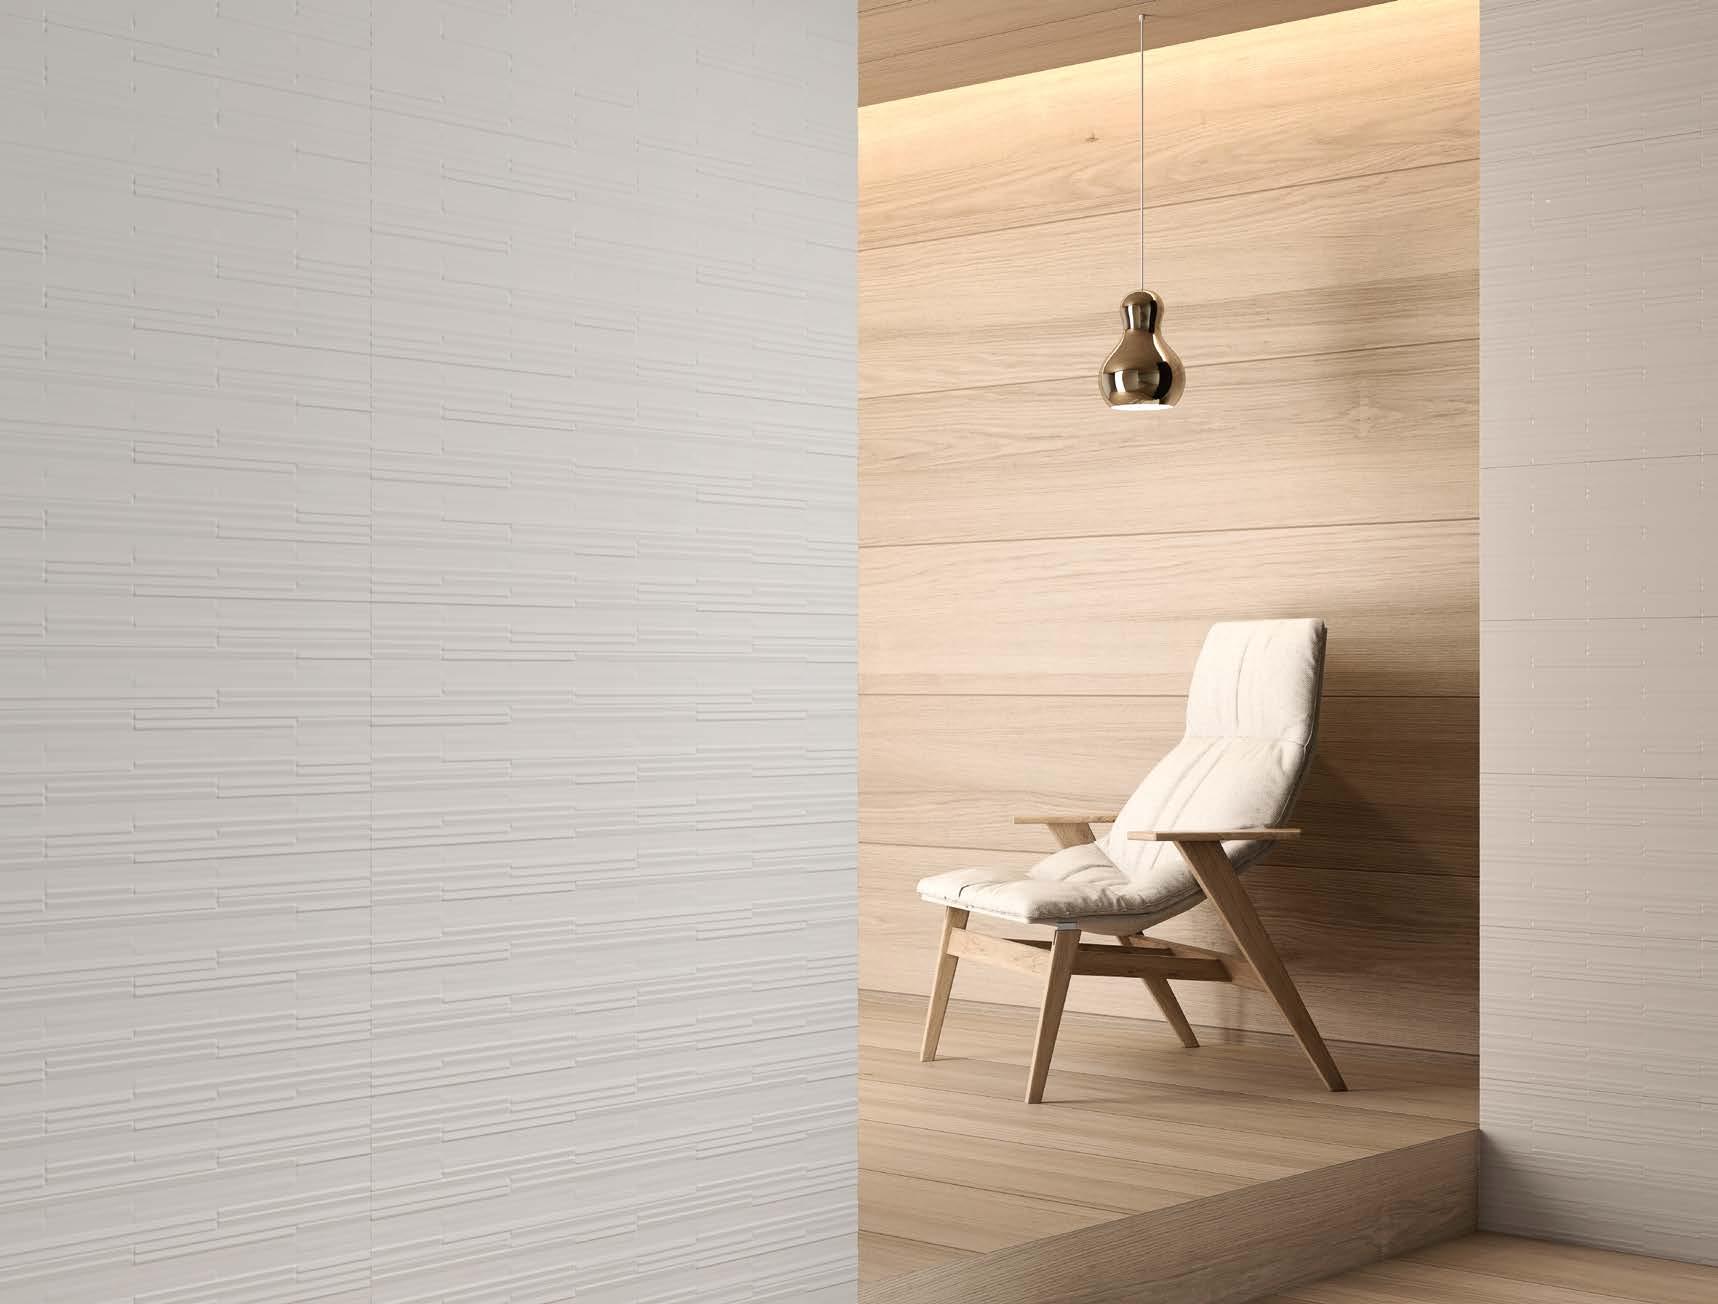
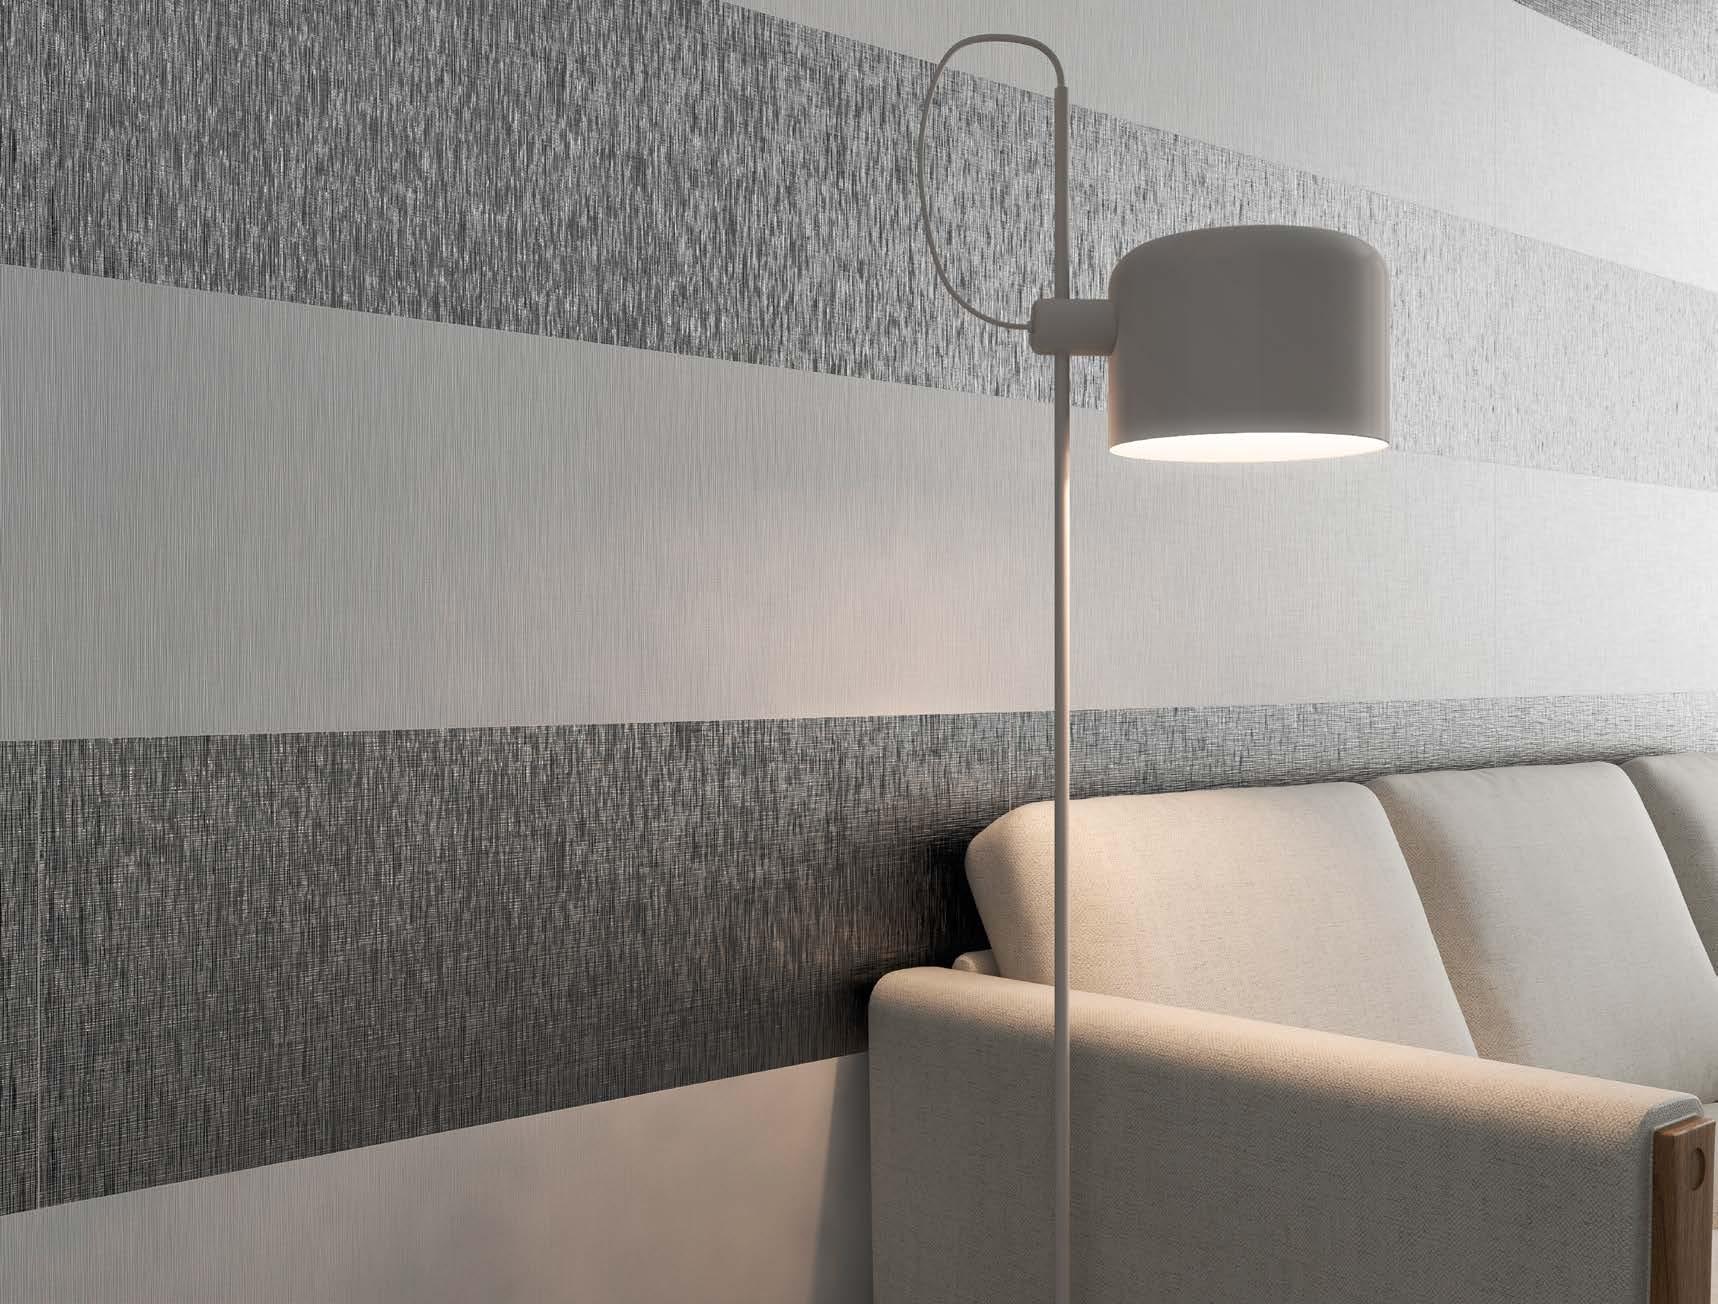
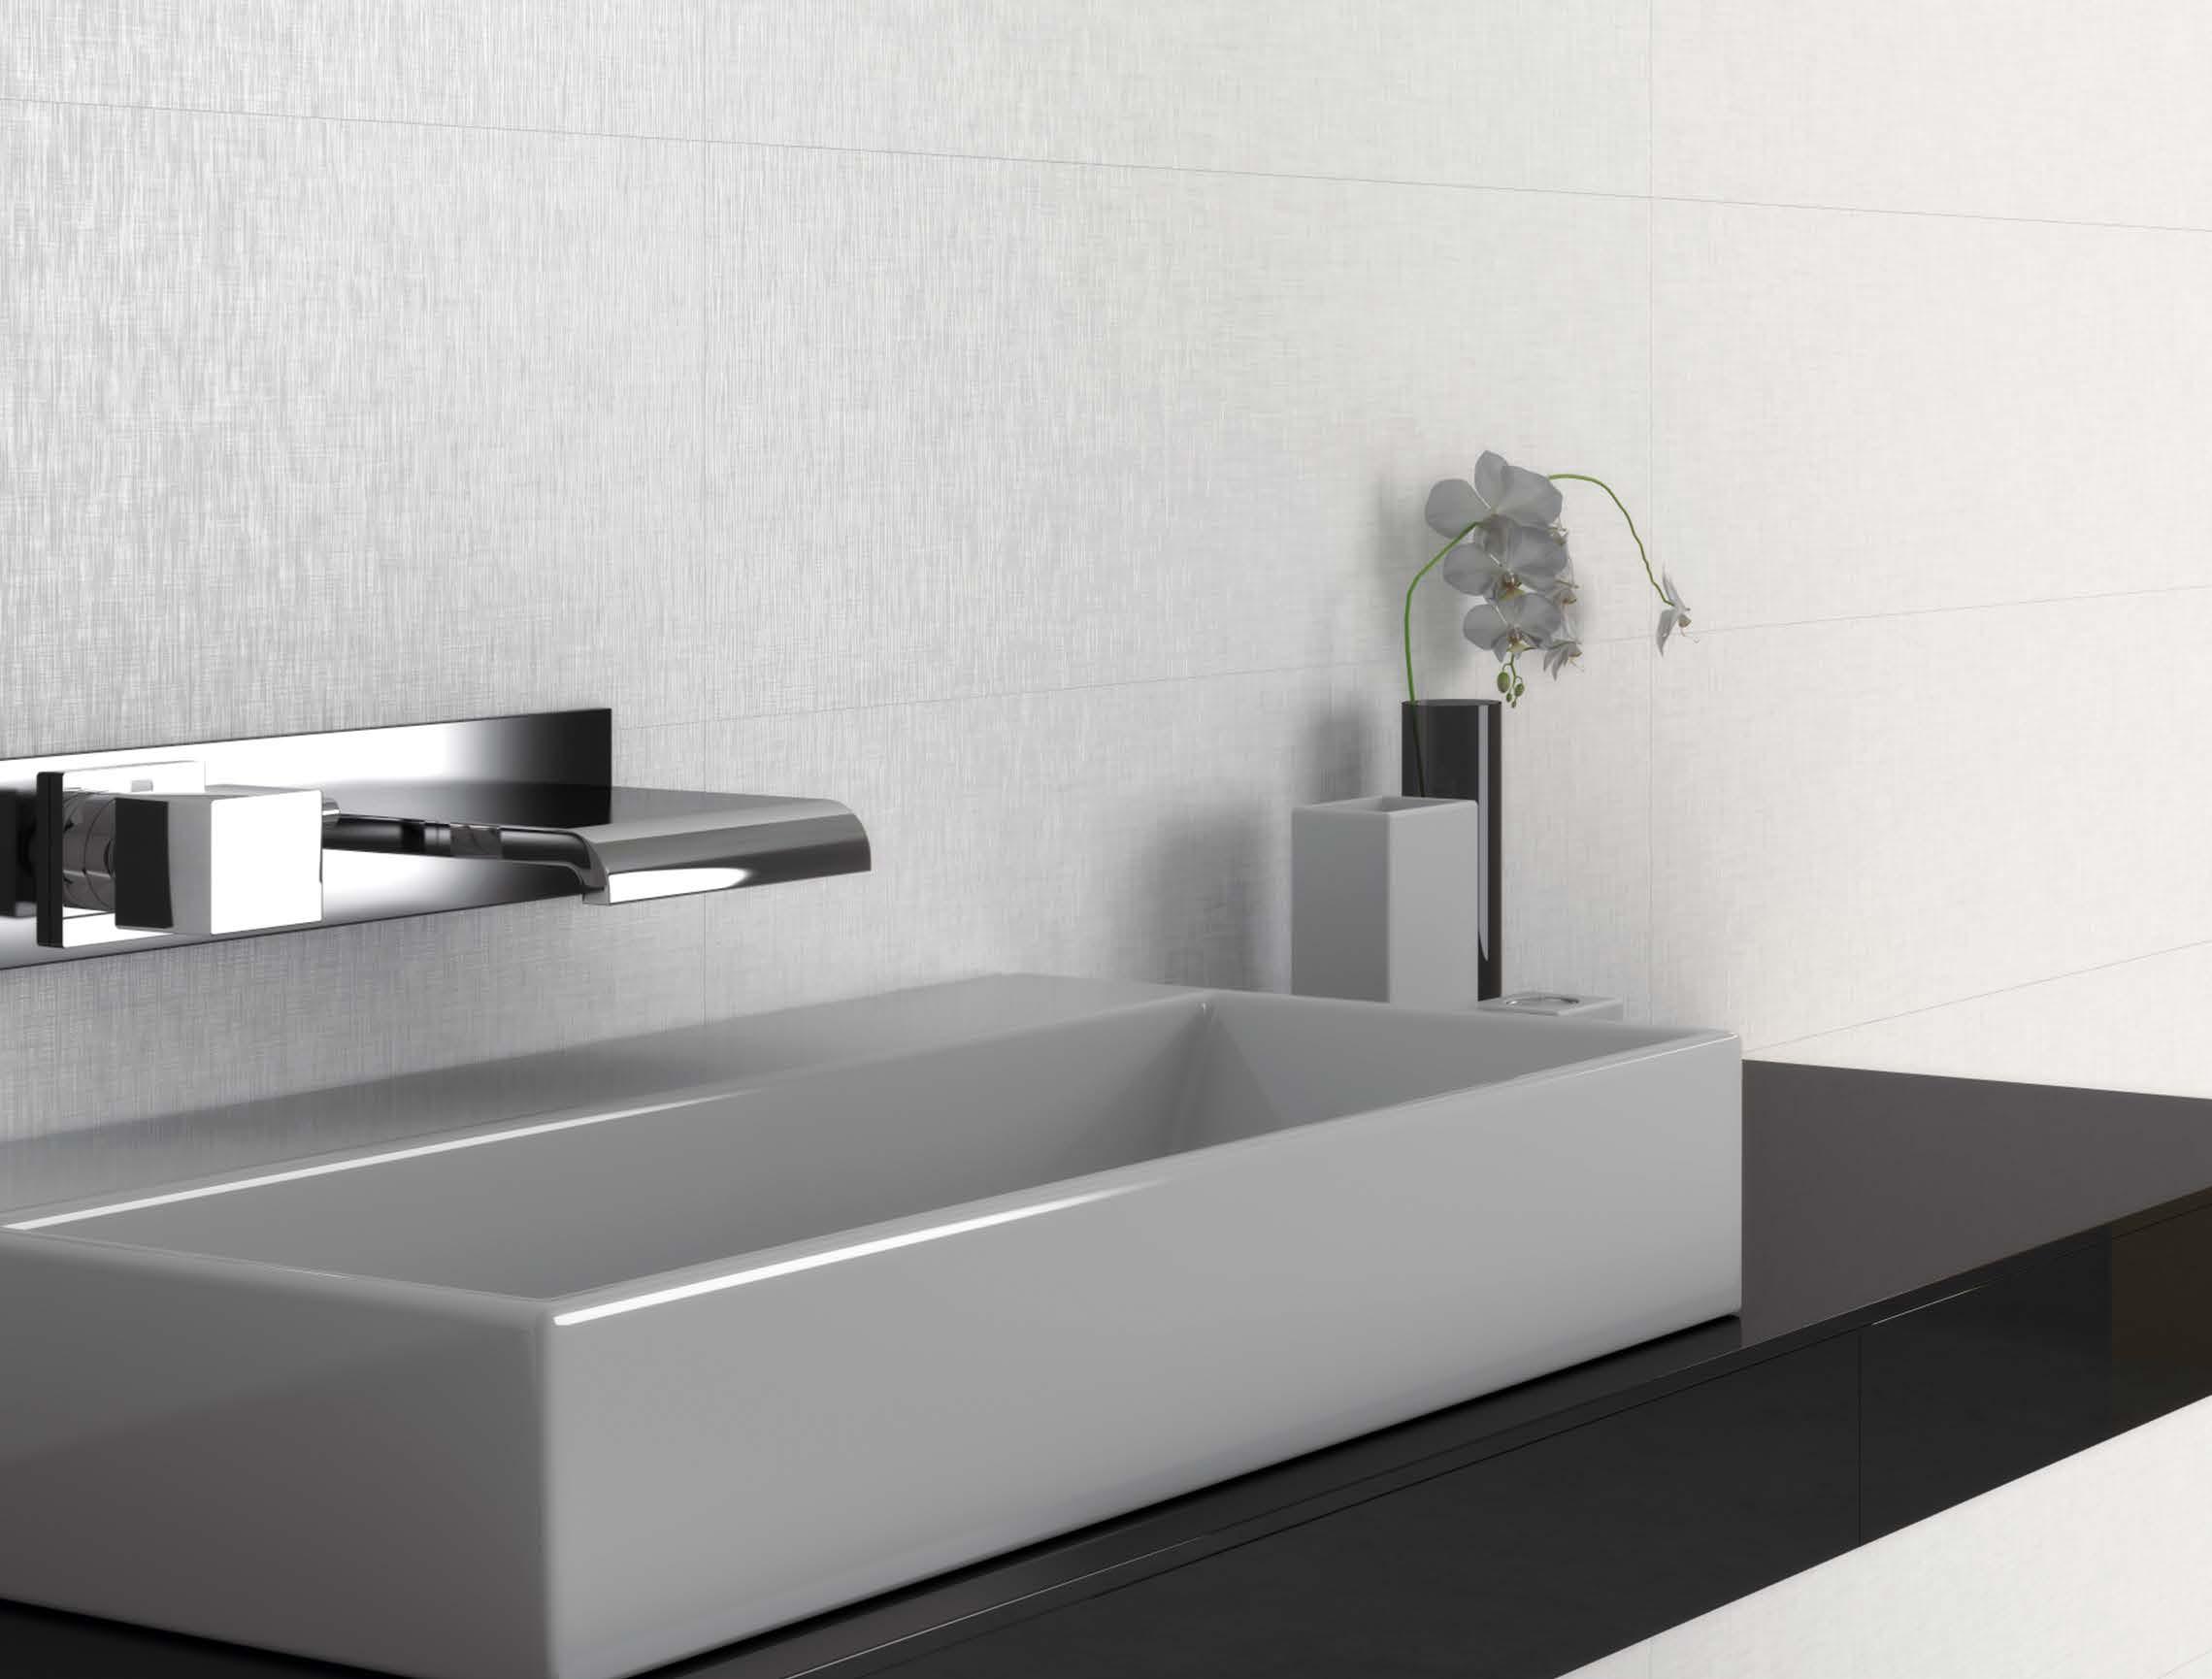
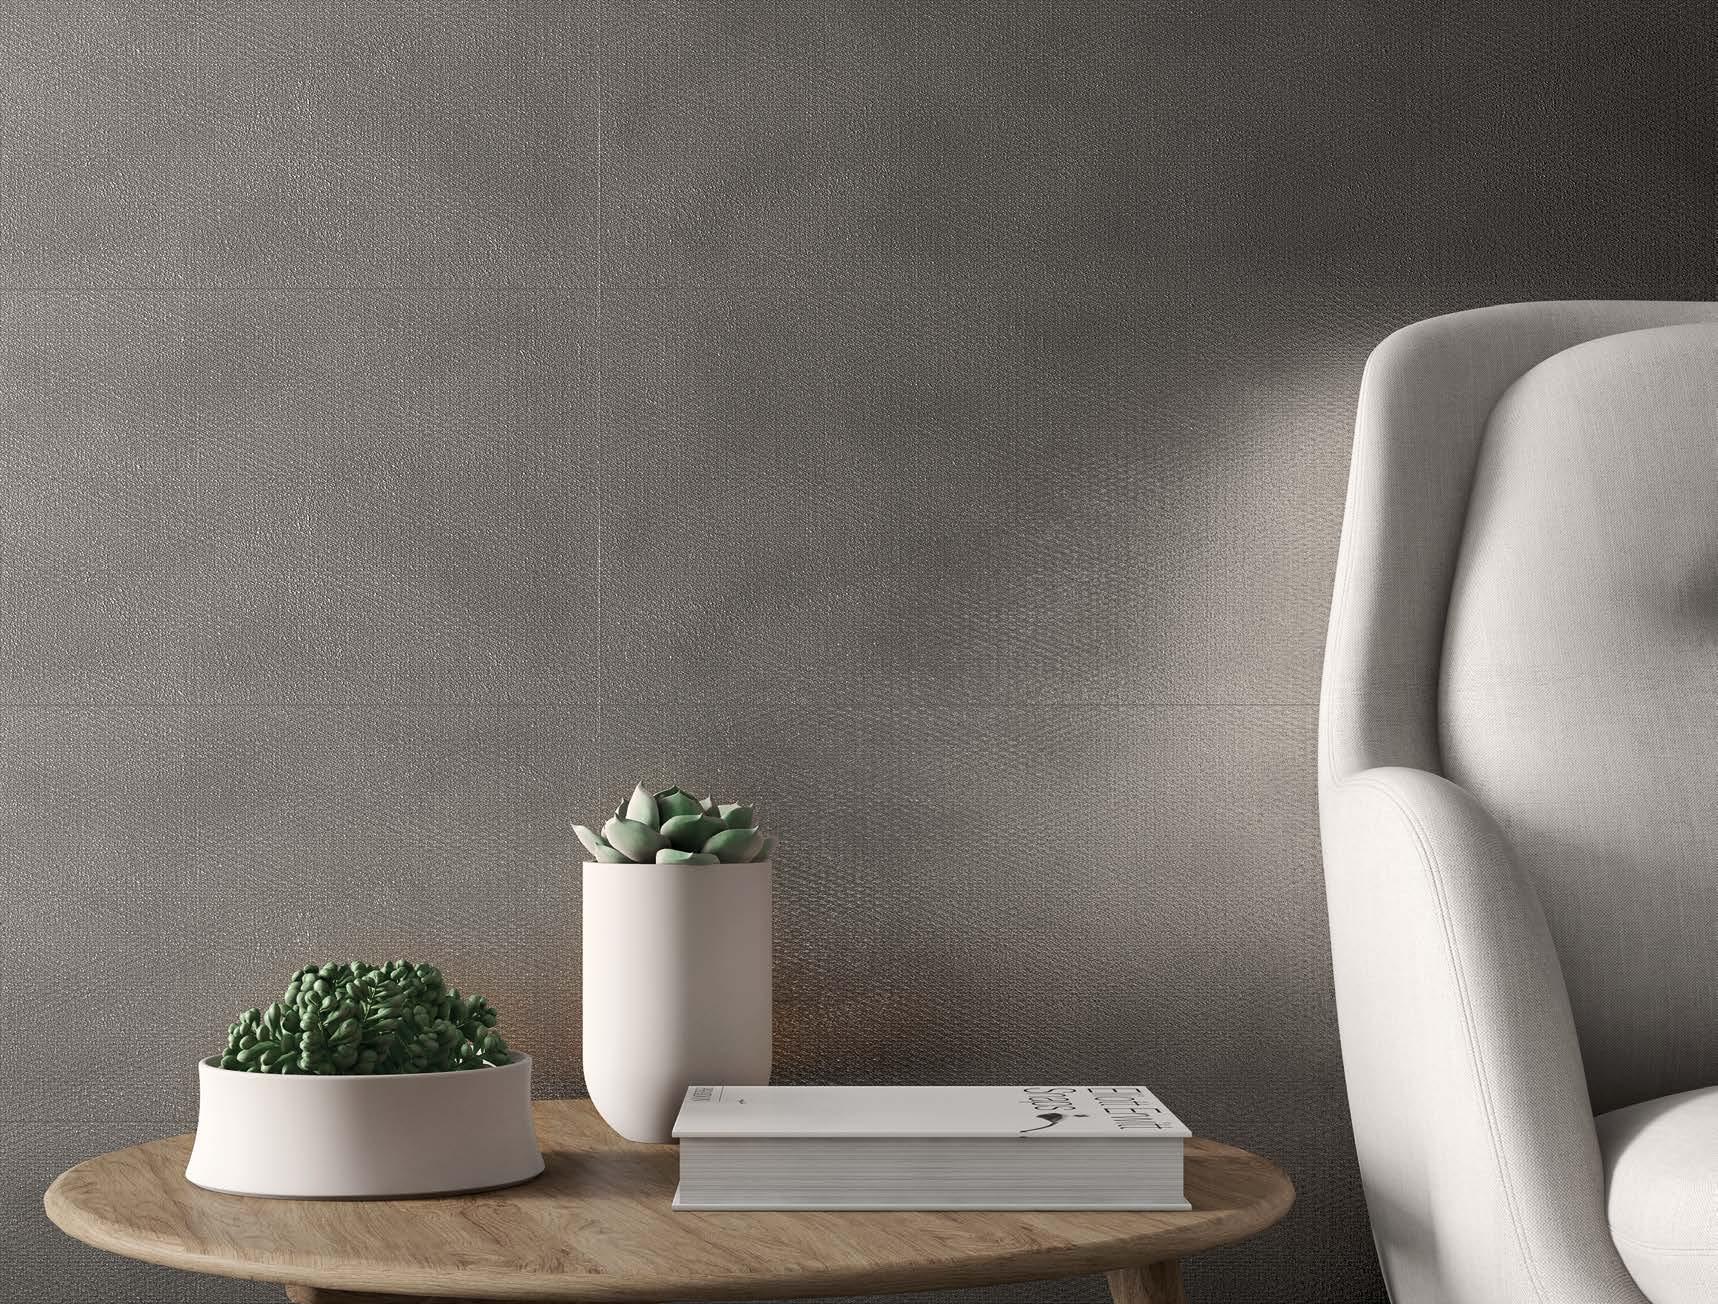
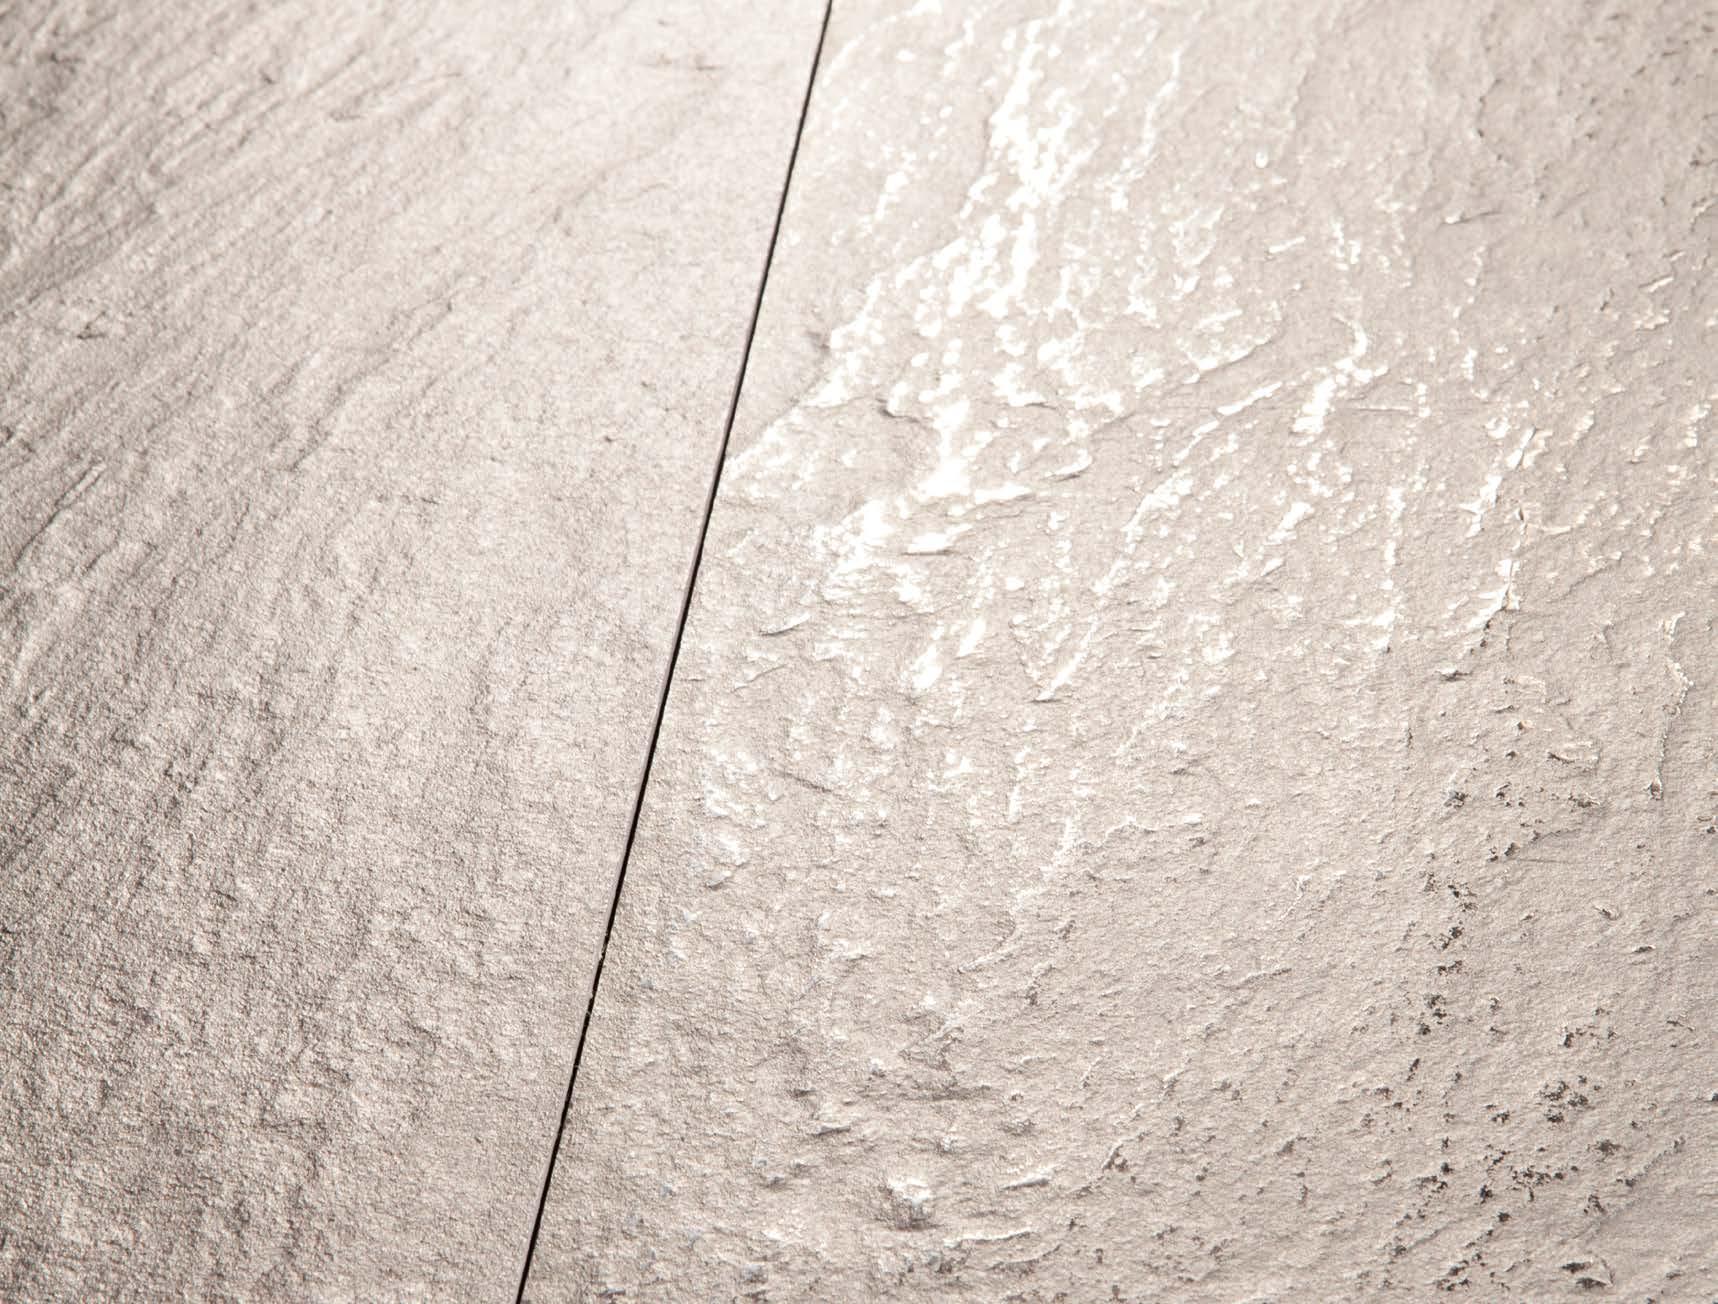
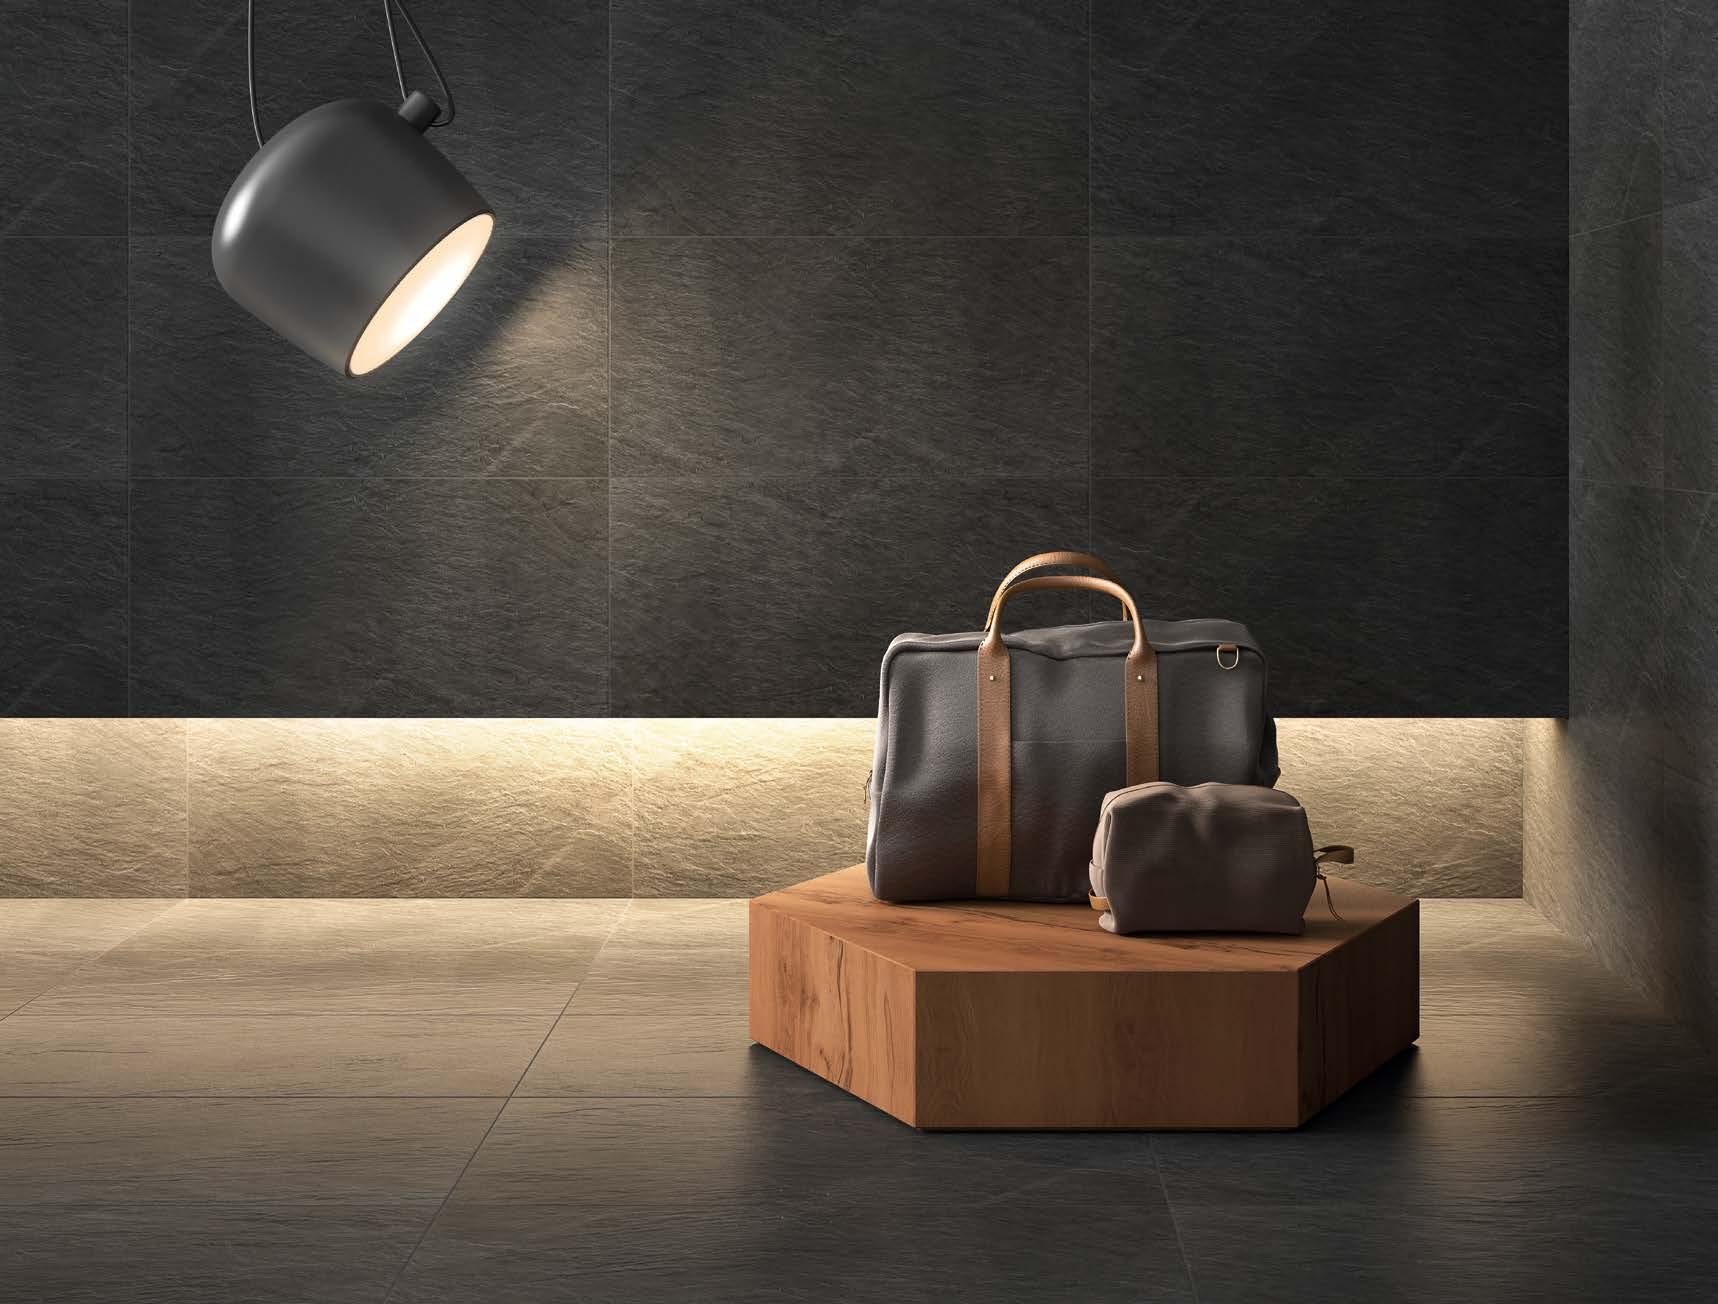
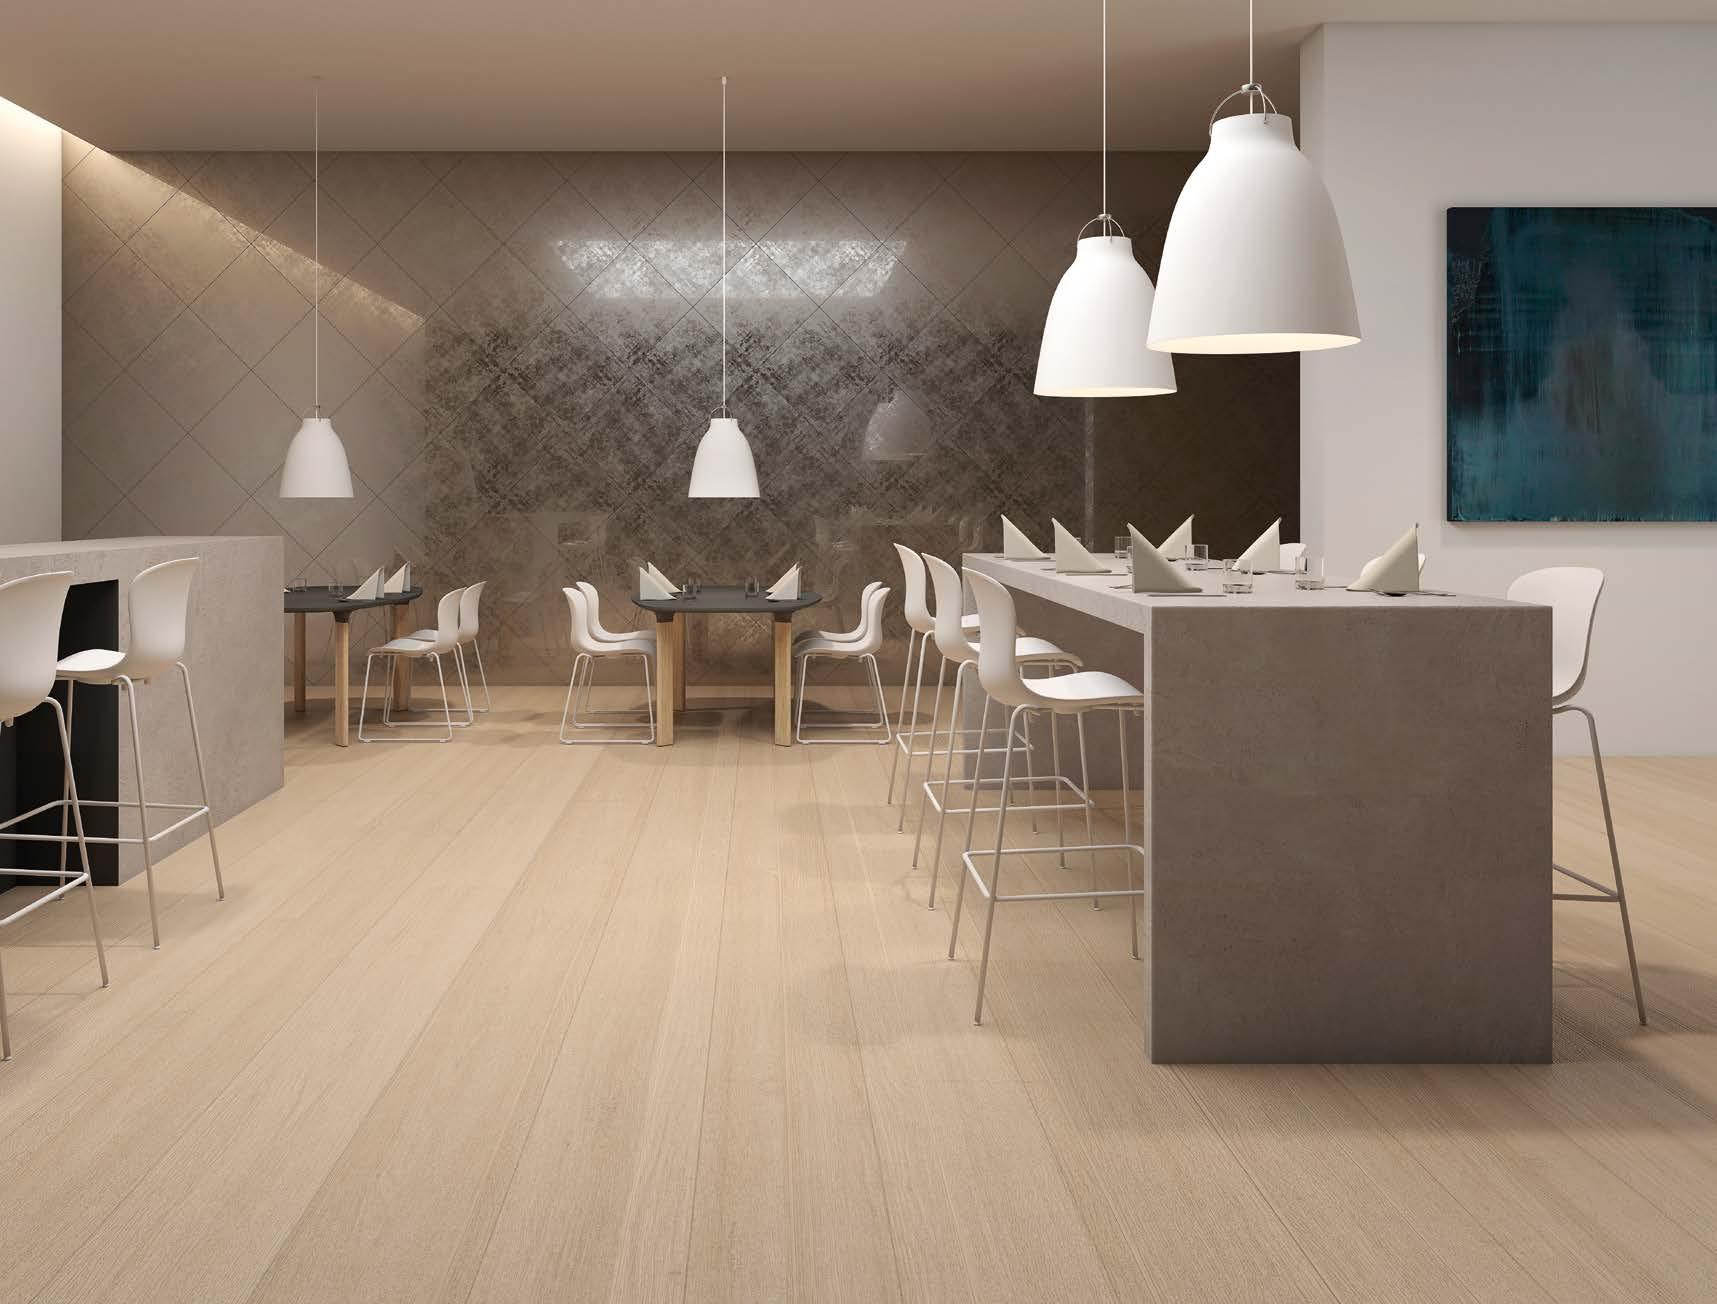
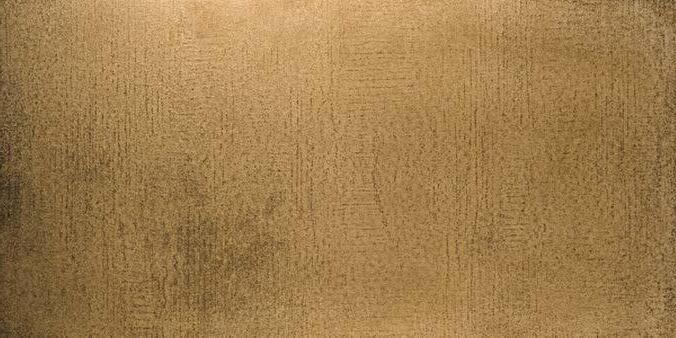
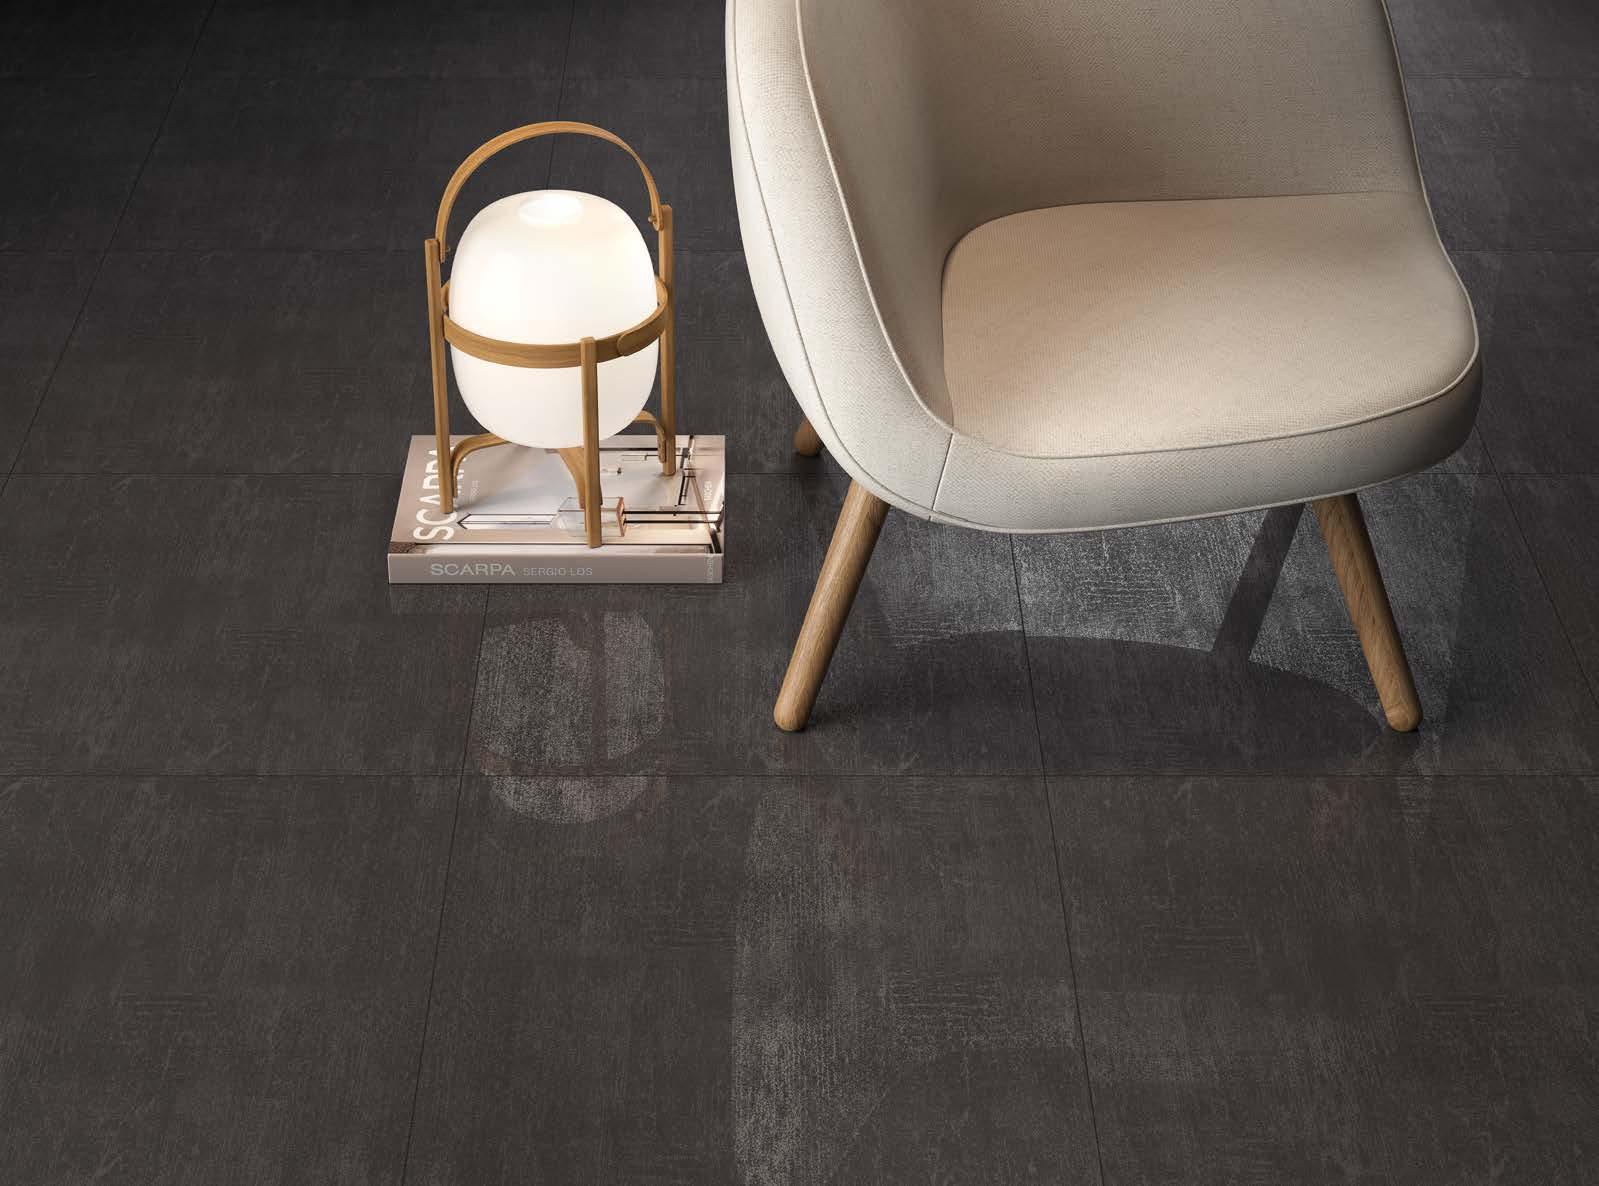
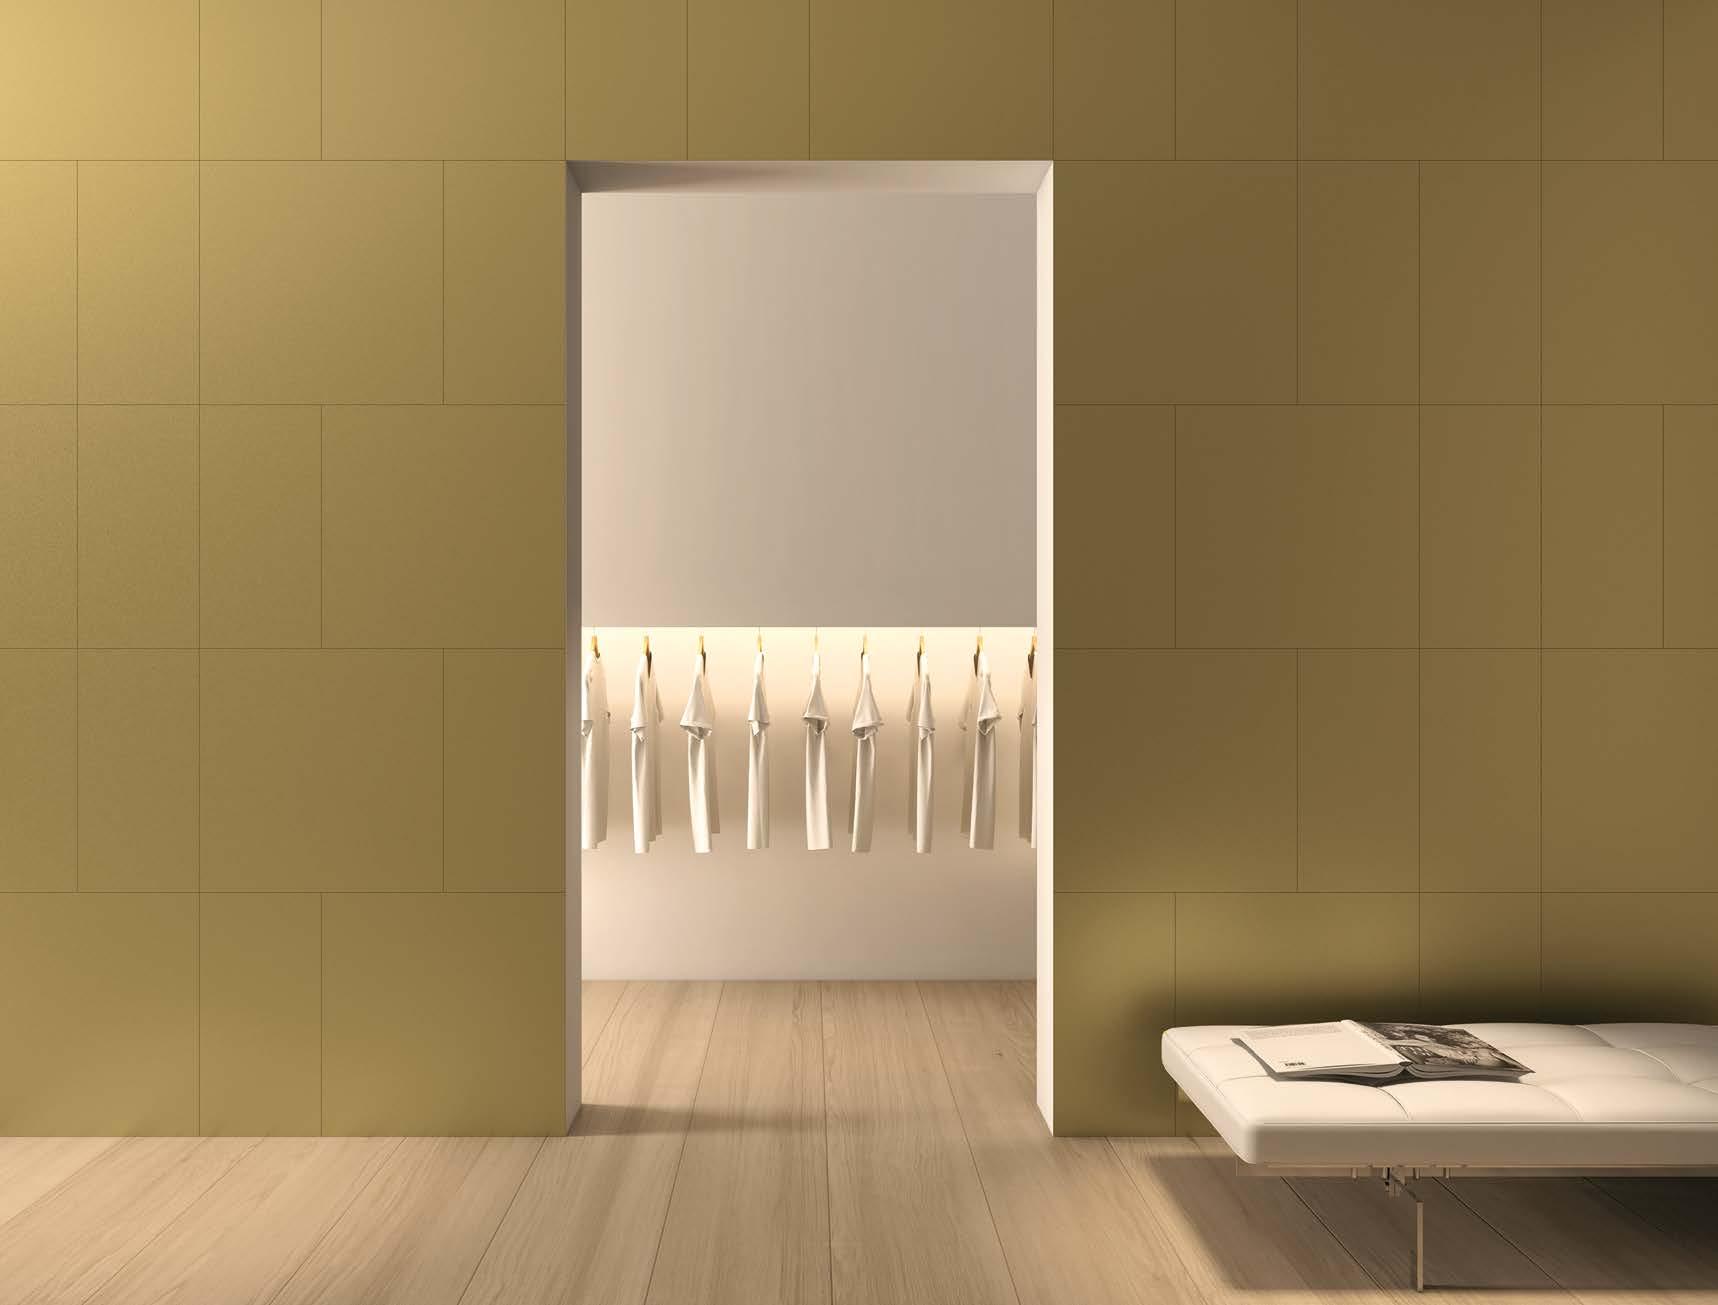
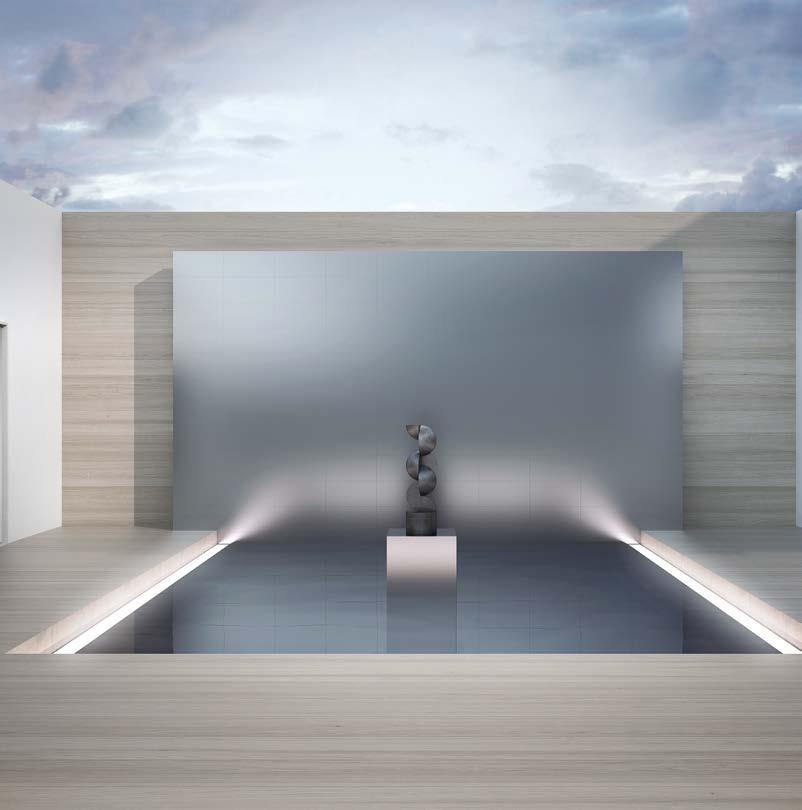
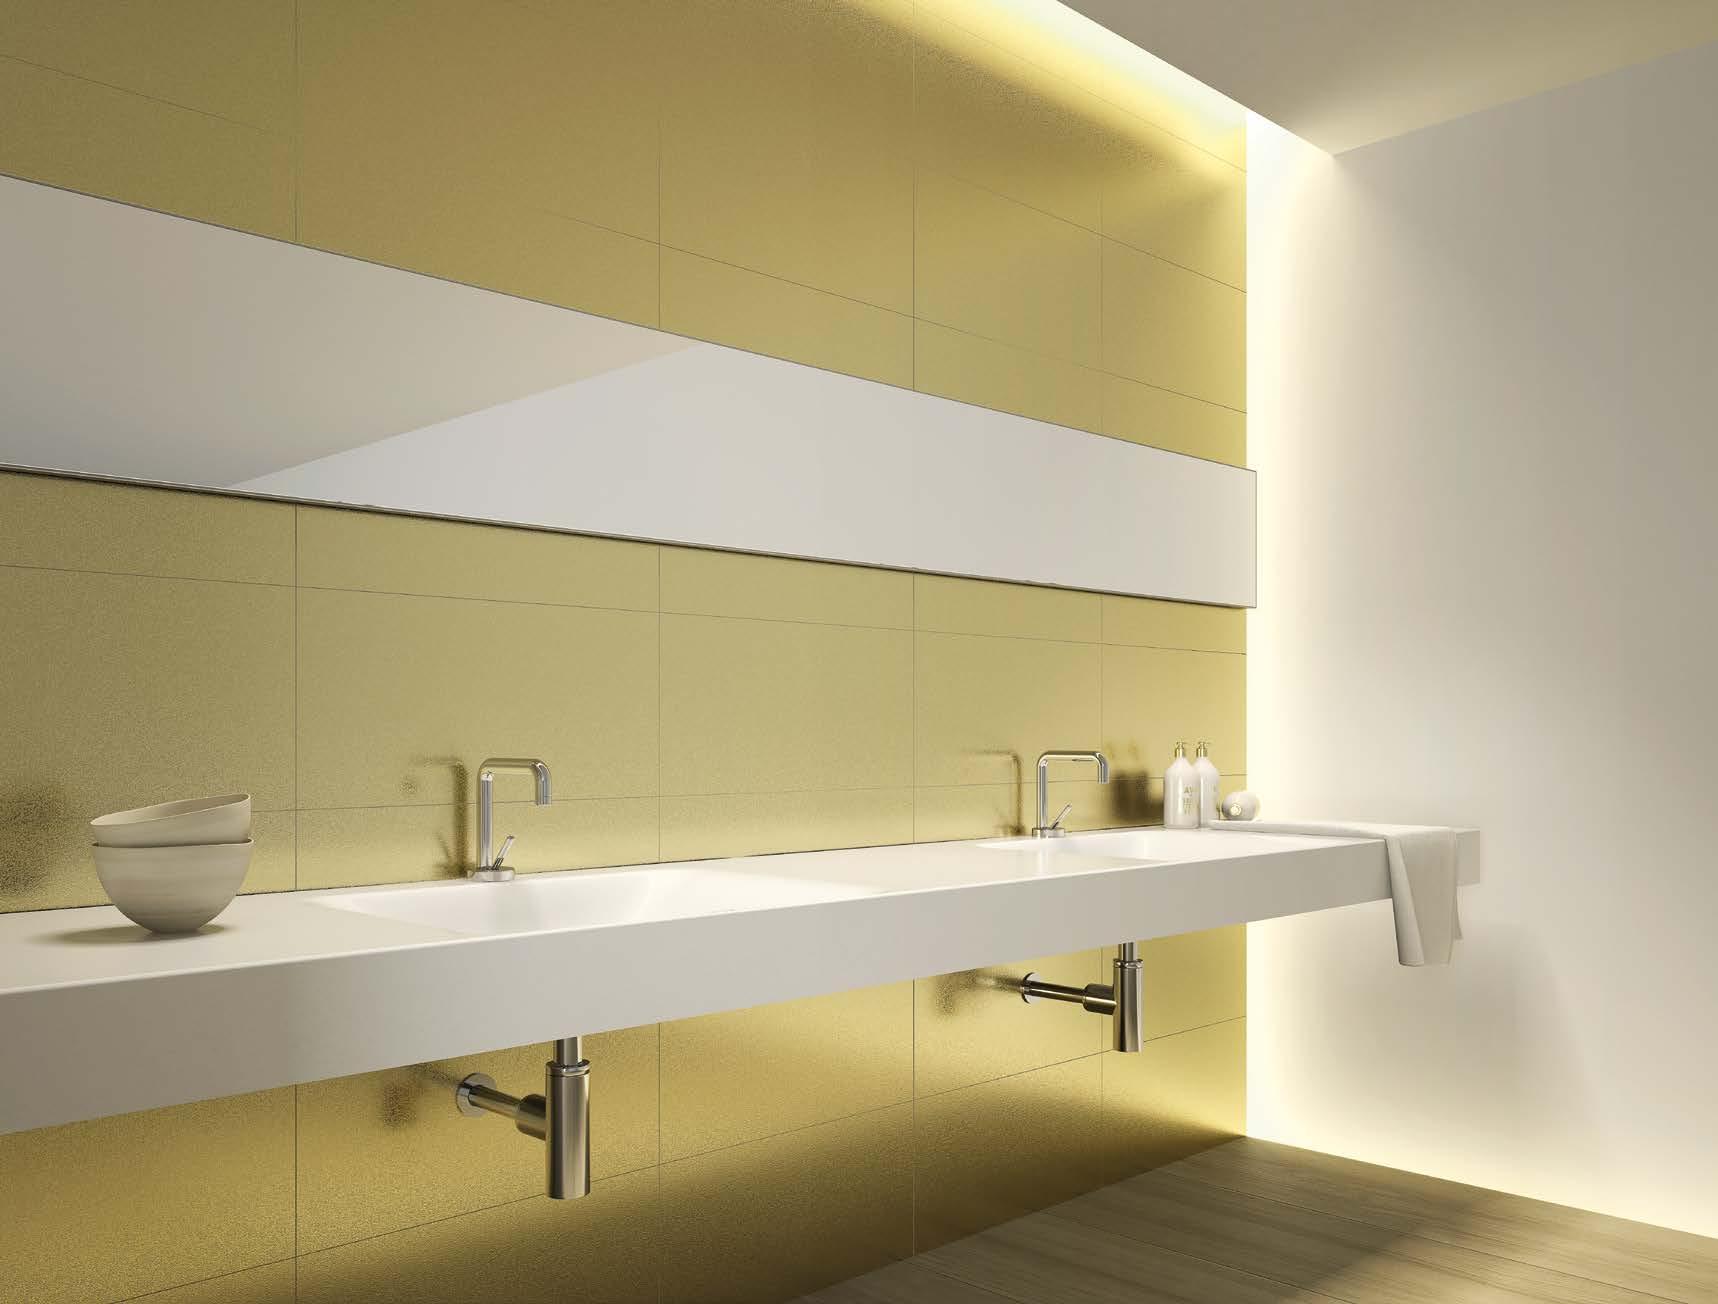
ALEA Custom concept implies the possibility of customize our ceramic materials for any different product design proposals.
Due to our production process, we can develop ideas and exclusive designs according the latest market trends.
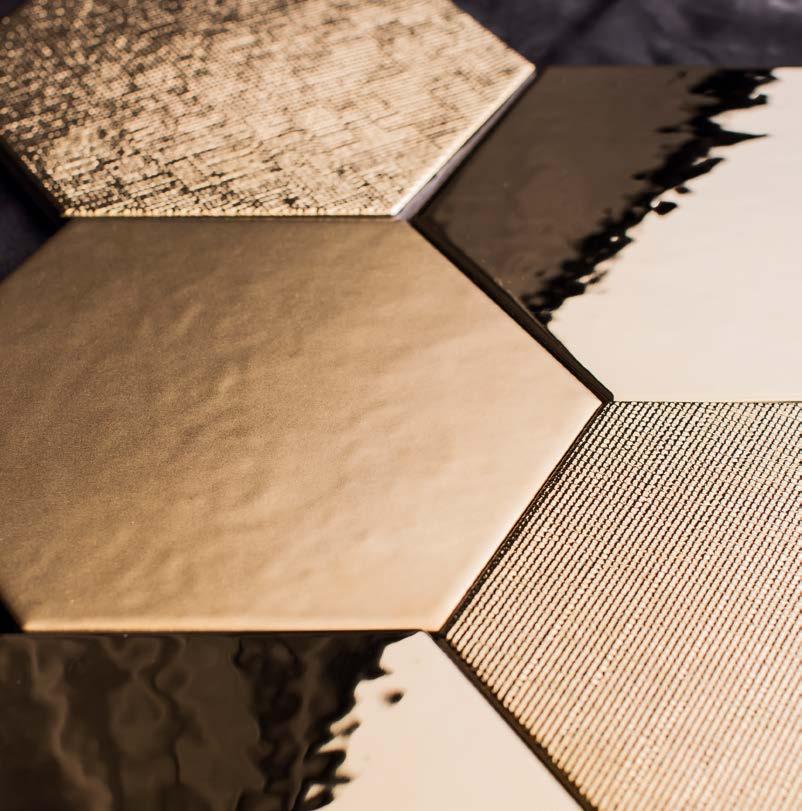
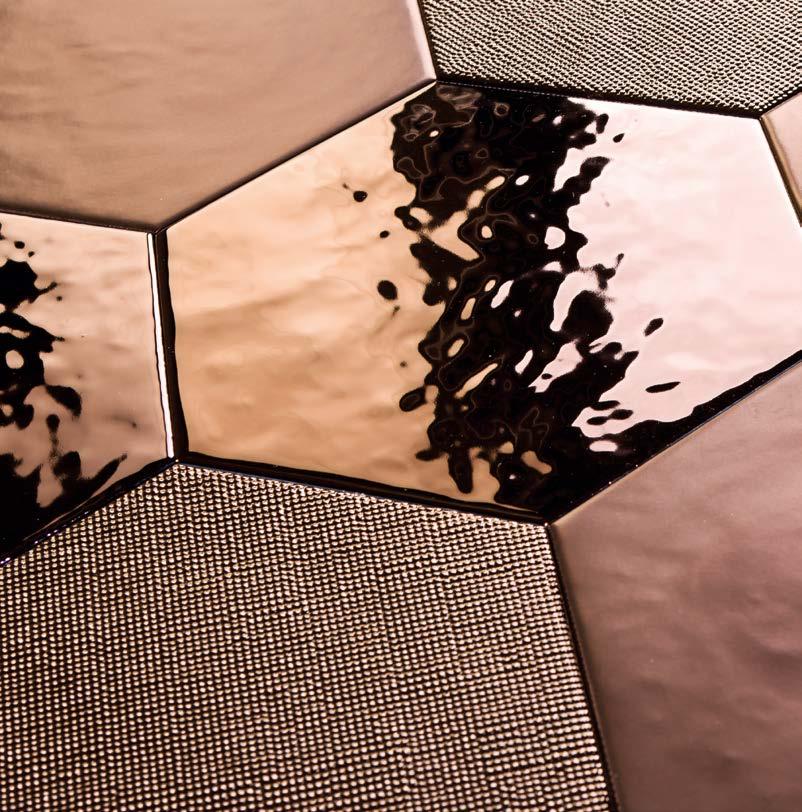
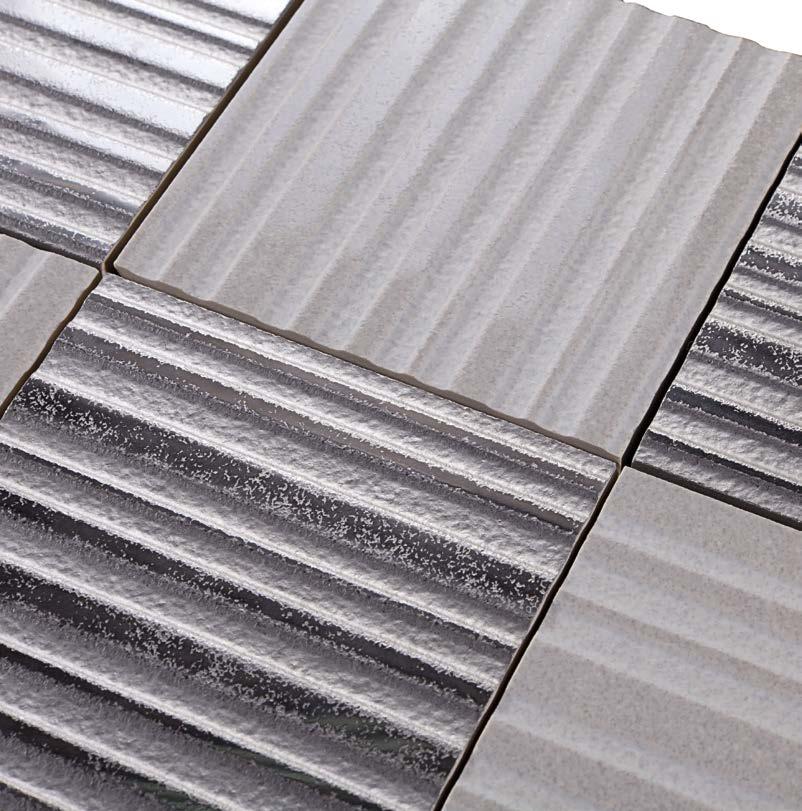
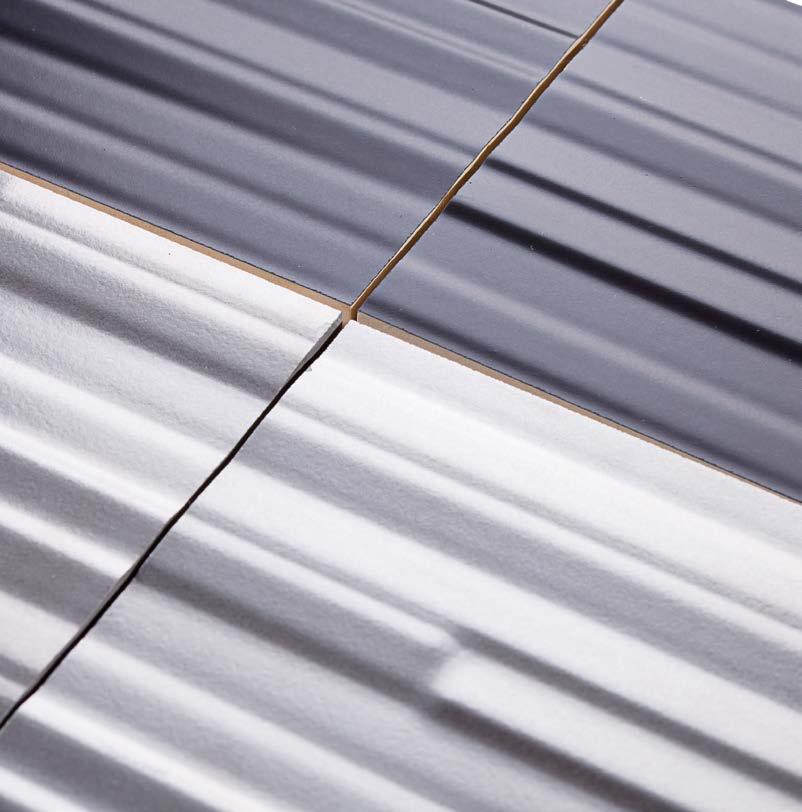
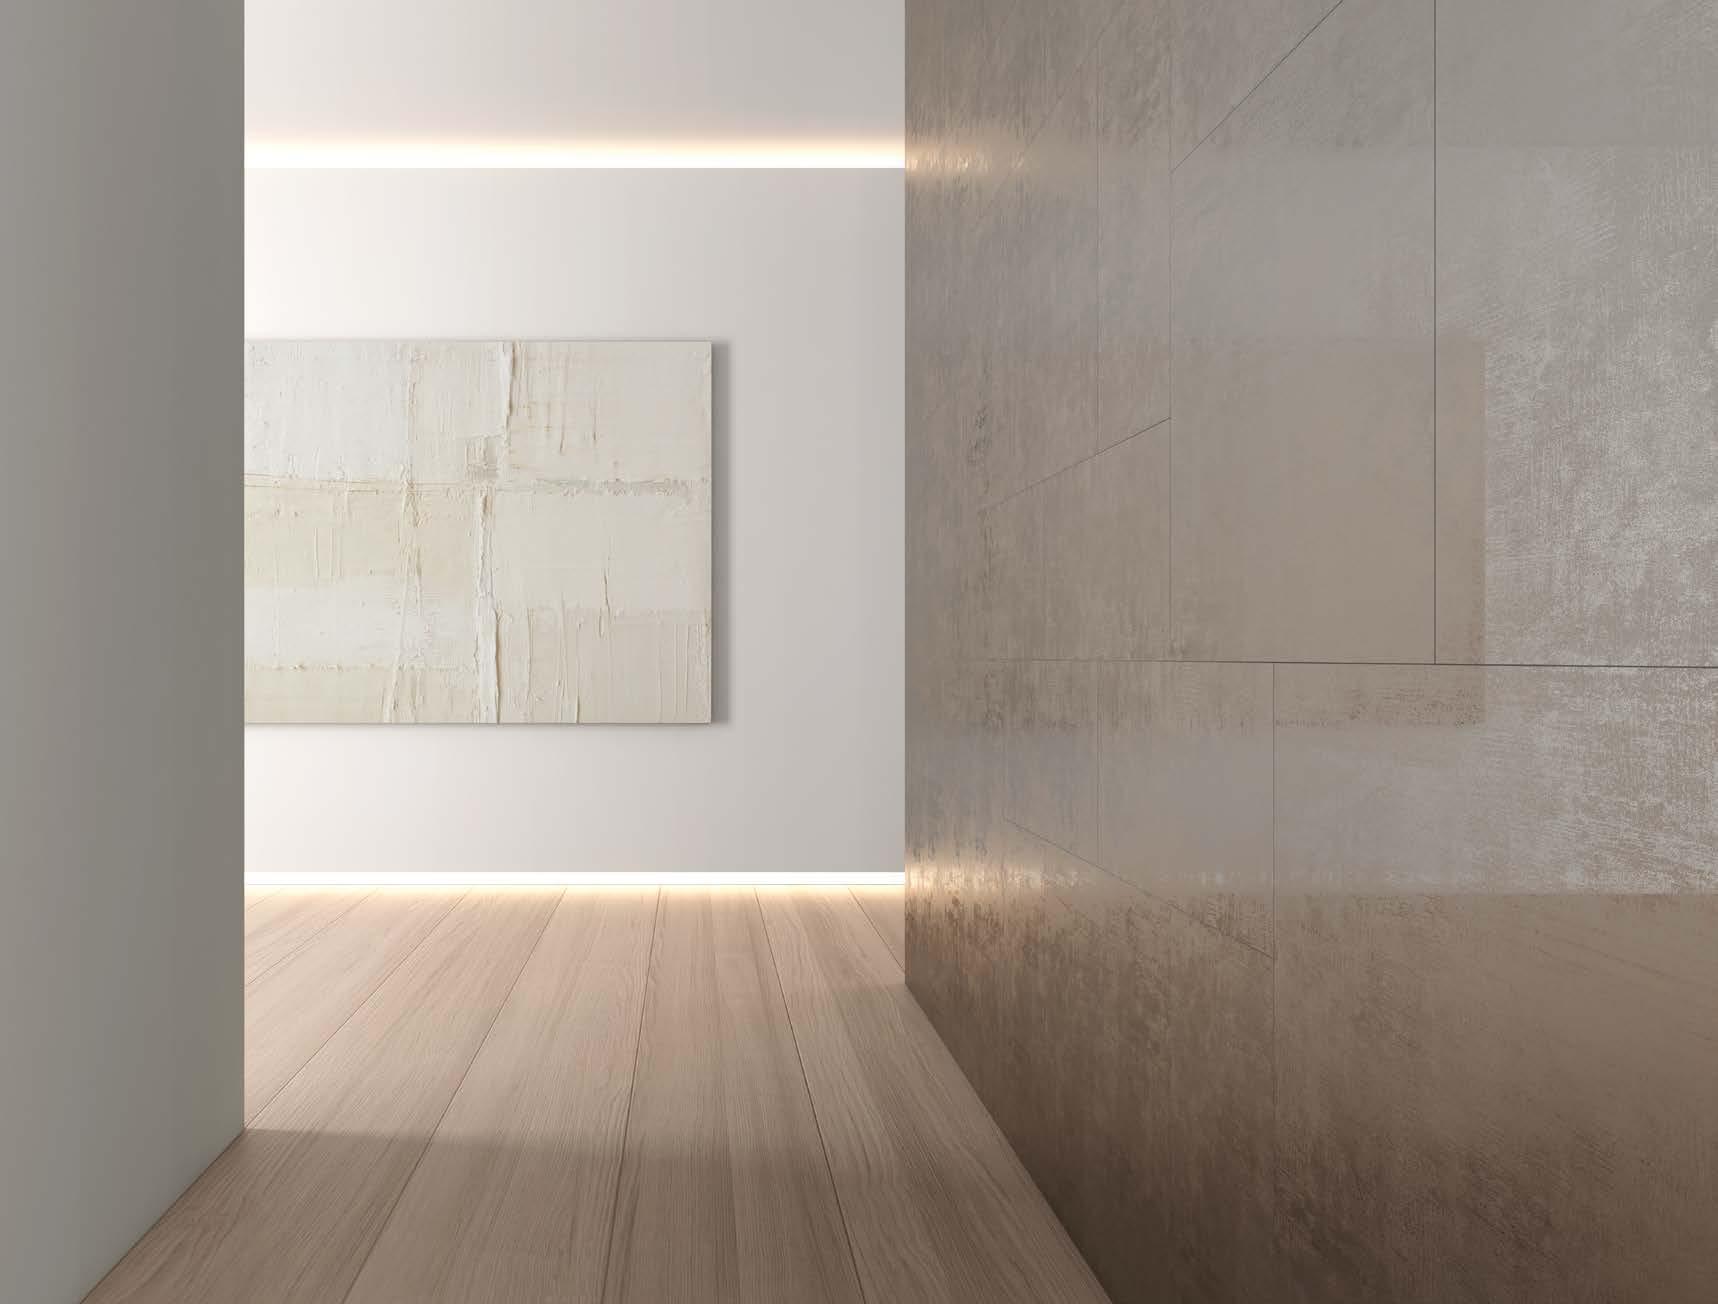
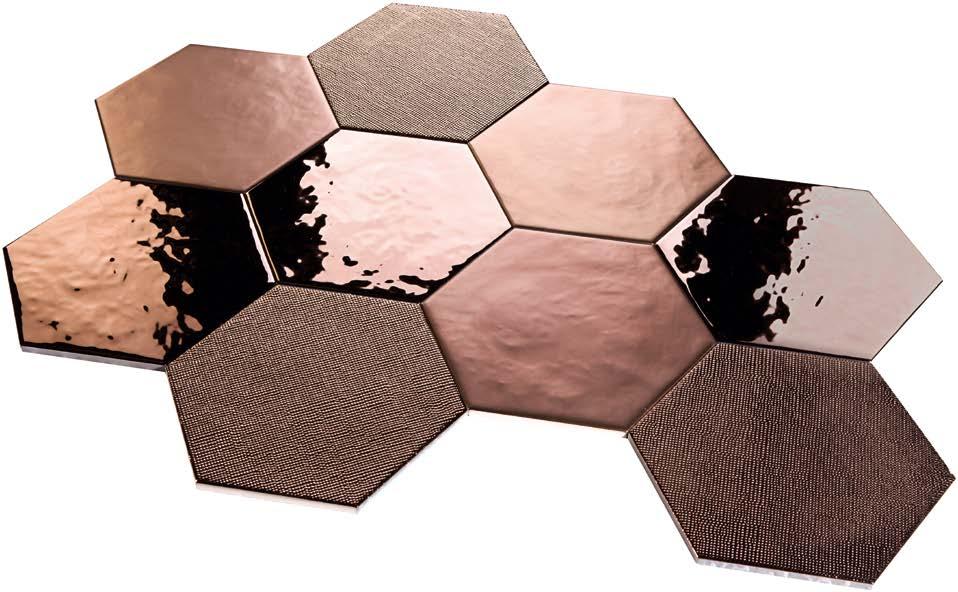
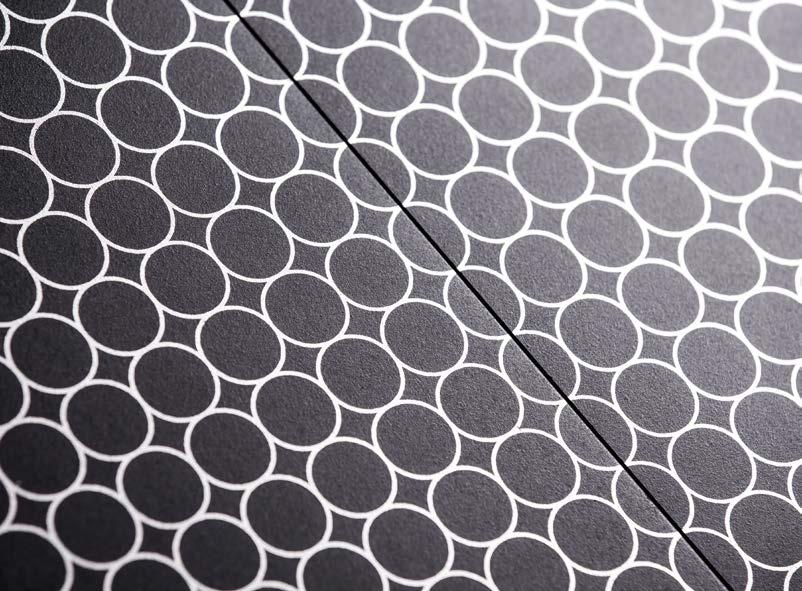
In addition, we can set different design solutions of materials to achieve different products, taking advantage of different formats, textures and geometries previously established. Our technology is adjusted to each project, always with the major respect for the environment. Our experience provides creative solutions to be adapted to any trends in architecture and interior design.
TECHNICAL DATA
1. Choosing a ceramic tile
When choosing a ceramic tile to cover a certain surface, attention must be paid to a series of aesthetical (colour, design, texture, etc.) and technical (physical-chemical features, etc.) conditions.
The technical factors for an adequate choice will depend on the specific situation, weather conditions in the region, and expected use.
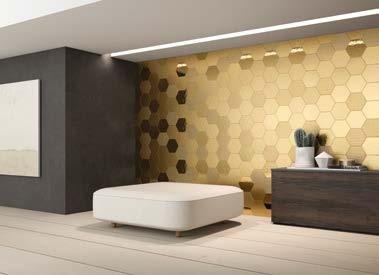
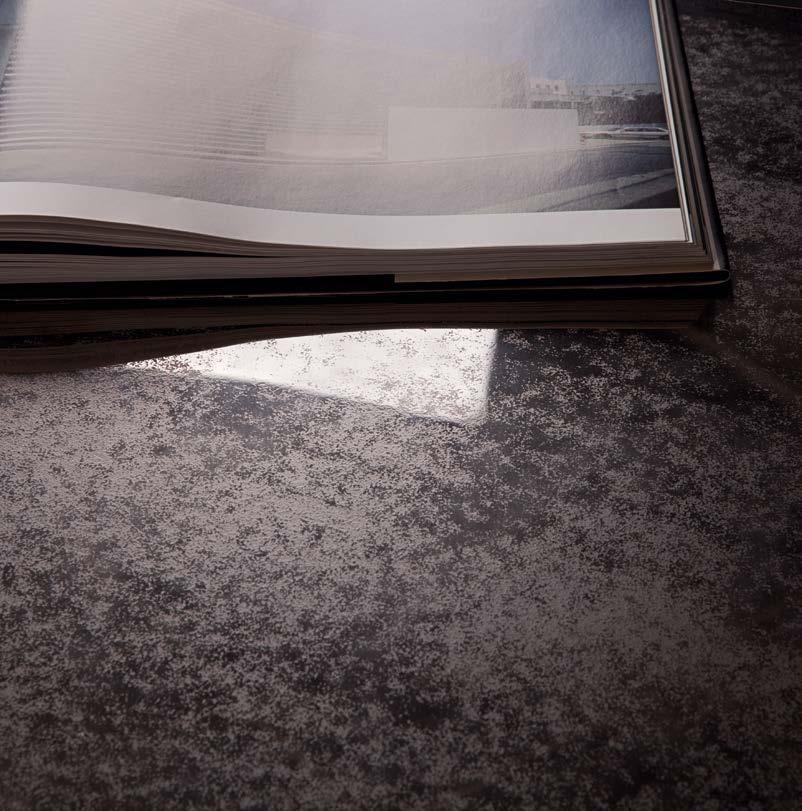
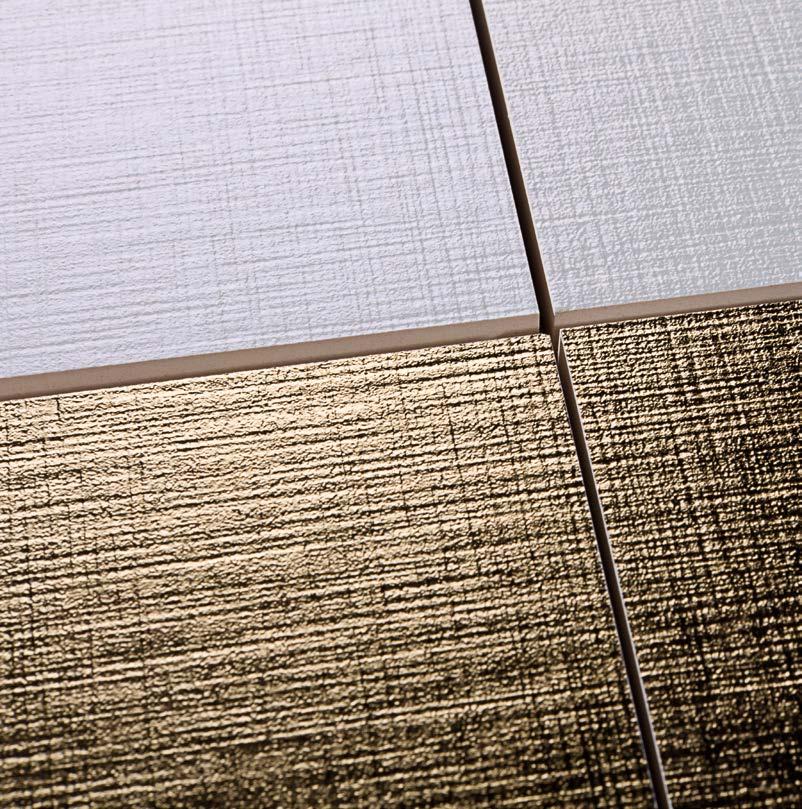
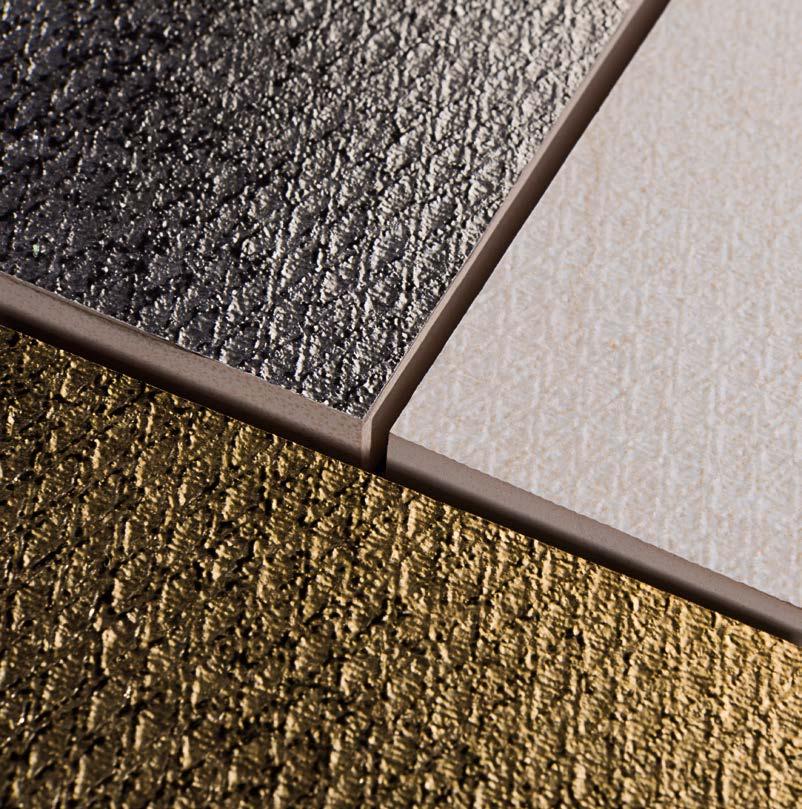
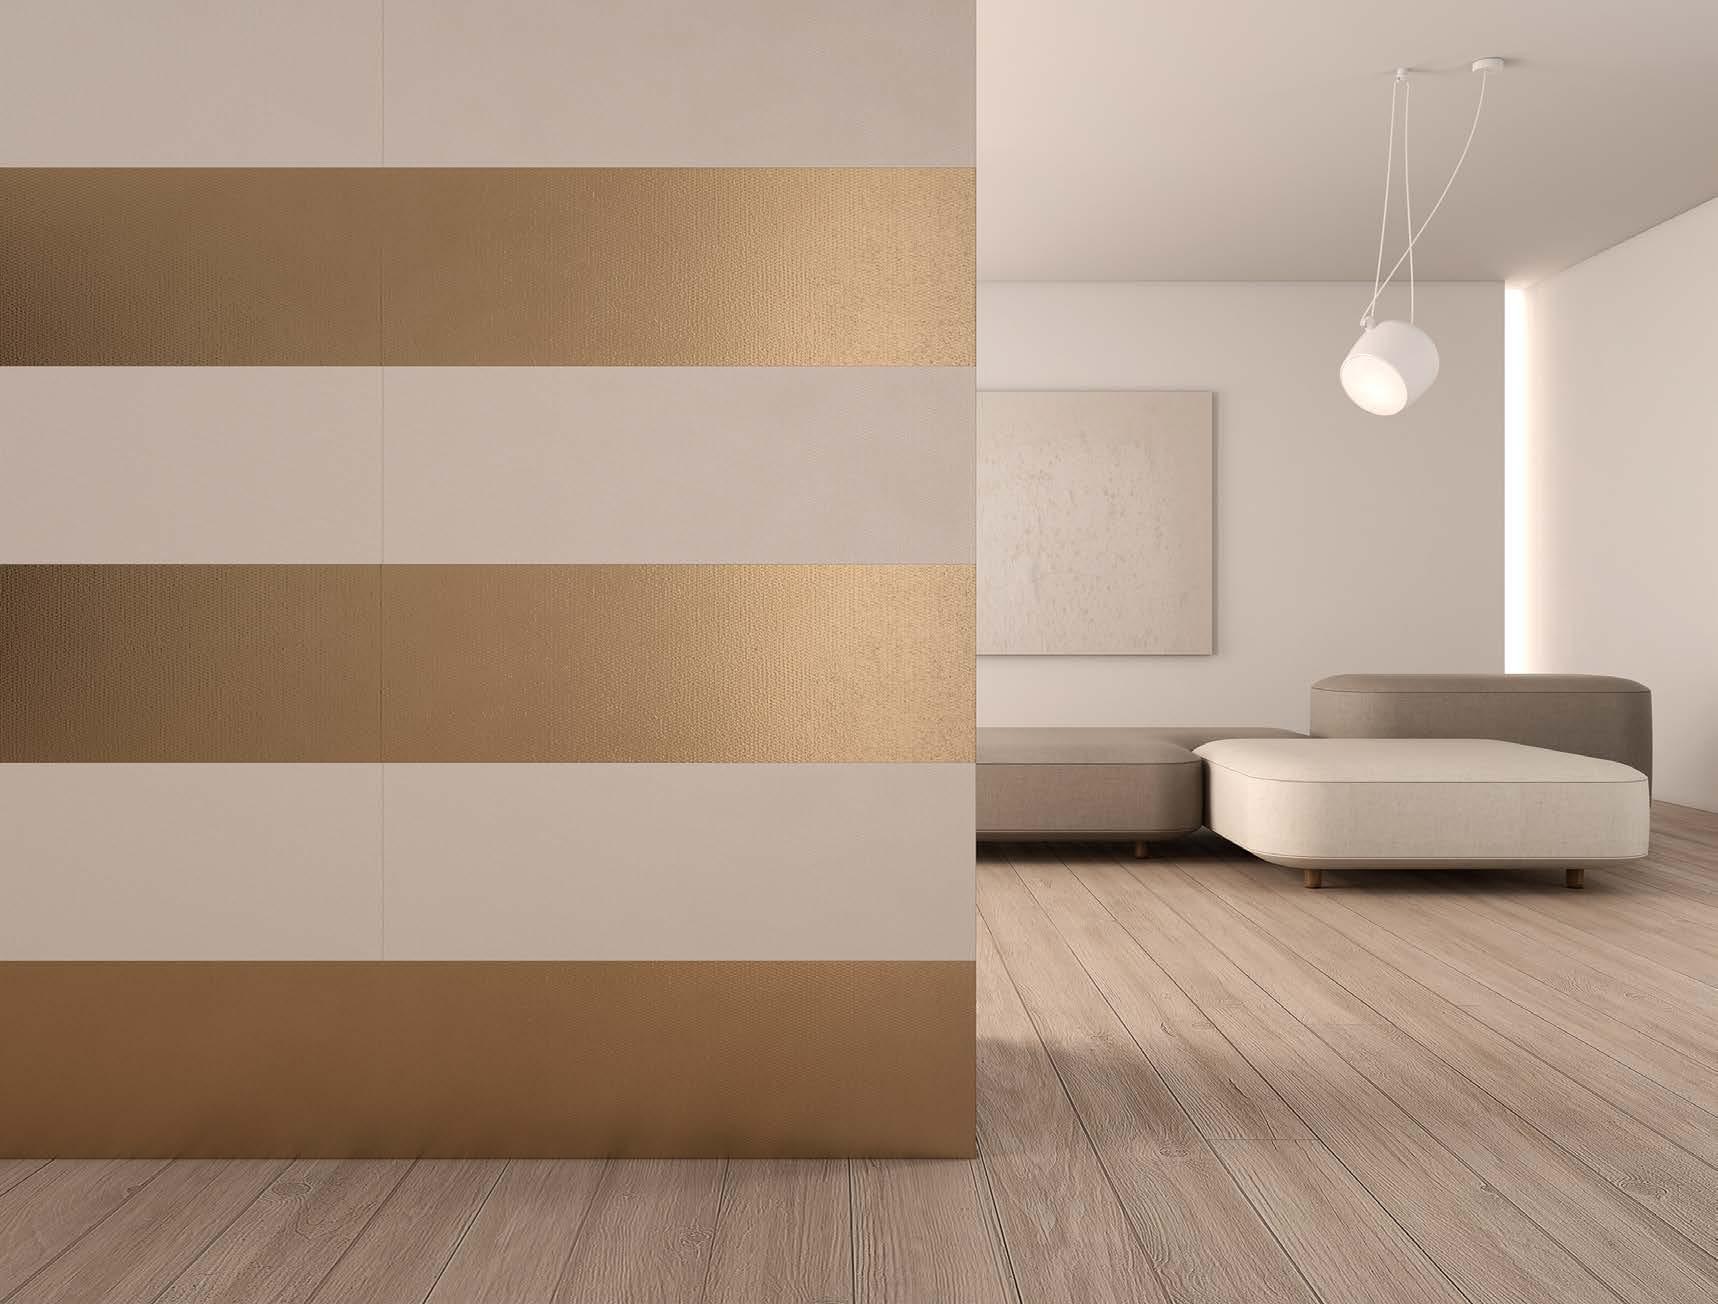
The ceramic pieces contained in this catalog are decorated with a thin metal application. Manipulate with special care.
Improper handling (scratching and/or scraping) and improper use of abrasive detergents can damage the pieces. Treat these in particular with extreme careful.
These products are not suitable for wet areas like public spas or swimming pools where aggressive saline and/or disinfectant products like bleach are used.
2. Initial verification
Prior to placing the ceramic tile, the client should check that it is in agreement with the requested features (model, quality, shape, tone, gage, etc.)
If any ceramic piece is defective, do not use and communicate this to your provider.
Not accept any claims once placed the product.
3. Lay out
It is recommended that the layout of the product is prepared before the final installation.
The surface for placing the tiles must be flat, firm, stable, compatible with the binding material, and clean
We recommend using cement glue with polymeric additives as fitting material. Recommended product: H40 Eco ExtraFlex (Kerakoll)
Before preparing the binding material, check the manufacturer’s indications (way to use, etc.)
The bonding materials are applied with a notched trowel to ensure optimal distribution across the surface.
Should be avoided that the residues of fitting material get dry, remaining adhered on the surface of pieces, using a slightly damp sponge to clean the tile joints, passing it diagonally across them. Do not use dirty or brackish water.
4. Jointing
For technical reasons, it is not advisable to lay ceramic tiles without the corresponding layout joint.
For choosing the jointing material, one should take into account the place where the tiles (floor or wall) are fitted and their situation (indoor or outdoor), the use of joints with polymeric additives or synthetic resins being recommendable, and not Portland cement grout. Recommended product: Fugalite Eco (Kerakoll)
5. Cleaning
Do not use commercial products known as cement removers or scale removers, acid solutions used mainly to remove cement debris (work debris).
For cleaning excess installation materials before they have dried, use a sponge and plenty of water.
For subsequent cleanings we recommend the use of a soft dampened in water and neutral soap. Do not use powder detergents, nor metallic mops or abrasives. Do not use abrasive, acidic or alkaline cleaning products. Recommended product: Fugasoap (Kerakoll)
Use a soft sponge with liquid soap and water to clean the tiles, and then dry them with a fine cloth.
6. Cutting
When laying tiles, it is necessary to cut the tiles to adapt them to the geometry of the place to decorate.
Cutting tools
Hand cutting tool Fitted with a widia scoring wheel. With reference to the size of the scoring wheel, it is recommended to use one of an 8-mm diameter for tiles with flat surface, and of an 18-mm diameter for tiles with a rough surface.
Electric cutting machine - Fitted with a diamond disc and water cooling system. It allows for precise and somewhat complex cutting operations on very hard material. The diamond disc should be of the wet continuous type
7. Drilling
An efficient drilling of ceramic materials is easily achieved considering two factors, use of an adequate drill bit for ceramic tiles and use of the proper drilling technique.
Drilling types
We may distinguish two drilling types in accordance with the diameter involved:
- Large drillings (diameter > 15 mm: 20, 25, 28, 32, 40 mm, etc.): Carried out mainly while laying the tiles in order to observe gutters, heating channellings, etc.
- Small drillings (diameter < 15 mm: 5, 6, 8, 10, and 12 mm): Carried out to bind different elements (accessories, furniture, etc.), after laying ceramic tiles
Drilling tools
To drill the ceramic tile, we will require the following tools and accessories:
Drill - A standard one of the following characteristics will do just fine: power = 600 W, non-driver (rotation) mode, speed selector (electronic governor recommended), bit holder with an opening = 10 mm, additional handle, and depth limit.
Special drill bits for ceramic tiles - In accordance with type of material and the end geometry, we may classify these drill bits into 4 types, namely:
- Special tungsten carbide drill bit for ceramic tiles: special helicoid end (1) and arrow tip end
(Not to be confused with drill bits for glass drilling (2)).
- Diamond drill bit: Cylindrical end (3) and Crown end (4)
The drilling point should be cooled with water at all times during the drilling process.
Shades and colours shown on these photographs are only to be considered as a reference.
This catalogue has been carefully reviewed, however, it does not have any contractual value.
ALEA reserves the right of modifying, without notice, any technical characteristics for production reasons which would never imply any liability.
This catalogue cancels previous ones.
ALEA commercial department thanks you for trusting our products and services. We will kindly accept any suggestion or information request you may have.
www.aleaexperience.com