
PRE-SETTLEMENT INSPECTION CHECKLIST
Inspection Date
Client Name
Care Consultant
Welcome to your Pre-Settlement Inspection!
We’re excited to guide you through your new property. Your dedicated Care Consultant will walk you through the property and assist with any questions or concerns you may have during the inspection.
If you notice any defects, please inform your Care Consultant so they can lodge these in the App with the builder for rectification. After settlement, you’ll be able to track the status of any reported defects via the myFrasers Property App
If you’ve engaged a building inspector, please ensure their full report is emailed to CustomerCareVIC@frasersproperty.com.au within 24 hours of your inspection.
While we aim to address all defects before settlement, some items may take longer. When you collect your keys, we’ll provide an update on any outstanding defects and the expected timeframe for resolution.
Three-Month Period
From the original date of settlement, you’ll have access to a three-month period (under Standards and Tolerance) covering items such as:
• Loose fittings
• Misaligned doors or cabinetry
• Faulty workmanship or materials
All defect requests must be submitted via the myFrasers Property App. For full details, please refer to our Three-Month Period Policy
Important Note
Please be aware that issues resulting from user error or non-compliance with manufacturer instructions are not considered defects. These may void warranties and result in costs being passed on to you.
For guidance, refer to the manufacturer instructions available in the Residents’ Hub or scan the provided QR code.
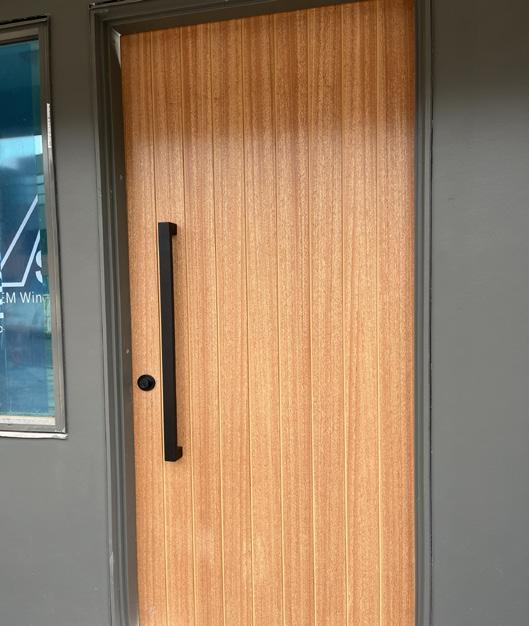
FRONT DOOR
The front door has a single mortise lock with an internal snib. The front door is fitted with a roller latch mechanism. During periods of strong wind, there is a possibility that the door may be forced open if it is not securely locked. For safety and to prevent unintended opening, it is recommended that the door be locked when not in use.
External entry doors (including front door and laundry door) have been fitted with a weather seal around the door frame to reduce drafts and moisture entering your home.
Due to your door being a natural timber finish, it will swell and contract depending on weather. At times, you may need to pull your door firmly closed into the weather seal to provide a tight seal on the jamb during the locking operation.
Inspect the condition of the finish on your door and check for signs of wear and tear every 12 months as you may need to reapply the clear coat.
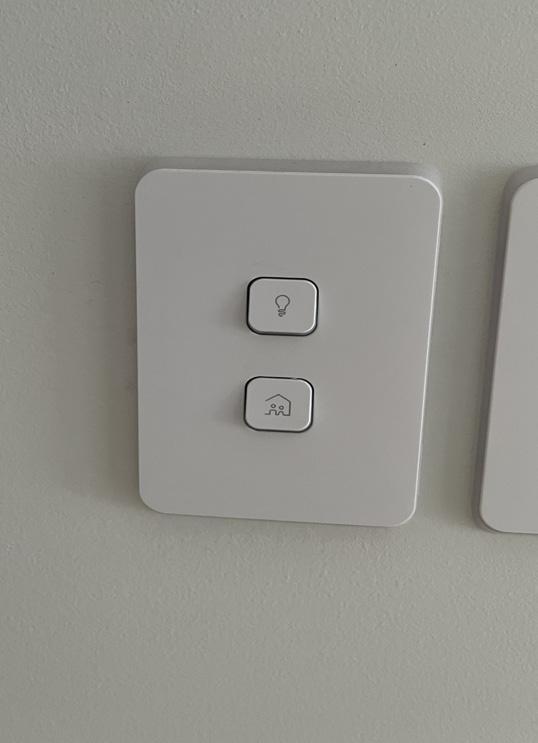
Master switch for the lights
Master switch for the power points
HOME SWITCH
Ensure the master switches for lighting and power outlets are turned on when using lights, GPOs, or appliances.
Note that switching off the lighting master switch will disable all internal downlights. Refer to your individual electrical plan for details in the contract of sales for more information.
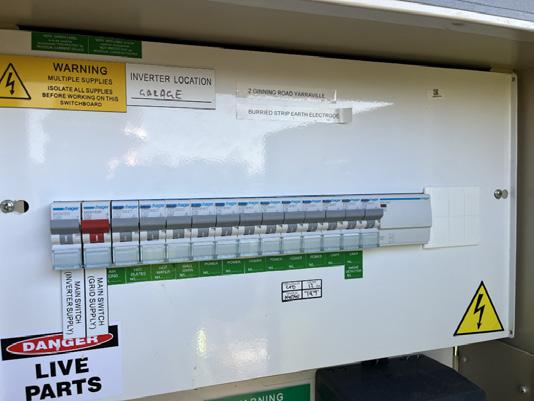
ELECTRICAL SWITCHBOARD
Your connection is individually metered and distributed via the electrical switchboard within your home.
The switchboard is fitted with circuit breakers to each electrical circuit. To turn power on in your residence, make sure all circuit breakers and the main switch is in the ‘on’ or ‘up’ position.
These may trip out if a fault develops in an electrical appliance. If a trip should occur, isolate the appliance from the power outlet and switch the circuit breaker to the ‘on’ position (up). Then, push the reset button on the safety switch. If the circuit breaker still trips out, an electrician should be called.
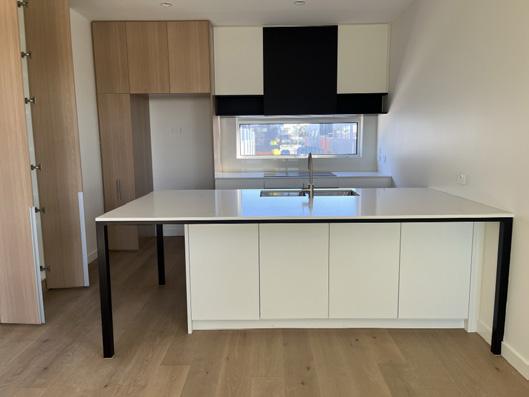
KITCHEN - GENERALLY
Please take care to follow manufacturer instructions when using and maintaining your kitchen benchtop and appliances.
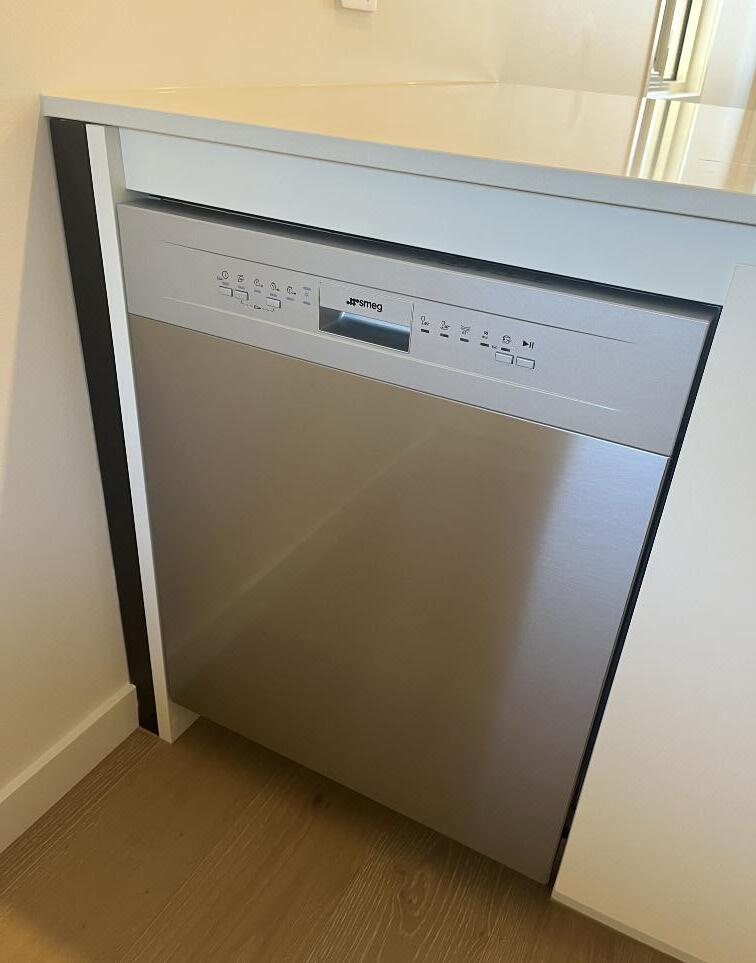
The warranties for all appliances – including oven, rangehood, cook top and dishwasher – are in the Residents’ Hub upon settlement.
This means you must lodge any defect related to appliances directly with the supplier/ manufacturer.
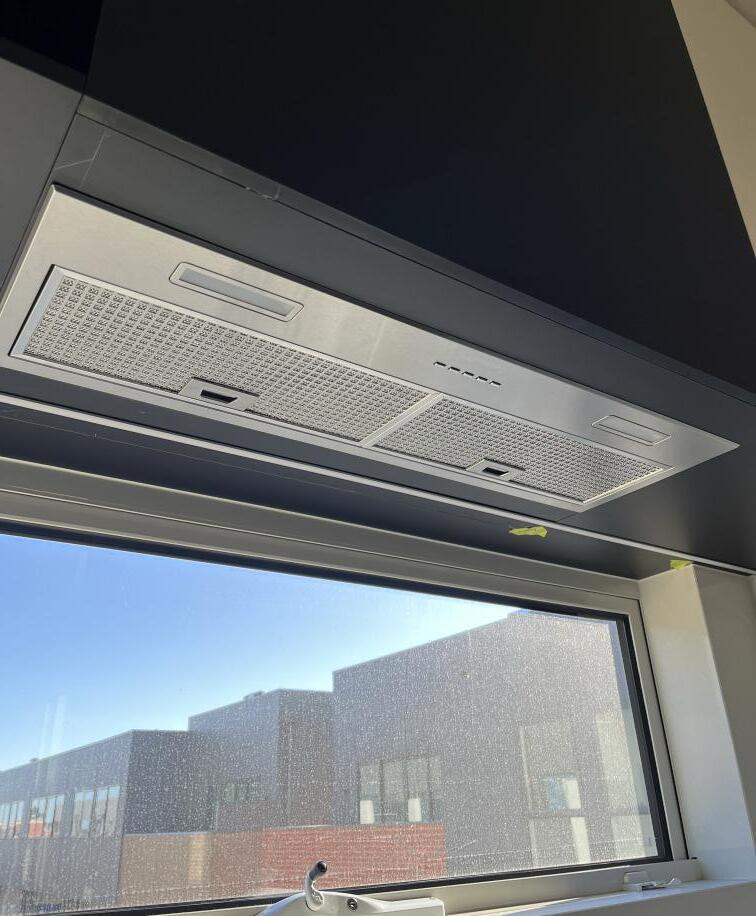
RANGEHOOD
To maintain your rangehood’s performance, the filter should be cleaned regularly.
Take care when removing or replacing the filters to prevent damage to the rangehood and other appliances.
Refer to manufacturer instructions for best cleaning products and methods.
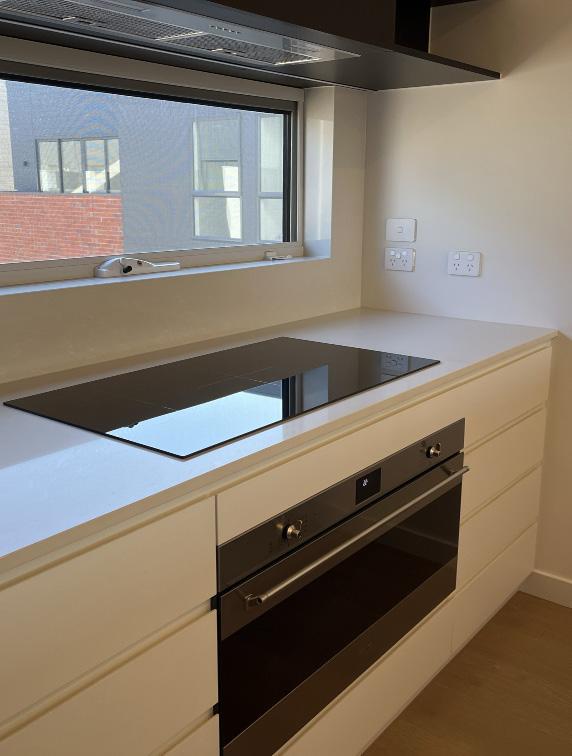
COOKTOP
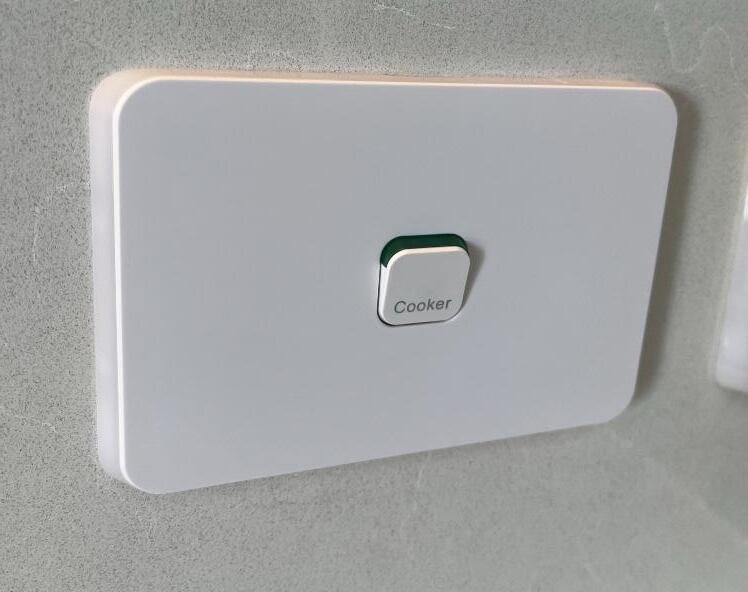
Your kitchen includes an electrical cooktop. The cooktop is equipped with an isolator switch, which is located alongside the power points next to the bench. For the cooktop to operate, this isolator switch must be turned on. Please ensure the switch is in the ‘on’ position before attempting to use the cooktop
Ensure you follow manufacturer instructions. Please note abrasive products or cleaning tools (e.g. steel wool) may damage your cooktop.
Refer to manufacturer instructions for best cleaning products and methods.
OVEN
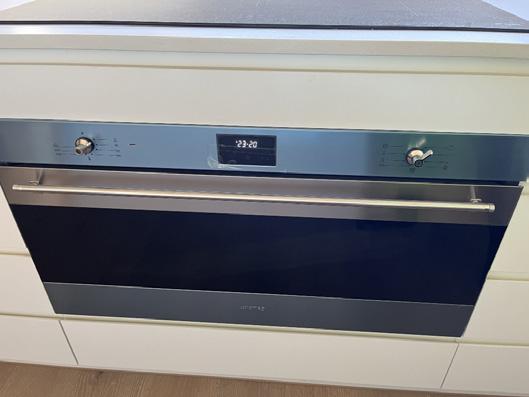
For all oven functions to work, you must first set up the time.
Refer to manufacturer instructions for best cleaning products and methods.
WATER POINT
(where applicable)
Your water point is located above the fridge cavity.
We recommend you have your fridge plumbed by a registered plumber to avoid leaks.
DISHWASHER
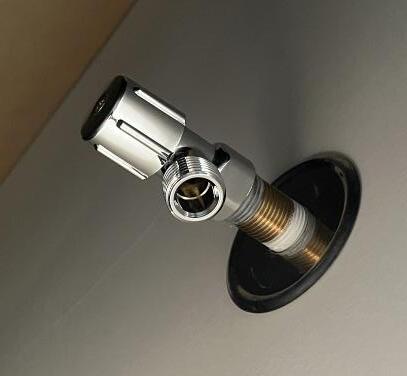
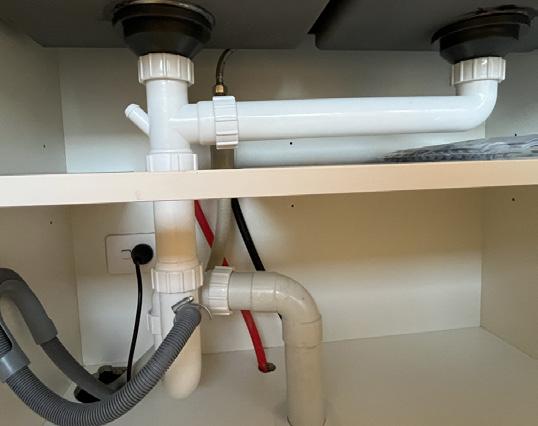
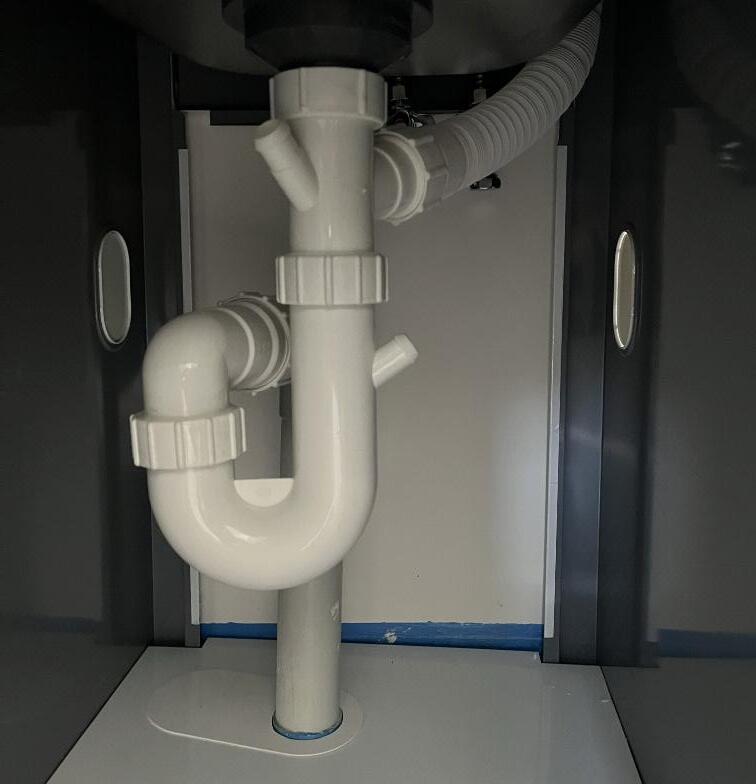
Under the kitchen sink, you will see that your dishwasher has been fully plumbed in.
Engage a registered plumber if you intend to make any alterations to your plumbing to prevent damage to your property.
If you notice a small leak from the connection knob, please try tightening it. If the leak persists after tightening, please report it with photo via the MyFrasersProperty app.
LAUNDRY – WASHING MACHINE PLUMBING
The taps and hoses required for washing machine connection are found in the cupboard under the laundry tub.
To connect your washing machine: It is critical that you engage a registered plumber to install the washing machine to ensure safe and correct installation and avoid the risk of leaks. If the leakage cause by incorrect installation, this will void warranties and result in costs being passed on to you.
WINDOWS
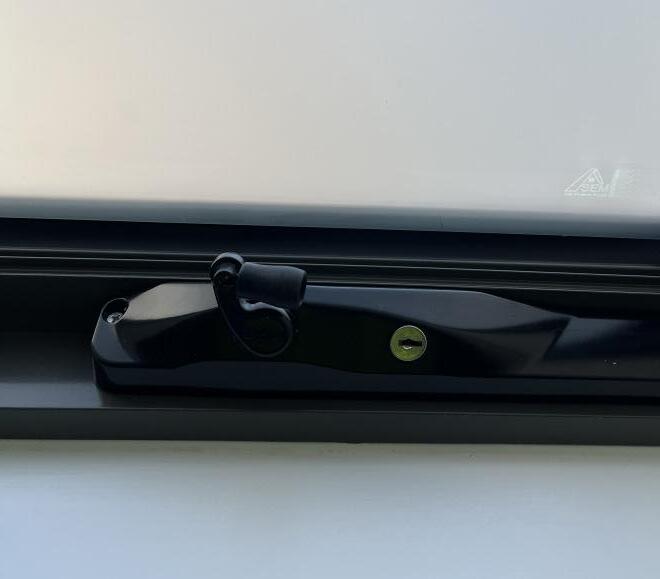
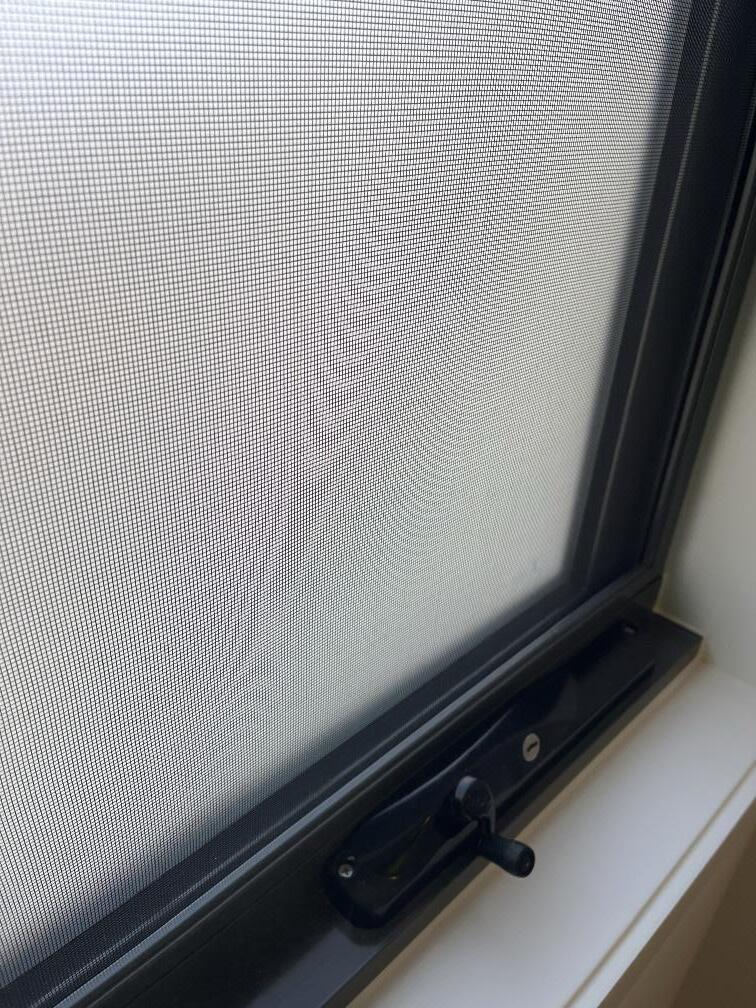
Wind-out windows have a restrictor for first and second floors only, set at 125mm wide opening, to upstairs windows.
Do not force the winder out any further than this point as the pin inside the mechanism can break. This is an Australian Building Code requirement.
The winder to the window can be pushed in and folded back so that it does not interfere with your blinds – or conversely, folded and pulled out to operate.
To remove the fly screen, simply push it upwards with a gentle but firm motion. The screen is designed to slide out easily once lifted, allowing for quick removal without the need for tools or additional force. This makes cleaning and maintenance straightforward and hassle-free.
SMOKE ALARMS
Your home includes main-powered smoke detector units with back-up batteries.
These are generally fixed to the ceiling outside bedrooms and downstairs outside the kitchen area. The batteries should be regularly checked and replaced.
It’s important that the smoke alarm and battery backup is checked regularly, to ensure the best protection for any home.
To test, press the Test/Hush button on the unit, or via the remote Test/Hush wall switch (remote function only available on surface mounting bases). Checking the battery should be done with the mains power switched off. The alarm should sound, indicating that the battery condition is acceptable.
If the unit fails to respond, the battery should be replaced without delay. Ensure to clean the alarm from dust or insect ingress each month to avoid any unwanted false alarms.
TV POINTS
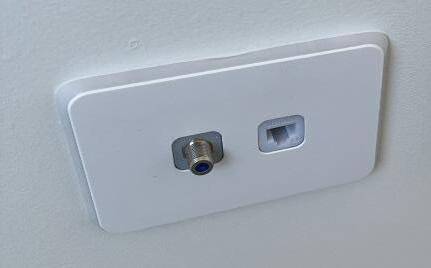
Television points Provisioning for MATV/Cable Broadband (Pay TV) has been included in your home.
MANHOLE
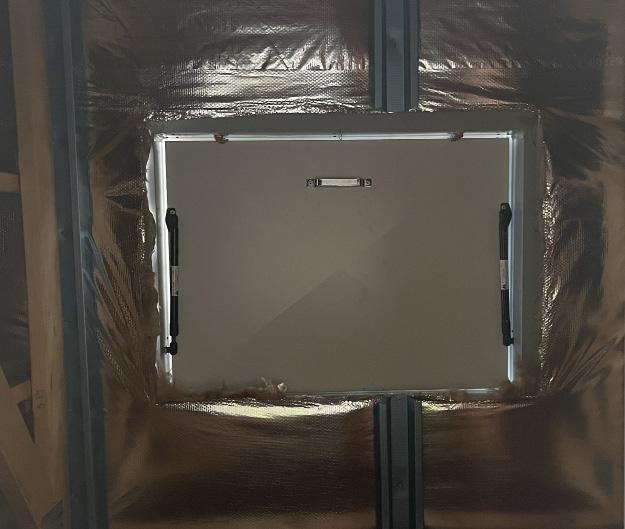
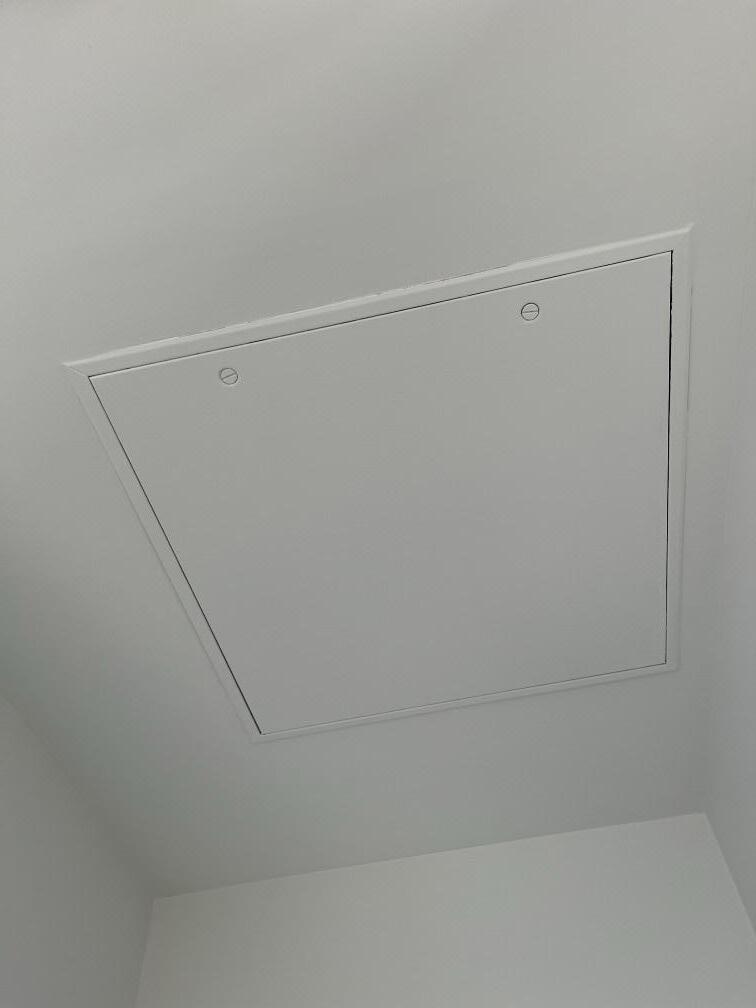
The manhole provide entry to the roof hatch for servicing mechanical and solar equipment in Types C and D. Access is restricted to qualified tradespeople who possess appropriate working-at-heights training and equipment. Note: Only in Types J1B, M, N and K do the access hatches lead to heater units located within the ceiling space.
TIMBER FLOORING
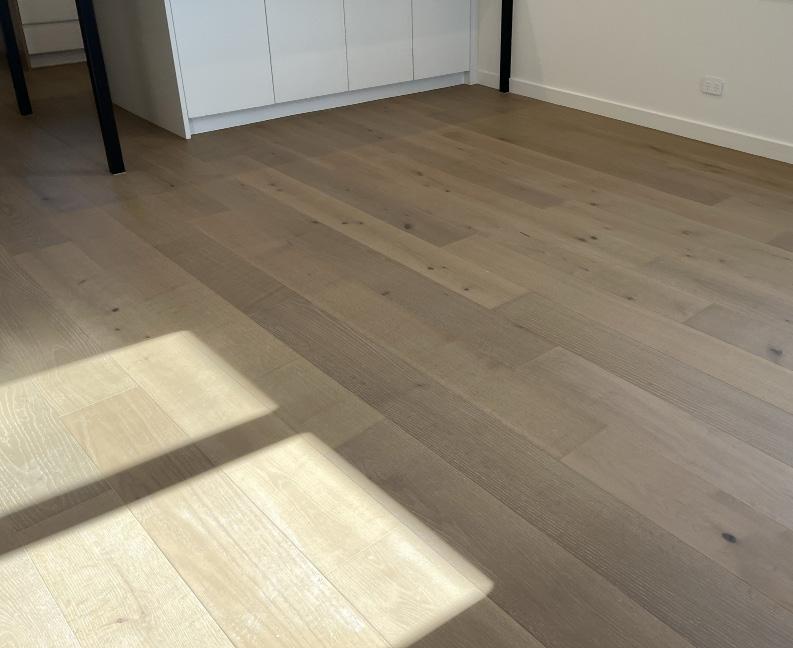
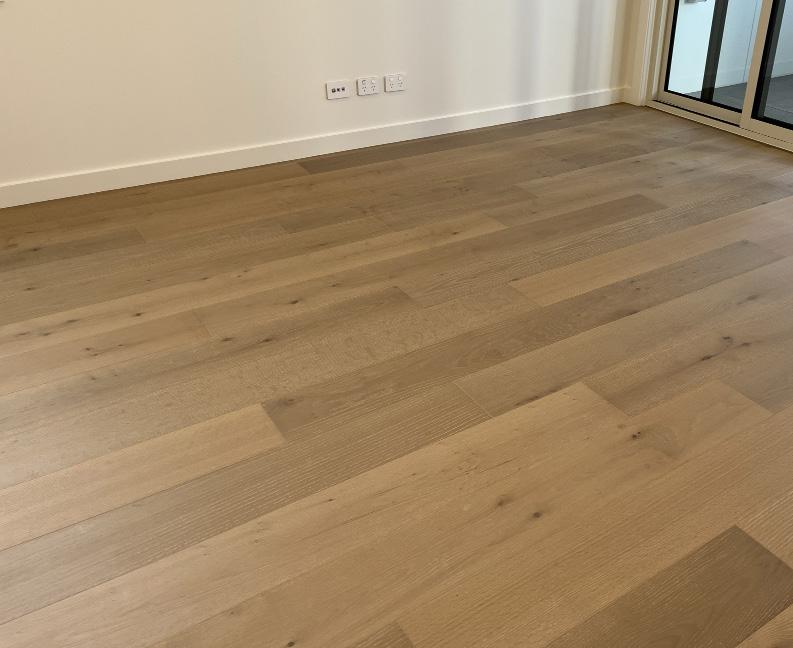
Timber flooring is glued down to ensure a stable surface with no deflection or movement. For general cleaning guidelines, please refer to the Timber Floor Manual. Avoid using heavy or harsh chemicals, as these may damage the flooring finish.
BATHROOM SHOWER WASTES
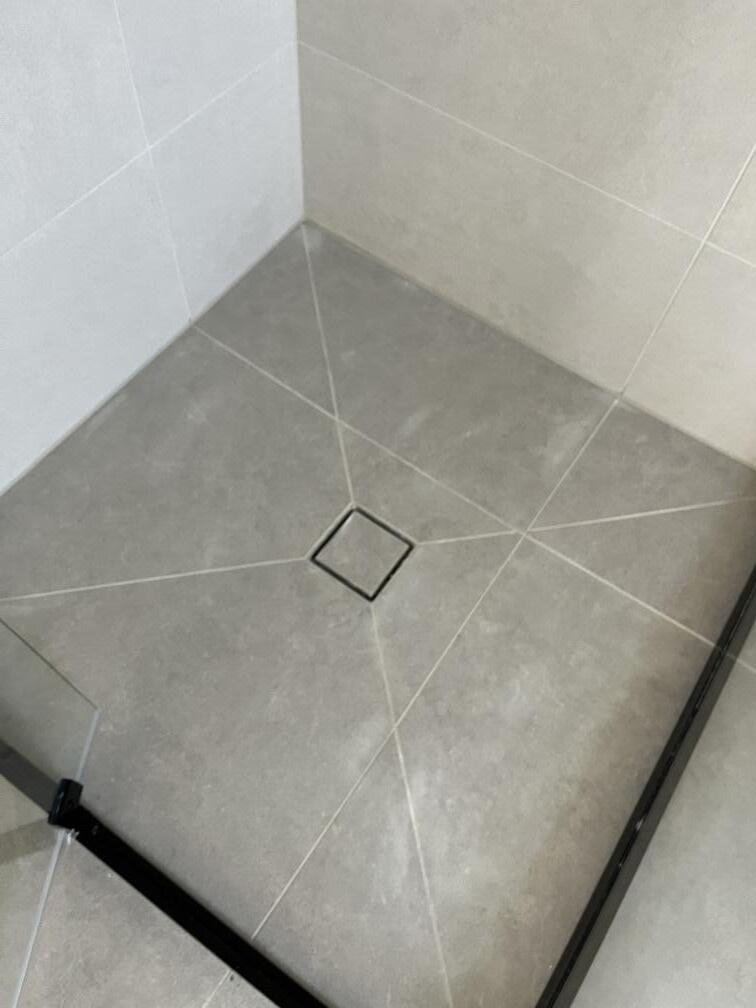
A shower or bathroom floor waste is another name for the drain that removes water from the shower or bathroom floor area.
To prevent any potential blockage, remove any rubbish/hair after shower, use hot soapy water then wipe with a cloth to clear any debris – avoid using gritty or abrasive cleaners.
The insert is removable to allow easy access for cleaning out the drain. For maintenance purposes, we recommend regularly cleaning your bath and shower drains to prevent blockages and ensure proper drainage.
TOILET
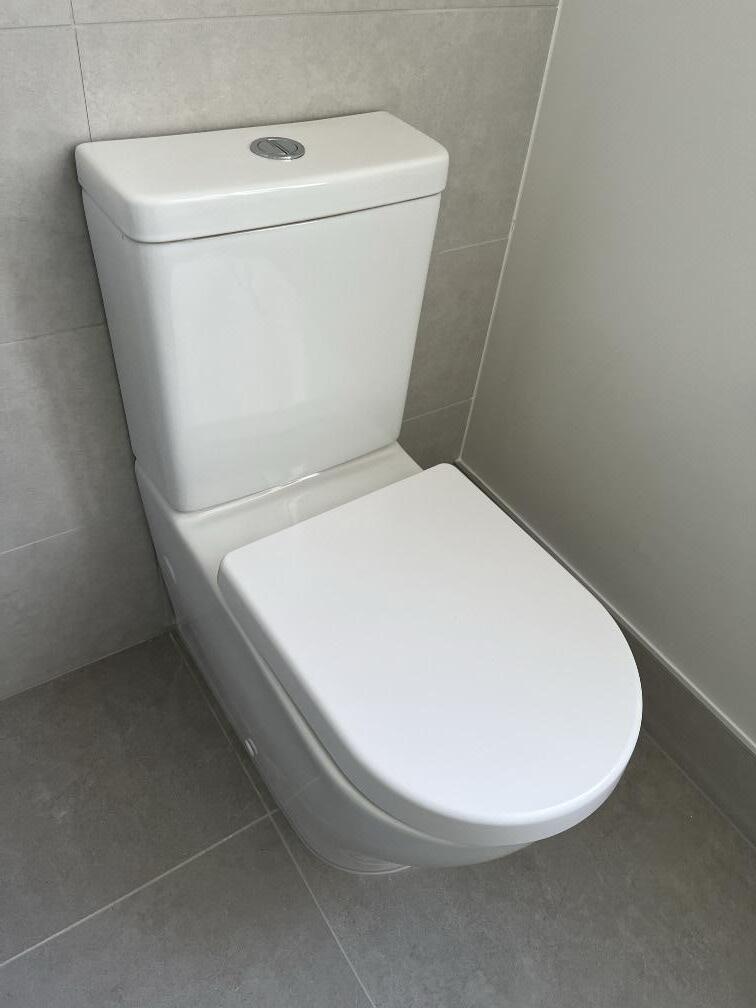
This toilet features adjustable flush buttons located on the lid. If the buttons are misaligned or not functioning properly, simply lift the lid to access and reposition them as needed to ensure smooth operation.
Please do not flush any type of wipes, including those labelled as “flushable,” as they can cause serious blockages in the plumbing system. Such misuse may void your warranty and result in repair costs being passed on to you.
To maintain proper function and avoid damage, only flush toilet paper and human waste.
SAFETY HINGES AND PRIVACY LOCKS
(applicable only for some toilet swing doors)
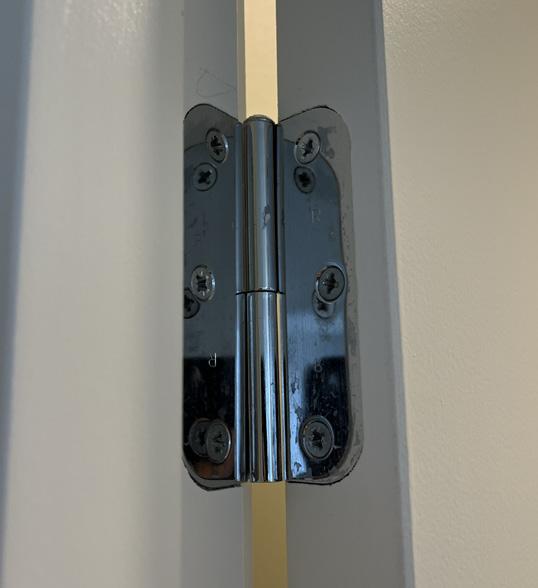
There are privacy locks fitted to some bathroom and powder room doors. These can be unlocked from the outside by inserting a small nail or skewer into the hole in the face plate and gently pushing forward to disengage the privacy mechanism. Some bathroom doors are fitted with safety hinges (refer to image), where the door can be lifted and removed manually in the event of an emergency
SINKS
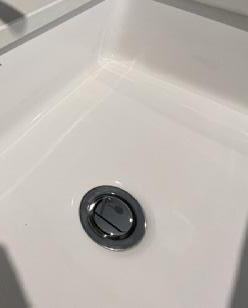
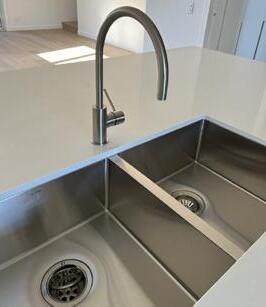
There are two types of sinks installed: bathrooms, powder room basin sinks are feature a push-to-stop mechanism.
kitchen and laundry sinks use a traditional plug to stop water from draining.
Please avoid using heavy or harsh chemicals, as they may damage the surface finish. Additionally, dropping heavy items onto the sink can cause cracks or scratches. Any such damage will not be accepted after settlement.
INTERNAL EXHAUST FAN
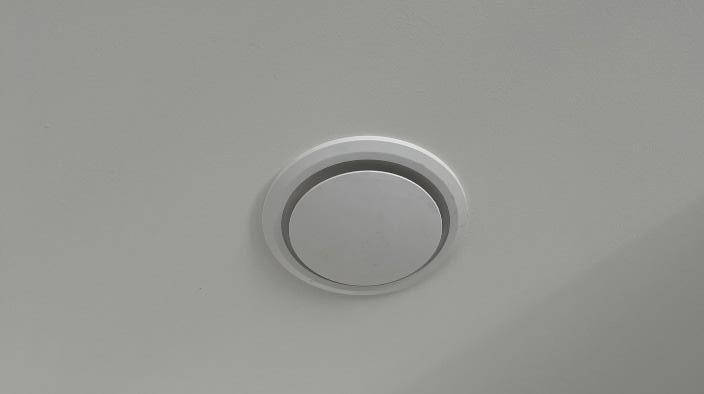
Bathrooms, ensuites, and laundries have external ventilation through exhaust fans. Keep grilles unobstructed for proper airflow.
Note: If you have concerns about your fan’s operation, switch it on and hold a tissue to the grille. A properly functioning fan will hold the tissue in place without assistance until it’s switched off.
AIR CONDITIONING & CONDENSER
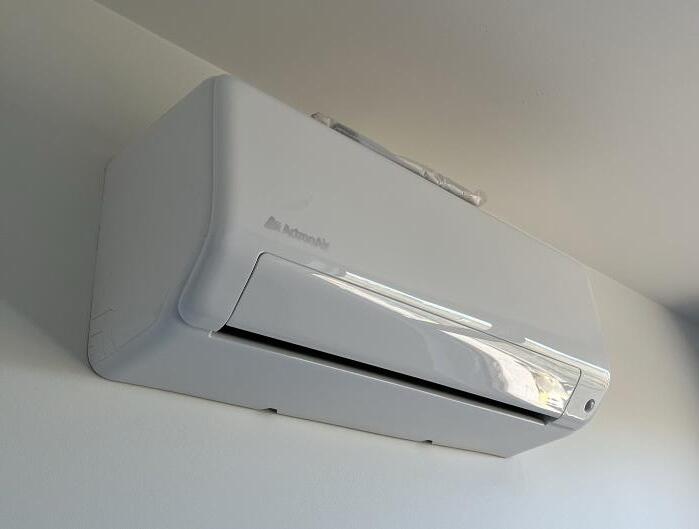
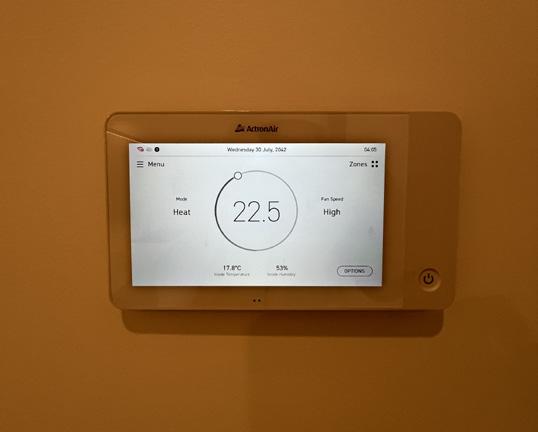
Your air-conditioning systems are located within your property and vary depending on the home type.
• Types J1B, M and N feature ducted air-conditioning systems with wall-mounted controllers.
• Types C and D feature split-system air conditioners operated via remote controls.
• Type K includes a combination of ducted and split-system air conditioning, with ducted systems servicing the Ground Floor and Level 1, and a split system servicing Level 2.
A remote control for your AC unit will be provided by the Care Team during the key handover process.
Your air conditioning unit is covered by a manufacturer’s warranty. In the event of a problem with your air conditioning, refer to the accompanying operational manual. If you can’t rectify the problem, then please contact the manufacturer directly.
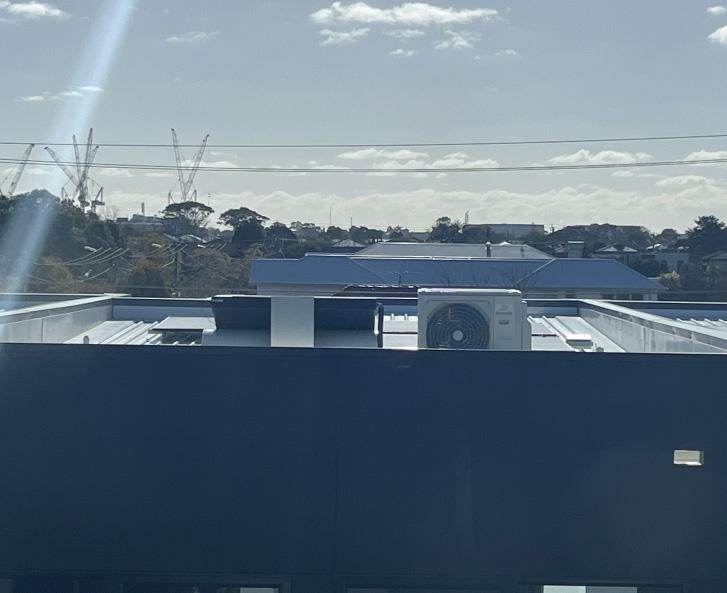
For applicable home types, condenser units may be located externally or on the rooftop. Access to rooftop units is available via the roof access hatch and is strictly limited to qualified personnel only.
To maintain proper airflow and ensure the system operates efficiently, please keep the area around the condenser units clear of any obstructions. This also helps prevent potential damage to the system.
RETURN AIR VENT
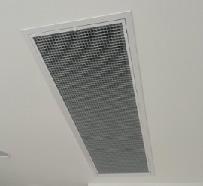
As Types J1B, M, N and K feature wall-mounted controllers, as they are ducted air conditioning and have the return air vent.
Please ensure the filter inside the return air vent is cleaned regularly. Refer to manufacturer instructions and note that required cleaning frequency will depend on usage.
BALCONY
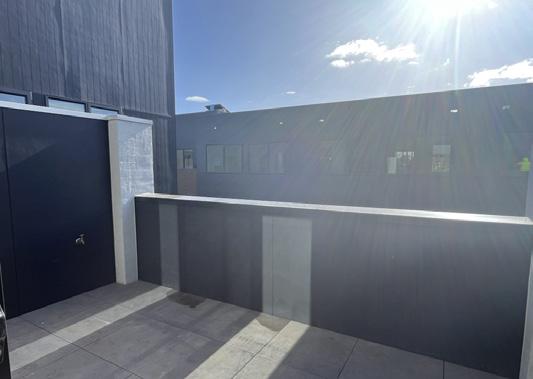
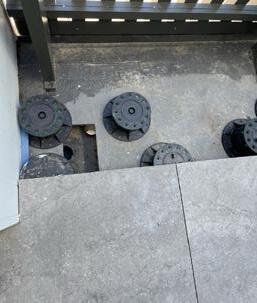
Keep your balcony clean and safe by regularly sweeping, wiping surfaces, checking drains for blockages, cleaning under pots and BBQs, inspecting tiles for damage, and ensuring overflow drains are clear.
BALCONY
PAVERS (apply to balcony only)
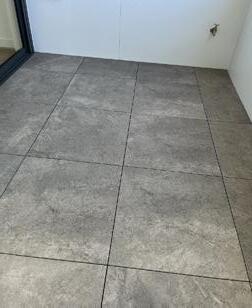
All balconies have been paved with a “pod & paver system”.
Pavers are installed on pedestals so that water can drain freely into the spaces between pavers and across to waste drains in the space underneath.
There are many benefits to this system, including the ability to replace broken, damaged, or stained pavers with ease. Pavers must not be permanently fixed or adhered to pods. Any alteration to the system will void all warranties.
GARAGE – GENERALLY
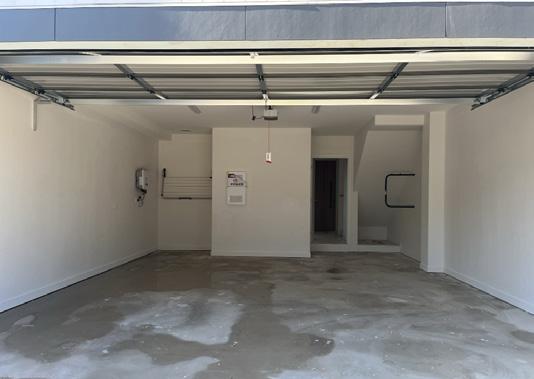
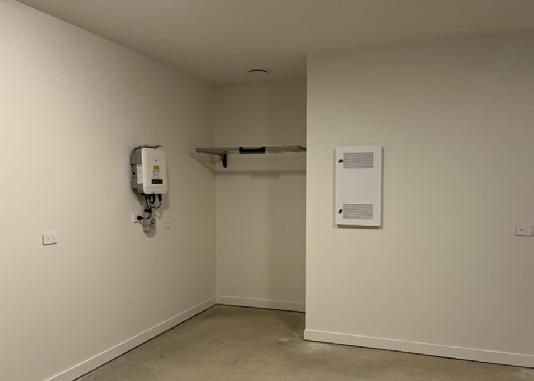
In most cases, your garage houses the communication box & solar invertor.
The garage is not fully weatherproof and therefore residents should not store their belongings directly on the ground or they may become water damaged.
Please note that in accordance with Owners Corporation rules, bins cannot not be left outdoors except during the bin collection window. Bins should be stored in the garage at other times.
GARAGE DOOR
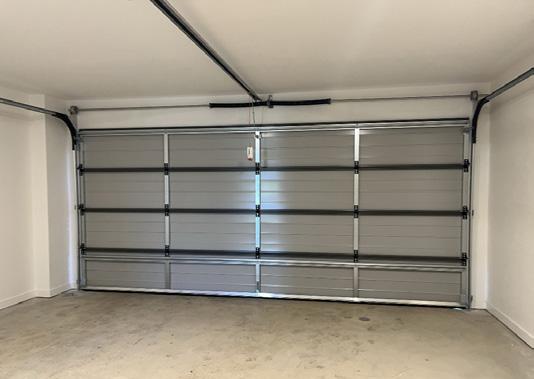
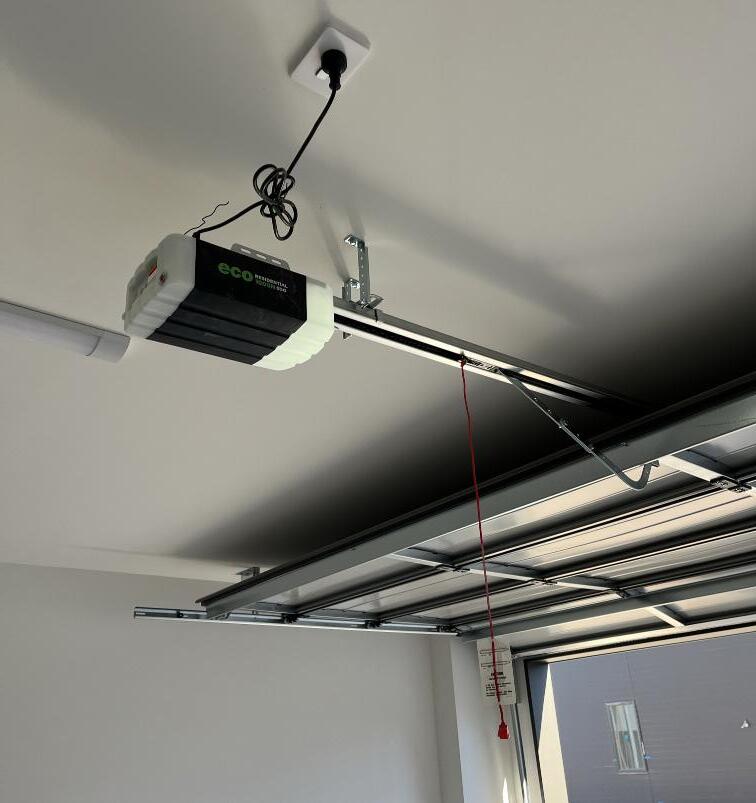
When entering and exiting the garage via the door, ensure there is sufficient clearance for the door to open and close.
The door includes a manual release which can be used in case of power outage. Afterwards, the door must be re-engaged with the motor to resume normal operation via remote.
To re-engage, pull the red manual release cord string away from the door until you hear a click. The door should now operate from your remote.
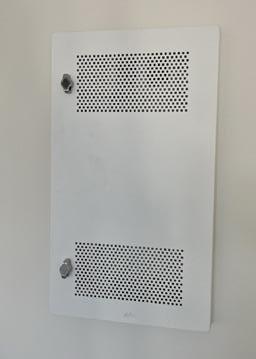
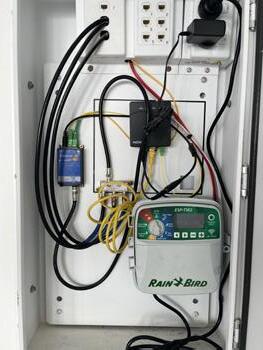
COMMUNICATION BOX
The Communication Box is usually located in the garage but sometimes may be found in your storage area, depending on the design of your home. Your home has been wired to provide telephone and internet connection points as per your plan.
To get connected via phone and internet, contact your preferred service provider, noting that the Communication Infrastructure is with the Opticomm network. Refer to Opticomm’s website for a list of service provider options.

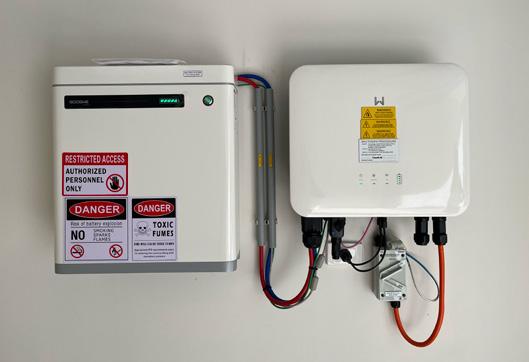
SOLAR INVERTER
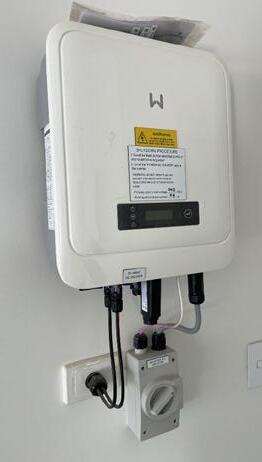
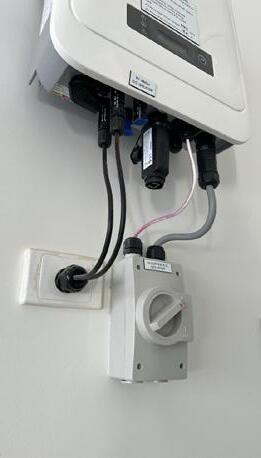
You should check the inverter regularly in line with manufacturer instructions to ensure that it is operating normally and does not display any fault codes.
Generally, there is no need to turn off your solar inverter. Doing so may lead to increases in your electricity bill as your electric-boosted solar hot water system will not be able to function as intended.
GARAGE SETTLEMENT CRACKING
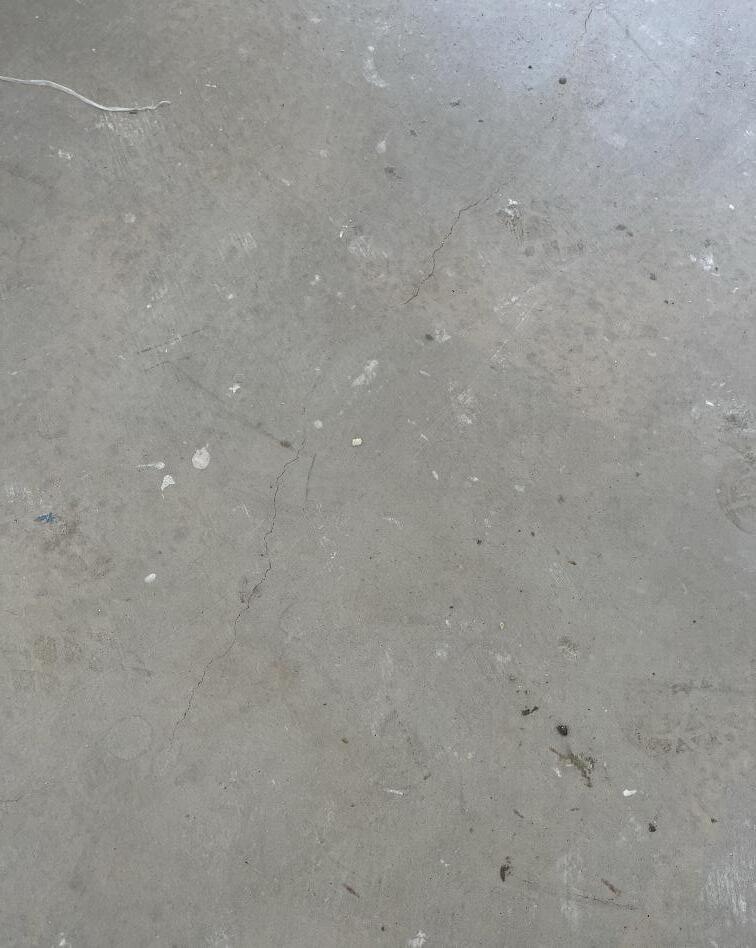
The concrete slab in the garage may experience some minor cracking.
This is hairline cracking due to slight earth/ building settlement movement and shrinkage of concrete. Which is not a structural defect.
EXTERNAL - GENERALLY
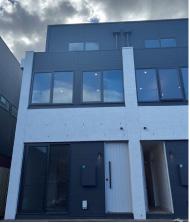
If you intend to make any changes that impact the exterior of your property, you must obtain Owners Corporation approval. Some examples which would require approval are pergolas, screen doors or surveillance cameras.
The Owners Corporation will often need to seek committee approval for requests such as the above, and in some instances further approvals (e.g., from Council) may also be required.
Your landscaping has been delivered in accordance with Council specifications. Changes to your landscaping will result in a request to reinstate the original planting.
Maintenance to front and rear landscaping is your responsibility as homeowner (including watering, weeding, tidying and topping up mulch).
EXTERNAL SENSOR LIGHTS
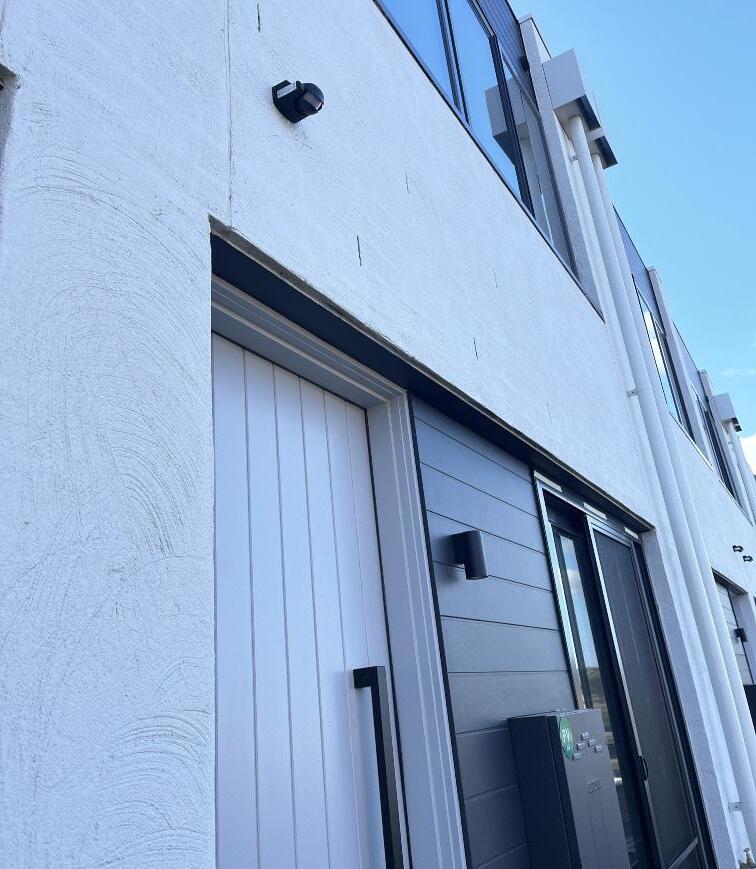
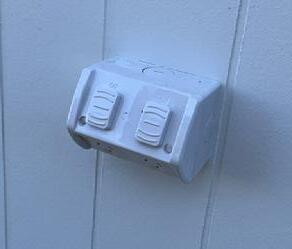
External Sensor Lights automatically turn on when motion is detected, providing added security and convenience.
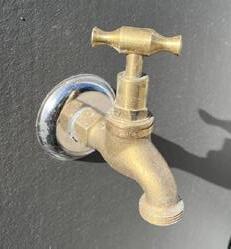
EXTERNAL GPO, WATER POINTS
For external GPO’s or water points, have been installed in accordance with your plans (or to the closest possible location).
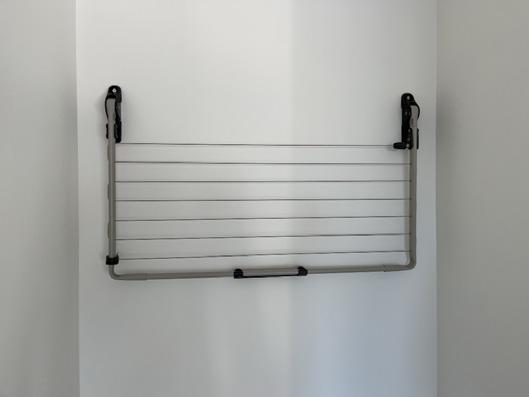
CLOTHESLINE
Your clothesline is collapsible and can be raised by lifting from the centre front bar until the clothesline is locked into place or lowered by again lifting from the centre front bar to the maximum point of travel to allow the clothesline to fold down flat.
Clotheslines installed inside garages are equipped with an exhaust fan to help remove moisture from the space. This setup helps maintain air quality and prevents the buildup of dampness, protecting both the garage structure and any stored items. Please do turn on the exhaust fan while using the clothesline.
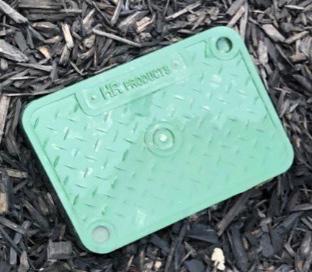
IRRIGATION
(with rain sensor on the roof)
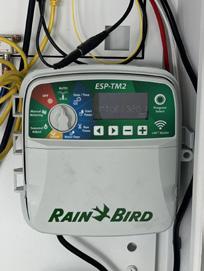
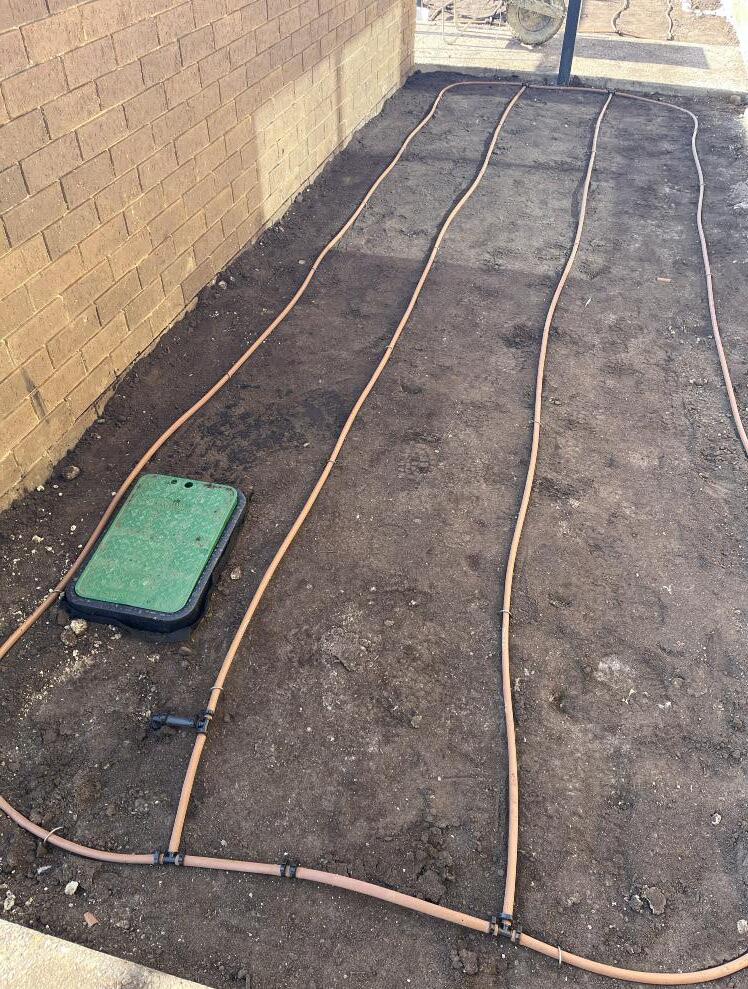
Once you have settled, it is your responsibility to adjust the system periodically to avoid over or underwatering. The rain sensor is located on the rooftop and is hard-wired to the irrigation controller housed within the Communication Box
The location of the irrigation system will vary depending on the design of your home. You will find it under a green cover (as shown to the left). Please take care when adjusting your irrigation system, as turning on the irrigation system to the maximum level could damage the irrigation pipes and cause a water leak into your garden. Set up your timing/operation of the irrigation system via the irrigation controller in the Communication Box. Refer to the manufacturer’s instructions.
SEWER POINTS
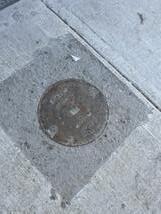
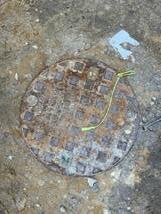
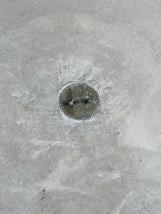
These are sewer inspection openings and must only be accessed by a qualified plumber. Unauthorised access may lead to damage or pose safety risks. Please ensure the openings remain uncovered at all times to allow proper inspection if needed.
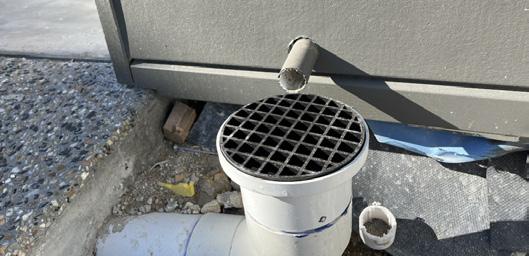
OVERFLOW RELIEF GULLY
The overflow or ORG (Overflow relief gully) is located externally and has a grated top to allow sewer to flow out in the event of a blockage. It is recommended that these points are cleaned out regularly, especially after mowing grass, to prevent blockages and reduce the risk of drainage issues.
SURFACE WATER POINTS
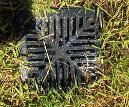
Surface drains are located around your house. These can be in different designs and may be square or round.
The water collected in these outlets is directed to the stormwater drainage in your street.
It is recommended that these points are cleaned out regularly, especially after mowing grass, to prevent blockages and reduce the risk of drainage issues.
WEEP HOLES
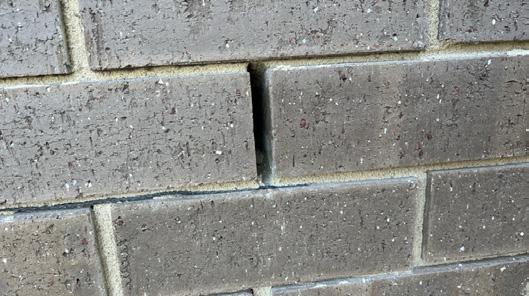
On the exterior of your property, you may notice weep holes between some bricks.
These act as an outlet for water/moisture that enters the cavity due to capillary action, condensation, damage, or accidental flooding. We recommend that you do not block/ fill these holes in any way.
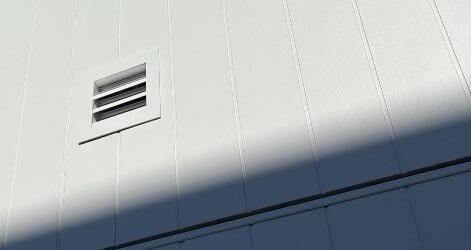
EXHAUST VENTS
You may also see exhaust vents in some locations. These are exhausts for rangehoods, laundries and bathrooms/toilets. We recommend that you do not block or fill these vents in any way.
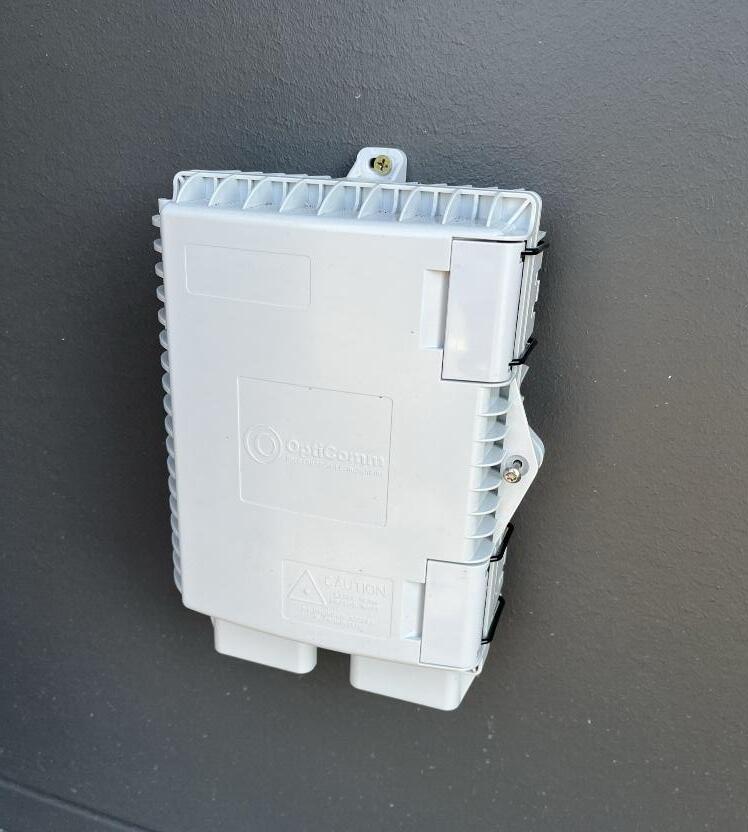
EXTERNAL OPTICOMM POINTS
External OptiComm points provide access to high-speed fibre internet services within your property. These points are typically located on an external wall of your home and connect to the internal communication box.
To use the OptiComm service, ensure that your internet service provider (ISP) is OptiComm-compatible and that your modem or router is connected to the internal data outlet linked to the OptiComm point. Do not tamper with or attempt to relocate the external OptiComm unit, as this may disrupt your service and void any warranties. If you experience connectivity issues, first check your internal connections and modem settings. For persistent issues, contact your ISP or OptiComm support directly.
EXTERNAL GUTTERS
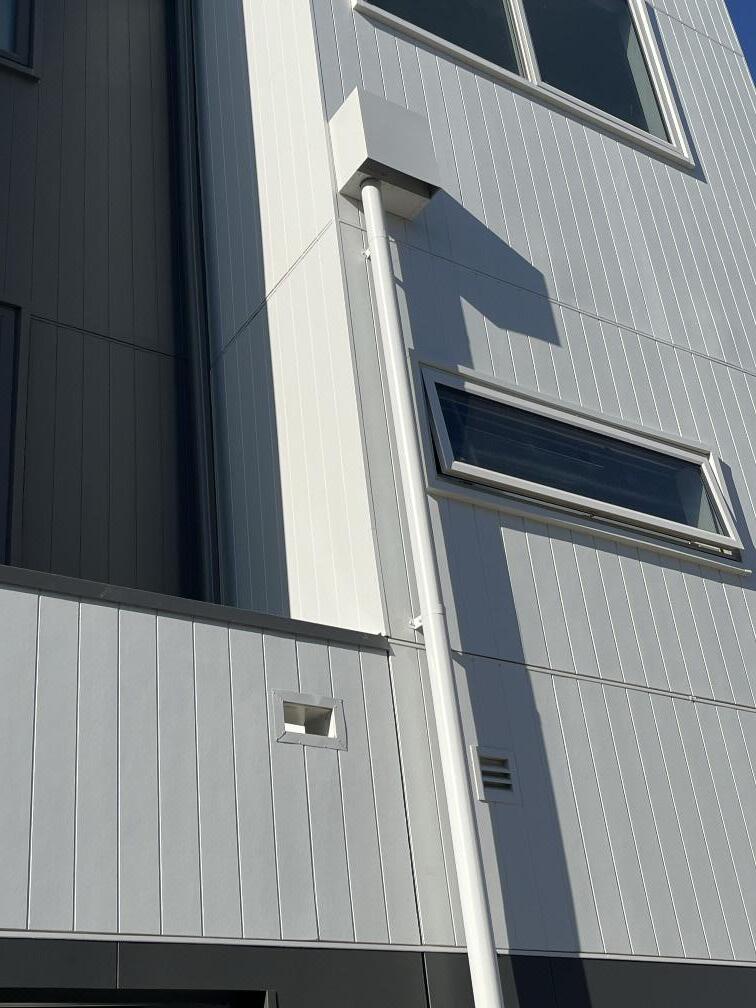
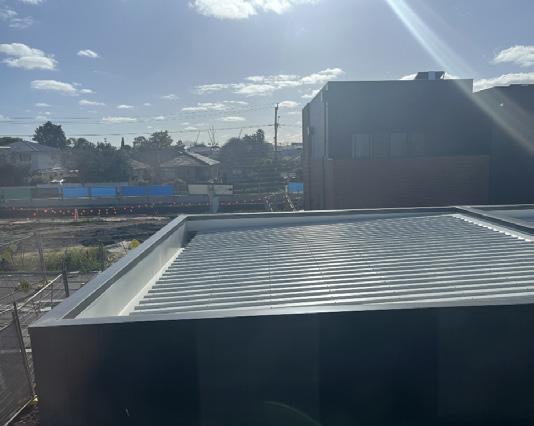
External gutters play a vital role in directing rainwater away from your home to prevent water damage and maintain structural integrity. To ensure they function properly, it’s important to clean them regularly and remove any leaves, debris, or buildup that may cause blockages.
Blocked gutters can lead to overflow, water damage, and costly repairs. We recommend inspecting and cleaning your gutters at least twice a year, especially during autumn and after heavy storms. If you notice sagging, leaks, or persistent blockages, please contact a professional gutter cleaning for maintenance.
ELECTRICAL HOT WATER SYSTEM
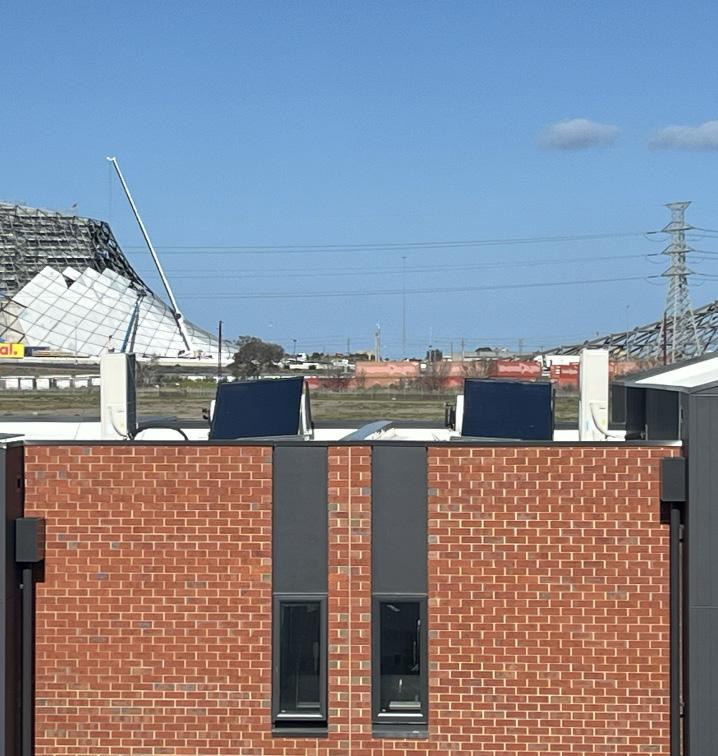
In Types C and D, electrical hot water units are located on the rooftop.
For Types J1B, M, N and K, the hot water unit is positioned in the rear yard.
If the unit is not functioning correctly, please engage a qualified plumber for inspection and servicing.
WATER METER
The potable water meters are generally located at the front or side of the house.
Please ensure that the water meter is not obstructed in any way as clear access is required for meter reading.
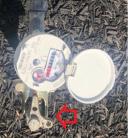
To stop the water supply to the house, turn off the tap on the water meter (red arrow).
You can also find your potable water meter number on the meter. Please note that your legal representative will arrange for transfer of water with the relevant authority upon settlement.
ELECTRICAL METER
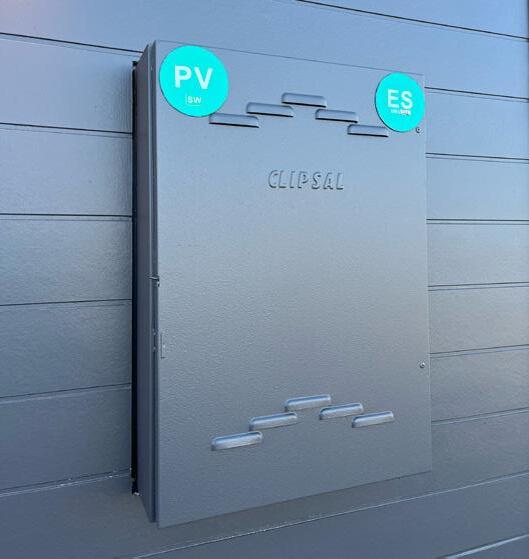
The home runs on single phase power. The electrical meter is located on the side or in front of property and contains the main switches to all electrics within your home (including lights, oven, main power).
You can find your electrical meter number on the meter.
Electrical Box Upgrade with Solar Battery Integration ES (Where Applicable): the existing electrical box will be upgraded to accommodate increased energy demands and ensure compliance with current safety standards. Where applicable, this upgrade will include integration with a solar battery system, enabling efficient energy storage and improved sustainability. The upgraded setup will support seamless connectivity between solar panels, battery storage, and household circuits, providing enhanced energy reliability and reducing grid dependency.
Download Important Information & Refer to Residents’ Hub
Follow the QR code link to our Residential Hub important information about living in your new home at Bradmill Yarraville, including:
• Moving in
• Get to know your home
• Caring for your home
Scan QR Code or click here for link
• Warranties & Manuals
• Important Contacts
• myFrasersProperty App instructions (for owners)
If you are leasing your property after settlement, it is important that you share this information with your Property Manager.
For future ease of reference, a copy of this QR code will be placed within your kitchen.
Acknowledgment
1. I attended the Pre-Settlement Inspection today and confirm that the Care Consultant has discussed every item on the Pre-Settlement Inspection Checklist with me.
2. I acknowledge that Frasers Property Australia provides a Three-month Period from the original settlement date. All maintenance requests must be submitted in your myFrasersProperty app within Three-month Period.
Signature Date