



ploring new flavours preparing si ple eals and sharing delicious food are wonderful wa s to bring people together so delighted to share this collection of fuss free recipes using fresh ingredients that encourage health eating ever da .
reated b our tea here at oodbank ictoria as part of the chool reakfast lubs rogra and generousl funded b the ictorian overn ent these recipes are a great wa to build confidence in the kitchen for ou and our fa il .
e know that bus schedules can ake it hard to find ti e to cook so this is the perfect resource for fa ilies looking for those uick nourishing options. tart with si ple ingredients and fresh produce and ou ll have ever thing ou need to create the recipes in this book and a be even co e up with a few of our own
ith background as a chef appreciate the level of care and attention that has gone into creating this book. t s accessible en o able and inspiring for all skill levels.
ro our fa il at oodbank ictoria to ours we hope these recipes turn our kitchen into a place where ever one wants to hang out

Dave McNamara CEO Foodbank Victoria

The Department of Education.
Stephanie Alexander Kitchen Garden Foundation.
Published by Foodbank Victoria.
Version 2.0 © Foodbank Victoria, March 2021. This publication is protected by copyright. You may download, print and copy the material in an unaltered form only, with acknowledgement to Foodbank Victoria for non-commercial purposes. If you wish to use it for any other purpose, please contact Foodbank Victoria.
All the recipes in this cookbook have been assessed and classified as Everyday (Green) choices by the Healthy Eating Advisory Service; according to the Victorian Department of Education s School Canteens and Other School Food Services olicy
The Healthy Eating Advisory Service recommends that, when seasoning your meals, you taste them first. Consider using fresh or dried herbs, spices, or some fresh lemon or lime juice. If required, salt should only be used sparingly.
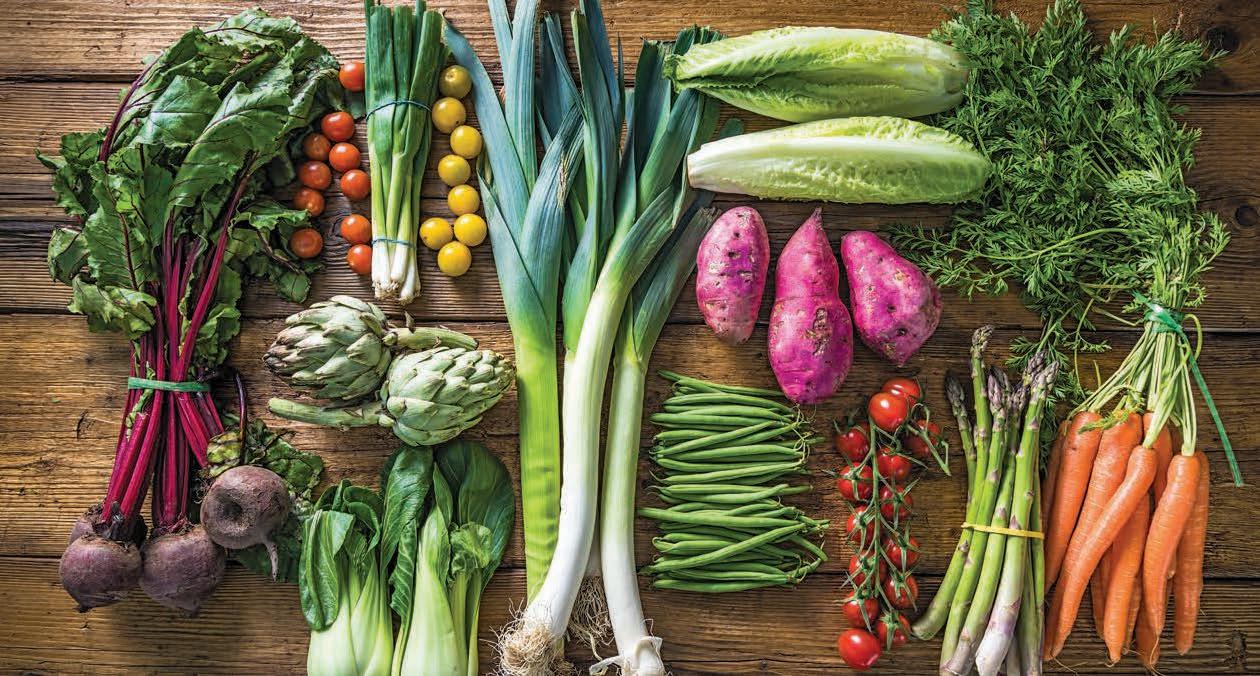

OUR TIP FOR SEASONAL PRODUCE Rice paper rolls, nori rolls, seasonal fruit or vegetable muffins and dips are great to pop into the lunchbox – or serve as a hunger-busting, after-school snack.
Eating seasonally means choosing vegetables, herbs and fruit that are in season.
Australia’s different climate zones means there is a delicious selection of produce available for you to choose from throughout the year. Here’s why eating fresh seasonal food is so great:
• Fresh produce is tastier.
• Fresh produce is often more nutritious.
• Seasonal produce is cheaper.
• You can have variety all year round.
Recipes such as rice paper rolls and nori rolls are so easy and delicious, you don’t even have to cook some of them. Just choose your favourite veggies and herbs from what’s in season, and assemble! Munch away on raw, fresh veggies as you cook – it’s a great way to eat more fresh food, and discover the taste, textures and smell of the vegetables.
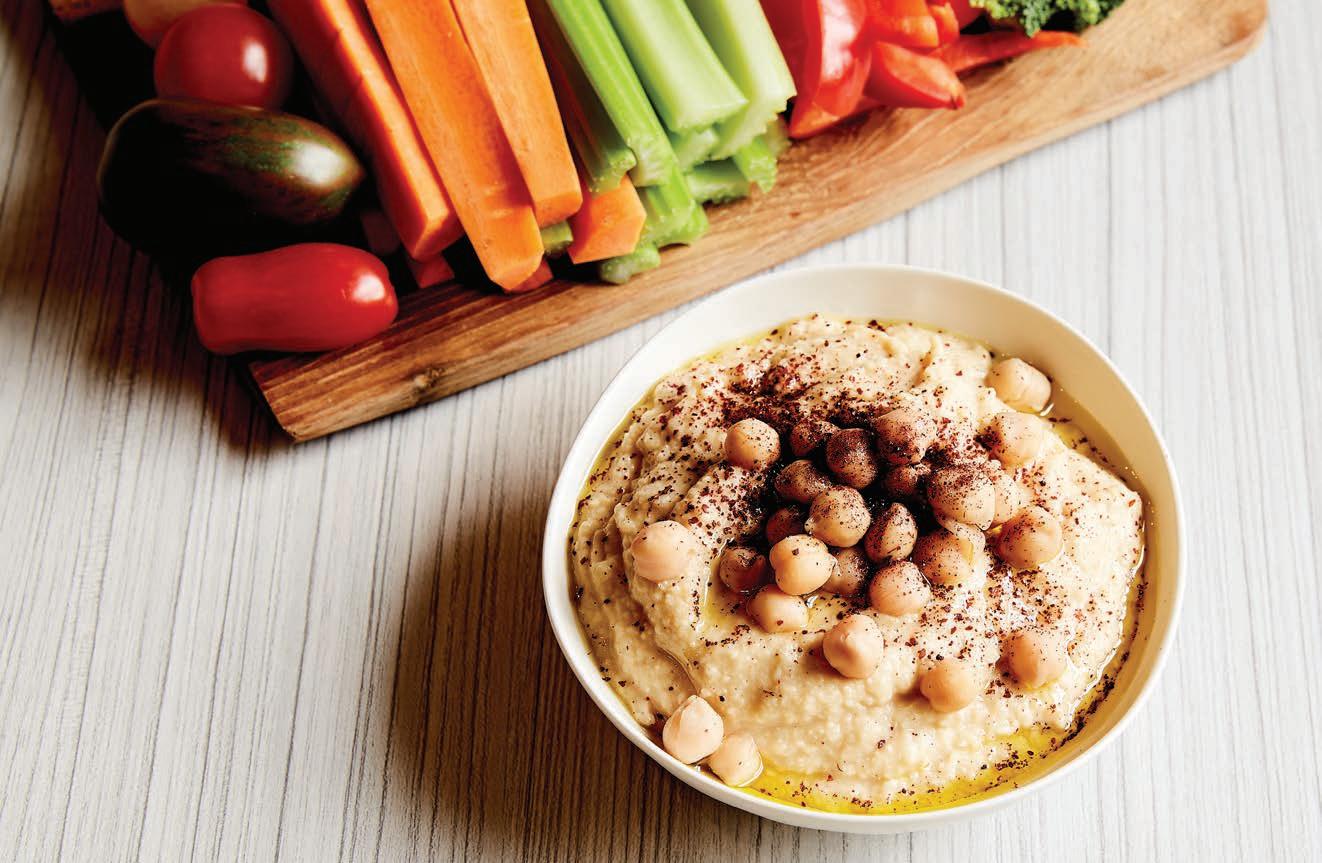
Makes: Approximately 2 cups.
Serve this fresh and tasty dip with crunchy vegetables such as cucumber, carrot and capsicum – the more colourful the better. For an easy summer lunch or dinner, spread hummus on sandwiches or rolls, and top with sliced capsicum or tomato. So good!
Equipment
measuring cup (¼ cup)
measuring spoon (tsp)
chopping board cook’s knife
citrus juicer sieve or colander
jug or medium bowl food processor or stick blender
2 x 400 g tins of chickpeas (no added salt)
1 tsp ground cumin ¼ cup extra virgin olive oil
2 garlic cloves, peeled and finely chopped or crushed juice of 1 lemon
1. Drain the chickpeas, using a sieve placed over a jug or bowl to catch the liquid for later use.
2. Place the drained chickpeas and cumin in the food processor and process for 30 seconds.
3. Add the olive oil, garlic, lemon juice and a little of the reserved chickpea liquid, and blend again to make a soft purée.
4. Season to taste (optional).
5. Serve with colourful fresh veggies.
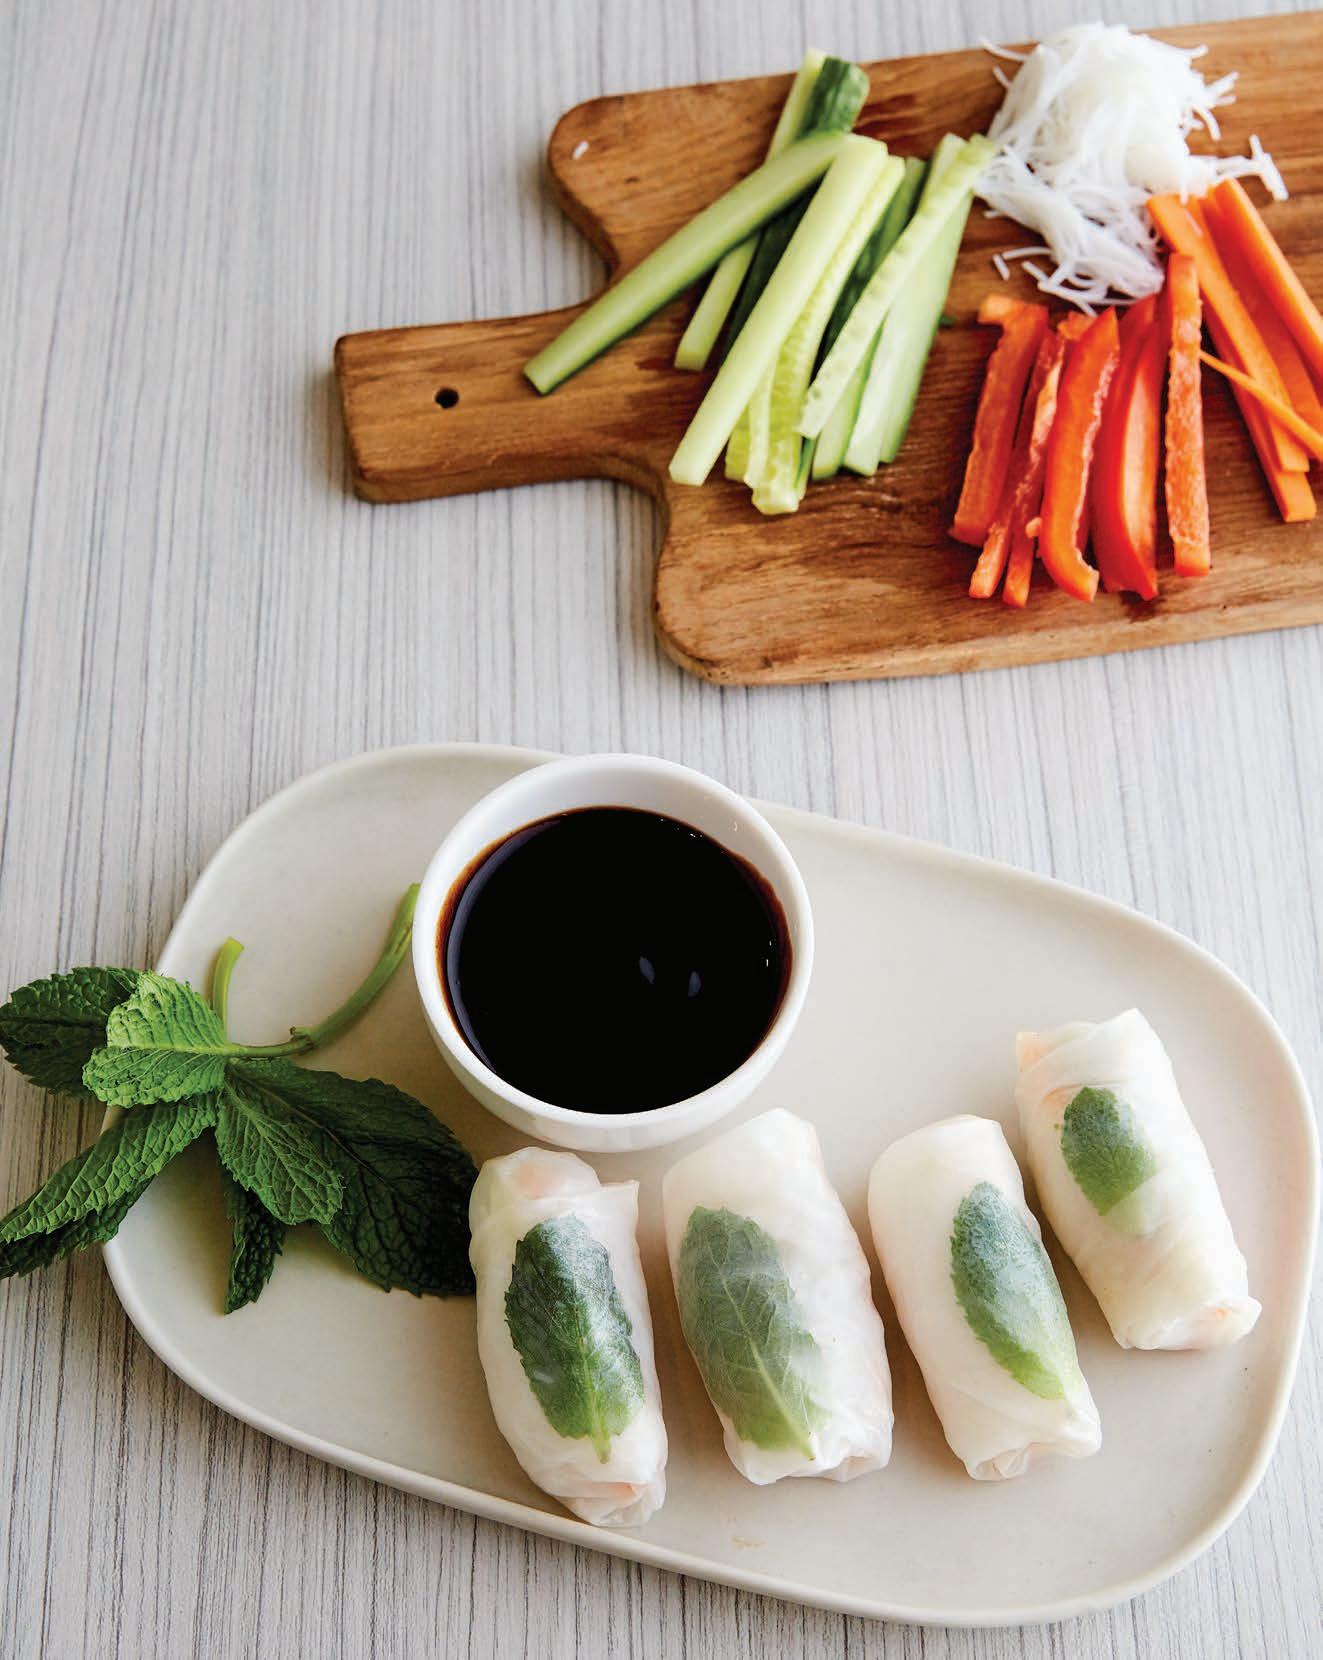
Makes: 15 rolls. Season: All.
Vietnamese rice paper rolls make a delicious light dinner and are perfect for lunchboxes. Choose a combination of vegetables and herbs depending on what’s in season. The egg can be easily substituted for cooked chicken (skinless), tofu or tinned seafood (in spring water).
For the rolls
100 g vermicelli noodles
4 eggs
2 tsp sunflower oil
15 rice paper wrappers
1 cup fresh herbs
2 cups shredded lettuce
3 cups sliced or grated seasonal vegetables
For the dipping sauce juice of 1 lime
1 tbsp salt-reduced soy sauce
1 garlic clove, peeled and finely chopped or crushed
measuring cup (1 cup)
measuring spoon (tbsp, tsp)
chopping board
cook’s knife
whisk or fork
citrus juicer
grater
sieve or colander
bowls (1 large shallow, 1 large, 1 medium, 1 small)
large frying pan

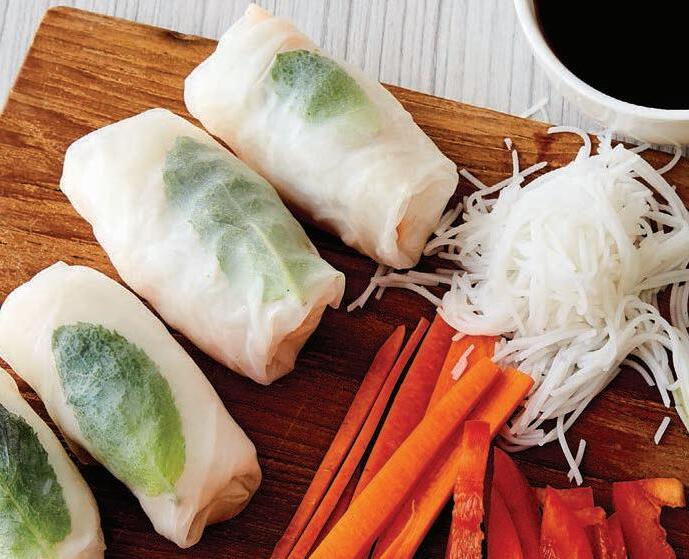
Summer: Cucumber, Capsicum, Thai Basil Autumn: Carrot, Cabbage, Beetroot Winter: Lettuce, Spring Onion, Coriander Spring: Radish, Snow Peas, Avocado, Mint
1. Place the vermicelli noodles into the large bowl. Cover with boiling water and allow to sit for 1–2 minutes, until noodles have softened. Drain using sieve or colander and allow to cool.
2. Break the eggs into the medium bowl and whisk.
3. Heat the sunflower oil in the large frying pan. Pour the whisked eggs into the hot pan and cook over high heat until the egg is cooked through and looks like a big omelette.
4. Slide the omelette onto the chopping board, allow to cool slightly, then slice into thin strips.
5. Half fill the large shallow bowl with lukewarm water. Place a rice paper wrapper into the water for 10 seconds, or as per packet instructions, then lay flat on a clean workbench or chopping board.
6. Place a few herbs, a little of the vermicelli noodles and then a small amount of the other fillings onto the bottom third of the wrapper, leaving a little room on each side for folding.
7. Roll the rice paper wrapper over once to enclose the filling, fold in the loose ends and then roll up.
8. Repeat steps 5 to 7 with remaining wrappers and filings.
9. For the dipping sauce, mix all ingredients together in the small bowl. Serve with your rice paper rolls.
Makes: 15 pieces.
Season: Summer and Autumn.
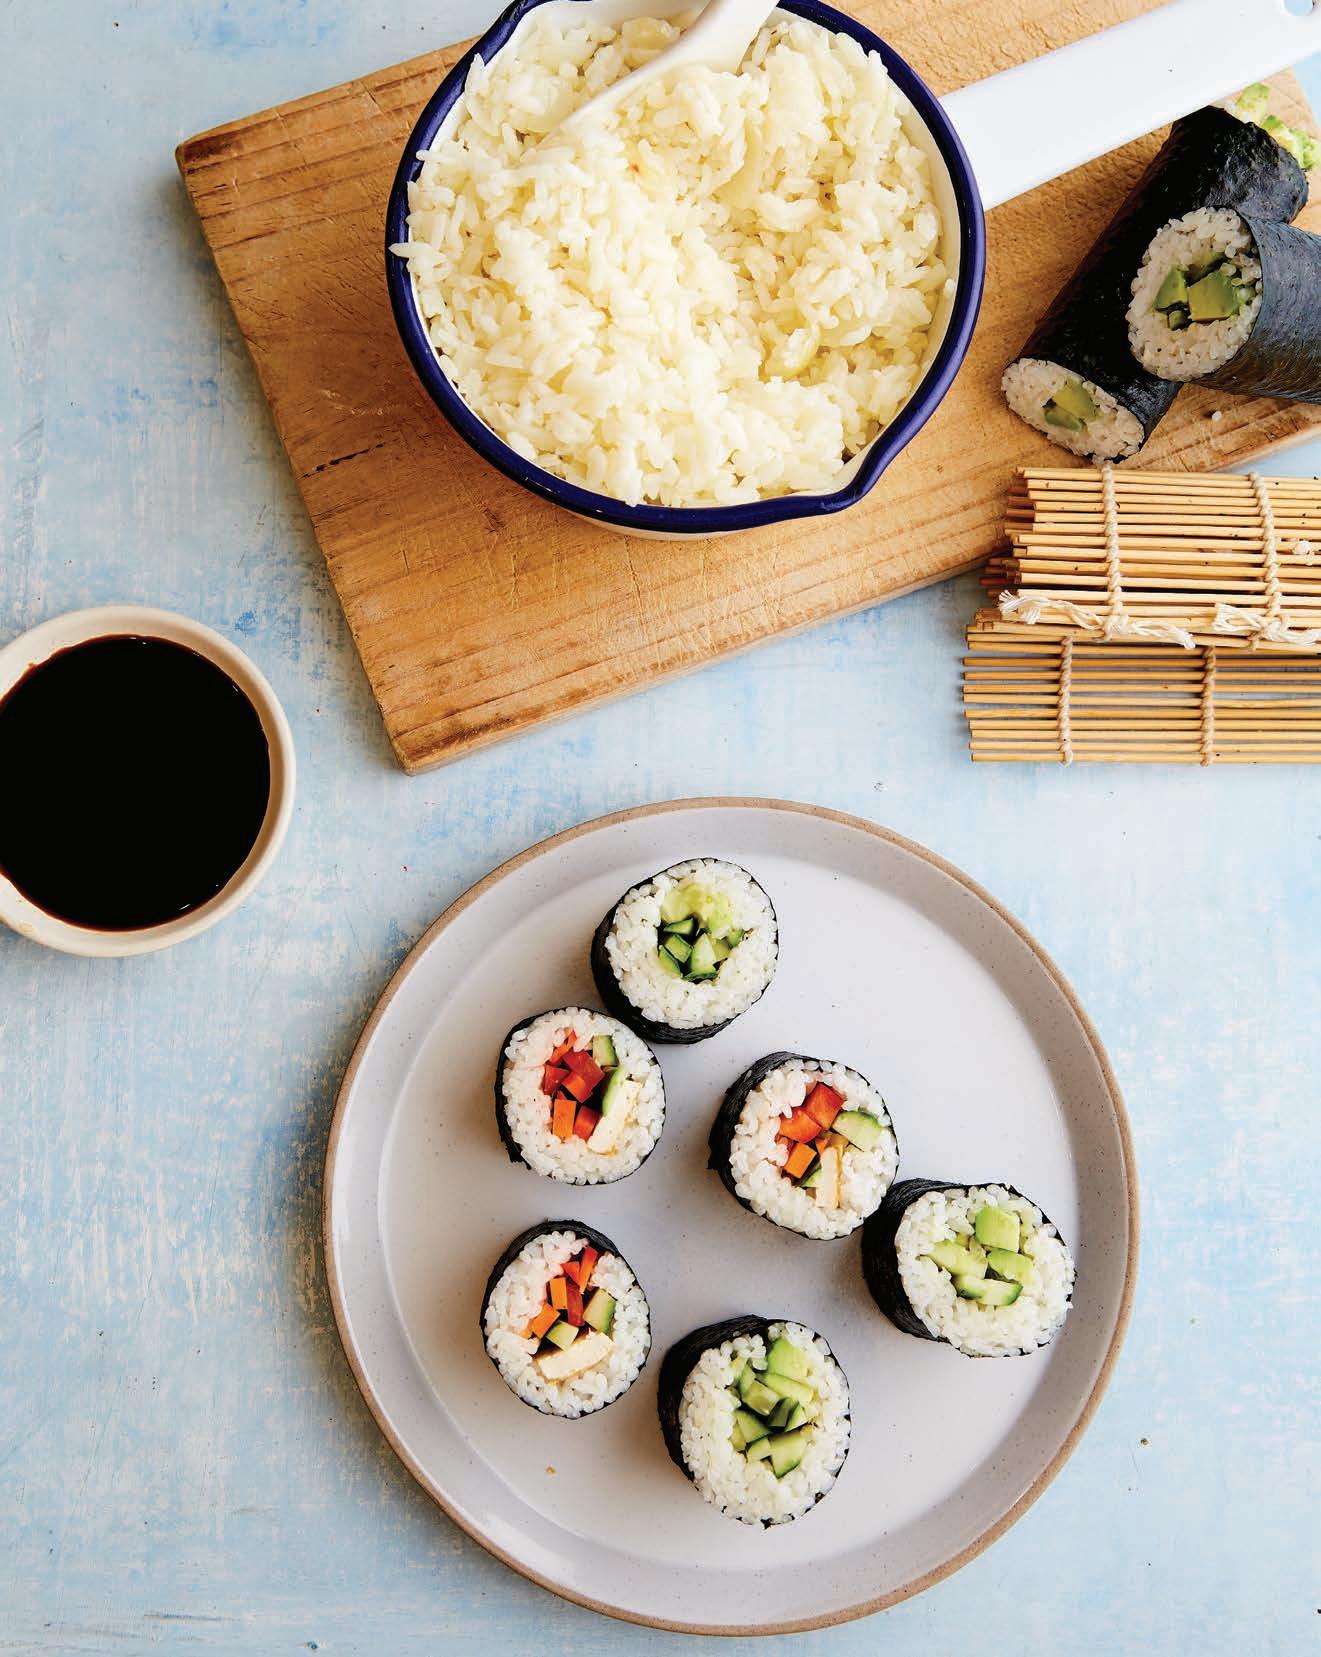
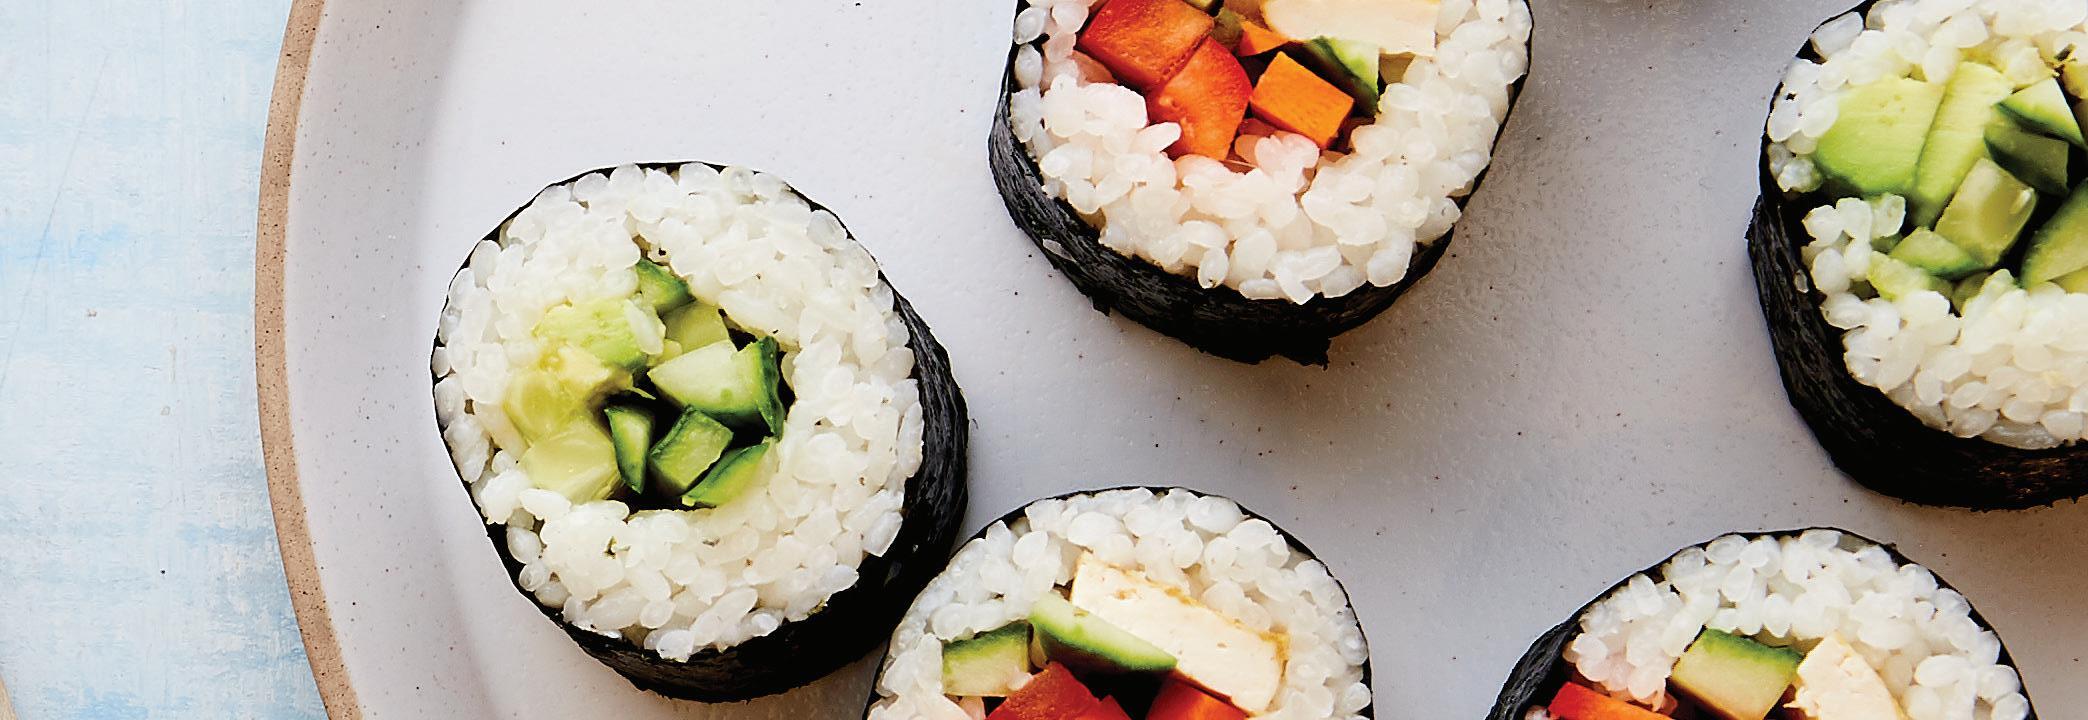
Practice your knife skills and choose your ingredients to suit your tastes. Sushi rolls are easy to adapt and fun to experiment with. Add tinned tuna (in spring water), tofu or cooked chicken (skinless). Great for lunchboxes, or as an after-school snack.
measuring cup (1 cup)
measuring spoon (tbsp)
chopping board
cook's knife
small serrated knife
mixing spoon
grater
sieve or colander
small bowl
medium saucepan and lid
large shallow tray
bamboo sushi mat or non-stick baking paper
1 cup sushi or short-grain rice
1 ½ cups water
1 tbsp rice vinegar
1 carrot, sliced into thin sticks
1 cucumber, sliced into thin sticks
1 red capsicum, sliced into thin sticks
1 avocado, peeled and thinly sliced
3 nori sheets
1. Place rice in sieve or colander and rinse well under cold running water, then place in the saucepan. Add the 1½ cups of water and bring to the boil. Reduce heat to low and simmer, uncovered, for 12–15 minutes, stirring occasionally, until all the water has been absorbed.
2. Remove from the heat, add vinegar to the rice and stir well to mix. Cover with saucepan lid and allow to stand, covered, for a further 10 minutes.
3. Spread the rice onto the large shallow tray and allow to cool completely (it must not be warm).
4. To construct rolls, place a nori sheet, shiny side down, on a bamboo mat or piece of baking paper. Make sure the longest edge of the nori sheet is at the top of the mat. Have a small bowl of cold water ready nearby, to help with sealing the rolls.
5. Spread a large scoop of the rice over the bottom two-thirds of the nori sheet, leaving the top third empty. Fill the centre of the rice with a row of carrot, capsicum, cucumber and avocado.
6. Gently lift the edge of the mat closest to you and roll it over the ingredients to enclose. Continue to roll up, all the way to the top of the nori sheet. Moisten the top edge with a little water to help seal the roll.
7. Remove from the mat and use the serrated knife to gently slice the rolls into five equal pieces. Repeat the rolling process with remaining ingredients.
It’s great fun to invent different flavour combinations by mixing fresh seasonal fruits in this muffin recipe. Check out some suggestions below, or make up your own.
1½ cups self-raising flour
2 medium-sized ripe bananas, mashed cup reduced fat natural oghurt
1 egg
½ cup sunflower oil, plus 1 tsp extra for greasing
1 cup fresh raspberries (frozen berries work well too, or try any seasonal fruit)
7.
easuring cups cup cup mixing spoons bowls (1 large, 1 medium)
12-hole muffin tray
skewer
wire cooling rack
1. Preheat the oven to 200 °C.
2. Place the flour in the large bowl and create a well in the centre.
3. In the medium bowl, mix together the mashed bananas, yoghurt, egg and oil.
4. Pour the egg mix into the flour and gently combine, adding the raspberries (don’t over work the batter).
5. Spoon the batter into lightly greased muffin tray. Bake for 20–25 minutes or until muffins are slightly golden and a skewer inserted into the middle of a muffin comes out clean.
6. Stand for 5 minutes on wire cooling rack (this will make the muffins easier to remove from the tray). After 5 minutes, tip muffins out of the tray and serve.
SEASONAL OPTIONS
Summer: Peaches, Raspberries
Autumn: Cinnamon, Pear
Winter: Lemon, Orange, Poppy Seed
Spring: Apple, Strawberry
TIP: Make a savoury version by using roasted or grated vegetables, freshly chopped herbs and a sprinkle of reduced-fat cheese.

You can use fresh seasonal ingredients to cook a base recipe, then freeze for later or make other dishes from it throughout the week. It’s easier than you think – and a great way to have fun with food. It also saves time and money.
Play it safe when storing, freezing, thawing and reheating meals:
•Cook to the right temperature.
•Don’t leave cooked food lying out at room temperature; pop it in the fridge.
• Store food correctly in airtight containers. If freezing, label your food to show the date it was made.
• Use safe methods to defrost food.

OUR TIP
Defrost food safely in the fridge, or use your microwave defrost setting.
• Heat up thawed food until it is steaming hot (hot enough to kill any bacteria).in the fridge, or use
For more information about food safety and cooking, visit: betterhealth.vic.gov.au/health/healthyliving/food-safety-when-cooking
Feeds: 4-6. Season: All.
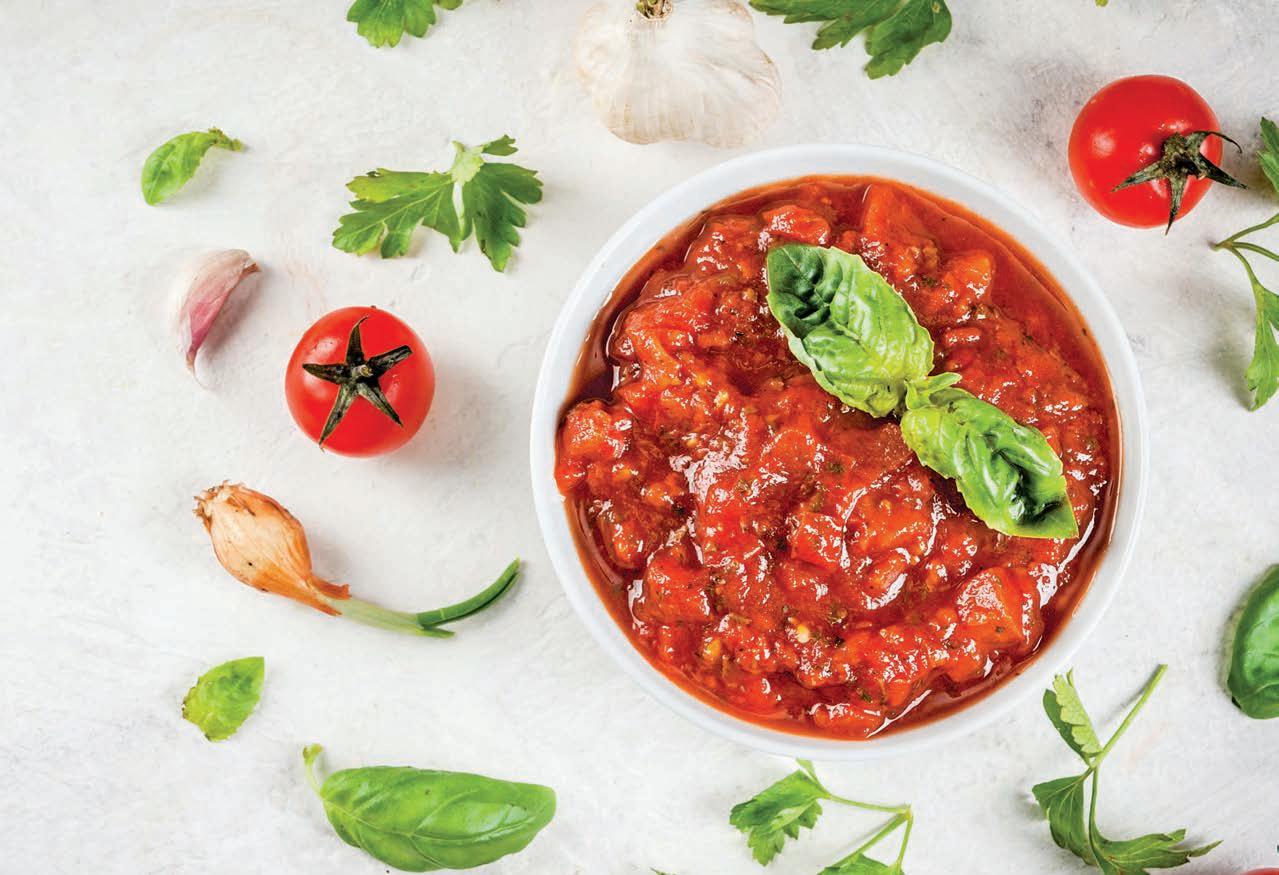
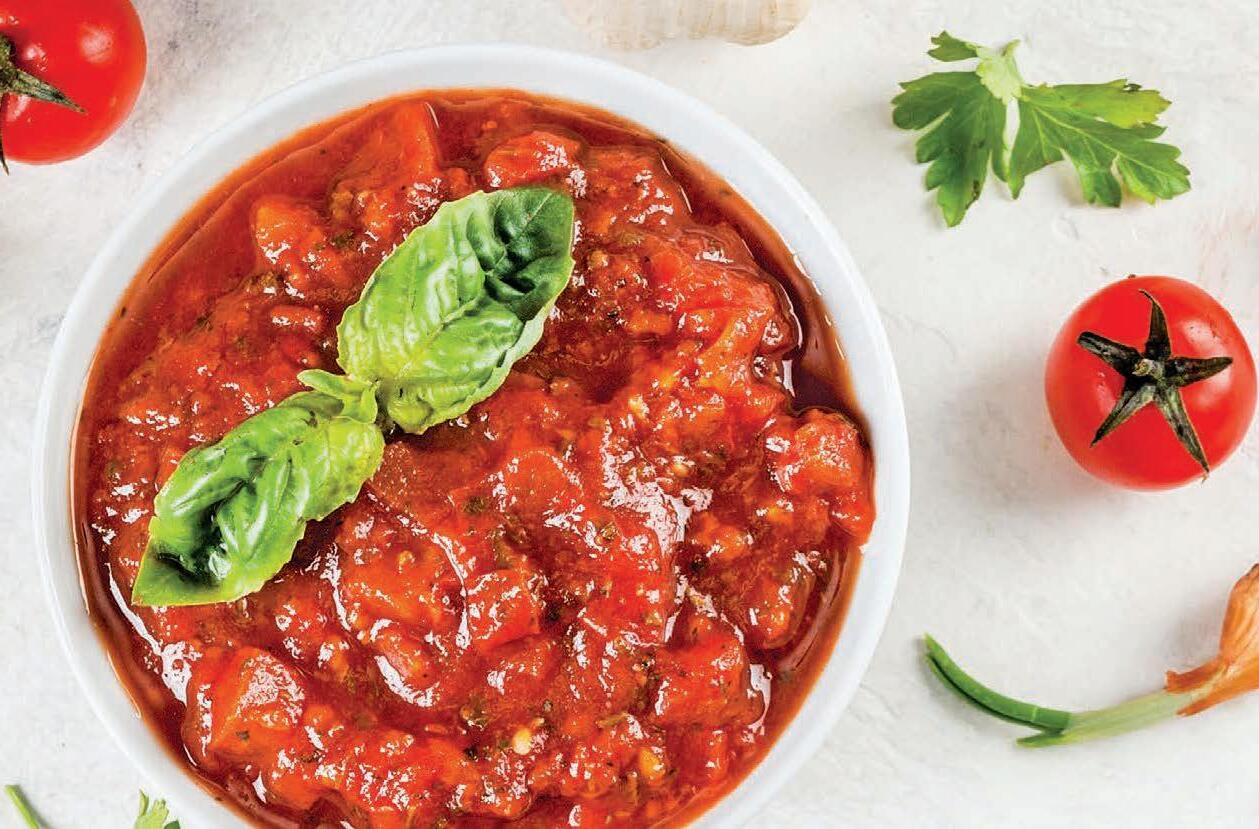
This simple sauce can be used for a number of dishes – as a pizza topping, a pasta sauce, or as a base for casseroles and stews. Combine it with extra vegetables, like diced onion, grated zucchini, chopped capsicum or mushrooms, as well as fresh herbs to make it your own.
Ingredients
2 tbsp extra virgin olive oil
4 garlic cloves, peeled and finely chopped
3 x 400 g tins of diced tomatoes (no added salt)
1 bunch of basil, leaves picked


TIP: Add a tin of reduced-salt beans, some chilli and coriander to make a taco or burrito filling. In summer or autumn, replace the tinned tomatoes with a kilogram of chopped ripe tomatoes.
measuring spoon (tbsp) chopping board cook's knife spatula or wooden spoon large frying pan
1. Heat the oil in the frying pan over medium heat. Add garlic and cook for 30 seconds.
2. Add tomatoes and basil and stir well.
3. Bring to the boil, then reduce heat and simmer the sauce for 10–30 minutes. Stir occasionally and gently break up any large pieces of tomato.
4. Season to taste (optional).
NOTE: The cooking time depends on the time you have available and the type of flavour you want the sauce to have. Less cooking results in a fresher flavour; a longer cooking time results in a deeper, more intense flavour.
Makes: Approximately 1½ cups. Season: All.
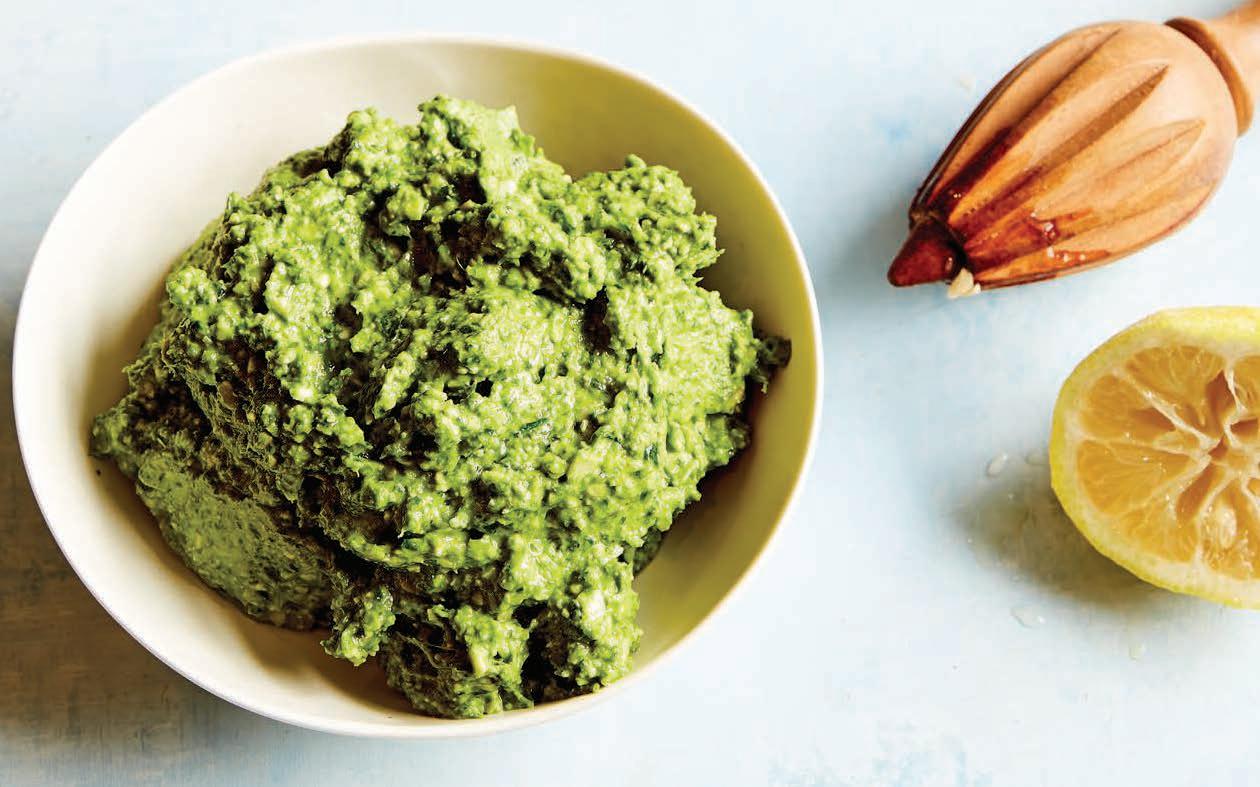
Don’t have any parsley? Try making this pesto using basil, coriander or any greens you have like rocket, spinach or kale, or a combination. Use pesto as a pasta sauce, a delicious dip, a salad dressing or in sandwiches and wraps. A fine layer of olive oil on the top of stored pesto will help to keep it fresh in the fridge. Pesto also keeps well in the freezer.
½ cup pumpkin seeds
2 garlic cloves, peeled and chopped or crushed
3 cups parsley leaves
½ cup extra virgin olive oil juice of 1 lemon
measuring cups (1 cup, ½ cup) chopping board cook’s knife
wooden spoon citrus juicer small frying pan food processor
1. Toast the pumpkin seeds in a dry frying pan over a medium heat, stirring occasionally with a wooden spoon until golden.
2. Place the toasted pumpkin seeds and the garlic in the food processor and process to a fine and crumbly mix.
3. Add the parsley leaves to the mix and process until finely chopped.
4. Add the olive oil and lemon juice and pulse to combine.
5. Season to taste (optional).
6. Enjoy stirred through pasta, spread on a pizza, or in a sandwich.
Feeds: 4-6. Season: Autumn.
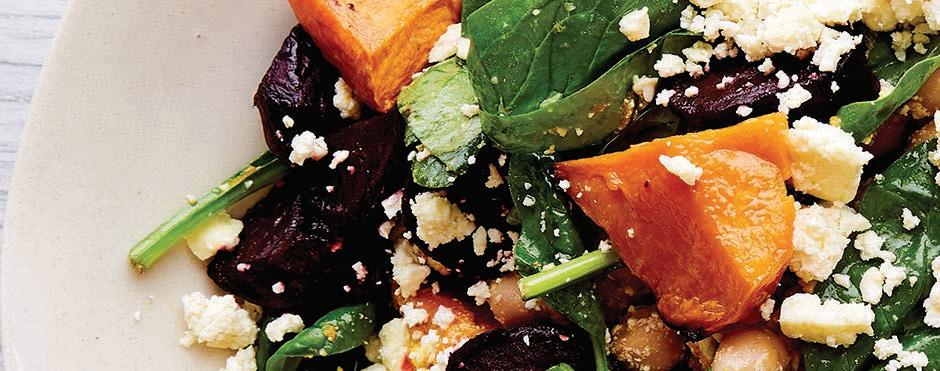
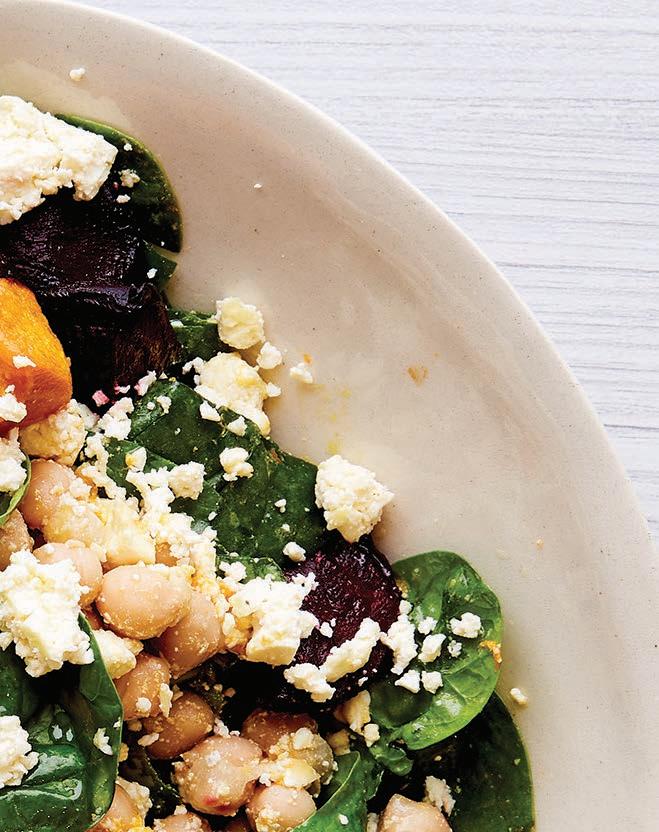
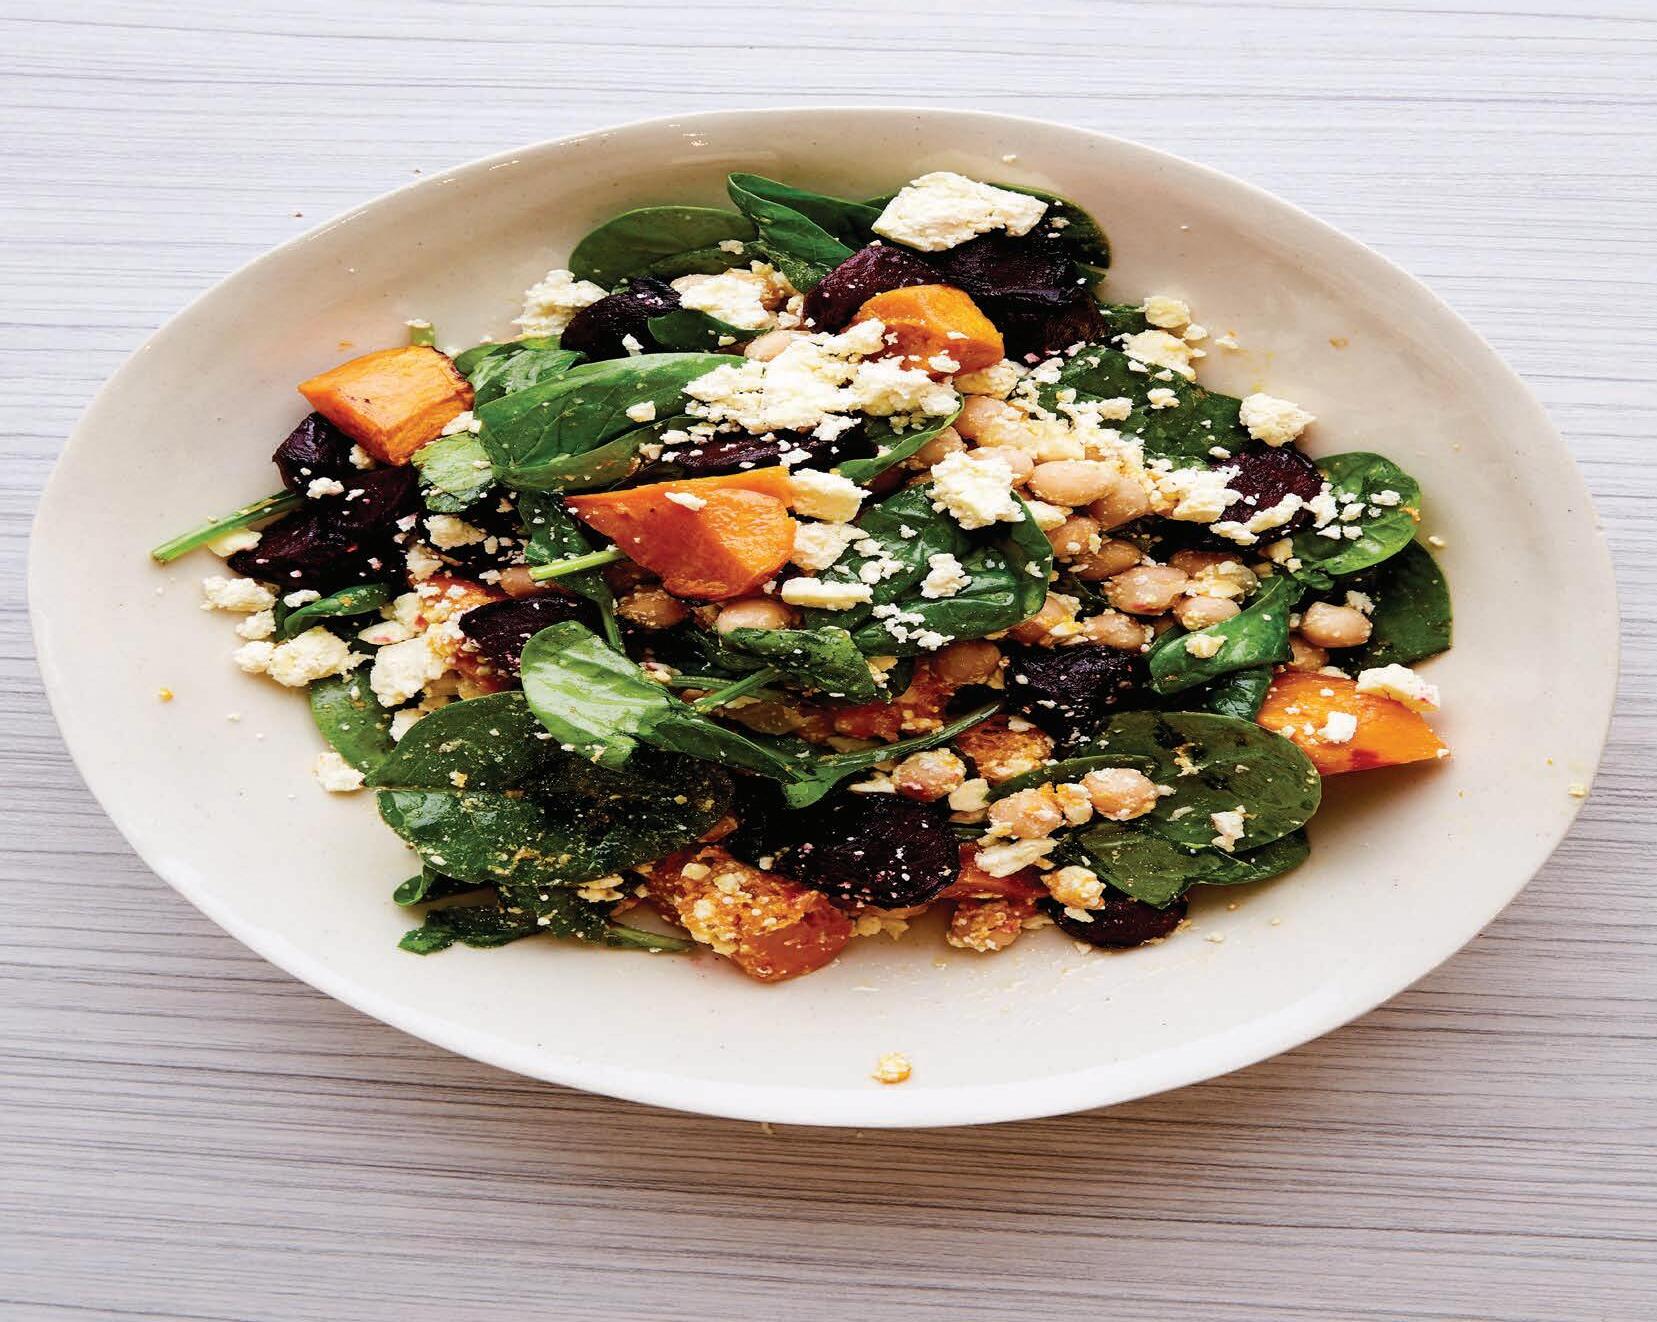
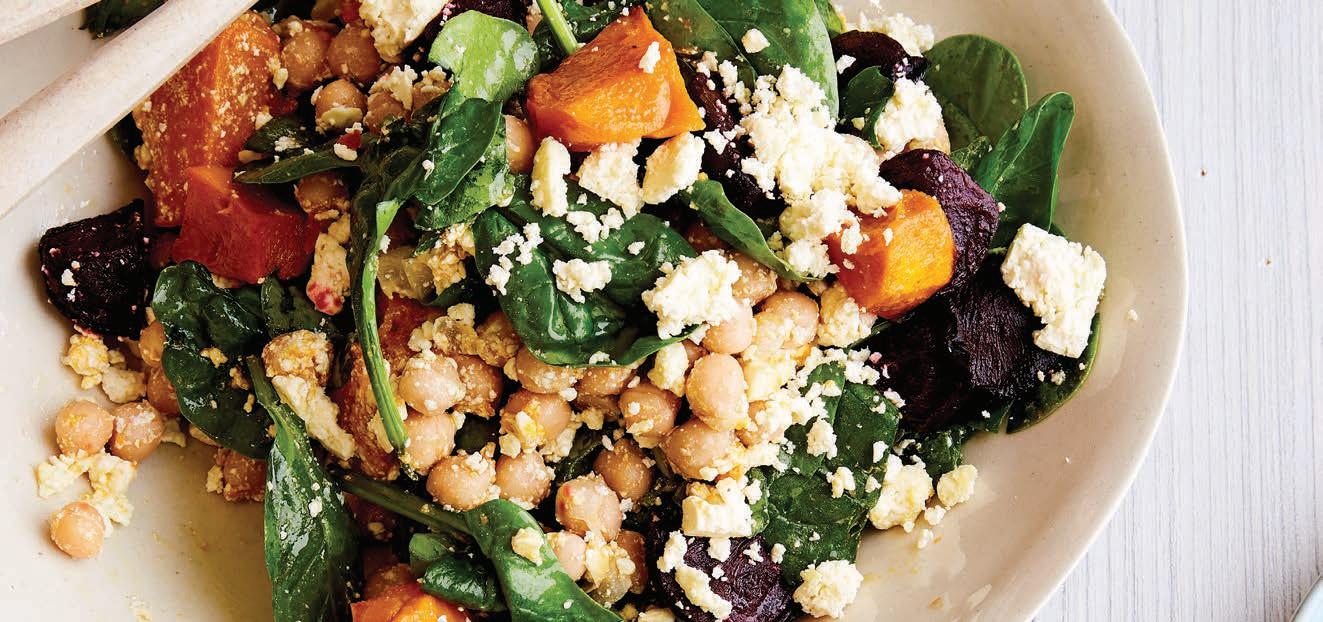
This colourful roast vegetable salad can be served warm or cold. Substitute the silverbeet with rocket, spinach, beetroot leaves or kale and swap out any of the roasted vegetables with whatever seasonal veggies you have in your fridge, like zucchini, sweet potato, carrot, potato and capsicum.
6 small–medium beetroot, washed and cut into 1–2 cm cubes
3 tbsp extra virgin olive oil
2 garlic cloves, peeled and finely chopped
2 tbsp lemon juice
500 g pumpkin, peeled and chopped into 1–2 cm cubes
1 x 400 g tin chickpeas (no added salt), drained and rinsed
4 silverbeet leaves, finely shredded
50 g reduced-fat feta, crumbled
measuring scales measuring spoon (tbsp) chopping board cook's knife mixing spoon citrus juicer sieve or colander large bowl large baking tray
1. Preheat the oven to 200 °C.
2. Combine the beetroot, 1 tbsp olive oil and the garlic on the baking tray. Roast for 20 minutes.
3. Add the pumpkin to the same baking tray, away from the beetroot. Bake for a further 10–15 minutes, until beetroot and pumpkin are just cooked.
4. Combine the chickpeas, remaining 2 tbsp olive oil, lemon juice and shredded silverbeet in the large bowl.
5. Add the cooked beetroot and pumpkin to the chickpea mixture and toss gently to combine.
6. Top with crumbled feta.
7. Season to taste (optional).
Feeds: 4-6. Season: Autumn.
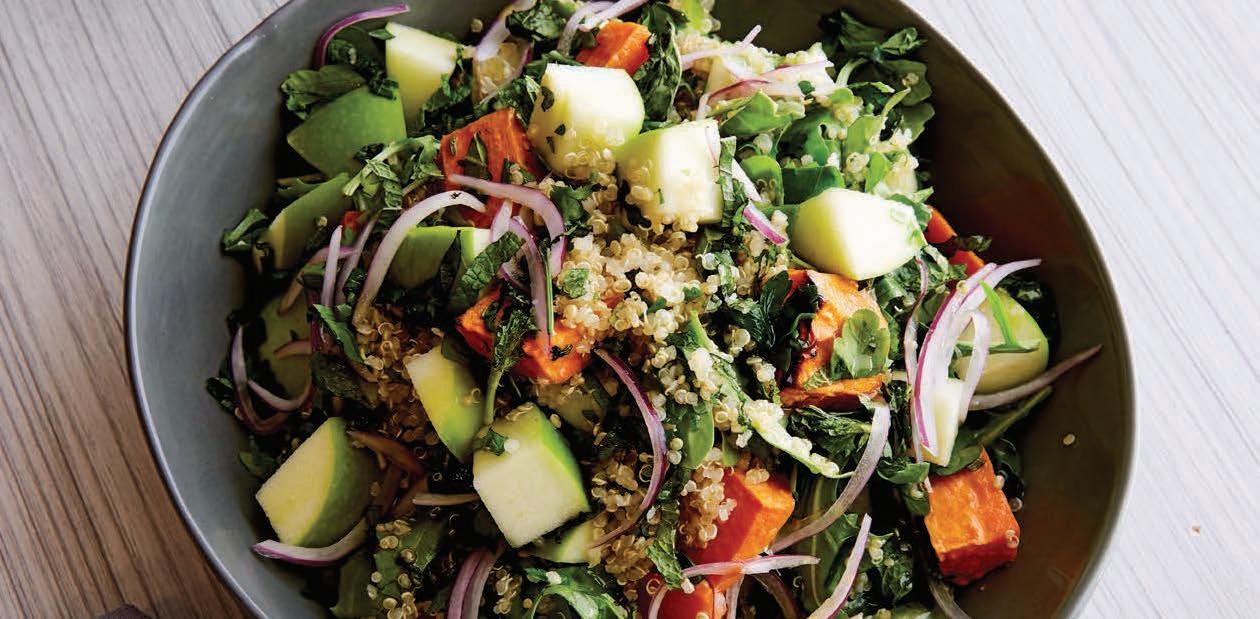
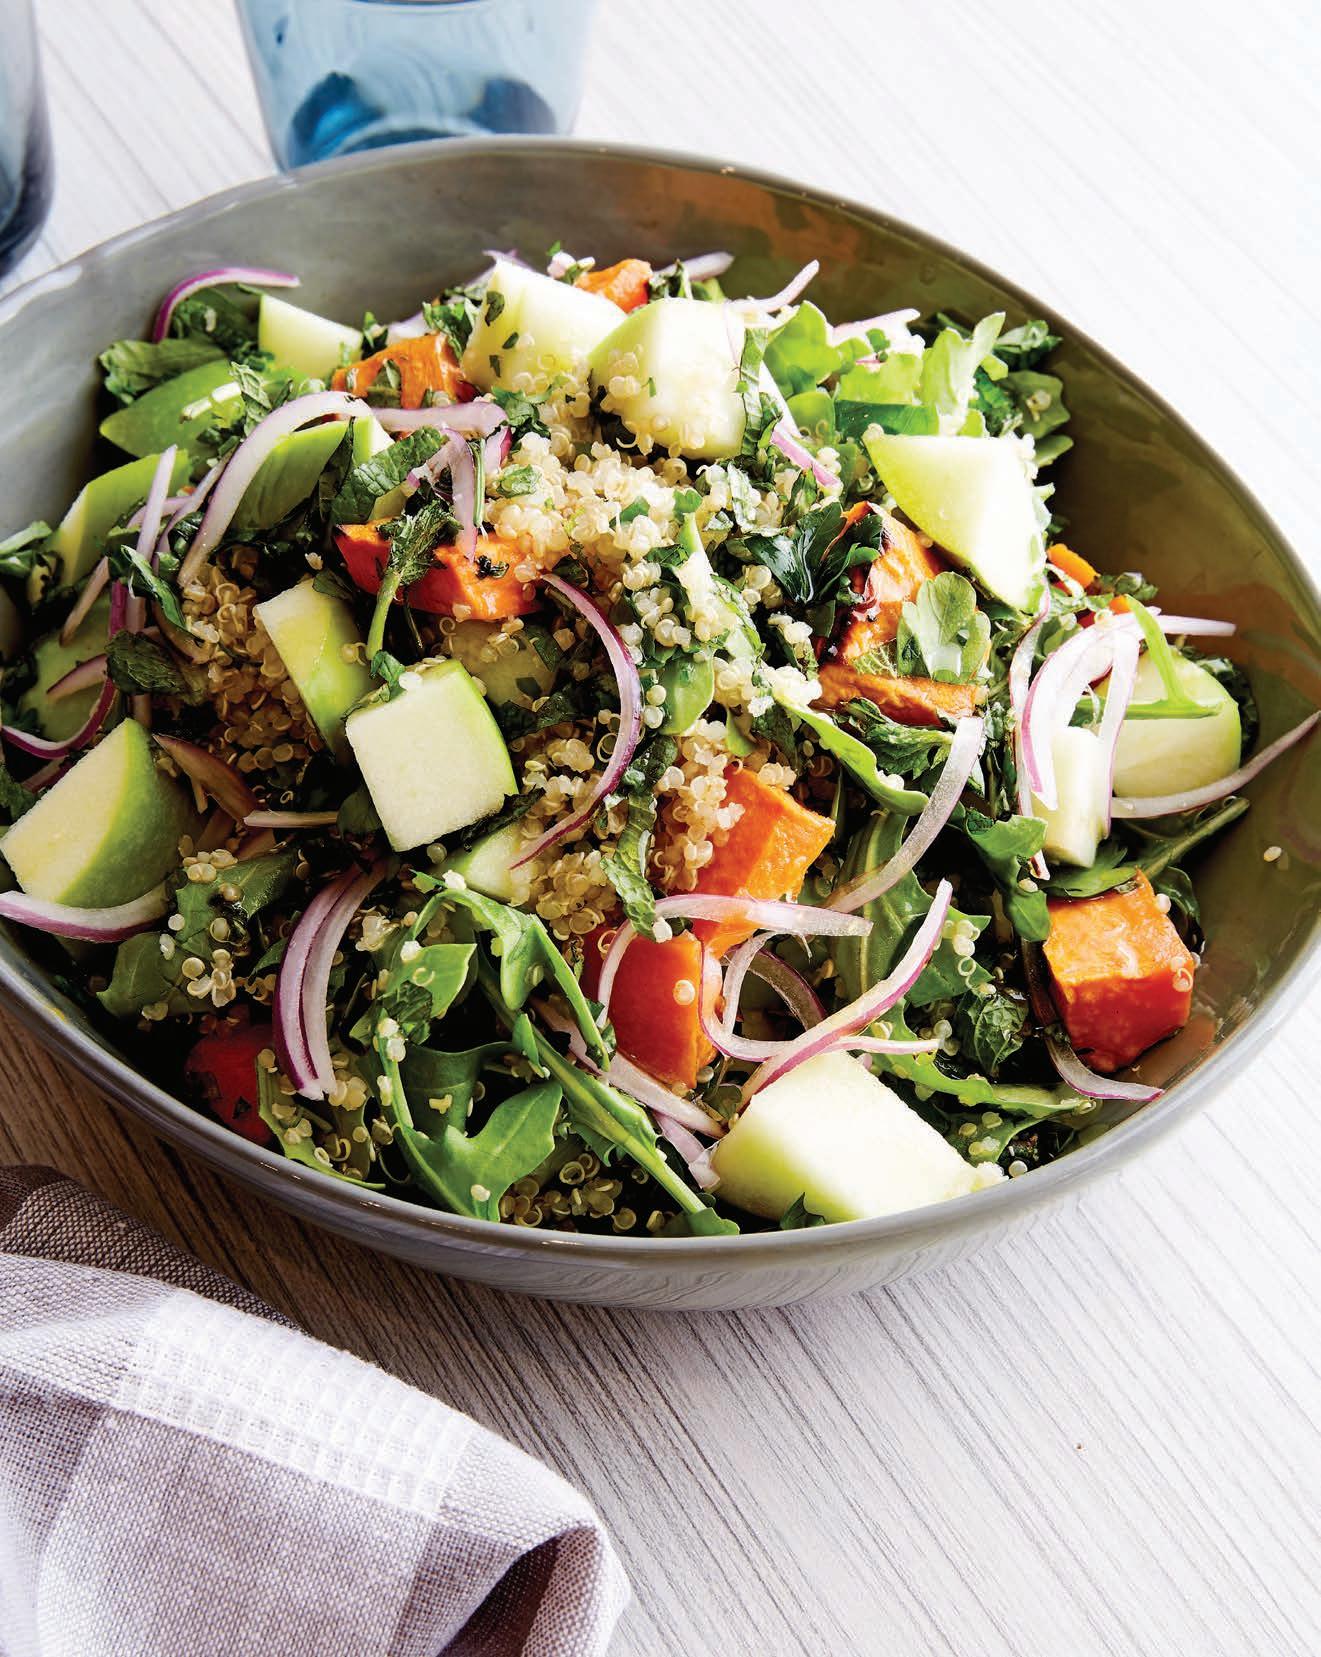
Quinoa (pronounced keen-wa) is delicious, nutty, gluten-free and high in protein and fibre. It adds little pops of texture to this crunchy salad.
Ingredients
1 medium sweet potato, diced into 1 cm cubes
1 tsp extra virgin olive oil for roasting, plus an extra tbsp for dressing
1 cup quinoa, uncooked
1½ cups water
2 apples, diced into 1cm cubes
½ medium red onion, peeled and thinly sliced
1 handful of parsley, chopped
¼ cup apple cider vinegar
1 handful of mint, chopped
3 handfuls of baby spinach or rocket


TIP: Quinoa can easily be substituted with brown rice. This recipe is an ideal dinner side dish alongside meat or fish, or make a big batch to enjoy for weekday lunches.
measuring cups (1 cup, ½ cup, ¼ cup) measuring spoons (tbsp, tsp) chopping board
1. Preheat the oven to 180 °C.
cook's knife mixing spoon bowls (1 large, 1 medium) medium saucepan 2 large baking trays
2. In a medium bowl, toss the sweet potato pieces with 1 tsp of oil.
3. Tip the sweet potato onto a baking tray and roast for 15–20 minutes.
4. Meanwhile, cook the quinoa according to the instructions on the packet, or use the absorption method: bring 1 cup of quinoa and 1½ cups of water to the boil in a medium saucepan. Simmer gently until all the liquid has been absorbed (about 10 minutes).
5. Spread the cooked quinoa onto a baking tray and allow it to cool slightly.
6. Mix the apples, onion, parsley, vinegar and 1 tbsp of olive oil in a large bowl.
7. Gently toss in the sweet potato, quinoa, mint and spinach or rocket.
8. Season to taste (optional) and serve.
OUR RICE AND WHOLEGRAIN TIP
Can’t tolerate wheat or gluten?
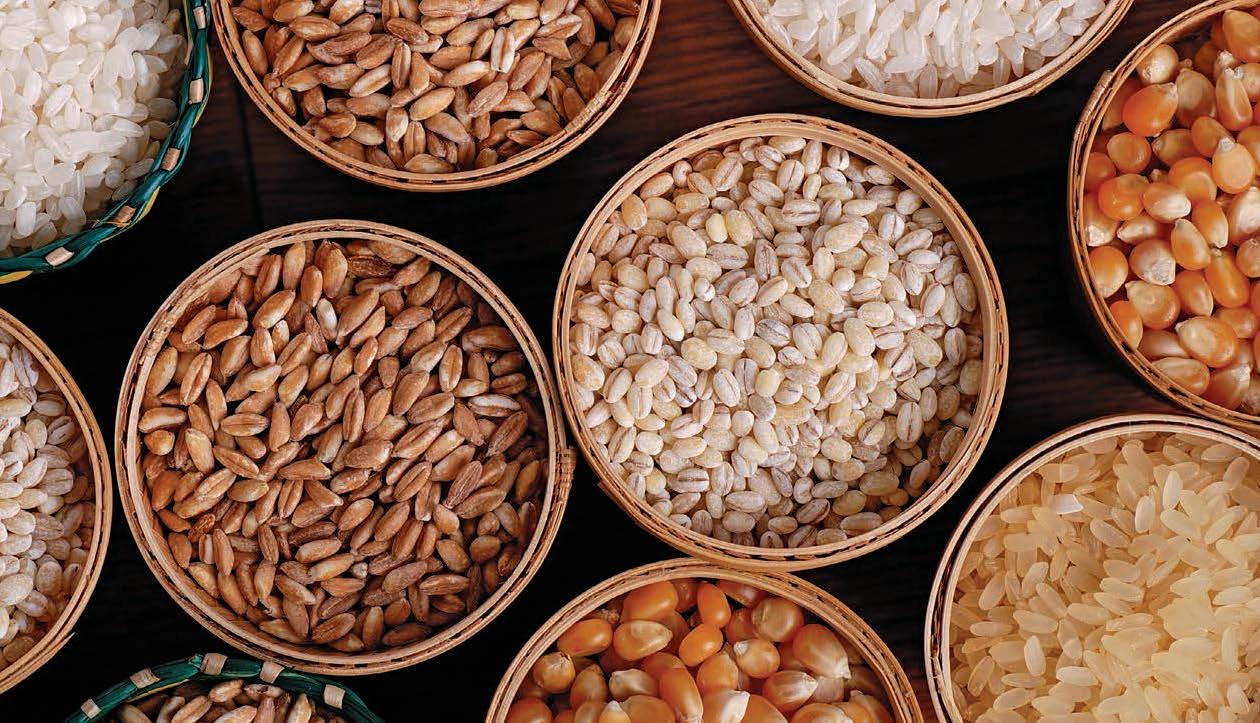
Gluten-free grains include quinoa, brown rice, wild rice, sorghum, buckwheat and corn.
Did you know there are more than 40,000 varieties of rice that exist today?
Rice is one of the world’s leading staple food crops, along with others, like corn, soy, wheat and tubers (such as potatoes and yams).
Most grain-based staples are cheap to buy and are usually eaten as bread, pasta, noodles and breakfast cereals. These ingredients are very filling but don’t have all the nutrition you need.
To make the most of rice and other grains, choose wholegrain products (for example whole wheat, brown rice, whole oats and buckwheat). Combine them with fresh vegetables and herbs, chicken, meat or dairy to gain even more nutritional goodness from your meals.
Feeds: 4-6. Season: All.
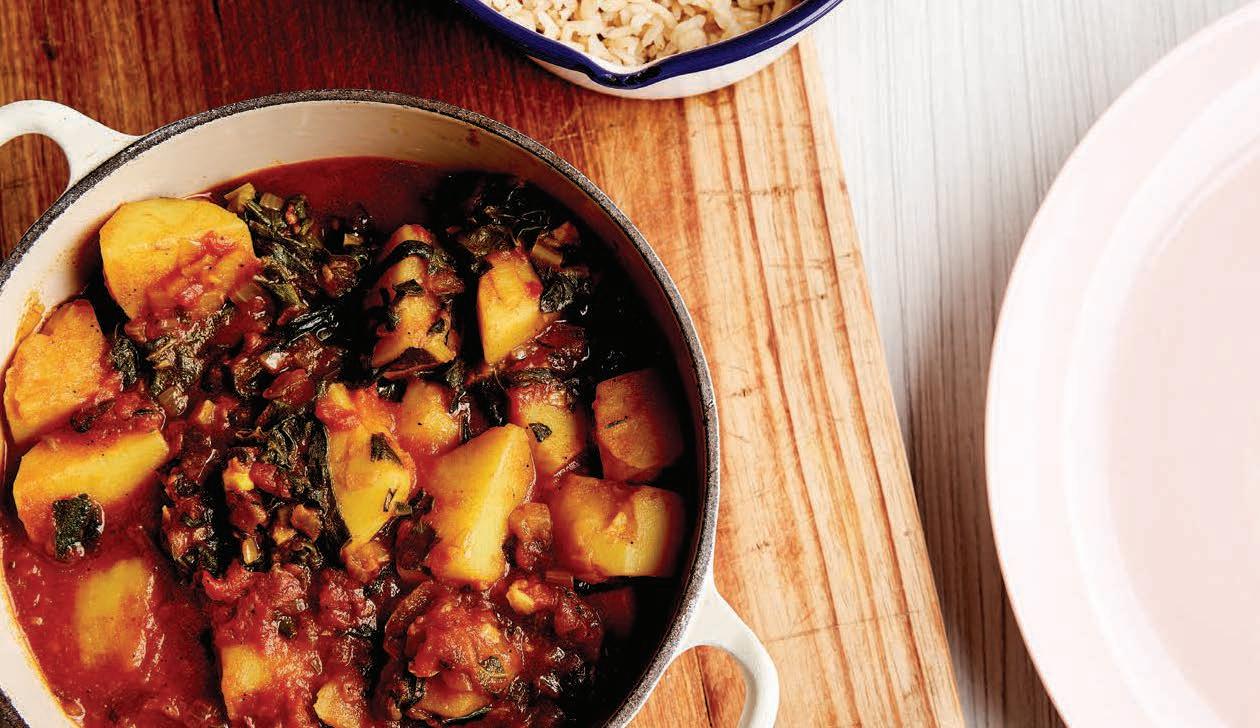
This quick and easy curry can be on the table in just 30 minutes. The spinach can be substituted with any leafy greens you have – silverbeet, kale, cabbage, or even frozen spinach.
Ingredients
3 tbsp sunflower oil
3 garlic cloves, peeled and thinly sliced
2 onions, peeled and roughly chopped
2 tsp ground turmeric
2 tsp ground cumin
2 tsp garam masala
8 medium potatoes, cut into 2 cm cubes
1 x 400 g tin diced tomatoes (no added salt)
¾ cup water
1 large bunch of spinach, thick stems removed, leaves roughly chopped
measuring cup (¼ cup) measuring spoons (tbsp, tsp) chopping board cook's knife spatula or wooden spoon large pot
1. Heat the sunflower oil in the large pot over a medium heat.
2. Add the garlic and cook for 1 minute, until it starts to colour.
3. Add the onion and cook for 3–4 minutes, stirring frequently, until soft and lightly golden.
4. Add the spices and stir for 1 minute, until fragrant.
5. Add the potato, tomatoes and water, and stir to combine.
6. Add the spinach and cook, stirring frequently, for 15–20 minutes or until the potatoes are just tender.
7. Season to taste (optional).
8. Serve with cooked rice of your choice (optional).
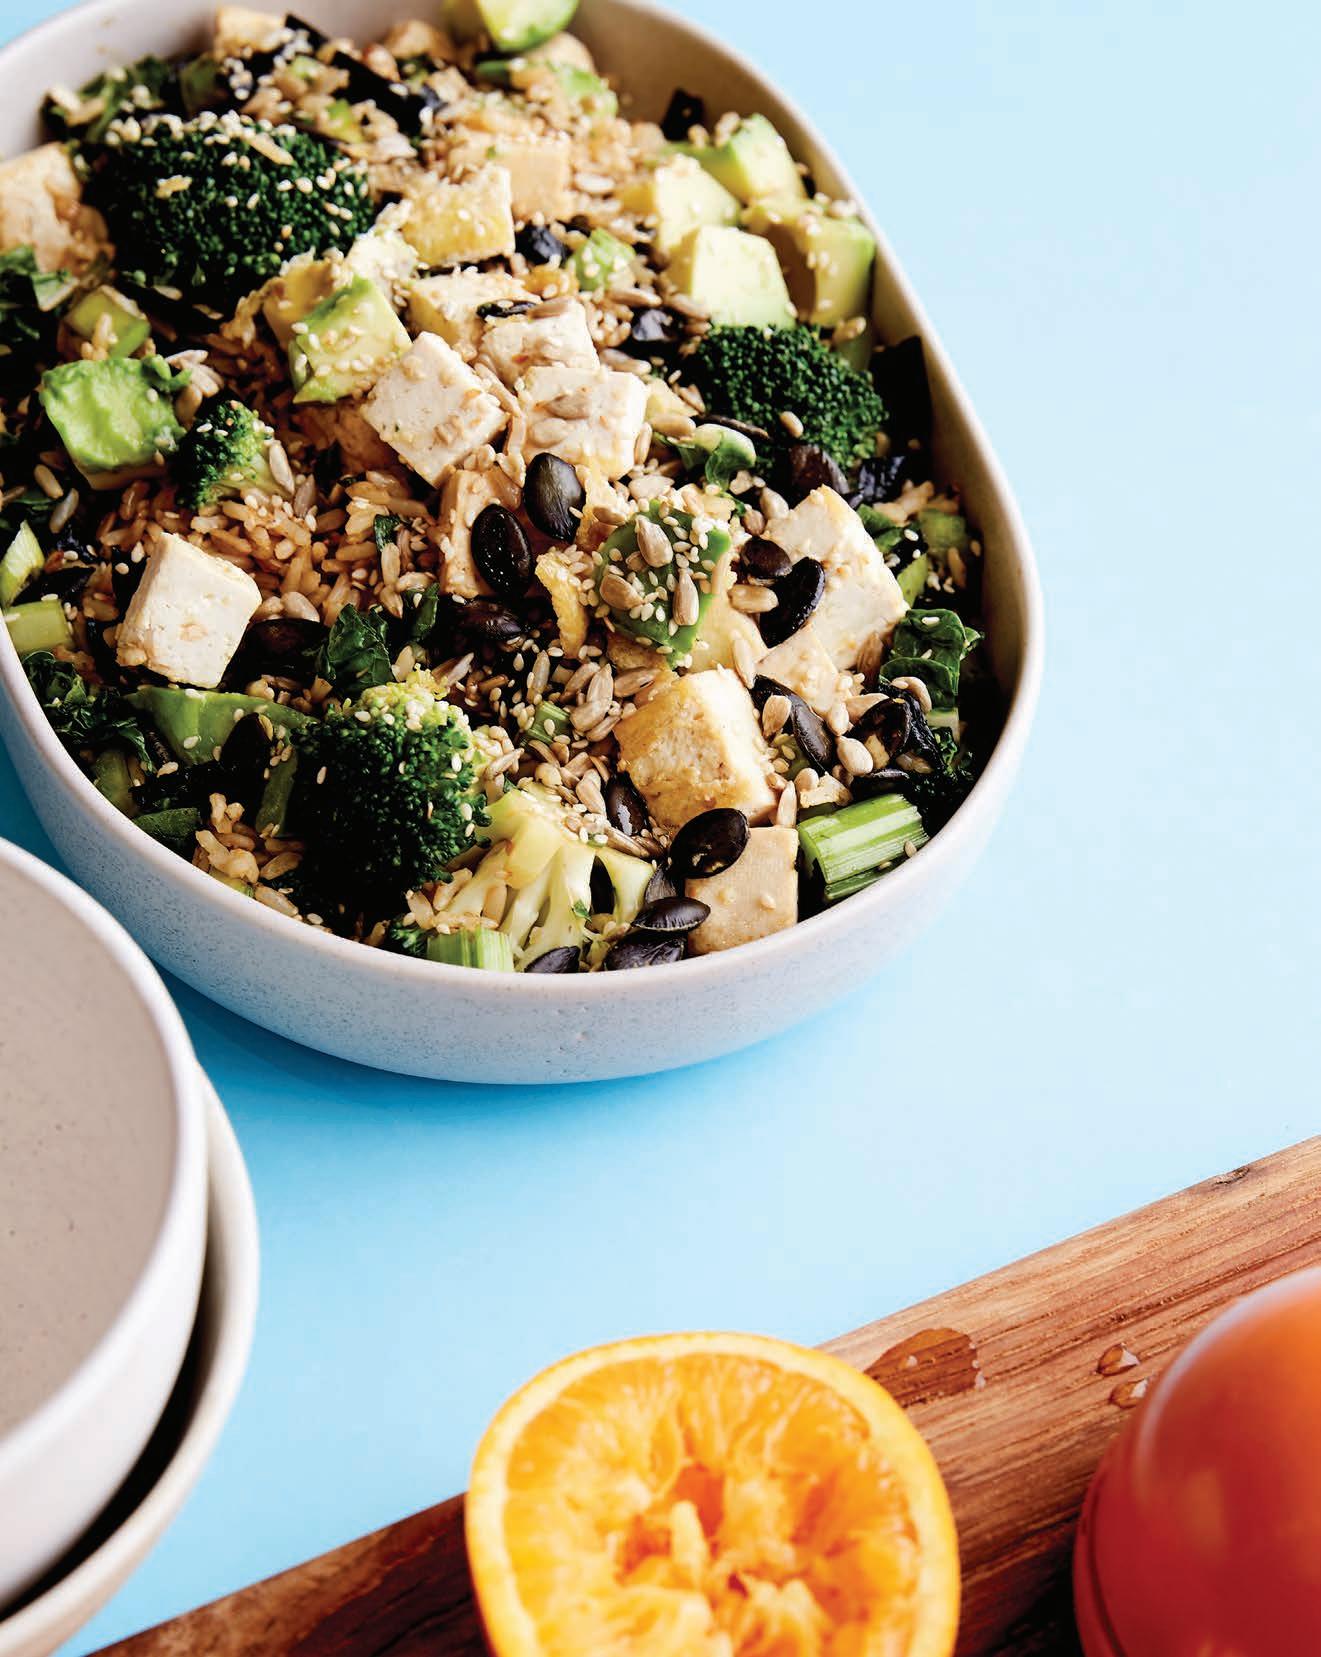
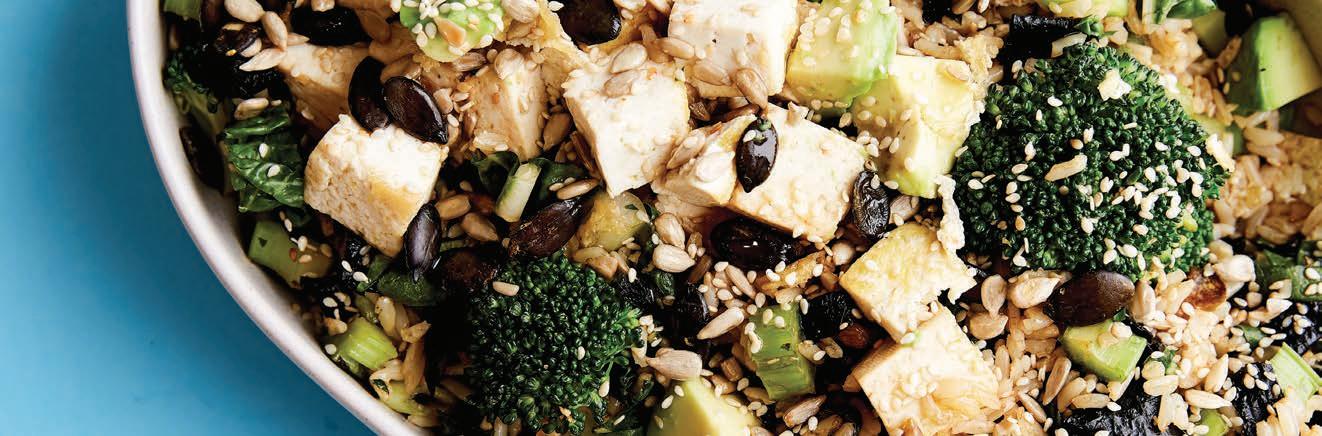
Feeds: 4-6.
Season: Winter and Spring.
Explore the flavours of Japanese cooking at home. This salad is not only super colourful, fresh and tasty but also a filling and nutritious meal, combining grains, vegetables and proteins. Don’t forget, you can substitute tofu with chicken (skinless), roasted pumpkin or even tinned tuna (in spring water).
1 cup brown rice
½ cup sunflower seeds
¼ cup pumpkin seeds
¼ cup sesame seeds
1 head of broccoli, chopped into florets
2 tsp sunflower oil
200 g firm tofu, chopped into 1 cm cubes
2 celery stalks, finely sliced
1 small handful of baby spinach leaves
1 avocado, peeled and cut into 1 cm cubes
2 nori sheets, broken into flakes
For the dressing juice of ½ an orange
3 tsp salt-reduced soy sauce
2 tsp freshly grated ginger
measuring cups (1 cup, ½ cup, ¼ cup)
measuring spoon (tsp)
chopping board cook's knife
wooden spoon fork or whisk spatula or egg flip
citrus juicer grater sieve or colander large bowl medium saucepan large saucepan with lid
large non-stick frying pan
1. Place rice in sieve or colander and rinse well under cold running water, then place in the large saucepan. Add 4 cups of water and bring to the boil. Reduce heat to low, cover and simmer gently for 25 minutes. Drain in sieve or colander and rinse with cold water.
2. Toast the pumpkin seeds and sunflower seeds in a dry frying pan over a medium heat, stirring occasionally with a wooden spoon until lightly golden. Add sesame seeds and continue to toast for 1 minute. Tip onto a baking tray or plate and allow to cool.
3. Blanch the broccoli for 2 minutes in a medium saucepan of simmering water. Strain into a sieve or colander and rinse with cold running water to cool.
4. Heat the sunflower oil in the frying pan and gently fry the tofu cubes, browning on all sides.
5. To make the dressing, combine the orange juice, soy sauce and ginger in a small bowl and mix well with a fork or whisk.
6. Place the rice, toasted seeds, broccoli, celery and spinach in a large bowl. Pour the dressing over and toss to combine.
7. Top with the tofu and avocado and sprinkle with nori flakes.
8. Season to taste (optional).
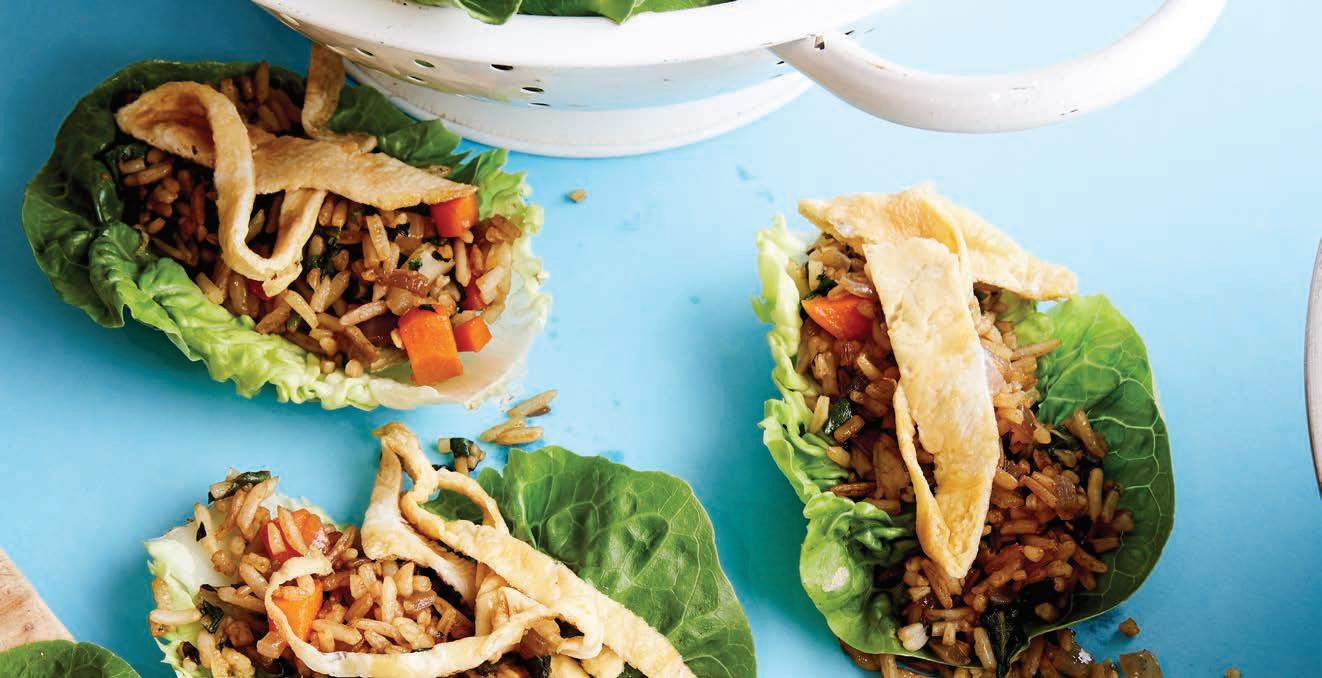
Feeds: 4-6. Season: All.
Looking for a new way to serve up your food? Try a lettuce cup! Children will love filling a crisp lettuce leaf with delicious fried rice and eating straight from their hands. This is a great way to empty your fridge and use up any leftover rice and vegetables.
Ingredients
6 eggs
2 tsp sunflower oil
1 red onion, peeled and finely chopped
2 cm knob of ginger, peeled and grated
1 carrot, finely chopped or grated
1 bunch of spring onions, finely chopped
4 cups cooked rice
3 tsp salt-reduced soy sauce
2 silverbeet leaves, finely chopped
30 small whole lettuce leaves
measuring cup (1 cup) measuring spoon (tsp) chopping board cook's knife grater whisk or fork egg flip medium bowl large frying pan or wok
1. Break the eggs into the medium bowl and whisk well.
2. Heat 1 tsp sunflower oil in the large frying pan or wok. Pour the whisked eggs into the hot pan and cook over high heat until the egg is cooked through and looks like a big omelette.
3. Slide the omelette onto the chopping board, allow to cool slightly, then slice into thin strips.
4. Heat the remaining sunflower oil in the frying pan or wok.
5. Add the onion, ginger, carrot and spring onions and cook for 2 minutes, then add the rice and soy sauce. Mix well, cooking until rice is steaming hot.
6. Reduce the heat and add the silverbeet and cooked egg slices. Combine ingredients, then remove the pan from the heat.
7. Serve with a platter of washed lettuce leaves. Place the rice in the leaves, scoop up in your hands and eat!
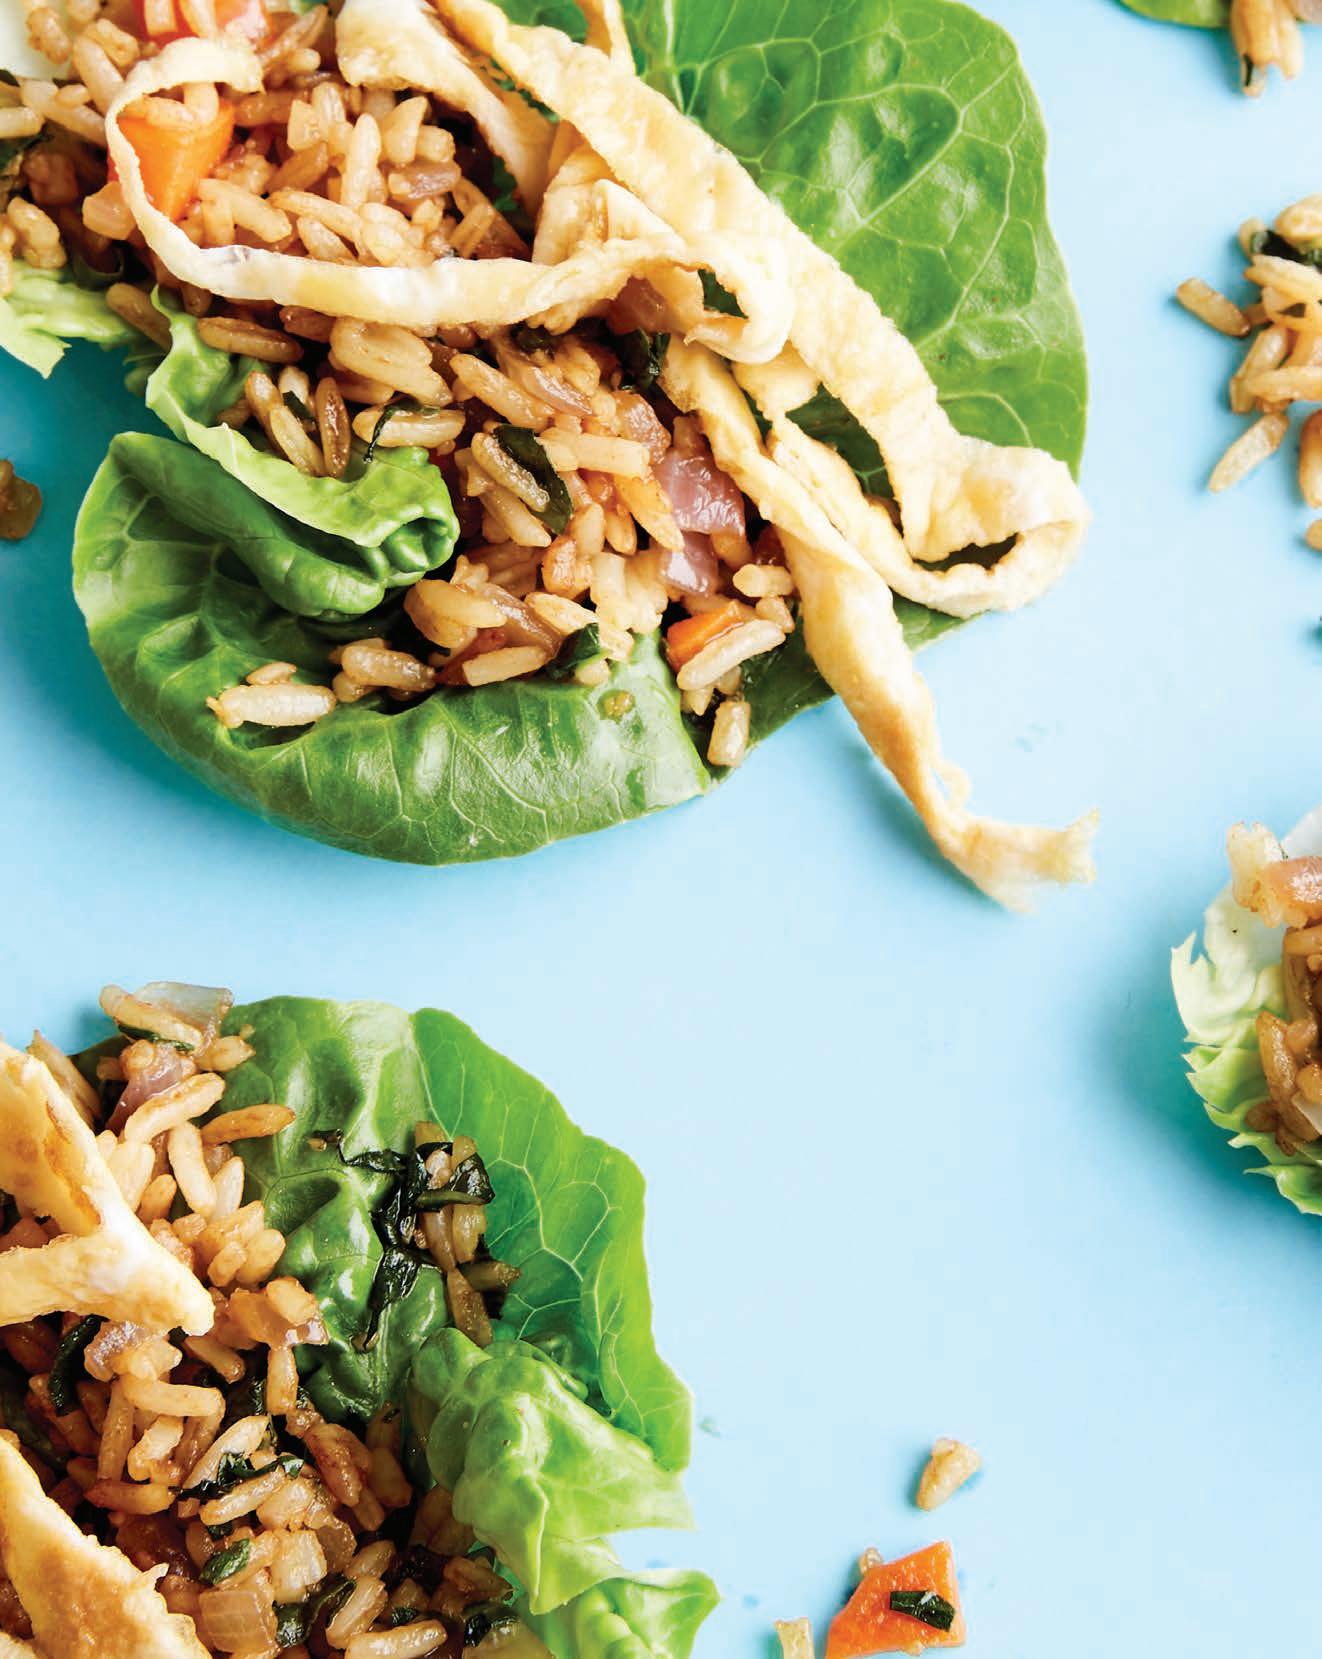
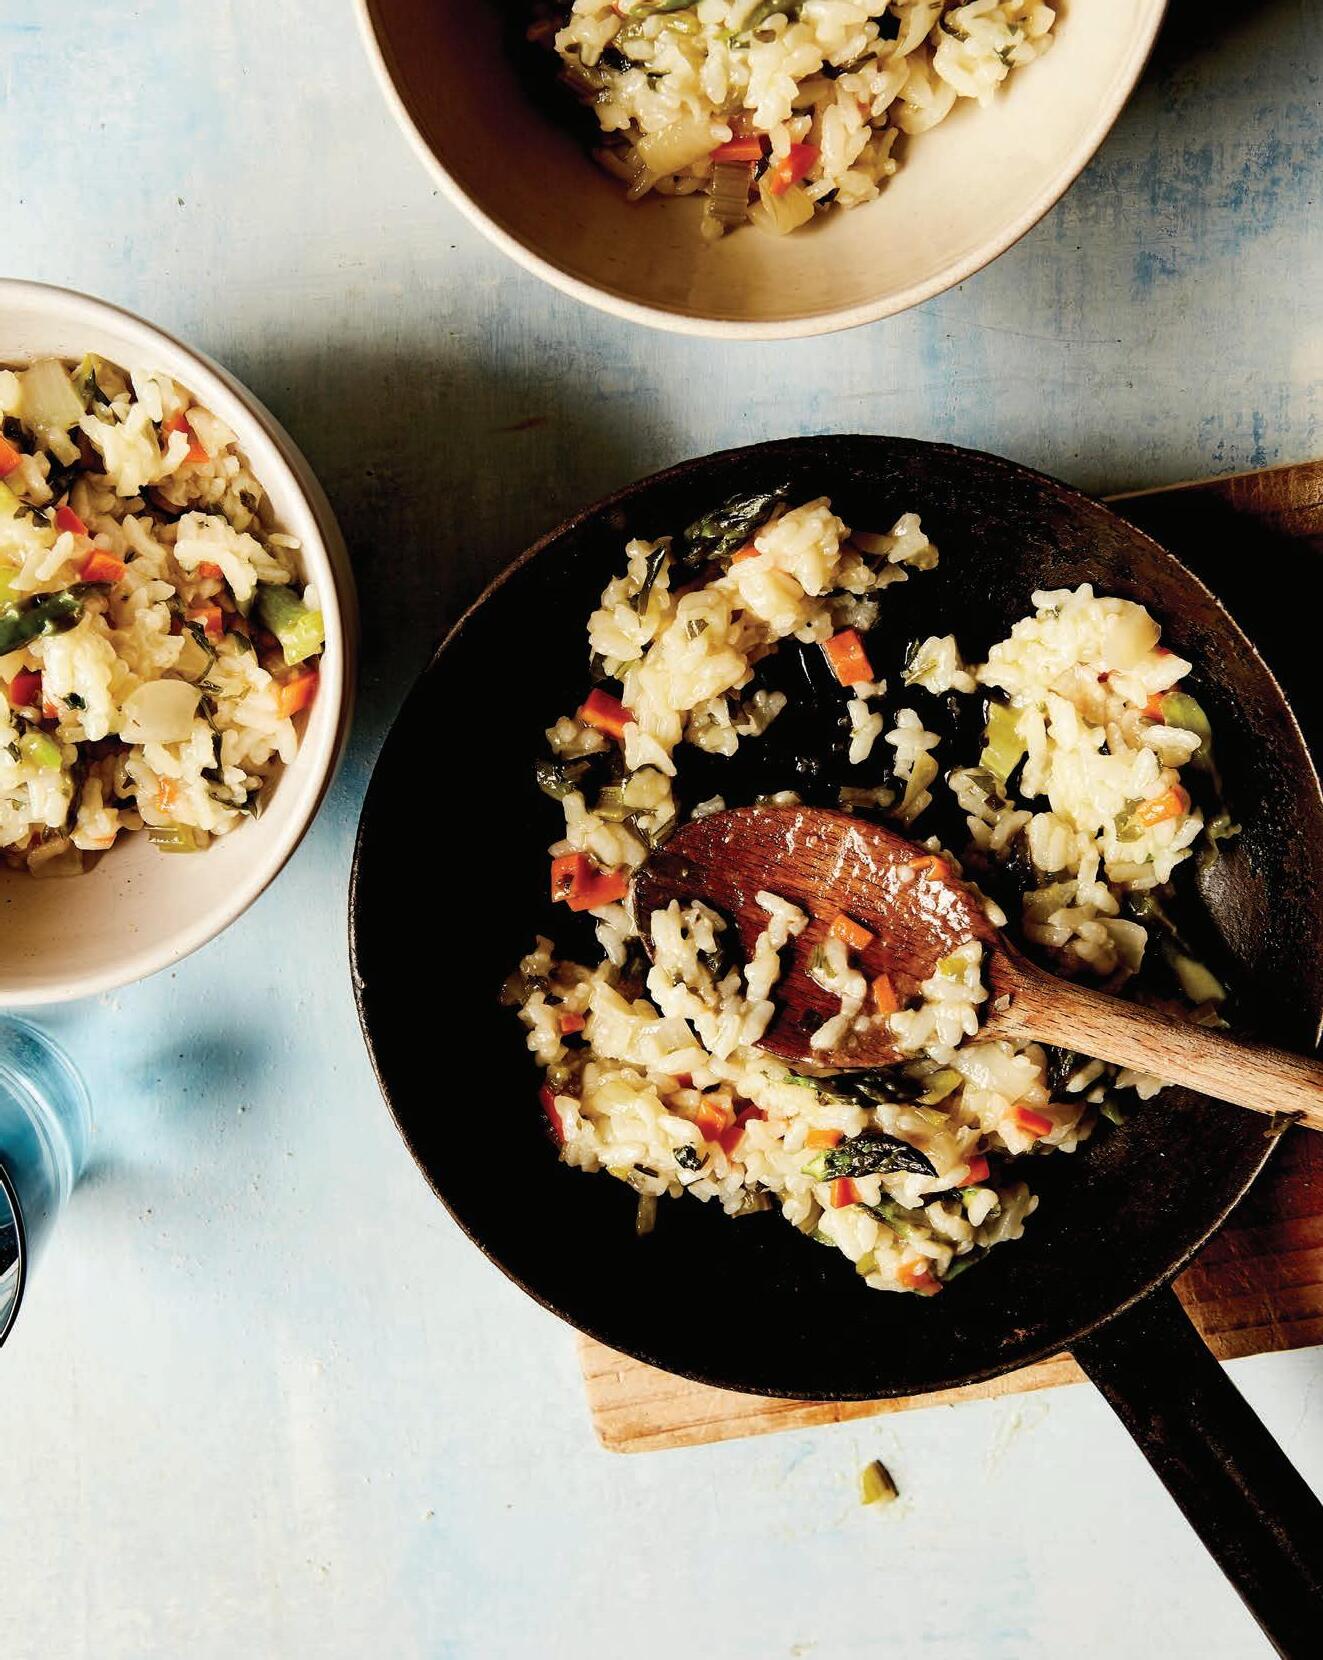
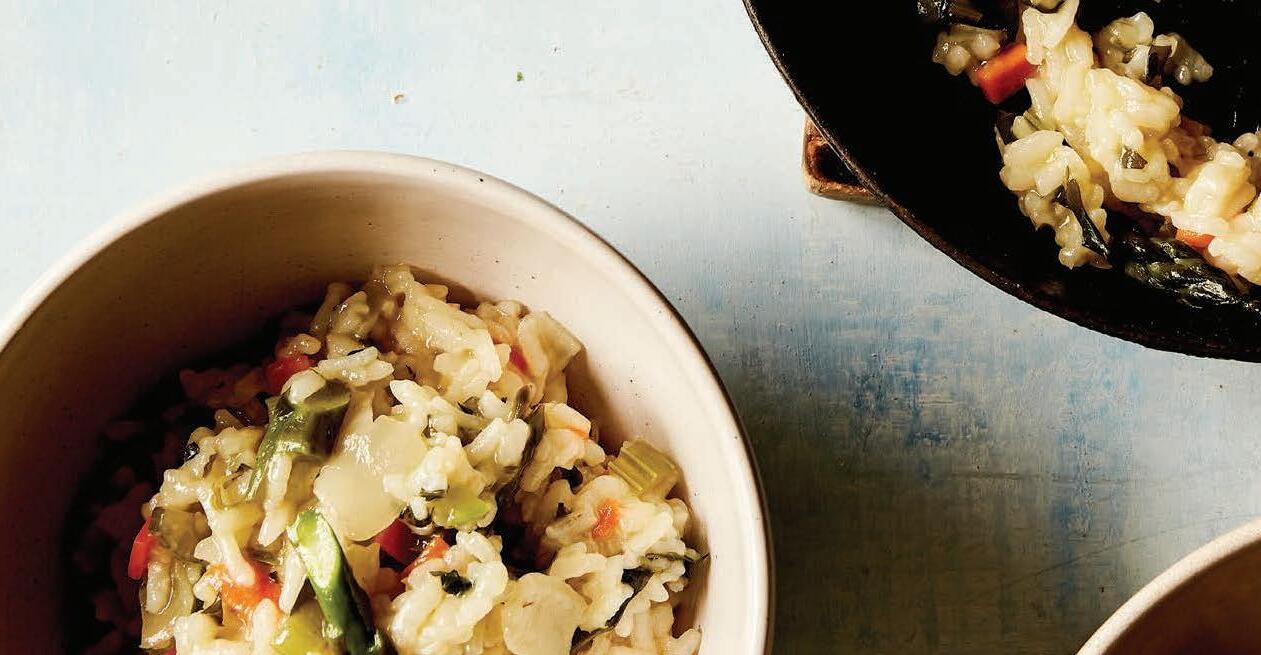
Feeds: 4-6. Season: All.
This delicious risotto recipe is a base dish that can be adapted to seasonal produce throughout the year. Concentrate on getting the basics right, then experiment to find your seasonal favourites.
Ingredients
1.5 litres salt-reduced chicken or vegetable stock
3 tbsp extra virgin olive oil
1 onion, peeled and finely chopped
2 garlic cloves, peeled and finely chopped or crushed
3 celery stalks, finely chopped
400 g risotto rice (arborio rice)
2 cups seasonal vegetables, chopped into 1 cm pieces
1 small handful of parsley, finely chopped


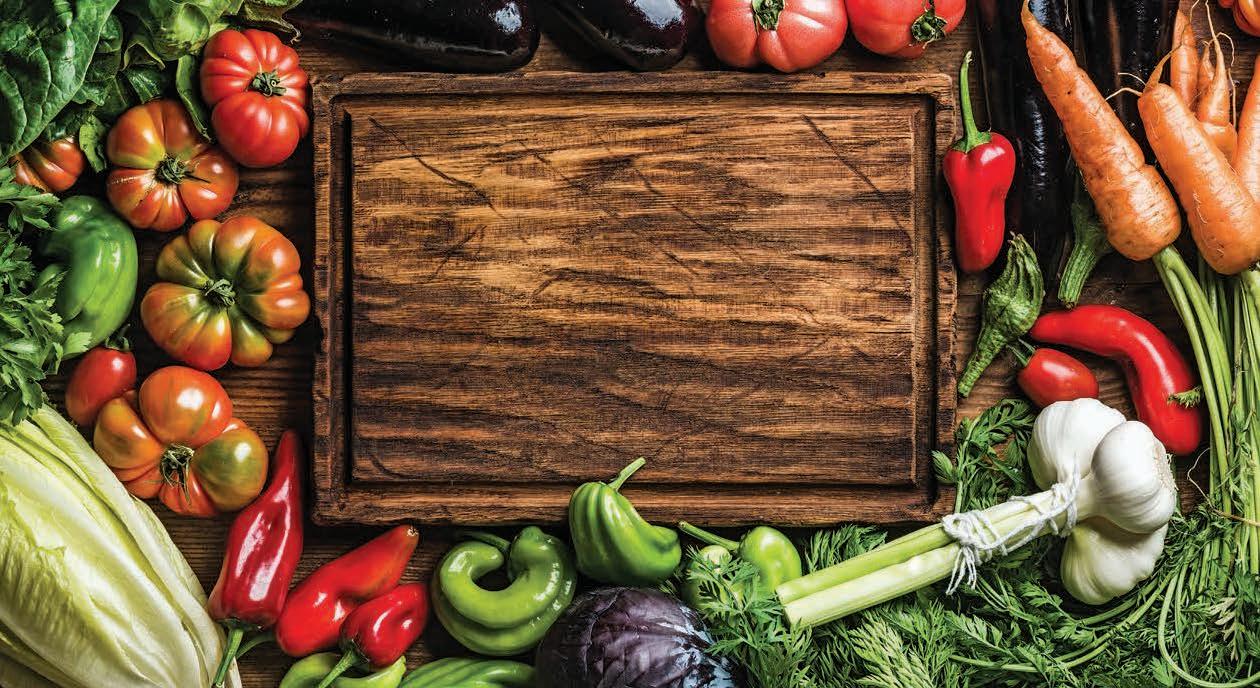
Summer: Tomato, Basil
Autumn: Pumpkin, Sage
Winter: Peas, Cauliflower
Spring: Asparagus, Lemon
measuring scales measuring cup (1 cup) measuring spoon (tbsp) chopping board cook's knife wooden spoon ladle medium saucepan large pot
1. Heat the stock in the medium saucepan.
2. Heat the olive oil in the large pot. Add the onion, garlic and celery, and cook gently for 10 minutes.
3. Add the rice and turn up the heat, stirring constantly. After a minute the rice will look slightly translucent (a little bit see-through and shiny).
4. Gently add a ladleful of the hot stock and stir well. Lower the heat and continue adding stock, stirring, and allowing each ladleful to be almost absorbed before adding the next.
5. After 10 minutes, add your seasonal vegetables. Continue to add stock, ladle by ladle, stirring well until the vegetables are tender and rice is soft but with a slight 'bite'.
6. Remove from the heat and add the parsley.
7. Season to taste (optional) and serve.
OUR FAST AND FRESH TIP
In the supermarket, take a loop around the perimeter of the store for fresh and whole foods such as vegetables, herbs, meat and dairy – steer your trolley away from the processed food in the aisles!

Eating well helps us go about our day with more ease and energy. That’s why we need more fresh, healthy food in our lives. But it’s not easy when we are surrounded by unhealthy food all the time and life gets busy.
Here are some tips to help you provide healthy food options for your family:
• To save time and still eat fresh, head for pre-washed and cut fresh vegetables.
• Read the food label to find out the nutritional content of the food. Compare, for example, different types of soup and choose the option with less fat, salt and sugar per 100 grams or millilitres.
• If a label is displaying a long list of ingredients that’s mostly numbers (which indicates the additives used), swap for a product with fewer additives.
• Make tasty meals out of canned beans, lentils and legumes in minutes. Hummus, anyone?
• Stock your pantry and your fridge with basic ingredients you love to use. That way you can quickly cook up some pasta, drizzle with olive oil and sprinkle with herbs and some grated cheese. Yummo – and quicker than a trip to the supermarket!
• Pre-cook larger portions of sauces, stews and soups, and refrigerate or freeze for those busy days.
Feeds: 4-6. Season: All.
This is a great base recipe for exploring different kinds of textures and tastes, with the many different potato varieties available throughout the year.
Ingredients
1 kg potatoes or sweet potatoes
2 tbsp extra virgin olive oil
measuring spoon (tbsp) chopping board cook’s knife
1. Preheat the oven to 200 °C.
large bowl baking tray baking paper
SOME OPTIONAL FLAVOURINGS
2. Scrub the potatoes clean and leave their skins on (potatoes keep their shape better if kept in their skins).
3. Cut the potatoes into chips of about 1 cm thickness.
4. In the large bowl, toss the chips with the olive oil and your flavourings (if using). Ensure all the chips are lightly coated in the oil.


1 tbsp chopped herbs (try thyme, oregano or rosemary)
1 tsp ground spices (such as chilli, cumin, paprika or sumac)
5. Line the large baking tray with baking paper and tip chips onto the tray, spreading them out so they are in one layer. Chips should not be on top of each other or touching if possible (not touching means they will crisp better all over).
6. Bake for 30 minutes, or until the chips are crisp and golden.
7. Season to taste (optional).
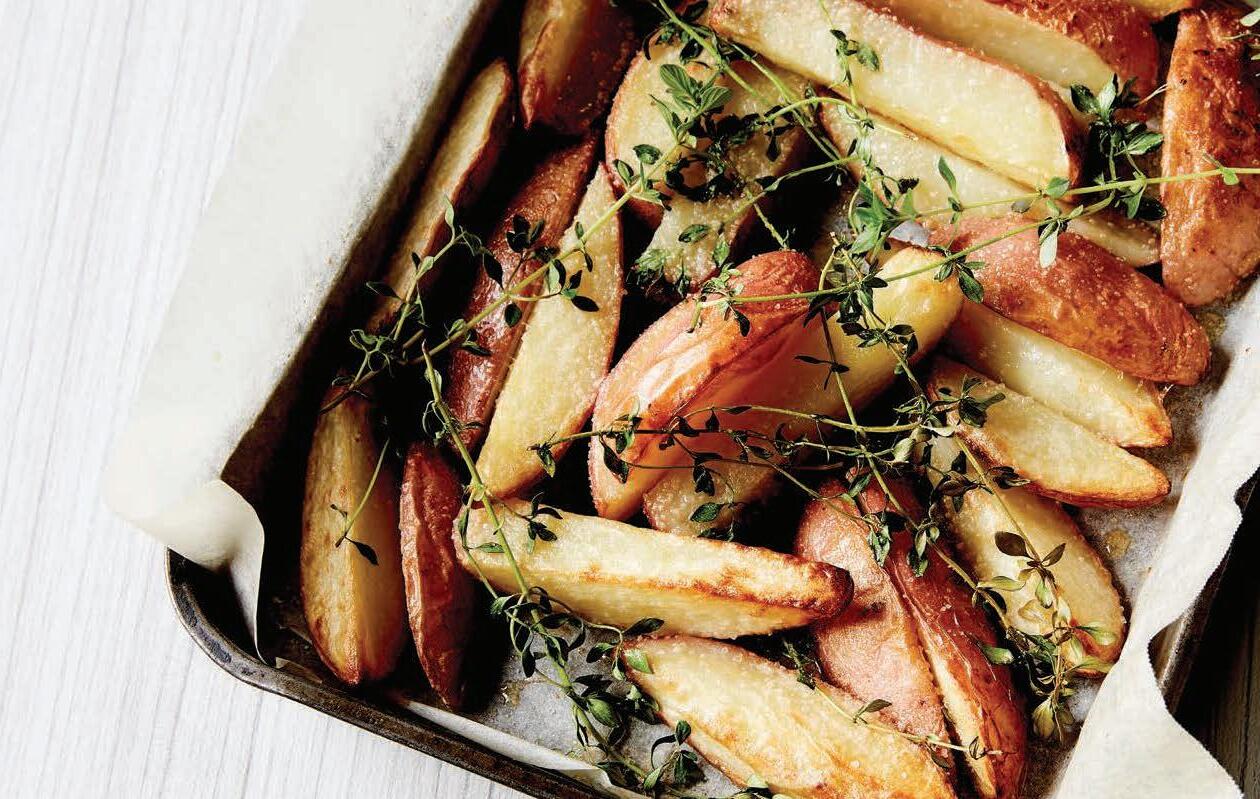
Feeds: 4-6. Season: All.
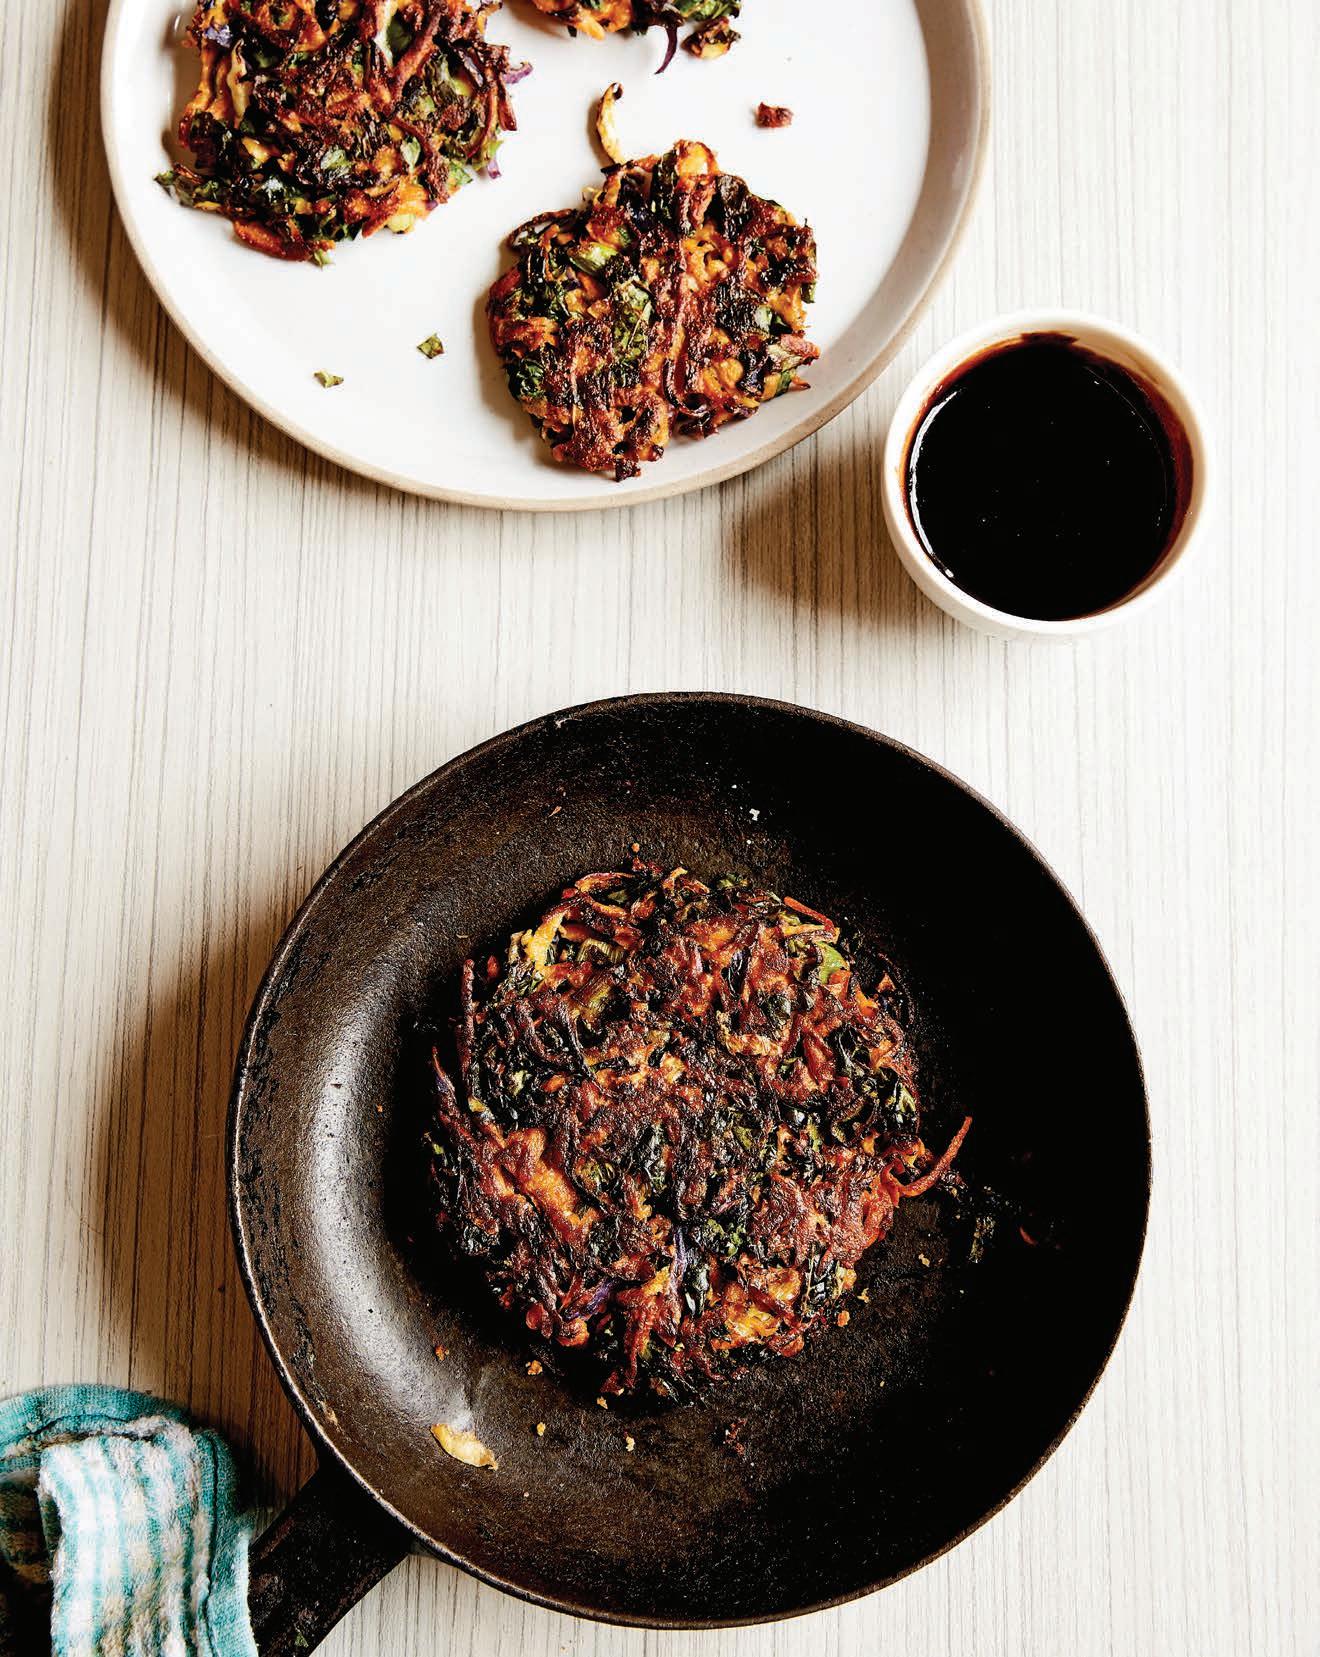
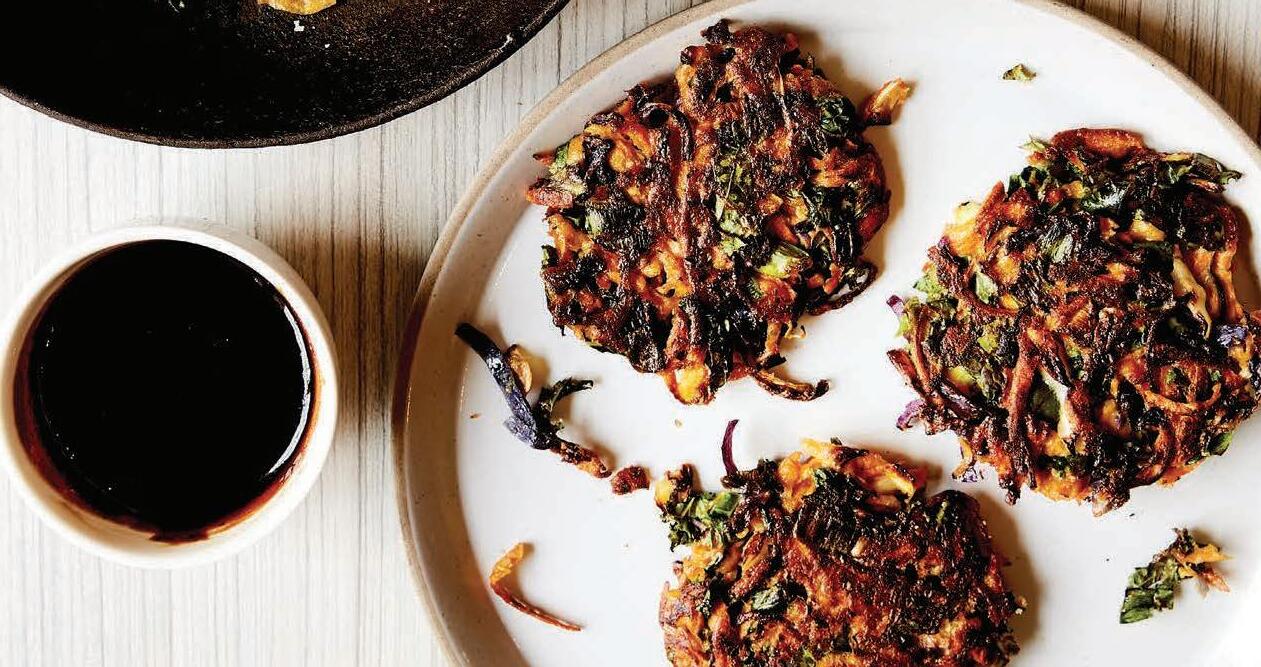
In Japanese, okonomi means ‘what you like’ and yaki means ‘cooked’, so feel free to add the ingredients you like to these tasty savoury pancakes, or use what you already have.
¼ head of cabbage, finely shredded
1 carrot, grated
1 medium sweet potato or large potato, grated
4 kale leaves, stalks removed and leaves, finely shredded
4 spring onions, finely sliced
3 eggs
3 tsp salt-reduced soy sauce
1 cup plain flour
1 tbsp sunflower oil, for frying
measuring cup (½ cup)
measuring spoon (tsp)
chopping board cook's knife grater
whisk or fork mixing spoon egg flip bowls (1 large, 1 medium) large frying pan
1. Place the cabbage, carrot, sweet potato or potato, kale and spring onions into the large bowl and mix well.
2. Crack the eggs into the medium bowl, add the soy sauce, and whisk to combine.
3. Shake the flour across the vegetable mix and toss well, then drizzle the egg mixture over the top and stir to combine.
4. Heat the sunflower oil in the frying pan over medium heat.
5. Place a large spoonful of pancake mixture into the pan and press down gently (you may be able to cook several pancakes at a time, depending on the size of your pan. Just remember to allow room so you can easily flip each pancake).
6. Cook until golden and crispy on the bottom, then flip.
7. Season to taste (optional).
8. Serve warm or cold.
Makes: 12 small burgers. Season: All.
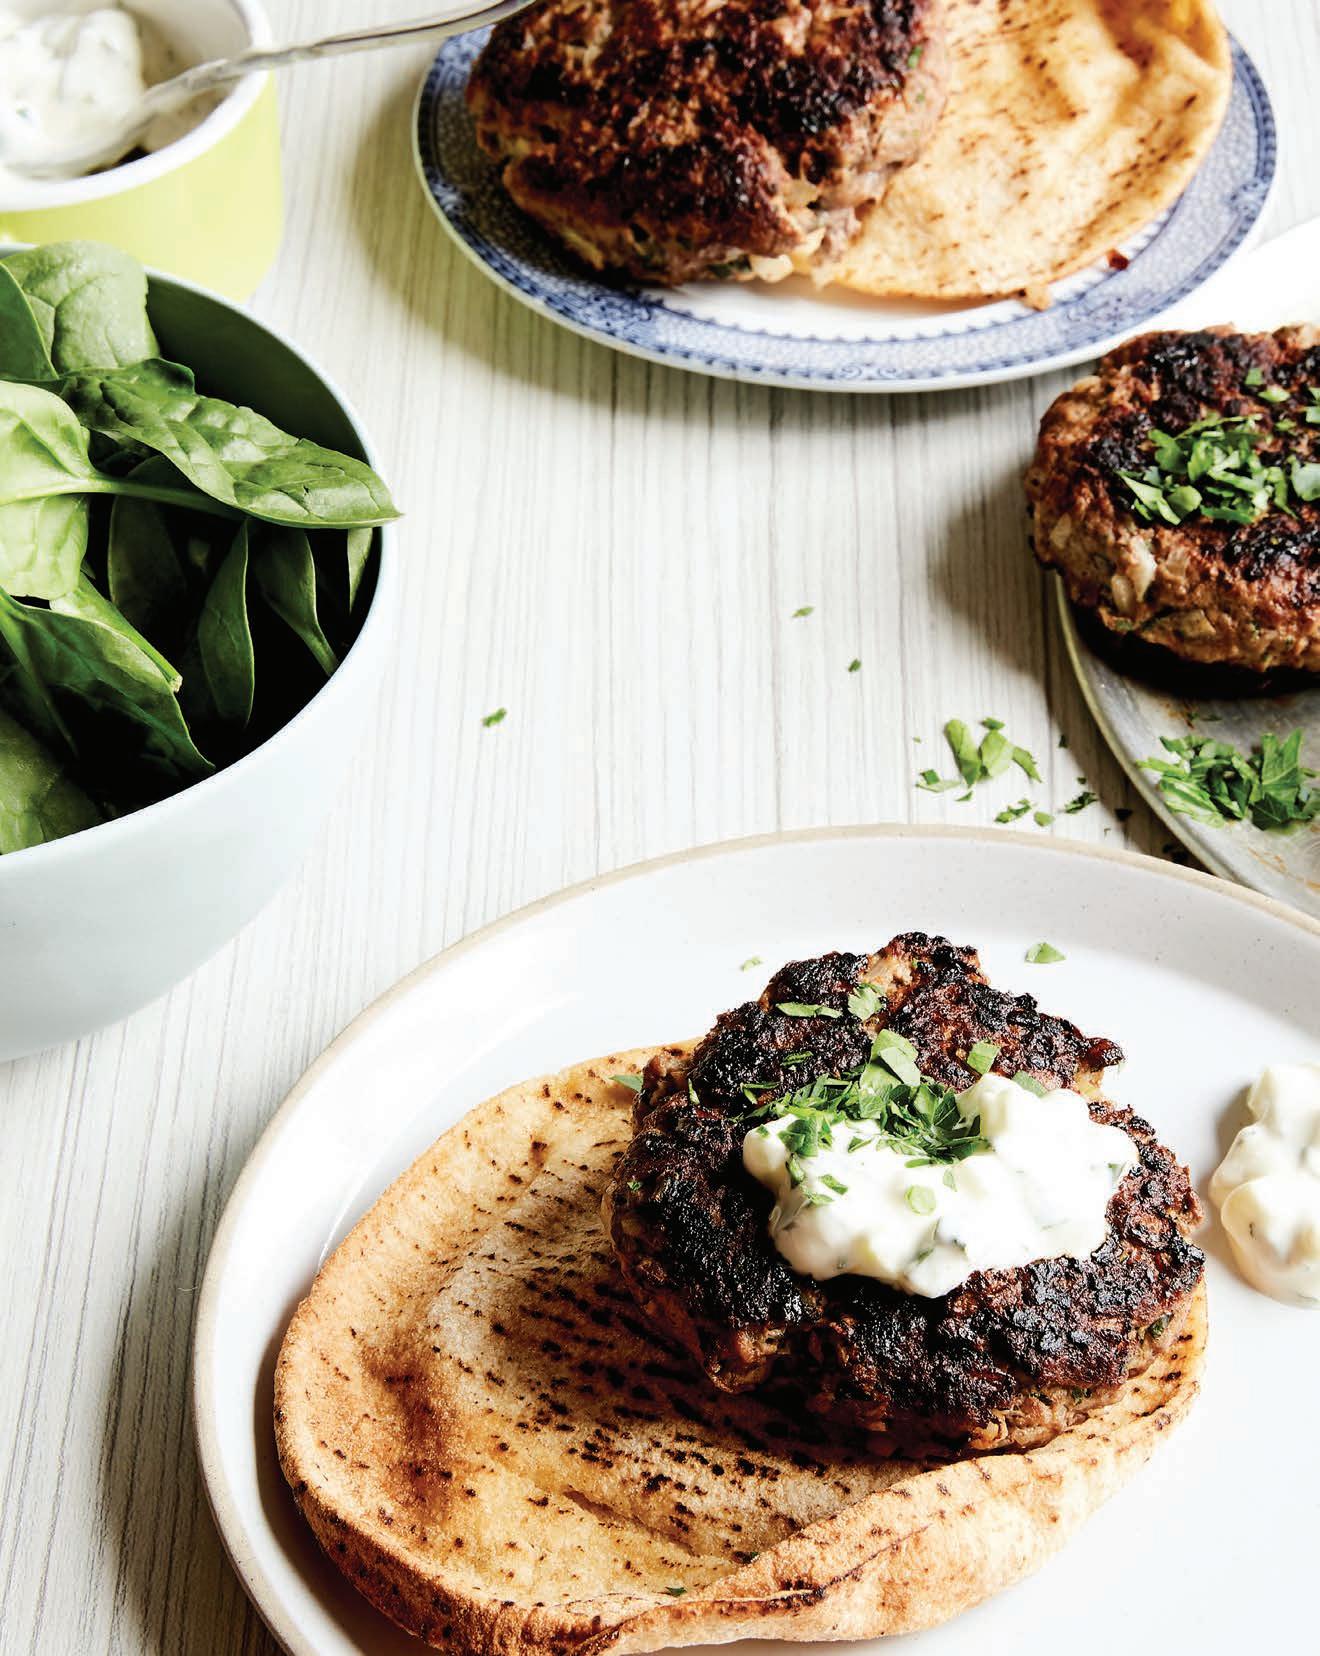
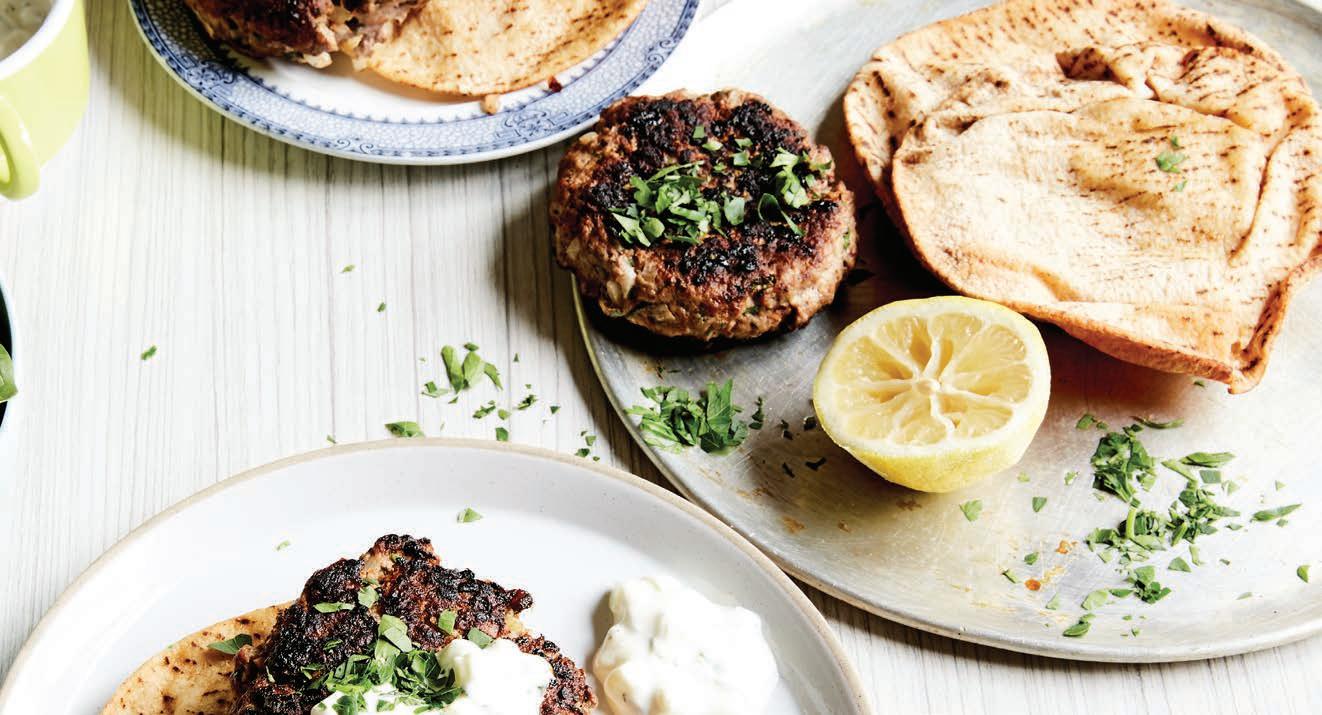
Serve these flavoursome burger patties in pita pockets with reduced-fat natural yoghurt and some fresh salad leaves.
Ingredients
500 g minced lamb
1 onion, peeled and finely chopped
1 tbsp ground coriander
1 tbsp ground cumin
1 handful of parsley, finely chopped
3 sprigs of thyme, leaves picked and chopped
zest and juice of 1 lemon
1 tbsp extra virgin olive oil, to cook
measuring spoon (tbsp)
chopping board cook's knife grater citrus juicer mixing spoon fork tongs egg flip pastry brush large bowl large frying pan baking tray paper towel
1. Place the lamb, onion, spices, herbs, lemon zest and juice into the large bowl. Mix everything together very well with your clean hands or a mixing spoon.
2. Divide up the mixture and roll it into 12 equal balls. Place on the baking tray and push down on each ball gently with the back of a fork.
3. Use the pastry brush to brush the burgers with oil.
4. Heat the frying pan over a medium heat.
5. Using tongs, place the burgers into the frying pan. Leave them to cook on one side without moving them (around 4–5 minutes). Then use the egg flip to turn them and cook the other side (around 2–3 minutes).
6. Drain the burgers on paper towel to remove excess oil.
7. Season to taste (optional).
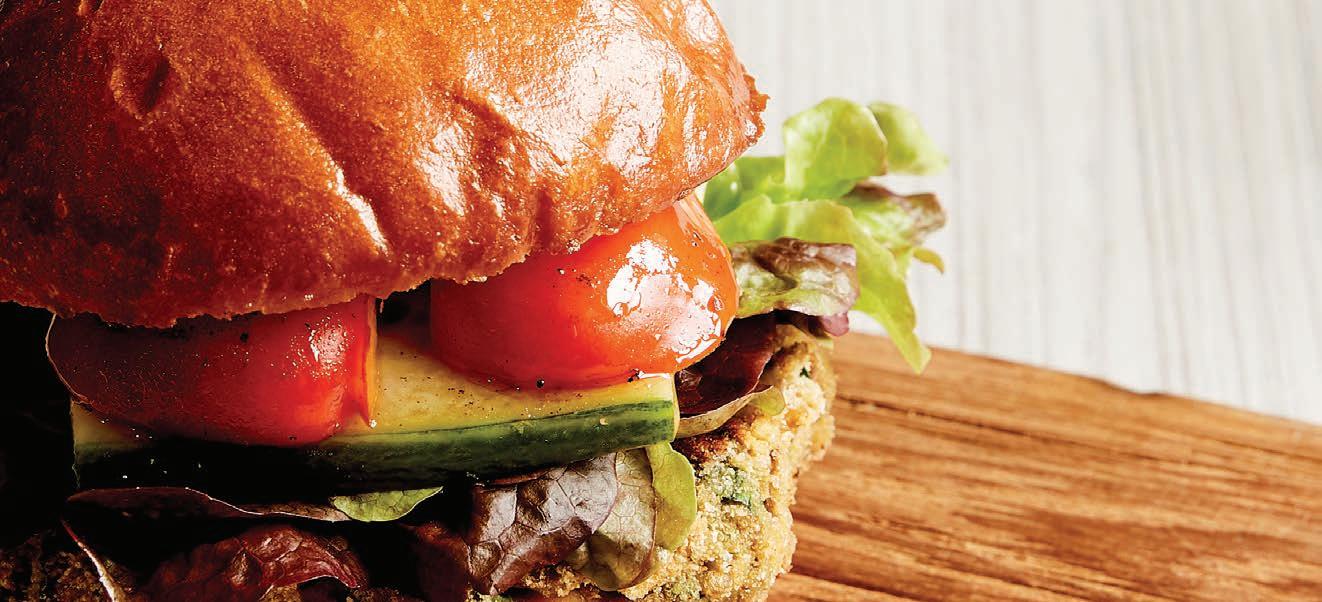
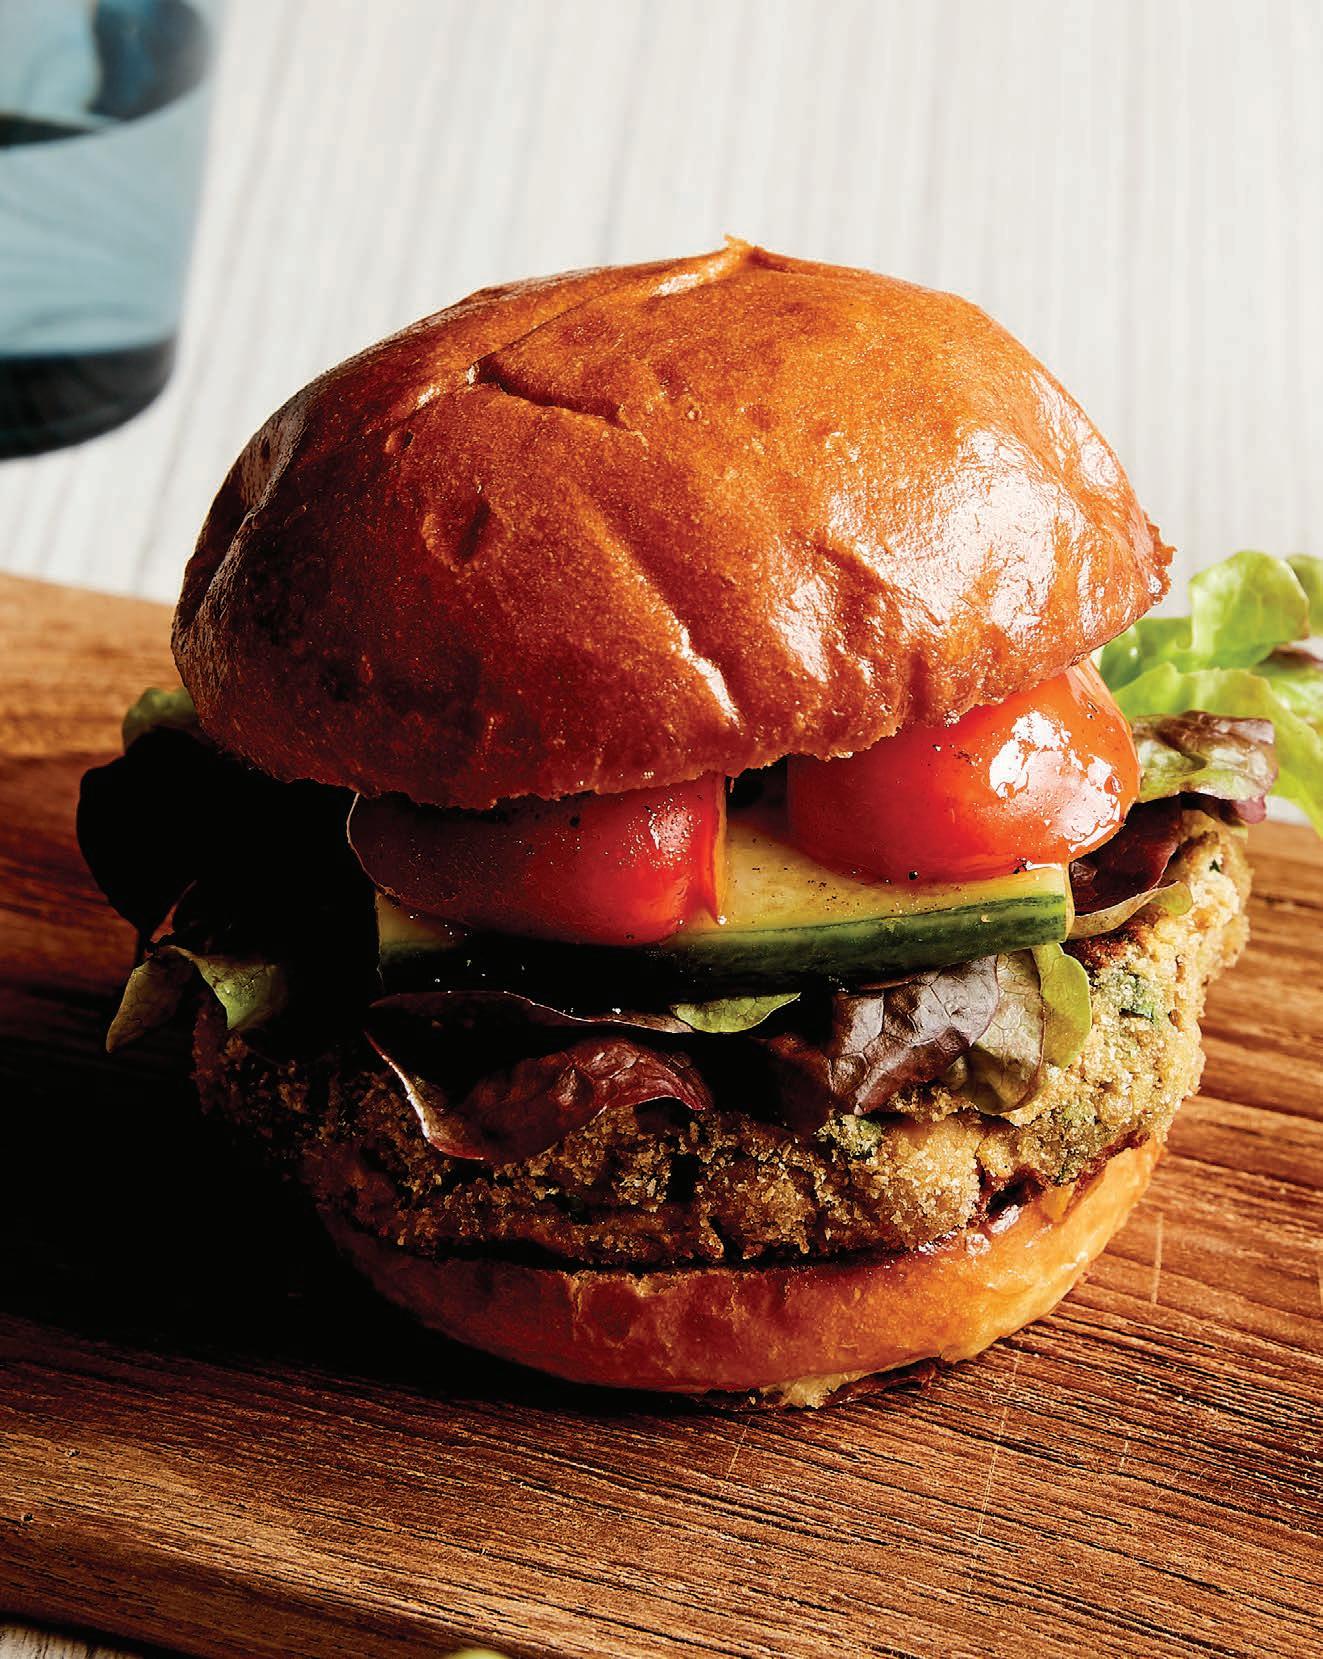
Makes: 12 burgers. Season: All.
Explore flavour combinations by adding different spices and fresh herbs to this recipe. Serve with a leafy salad, with or without a bun.
Ingredients
1 x 400 g tin chickpeas
(no added salt), drained
1 x 400 g tin brown lentils
(no added salt), drained
1 carrot, grated
1 onion, peeled and finely chopped
2 garlic cloves, peeled and finely chopped or crushed
1 bunch of parsley, finely chopped
1 egg
2 tsp ground cumin
2 tsp ground coriander
1 cup polenta or breadcrumbs
2 tbsp extra virgin olive oil, for frying
Equipment measuring cup (1 cup) measuring spoons (tbsp, tsp) chopping board cook's knife grater mixing spoon egg flip large bowl 2 plates 2 large frying pans food processor
1. Place all ingredients in the large bowl, except for the olive oil and polenta or breadcrumbs. Mix well.
2. Put three-quarters of the mixture into the food processor and pulse to a thick paste.
3. Combine the mixture from the food processor with the non-processed portion in the large bowl and mash them together with your clean hands or mixing spoon.
4. Spread the polenta or breadcrumbs on a plate.
5. Divide and shape the mixture into 12 burger patties. Roll each patty in the polenta or breadcrumbs to coat.
6. Heat 1 tbsp olive oil in each of the large frying pans over medium heat. Cook patties for around 5–6 minutes, then carefully flip to cook the other side for around 3–4 minutes, or until nicely golden on both sides (do this in two batches if you only have one frying pan.)
7. Season to taste (optional).
8. Serve with loads of fresh salad, with or without a bun.
CAN’T MAKE DINNER?


Remember that sitting down together to eat breakfast and lunch counts as family meals too.
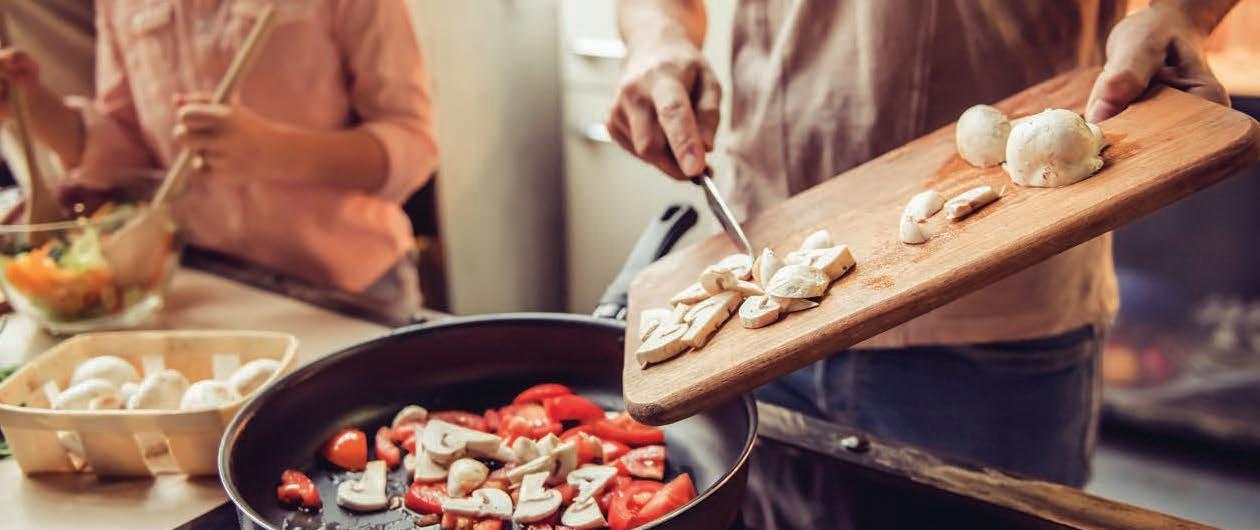
Making and sharing food together helps families build connections and create happy memories for life. Role modelling is one of the biggest influences on children’s eating habits, so choosing and preparing healthy meals as a family is a great way to build healthy habits and spend quality time together.
While no two families are alike, the dinner table is the perfect place to catch up on the day’s activities over a shared meal. Sometimes busy schedules can make this difficult. A great place to start is with one meal a week together, and build up to the desired number of days from there. Here are some suggestions to ensure family meal times in your home can happen:
• Make it a date. Agree on a day as a family and put a note on the fridge, or circle it on the calendar so everyone can remember.
• Plan and prep. Defrosting pre-made frozen ingredients, such as tomato sauce to go with pasta, can be an easy and great time saver. Next time you make a batch; consider making extra for future use!
• Include children and let children choose. Include your children in meal planning, preparation and setting the table. Allow them to make decisions about which vegetables they’d like to eat or cook and how much they would like to eat. Allowing them to do this fosters their interest in meal time, cooking and healthy eating. Eat the same foods as your children to role model enjoying a healthy meal.
• Put the tech away. Technology can be distracting at the dinner table. Turning off the tech can reduce distractions and encourage family conversations.
• Useful conversation starters. Ask children about their day. Did something funny or exciting happen? What was your favourite part of today? Did you help anyone today? Did you see or hear anything that made you think? What are you excited for tomorrow?
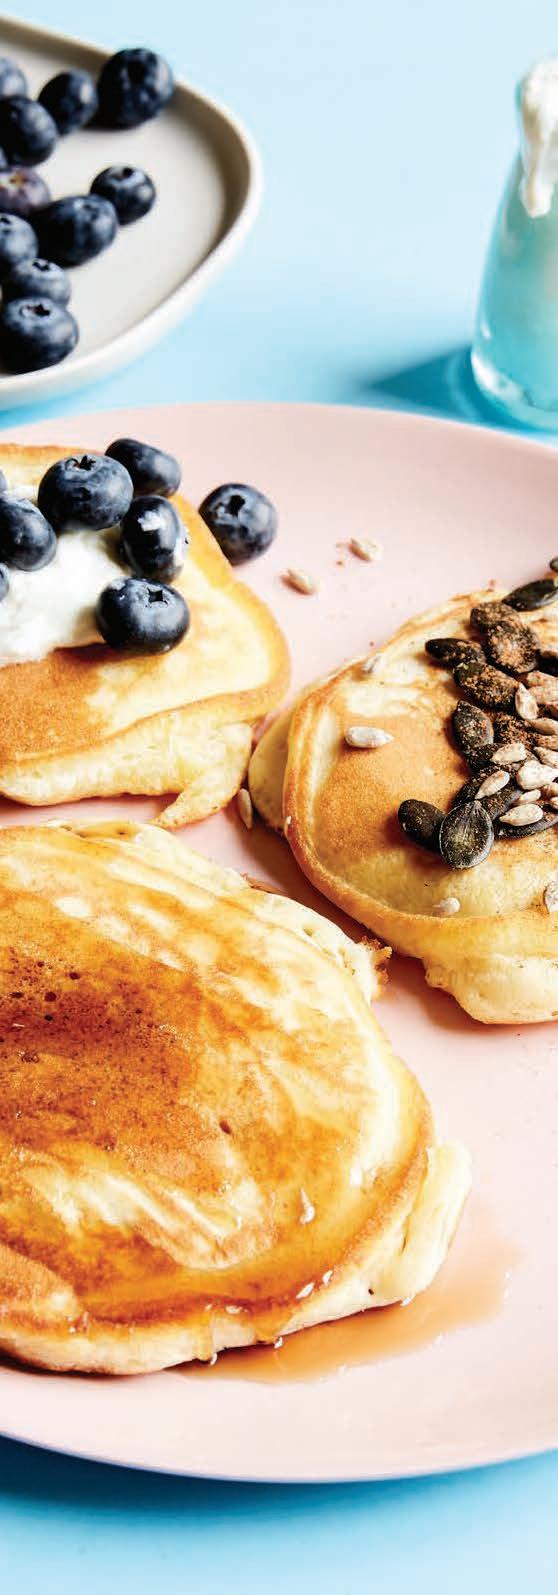
Try serving this family favourite with seasonal fruit, cinnamon, a small dollop of reduced-fat Greek yoghurt or toasted nuts and seeds.
measuring cup (1 cup) measuring spoon (tbsp) whisk mixing spoon ladle egg flip bowls (1 large, 1 medium) large frying pan
1 cup self-raising flour
1 egg
1 cup reduced-fat milk
2 tbsp extra virgin olive oil for frying
2 cups fresh seasonal fruit
1. Place the self-raising flour in the large bowl.
2. Crack the egg into the medium bowl and add the milk. Whisk to combine.
3. Add the egg and milk mixture to the flour. Whisk well until you have a runny batter.
4. If time allows, set batter aside in the fridge for 10–15 minutes (optional). This will result in a smoother batter. Prepare your toppings while you wait (e.g. slice fruit, toast nuts and seeds).
5. Heat olive oil in the frying pan over medium heat.
6. Remove batter from the fridge and give it a stir with the mixing spoon.
7. Scoop a ladleful of the batter into the middle of the frying pan (or use a smaller spoon and cook 3–4 smaller pancakes at a time).
8. Cook for 1–2 minutes, until bubbles appear on the top, then flip over and cook for a further 1–2 minutes, until golden (flip the pancakes only once and do not press down on them, as this can lead to a rubbery texture).
9. Serve with seasonal fresh fruit. You may also like to try a dollop of reduced-fat Greek yoghurt and some toasted nuts and seeds.
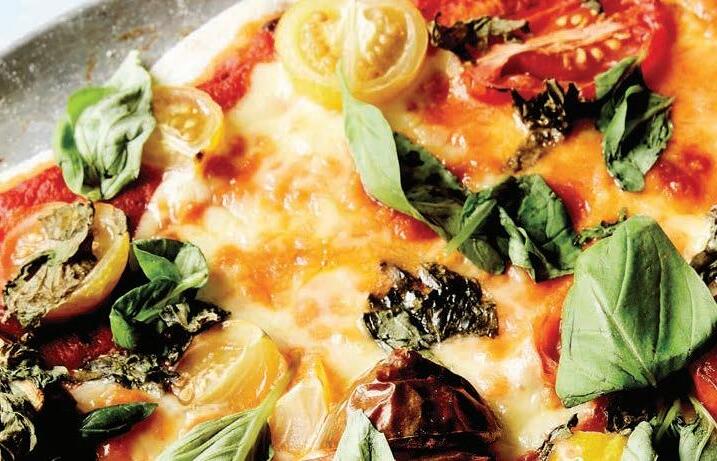
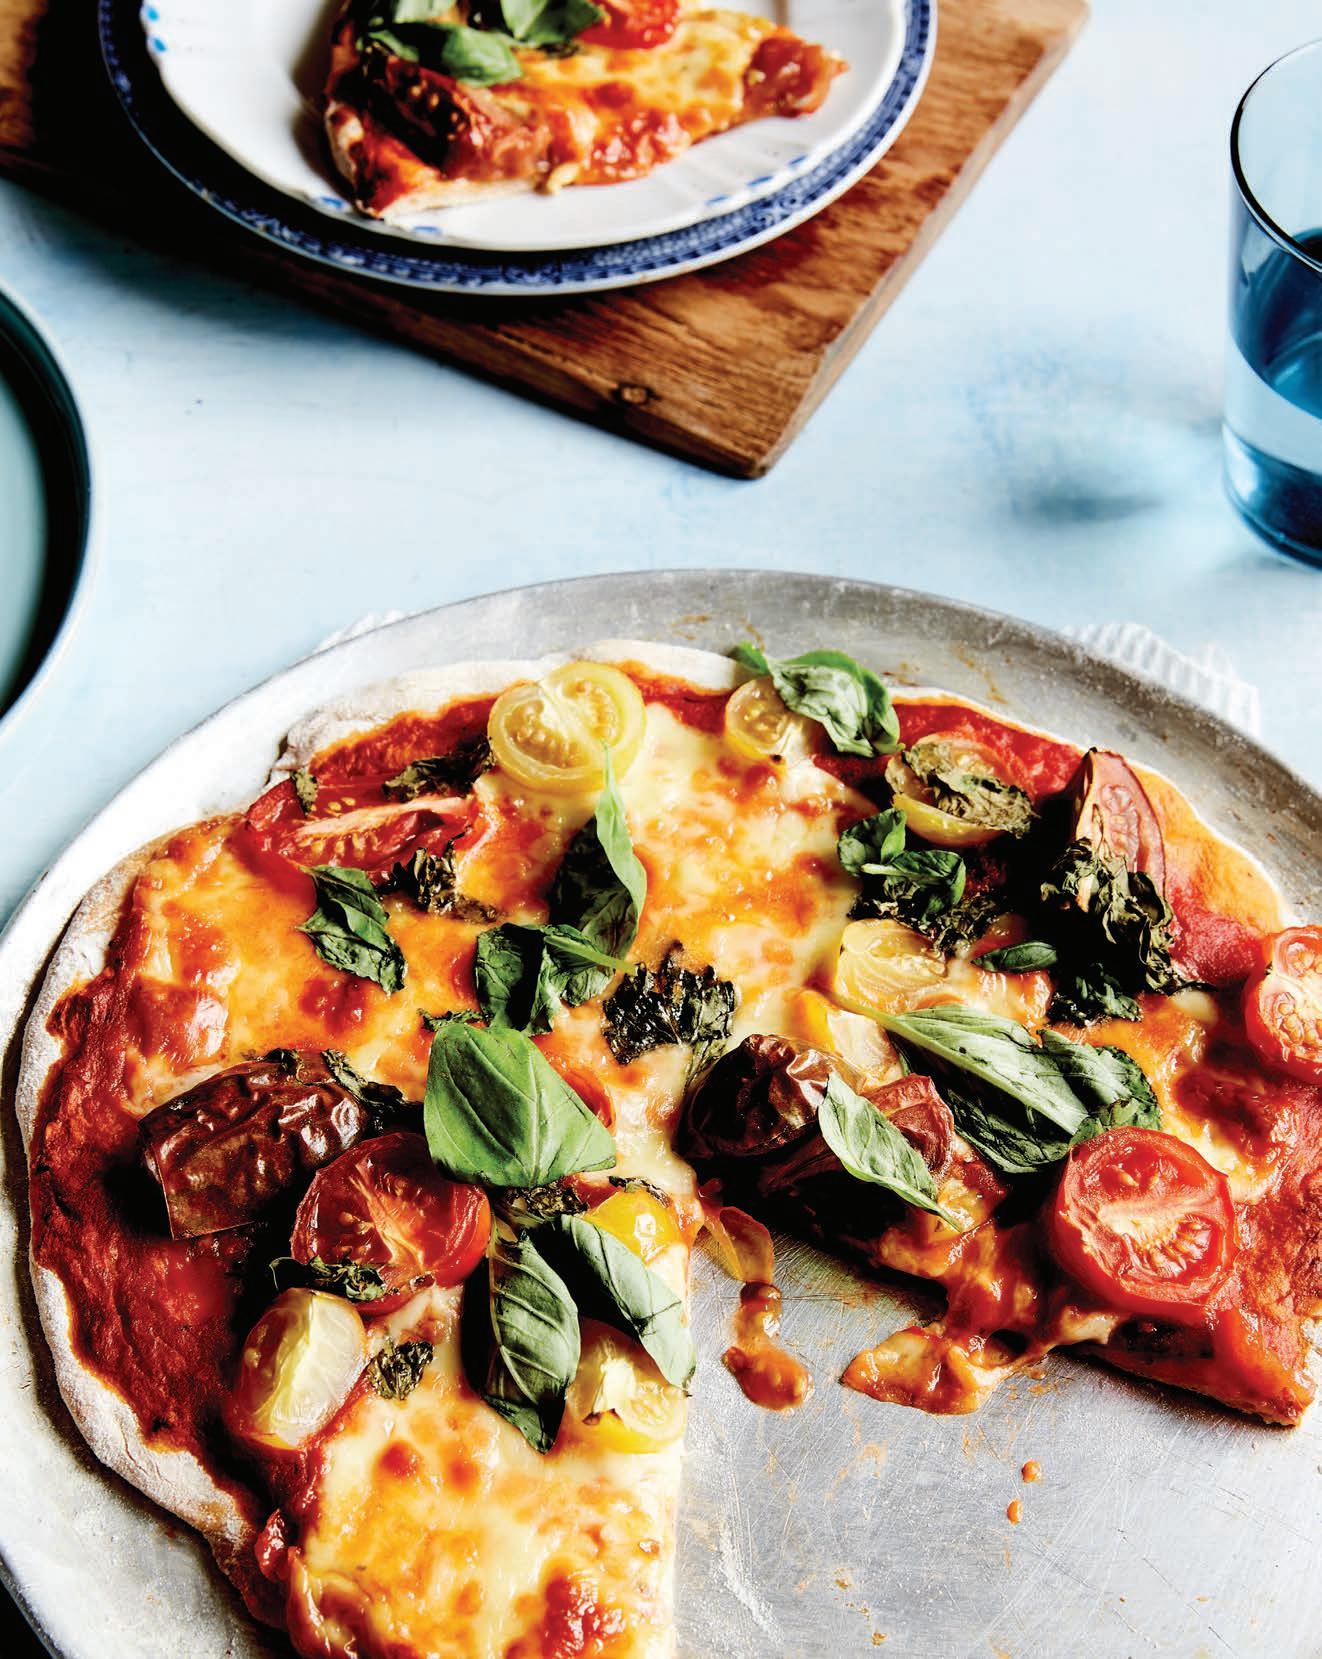
Once you’ve mastered this basic pizza dough recipe, store-bought pizza will never taste the same again. Spread homemade basic tomato sauce or pesto on the base of the pizza. For the toppings, use the ingredients ‘of your imagination’. If you don’t have time to make the dough, use a pita pocket or flatbread as your pizza base.
For the dough
1 cup lukewarm water
1 tbsp instant dry yeast
1 tbsp extra virgin olive oil, plus 1 tsp extra for greasing bowl
400 g plain flour, plus extra for dusting
1 tsp salt
Assembling the pizza
Choose something for the base –basic tomato sauce, pesto or a drizzle of olive oil
A selection of seasonal vegetables and herbs (see above for suggestions)
A sprinkle (up to 1 cup) of reducedfat cheese — try mozzarella, feta or ricotta
Equipment measuring scales measuring cup (1 cup) measuring spoons (tbsp, tsp) chopping board cook's knife fork mixing spoon pastry brush rolling pin bowls (1 large, 1 small) 2 baking trays clean tea towel or cling wrap


SEASONAL OPTIONS
Summer: Basil, Eggplant, Grilled Capsicum, Tomato
Autumn: Mushrooms, Pumpkin, Sweet Potato

Winter: Kale, Lemon, Rocket, Silverbeet
Spring: Broccoli, Fennel, Potato, Spinach
dough
1. Preheat the oven to 220 °C.
2. Place the water and yeast in the small bowl. Mix well with the fork and leave for 5 minutes.
3. Mix the flour and salt in the large bowl and create a well in the centre.
4. Pour the yeast mixture and olive oil into the well in the flour and, using a mixing spoon, combine to form a rough dough in the bowl.
5. Tip the dough onto a clean, dry, lightly floured workbench and knead for around 8 minutes, until the dough is smooth and springy.
6. Make sure the large bowl is clean and dry, then use the pastry brush to lightly coat the inside of the bowl with a little of the extra olive oil.
7. Place the dough into the oiled bowl and cover with a clean tea towel or cling wrap. Put in a warm, draught-free place and leave to rest until the dough has doubled in size (near the warming oven can be a good place).
8. Prepare your pizza toppings while you wait for the dough to rise.
9. When the dough has doubled in size, tip onto the workbench and knead again briefly. It is now ready to roll out into pizza bases.
To assemble and bake the pizza
1. Divide the pizza dough in half.
2. Scatter a little flour on the workbench and roll each piece of dough into a thin pizza base about 25-30 cm in diameter.
3. Sprinkle the baking trays with a little flour and carefully place each pizza base on a tray.
4. Spread the pizza bases with your base sauce of choice and arrange toppings evenly (try not to overload the pizza with toppings, as this can make it harder for the base to cook properly!)
5. Bake for 15 minutes until the base is golden and cooked through.
6. Slice up and serve!
Feeds: 4-6. Season: All.
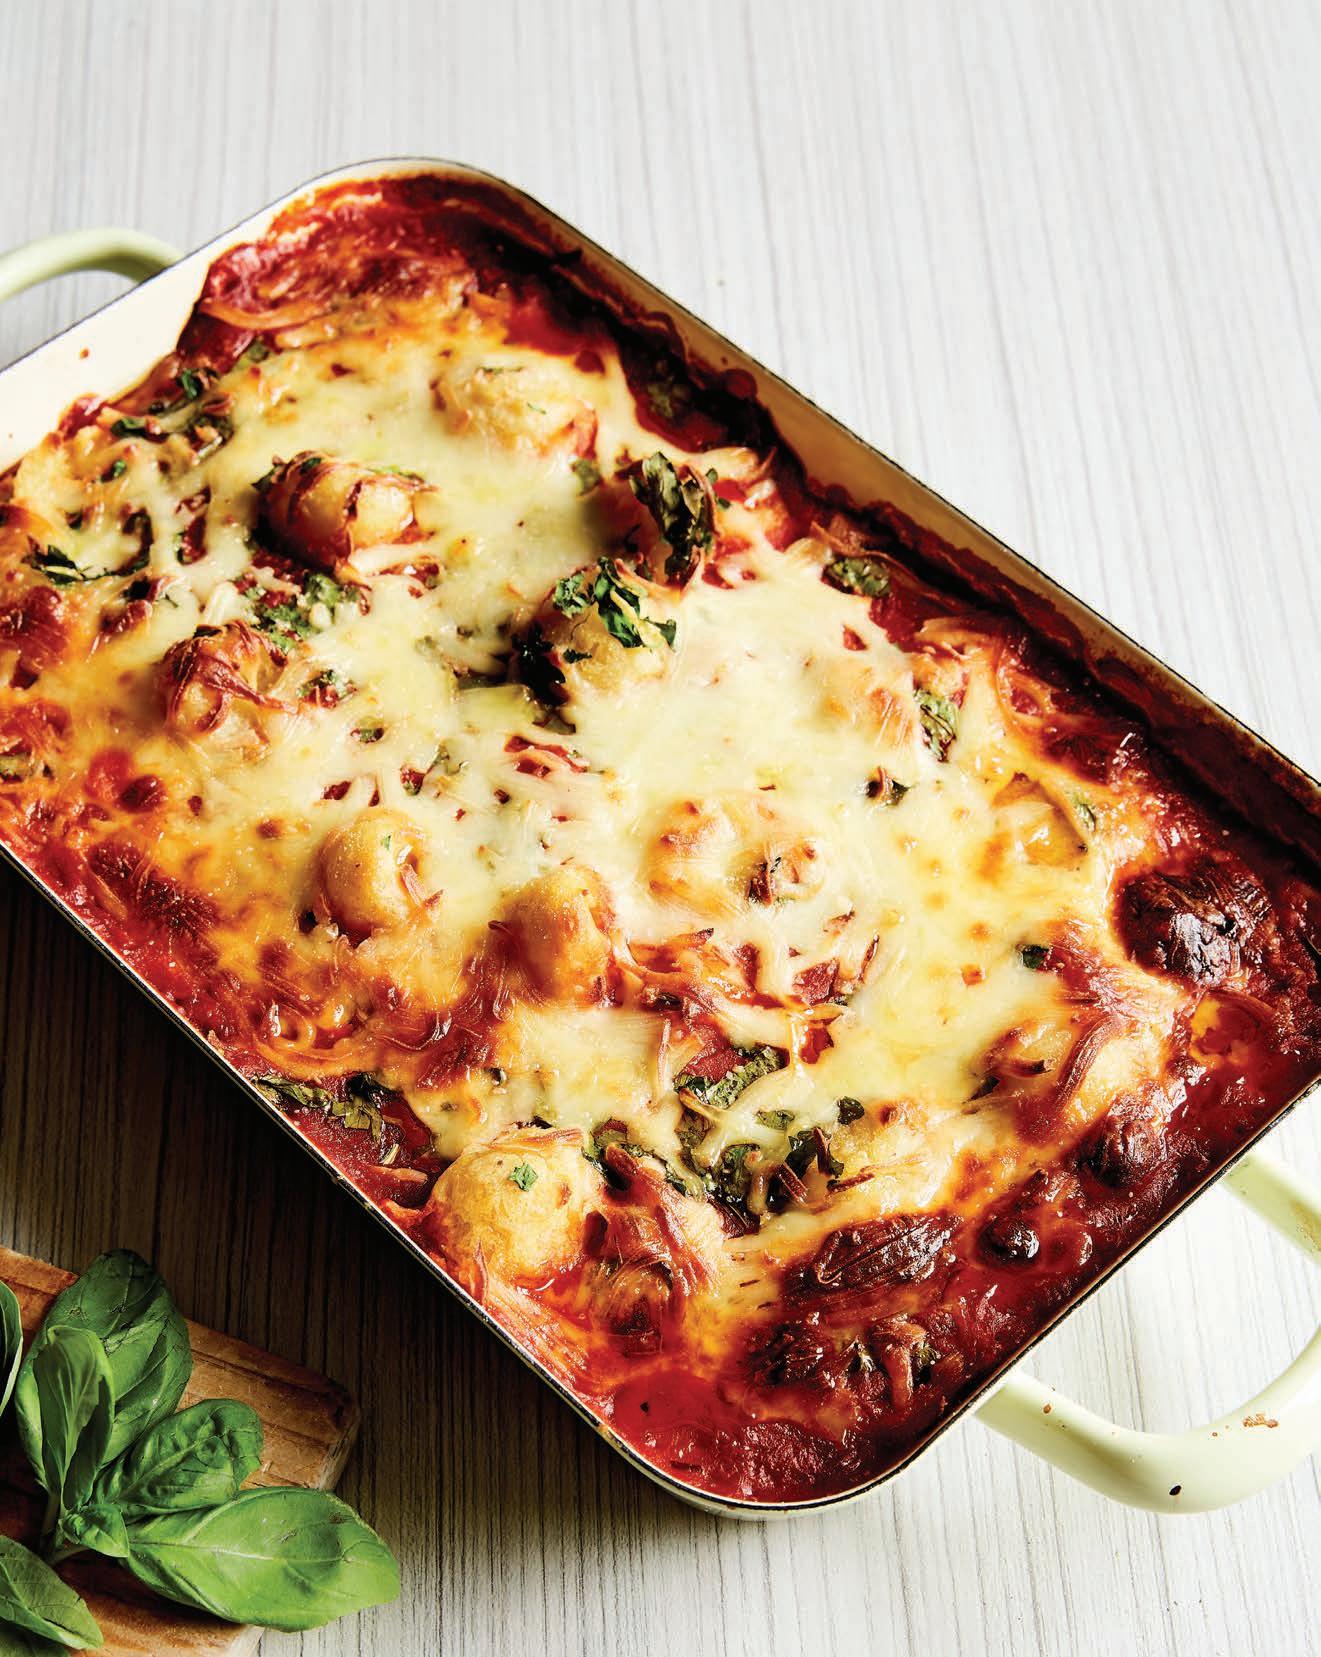
Hopefully your freezer will already have a tub or two of homemade tomato sauce! Serve this baked gnocchi with a salad and some crusty bread, to mop up the sauce.
measuring scales measuring cup (½ cup)
measuring spoon (tbsp)
chopping board
cook's knife
spatula or wooden spoon
mixing spoon
To make the sauce
For the sauce
1 tbsp extra virgin olive oil
1 onion, peeled and finely chopped
2 garlic cloves, peeled and finely chopped or crushed
½ cup parsley, finely chopped
700 ml reduced-salt passata
For the gnocchi
300 g spinach, washed and long stems removed
½ cup parsley, finely chopped
500 g reduced-fat ricotta
½ cup plain flour
80 g reduced-fat mozzarella, grated
small spoon sieve or colander grater
large bowl
medium saucepan
large saucepan
oven-proof dish
1. Heat the olive oil in the medium saucepan. Add the onion and garlic and cook over medium heat for 2–3 minutes, or until the onion is translucent (a little bit see-through and shiny).
2. Add the parsley and passata. Stir well to combine.
3. Bring to the boil, then reduce heat and simmer gently for 15–20 minutes, until sauce is thick and rich.
4. Season to taste (optional).
To make the gnocchi
1. Preheat the oven to 200 °C.
2. Two-thirds fill the large saucepan with water and bring to the boil.
3. Blanch the spinach in the boiling water for about 30 seconds, then drain and rinse under cold water to cool completely.
4. Using your hands, squeeze excess liquid from the spinach. It is important to remove as much liquid as possible so the gnocchi mix is not too soft.
5. Chop the spinach well and place in the large bowl.
6. Add the ricotta, flour and parsley to the spinach and mix well.
7. Using a small spoon, form balls of mixture about 3 cm in size and arrange in the oven-proof dish.
To assemble and bake the gnocchi
1. Spread the cooked tomato sauce over the top of the gnocchi and scatter with the grated mozzarella.
2. Bake in the oven for 15–20 minutes, until the cheese has turned to a beautiful golden brown.
3. Serve warm with your favourite seasonal salad.
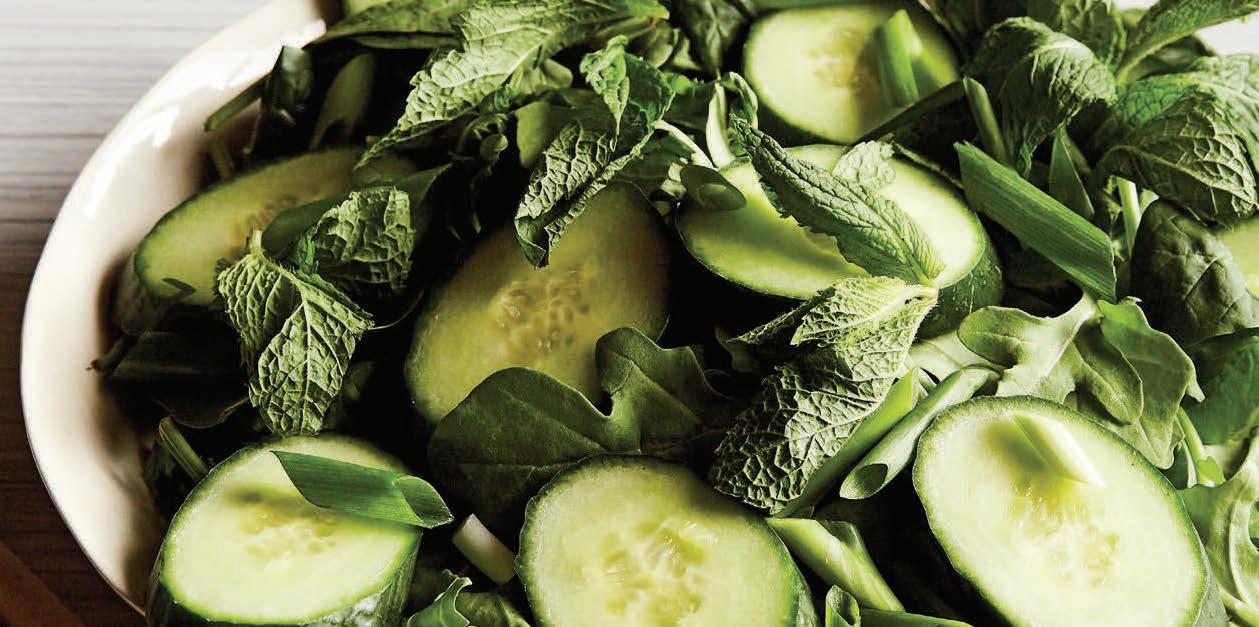
Feeds: 4-6. Season: All.
Vary your salad ingredients according to the seasons, including leaves and herbs of different shapes and colours, both bitter and sweet. You can add seeds, and edible flowers like borage, nasturtium or even young chive flowers (edible flowers are easy to grow in pots). Make sure you wash and dry the salad leaves very gently, without bruising them.
Equipment measuring cups (1 cup, ¼ cup) measuring spoon (tsp) chopping board cook's knife whisk or fork citrus juicer grater tongs bowls (1 large, 1 small)

Summer and Autumn: Basil, Beans, Capsicum, Cucumber, Tomato
Winter and Spring: Beetroot, Broccoli, Carrot, Fennel, Peas, Snow Peas
1. Place the dressing ingredients in the small bowl and mix well using a whisk or fork.
2. Place the salad leaves, herbs and vegetables into the large bowl and top with the dressing.
3. Gently toss the salad using tongs or your clean hands.
4. Season to taste (optional). Enjoy!
For the salad
4 cups mixed salad leaves
1 cup seasonal vegetables, sliced or chopped
1 cup soft-leaved herbs (such as parsley, mint, coriander and basil)
For the classic vinaigrette dressing
¼ cup extra virgin olive oil juice of 1 lemon, or 3 tsp balsamic vinegar
1 garlic clove, peeled and finely chopped or crushed










ASIAN
BROCCOLI


SPINACH
SNOW



SILVERBEET SPINACH
SPRING







The kitchen can be a welcoming space for everyone in the family, including the little ones. Younger children especially, love being given responsibility and working alongside big cooks. Here are some easy tasks that adults can give to little cooks, to help them pitch in:
Butter knife Chop box
Measuring ingredients Mixing, shaping, kneading, dividing and rolling dough
Washing produce
Garnishing dishes Making dressings (ingredients can be combined & shaken in a jar!)
Grinding spices and using a mortar and pestle
Whisking sauces
Cracking and whisking eggs
Peeling, topping and tailing beans and peas
Sifting dry ingredients



Grating


Always hold a knife by the handle, NEVER by the blade.
Never point a knife towards another person or yourself.
Always use a chopping board on a firm surface when using a knife to prepare food.

Always carry a knife with your arm by your side and the TIP pointing towards the floor. 1 4 2 5 3 6 7
Grip the knife handle firmly.


When using a knife, keep your fingernails out of view; don’t forget to tuck your thumb!
NEVER put a knife into a sink of soapy water, where it can’t be seen.

The recipes in this book are delicious, fun and easy to make for the whole family. Here are some common names and terms for the techniques you’ll be using as you stir-fry, sauté, chop, dice and simmer like a master chef.
et your hands under war running water.
ut so e soa between your al s. . on t forget your thu bs the backs of your hands and your fingernails
ub your hands together for at least seconds.
inse your hands under the ta .
ry your hands with a er towel or a a clean towel.


Leaving food out for too long at room temperature can cause bacteria in the food to grow to dangerous levels rapidly. This food, if eaten, can make you ill. Bacteria multiplies quickly at te peratures between and 60 . his te perature range is called the danger zone.


FOOD SAFELY STORED IN FRIDGE OR FREEZER










REHEATING UNTIL STEAMING










FOOD LEFT OUT ON BENCHES FRIDGE OR FREEZER



FOOD REHEATED ABOVE 60 ºC DANGER ZONE















For more information about food safety and cooking, visit: betterhealth.vic.gov.au/health/healthyliving/food-safety-when-cooking


PIZZA PASTA DISH
RATATOUILLE ADD COCONUT MILK, SPICE MIX, VEGETABLES AND CHOICE OF PROTEIN
ADD PIZZA BASE AND TOPPINGS

ADD HERBS AND PASTA

VEGETABLES
ADD VEGETABLES



ADD SPICES AND LEGUMES



ADD CHICKEN AND OLIVES


7
4 5 6
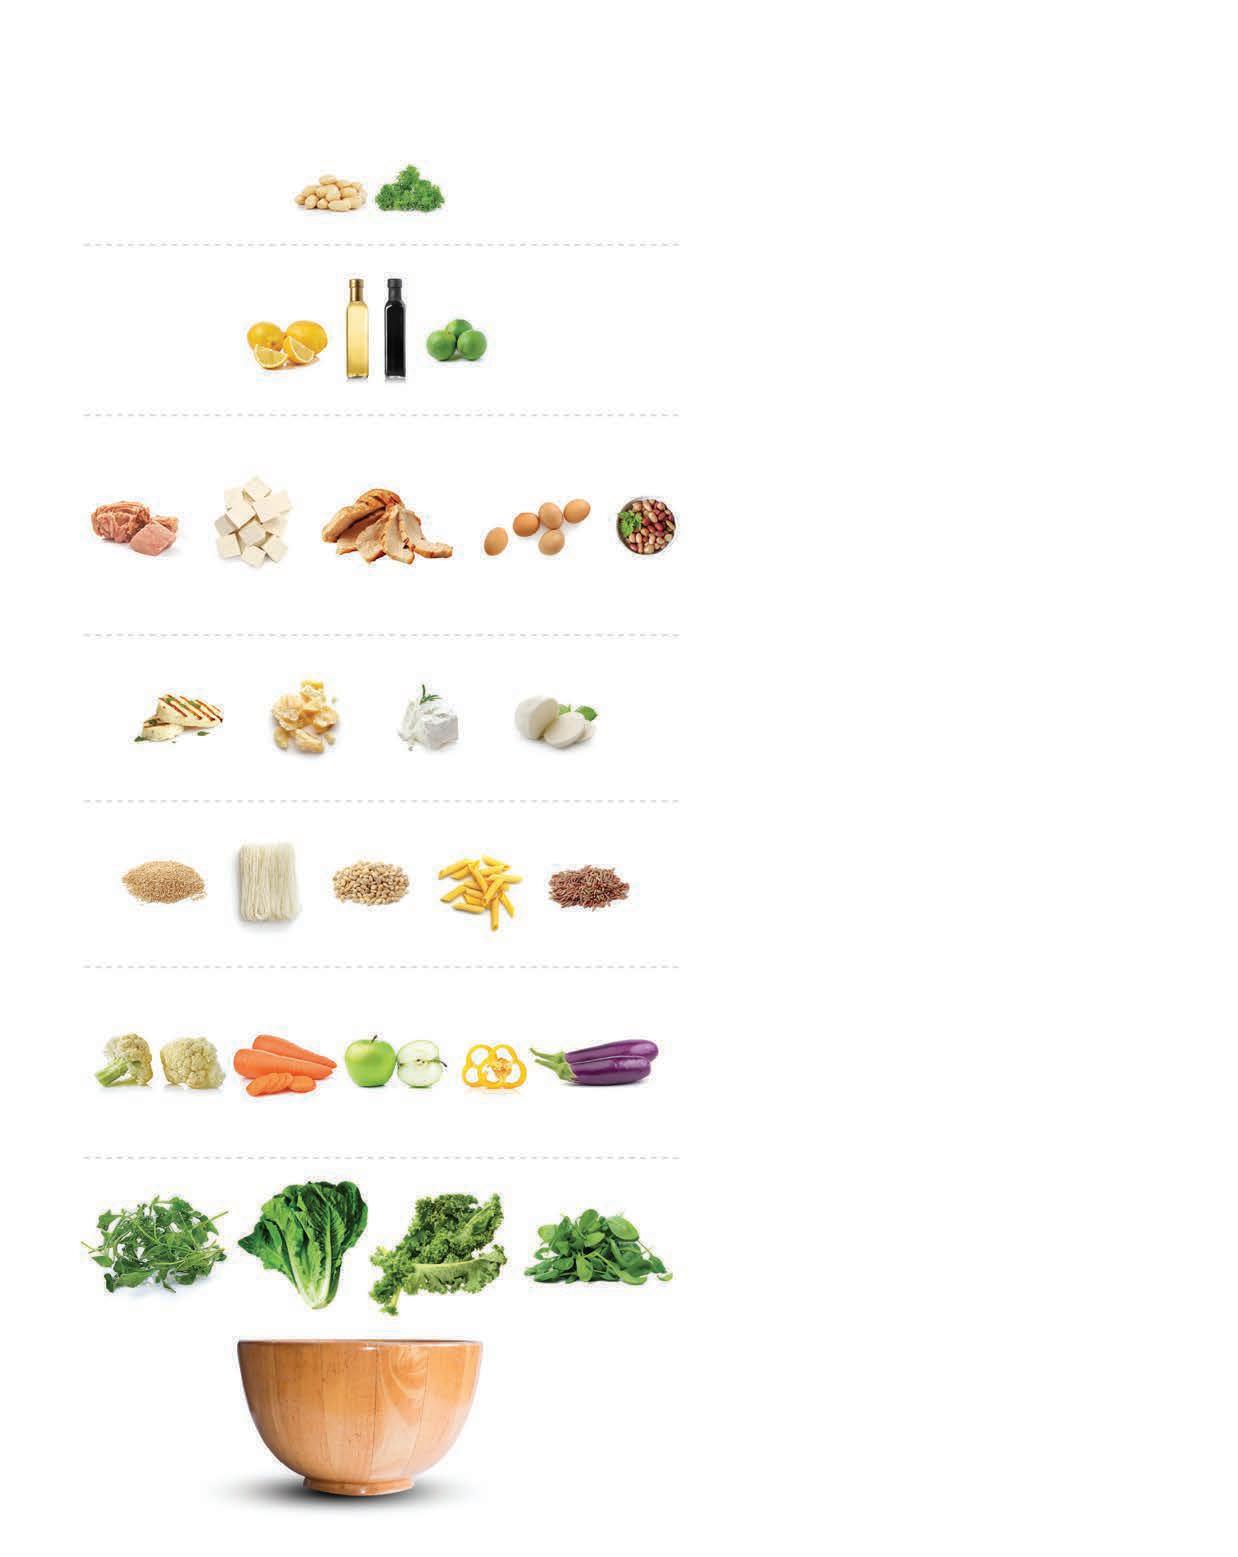
For the finishing touch, garnish with seeds, herbs or edible flowers.
3
Bring it all together with a drizzle of simple dressing. The basic ratio is 1 part acid (lemon juice, lime juice, or balsamic vinegar) to 3 parts extra virgin olive oil. Season to taste (optional).
To make a meal of your salad, add some: cooked chicken tinned tuna tofu boiled eggs tinned legumes, such as chickpeas, lentils, and kidney beans
(Lean meats and poultry, fish, eggs, tofu, nuts and seeds, and legumes/beans food group)
Make it creamy and tasty with a little of any of these: feta grilled halloumi shaved parmesan fresh mozzarella
(Milk, yoghurt, cheese and/or their alternatives food group)
Bulk it up with any cooked grains for texture and flavour: rice quinoa barley noodles pasta
(Grains [cereal] food group)
2
1
Toss in some crunch, texture and colour: raw vegetables: carrots, broccoli, onion, sprouts, cucumber, tomato, avocado roasted vegetables: pumpkin, sweet potato, cauliflower, beetroot grilled vegetables: capsicum, eggplant, zucchini sliced fruit: apple, pear, orange
(Vegetable and fruit food groups)
Start with any fresh, leafy greens: kale spinach rocket lettuce silverbeet watercress
(Vegetable food group)

Every family has a different kitchen space; however, with some simple ingredients on hand, it’s possible to make cheap, tasty meals in a flash.
Try mixing grains with fresh vegetables, tinned legumes or fish - and dinner is done! Shelf-stable dried or tinned foods can add variety when creating meals with fresh ingredients.
Here is a list of some possible ingredients you could choose to have on hand.
Dried beans and legumes
•chickpeas
• lentils
Tinned foods
• coconut milk
• tomatoes
Oils
• extra virgin olive oil
• tuna, salmon or any tinned fish (in spring water)
•split peas
•white beans
•kidney beans
•cannellini beans
Other pantry items
• garlic
• nuts
• onions
• seeds
• salt-reduced soy sauce
• balsamic vinegar
•flatbread, burrito bread, mountain bread (long shelf life)
Spices
• chilli
•cinnamon
• coriander
• cumin
• paprika
• pepper
Flour
•plain flour
•self-raising flour
•wholemeal flour
• gluten-free flour
Grains and pasta
• couscous dried pasta
• polenta
•quinoa
rice
• noodles (plain, dried)
• barley
• millet







Make it a date.
1 3
Agree on a day as a family and put a note on the fridge, or circle it on the calendar so everyone can remember.

2
Plan and prep.
Defrosting pre-made frozen ingredients, such as tomato sauce to go with pasta, can be an easy and great time saver. Next time you make a batch, consider making extra for future use!
Include children and let children choose.
Include your children in meal planning, preparation and setting the table. This can foster their interest in meal time, cooking and healthy eating.

4
Technology can be distracting at the dinner table. Turning off the tech can help reduce distractions and encourage family conversations.
5
Start a conversation.
Ask children about their day. Did something funny or exciting happen? What was your favourite part of today? Did you help anyone today? Did you see or hear anything that made you think? What are you excited for tomorrow?


