A quick guide of common techniques
*No machine required
Threading your needle:
Easy threading:
1 - Insert the wire loop of the needle threader through the eye of the needle
2 - Pass your thread or embroidery floss through the loop of the needle threader
3 - Pull the wire loop of the needle threader back through the eye of the needle, and voila!
Double vs. single thread: Using a double thread and tying a knot at the end will keep your needle from un-threading but may cause thread tangles. A double thread will also give you a stronger stitch and better hold for things like buttons and seams with a lot of tension. Using a single thread will reduce thread tangling but may result in a needle that easily un-threads. A single thread is useful for fine work, such as sewing with lace.
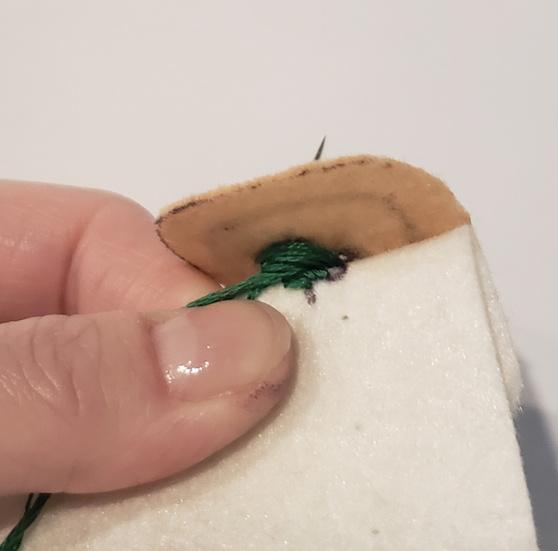
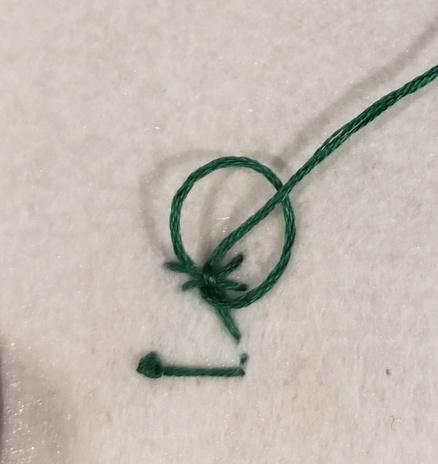
Tying a sturdy knot:
To avoid the heartbreak of a knot coming undone or pulling through the fabric!
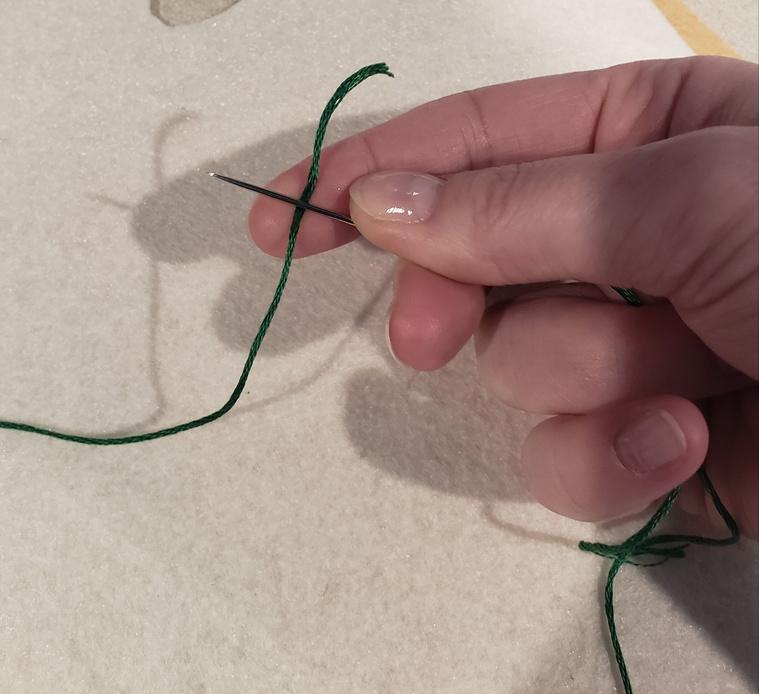
1 - Pinch your needle between the thumb and pointer finger of your dominant hand, so that the needle point extends off the tip of your pointer finger
2 - Make an “X” with your needle and thread by slipping the tail between the needle and your pointer finger
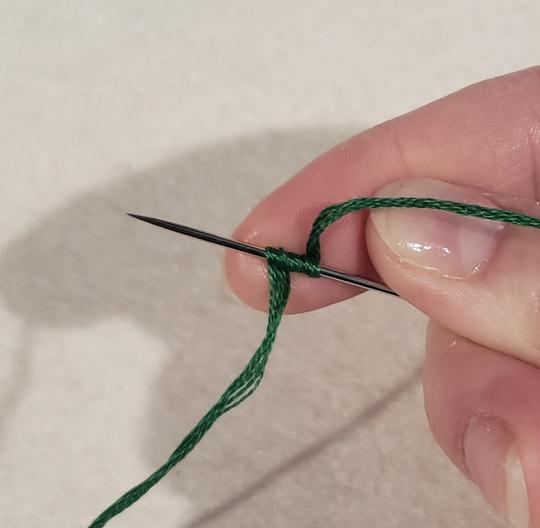
3 - Wrap the main length of the thread up and over the tip of the needle 3-4 times
4 - Pinch the wrapped thread between your fingers and slide it down and off the eye of the needle
5 - Pull the needle until all of the thread has passed through your pinched fingers and...you have a knot!
Tips and tricks:
Stitches: Running stitch: sometimes called a straight stitch, useful for sewing two pieces of fabric together
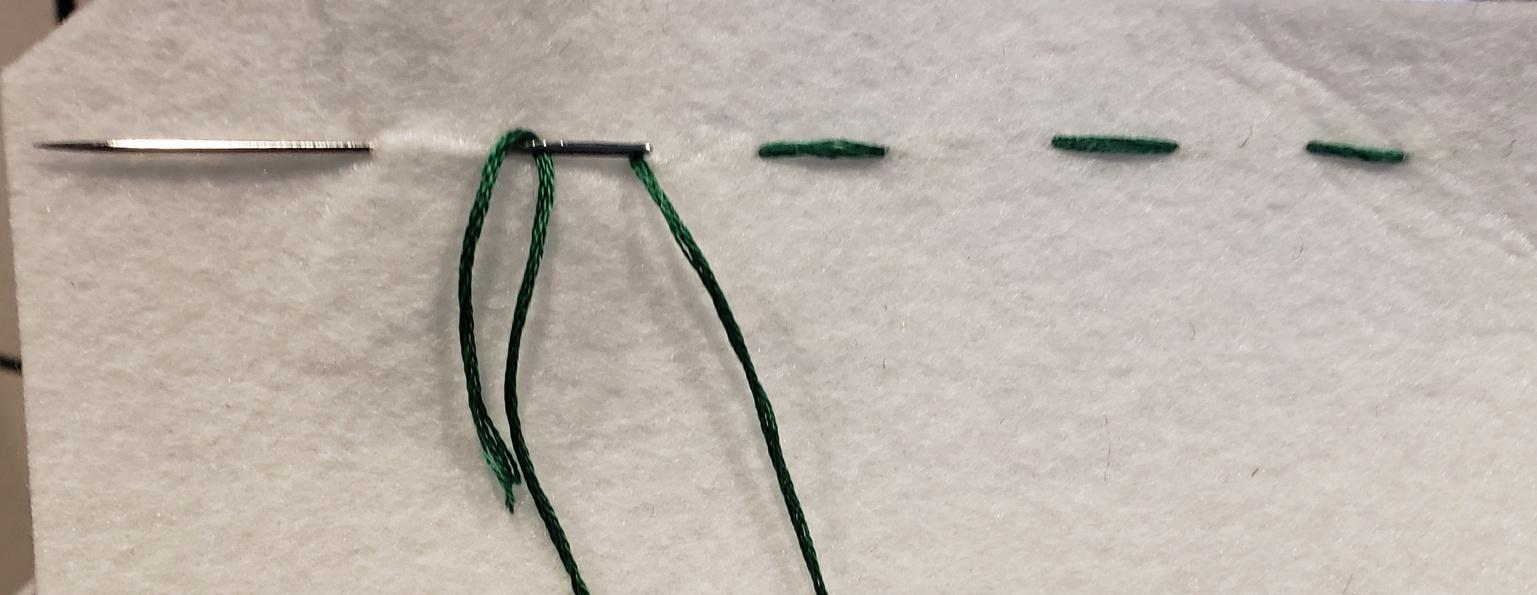
1 - Hold your needle so that the point faces the direction your stitches will travel
2 - From the underside, poke your needle through the fabric where you would like to begin sewing. Don’t forget to knot your thread!
3 - Take 1/8"-1/4" stitches: poke the needle into the fabric from the top of the fabric, let the needle tip move forward slightly on the underside and poke it back through to the top
4 - Draw your thread through, brining all the thread through the stitch and repeat! *make sure not to pull too hard or your fabric will pucker
Whip Stitch: sometimes called an overcast stitch, useful for sewing two pieces of fabric together, closing small holes. and sewing on patches
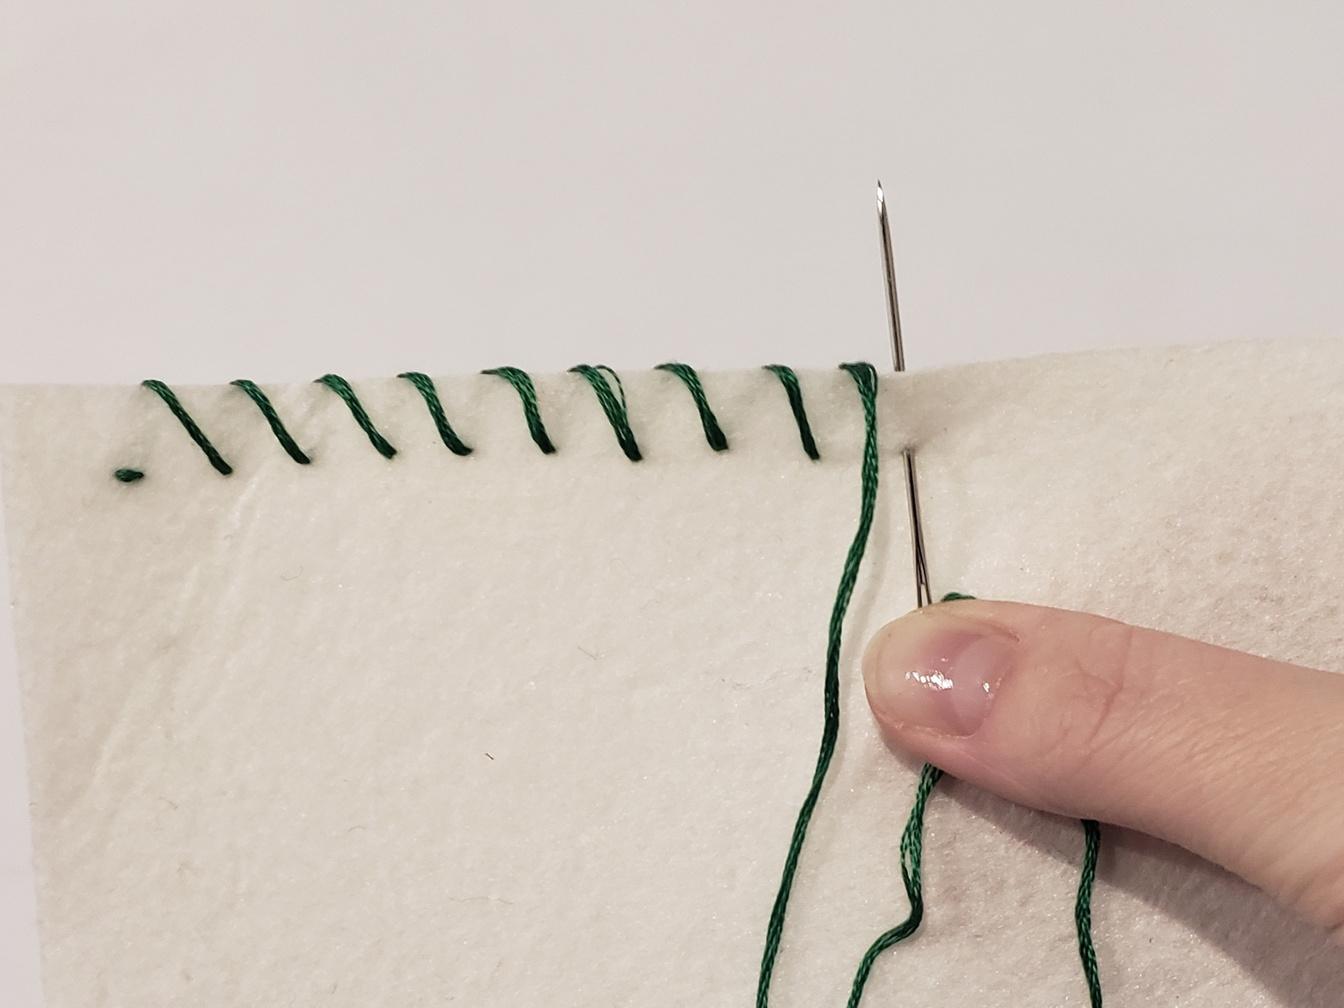
1 - Hold your needle so that the point faces up and it is perpendicular to the direction your stitches will travel. (Your stitches will travel toward your dominant hand)
2 - From the underside, poke your needle through the fabric where you would like to begin sewing. Don’t forget to knot your thread!
3 - Poke your needle through the top of the fabric, then grab the needle and pull the thread through 4 - Poke the needle through the top of the fabric about 1/8"-3/8" to the left (or right) of the first stitch, draw the thread through, and repeat!
Back stitch: this stitch is useful for sewing sturdy seams and is sometimes used in embroidery
1 - Hold your needle so that the eye faces the direction the stitches will travel your stitches will always travel toward your dominant hand, but you may hold your fabric so that you travel vertically or at a diagonal if this is comfortable for you
2 - From the underside, poke your needle up to the top where you wish to begin sewing
3 - With the point of your needle facing you nondominant hand, poke the needle through the top of the fabric about 1/4"-1/2" away from where you drew your thread up
4 - Let the needle tip travel about 1/8"-1/4" on the underside of the fabric, back toward the start of the stitch
5- Poke the needle back through to the of the fabric and draw your thread through, bringing all your thread through the stitch
6 - Your thread should emerge from the
7 - Continue sewing the poke the needle through the top of the fabric 1/8"-1/4" past the
Let the needle tip travel about 1/8"-1/4" on the underside of the fabric
Poke the needle back through the fabric right where the last stitch
Draw the thread through and repeat!
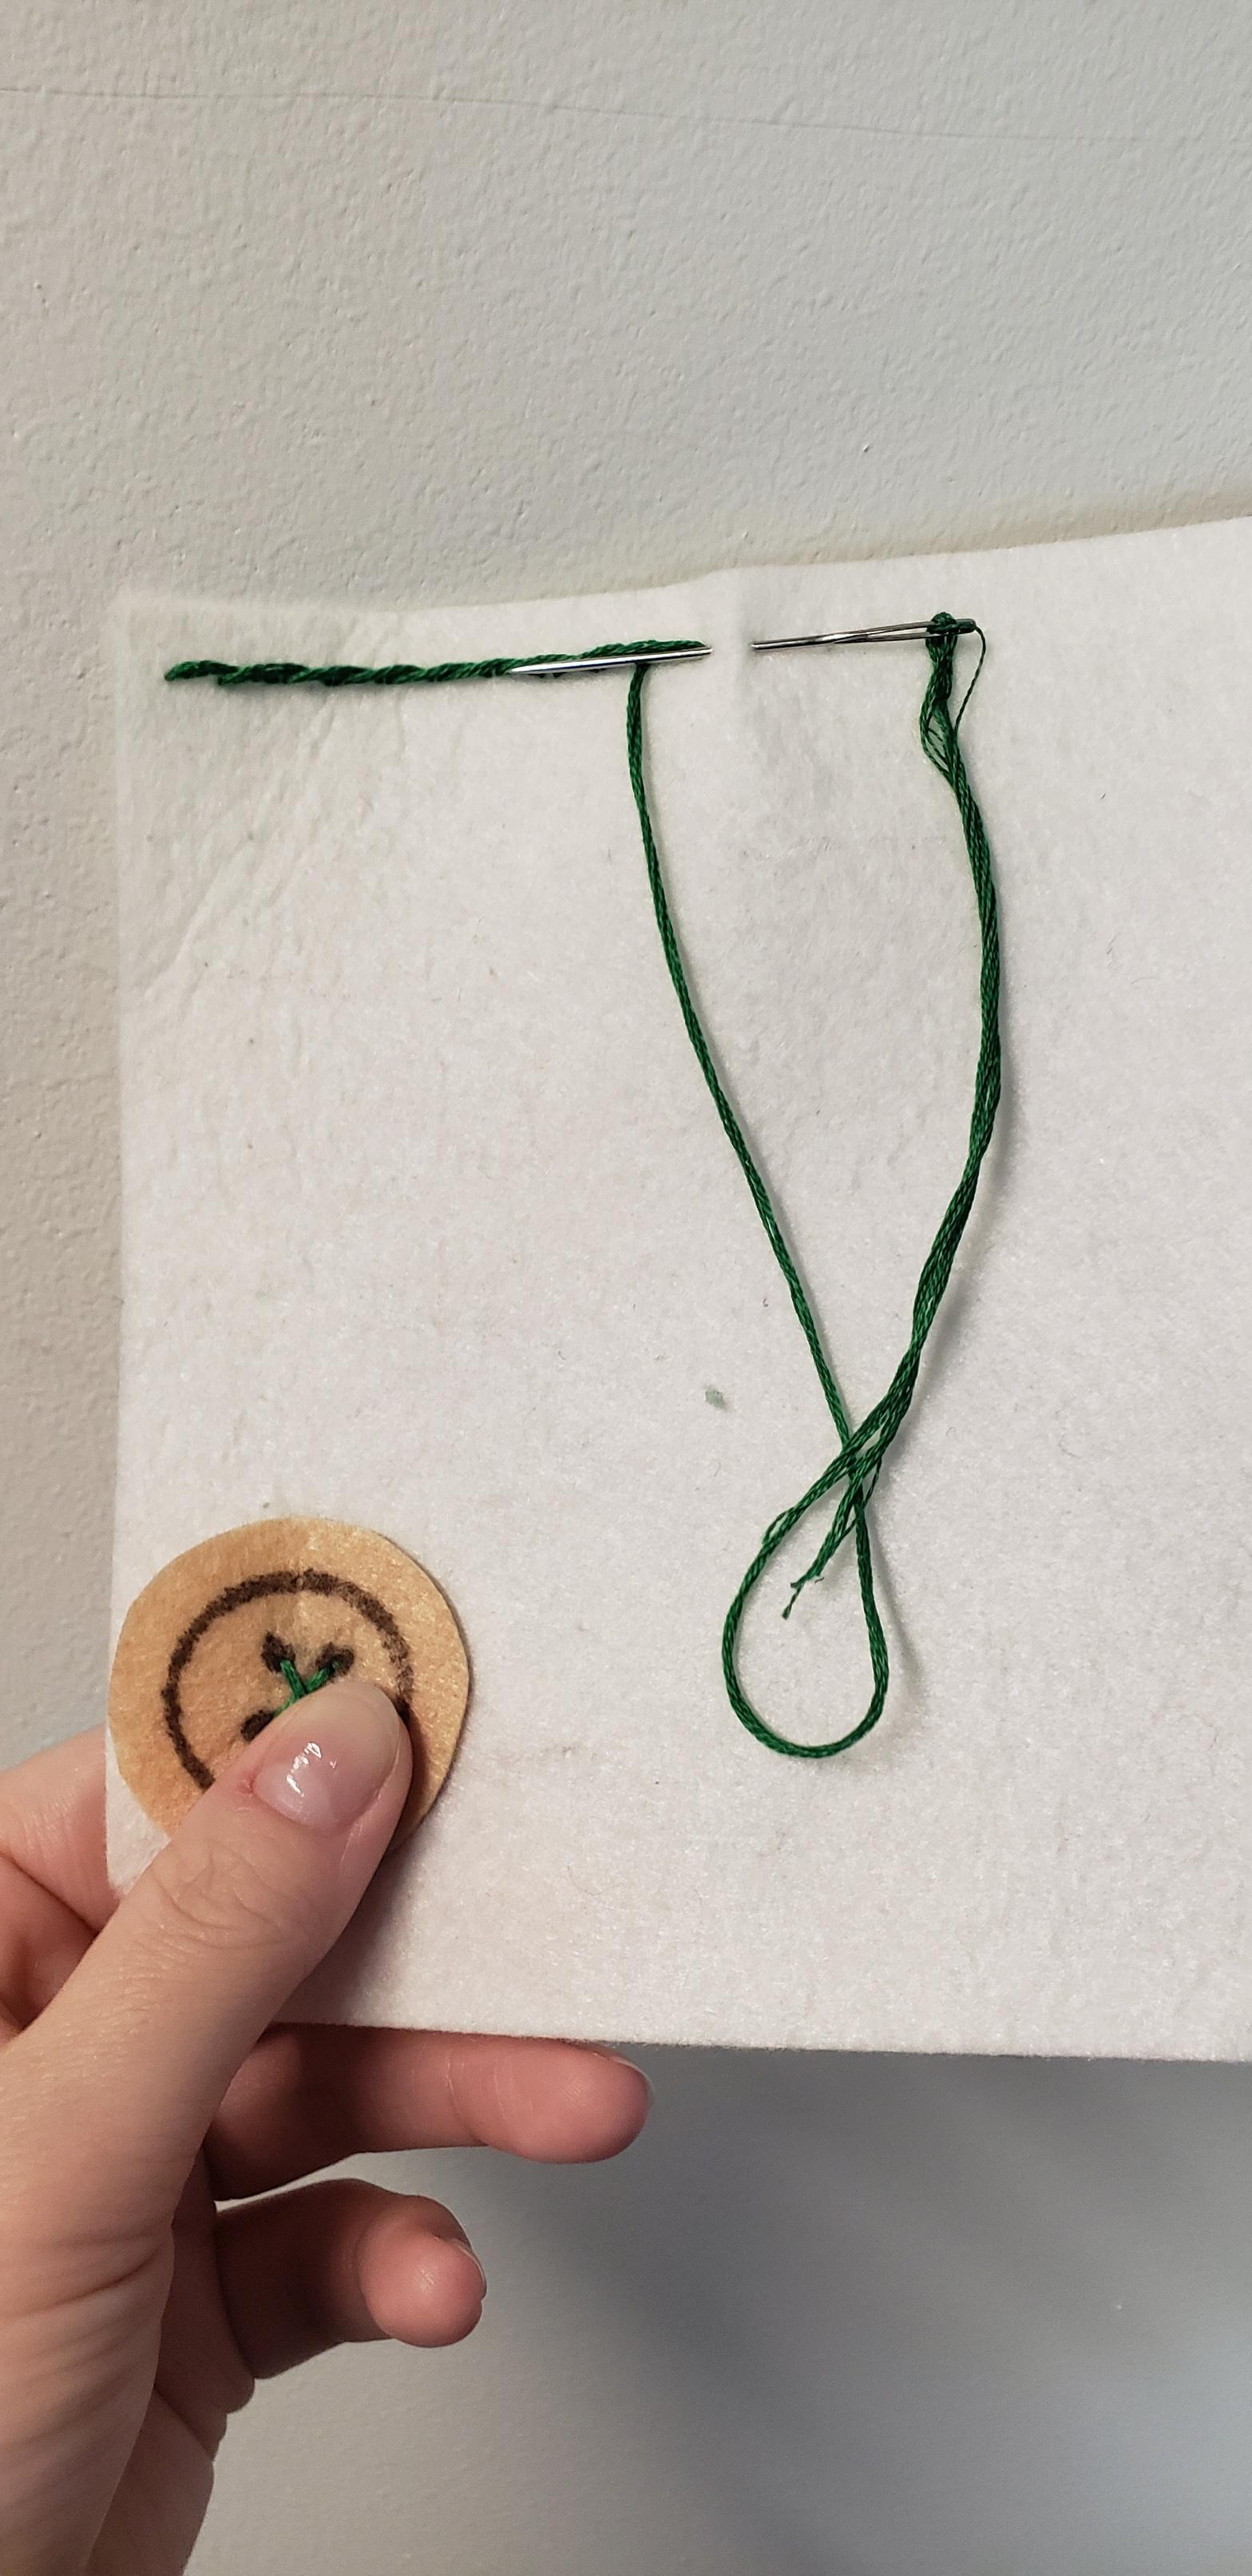
1 - Mark the position of your button on your fabric by making an “X” with your stitches
a.
From the underside of your fabric, poke the needle up through to the front of the fabric in position 1
Bring the needle down back through the fabric in position 4
b. Bring the needle up through position 3
d.
c. Bring the needle down through position 2
e.
Bring the needle up through position 1
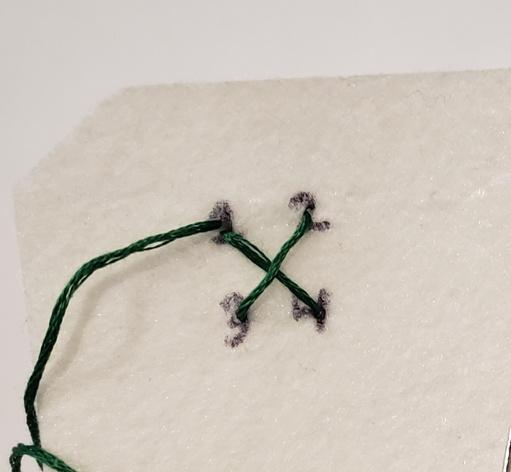
2 - You should now have an “X” marking where your button will lay. This will help you place your stitches when you are sewing on your button
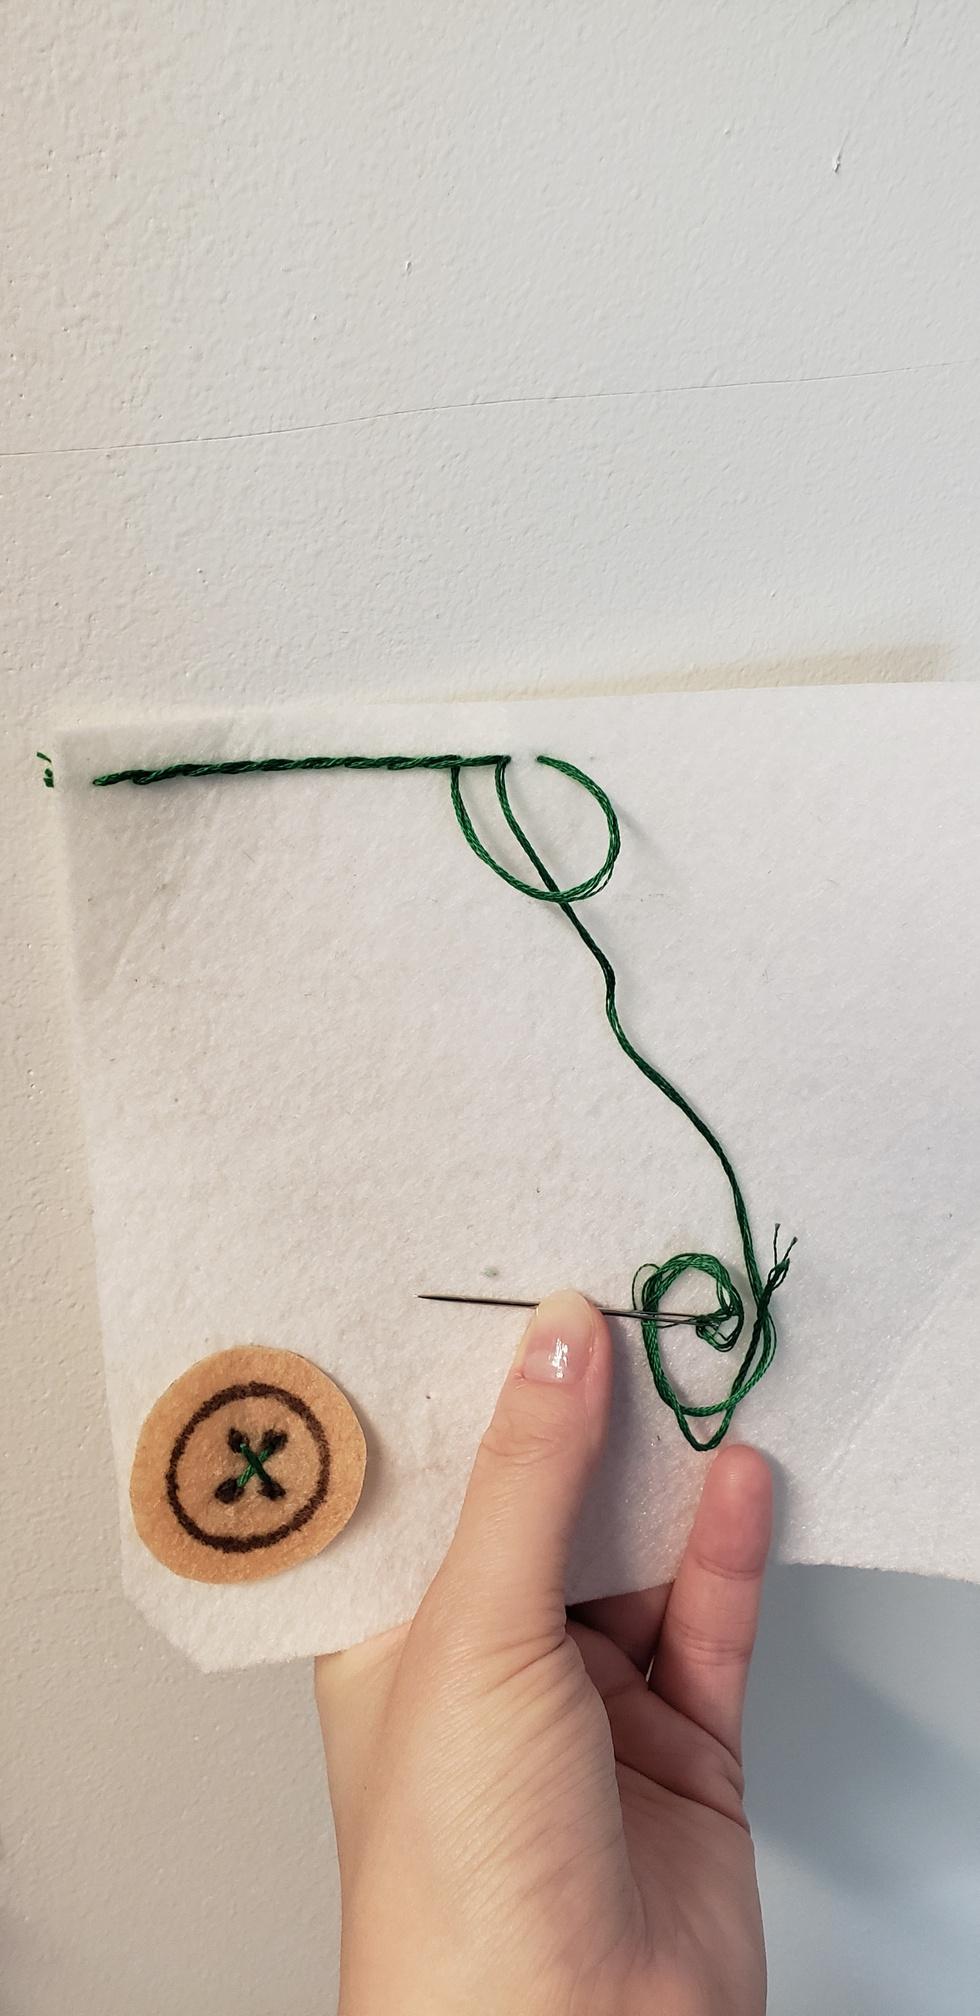
3 - Thread your needle through the top left hole of your button
4 - Using the numbered diagram again, sew on the button. (Make sure you leave about a pin’s width of space between the button and fabric and do not pull your thread too tightly)
a.
b.
c.
d.
Down through 4, up through 1 (3 times)
Down through 4, up through 3
Down through 2, up through 3 (3 times)
Down through the buttonhole only in position 2. Do not sew through the fabric
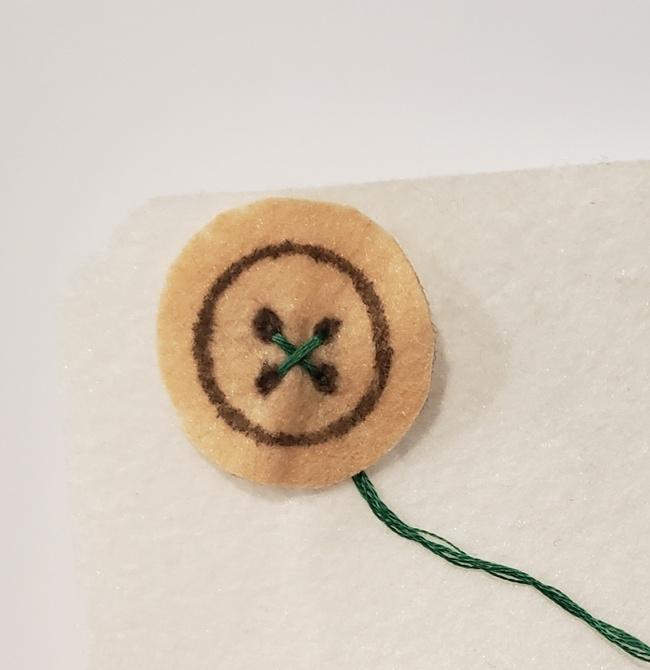
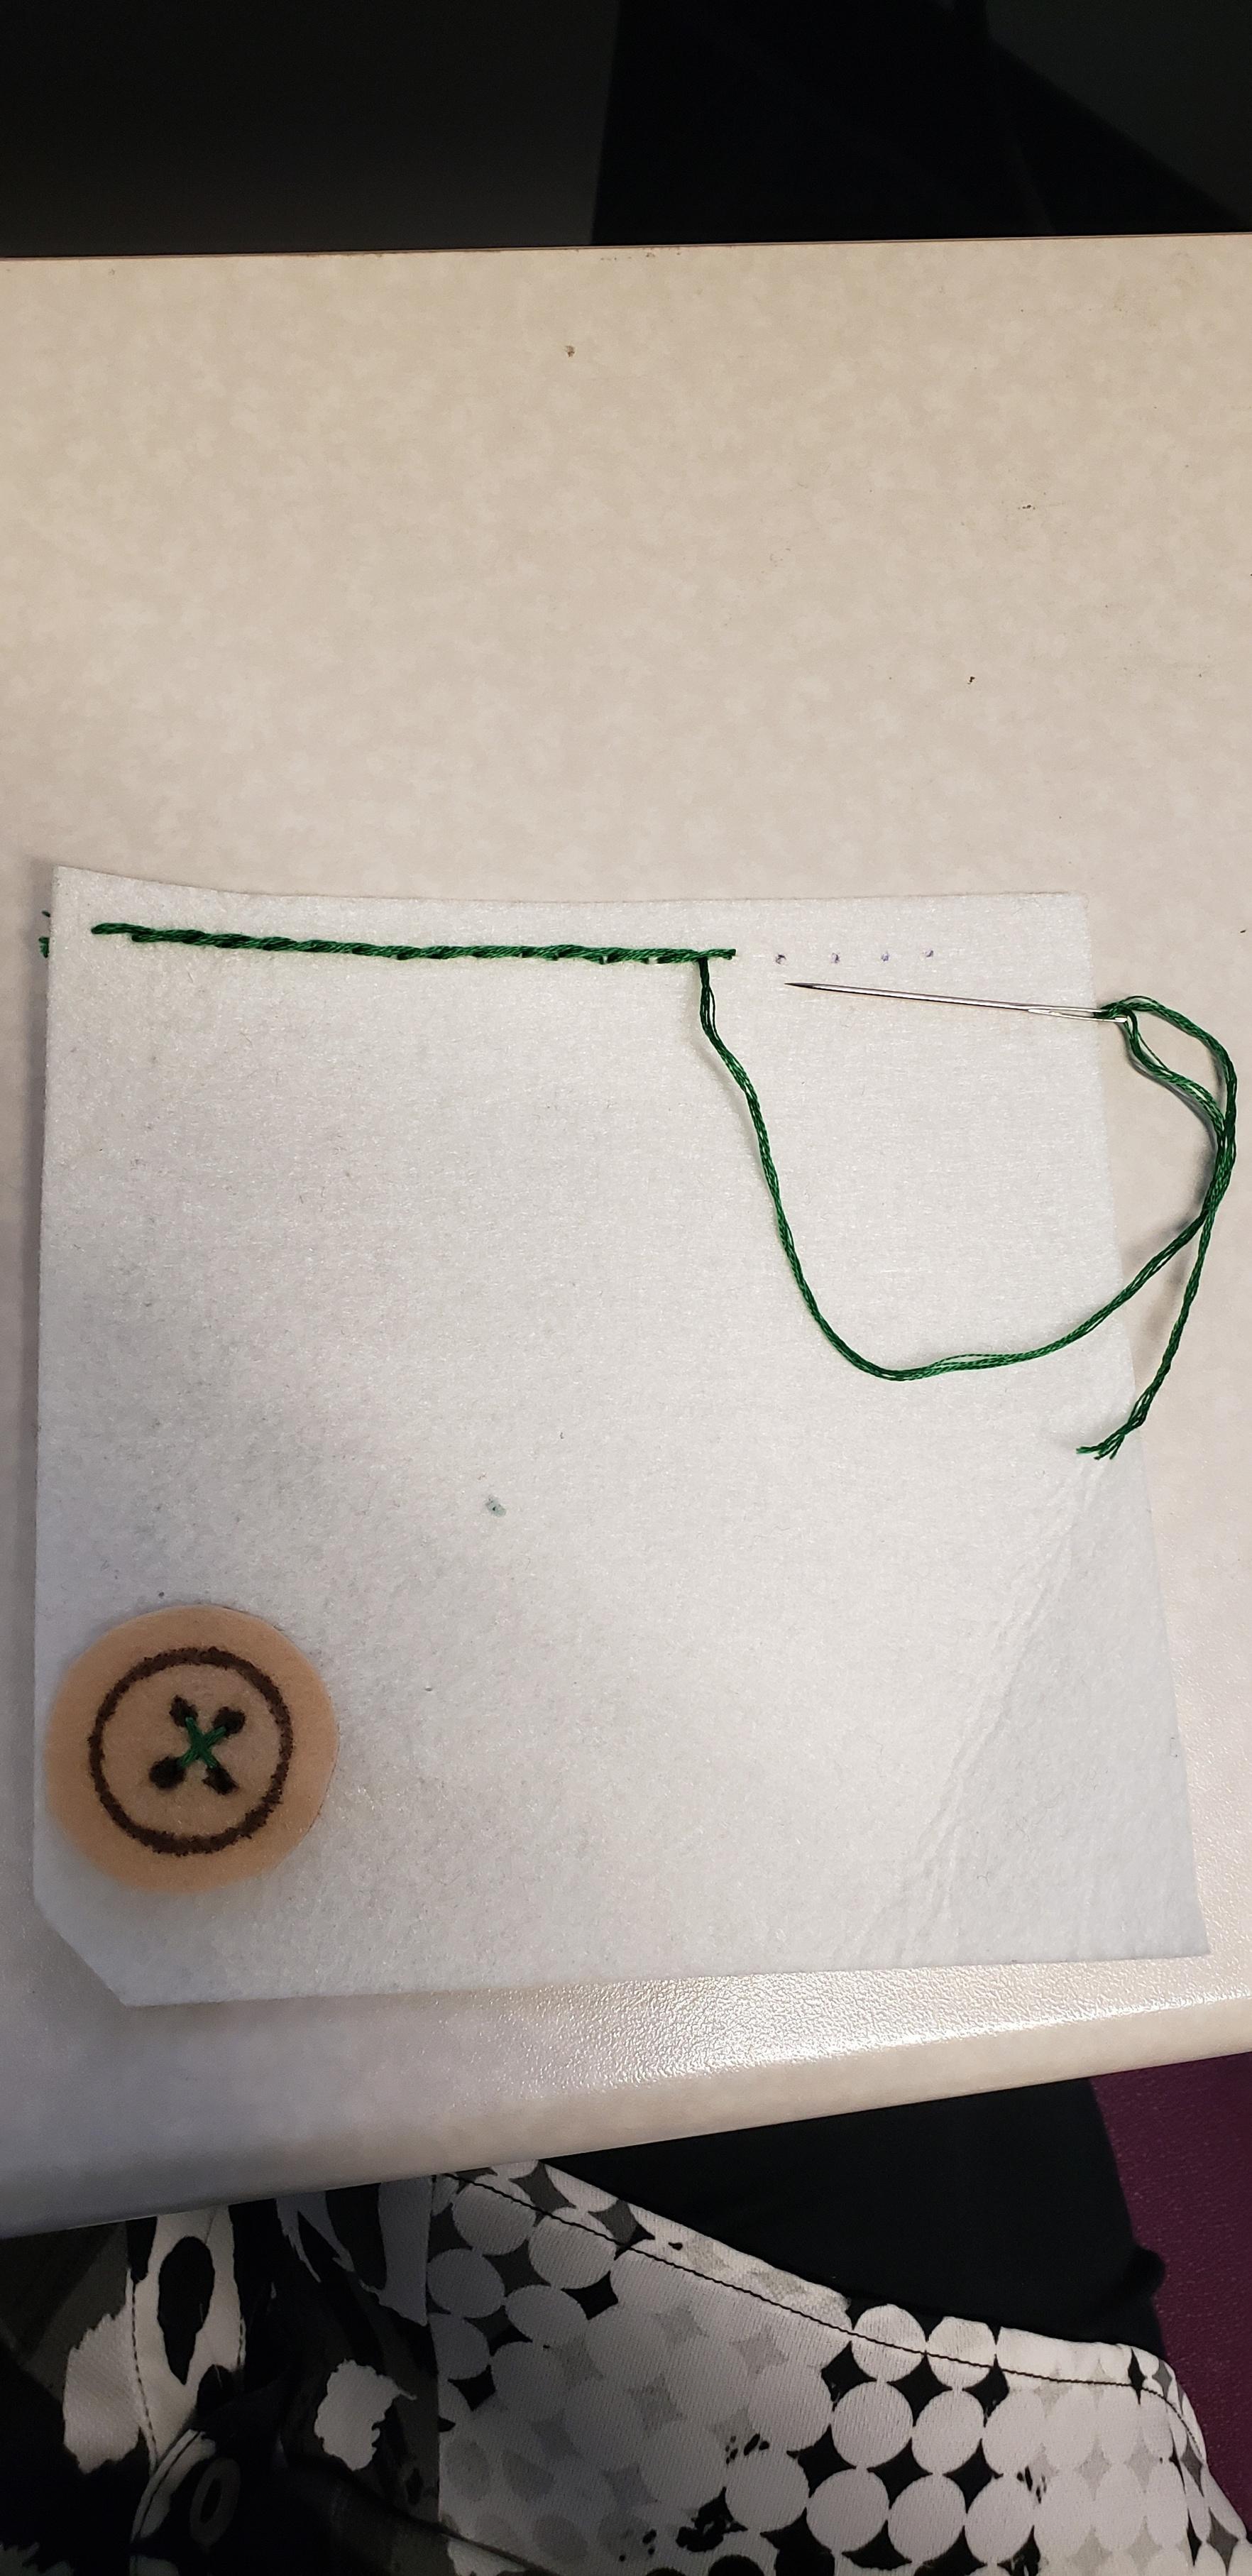
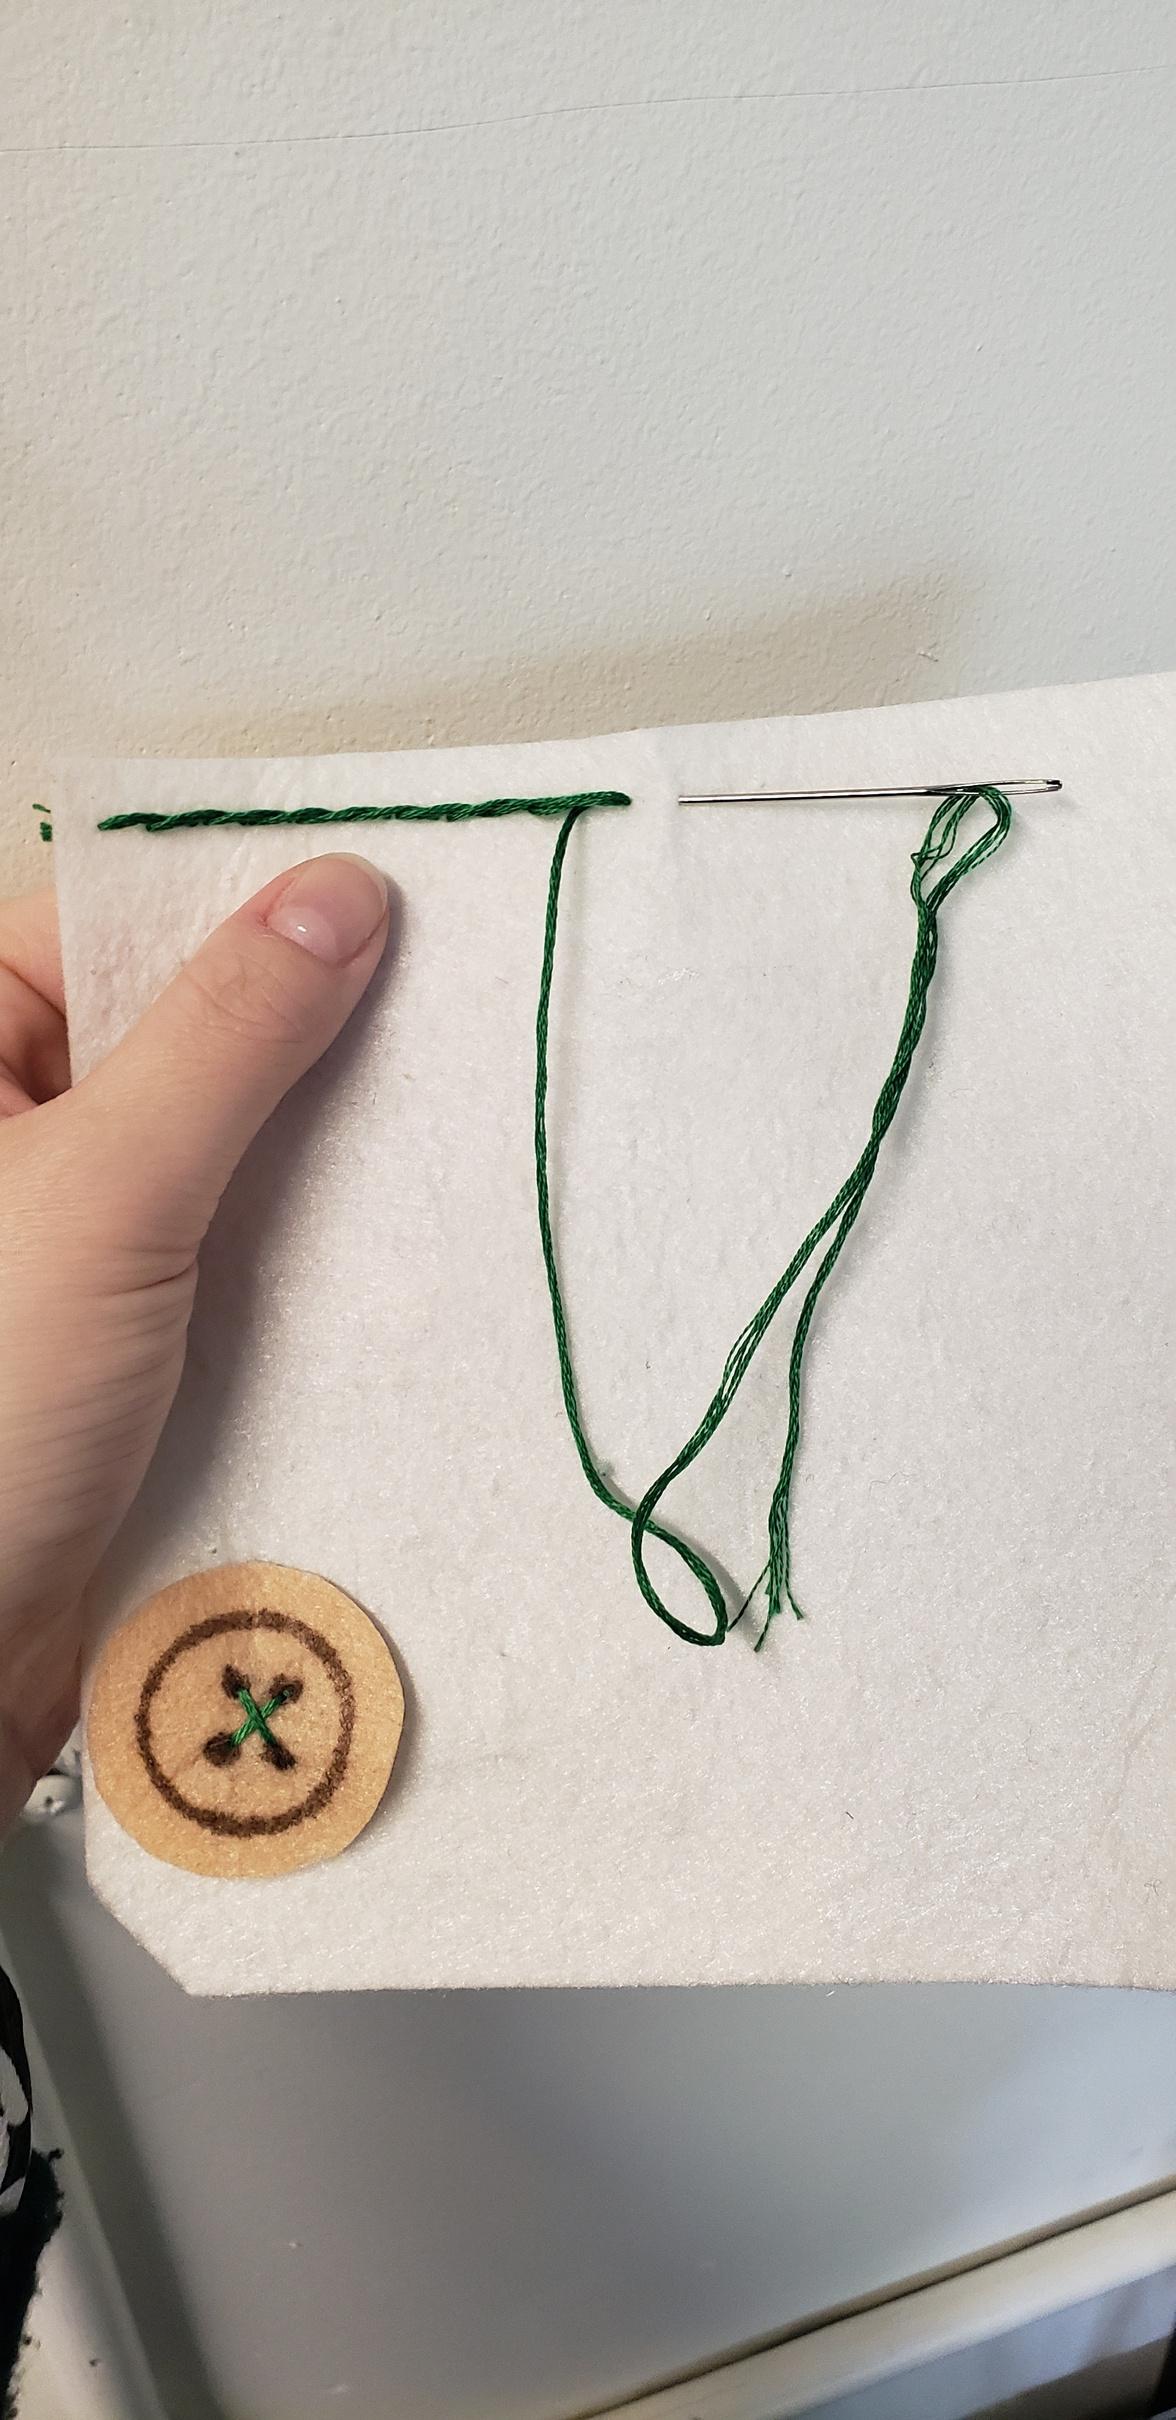
5 - Loop the remaining length of your thread 5-6 times around the button to create a thread shank. This creates a slight gap between the fabric and the button that aids with fastening and wearing the garment
6 - Stab your needle through to the back side of the fabric underneath the button
7 - Pass your needle underneath one or more stitches on the back side of the piece and tie off your thread with a triple knot
8 - Congratulations! You have attached your button!
Large hole: consider adding a patch under or over the hole. You can secure the patch with a running stitch or a whip stitch. You may also want to learn a backstitch or blanket stitch
Medium hole: consider darning the hole *see the hand darning handout
Small round hole:
Sew a running stitch around the perimeter of the hole, about 3/8" from the edge
Gently pull the thread until the fabric gathers together and the hole closes
Tie a knot on the back
Tiny hole: consider using a product like fray check or clear nail polish to prevent the threads from fraying. No sewing needed!
Tear or rip: if your fabric has torn or ripped in a linear fashion:
Cut a piece of ribbon or bias tape or a fabric patch that is at least 1/2" longer and wider than the rip on every side
If you are using a fabric patch, make sure the edges will not fray by using a product like fray check or by whip stitching around the edges
Pin the piece of ribbon or fabric directly underneath the tear on the inside of the garment
Using a small whip stitch (about 1/8" between stitches) sew across the tear, making sure to catch the patch underneath
Don’t sew too close to the torn edges, where the fabric is weaker; make your stitches about 1/4" away from the edges of the tear to avoid the thread pulling through and making the tear bigger
Tips and tricks:
Tips and tricks:
Runs in tights: dab a product like fray check or clear nail polish around the edges of a run to keep it from getting larger
Runs in tights: dab a product like fray check or clear nail polish around the edges of a run to keep it from getting larger
Tight shoes: if your new shoes are just a little bit too tight, you can:
Tight shoes: if your new shoes are just a little bit too tight, you can:
Use heat: Use a hairdryer to warm the insides of the shoes
Use heat: Use a hairdryer to warm the insides of the shoes
Put on a thick pair of socks and put the shoes on
Put on a thick pair of socks and put the shoes on
Wait for the shoes to cool, and repeat until the shoes are more comfortable
Wait for the shoes to cool, and repeat until the shoes are more comfortable
Use ice:
Use ice: Fill two plastic freezer bags about 1/3 of the way with water
Fill two plastic freezer bags about 1/3 of the way with water
Slide the bags into the shoes
Slide the bags into the shoes
Place the shoes in the freezer and allow the water to freeze
Place the shoes in the freezer and allow the water to freeze
The ice expanding will stretch the shoes
The ice expanding will stretch the shoes
12
12

needle threader
seam ripper seam gauge thread
embroidery scissors embroidery floss sharps needles embroidery and darning needles
ball-head pins (straight pins)
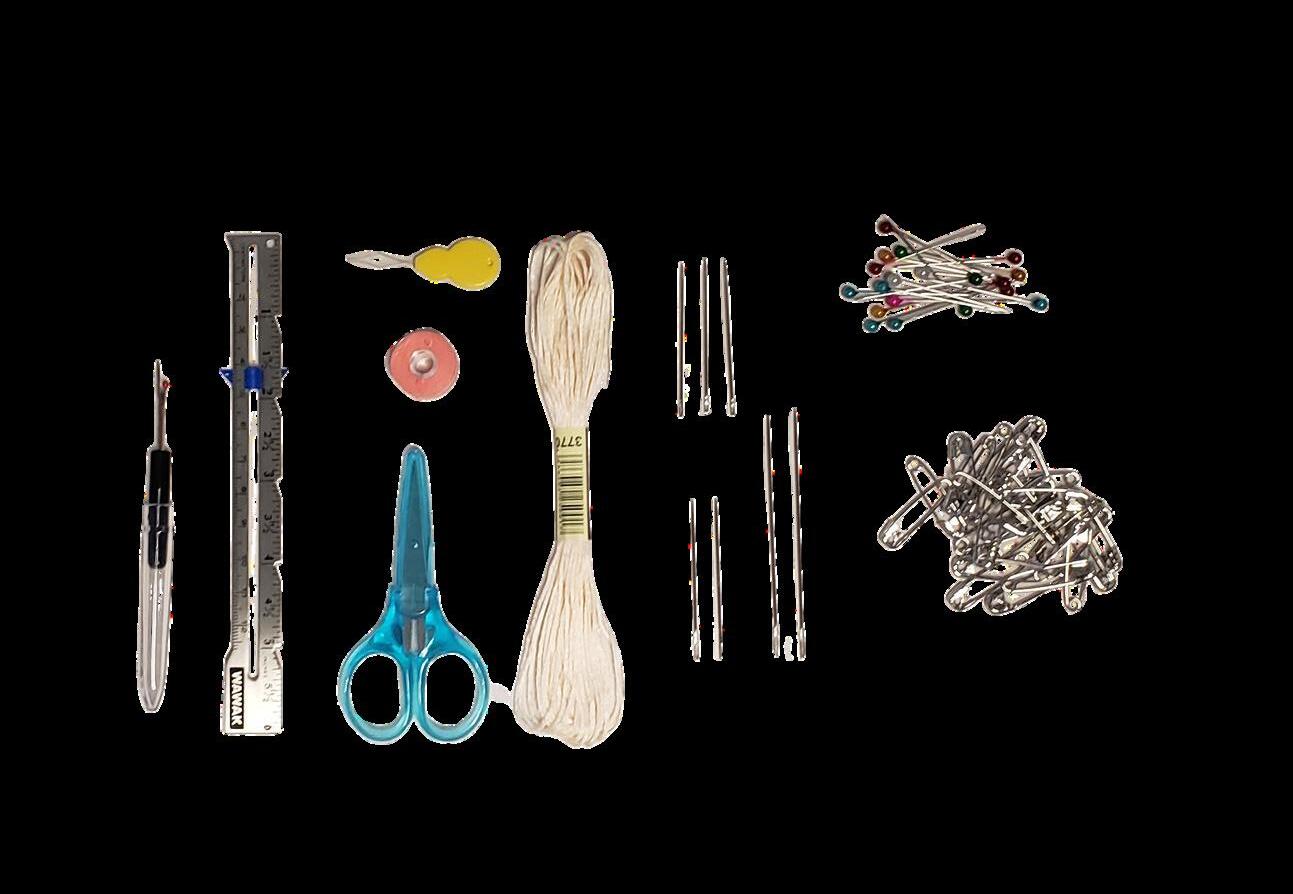
safety pins