How to Use a Smartphone Rig for Professional Mobile Filming
How to Use a Smartphone Rig for Professional Mobile
Filming
The smartphone revolution has fundamentally transformed filmmaking, placing professional-grade video capabilities into the hands of anyone with a mobile device. Yet aspiring videographers quickly discover a frustrating reality: while their phones capture stunning footage, shaky handheld shots and limited mounting options prevent them from achieving truly polished results. This is where the smartphone rig enters the picture as an affordable game-changer. By combining a reliable phone holder for tripod mounting with a versatile cage system, these mobile filming rigs bridge the gap between amateur clips and professional productions without breaking the bank. Whether you're searching for a vlogging phone cage or comprehensive phone cage kit, the right setup dramatically enhances stability, expands your creative possibilities through accessory mounting, and elevates your overall production value. This guide will walk you through everything you need to know about selecting the perfect smartphone rig for your needs, assembling it correctly, and leveraging its full potential to create compelling video content that stands out in today's crowded digital landscape.
Understanding the Smartphone Rig
Ecosystem
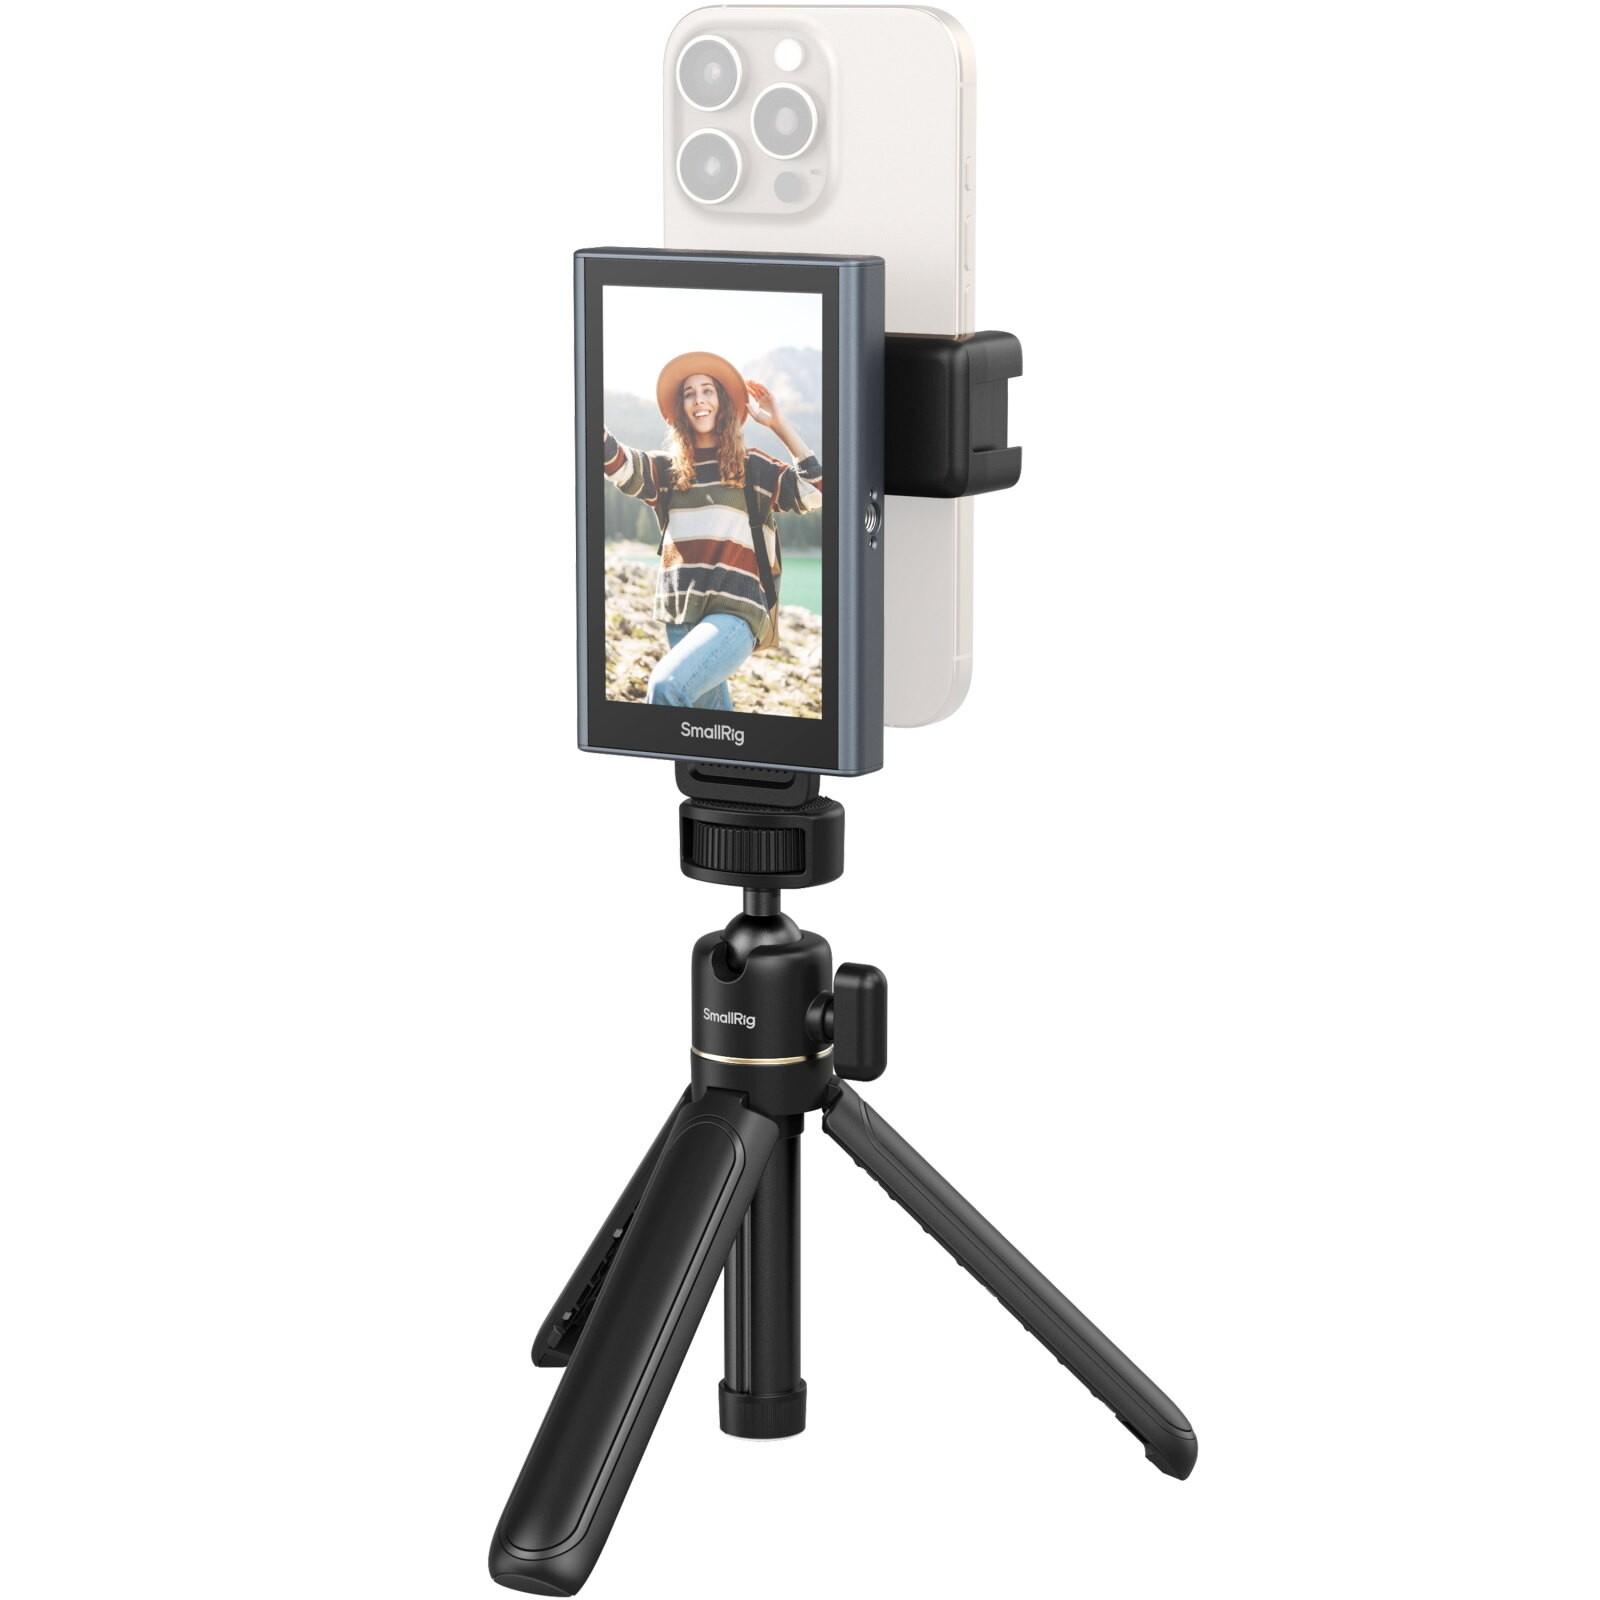
A smartphone rig, also known as a mobile filming rig, is a structural framework designed to transform your phone into a legitimate filmmaking tool. At its core, this system consists of a protective cage that surrounds your device, integrated mounting points for accessories, and crucially, a phone holder for tripod attachment that provides the stability foundation every professional shot demands. The phone holder component secures your device firmly within the cage while offering standard threading compatible with tripods, monopods, and other support equipment. Smartphone rigs range from minimalist designs featuring just a basic cage and mount to comprehensive phone cage kits that include handles, cold shoe mounts, and multiple accessory attachment points. For videographers, these systems deliver transformative benefits that immediately elevate production quality. The enhanced stability eliminates the telltale shakiness of handheld footage, while dedicated mounting points allow you to attach external microphones for broadcast-quality audio and LED panels for controlled lighting. A vlogging phone cage typically features side handles for comfortable extended shooting sessions and front-facing accessory mounts for monitor or light placement. Beyond functional improvements, a properly
configured mobile filming rig projects professionalism that clients and audiences notice, signaling that you take your craft seriously even when working with mobile equipment.
How to Select the Perfect Phone Cage Kit for Your Needs
Navigating the world of affordable mobile filming equipment requires balancing cost constraints with functional requirements. When selecting a phone cage kit, start by establishing your budget ceiling and identifying which features directly serve your filming style. Compatibility stands as the non-negotiable first consideration—verify that your chosen rig accommodates your specific phone model's dimensions and button placements, as universal designs sometimes sacrifice secure fit for broad compatibility. Examine what's included in the package: a comprehensive phone cage kit typically bundles the cage frame, a reliable phone holder, mounting hardware,
and potentially handles or cold shoe adapters, while basic packages may require separate accessory purchases that inflate your total investment. A vlogging phone cage designed for content creators usually emphasizes ergonomic handles and frontfacing mounting points, whereas general-purpose mobile filming rigs prioritize versatility through multiple attachment angles. To find cost-effective options without compromising quality, research user reviews focusing on durability feedback rather than feature lists, and consider brands that specialize in mobile filmmaking rather than generic electronics accessories.
Key Features to Look for in a Budget-Friendly Rig
Prioritize these essential elements: a phone holder constructed from metal rather than plastic for longevity, standard 1/4"-20 threading that ensures universal tripod compatibility, and a lightweight aluminum or reinforced polymer frame that won't fatigue your arms during extended shoots. The cage should provide tool-free phone installation for quick transitions between handheld and mounted shooting. Multiple
cold shoe mounts and threaded holes represent valuable expandability, but avoid kits loaded with proprietary accessories you'll never use—these inflate prices without adding practical value. A secure locking mechanism for your phone holder matters more than decorative design elements, and rubberized contact points prevent device scratching while maintaining grip. Focus your budget on structural integrity and mounting versatility rather than bundled accessories of questionable quality that you'll eventually replace with better alternatives anyway. Established manufacturers like SmallRig have built reputations on producing durable aluminum cages with standardized mounting points that accommodate third-party accessories, making them worth considering when evaluating long-term value.
Mastering the Setup: From Phone Holder to Full Rig
Transforming your smartphone into a professional filming tool begins with proper assembly of your mobile filming rig. Start by familiarizing yourself with all components before installation—lay out the cage frame, phone holder, mounting screws, and any included accessories on a clean surface. Begin assembly by securing the phone holder to the cage's base using the provided threading, ensuring it's handtight but not over-torqued, which can strip threads or crack plastic components. Next, carefully slide your smartphone into the holder, adjusting the grip arms to contact the device's corners or edges rather than covering buttons or camera lenses. Most quality phone holders feature spring-loaded or expandable clamps that accommodate various phone sizes while maintaining secure grip. Once your phone sits firmly in place, test the hold by gently shaking the rig—your device shouldn't shift or rattle. Now attach your primary accessories in order of priority: external microphones typically mount via cold shoe adapters on top for optimal audio capture positioning, while LED lights attach to side mounts or handles for directional control. If your phone cage kit includes handles, install them symmetrically to maintain balance, positioning them where your natural grip falls during extended shooting. The key to comfortable operation lies in weight distribution—heavier accessories like battery-powered lights should mount centrally or low on the frame to prevent top-heavy instability that fatigues your wrists. For tripod mounting, thread the rig's bottom mount onto your tripod head and verify it's level before filming. Quick setup becomes second nature with practice: keep frequently used accessories pre-attached to the rig and store your smartphone separately, allowing you to snap your phone into the holder and start filming within seconds. When disassembling, reverse the process methodically, removing accessories before extracting your phone to avoid accidental drops. Always loosen clamps gradually rather than forcing them, and periodically check all mounting screws for tightness, as vibration during filming can gradually loosen connections over time.
Step-by-Step Assembly of Your Mobile Filming Rig
Follow this systematic approach for foolproof assembly: First, attach the phone holder to the cage frame by aligning the threaded mount and rotating clockwise until snug—use your fingers only, never pliers that might over-tighten and damage threads. Second, expand the phone holder's grip arms to their widest position before inserting your smartphone, then gradually tighten until the device sits secure without excessive pressure on the screen or frame. Third, add your microphone to the top cold shoe mount, ensuring the cable routes cleanly without obstructing your camera lens or creating trip hazards. Fourth, mount lighting accessories to side points, angling them to eliminate harsh shadows while maintaining clearance from your phone's heat vents. Finally, attach handles if included, positioning them for natural thumb reach to accessory controls. Throughout assembly, protect your phone by working over a soft surface and never forcing components that don't align smoothly—resistance indicates misalignment rather than the need for more force.
Pro
Tips
for Enhancing Your Mobile
Video Production
Elevating your smartphone rig from functional tool to professional production asset requires strategic techniques that maximize its capabilities. Stability forms the foundation of polished footage—when mounting your mobile filming rig on a tripod, extend legs fully and position the center column at a height that eliminates the need to crouch or stretch, maintaining natural framing without physical strain. For handheld shots, grip handles firmly while tucking your elbows against your torso to create a human stabilizer, and move from your core rather than your arms to minimize shake. Audio quality separates amateur from professional work more dramatically than visual elements, so position external microphones mounted on your smartphone rig approximately six to eight inches from your subject's mouth for interviews, angling the capsule slightly downward to capture voice while rejecting overhead noise. When filming vlogs with your vlogging phone cage, attach a directional shotgun mic pointing forward to isolate your voice from ambient sound, and always monitor audio through headphones during recording rather than relying on playback review. Lighting transforms flat mobile footage into dimensional imagery—mount LED panels on side cold shoes angled at forty-five degrees to your subject for flattering illumination that eliminates harsh shadows, and use two lights when possible to create a key-fill setup that mimics professional studio techniques. For outdoor shooting, position your rig-mounted light as fill to balance harsh sunlight rather than competing with it as a primary source. Action shots demand different approaches: secure your phone holder extra tight before movement, keep the rig close to your body during walking shots, and use wider focal lengths that forgive
minor instability. Interview setups benefit from tripod mounting with your smartphone rig positioned at subject eye level, while vlogging scenarios often work best with handheld configurations that allow dynamic movement and direct audience engagement. Environmental awareness matters too—in windy conditions, attach a foam windscreen to your microphone and lower your rig's profile to reduce sail effect, while indoor shoots require attention to artificial light flicker that smartphone sensors sometimes capture at certain shutter speeds.
Optimizing Audio and Lighting with Your Rig
Transform your audio capture by mounting shotgun microphones in the top cold shoe with cables secured along the rig frame using velcro strips to prevent handling noise transmission. For interviews, position the mic just outside your frame's top edge, maximizing proximity without visual intrusion. Lavalier mics offer an alternative when your subject moves frequently—run the cable through your rig's frame channels to keep it organized and protected. Regarding lighting, compact LED panels with adjustable color temperature provide the most versatility for rig mounting, allowing you to match ambient light conditions or create intentional mood shifts. Mount your primary light on the handle opposite your dominant hand to prevent shadows from your grip, and diffuse harsh LED output with translucent tape or dedicated softbox attachments that maintain portability. Battery-powered options eliminate cable management headaches, but always carry spares since continuous LED draw depletes power quickly during extended shoots.
Common Mistakes to Avoid with Your Vlogging Phone Cage
Even experienced mobile filmmakers fall prey to preventable errors that compromise their smartphone rig's performance and longevity. The most frequent mistake involves over-tightening the phone holder's grip mechanism—excessive pressure can crack phone screens, bend frames, or damage buttons, yet many users assume tighter always means more secure. Apply only enough pressure to eliminate movement when you shake the rig gently; modern spring-loaded holders achieve security through design rather than brute force. Balance issues plague beginners who mount heavy accessories without considering weight distribution, resulting in a top-heavy vlogging phone cage that causes wrist fatigue and unstable footage. Always position your heaviest components—typically battery-powered lights—as low and central as possible, and test the rig's balance by holding it with one hand before filming. Accessory compatibility oversights waste money and create frustration when purchased microphones or lights feature mounting systems incompatible with your cage's cold shoe or threaded holes. Before buying add-ons,
verify they use standard mounting interfaces rather than proprietary connections. Maintenance neglect shortens rig lifespan significantly—periodically inspect all threaded connections for tightness, clean contact points where your phone sits to prevent debris scratching, and store your mobile filming rig in a protective case rather than tossing it loose in a bag where components can bend or break. Finally, many users fail to practice assembly until shoot day, leading to fumbled setups that miss crucial moments. Rehearse your complete workflow at home until you can assemble, film, and disassemble smoothly without conscious thought.
Elevate Your Mobile Filmmaking Today
Mastering smartphone rig usage represents a pivotal step in your journey toward professional mobile filmmaking, transforming your phone from a casual recording device into a capable production tool. Throughout this guide, you've learned that selecting the right phone holder for tripod mounting and comprehensive phone cage kit requires balancing compatibility, build quality, and budget considerations rather than chasing feature-laden options you won't utilize. Proper assembly techniques ensure your mobile filming rig delivers stability and accessory mounting capabilities that rival traditional camera setups, while strategic positioning of microphones and lights addresses the audio-visual weaknesses that typically betray smartphone footage. Whether you're investing in a specialized vlogging phone cage for content creation or a versatile smartphone rig for diverse projects, the principles remain constant: prioritize stability, maintain balanced weight distribution, and practice your workflow until setup becomes instinctive. The democratization of filmmaking means professional-quality results no longer demand professional-level budgets— your smartphone combined with an intelligently configured rig places broadcastworthy capabilities directly in your hands. Start experimenting today with the techniques outlined here, pushing your creative boundaries while refining your technical execution. The gap between amateur and professional mobile video continues narrowing, and with your newly acquired knowledge, you're positioned to produce compelling content that commands attention in an increasingly crowded digital landscape.