SIR WINSTON CHURCHILL has always been an heroic figure in the life of the author, who served for two years in Sir Winston’s old cavalry regiment, the 4th Queen’s Own Hussars, but he could be forgiven for damning the old warrior for the three controversial decisions he made during his term of office as First Lord of the Admiralty in both world wars and as Prime Minister in the Second World War, decisions which resulted in the death of the 18-year-old Private Ernest Williams of the Manchester Regiment, the partial destruction of a fine infantry division in 1940 and the total destruction of his own former regiment in 1941.
Pro Patria
Pro Patria
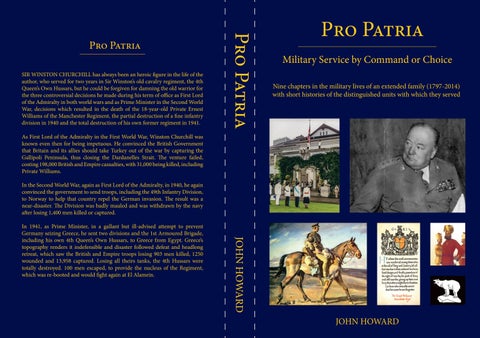
Pro Patria Military Service by Command or Choice Nine chapters in the military lives of an extended family (1797-2014) with short histories of the distinguished units with which they served
As First Lord of the Admiralty in the First World War, Winston Churchill was known even then for being impetuous. He convinced the British Government that Britain and its allies should take Turkey out of the war by capturing the Gallipoli Peninsula, thus closing the Dardanelles Strait. The venture failed, costing 198,000 British and Empire casualties, with 31,000 being killed, including Private Williams. In the Second World War, again as First Lord of the Admiralty, in 1940, he again convinced the government to send troops, including the 49th Infantry Division, to Norway to help that country repel the German invasion. The result was a near-disaster. The Division was badly mauled and was withdrawn by the navy after losing 1,400 men killed or captured.
JOHN HOWARD
In 1941, as Prime Minister, in a gallant but ill-advised attempt to prevent Germany seizing Greece, he sent two divisions and the 1st Armoured Brigade, including his own 4th Queen’s Own Hussars, to Greece from Egypt. Greece’s topography renders it indefensible and disaster followed defeat and headlong retreat, which saw the British and Empire troops losing 903 men killed, 1250 wounded and 13,958 captured. Losing all theirs tanks, the 4th Hussars were totally destroyed. 100 men escaped, to provide the nucleus of the Regiment, which was re-booted and would fight again at El Alamein.
JOHN HOWARD