




• Egg Carton – 12333
• Embroidery Thread – White – Pack of 6 – 13717
• CleverPatch™ Glue Dots – Pack of 300 – 15173
• CleverPatch™ Acrylic Paint Tube – White – 100ml – 16886
• CleverPatch™ Acrylic Paint Tube – Green – 100ml – 16913
• CleverPatch™ Acrylic Paint Tube – Silver – 100ml – 16887
• Sewing Needles – Blunt Tip – Pack of 25 – 11591
• Micador Stay Anywhere™ Permanent Pens – Pack of 12 – 14216
• Other materials required: paint brush, scissors & templates (page 10)
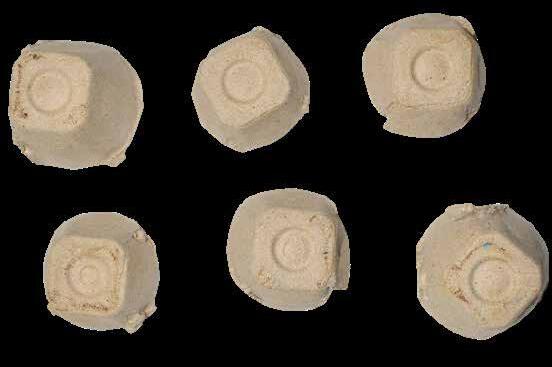
1. Cut out 6 egg cups from an egg carton using scissors.
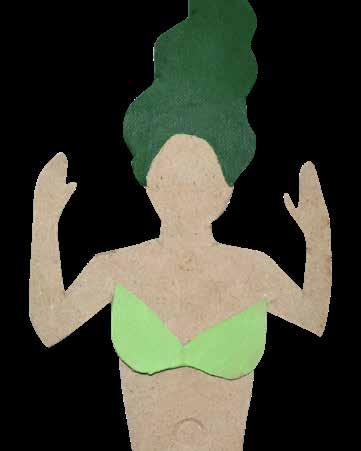
4. Paint the Mermaid’s body and top template pieces. Allow to dry. Using Glue Dots, attach the top to the Mermaid’s body.
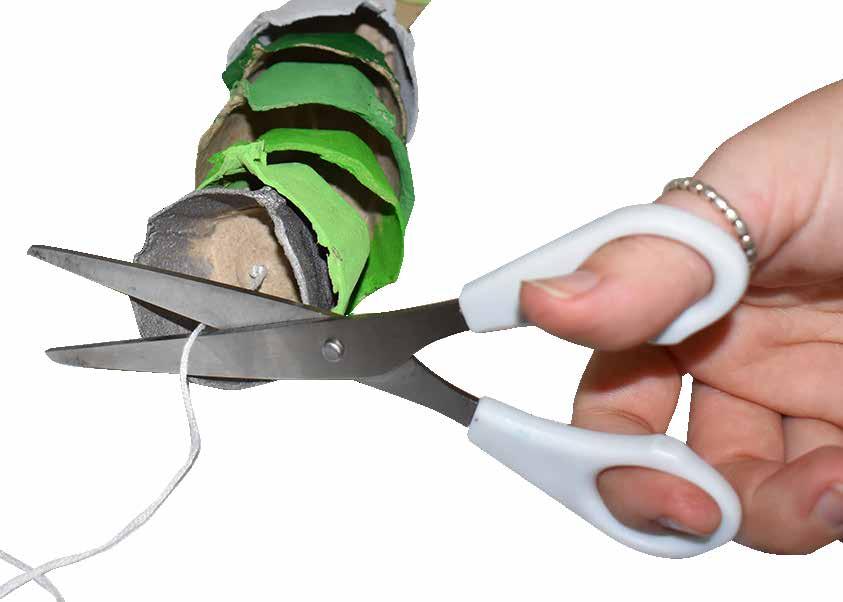
7. Once all the cups are threaded on, tie the end of the thread into a double knot as close as you can to the bottom egg cup. Trim any excess thread.


2. Paint each egg cup a different shade of green or silver. Mix white into the paints to achieve lighter shades. Allow to dry.
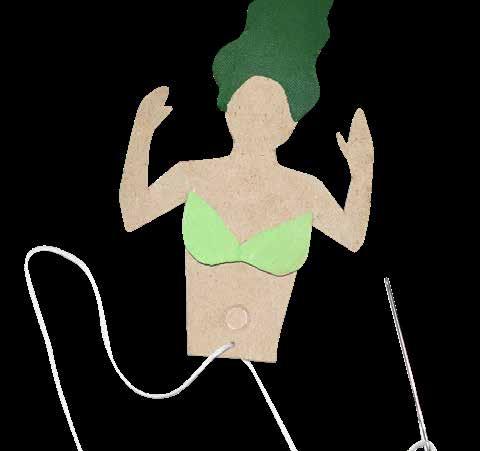
5. Cut a piece of embroidery thread 30cm long and thread through a sewing needle. Thread the needle through the bottom of the Mermaid’s body and tie one end in a knot.
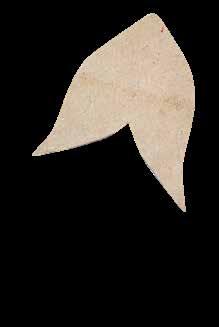
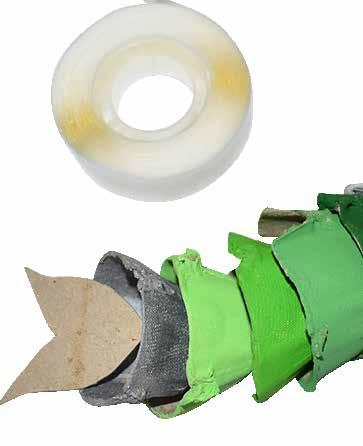
8. Use a glue dot to attach the tail piece from step 3 to the inside of the bottom egg cup.
Look at my beautiful bright tail!

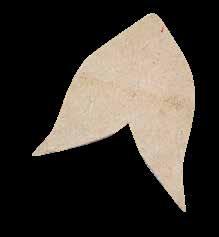
3. Print the templates on page 10 and trace onto the lid of your egg carton. Cut out all 3 pieces using scissors.

6. Thread all 6 of the egg cups onto the thread by gently pushing the needle through the top, flat side of each cup.
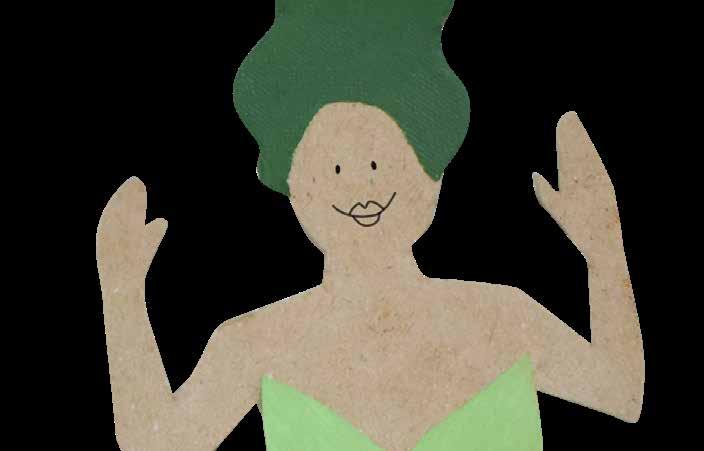
9. Draw a face onto your Mermaid using a permanent pen. Your Mermaid is now ready to swim!
• Egg Carton – 12333
• Wooden Skewers – Pack of 100 – 10014
• Wooden Beads – Natural – 340g Pack – 10841
• CleverPatch™ Cover Paper Assorted – A4 Pack of 275 – 13652
• Chenille Stems – Bright – Pack of 100 – 10825
• Wooden Spools – Natural – Pack of 72 – 12149
• Embroidery Thread – Red – Pack of 6 – 12380
• CleverPatch™ Acrylic Paint Tube – Brown 100ml – 16884
• CleverPatch™ Acrylic Paint Tube – Gold – 100ml – 16888
• CleverPatch™ Acrylic Paint Tube – White – 100ml – 16886
• CleverPatch™ Acrylic Paint Tube – Red – 100ml – 16877
Follow me

2. Glue the base of the egg carton on top of the lid as shown. Allow to dry.

5. Cut out 2 blue rectangles of cover paper and poke a skewer through each. Ensure the blunt end is at the top of the flags.
• CleverPatch™ Acrylic Paint Tube – Black – 100ml – 16885
• Soft Yarn – Yellow – 100g – 11311
• Wiggle Eyes Black – 0.5cm – Pack of 100 – 16476
• Foil Paper Squares – Pack of 100 – 10053
• Wooden People – Pack of 8 – 18255
• Foam Sheets – Large – Pack of 10 – 10788
• Felt Squares – Pack of 100 – 10785
• CleverPatch™ Tacky Glue – 250ml – 16494
• Micador Stay Anywhere™ Permanent Pens Pack of 12 – 14216
• Other materials required: paint brushes, scissors & a ruler


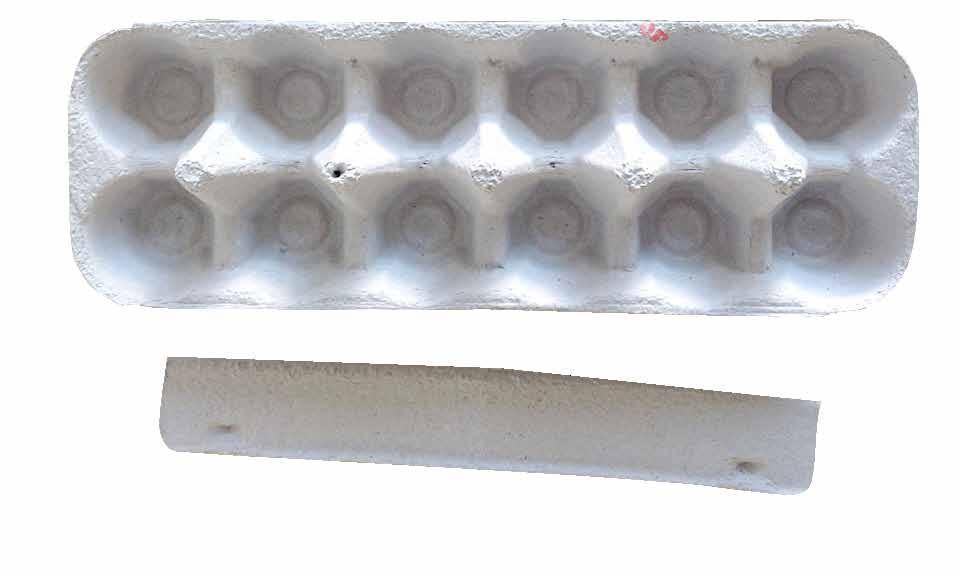
1. Cut the lid off your egg carton and then cut the side strip off the base of the egg

3. Paint the outside of the entire egg carton brown and the inside of the base gold. Paint the extra strip brown on one side and gold on the other. Allow to dry.

6. Poke the skewers into the egg carton to create the ship’s sails. Glue in place and allow to dry.
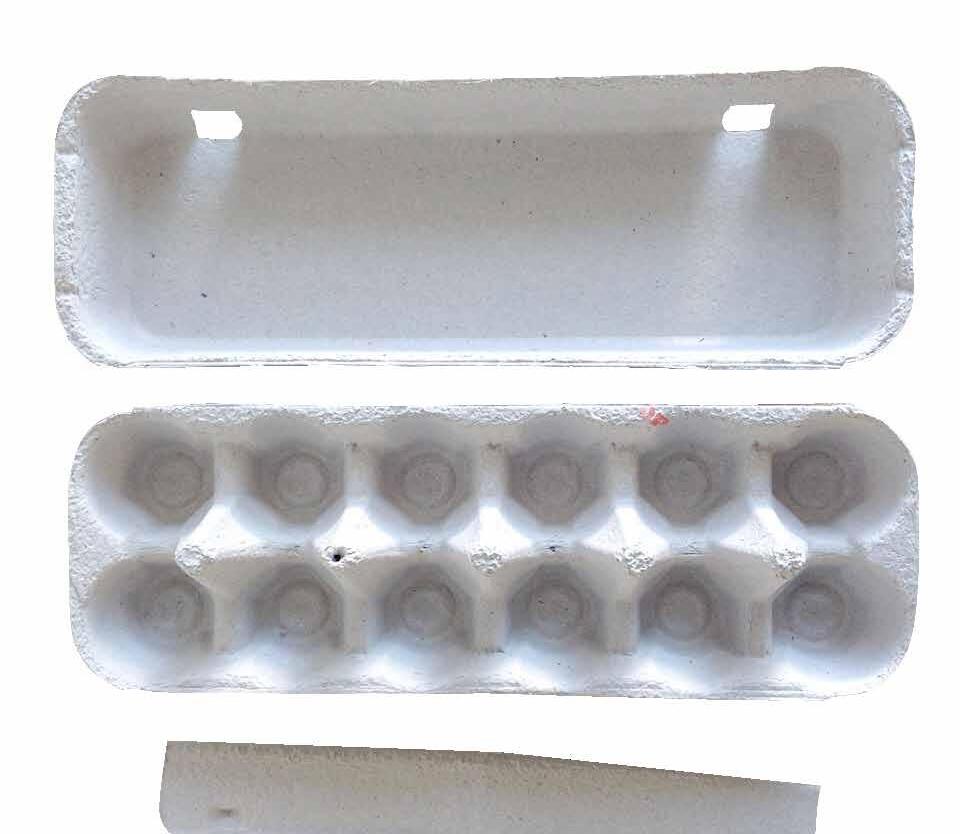
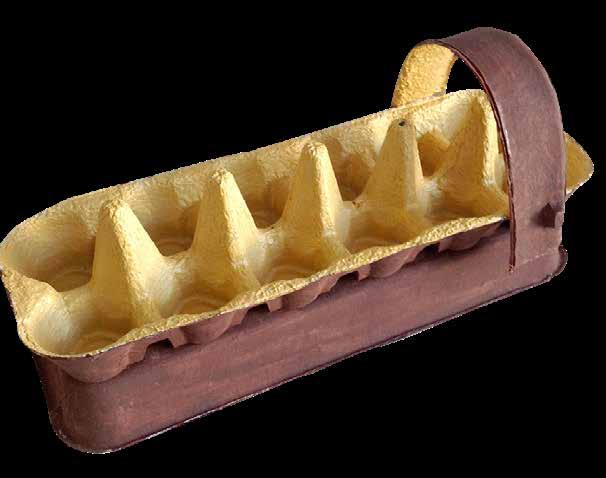
4. Glue the egg carton strip to the sides of the ship as shown. Make sure the brown side is facing outwards. Allow to dry.

7. Cut out 5 triangles from red cover paper for the ship’s bunting. Glue the triangles along a piece of thread. Allow to dry.
Ahoy Matey! Arrgg, it’s time to set sail and follow our treasure maps to an island far away!

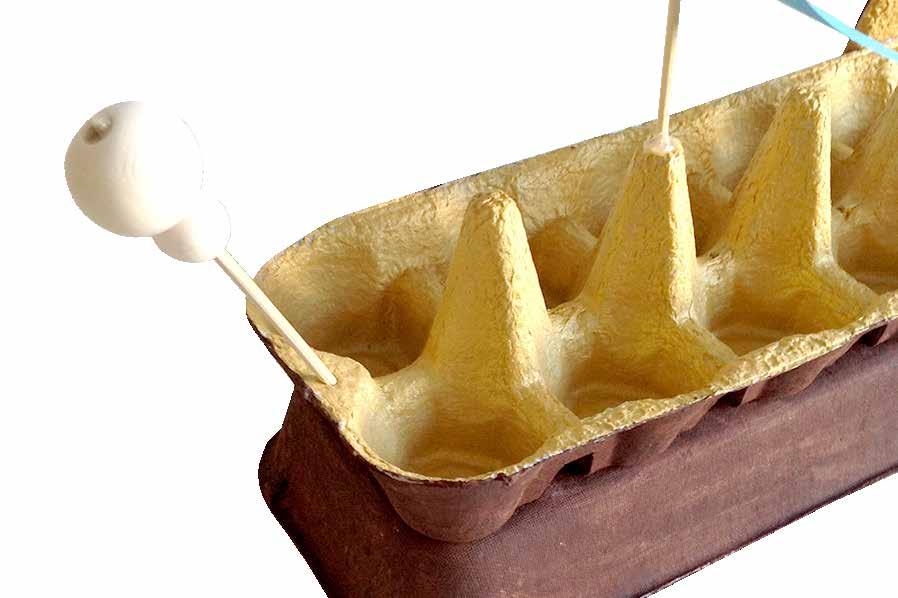
8. Glue a medium and large wooden bead onto the blunt end of a skewer. Poke the skewer into the front of the ship. This will be the ship’s figurehead.

11. Create a steering wheel using black foam. Attach with glue. Cut out an anchor from gold foil paper and attach to a length of thread. Wind the thread around a wooden spool and attach the spool to the side of the ship using a chenille stem and glue.

9. Glue yellow yarn to the large bead to create hair, then glue on 2 wiggle eyes and a small paper mouth. Allow to dry.

12. Cut a flag from red cover paper and glue to the top of the sail at the back of the boat. Glue a medium wooden bead to the top of each sail. Allow to dry.
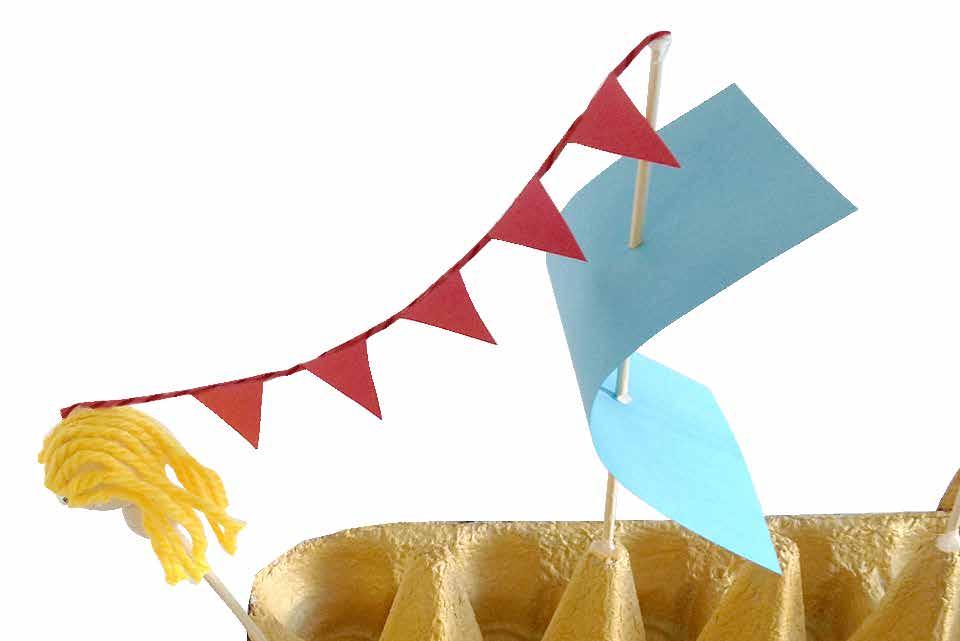
10. Glue 1 end of the bunting to the head of the figurehead and the other end to the tip of the closest sail. Allow to dry.

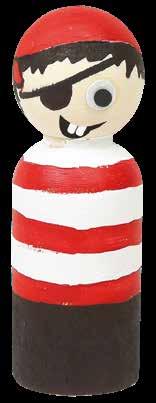
13. You may also like to create a wooden captain and first mate. Use paint and wiggle eyes to create your characters. Allow to dry. We used felt to create the cape and hat. Now you’re ready to set sail!
• Egg Carton – 12333
• CleverPatch™ Acrylic Paint Tube – White 100ml - 16886
• CleverPatch™ Acrylic Paint Tube – Blue 100ml – 16912
• Tissue Paper – Dark Green – Pack of 5 – 17590
• Tissue Paper – Light Green – Pack of 5 – 17591
• CleverPatch™ Cover Paper – Assorted – A4 Pack of 275 – 13652
• Mini Patty Pans – Coloured – Pack of 1,000 – 17960
• Chenille Stems - Bright – Pack of 100 – 10825


1. Paint the outside of your egg carton with the blue paint. Allow to dry. Mix white paint into the blue to get a lighter shade. Paint the inside of your egg carton with this mixture. Allow to dry.
• Pom Poms – Assorted – Pack of 150 – 16600
• Wiggle Eyes – Black Assortment – Tub of 560 – 10814
• CleverPatch™ Paint Markers – Bullet Tip – Primary Pack of 8 Colours - 21583
• Recyclable Paper Straws – Pack of 250 – 17671
• Battery LED Tealight Candles – Pack of 12 – 18915
• CleverPatch™ Junior PVA Glue – 250ml – 10364
• Other materials required: scissors, paint brushes, sticky tape & templates (page 10)

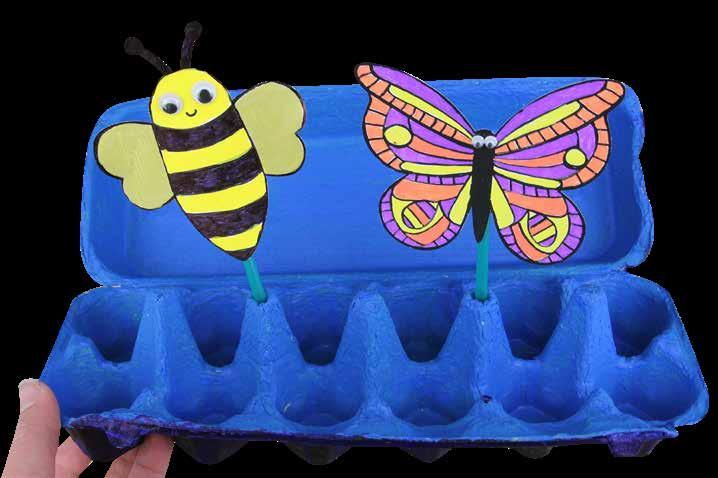
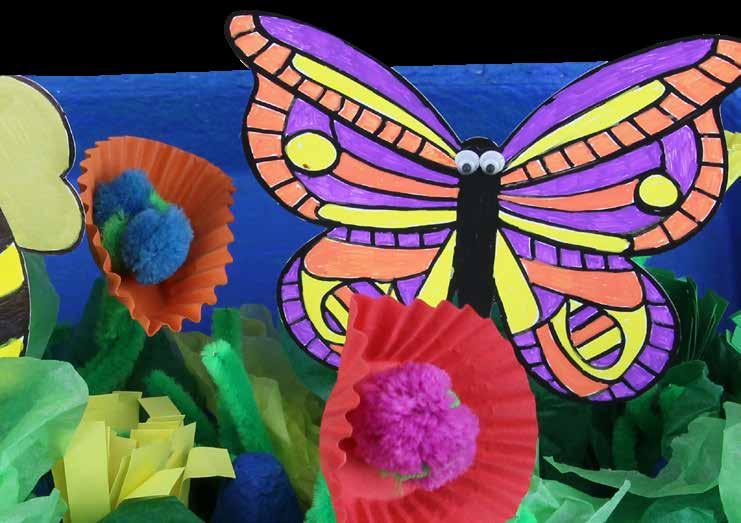
2. Print and cut out the templates provided on page 10 onto white cover paper. Decorate using CleverPatch™ Paint Markers and wiggle eyes. Colour 2 straws with the paint markers. Allow to dry. Attach a straw to the back of each minibeast with sticky tape.
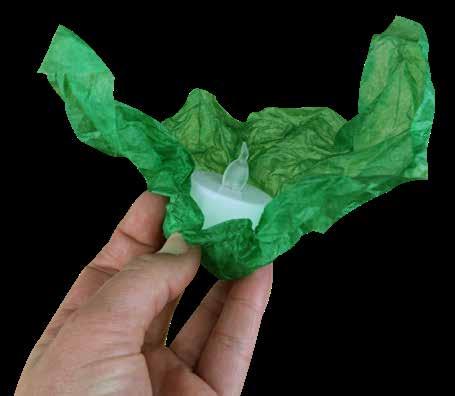
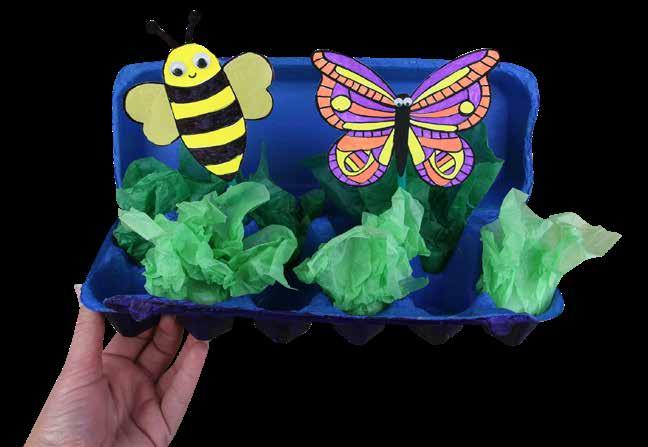
4. Tear some smaller pieces of tissue paper and loosely wrap the LED Tealight Candles. We have used 6 candles, however you can choose how many you would like to use. Place the wrapped tealights into the egg carton wells, spacing them out nicely.

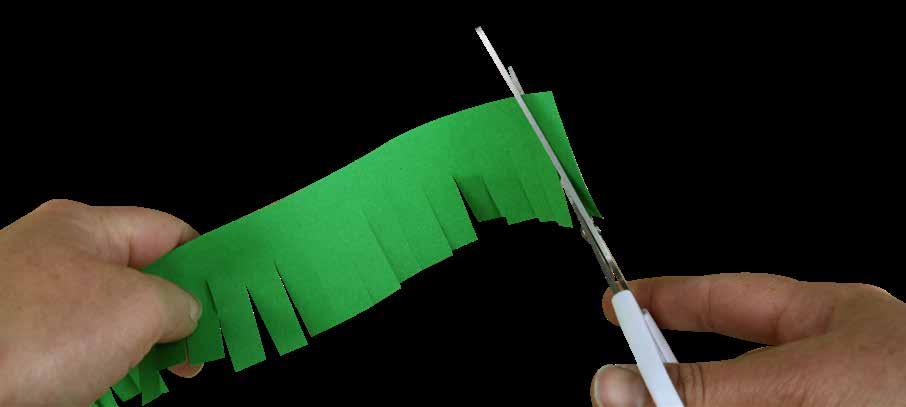
5. To create some different textures in your garden, cut strips of cover paper then cut a fringe along one edge. Roll the paper strip around your finger and use your fingers to rough up the fringing. You may need to use some glue to hold in place. Create more fringed grass using different sized strips of paper and you can even include different colours.
3. Use scissors to carefully create holes in 2 of the pointed parts of the egg carton as shown. Push the straws of the minibeasts from step 2 into the holes you have created. Trim the bottom of the straws if needed.

6. Add even more grass-like textures using green chenille stems. Fold in half, then half again. Use scissors to cut the looped end and then twist the strands together. Once you have a variety of grass textures, place them into the egg carton, filling up the remaining wells.
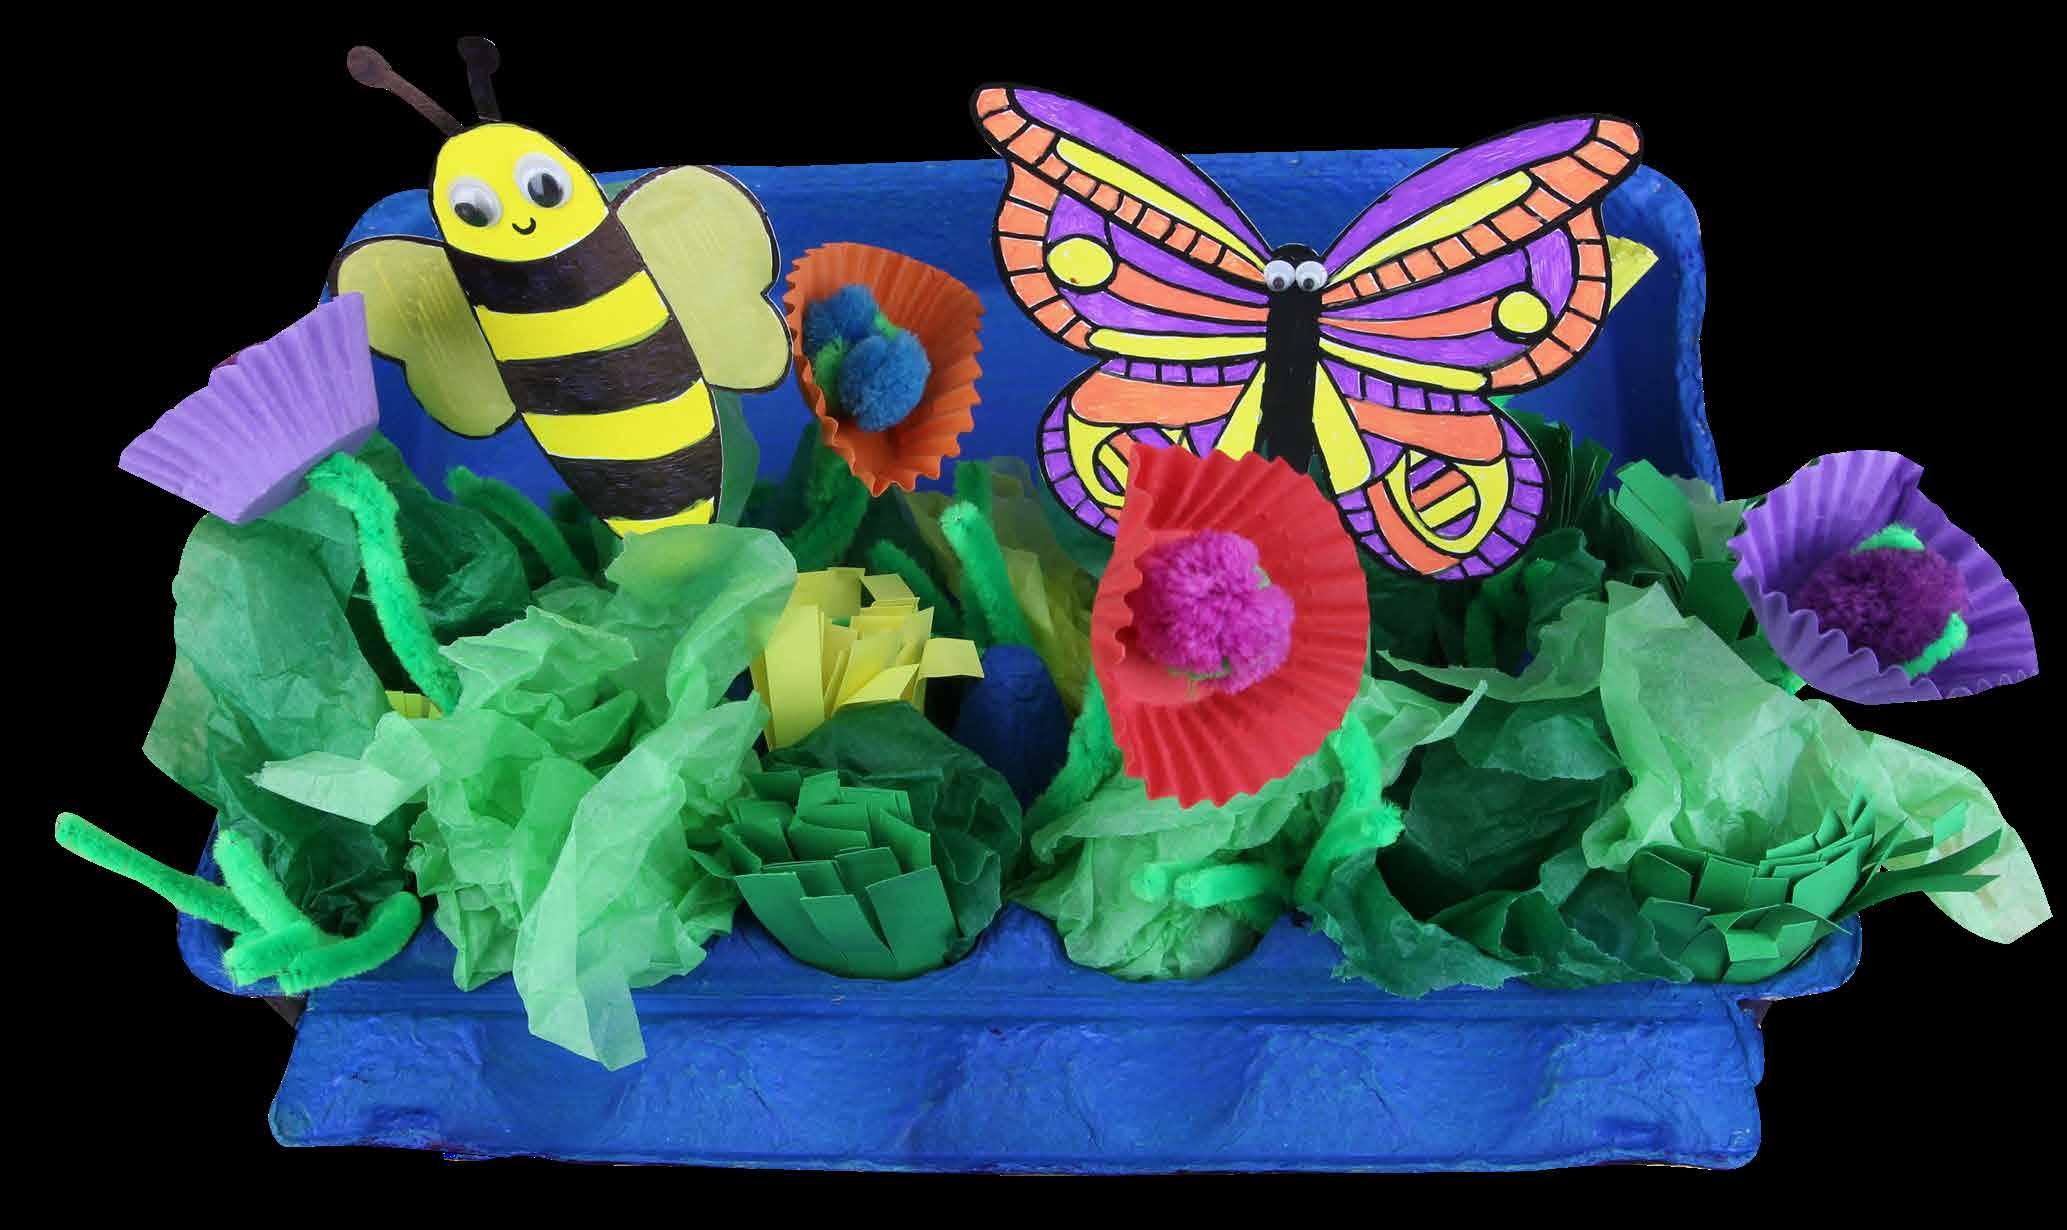
As the sun goes down, your garden can really come to life with the help of LED Tealight Candles!
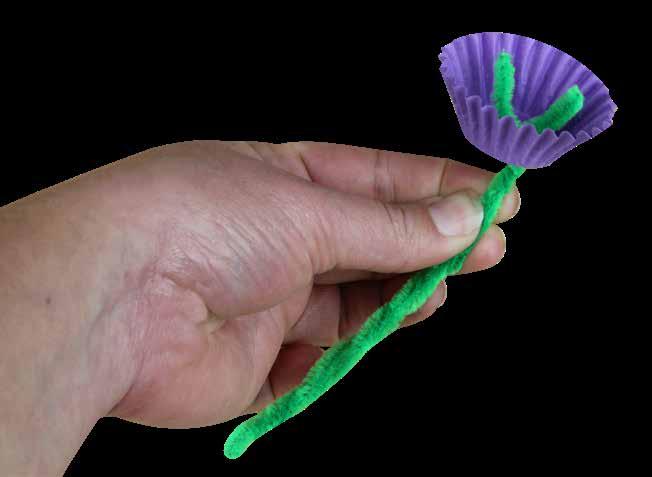
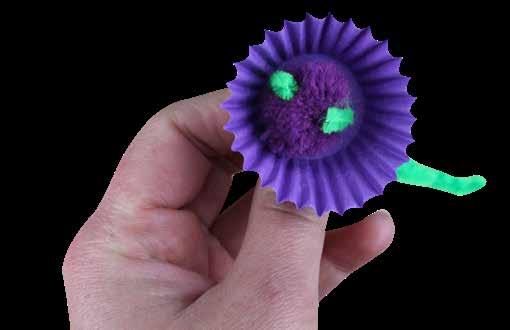
7. Take a green chenille stem and fold in half. Twist the lengths together from the bottom leaving approximately 2cm at the top. Push these ends through the bottom of a patty pan as shown, then use the chenille stem ends to hold a pom pom in the centre to create a flower. Repeat this step a few more times to create more flowers for your garden.


8.
Place the flowers into the egg carton to complete your garden! Admire your beautiful garden all day and then once the sun goes down you can flick on the tealights to watch your garden glow!
• Egg Carton – 12333
• CleverPatch™ Acrylic Paint Tube Black – 100ml – 16885
• CleverPatch™ Acrylic Paint Tube White – 100ml – 16886
• CleverPatch™ Acrylic Paint Tube Pink – 100ml – 16883
• Cardboard Greeting Cards White – Pack of 20 – 10609
• Wiggle Eyes Black – 0.7cm Pack of 100 – 16477
• CleverPatch™ Cover Paper – Assorted A4 – Pack of 275 – 13652
• CleverPatch™ Glue Stick – 40g – 13974
• CleverPatch Glue Dots Pack of 300 – 15173
• Other materials required: scissors, a pencil & paint brushes
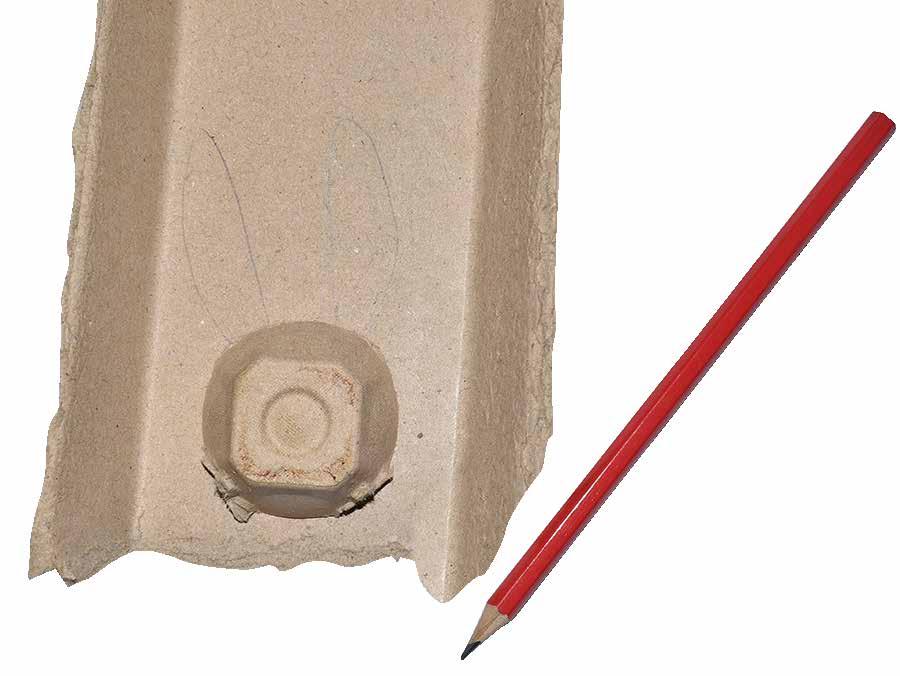
3. Sketch out the ears and body of your Bilby using a pencil on the lid of the egg carton. Cut out these pieces.

6. Use glue dots to attach your pieces to the card. Place the body piece on first, followed by the ears, head and lastly the nose.


1. Cut out one of the dividers from the centre of the egg carton. This will be the Bilby’s nose.

4. Cut two pieces of coloured paper to glue onto the front of your greeting card as a background. Allow to dry.

7. Add wiggle eyes to your Bilby using glue dots.
Follow along to create our Bilby design or choose another animal to make 3D!
2. Cut out an egg cup. This will be your Bilby’s face.

5. Paint each of the egg carton pieces. We mixed black and white paint to create a grey base and painted the tip of the nose and middle of the ears pink.

8. Write a nice message on the inside of your card. Your Bilby card is now ready to give to someone special!
• Egg Carton Tray – 19168
• Embroidery Thread - White – Pack of 6 – 13717
• CleverPatch™ Acrylic Paint Tube – White 100ml – 16886
• CleverPatch™ Cover Paper – Assorted A4 – Pack of 275 – 13652
• CleverPatch™ Glue Dots – Pack of 300 – 15173
• Wiggle Eyes Black – 0.7cm – Pack of 100 16477
• Other materials required: scissors, paint brush & templates (page 10)
Make breakfast time egg-citing!
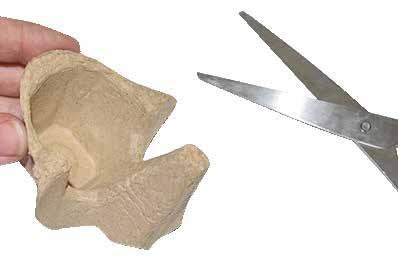
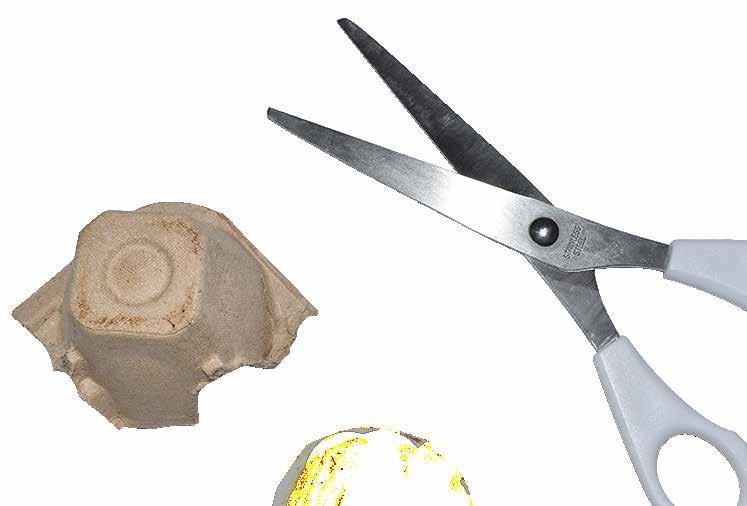
1. Cut out an egg cup well with one of the dividers attached as well as the outside pieces as shown.
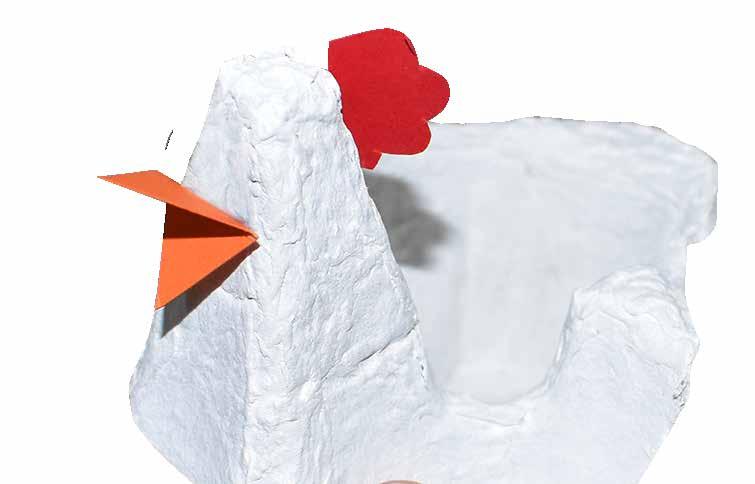
4. Glue the beak and comb to the top of the divider to create the Chicken’s head. Allow to dry.

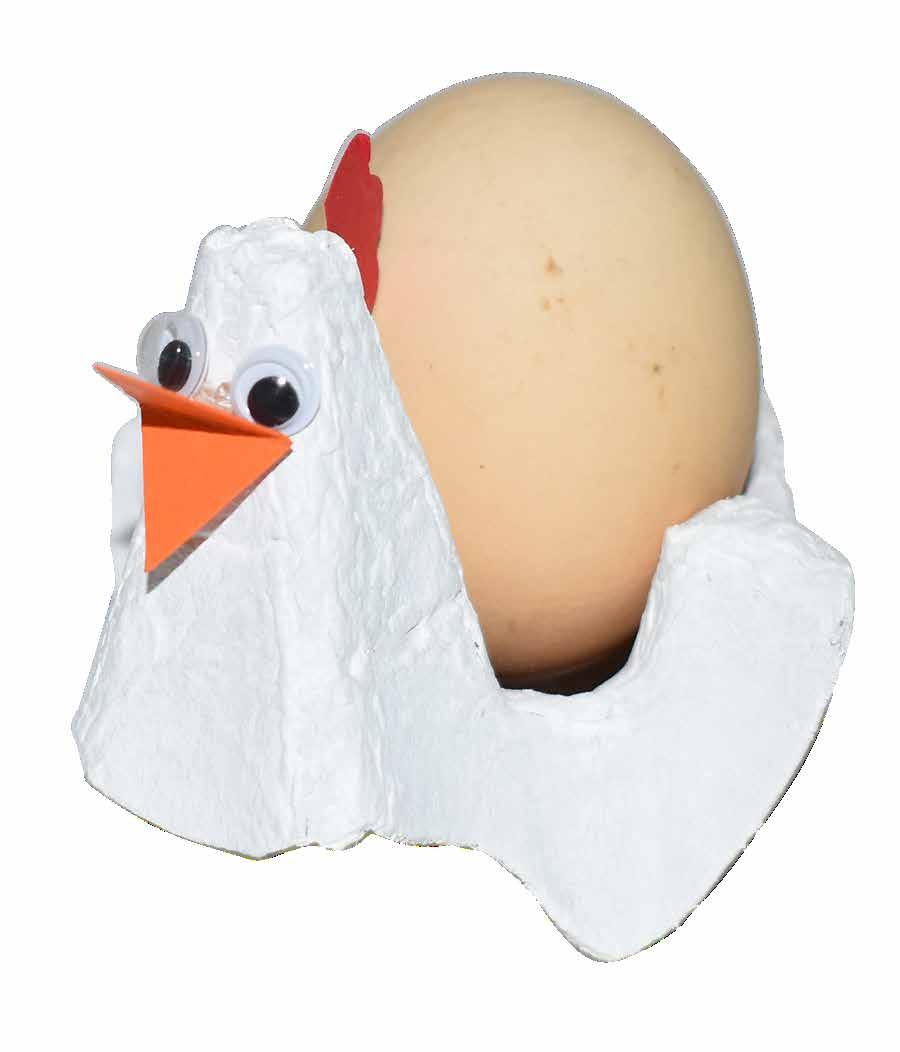
Is this not the cutest egg cup you’ve ever seen?
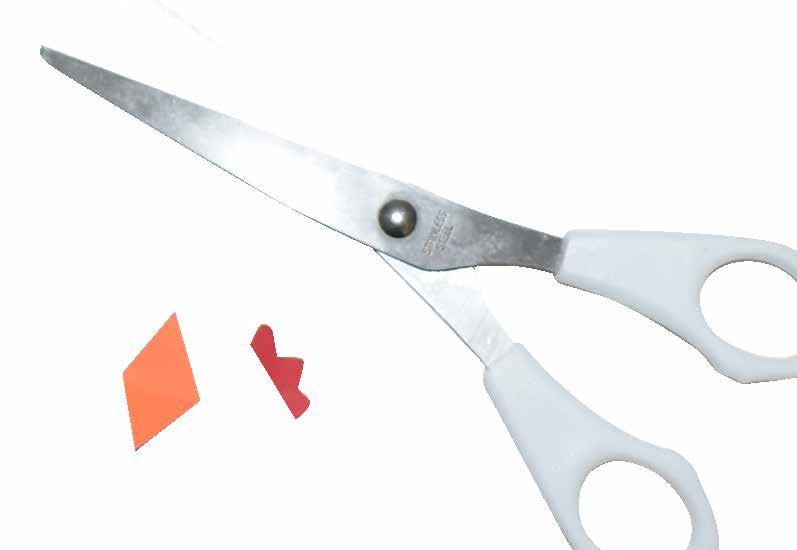
2. Print the templates on page 10 and use to cut out a beak and comb from coloured paper.
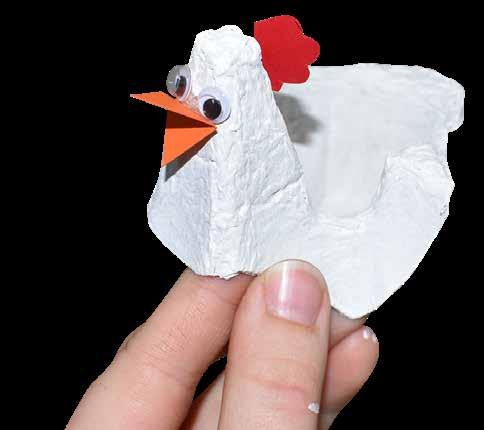
5. Add wiggle eyes to your Chicken using glue dots.

3. Use CleverPatch™ white acrylic paint to paint the piece you cut out in step 1. Allow to dry.
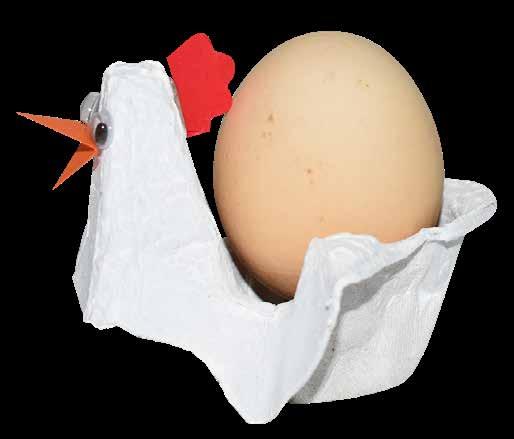
6. Your Chicken Egg Cup is now ready to hold an egg!
Movable Mermaid
Use the templates below to help you create the activity on page 3.
Light Up Garden - Minibeast Templates
Use the templates below to help you create the activity on pages 6 & 7.
Chicken Egg Cup
Use the templates below to help you create the activity on page 9.